Color Fusers--July!

Hi friends! Welcome to July—as a teacher, this is an exciting month. I think I live for not setting my alarm clock! And I now have time for more crafting, which is everyone’s dream!

This month the Color Fusers are creating with Cloud Cover, Crisp Cantaloupe (a new In Color but a returning color) and Poppy Parade. I decided to use this combo to create a scrapbook layout.

Isn’t my dog so adorable! I love that he wanted to join me for this picture!

I started my page with Cloud Cover Two Tone card stock on the original color side. I used the Fragrant Layers stamp set (one of my current favourites) as the main stamp for my page.

The new Gingham In Color DSP is at the top of my DSP list at the moment. I wish we had it for every color family as you cannot go wrong with gingham! I used a section in the small gingham in Crisp Cantaloupe under my photo. My last day of school picture is mounted on Cloud Cover card stock with some Crumb Cake Bakers Twine wrapped around.

The sentiment is from the Fragrant Layers stamp set and is accentuated by a little scallop border detail in Poppy Parade. This was cut using the Bordered in Beauty Dies.

I also added a die cut flower and leaf from the Heirloom Boutique Die set.

The flowers on my page are coloured using the lazy watercoloring technique and the leaves are coloured with a Cloud Cover Stampin’ Blend. I used a Golden Glow dark Stampin’ Blend for the flower centers.

I use one of my larger blocks to press my ink pad to it to create a palette. Then I used a water painter to lightly color the image. The trick is to really dilute the ink for your first pass or wash of color. Then you can go back and add shading.

I am also really enjoying our new Shimmer Pens and I added some Crisp Canataloupe over top of this flowers for a little bit of sparkle!

I also used a tiny leaf from the Extraordinary Life die set and some pearls from the Pearlized Faceted Circles on my page. Some background stamping with the same floral image also creates interest in the foreground of the page.

I really enjoyed crafting with this color combo as Crisp Cantaloupe and Poppy Parade both have a bit of orange undertone to them so they do buddy up really well.

I can’t wait to see what the rest of the team has designed this month! Next on the hop is the amazing Tami, who has such a fantastic style of stamping. I know you will be inspired!

If the hop gets broken, you can go in reverse from here to see what the talented Lou Kitzelman has designed for us this month!

Either way, please see what the Color Fusers team has designed! Feel free to leave me a comment or shop with me if you are in Canada! Every order helps me keep loving what I do!

12 Days of Christmas--Day 10!

Day 10 already! This means the month of November is really zipping past! I hope you have been enjoying everything so far!

Today I am going to switch things up a bit and share a holiday layout or scrapbook page with you. I am happy to have this page completed so all I need to do is add a holiday photo to it!

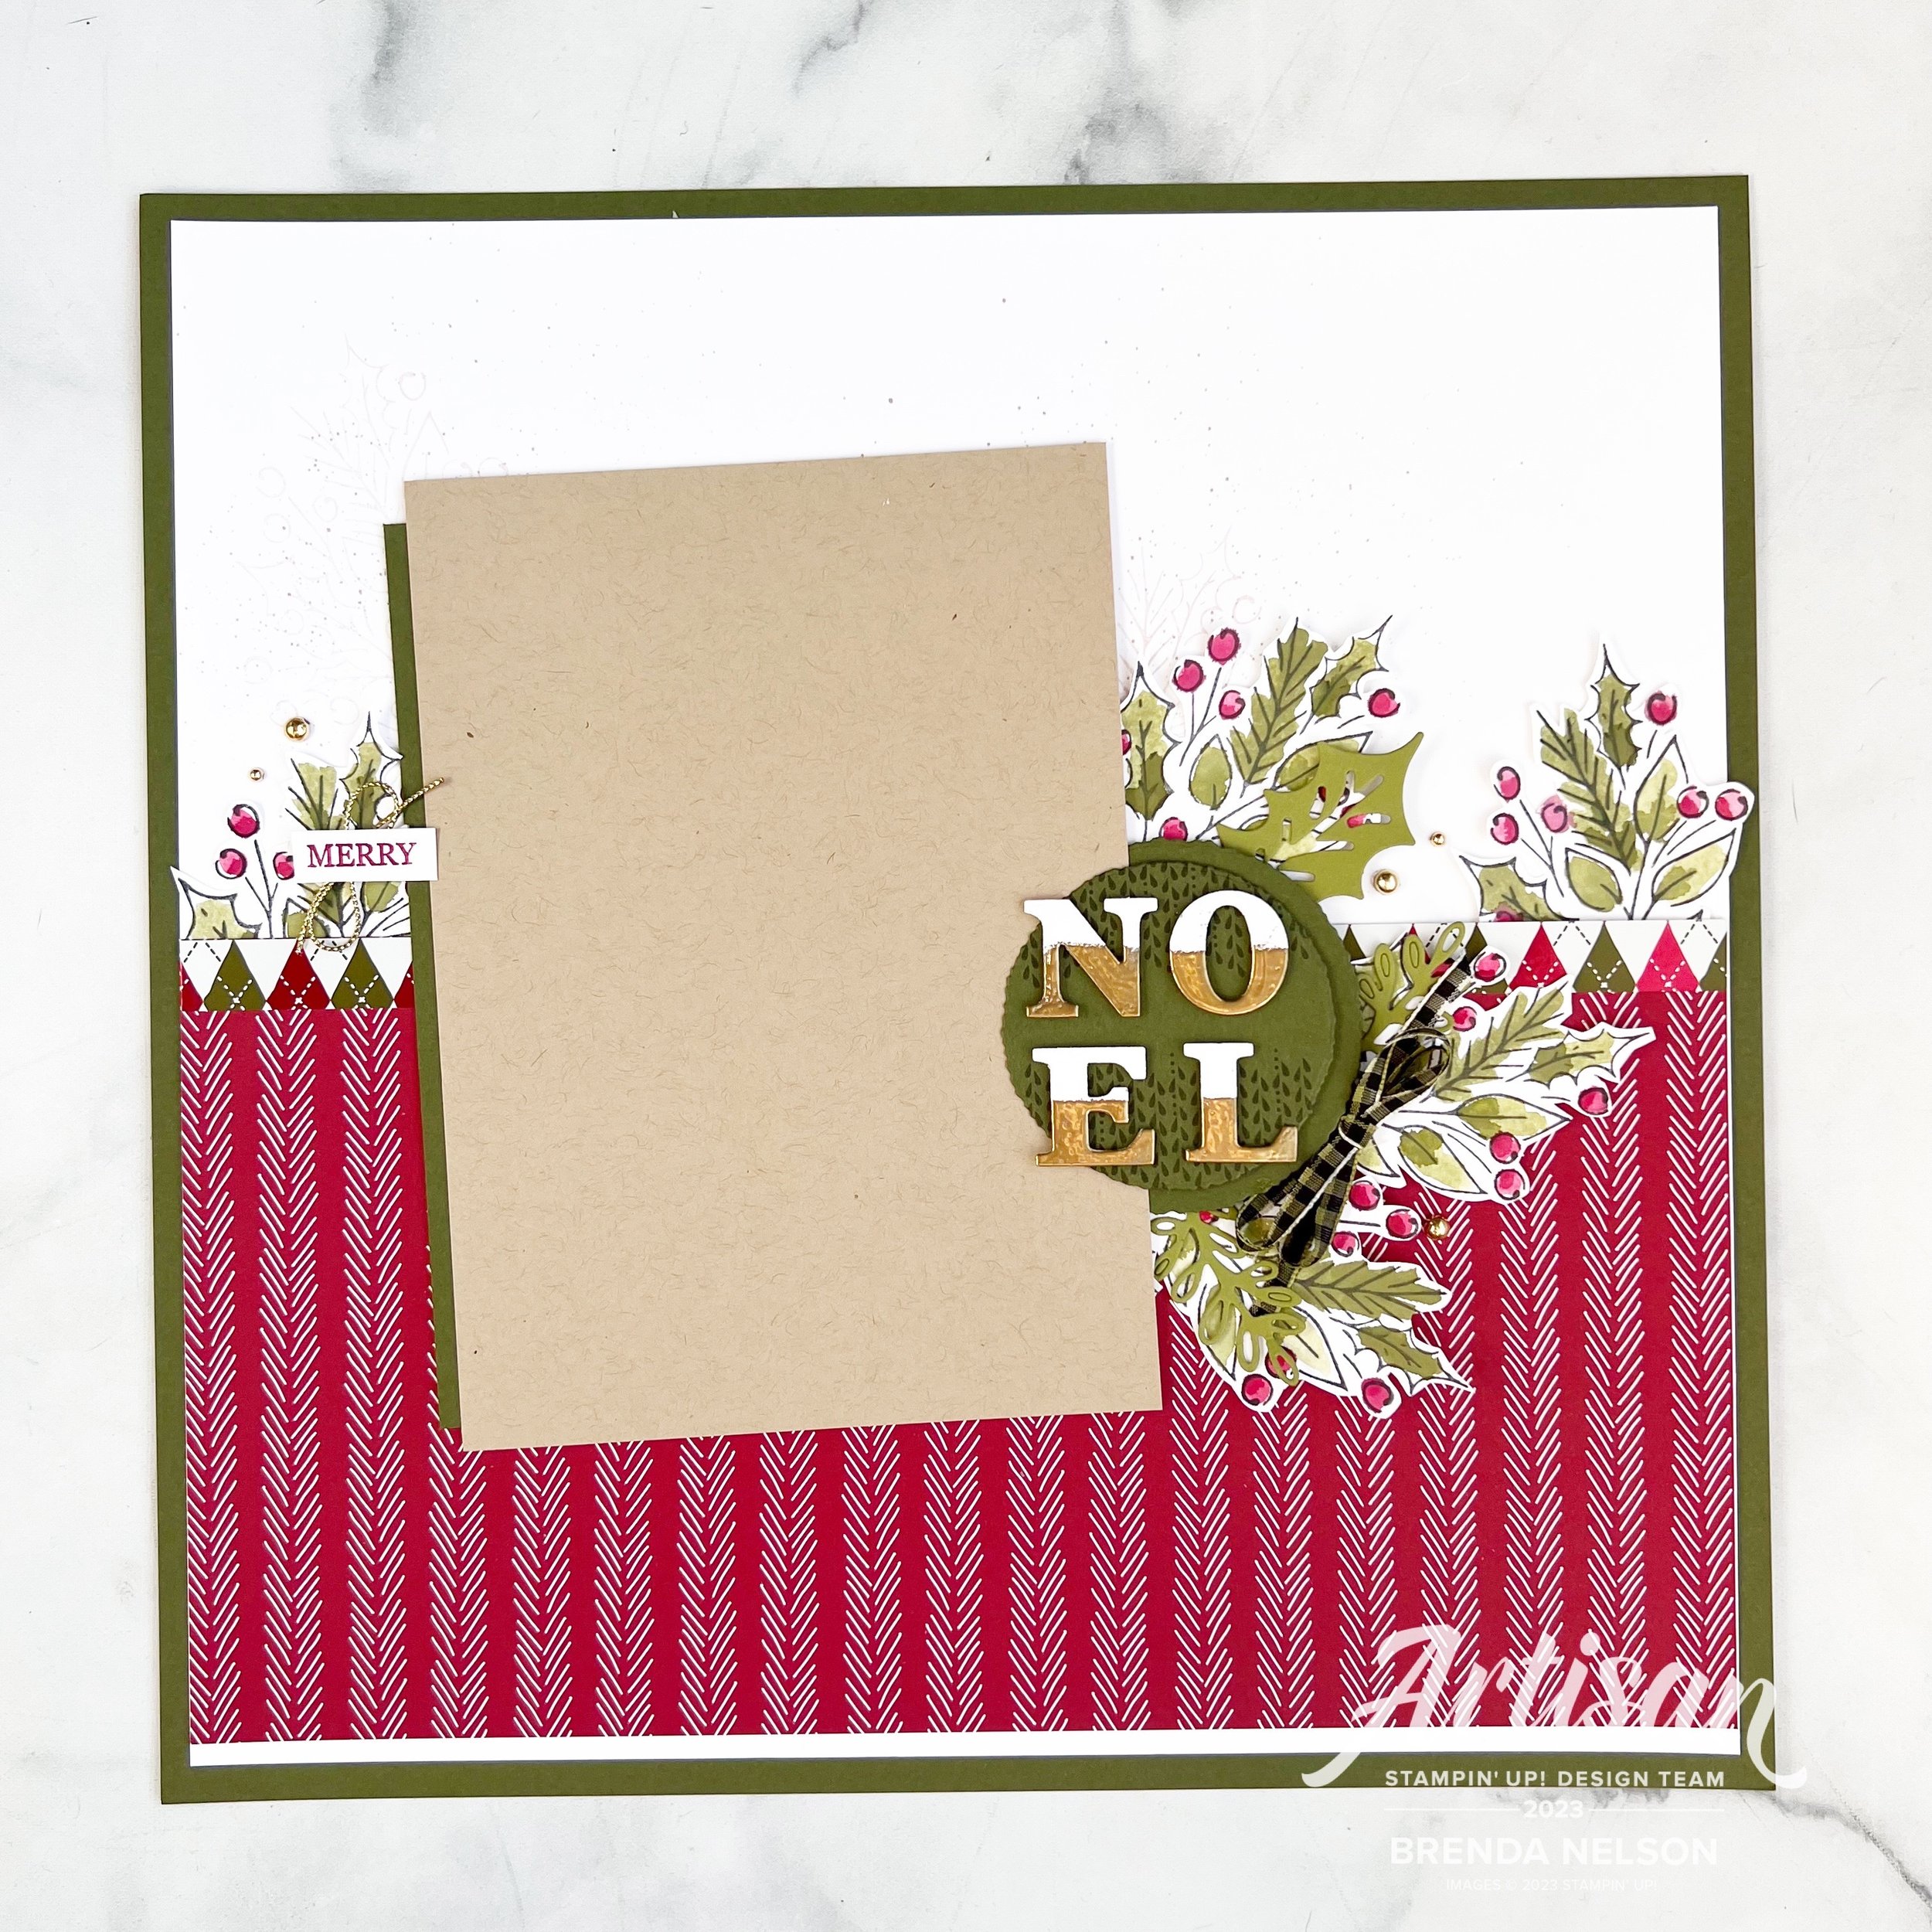
I started with a base of Mossy Meadow and added a panel of Basic White that I trimmed to 11 1/2 x 11 1/2. In Crumb Cake ink that I stamped off, I added the large image from the Joy of Noel stamp set to the background, framing the photo mat. I also gave a spray of Crumb Cake ink with my Stampin’ Blend marker.

I added a really generous 6 x 11 1/2 piece of DSP from a recent Online Exclusive and smaller strip of the argyle pattern in 1/2 x 11 1/2 to create a division between the DSP and the Basic White.

The 5x7 photo mat is Crumb Cake with a small strip of Mossy Meadow card stock on the left.

I stamped in Memento ink several of the large holiday sprigs from Joy of Noel and used my favorite coloring technique—lazy watercoloring with Old Olive, Mossy Meadow and Cherry Cobbler inks. I die cut them using the coordinating dies and then added them as accents throughout my page.

I also die cut a few leaf/sprig shapes from the Classic Christmas Dies and added those in as well.

My favorite part of the layout is the NOEL—I started by die cutting two Deckled Circles in Mossy Meadow. On the smaller top layer I stamped the sweater like image from Joy of Noel along the top and bottom of the circle.

I die cut the NOEL and then using my Versamark, I covered just the bottom half of each letter and then covered them in Gold Embossing Powder. I love how it elevated these letters! The touch of gold is perfect for this page.

I also used my Old Olive Stampin’ Blend to color some of the Black & Very Vanilla Ribbon (after trimming it in half so it wasn’t as wide).


I added a little ‘Merry’ to this side of the page using the Christmas Classics stamp set and Cherry Cobbler ink. A bit of Gold Elegant Trim and some gold pearls from the Blooming Pearls was perfect for this little area.
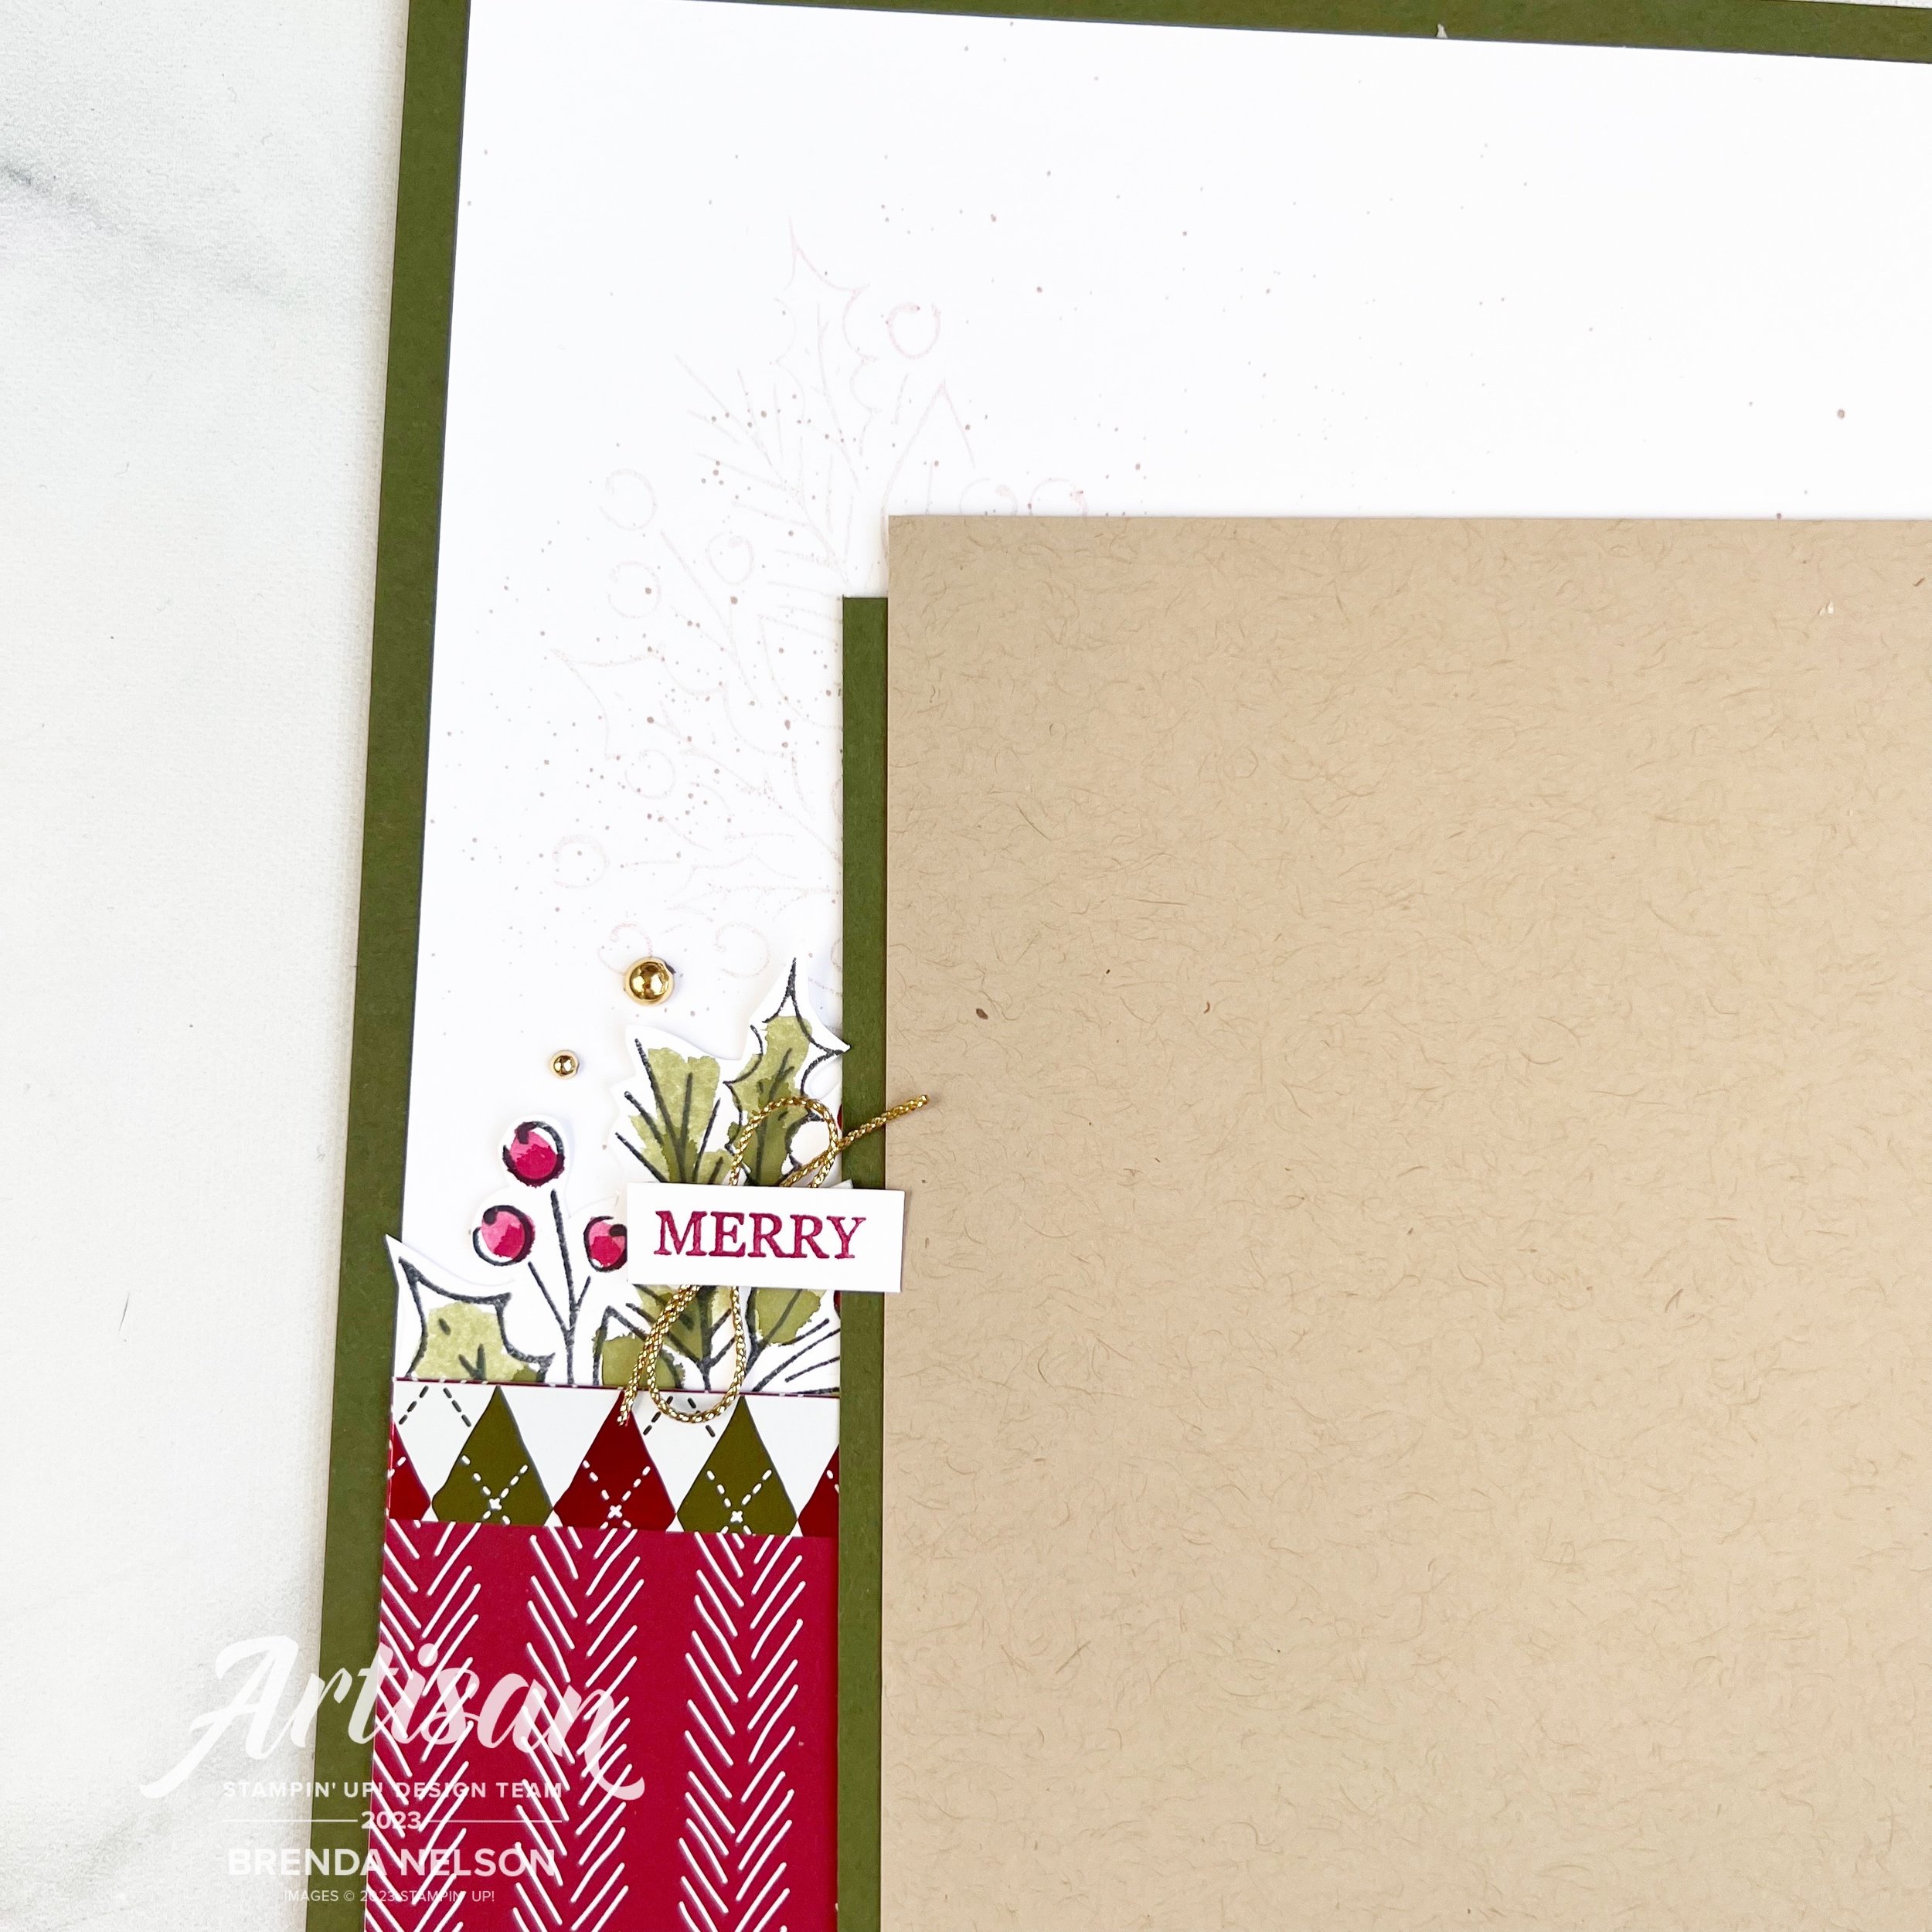
I hope the page inspires you to do some holiday scrapbooking for yourself. And if you can get a few pages done before the holidays begin, it will be so easy to add a photo after the season!
I am excited to see what Melanie is sharing today, so make sure to click on this image to go and visit her blog! Thank you for stopping by and if you are in need of supplies, please consider shopping my online store so I can continue to do what I love!


12 Days of Christmas--Day 6!

Happy mid-point friends! If you have been following along so far, thank you so much! If you are just joining today, make sure to go back and see what you have missed from myself and Melanie @melsinkyfingers

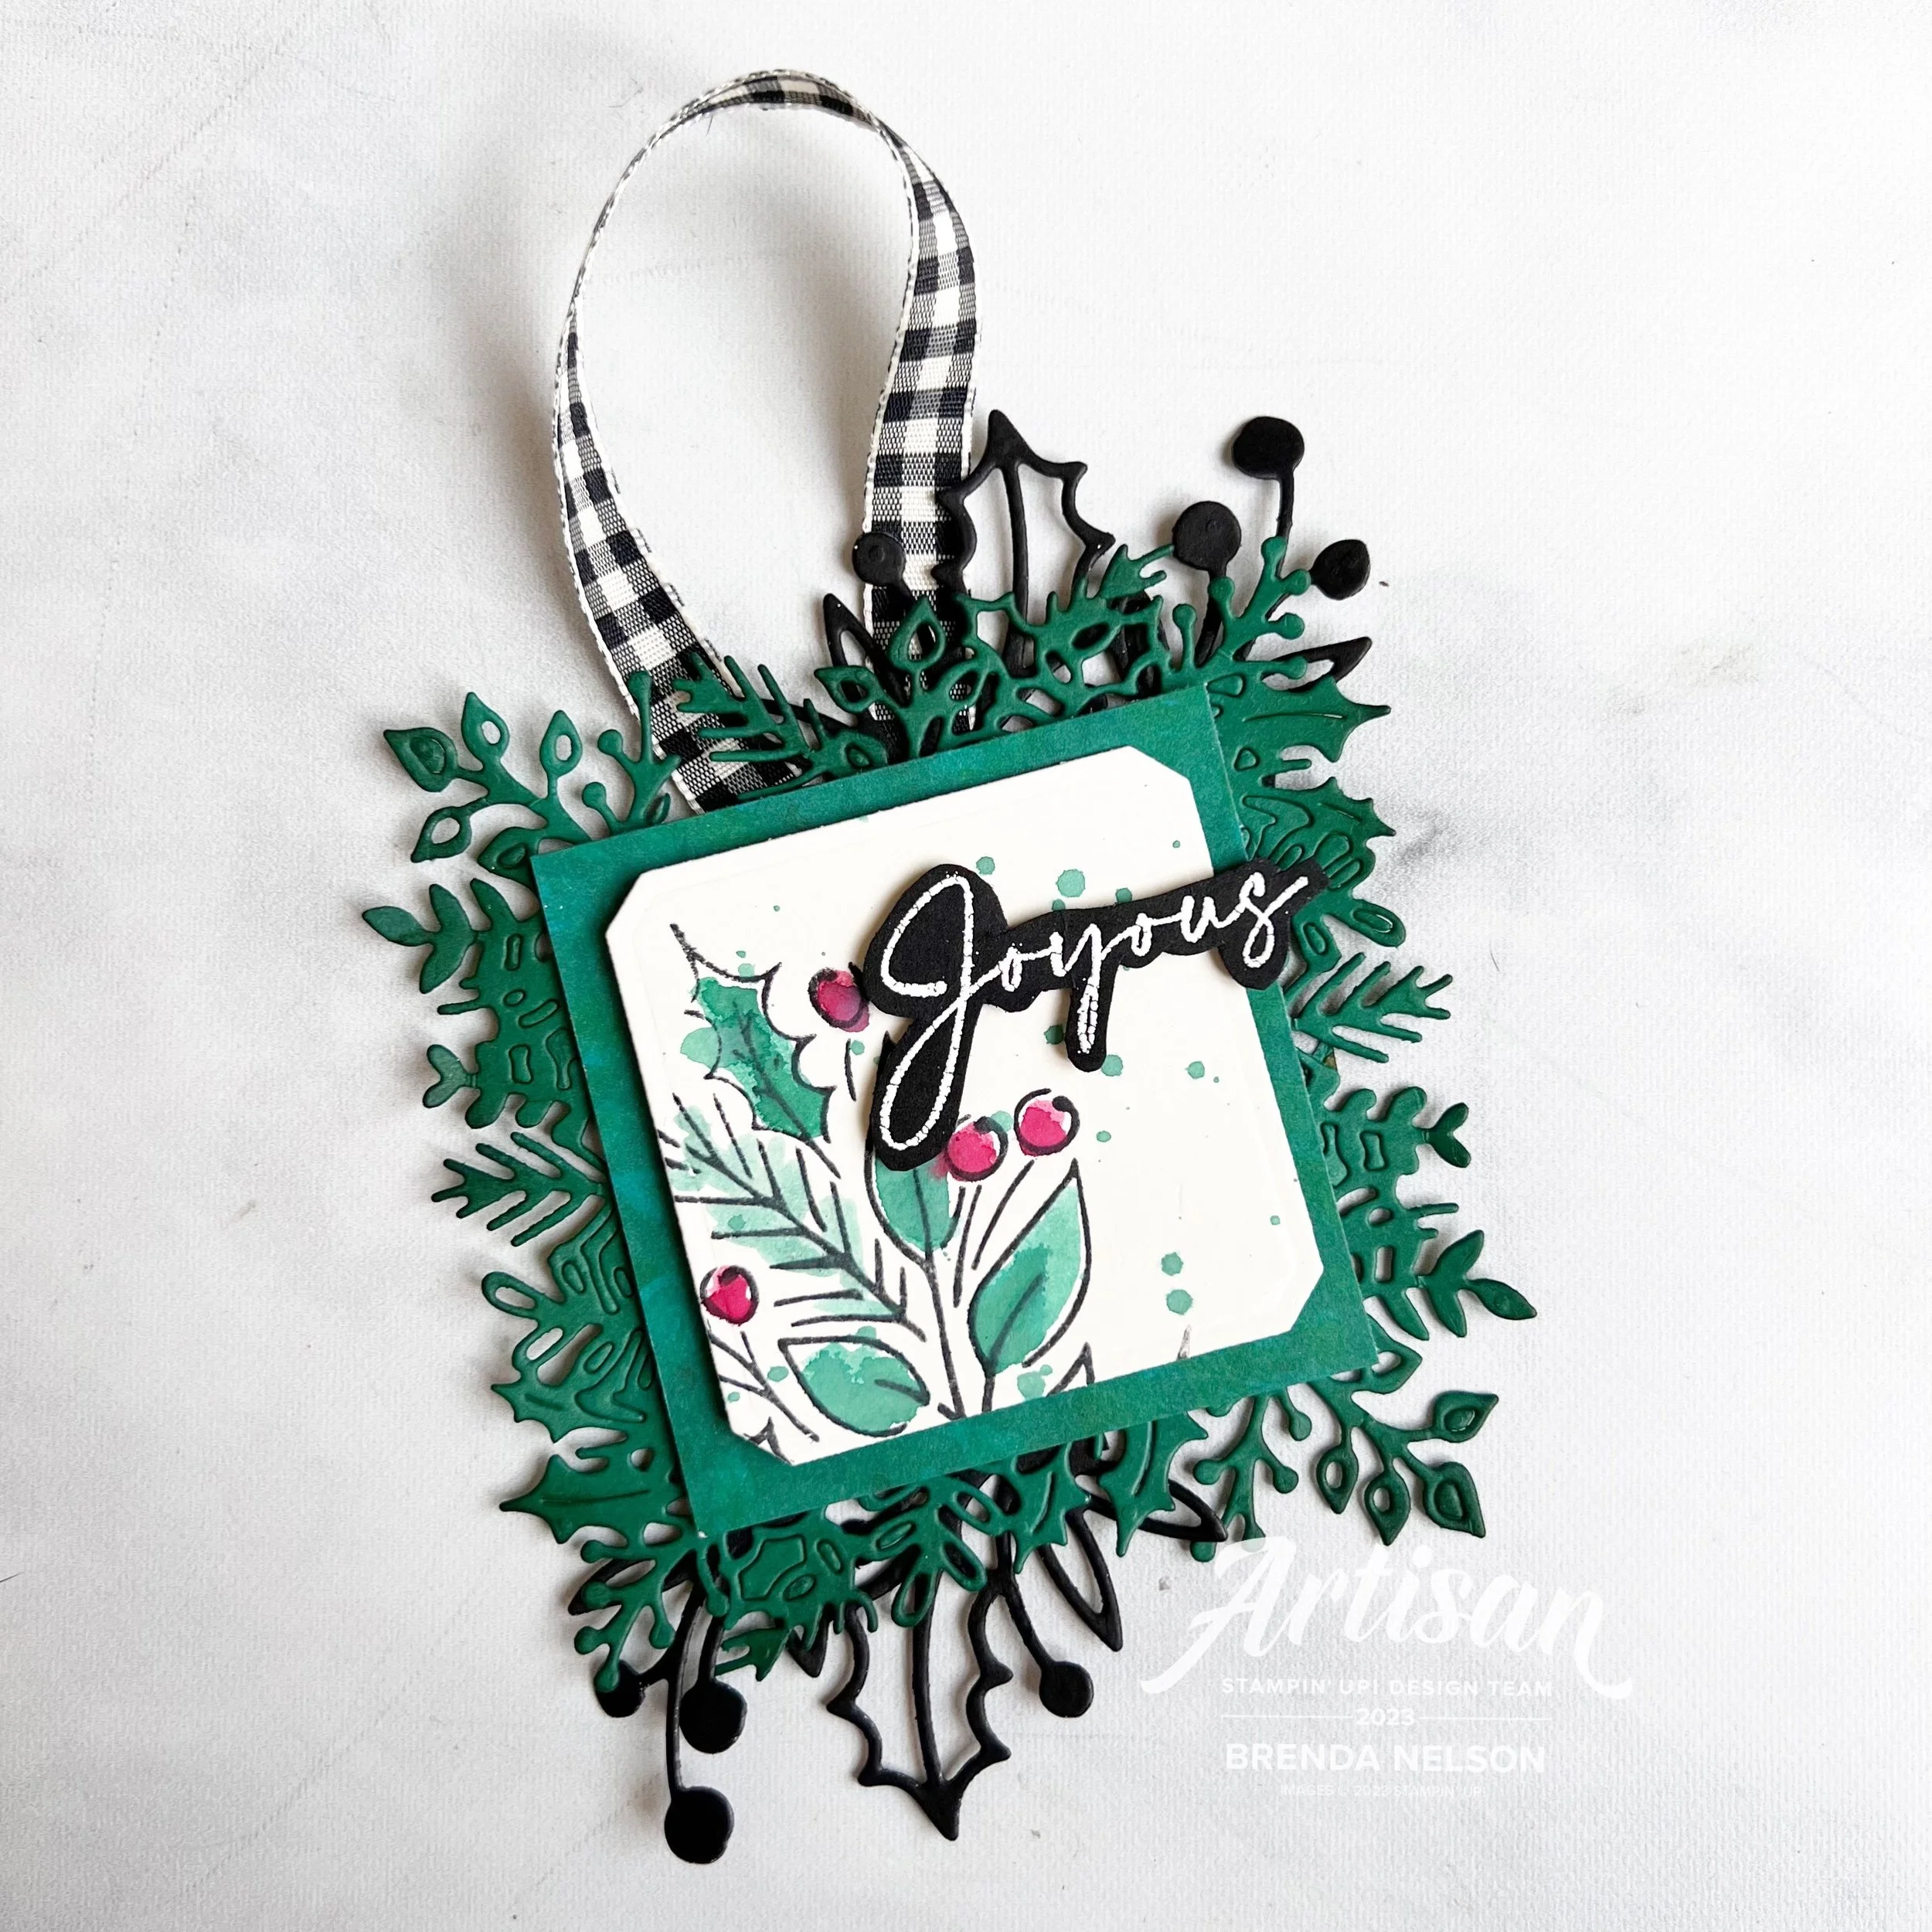
Switching gears a little bit today—I mean I LOVE card but I also like to use my supplies in other ways. My friend Cindy Schuster shared a version of this project a while back and I fell in love! THIS is what I love about our Stampin’ community! Sharing and inspiring each other!

Cindy’s original project had a photo in the center and was a bit of a different color scheme. I liked the idea to be a tag for a gift bag or box or something pretty to hang on your tree.

I started with the Christmas Classics Dies—truly, they are a must have! You should definitely #addtocart if you have not already!

I started with a base of Shaded Spruce for the main panel. I added the another layer with a different die from the set, cut in Basic Black. I love how I was able to incorporate black into this design by using the Black & Very Vanilla Large Check Ribbon as the hanger.

I added a panel/square of DSP from the Joy of Christmas collection. Using Very Vanilla as a base I stamped the large image from the Joy of Noel stamp set in Memento ink and used the ‘lazy watercoloring’ method to color the image in Shaded Spruce and Cherry Cobbler ink.

Once done coloring with the Shaded Spruce and my Water Painter, I flicked it across the background. I could not love it more!

The shape is die cut using the Classic Christmas dies. Fun FACT: I also cut a back piece to cover up and finish off the back of this piece using the same die in Shaded Spruce. This way if the project gets flipped on its back, it has a more professional finished feel.

Joyous is stamped with White Craft Ink and embossed. I fussy cut it out with snips and added it with a couple Mini Dimensionals.

My intention with sharing this project is that you are inspired to use your supplies for MORE than just cards! Who would not love to have this hanging off of their gift?

What does Melanie have to share today? Let’s head on over to check it out!

Please consider shopping my store if you are thinking you want to make these too for your family and friends! You order allows me to keep doing what I love! Thank you in advance!

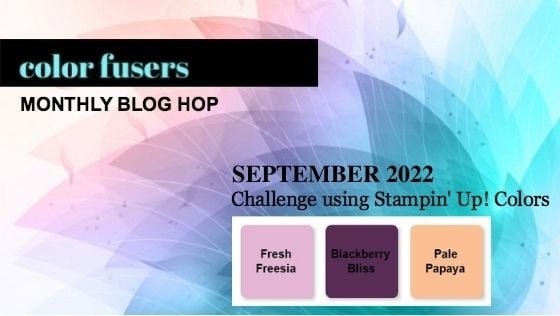
Color Fusers--September Blog Hop!

Hello friends! I am so thankful you are checking in today and I apologize for being MIA over the summer! I just don’t know where the days have gone! Life has been busy and now its September and back into the routine of school and all that fun stuff.

I can’t tell you how much I love this color combo! And it is one that I don’t think I have ever put together myself. I think its because Blackberry Bliss is not one of my go to colors, but paired with Fresh Freesia and Pale Papaya it just shines on this project!

This month Stampin’ Up! has a fun promotion on called Perfect Partners and one of my FAVORITE stamp sets, Fresh Cut Flowers, from the Annual Catalogue now has coordinating dies available this month only! Go check out my Instagram feed (@stampwithbrenda) to see how many times I have shared this stamp set!

These new dies to accompany the Fresh Cut Flowers stamp set are called the Fresh Cut Stems Dies!

I decided to use Blackberry Bliss as the base for this card and use a layer of Fresh Freesia to compliment it. I love the unique edge die included in this new set. I added a bit of Designer Series Paper from the Butterfly Kisses collection along the left side and stamped the large floral image in Fresh Freesia ink along the side as the base image.


I stamped the image again in Momento ink on some Basic White and then used the “Lazy Watercoloring” technique to color in the flowers in Blackberry Bliss and Pale Papaya. The key to this look is to not color all the way to the edges and layer on the color.

I then trimmed by hand all of the flowers and use them to decorate behind and around the sentiment.

The sentiment is from the Hello Harvest stamp set and cut with the coordinating Rustic Pumpkin Dies. What I love about the Fresh Cut Flowers stamp set is that it doesn’t include any sentiments. So the sky is the limit with what you can pair up with this stamp set.

I also did a little lazy watercoloring on the banner too with Pale Papaya. I love the soft wash of color.

The Fresh Cut Stems dies also include fun little sprigs and little florals that I added to the card to create a soft little bouquet. I added a few of the In Color Opal rounds as you always need something sparkly right?

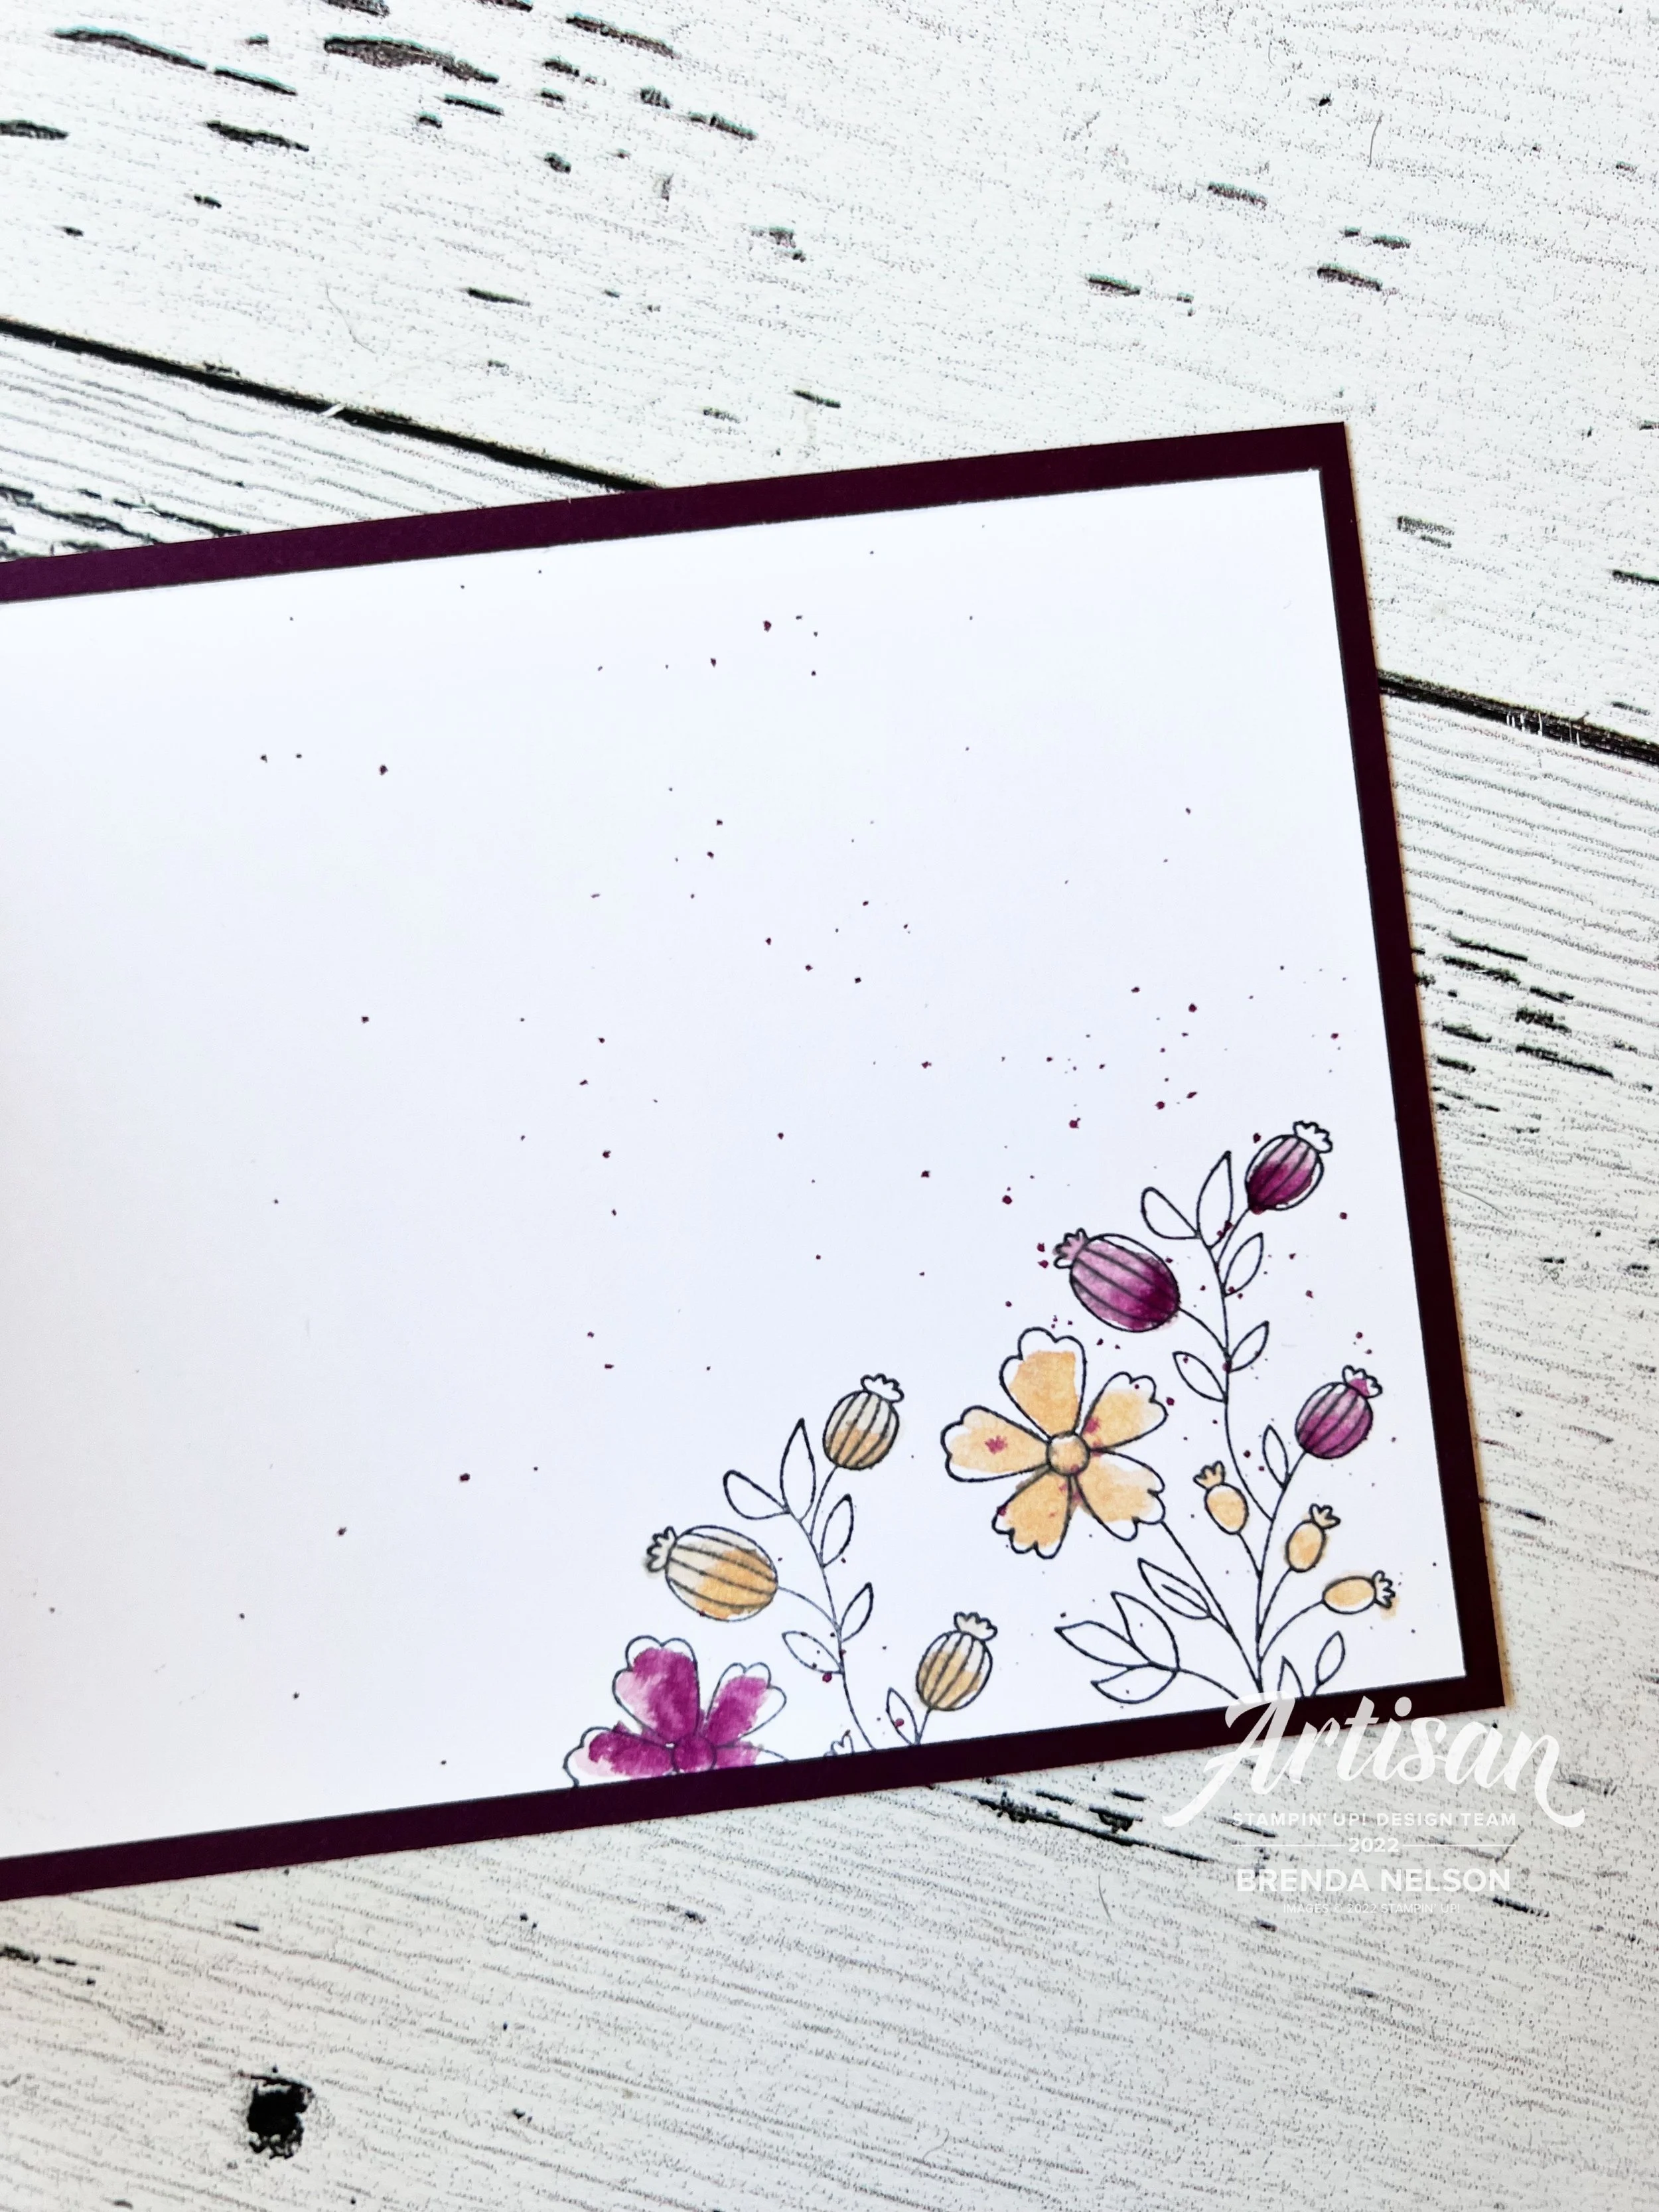
Now because this card is on such a dark base, I felt like I also needed to stamp the inside as well so that it makes writing your greeting so much easier.


I stamped one of the smaller images from the stamp set on the right of the inside base, which is just Basic White. After I colored them with Blackberry Bliss and Pale Papaya, I flicked my Water Painter across the base.

I love to stamp the inside because its an unexpected surprise!

I hope you are as thrilled as I am with this card. I loved it so much I decided my monthly Stamping groups are going to make it too and practice their hand at lazy watercoloring!

I am so excited to see what the rest of the Color Fusers Team has created this month, I am always so amazed at the creativity and variety of the blog hop—-so please make sure you hop all the way around! Please comment or go give my project a like on Instagram (@stampwithbrenda).

Up NEXT on the Hop is the infectious Bonnie O’ Neill and if you want to be a rebel and go backwards, then you will be going to back to see Tami Hewlett. Tami is one of my fellow Artisan Design Team members, we have been on the team for 2 terms together and she is beyond talented!

If you are interested in details regarding my monthly Stamping Group or wish to support my love of stamping you can message me or click on any image below to shop directly with my store! I appreciate all of your support!

Color Fusers--August Blog Hop!

Hello friends! Welcome to another Color Fusers Blog Hop! Each month a bunch of us crafty friends from around the globe each create unique projects using a fun color combo! I hope these color combos inspire you to try some new options!

This month we are creating with Mint Macaron, Pacific Point, Highland Heather and Mossy Meadow. This combo was a little tricky for me so I decided to lean into our amazing Perfectly Pencilled DSP to be the star of my project!

Do you ever find that you get hooked on using certain products? For me right now I am hooked on the Diorama Dies! I have used two of them here to create this elevated background for my DSP flower showcase! I thought it was a subtle way to give this card some texture. The top diorama shape I also flicked with my Mossy Meadow Stampin’ Blend as well and surrounding the flowers I added some of the Iridescent Pearls, one of my fav new embellishments in the Annual Catalogue.

The sentiment is from the Charming Phrases bundle—it is stamped in Versamark, then Mint Macaron ink and topped with Clear Embossing Powder and heat set! This is the easy way to turn any of our inks into sticky inks for grabbing embossing powder!

I decided to apply my fav technique, "Lazy Watercoloring” to the flower image from the DSP. I love this DSP as it is all black and white designs which means unlimited potential for coloring! After I colored the flowers using all four of our challenge colors I hand trimmed the flowers and added them to the diorama shape, only applying adhesive to the very middle. I wanted to flowers to feel fluid.

‘Lazy Watercoloring’ is so easy! I simply smash my ink pad colors on one of our large blocks and add a pool of water with a Water Painter. I then dip my brush into the water to add color to my image! You can easily layer on the color to create depth and dimension and this method is SO FAST!

I can’t wait to see what everyone else on the team creates this month! I hope you are having an awesome summer and make sure to go follow me over on Instagram @stampwithbrenda as I share alot more on that platform.

Of course you can always shop with me directly here or reach out to me through email!

Next up on hop is Bonnie

If you want to go in reverse, I mean hey—why not? Just make sure to visit us all the way around, you can go check out what the fantastic Tami has created!