12 Days of Christmas--Last day! Day 12!
/Can you believe we are wrapping up 12 Days of Christmas already? I hope you have enjoyed all the ideas that Melanie and I have shared with you again this year. I really look forward to this experience with her and for crafting up special projects just to share as a part of this blog hop!
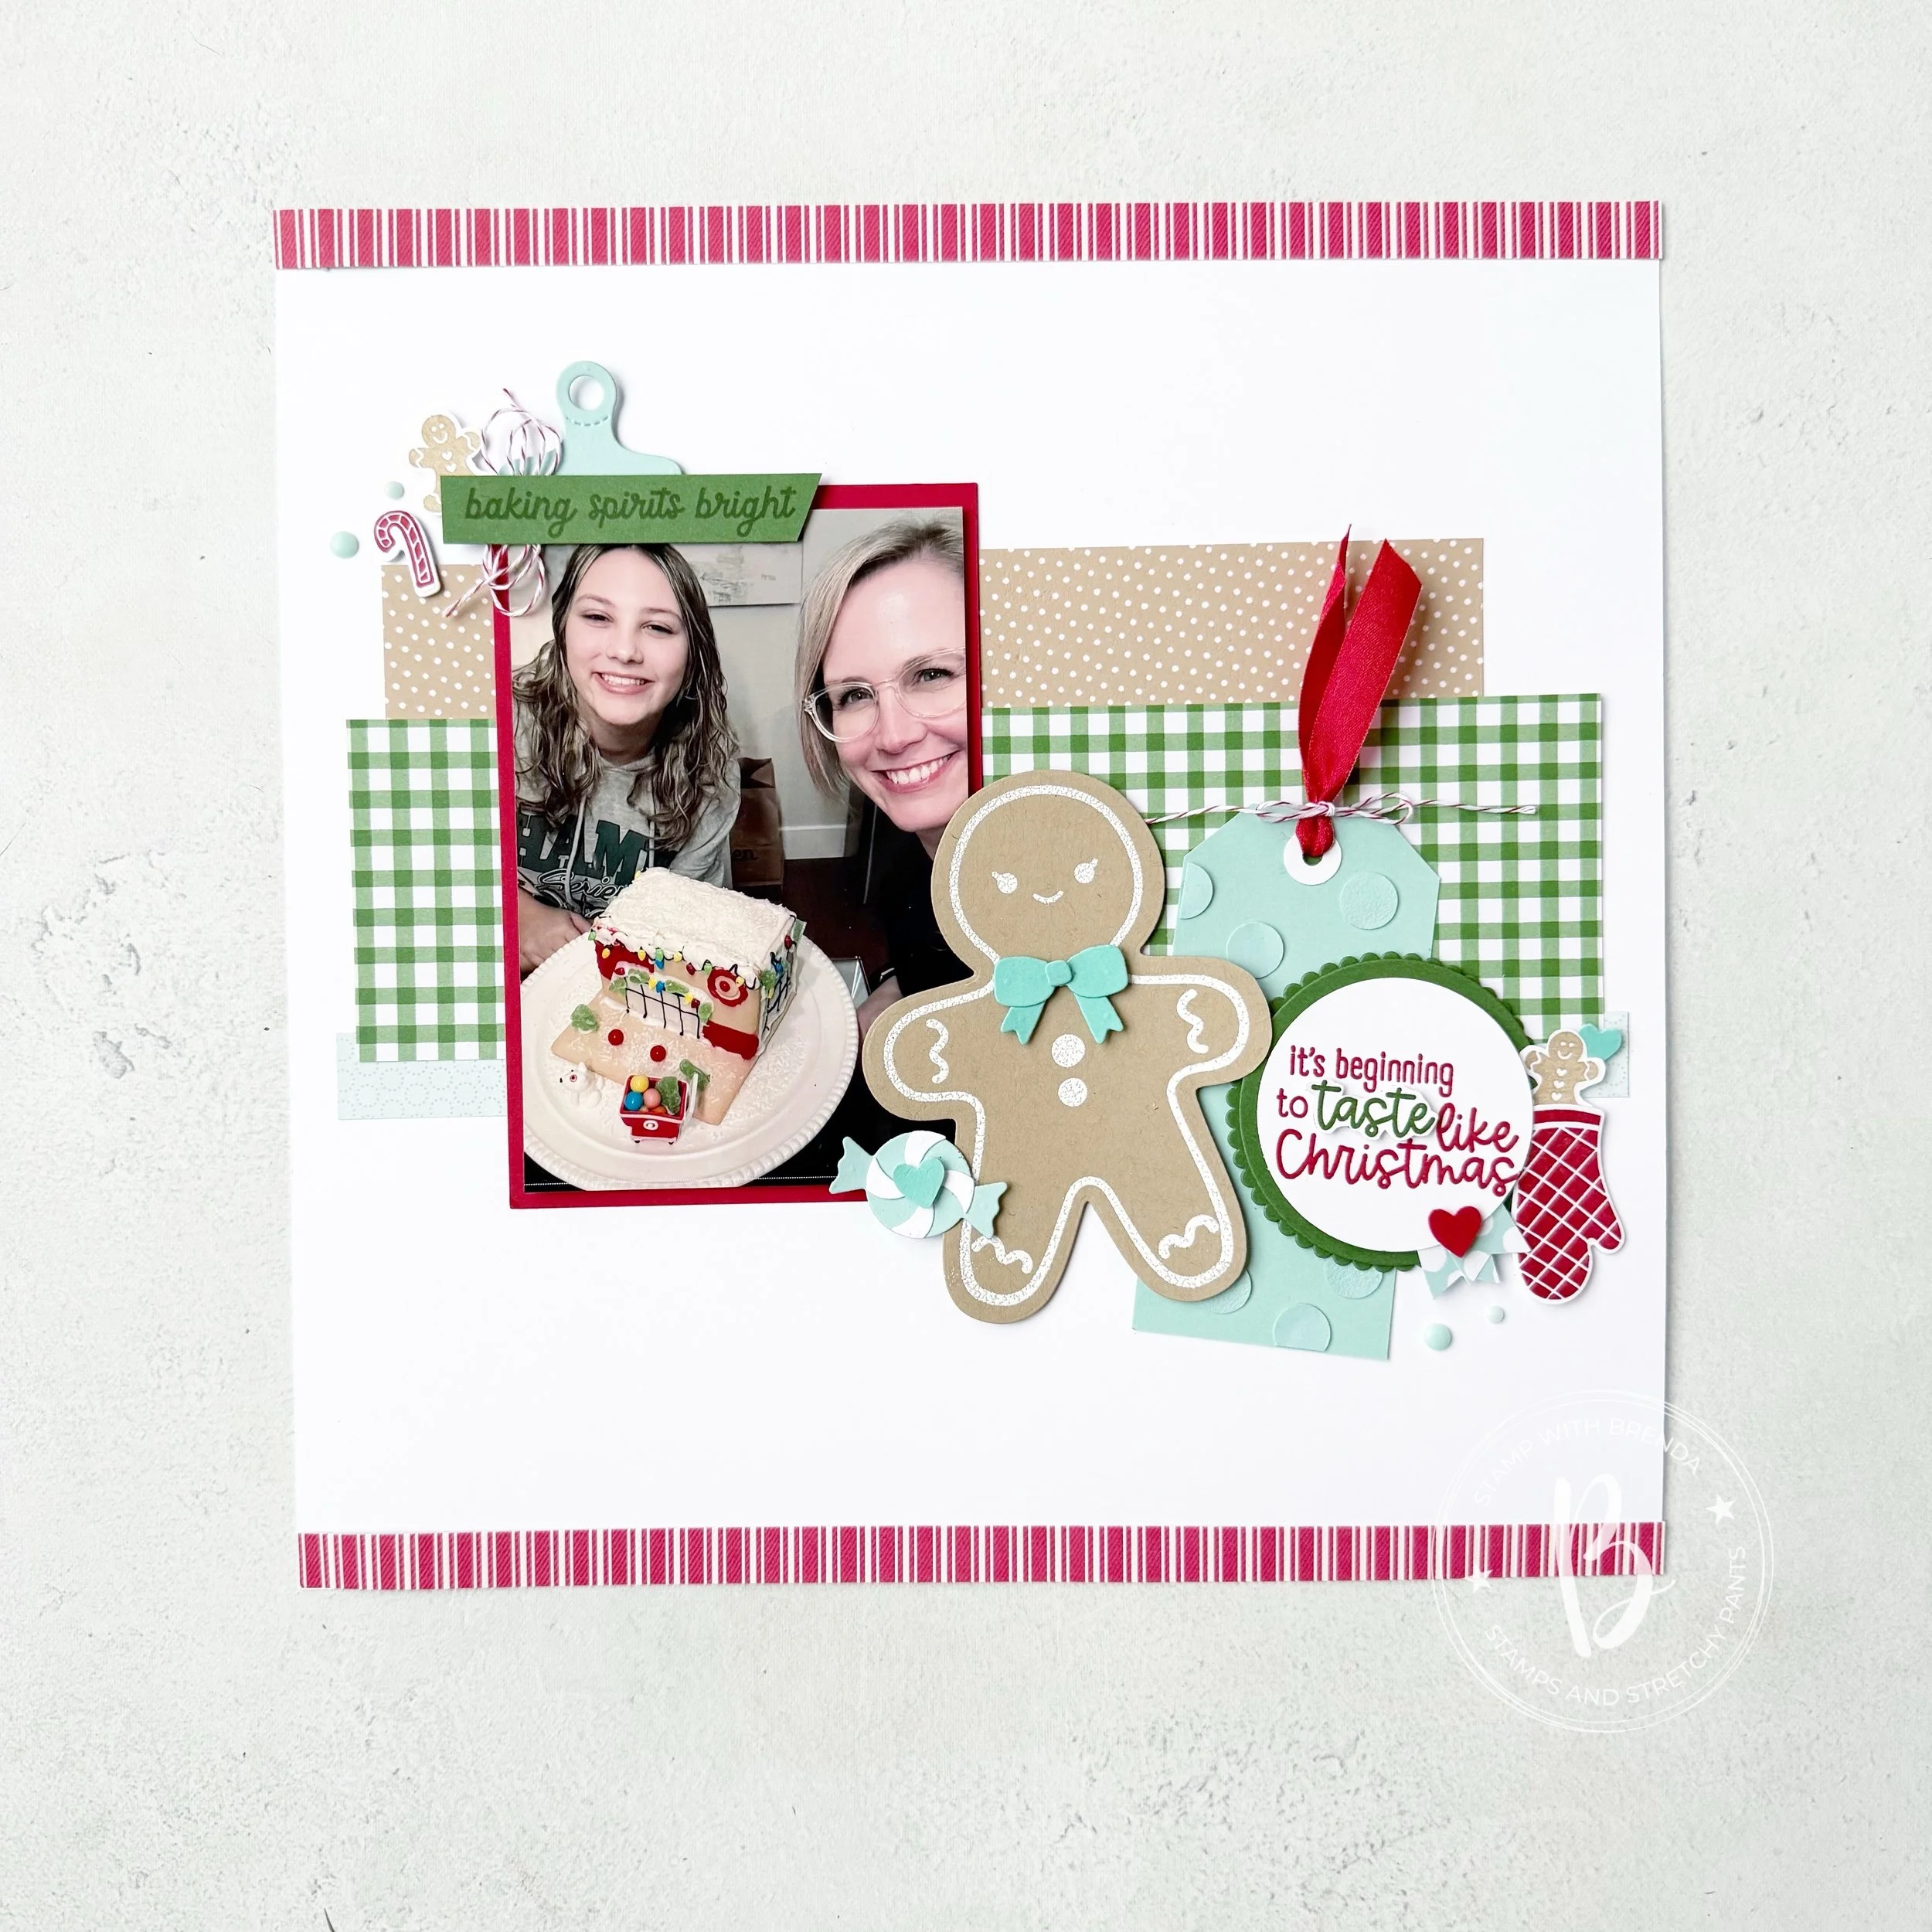
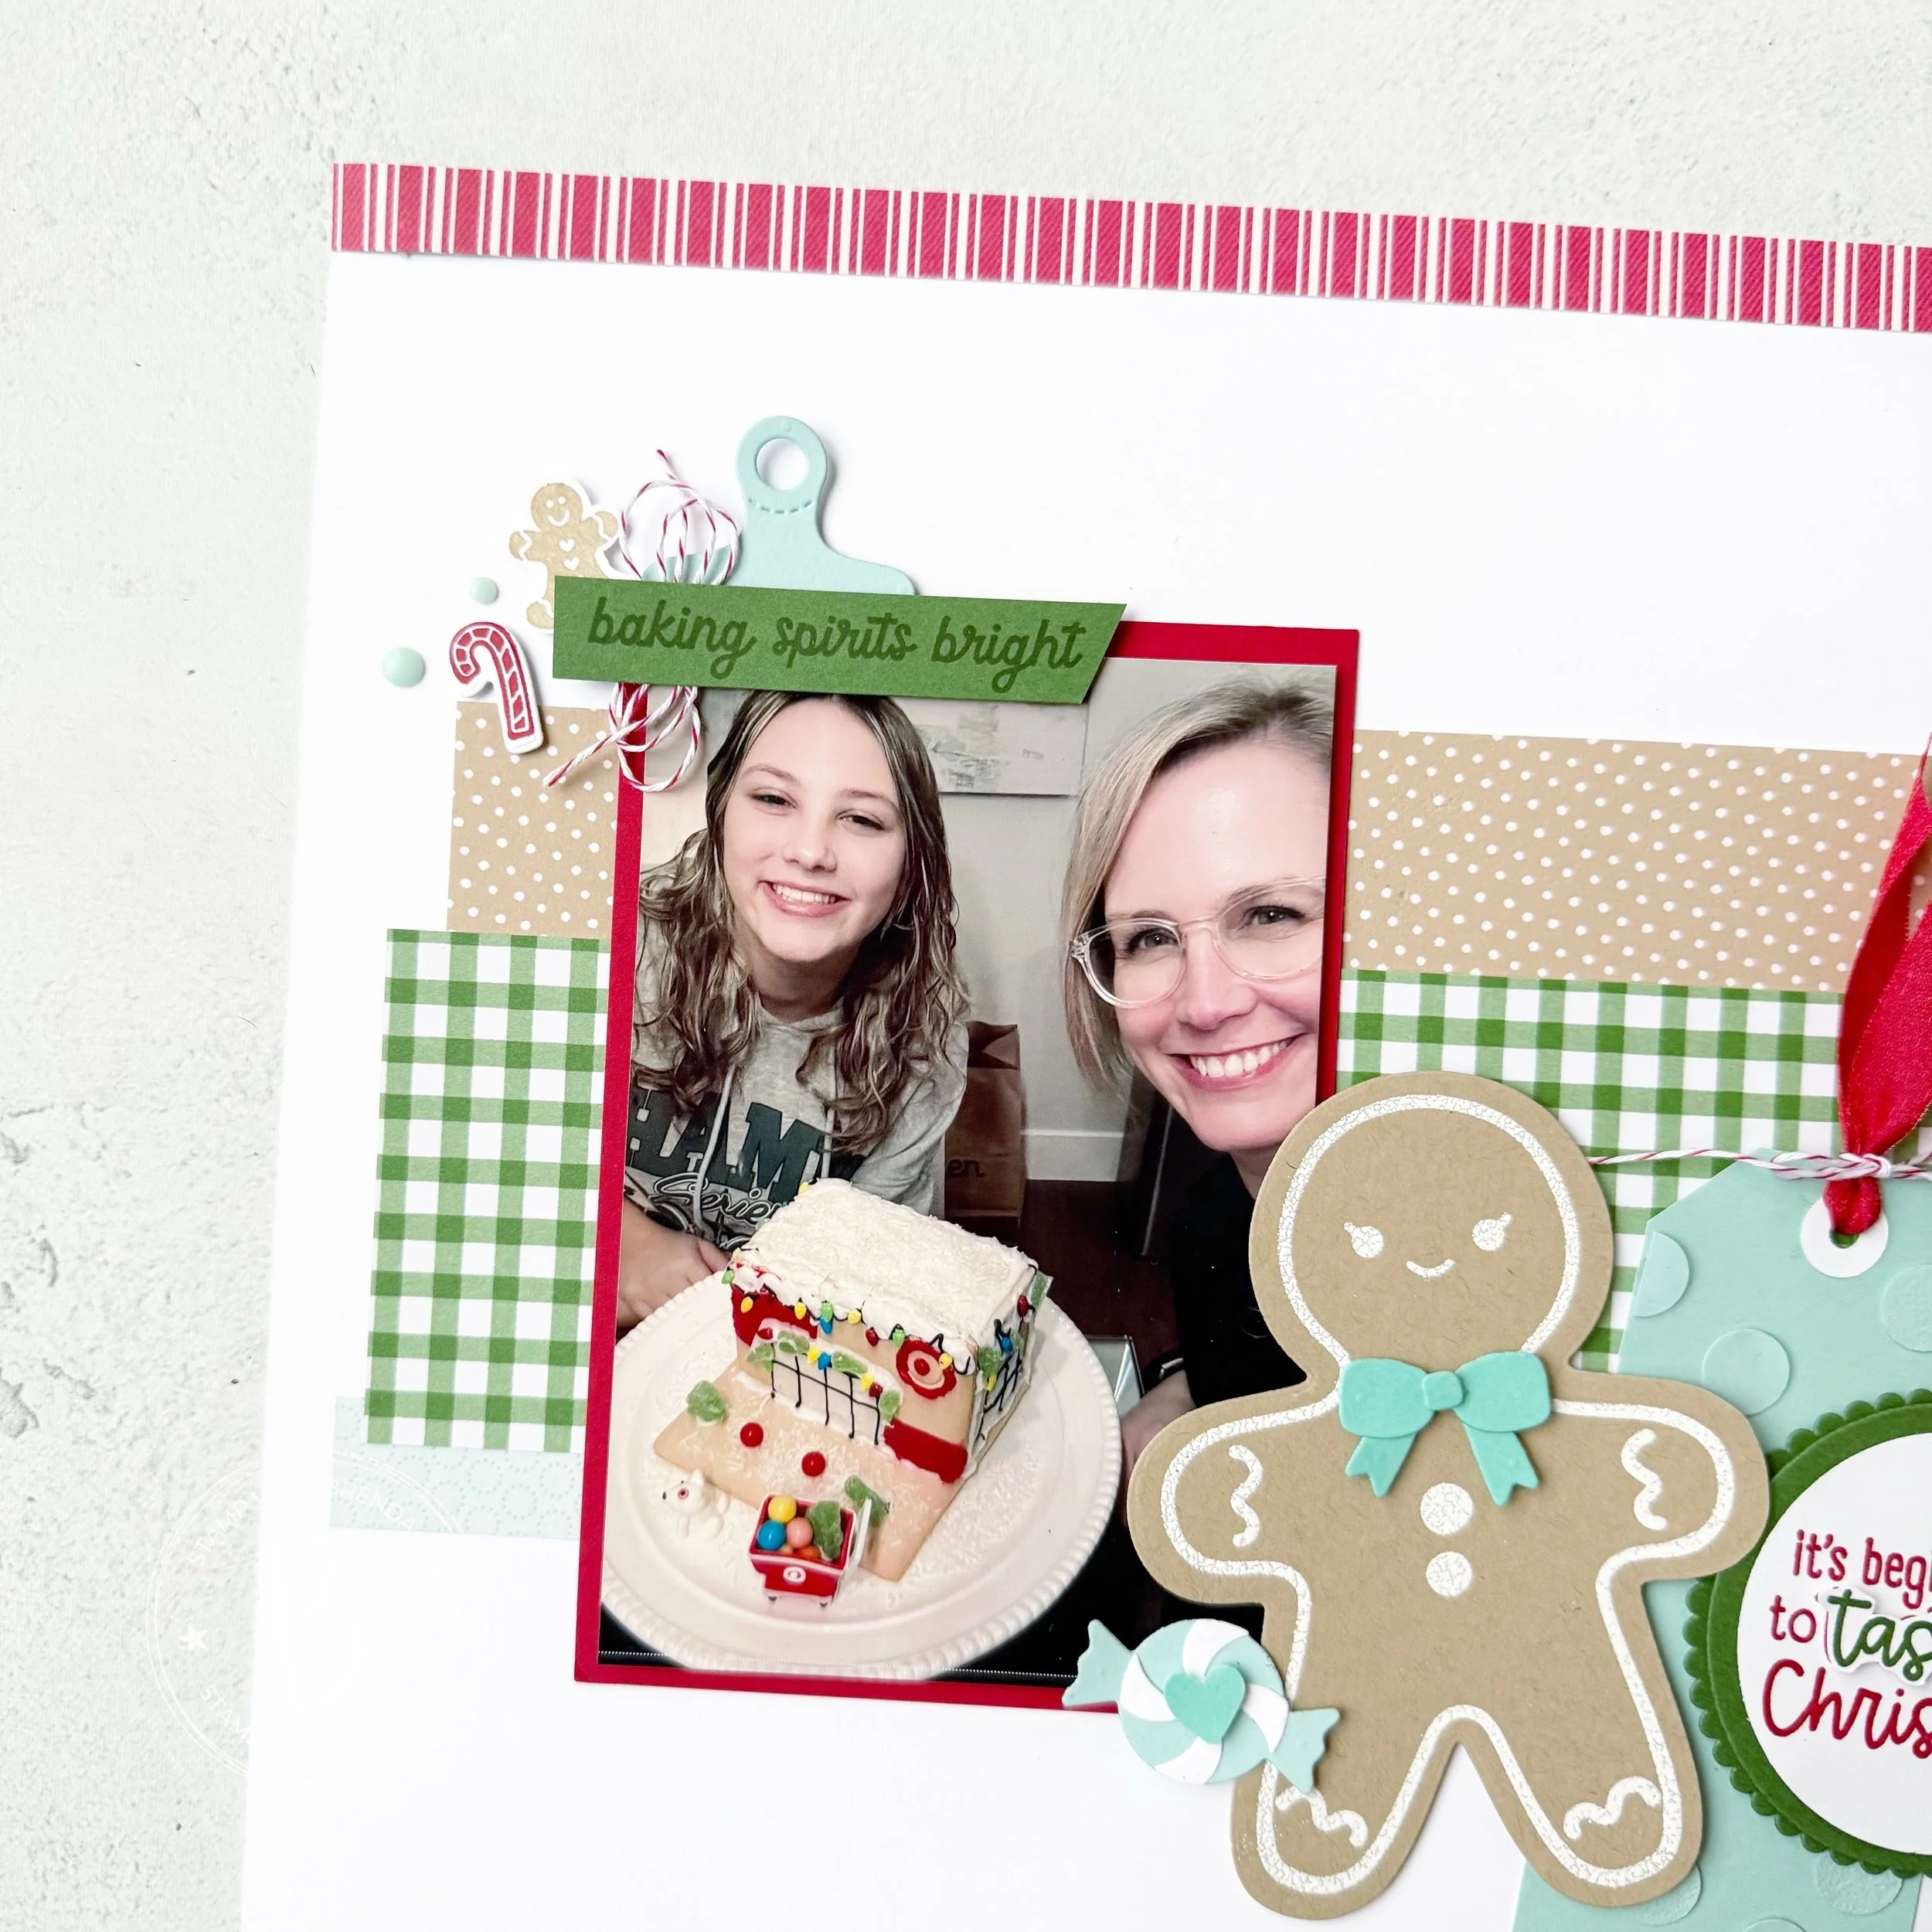
My final project needed to be another scrapbook page as that is my favorite things to spend my creative time on and I love how this page turned out.
A few Christmases ago I had gone on a Target road trip prior to the holidays and found this Target store themed gingerbread house kit. Summer and I had so much fun putting it together and I can promise you it looked better than the one on the box cover. In fact, we felt that we had ‘nailed it’—hahaha!
I started with a White Willow 12x12 as my base and I added two 1/2x12 strips of this really old random red & white striped DSP (the back is the same pattern but Garden Green). I knew I had hung onto it for a reason, and the reason was this page! Hoarding of crafty supplies is a real thing!
The other DSP on this page is from the Christmas Tags & More 6x6 stack. I like this paper because its my favorite color combo for the holidays. And of course I had to add in some Pool Party and Coastal Cabana elements. The strip of Pool Party DSP is from the Floral Impressions collection.
The little clip above my photo is from the Just a Note Dies and they are a keeper. Adding the sentiment “Baking Spirits Bright” with some Real Red & White striped bakers twine behind was perfect for this little corner of my page with a cute mini gingerbread man and candy cane.
Once again combining both of our featured bundles!
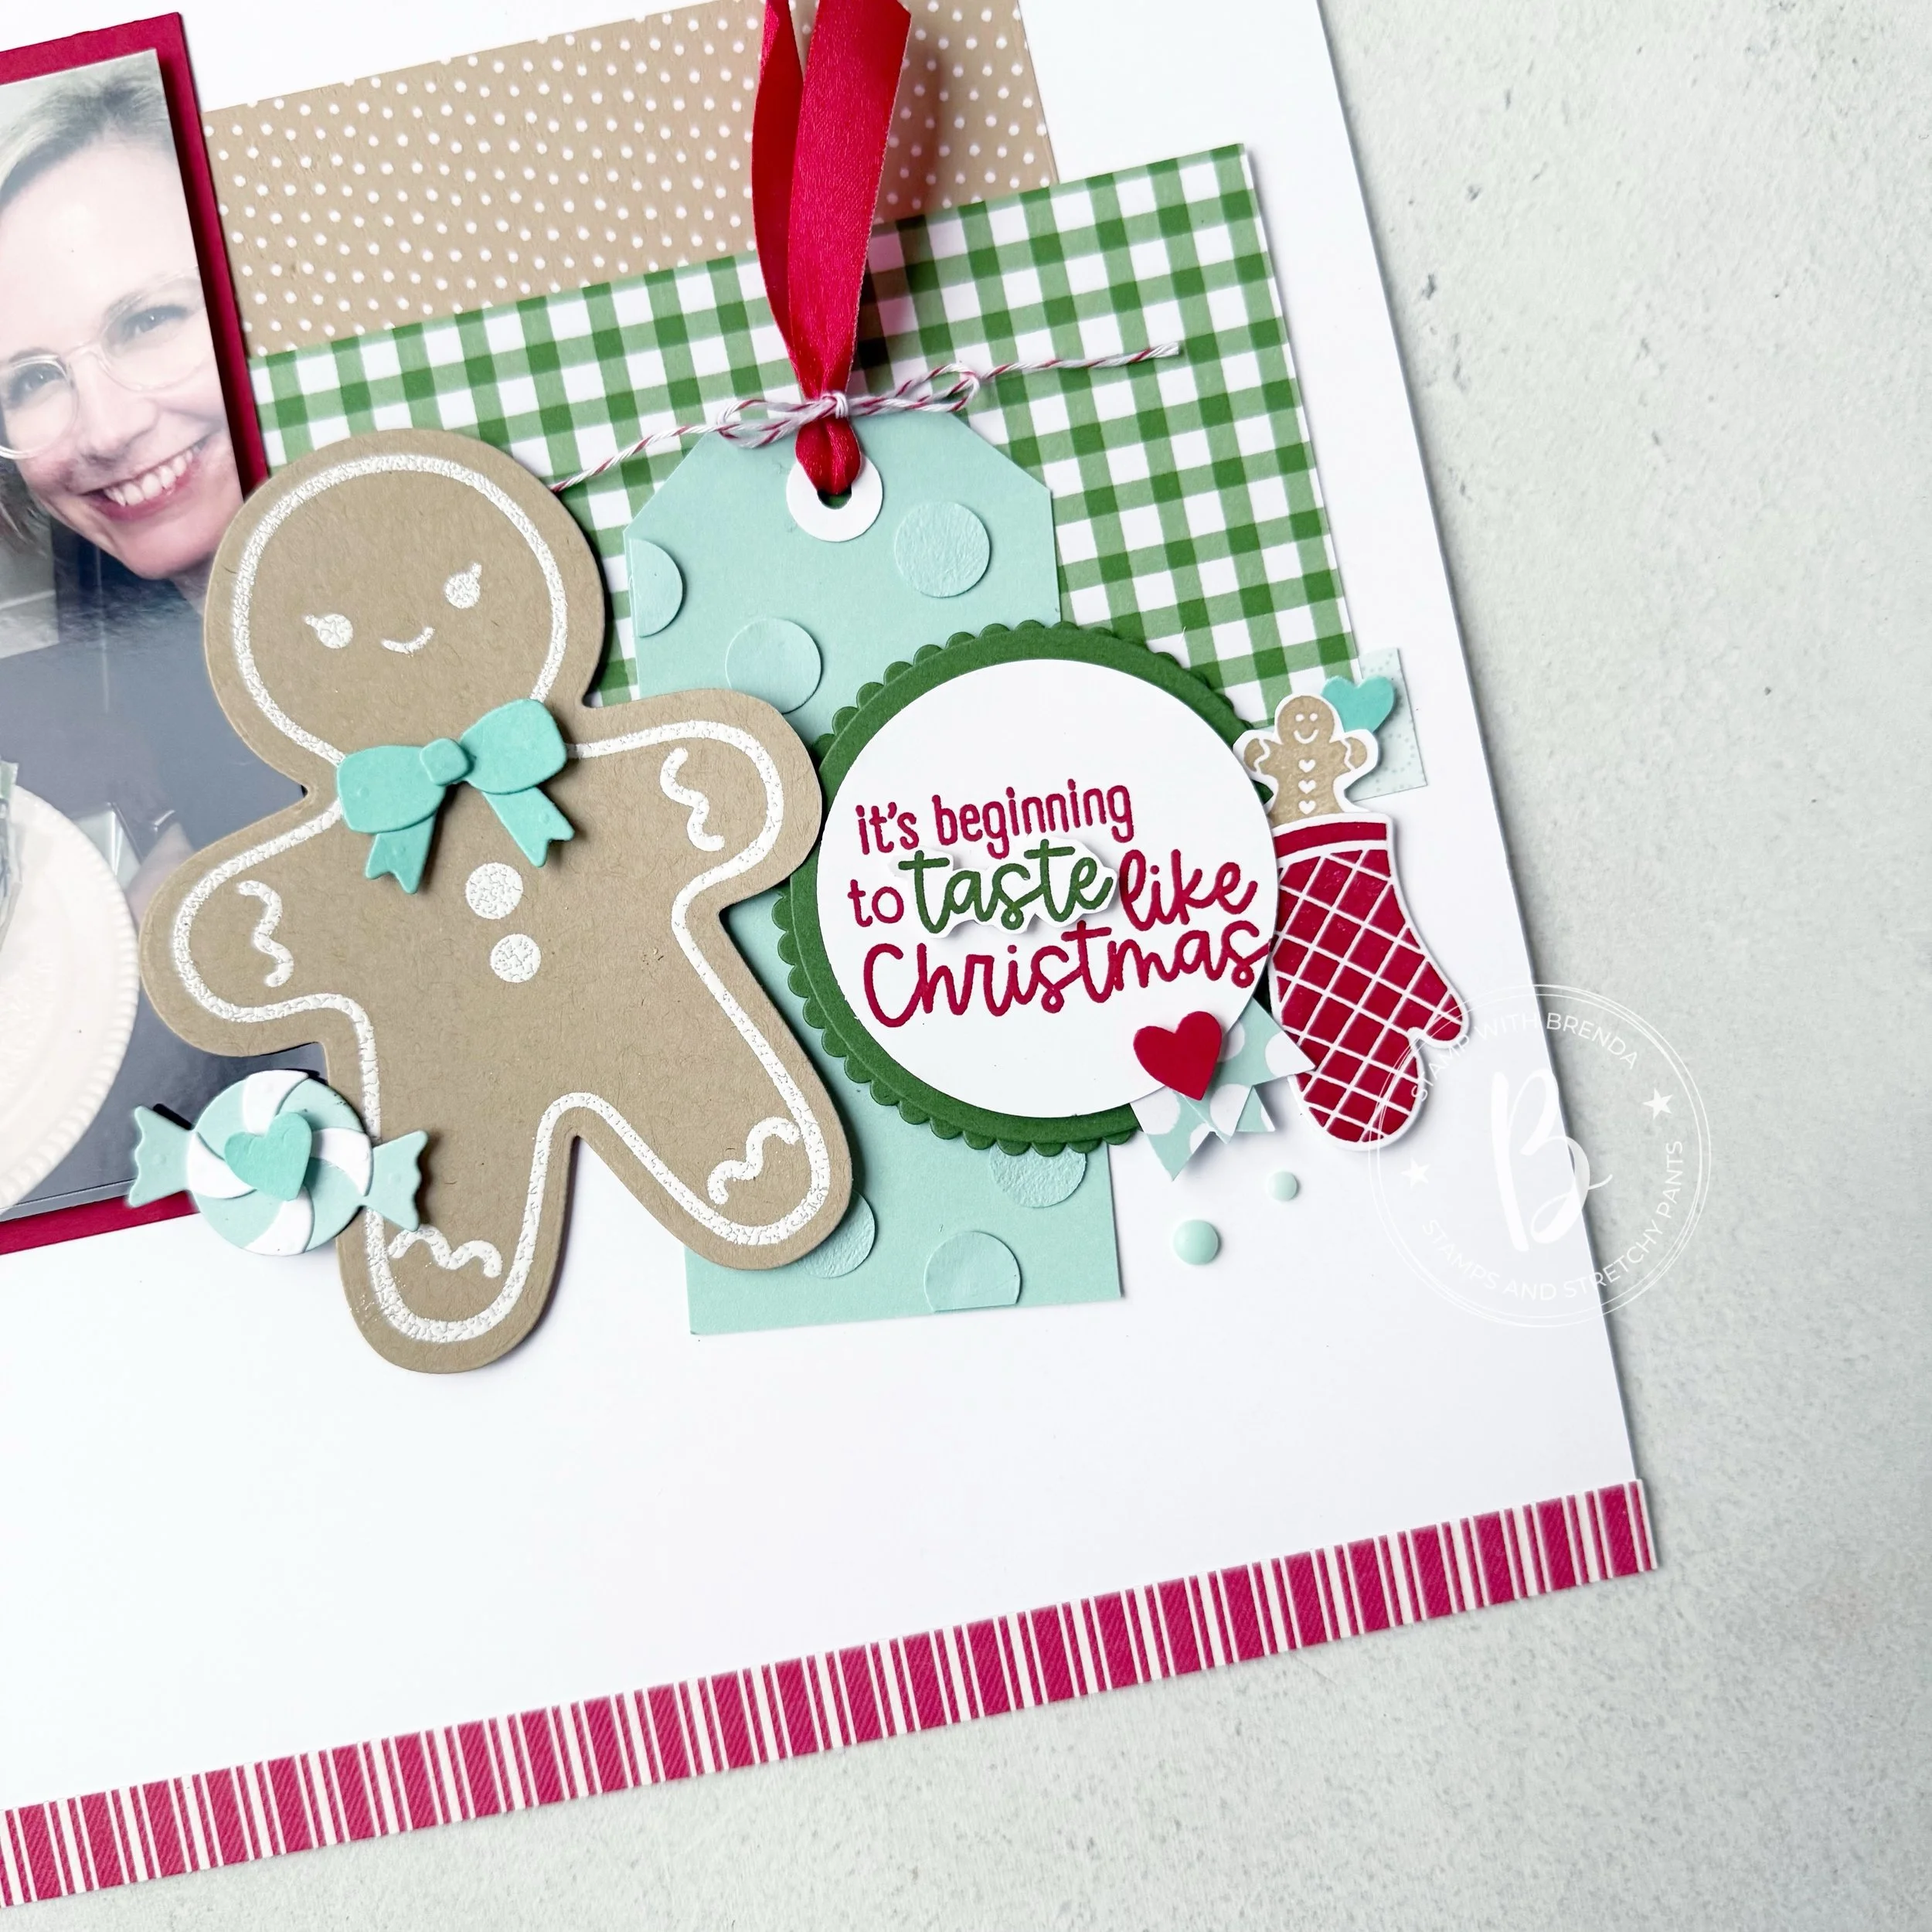
I made my own oversized tag to buddy up beside my gingerbread person. My character is stamped on Crumb Cake paper and embossed in white. I enjoyed how the stamp set provided different expressions to add to your gingerbread. I punched out mini circles to add to my tag for texture and interest and ran some of the new Real Red Shiny ribbon through the top with a bit more twine.
The sentiment Its Beginning to Taste like Christmas is double stacked on two circles (from the retired Layering Circles Framelits). And once again I fussy cut out the word ‘taste’ in Garden Green and elevated it with mini dimensionals. I love this little trick to highlight a word in a larger sentiment.
The gingerbread man popping out of the oven mit might be my fav thing on this page!
I hope you have been inspired by the two scrapbooking pages, the cards and treat giving ideas shared by. myself over our annual blog hop. I know I enjoyed curating them for all of you!
Make sure to finish off the hop by visiting Melanie today and go back and catch up on anything you may have missed!
And if you need to place an order to make any of these fabulous projects and you are in Canada, please consider shopping with me so I can continue to do what I love!
See below for a complete list of supplies used to make this page!
HNailed It Scrapbook Page Supplies
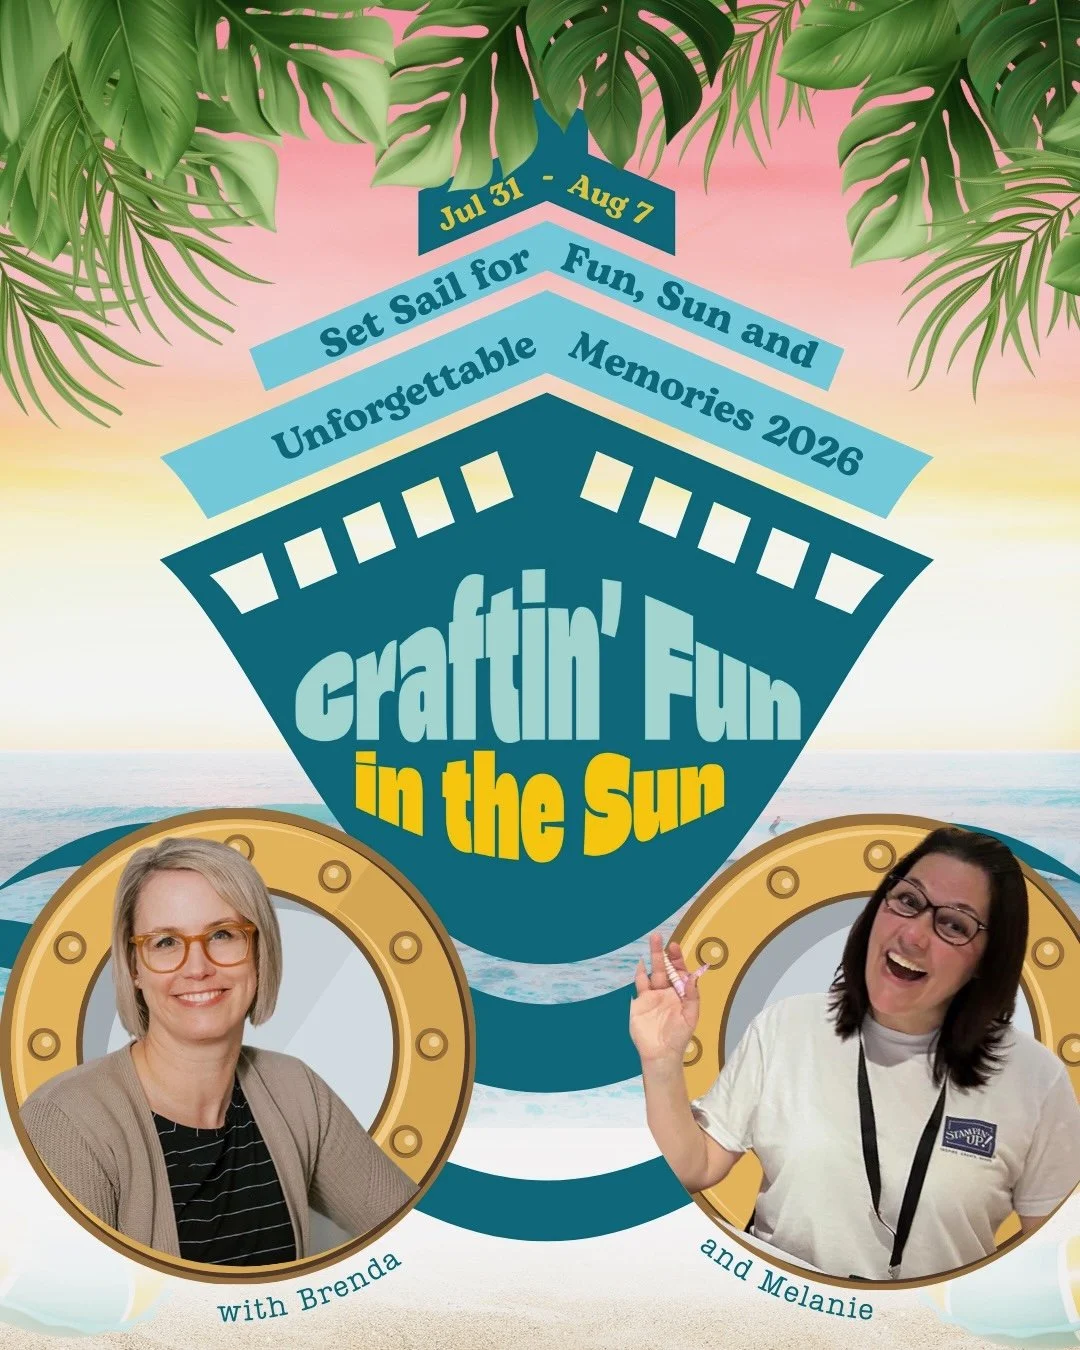
Product ListFancy some sunshine and crafting! Join Melanie and I in July/August of 2026 for a caribbean getaway!


![Gingerbread Man Bundle (English) [ 165785 ] Gingerbread Man Bundle (English) [ 165785 ]](https://assets1.tamsnetwork.com/images/EC042017NF/165785s.jpg)
![Homemade Treats Bundle (English) [ 166017 ] Homemade Treats Bundle (English) [ 166017 ]](https://assets1.tamsnetwork.com/images/EC042017NF/166017s.jpg)
![Just A Note Dies [ 166101 ] Just A Note Dies [ 166101 ]](https://assets1.tamsnetwork.com/images/EC042017NF/166101s.jpg)
![Christmas Tags & More 6" X 6" (15.2 X 15.2 Cm) Mix & Match Specialty Designer Series Paper [ 165907 ] Christmas Tags & More 6" X 6" (15.2 X 15.2 Cm) Mix & Match Specialty Designer Series Paper [ 165907 ]](https://assets1.tamsnetwork.com/images/EC042017NF/165907s.jpg)
![Floral Impressions 12" X 12" (30.5 X 30.5 Cm) Designer Series Paper [ 165603 ] Floral Impressions 12" X 12" (30.5 X 30.5 Cm) Designer Series Paper [ 165603 ]](https://assets1.tamsnetwork.com/images/EC042017NF/165603s.jpg)
![White Willow 12" X 12" (30.5 X 30.5 Cm) Cardstock [ 166703 ] White Willow 12" X 12" (30.5 X 30.5 Cm) Cardstock [ 166703 ]](https://assets1.tamsnetwork.com/images/EC042017NF/166703s.jpg)
![White Stampin' Emboss Powder [ 109132 ] White Stampin' Emboss Powder [ 109132 ]](https://assets1.tamsnetwork.com/images/EC042017NF/109132s.jpg)
![Rainbow Adhesive Backed Dots [ 162758 ] Rainbow Adhesive Backed Dots [ 162758 ]](https://assets1.tamsnetwork.com/images/EC042017NF/162758s.jpg)
![Real Red 1/2" (1.3 Cm) Shiny Ribbon [ 165876 ] Real Red 1/2" (1.3 Cm) Shiny Ribbon [ 165876 ]](https://assets1.tamsnetwork.com/images/EC042017NF/165876s.jpg)
![Real Red & White Baker's Twine [ 164051 ] Real Red & White Baker's Twine [ 164051 ]](https://assets1.tamsnetwork.com/images/EC042017NF/164051s.jpg)
![1/2" (1.3 Cm) Circle Punch [ 119869 ] 1/2" (1.3 Cm) Circle Punch [ 119869 ]](https://assets1.tamsnetwork.com/images/EC042017NF/119869s.jpg)
![Bee Builder Punch [ 162553 ] Bee Builder Punch [ 162553 ]](https://assets1.tamsnetwork.com/images/EC042017NF/162553s.jpg)
![Coastal Cabana 8-1/2" X 11" Cardstock [ 131297 ] Coastal Cabana 8-1/2" X 11" Cardstock [ 131297 ]](https://assets1.tamsnetwork.com/images/EC042017NF/131297s.jpg)
![Real Red 8-1/2" X 11" Cardstock [ 102482 ] Real Red 8-1/2" X 11" Cardstock [ 102482 ]](https://assets1.tamsnetwork.com/images/EC042017NF/102482s.jpg)
![Pool Party 8-1/2" X 11" Cardstock [ 122924 ] Pool Party 8-1/2" X 11" Cardstock [ 122924 ]](https://assets1.tamsnetwork.com/images/EC042017NF/122924s.jpg)
![Crumb Cake 8-1/2" X 11" Cardstock [ 120953 ] Crumb Cake 8-1/2" X 11" Cardstock [ 120953 ]](https://assets1.tamsnetwork.com/images/EC042017NF/120953s.jpg)
![Garden Green 8-1/2" X 11" Cardstock [ 102584 ] Garden Green 8-1/2" X 11" Cardstock [ 102584 ]](https://assets1.tamsnetwork.com/images/EC042017NF/102584s.jpg)
![Real Red Classic Stampin' Pad [ 147084 ] Real Red Classic Stampin' Pad [ 147084 ]](https://assets1.tamsnetwork.com/images/EC042017NF/147084s.jpg)
![Garden Green Classic Stampin' Pad [ 147089 ] Garden Green Classic Stampin' Pad [ 147089 ]](https://assets1.tamsnetwork.com/images/EC042017NF/147089s.jpg)
![Crumb Cake Classic Stampin' Pad [ 147116 ] Crumb Cake Classic Stampin' Pad [ 147116 ]](https://assets1.tamsnetwork.com/images/EC042017NF/147116s.jpg)
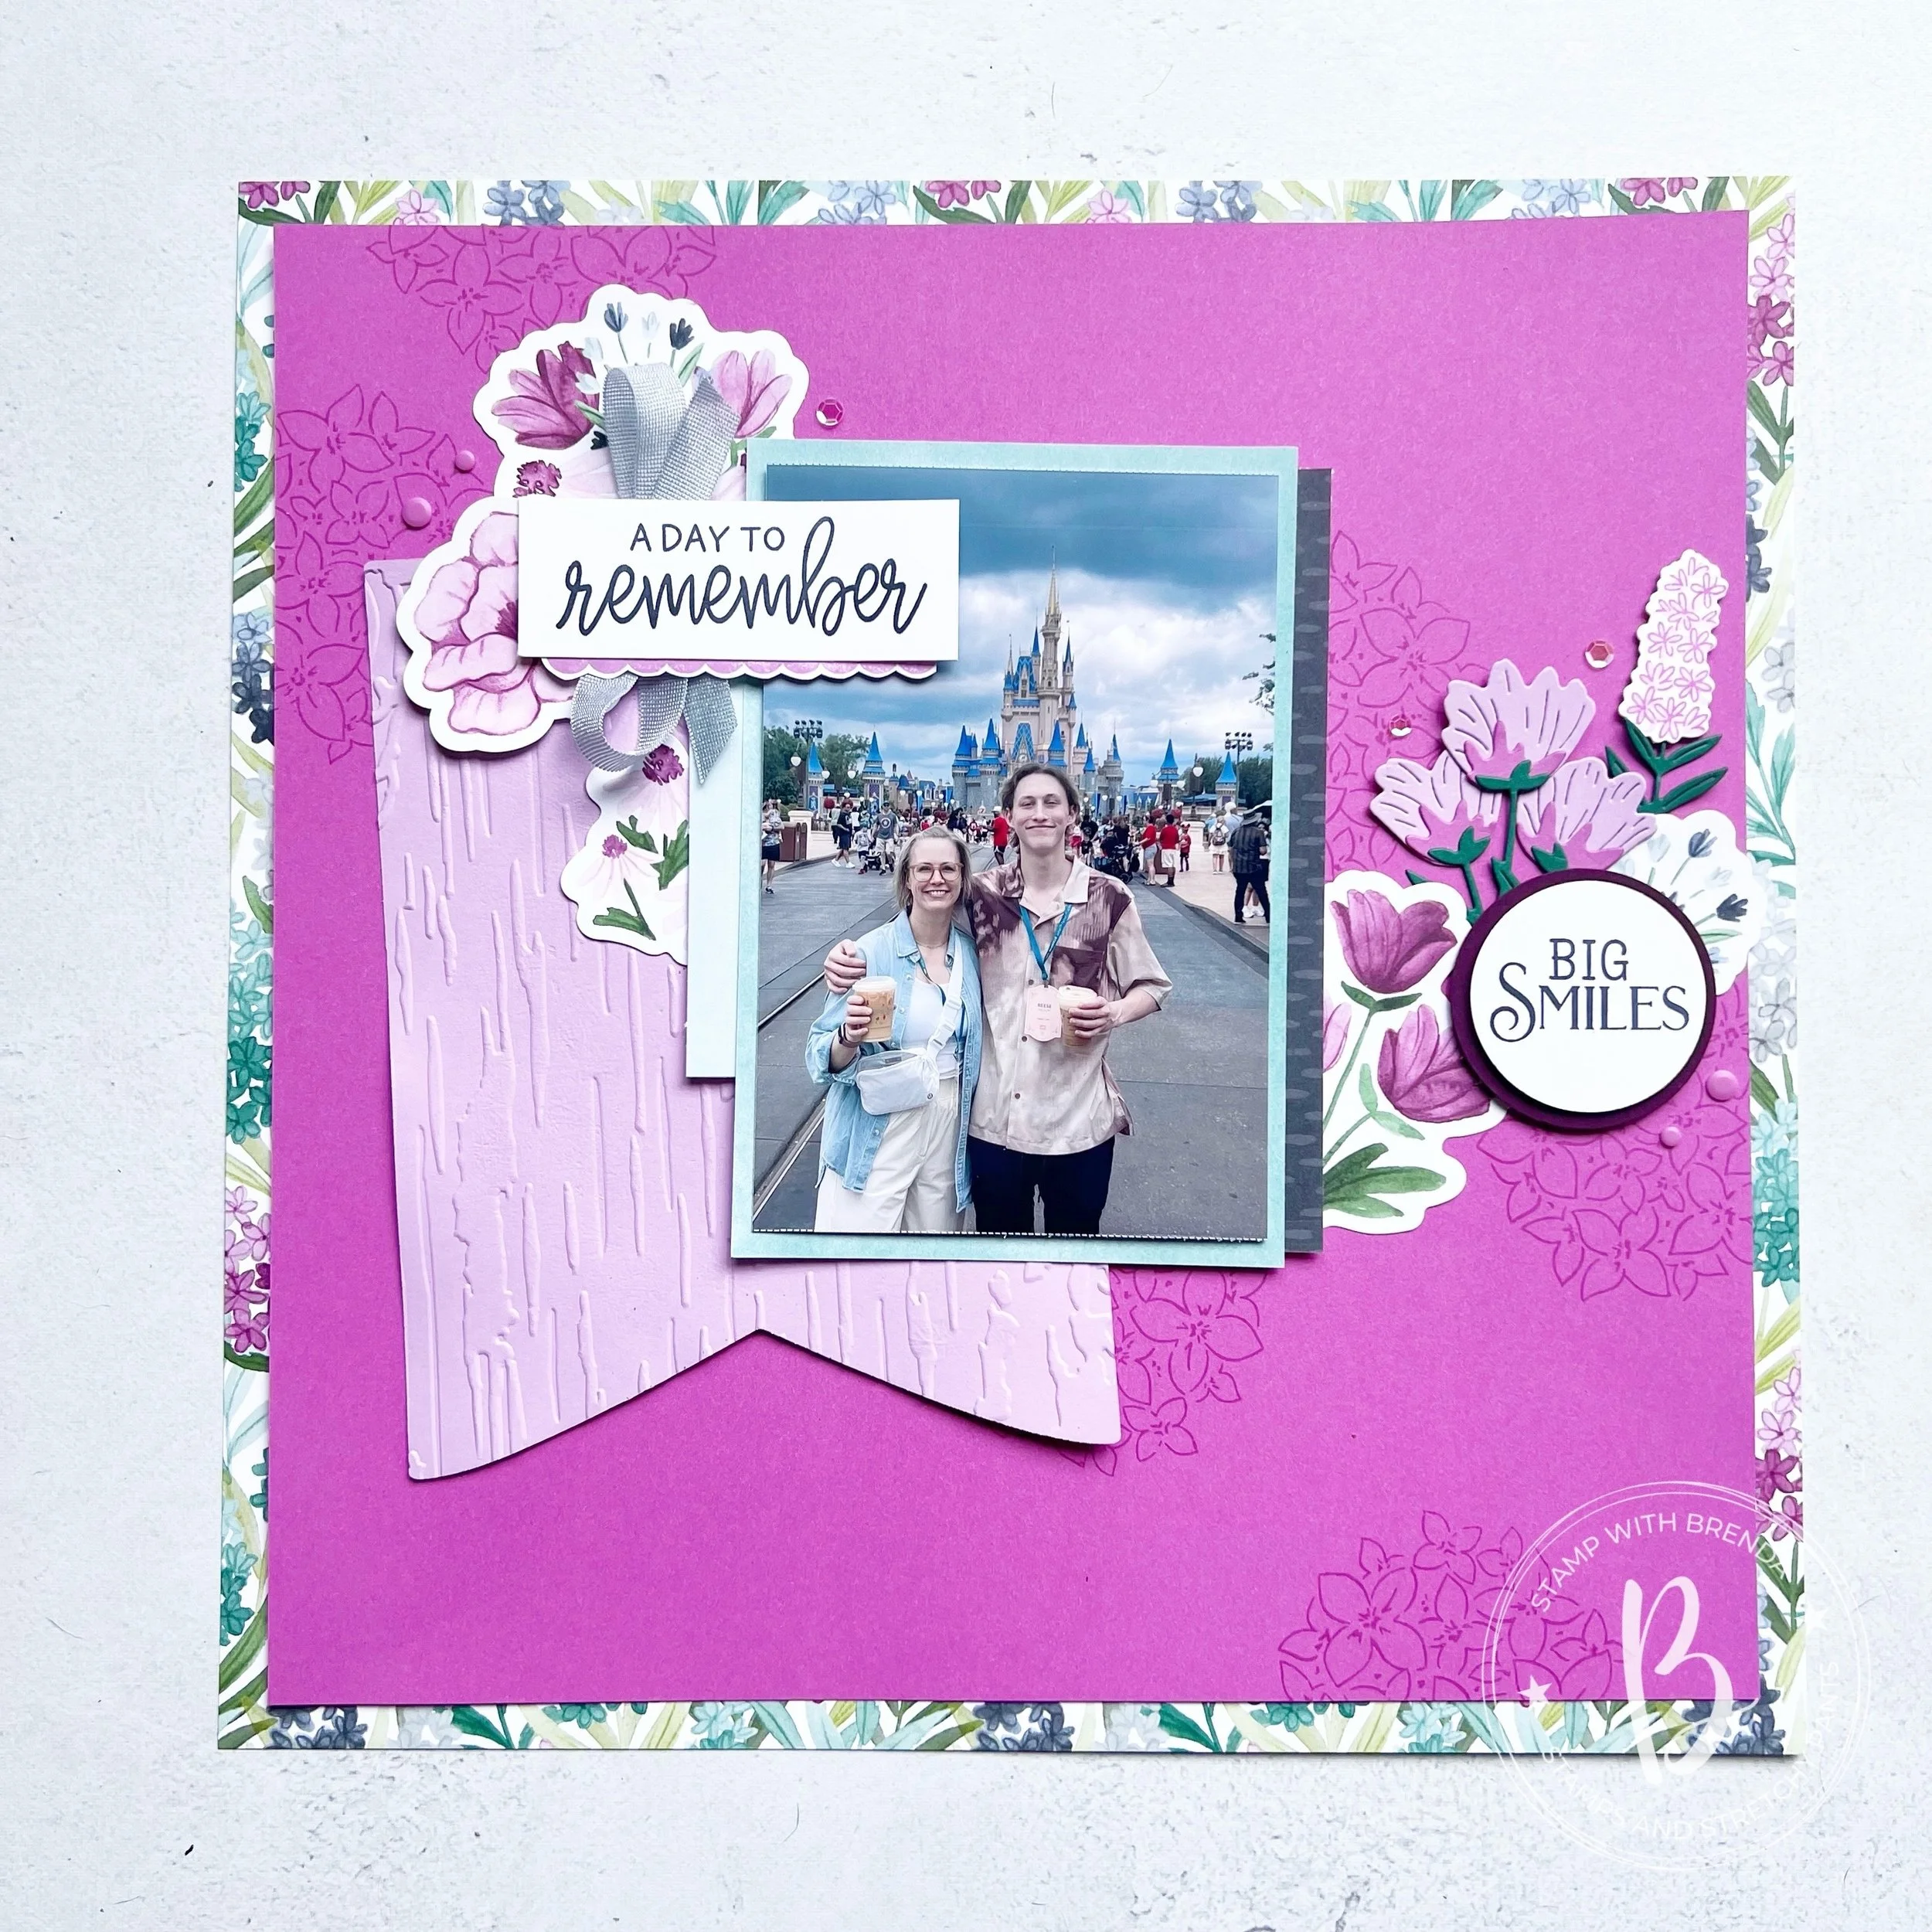


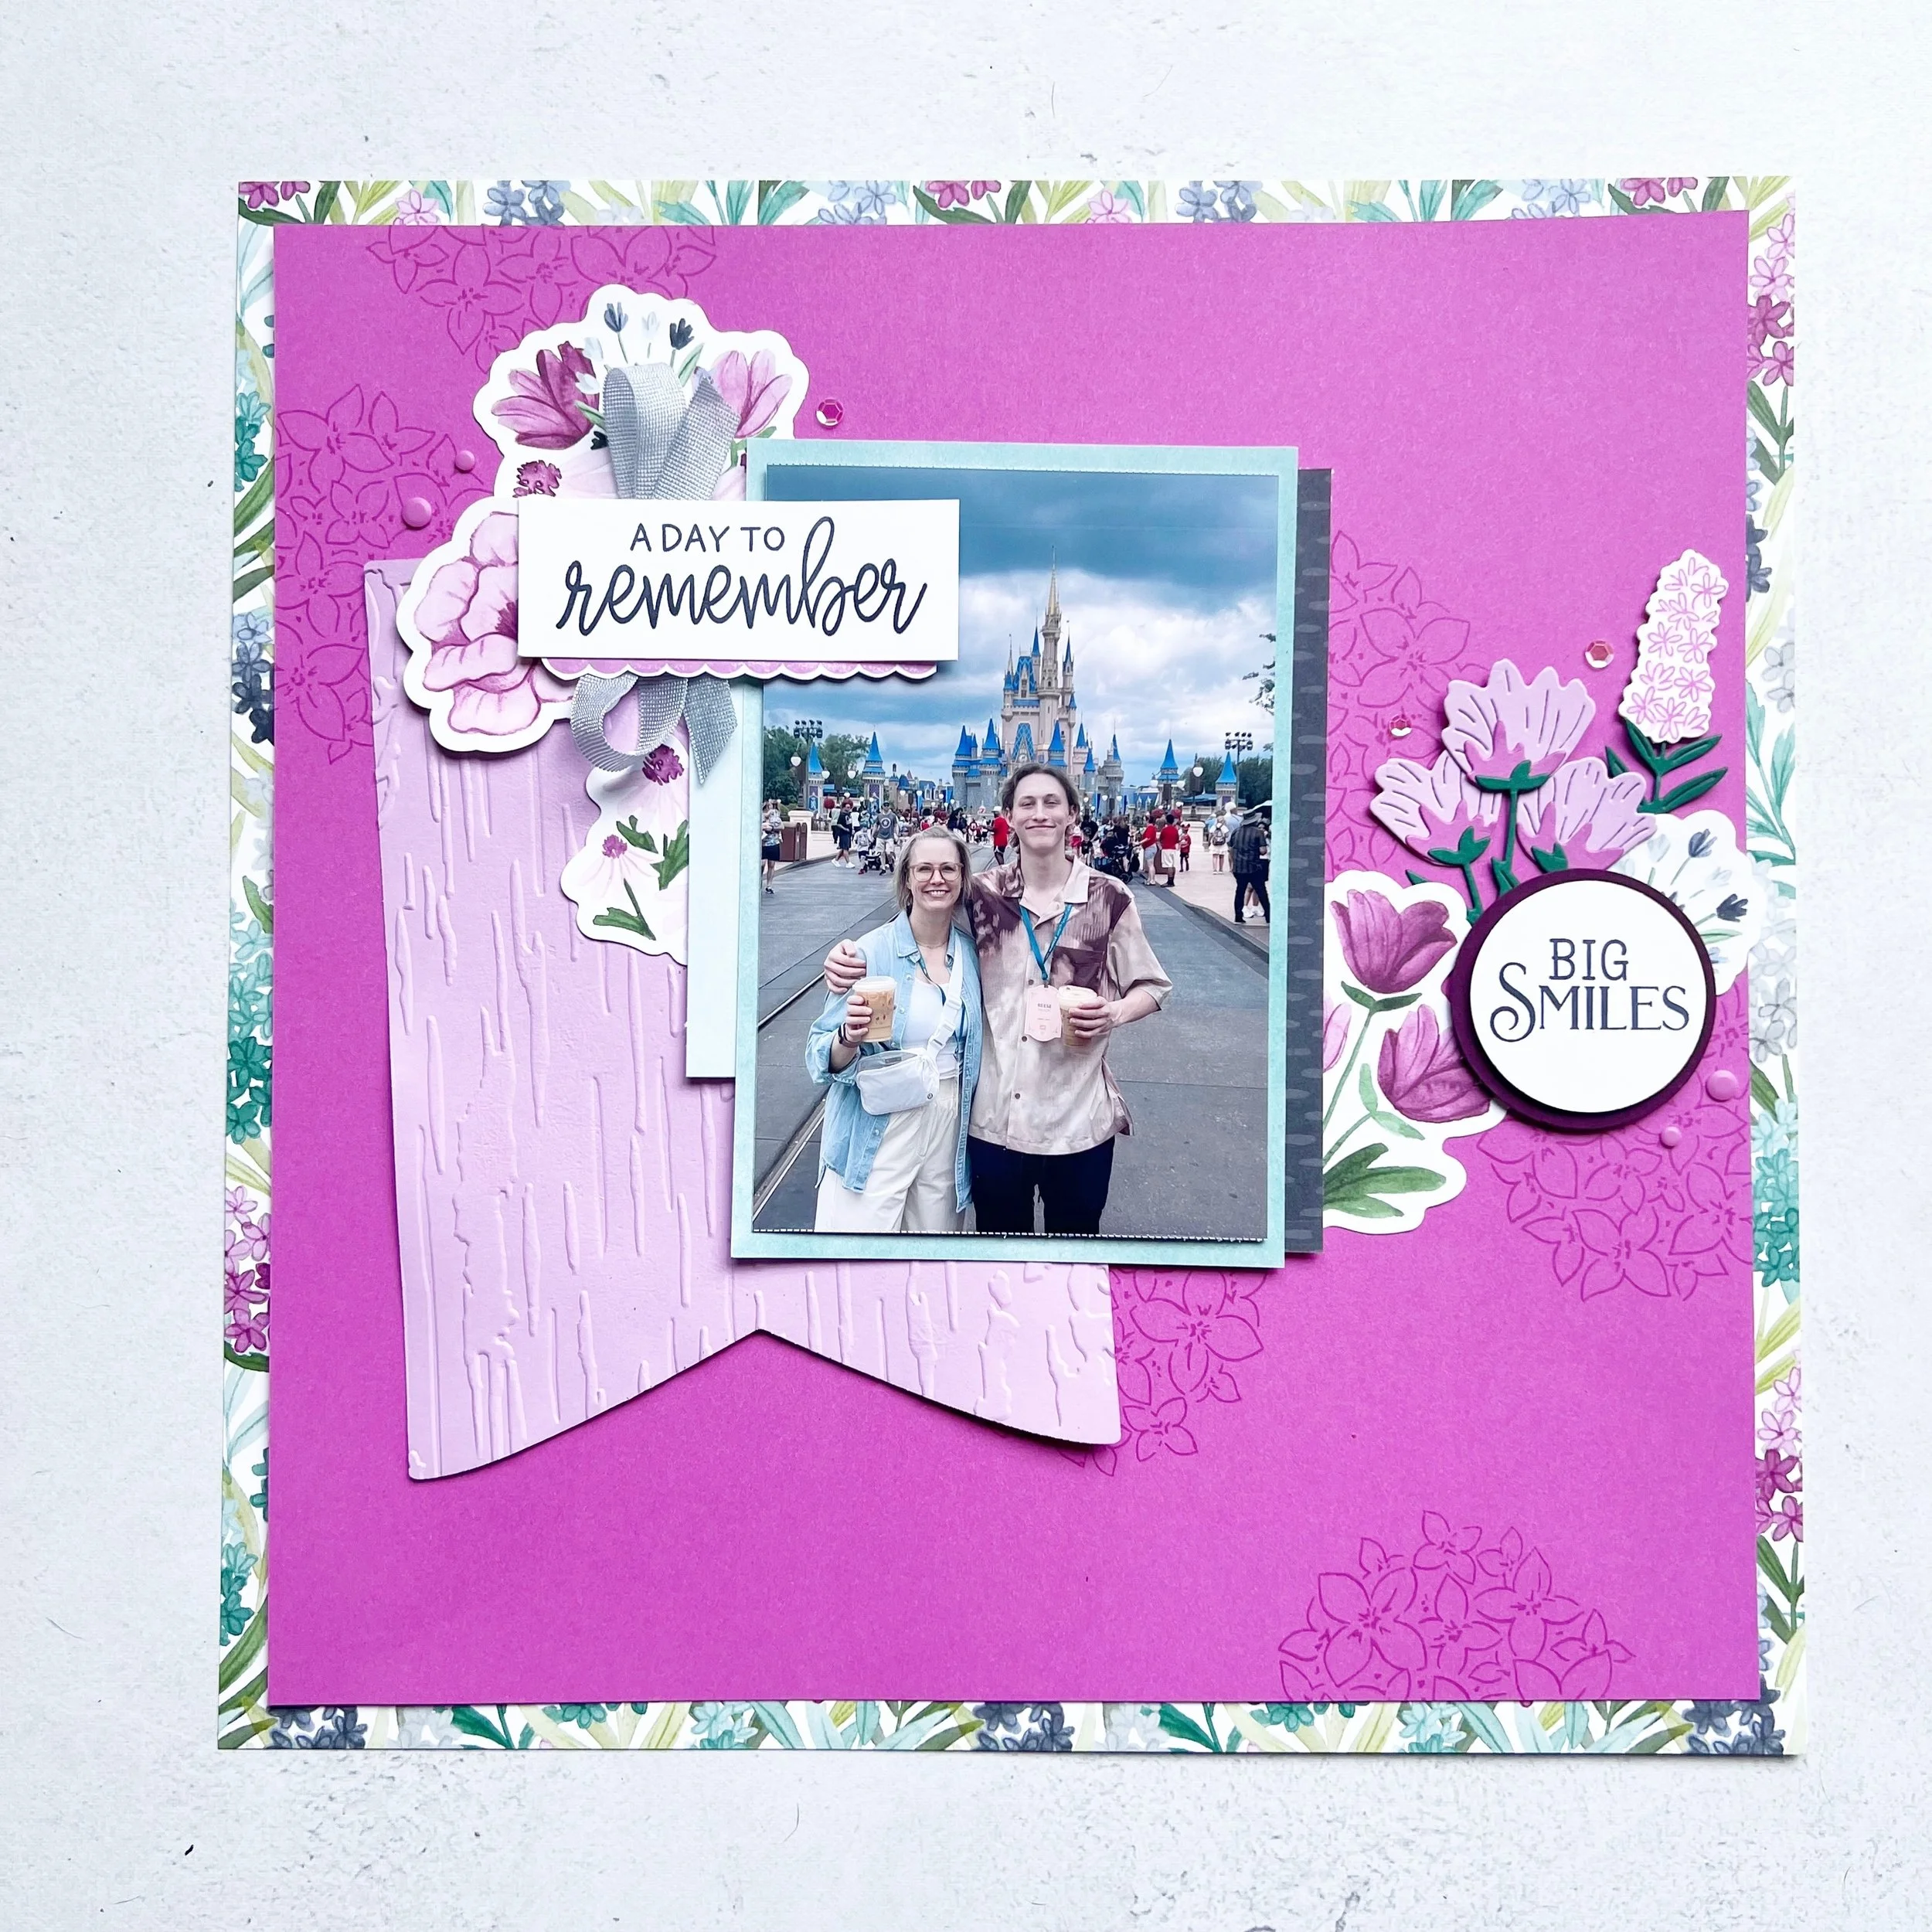
![Memories In Bloom Scrapbooking Workshop Kit (English) [ 166713 ] Memories In Bloom Scrapbooking Workshop Kit (English) [ 166713 ]](https://assets1.tamsnetwork.com/images/EC042017NF/166713s.jpg)
![Party Banners Dies [ 165264 ] Party Banners Dies [ 165264 ]](https://assets1.tamsnetwork.com/images/EC042017NF/165264s.jpg)
![Pretty Florals Bundle [ 165179 ] Pretty Florals Bundle [ 165179 ]](https://assets1.tamsnetwork.com/images/EC042017NF/165179s.jpg)
![Storybook Life Photopolymer Stamp Set (English) [ 166635 ] Storybook Life Photopolymer Stamp Set (English) [ 166635 ]](https://assets1.tamsnetwork.com/images/EC042017NF/166635s.jpg)
![Thankful Garden Photopolymer Stamp Set (English) [ 165526 ] Thankful Garden Photopolymer Stamp Set (English) [ 165526 ]](https://assets1.tamsnetwork.com/images/EC042017NF/165526s.jpg)
![Birch Wood 3 D Embossing Folder [ 164069 ] Birch Wood 3 D Embossing Folder [ 164069 ]](https://assets1.tamsnetwork.com/images/EC042017NF/164069s.jpg)
![Petunia Pop 12" X 12" (30.5 X 30.5 Cm) Two Tone Cardstock [ 166690 ] Petunia Pop 12" X 12" (30.5 X 30.5 Cm) Two Tone Cardstock [ 166690 ]](https://assets1.tamsnetwork.com/images/EC042017NF/166690s.jpg)
![Blackberry Bliss 8-1/2" X 11" Cardstock [ 133675 ] Blackberry Bliss 8-1/2" X 11" Cardstock [ 133675 ]](https://assets1.tamsnetwork.com/images/EC042017NF/133675s.jpg)
![Fresh Freesia 8 1/2" X 11" Cardstock [ 155613 ] Fresh Freesia 8 1/2" X 11" Cardstock [ 155613 ]](https://assets1.tamsnetwork.com/images/EC042017NF/155613s.jpg)
![Basic White 8 1/2" X 11" Cardstock [ 166780 ] Basic White 8 1/2" X 11" Cardstock [ 166780 ]](https://assets1.tamsnetwork.com/images/EC042017NF/166780s.jpg)
![Cloud Cover 3/8" (1 Cm) Faux Linen Ribbon [ 165271 ] Cloud Cover 3/8" (1 Cm) Faux Linen Ribbon [ 165271 ]](https://assets1.tamsnetwork.com/images/EC042017NF/165271s.jpg)
![Petunia Pop Classic Stampin Pad [ 163811 ] Petunia Pop Classic Stampin Pad [ 163811 ]](https://assets1.tamsnetwork.com/images/EC042017NF/163811s.jpg)
![Secret Sea Classic Stampin' Pad [ 165285 ] Secret Sea Classic Stampin' Pad [ 165285 ]](https://assets1.tamsnetwork.com/images/EC042017NF/165285s.jpg)
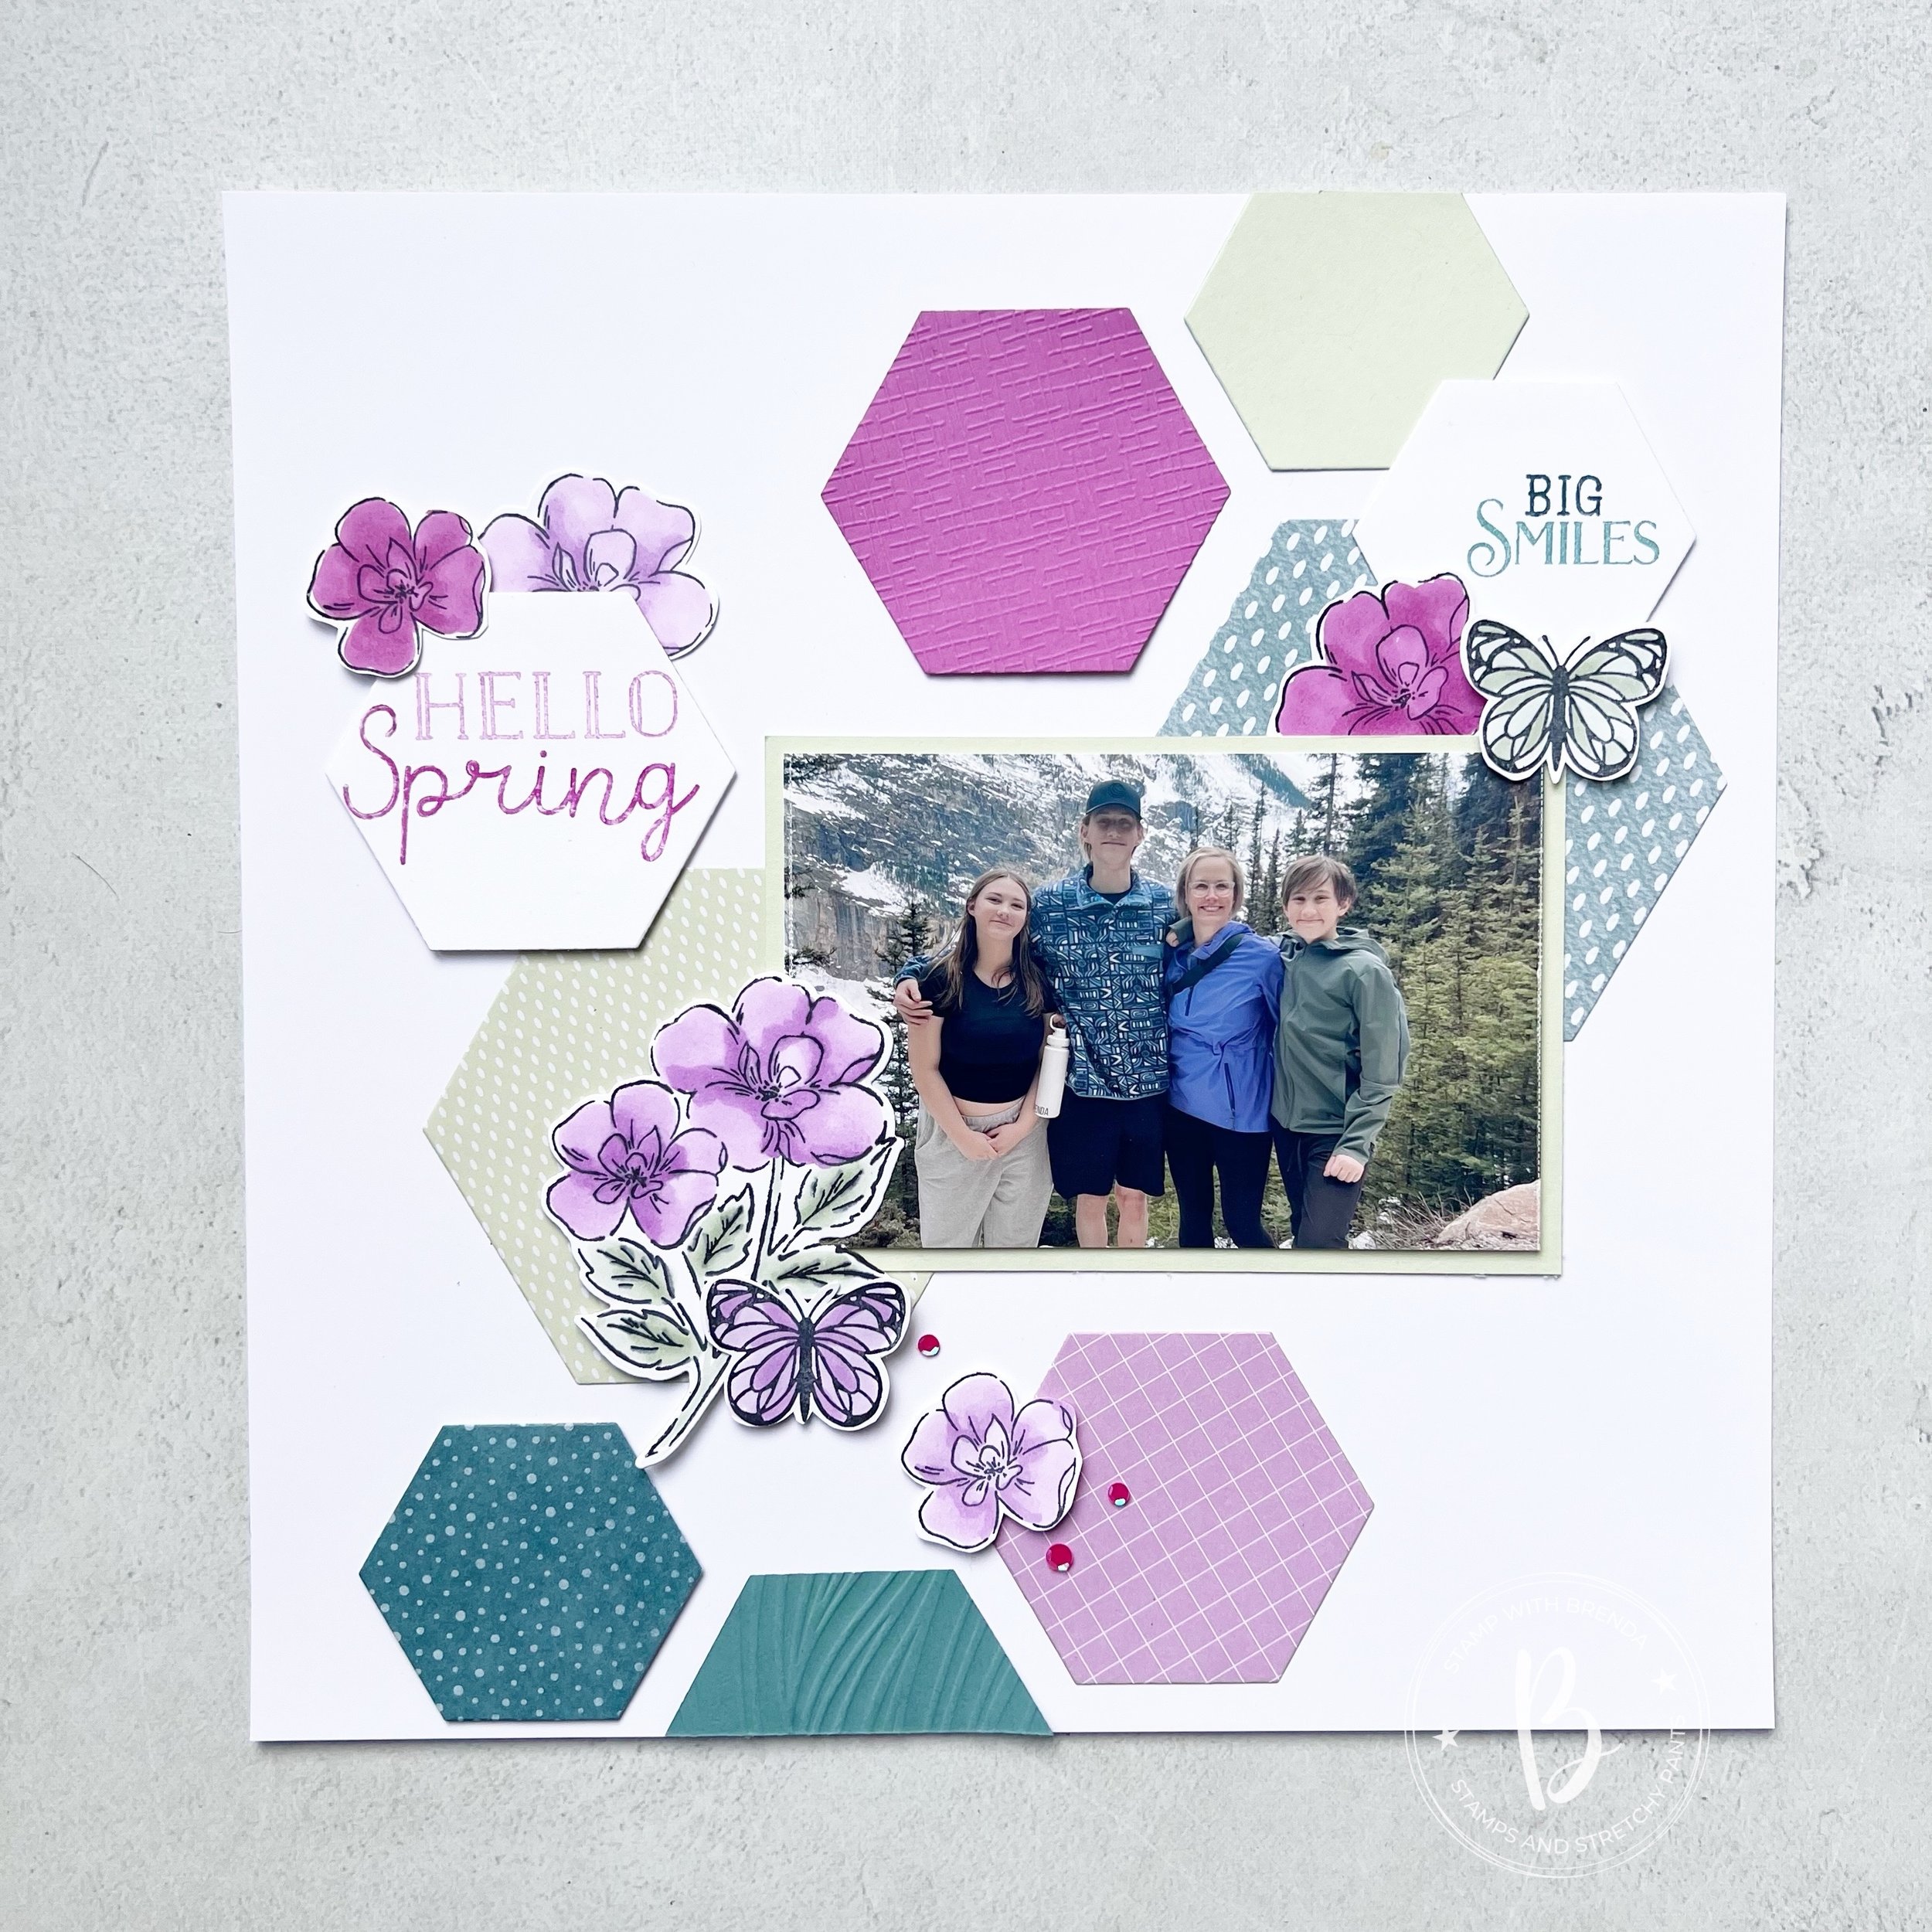


![Thankful Garden Bundle (English) [ 165534 ] Thankful Garden Bundle (English) [ 165534 ]](https://assets1.tamsnetwork.com/images/EC042017NF/165534s.jpg)
![Meant To Bee Dies [ 166582 ] Meant To Bee Dies [ 166582 ]](https://assets1.tamsnetwork.com/images/EC042017NF/166582s.jpg)
![Beautiful Butterflies Photopolymer Stamp Set (English) [ 164608 ] Beautiful Butterflies Photopolymer Stamp Set (English) [ 164608 ]](https://assets1.tamsnetwork.com/images/EC042017NF/164608s.jpg)
![Petunia Pop 8 1/2" X 11" Cardstock [ 163801 ] Petunia Pop 8 1/2" X 11" Cardstock [ 163801 ]](https://assets1.tamsnetwork.com/images/EC042017NF/163801s.jpg)
![Soft Sea Foam 8-1/2" X 11" Cardstock [ 146988 ] Soft Sea Foam 8-1/2" X 11" Cardstock [ 146988 ]](https://assets1.tamsnetwork.com/images/EC042017NF/146988s.jpg)
![Lost Lagoon 8-1/2" X 11" Cardstock [ 133679 ] Lost Lagoon 8-1/2" X 11" Cardstock [ 133679 ]](https://assets1.tamsnetwork.com/images/EC042017NF/133679s.jpg)
![Petunia Pop Stampin’ Blends Combo Pack [ 163828 ] Petunia Pop Stampin’ Blends Combo Pack [ 163828 ]](https://assets1.tamsnetwork.com/images/EC042017NF/163828s.jpg)
![Fresh Freesia Stampin' Blends Combo Pack [ 155518 ] Fresh Freesia Stampin' Blends Combo Pack [ 155518 ]](https://assets1.tamsnetwork.com/images/EC042017NF/155518s.jpg)
![Soft Sea Foam Stampin' Blends Combo Pack [ 154902 ] Soft Sea Foam Stampin' Blends Combo Pack [ 154902 ]](https://assets1.tamsnetwork.com/images/EC042017NF/154902s.jpg)
![Tuxedo Black Memento Ink Pad [ 132708 ] Tuxedo Black Memento Ink Pad [ 132708 ]](https://assets1.tamsnetwork.com/images/EC042017NF/132708s.jpg)
![2024–2026 In Color™ Stampin' Write Markers [ 163829 ] 2024–2026 In Color™ Stampin' Write Markers [ 163829 ]](https://assets1.tamsnetwork.com/images/EC042017NF/163829s.jpg)
![Subtles Stampin' Write Markers [ 161698 ] Subtles Stampin' Write Markers [ 161698 ]](https://assets1.tamsnetwork.com/images/EC042017NF/161698s.jpg)
