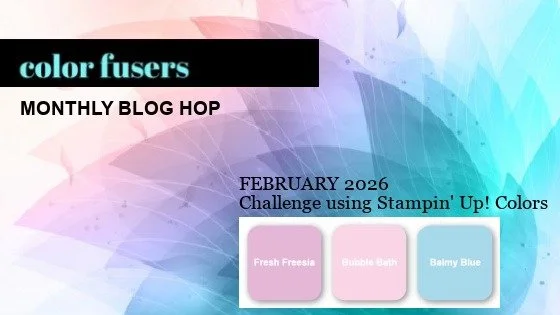
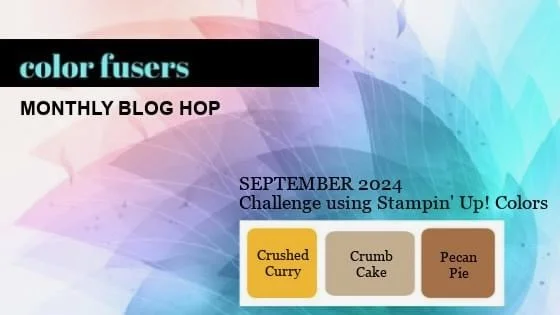
Color Fusers--February 2026!
/
I am so happy to be back on the Color Fusers Design Team! I took a little hiatus for personal reasons and now I am committed to creating and hopping along with this awesome group on the first Monday of each month.
We use a color challenge each month to inspire us and I was really excited about the February color scheme—Fresh Freesia, Bubble Bath and Balmy Blue.
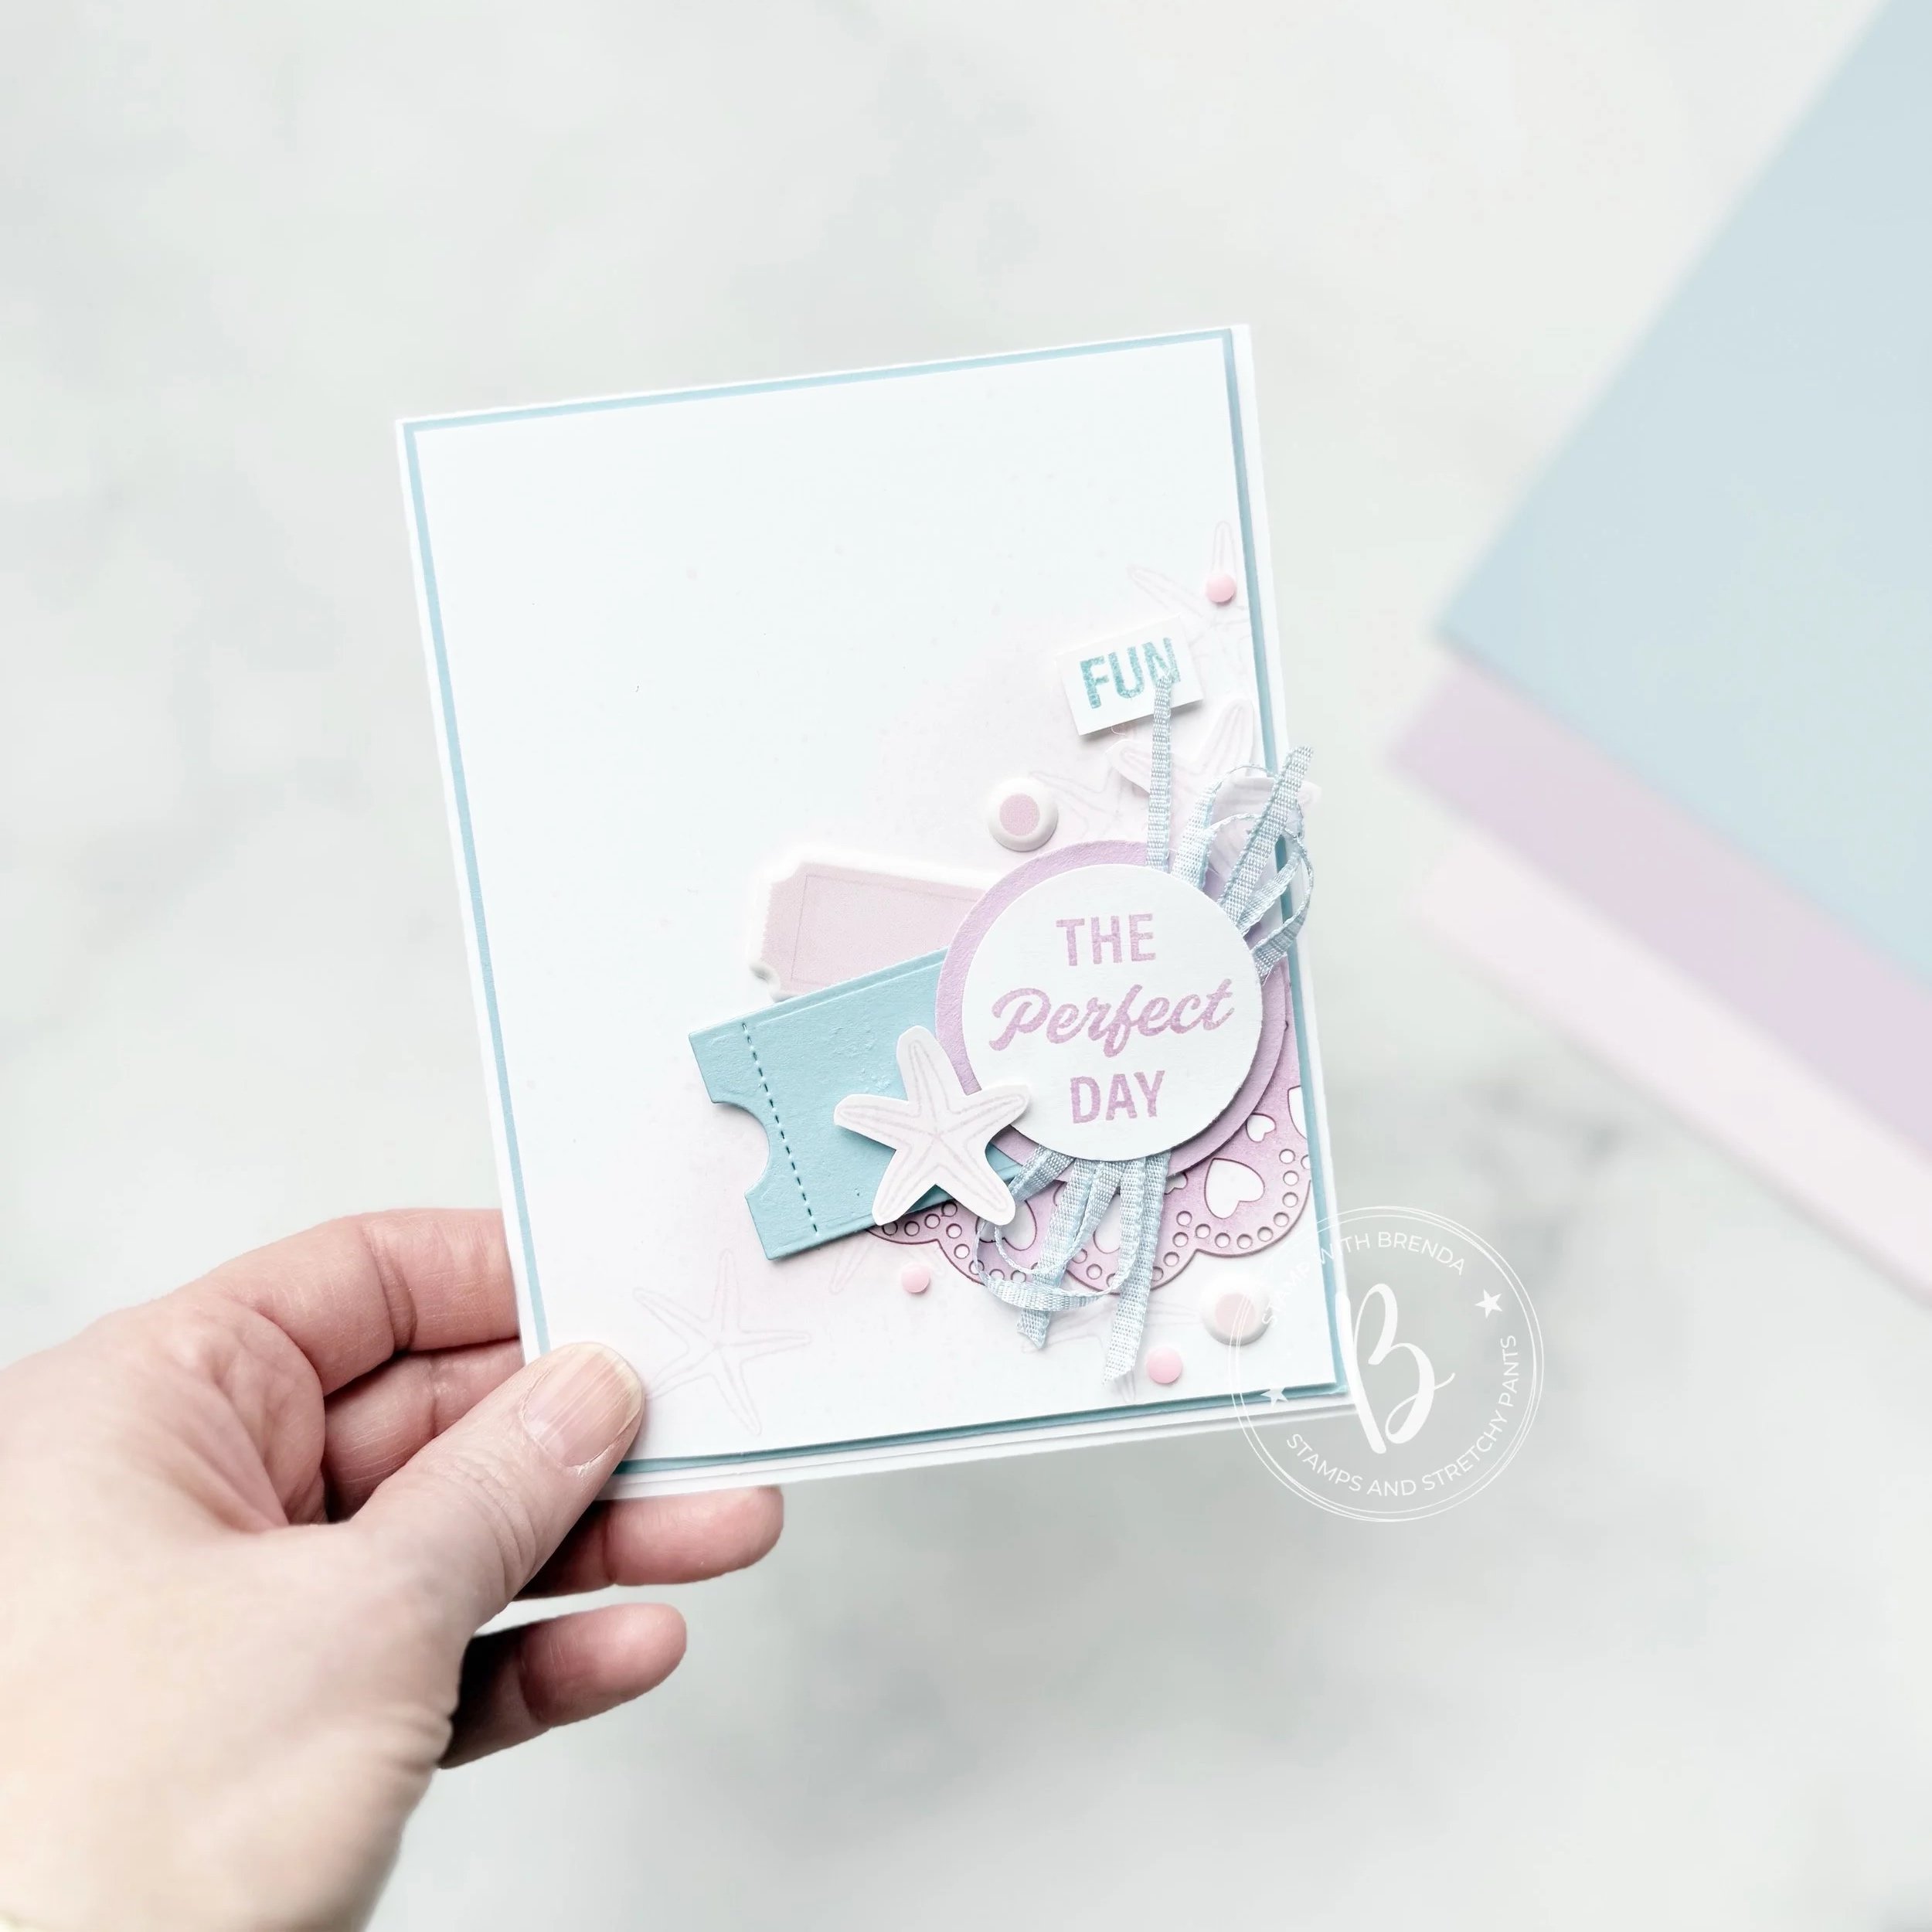
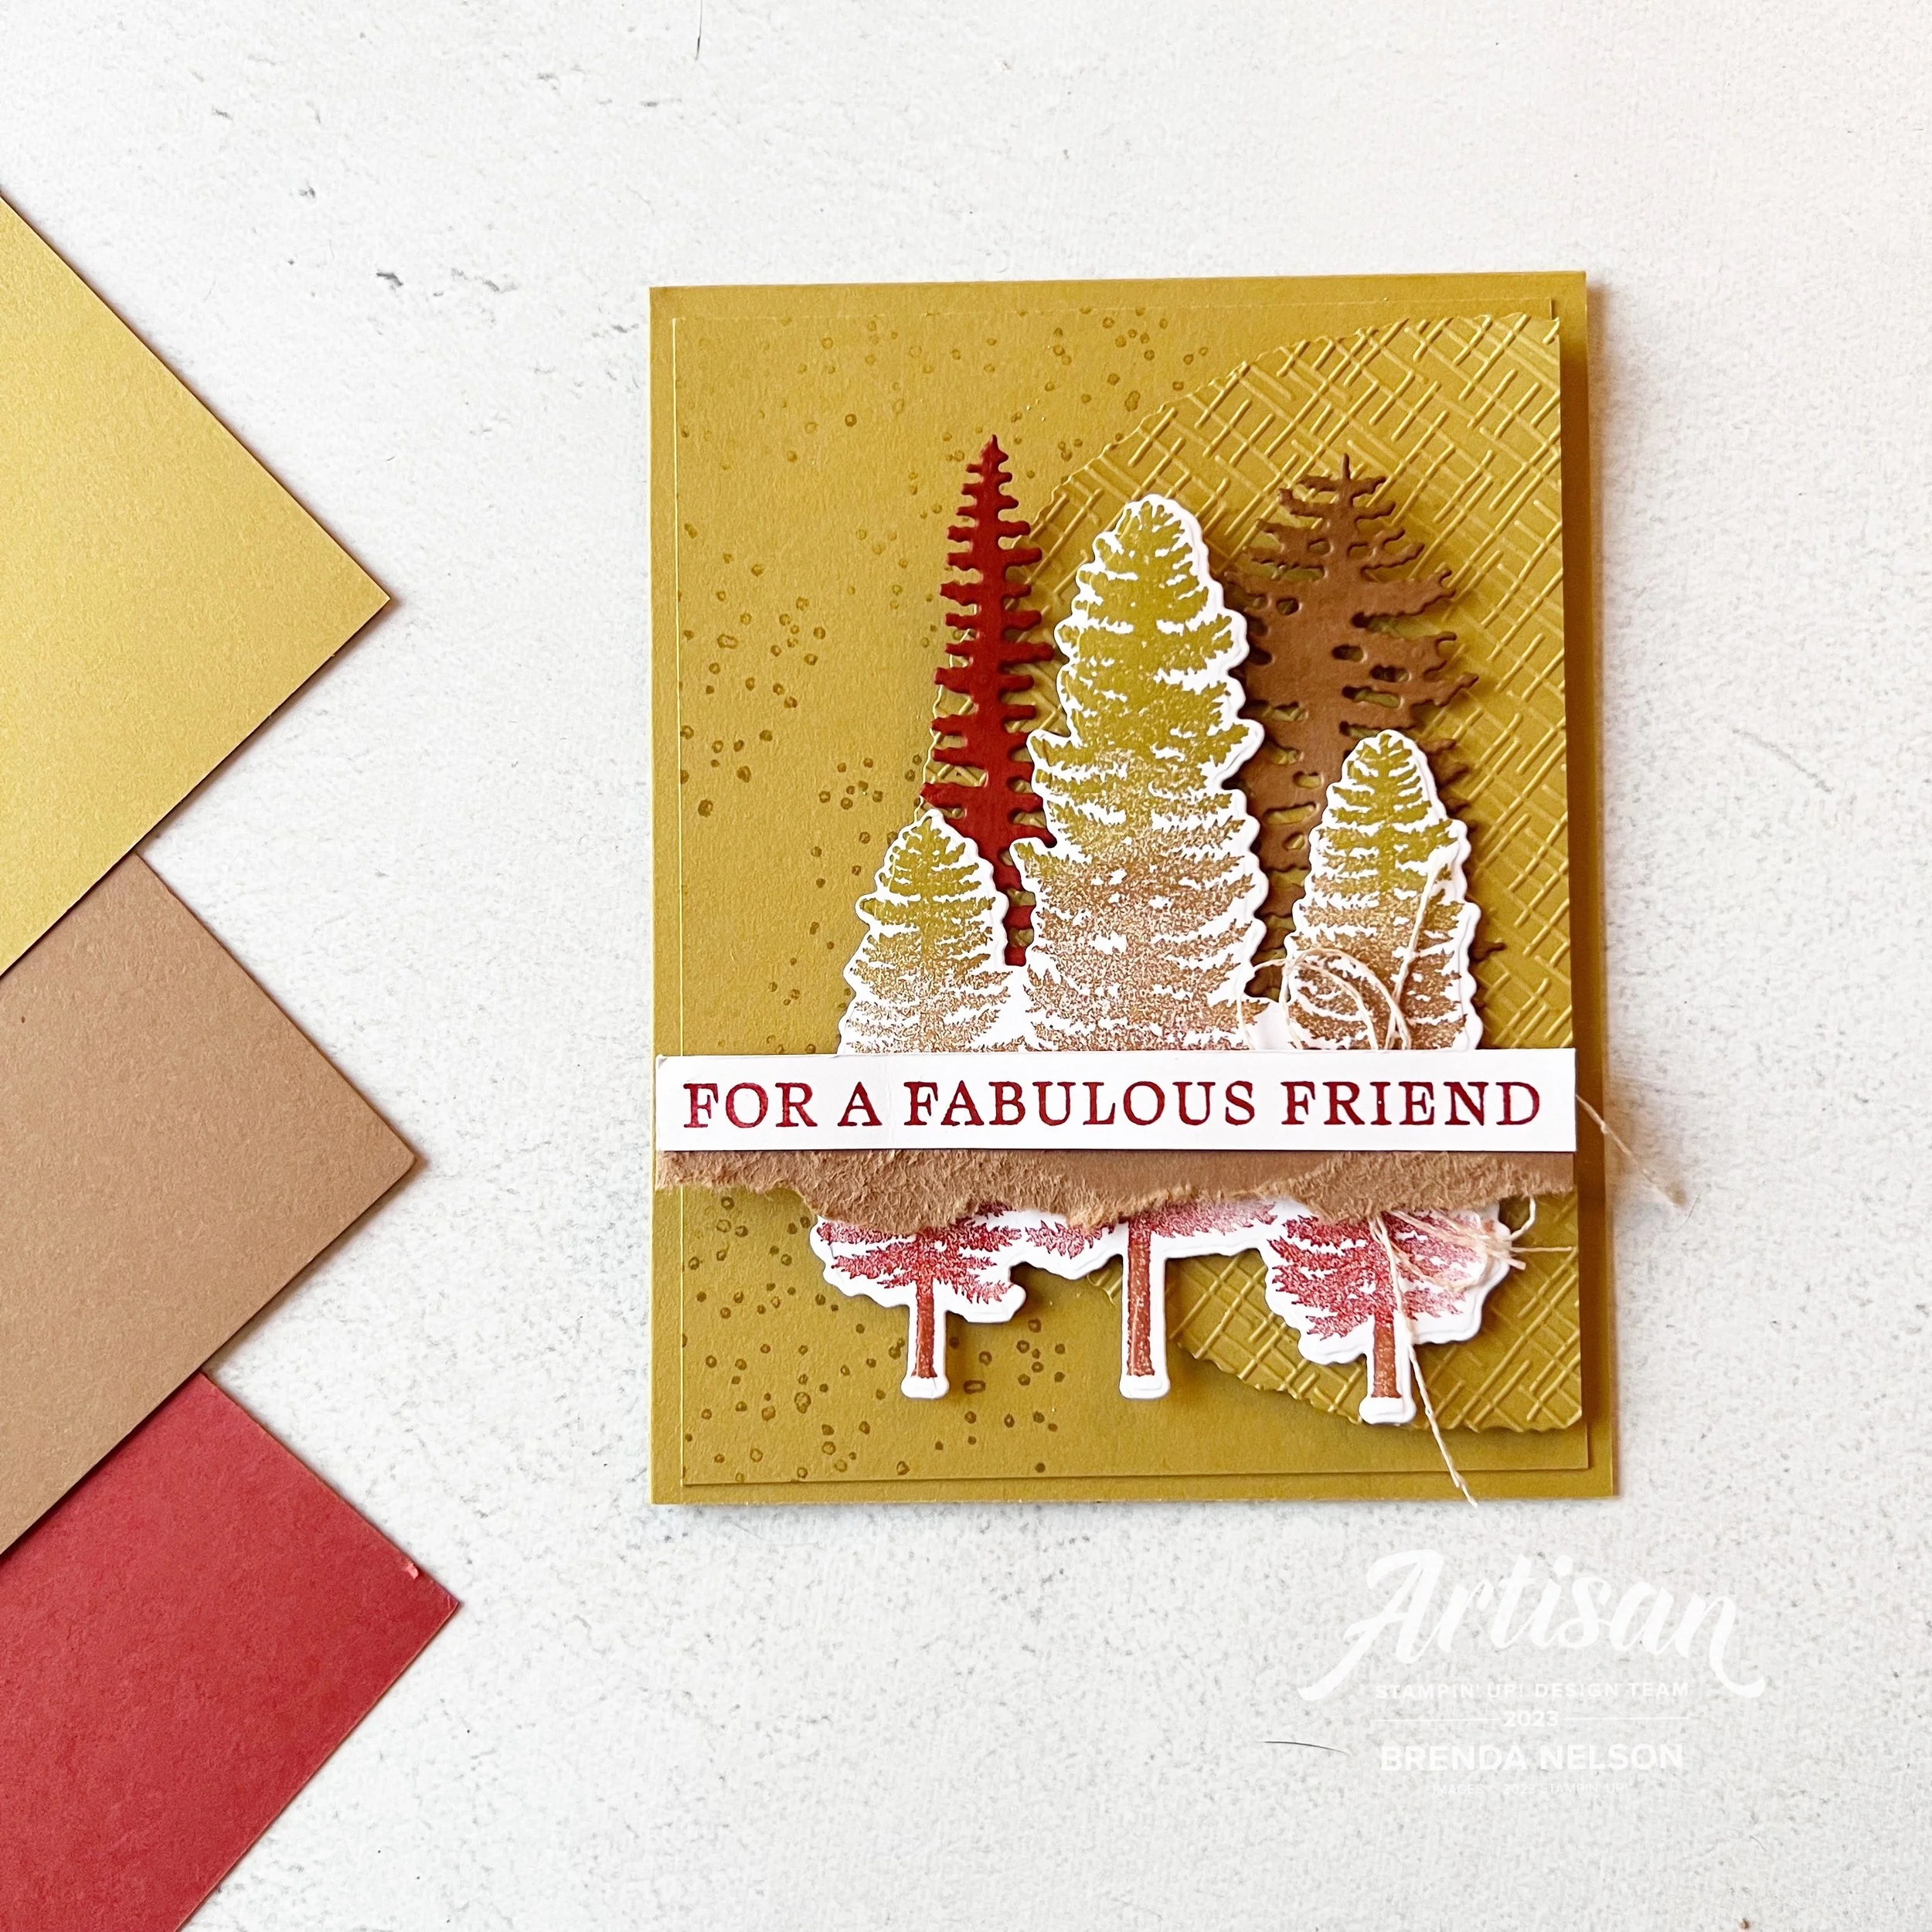
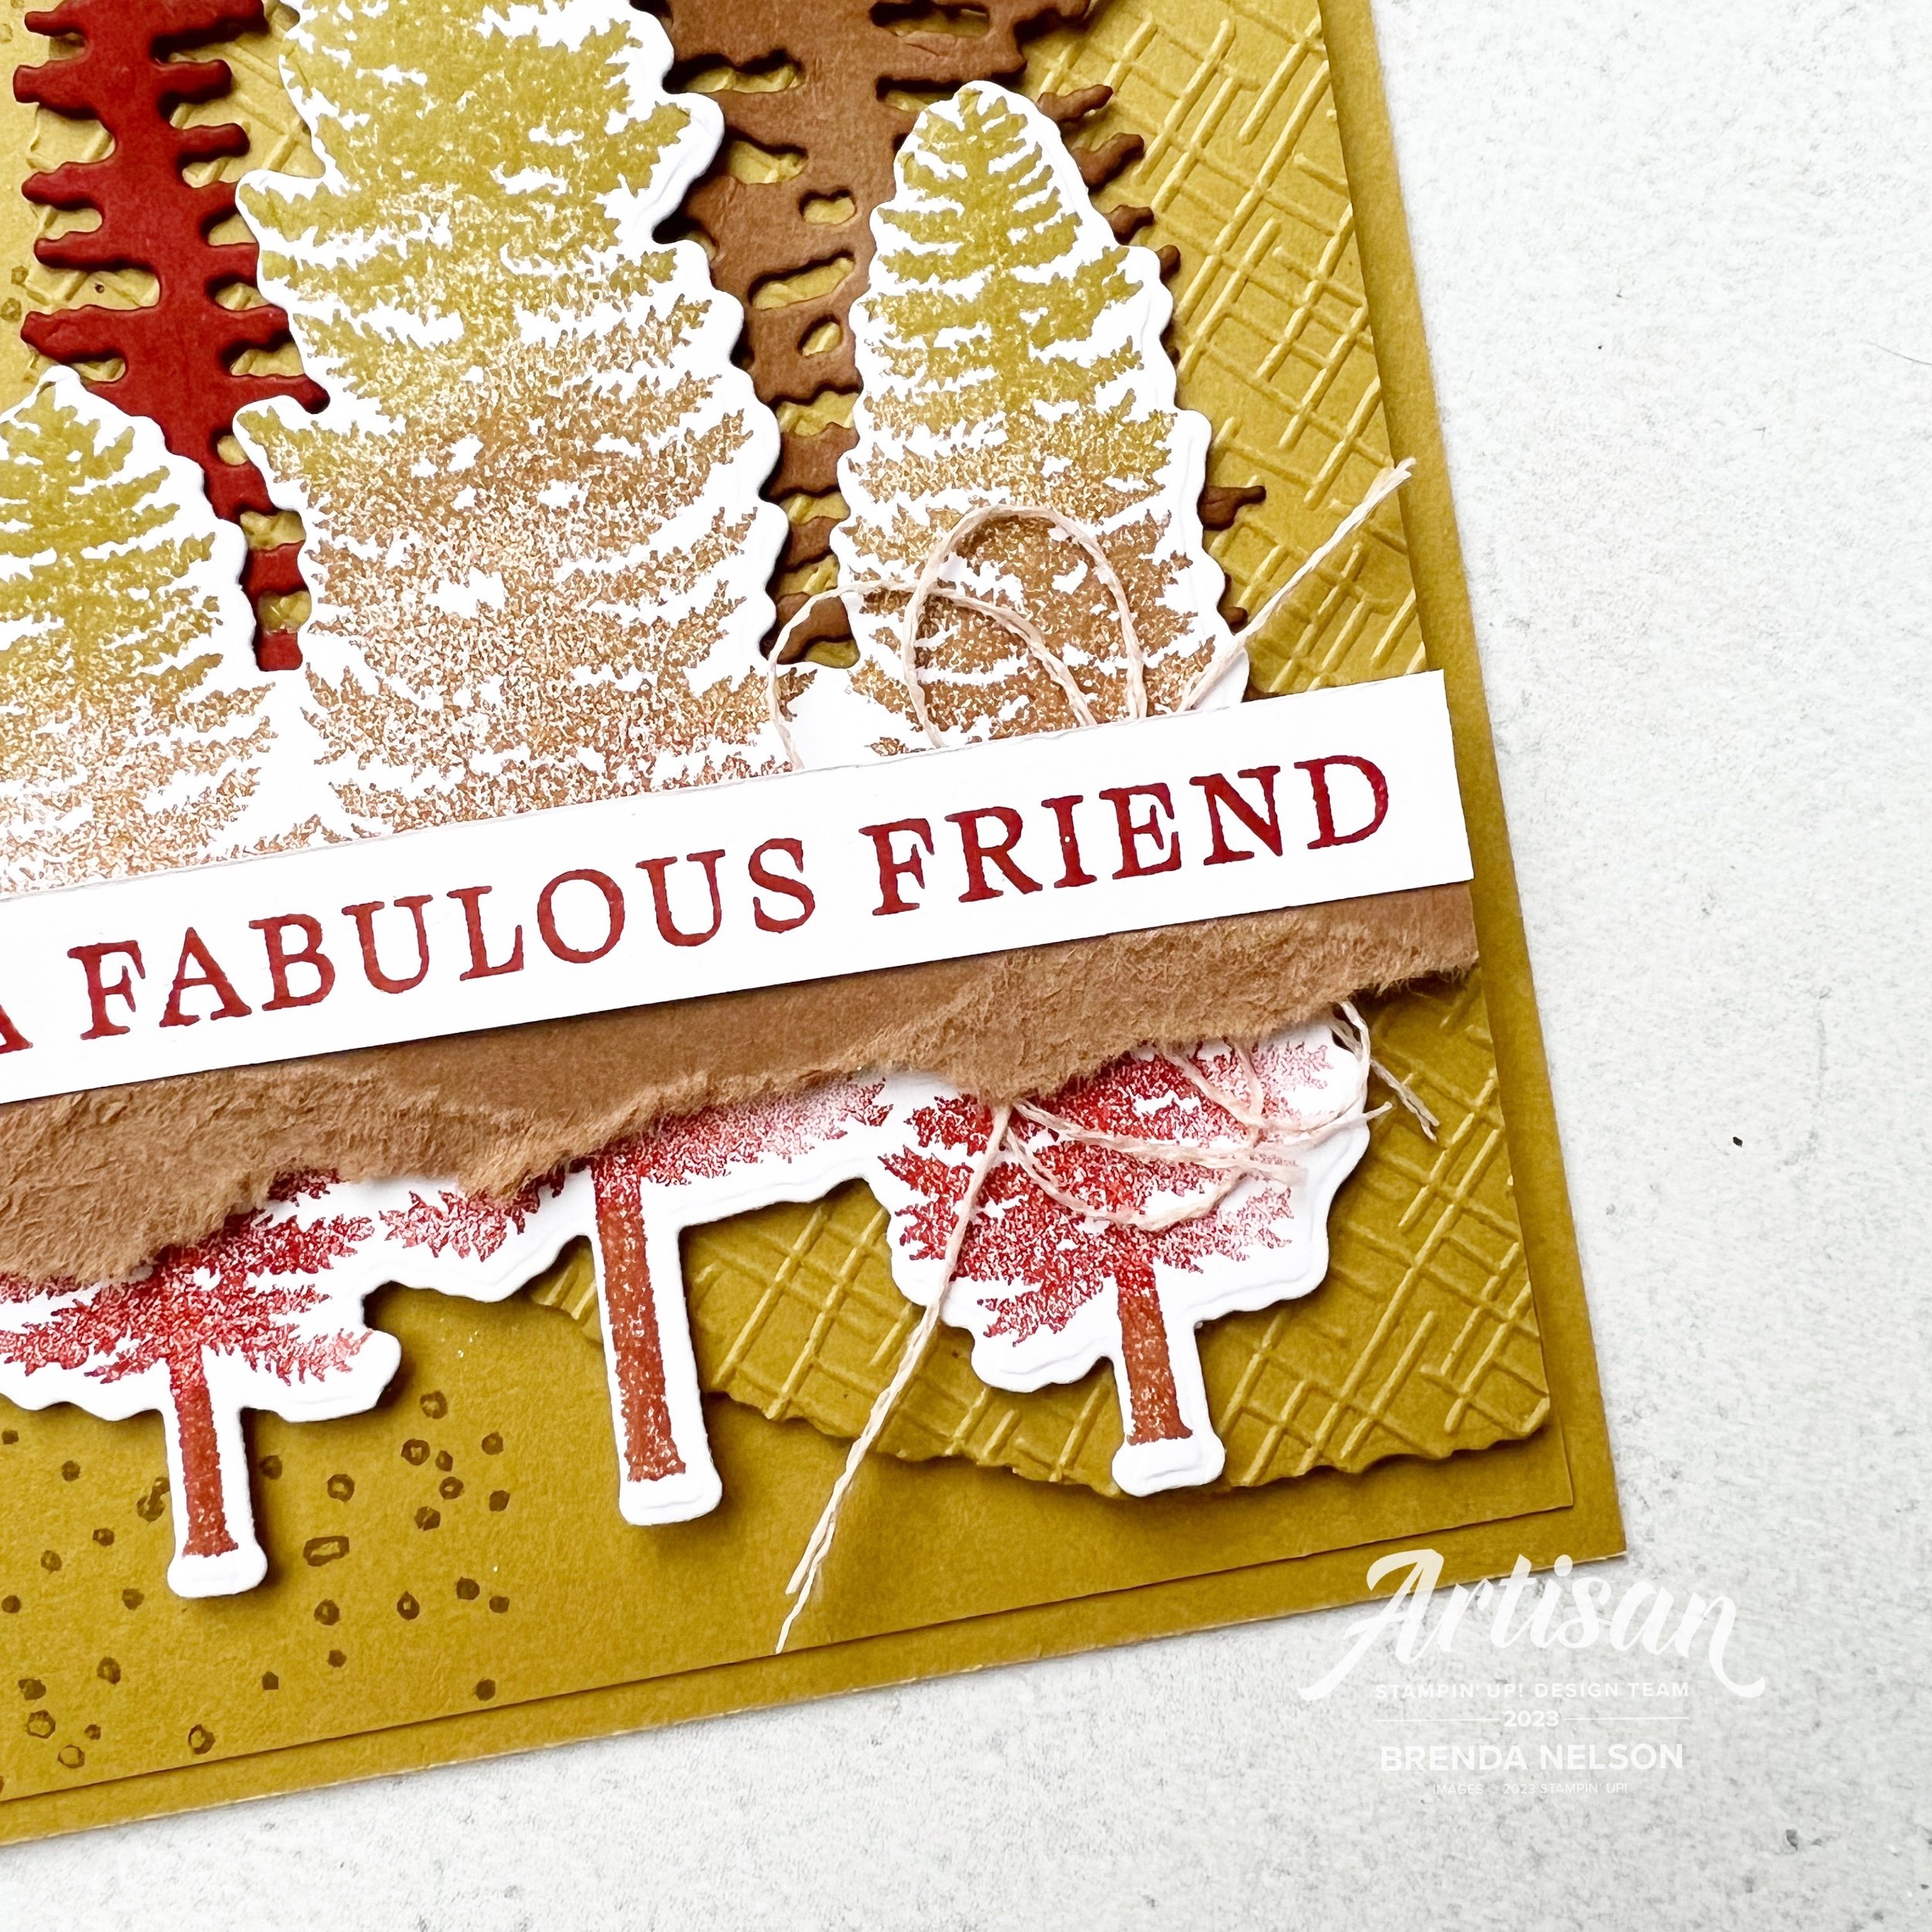
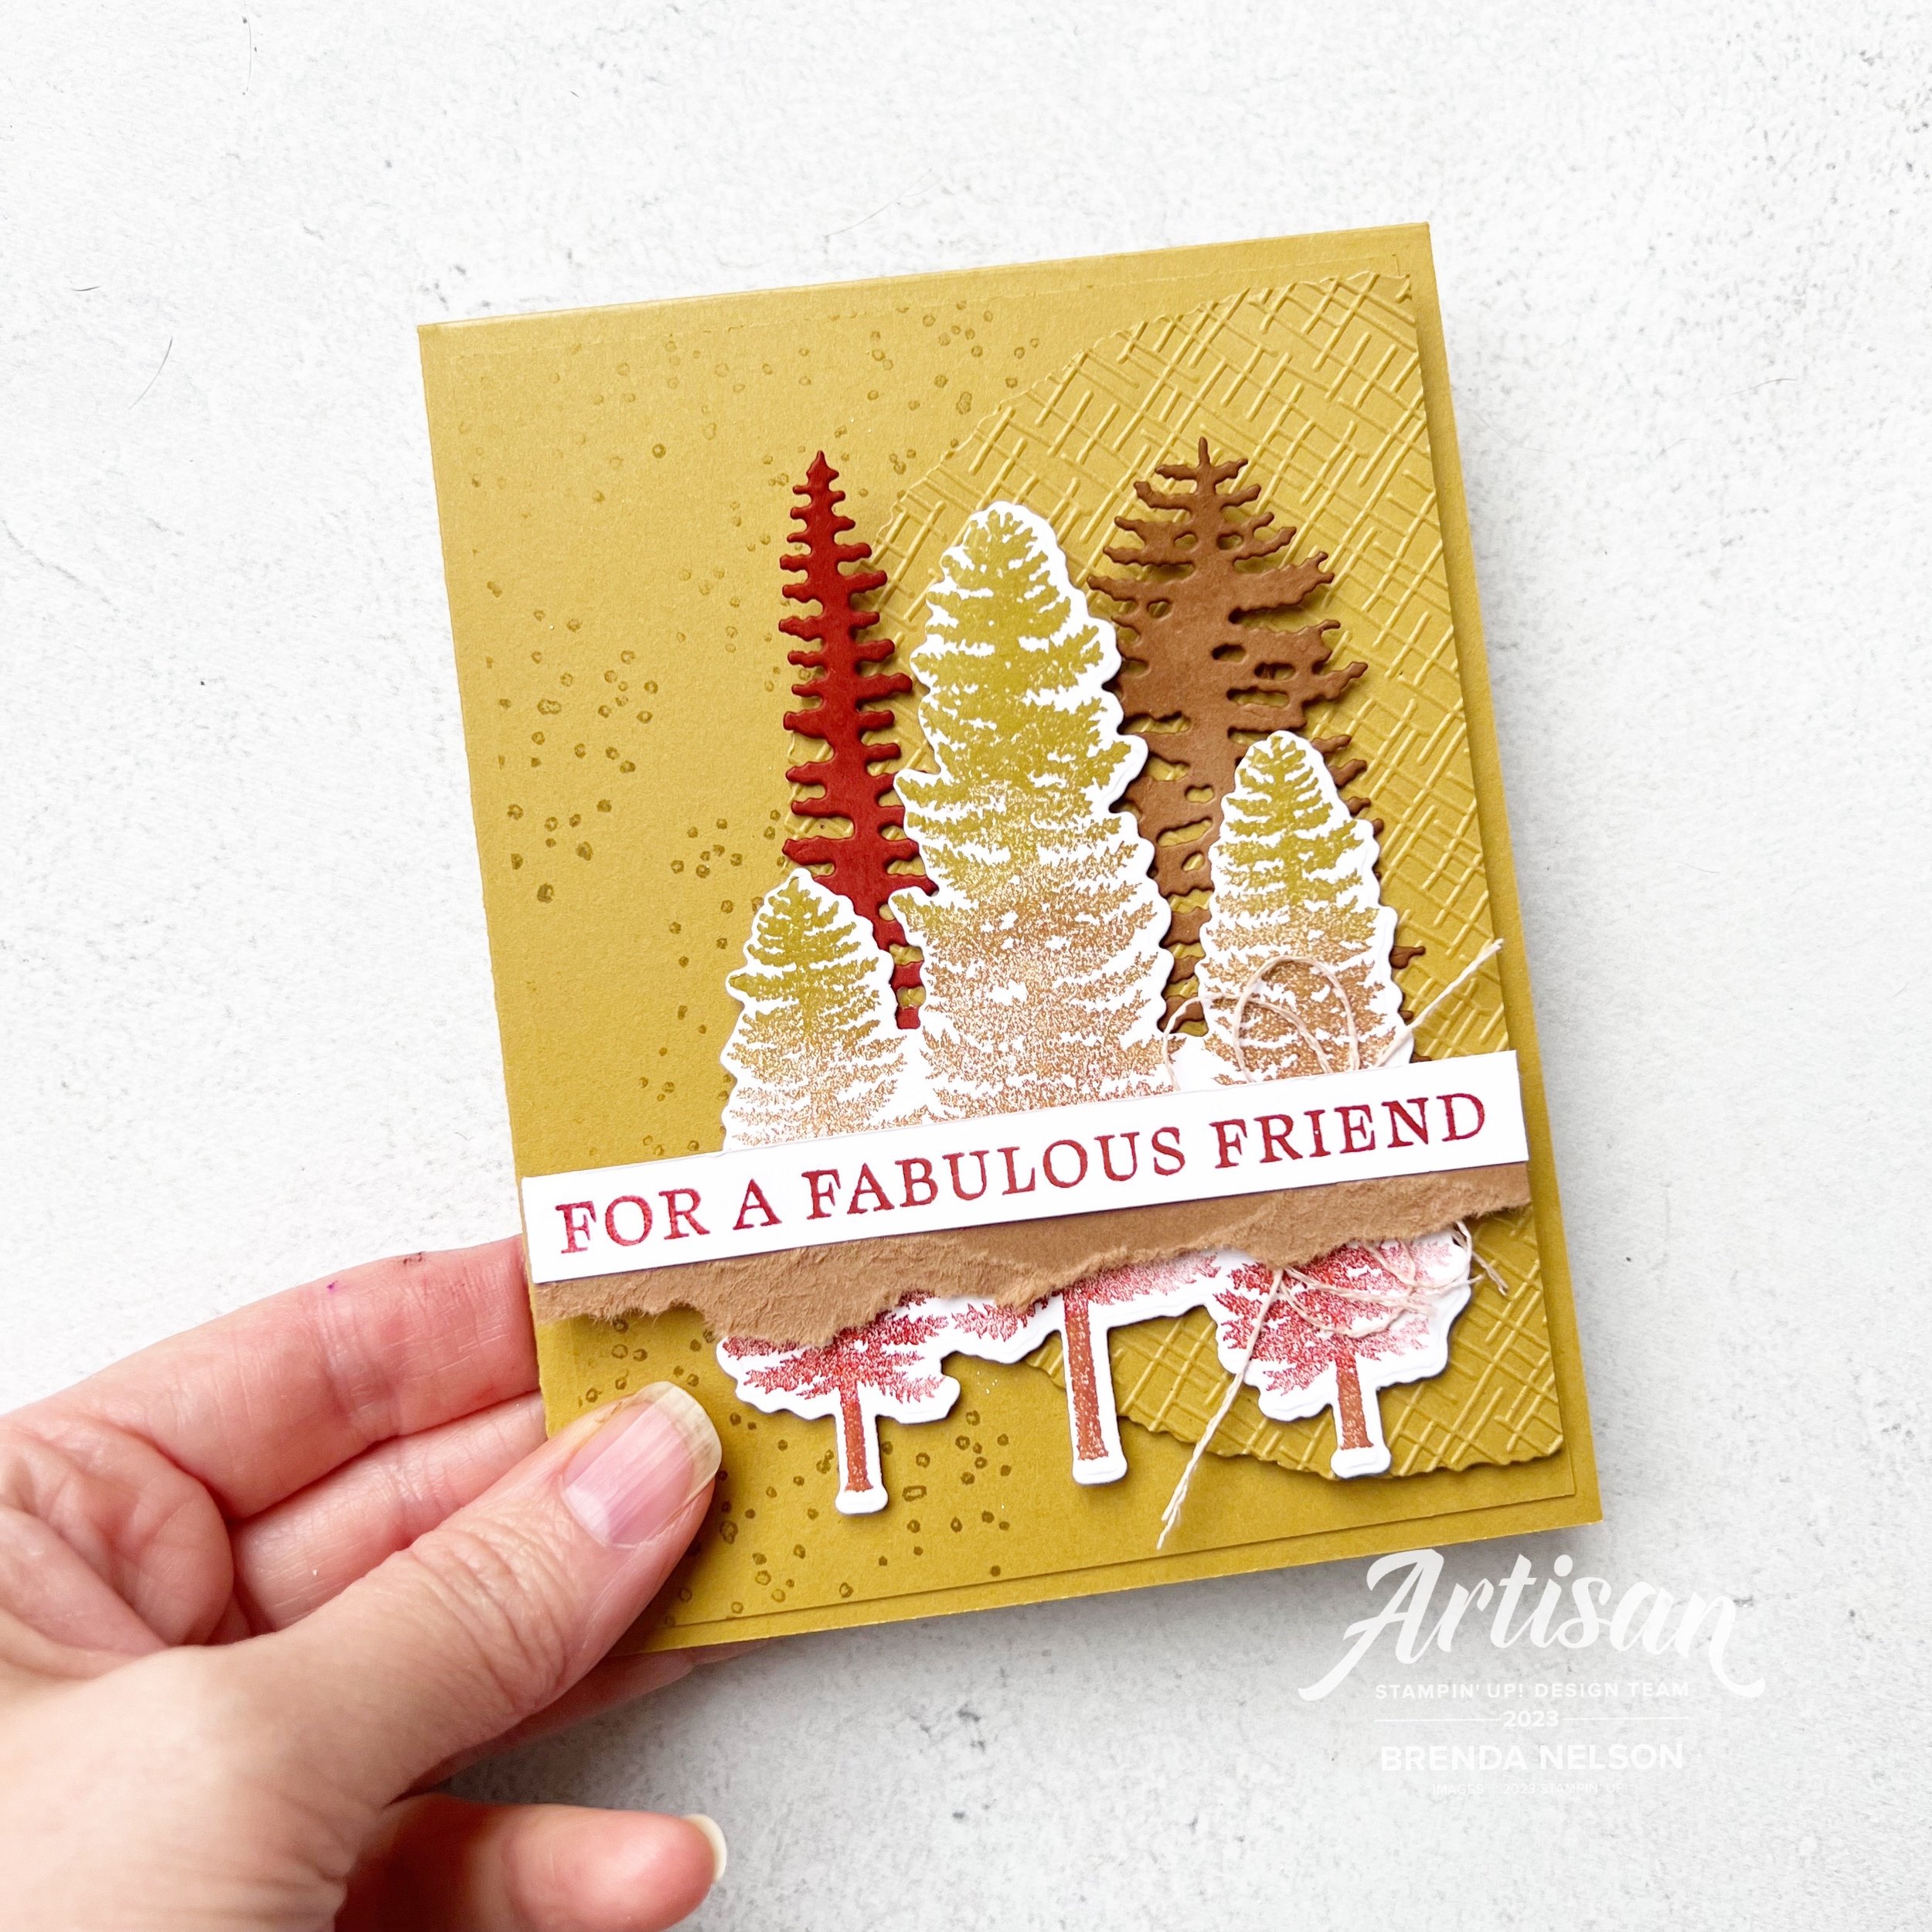
I knew immediately that I wanted to create something using the Beach Time stamp set.
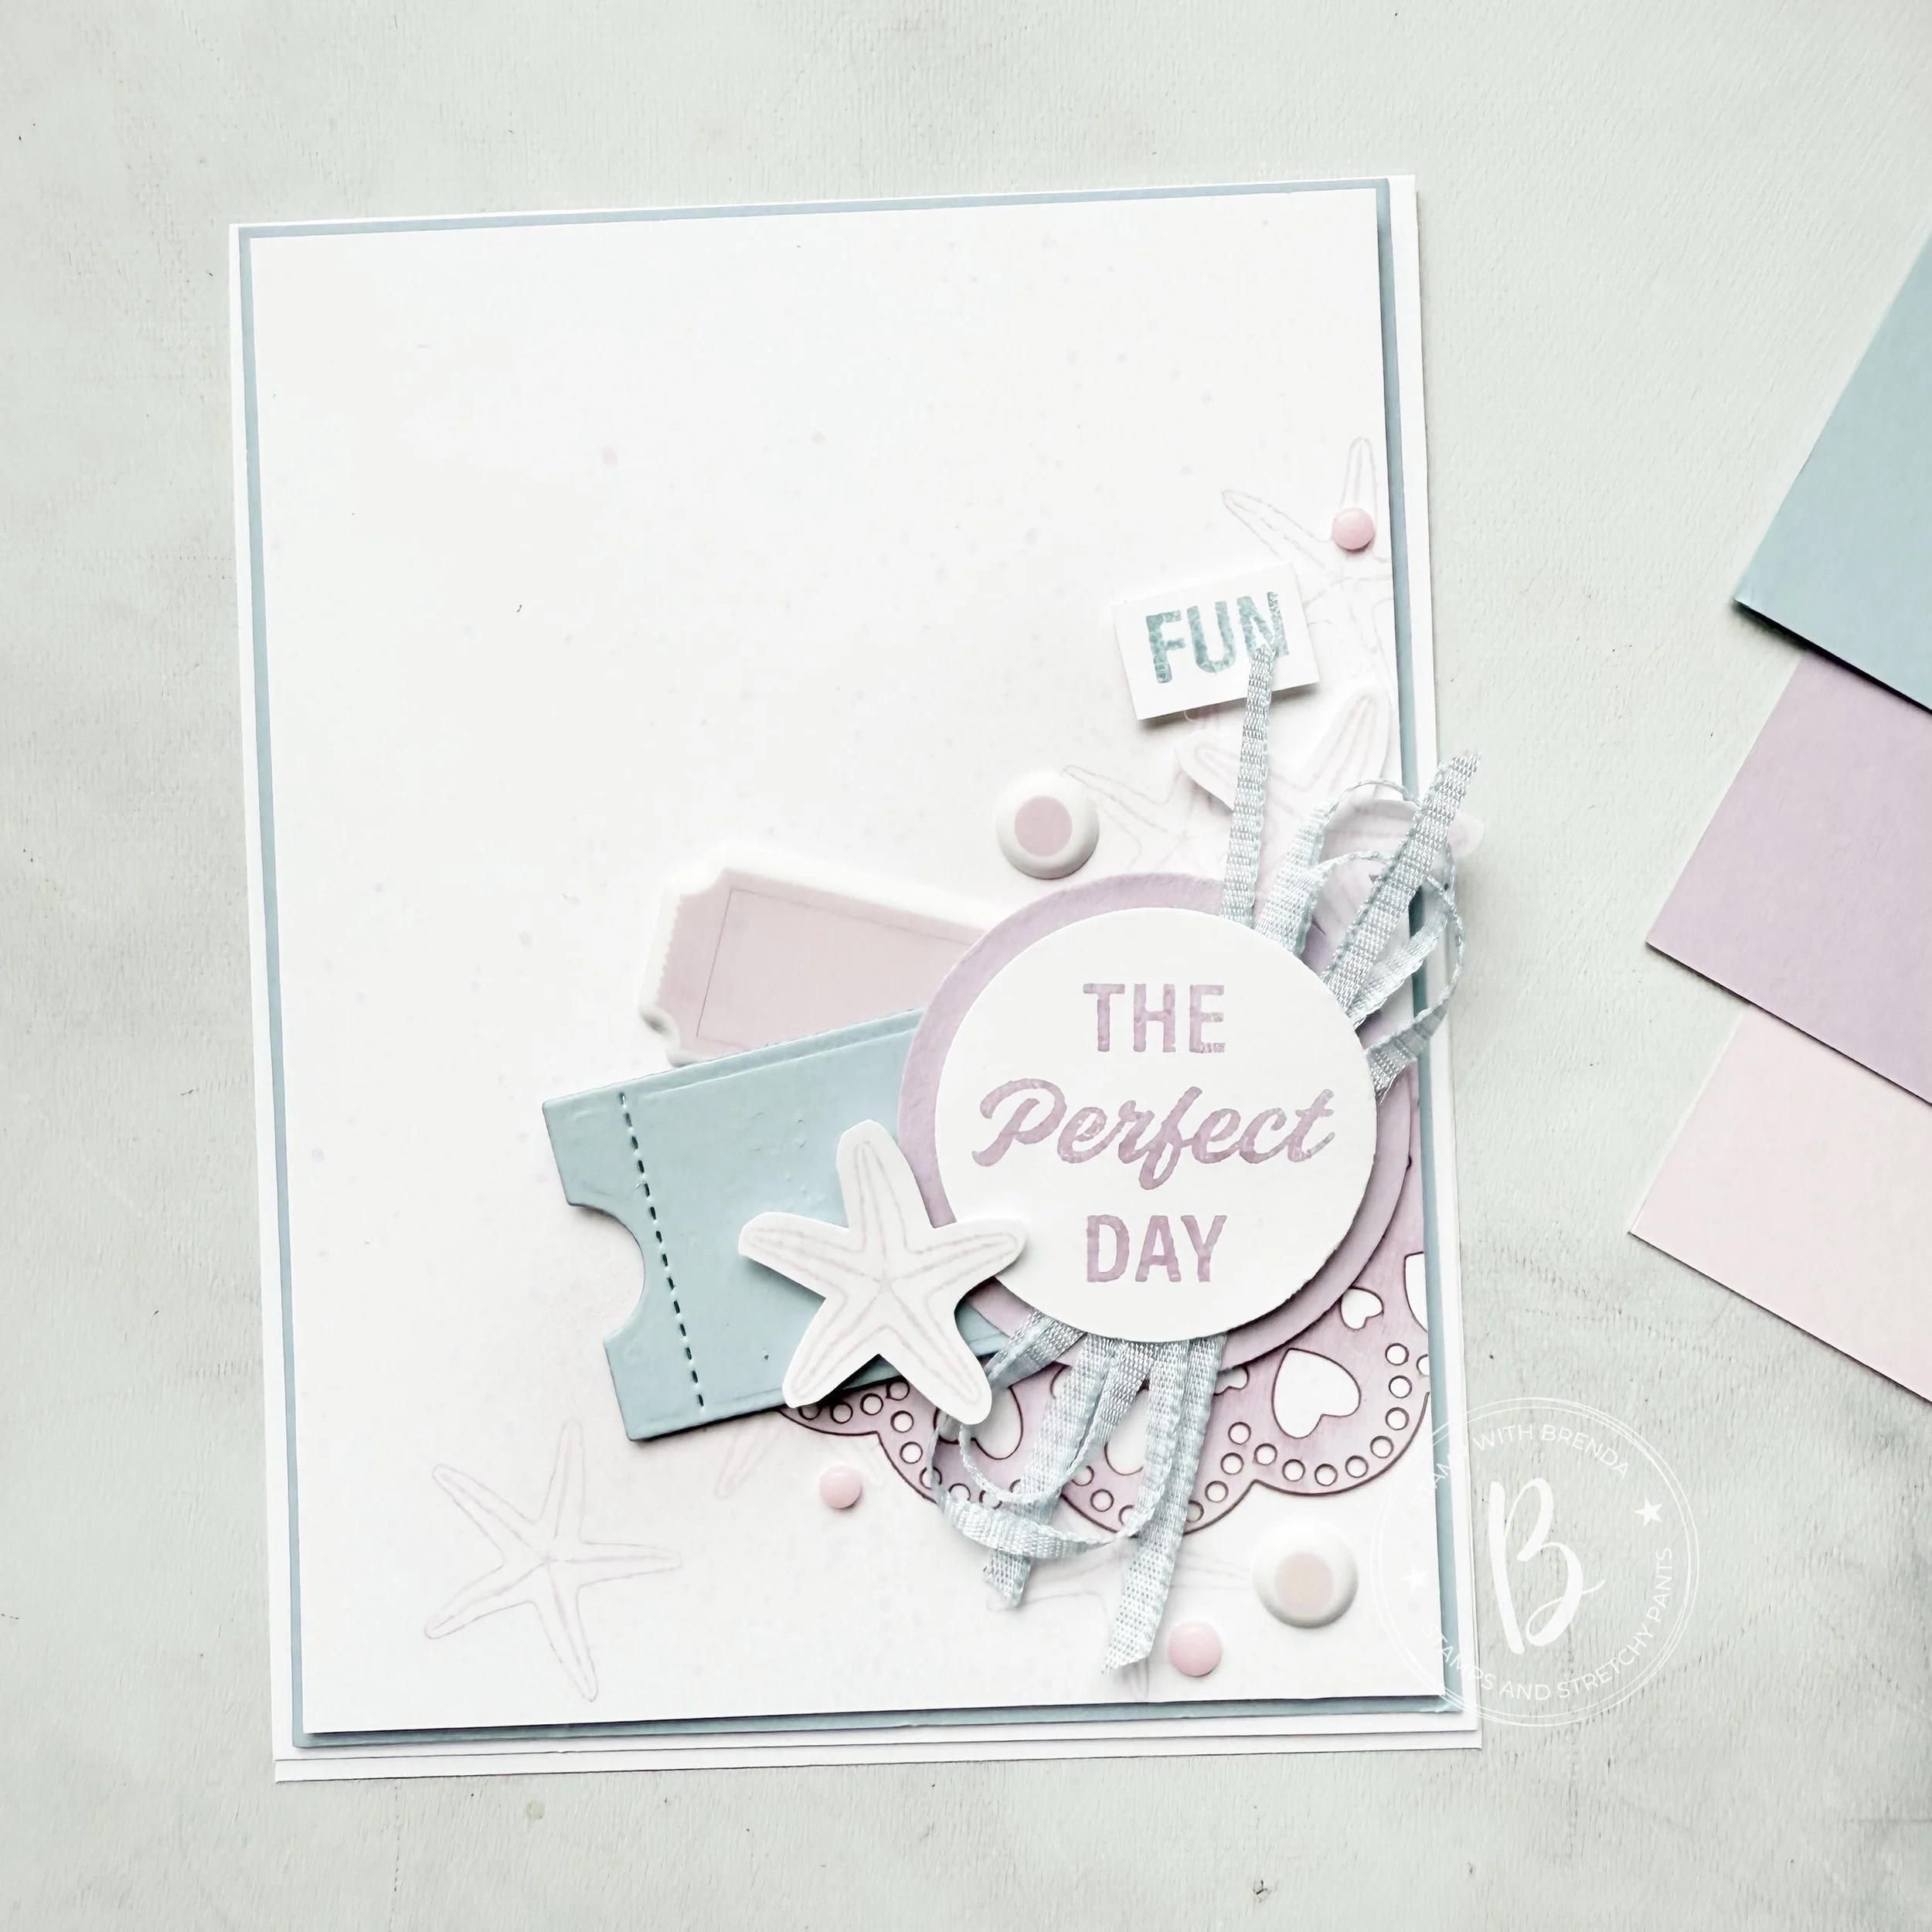
I started blending a section on my Basic White with Bubble Bath ink and then stamped some of the star fish from the Beach Time stamp set over top. I finished this step off by flicking my dark Bubble Bath Stampin’ Blend over top.
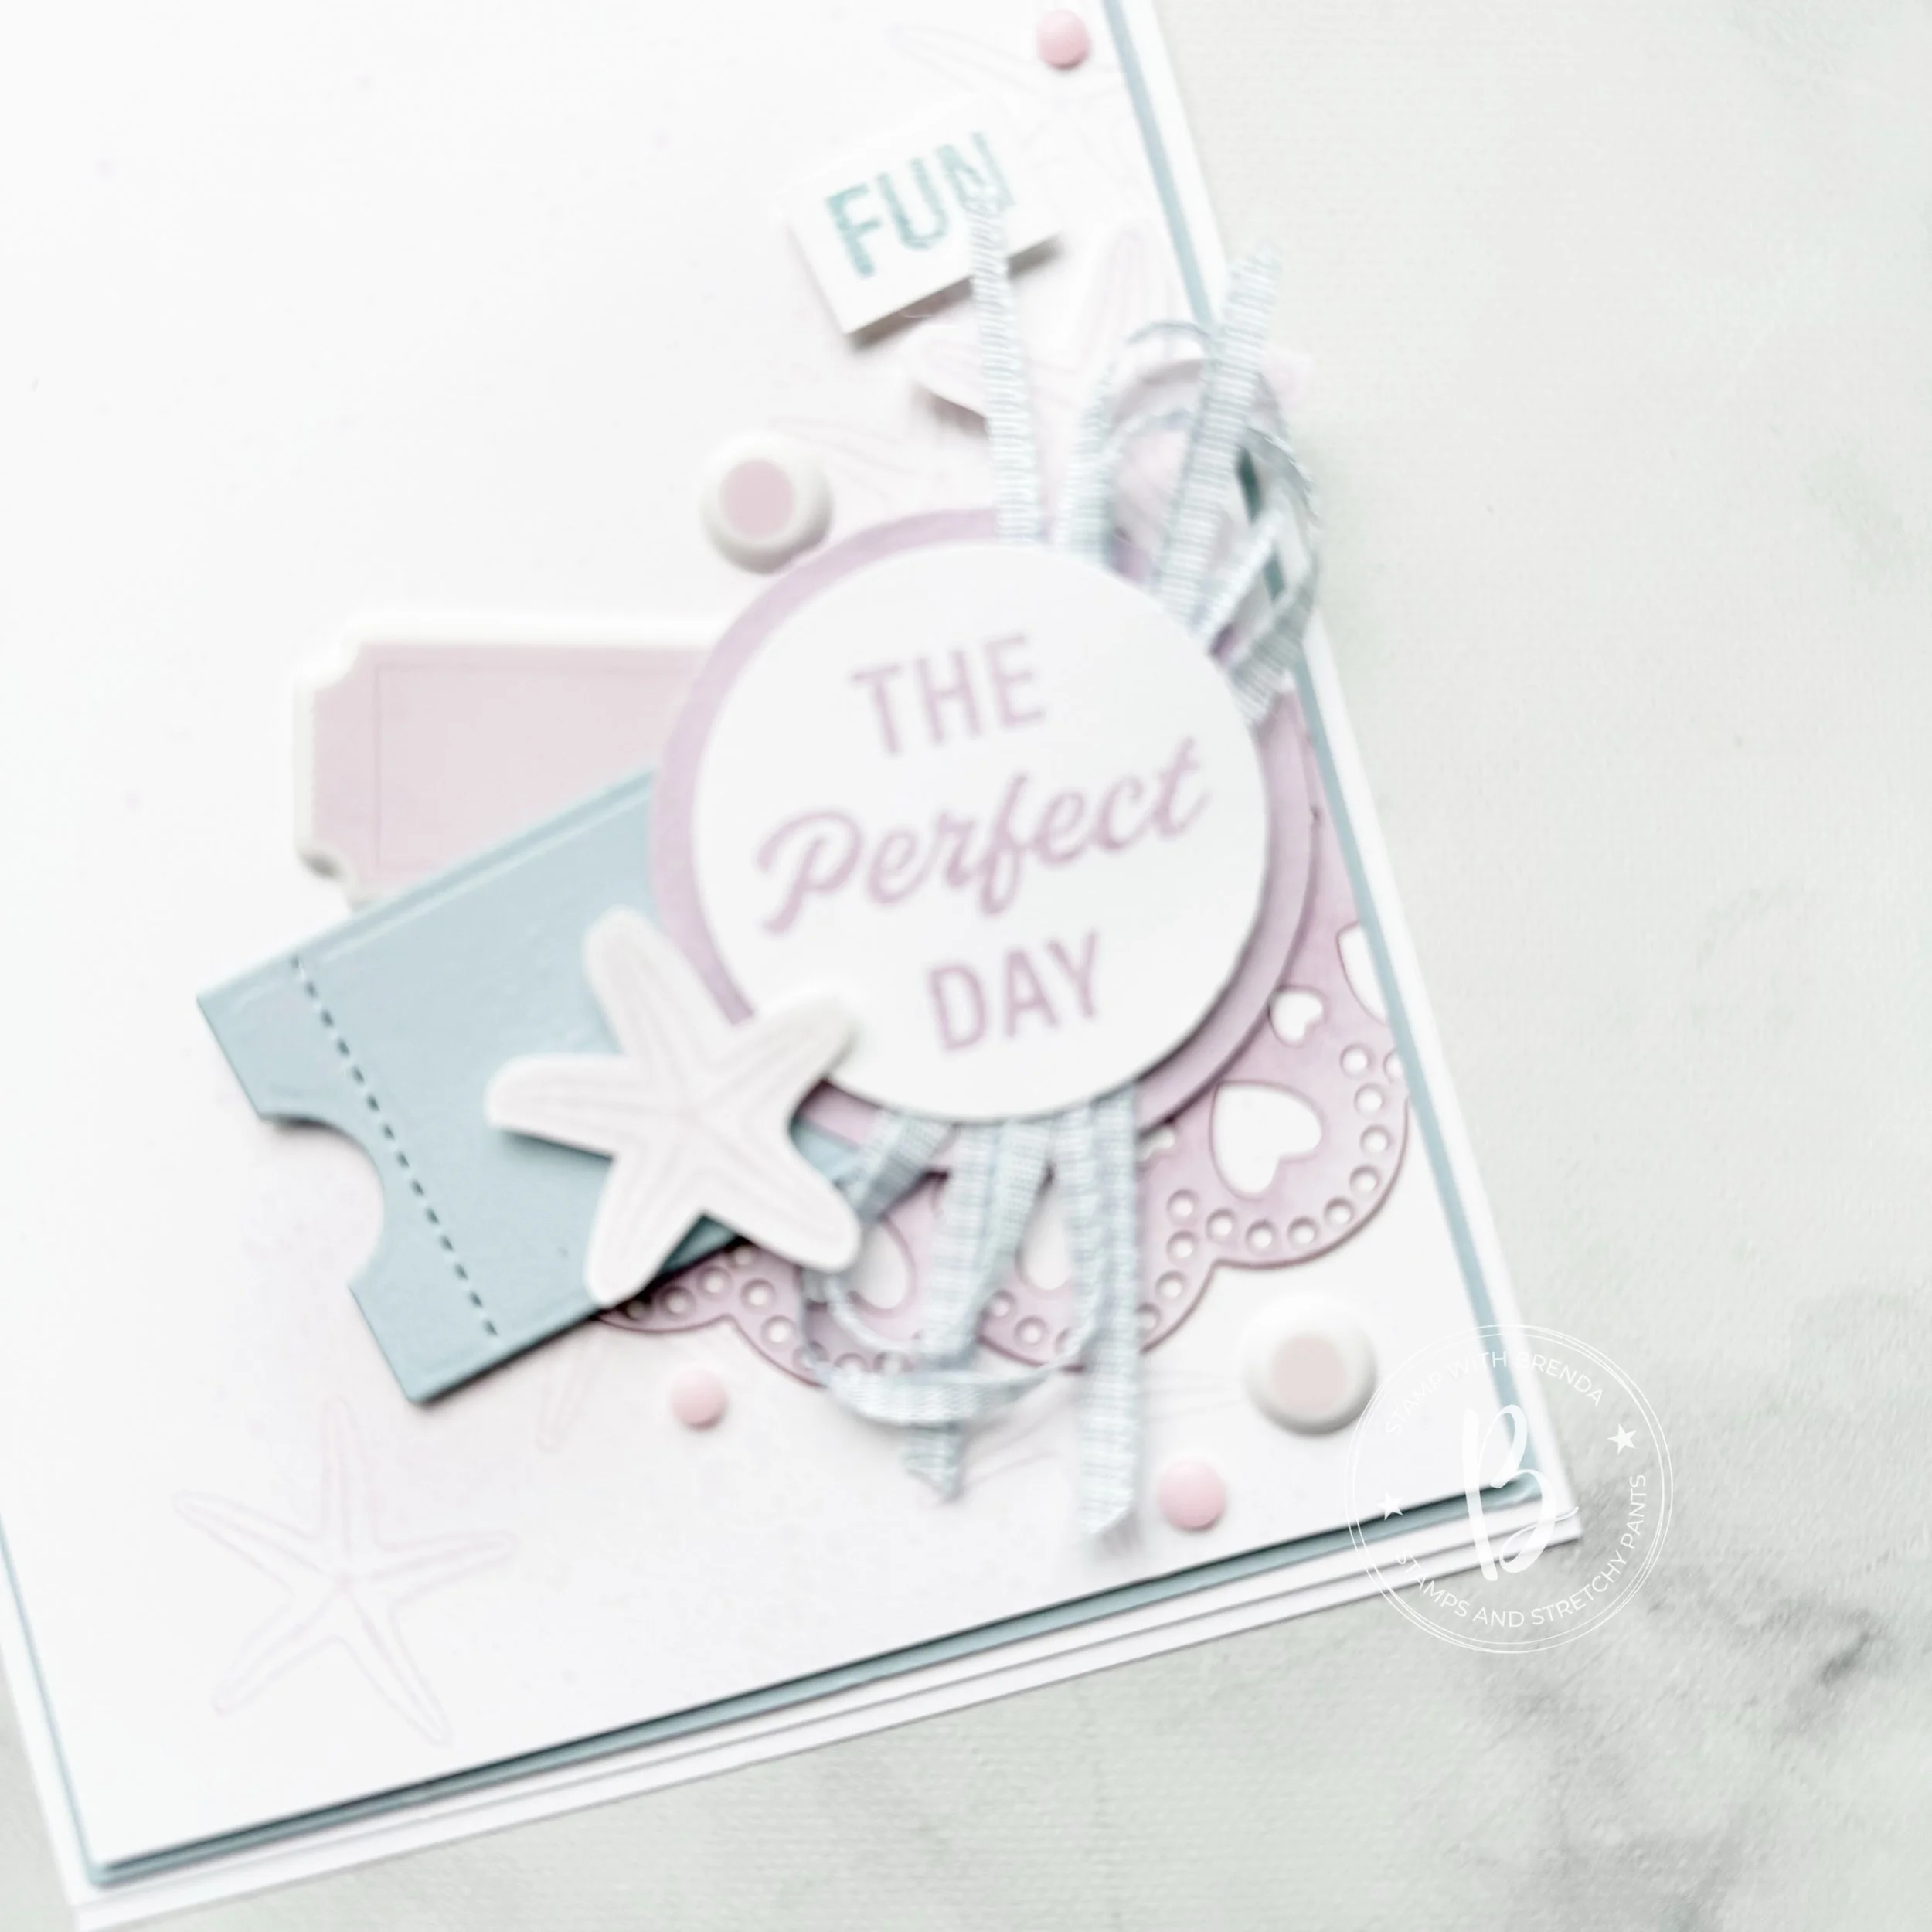
I used one of the Lovely Doilies as an accent piece. The doilies come in Real Red and Bubble Bath and the backsides are white. I used this side with Fresh Freesia ink and a Blending Brush to create a custom doily.
The sentiment is stamped in Fresh Freesia and is layered on a coordinating circle. In between the layers I added the new Balmy Blue Gingham Ribbon that I cut into half before adding it behind my sentiment.
The Balmy Blue ticket die is from the Boardwalk Fun die collection. I added it along with a puffy sticker from the Beach Boardwalk Puffy sticker collection as accents to my sentiment. The puffy stickers also have some little coloured circles that I added along with a couple retired Bubble Bath gems. I also wanted to add the word ‘fun’ so clipped it apart from the rest of the sentiment.
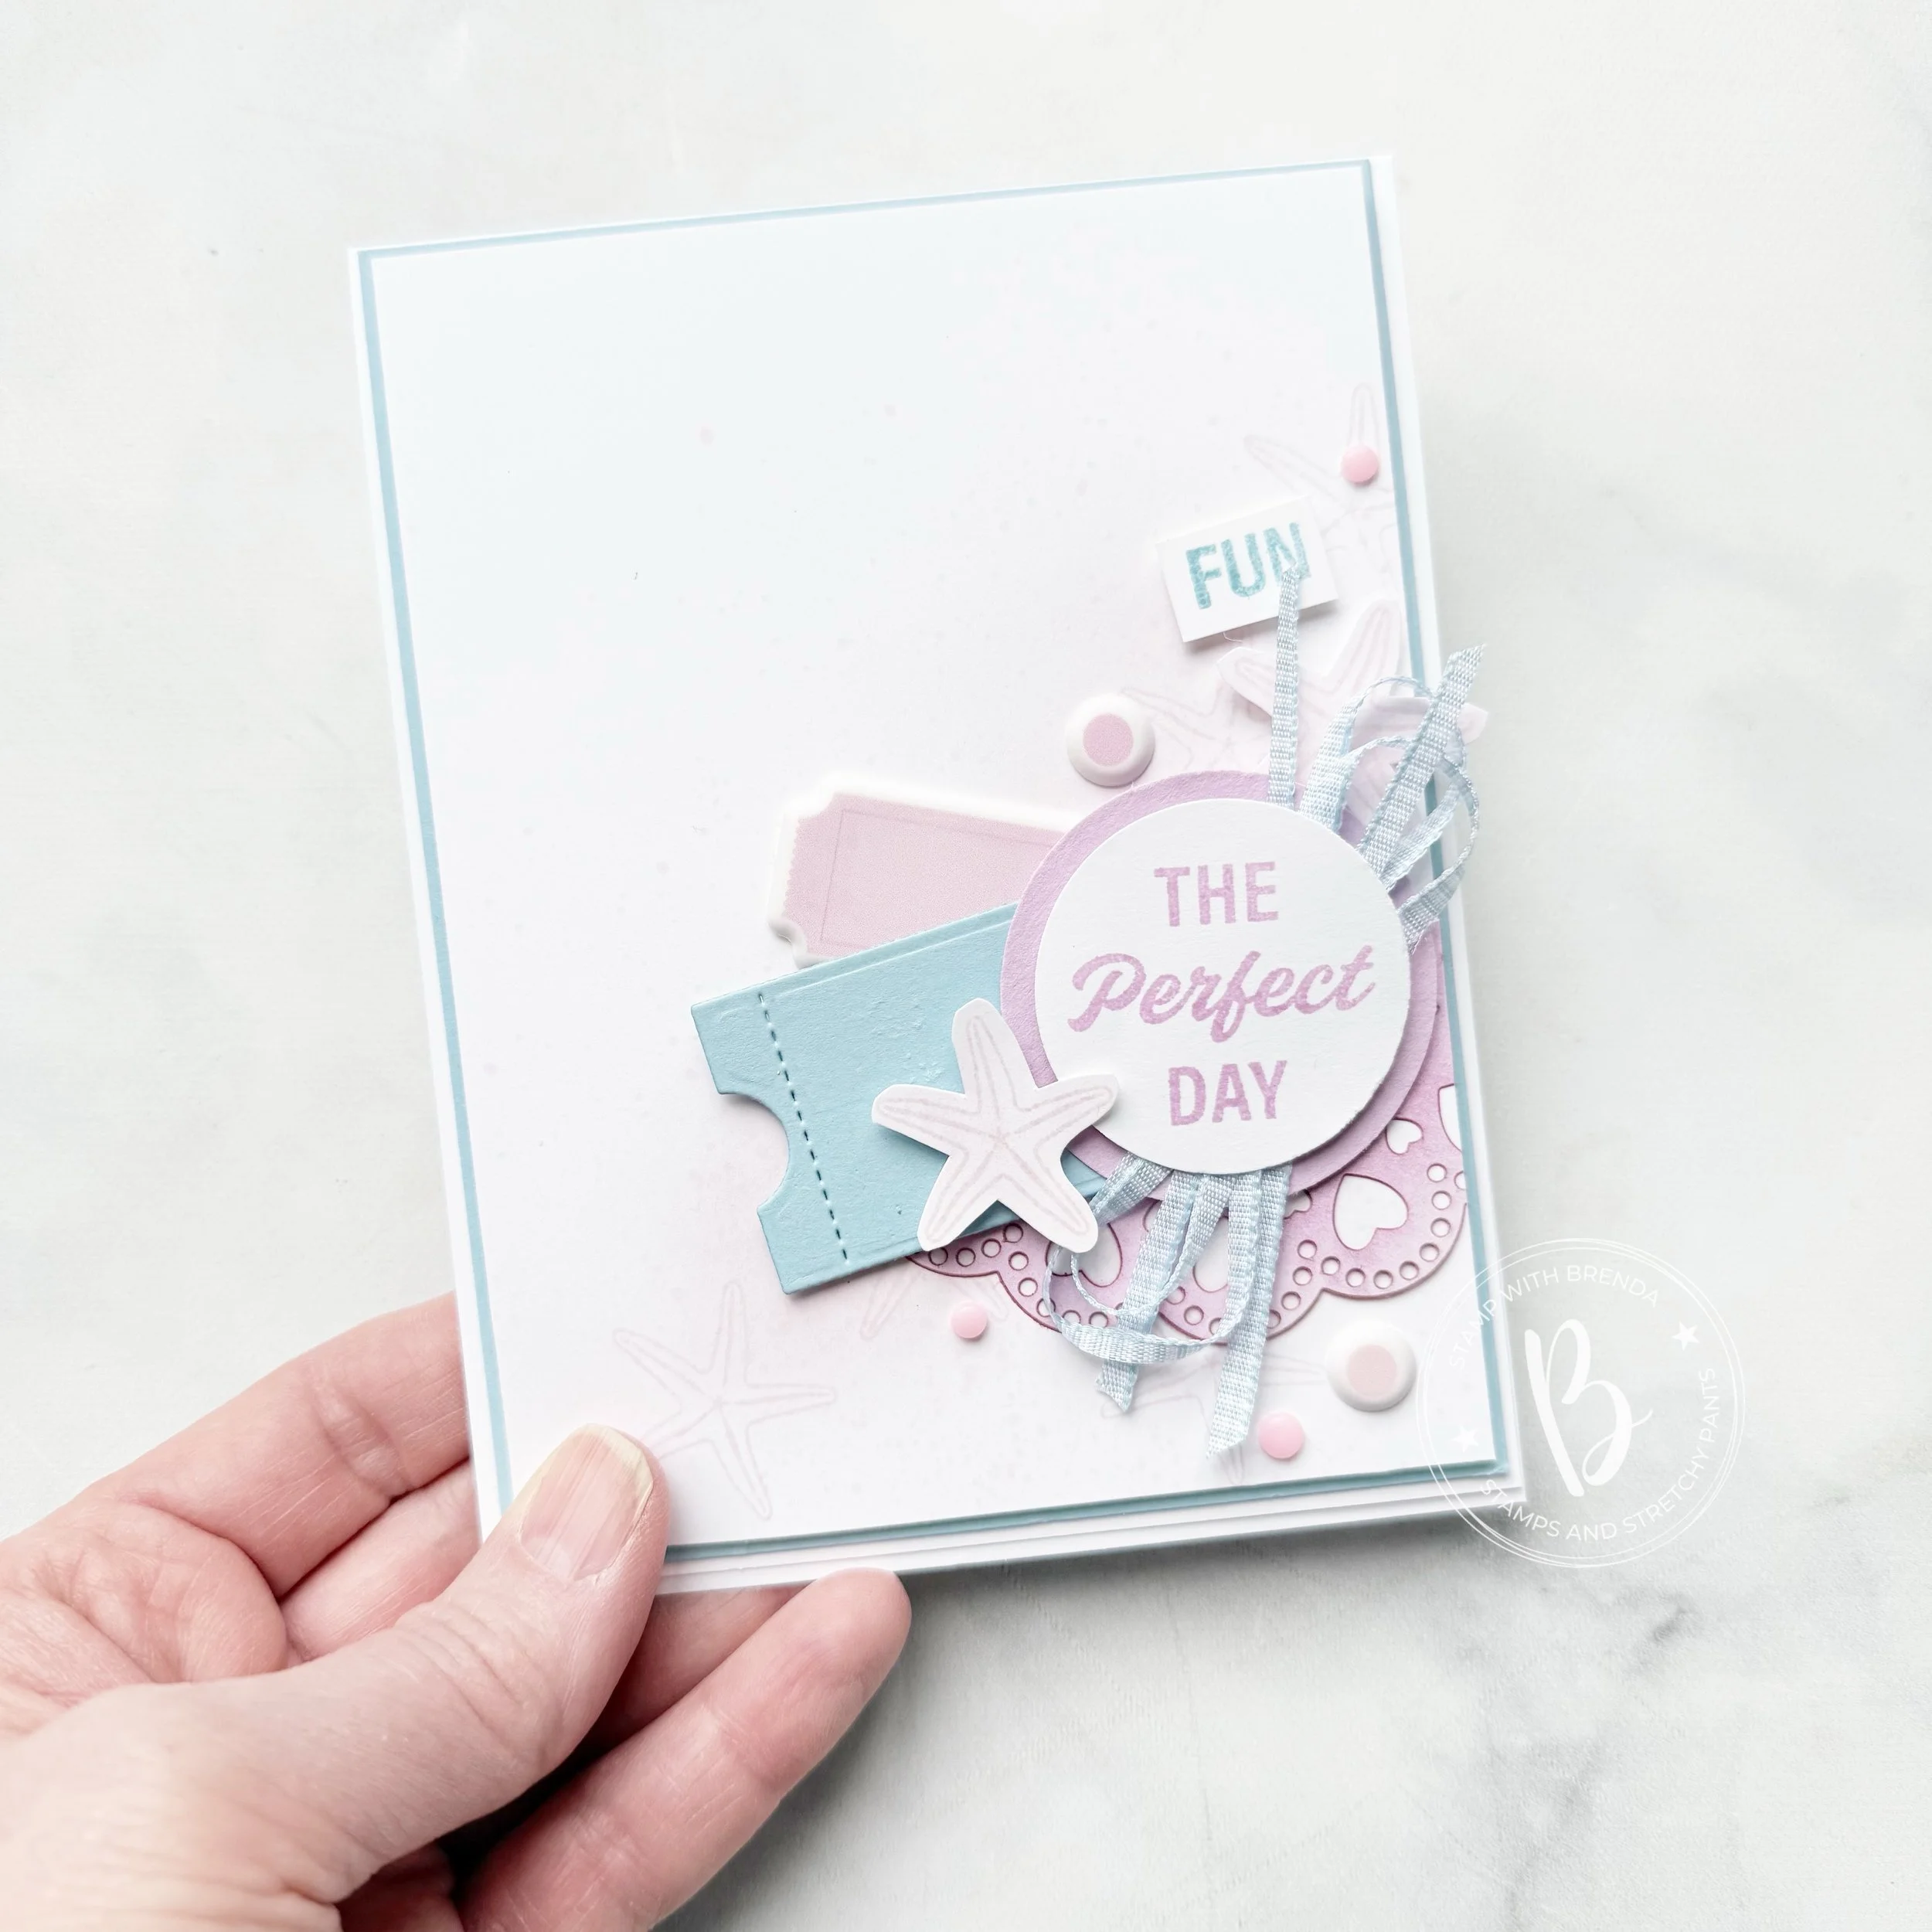
This whole panel is set on top of some Balmy Blue card stock and then mounted on a Basic White card base.
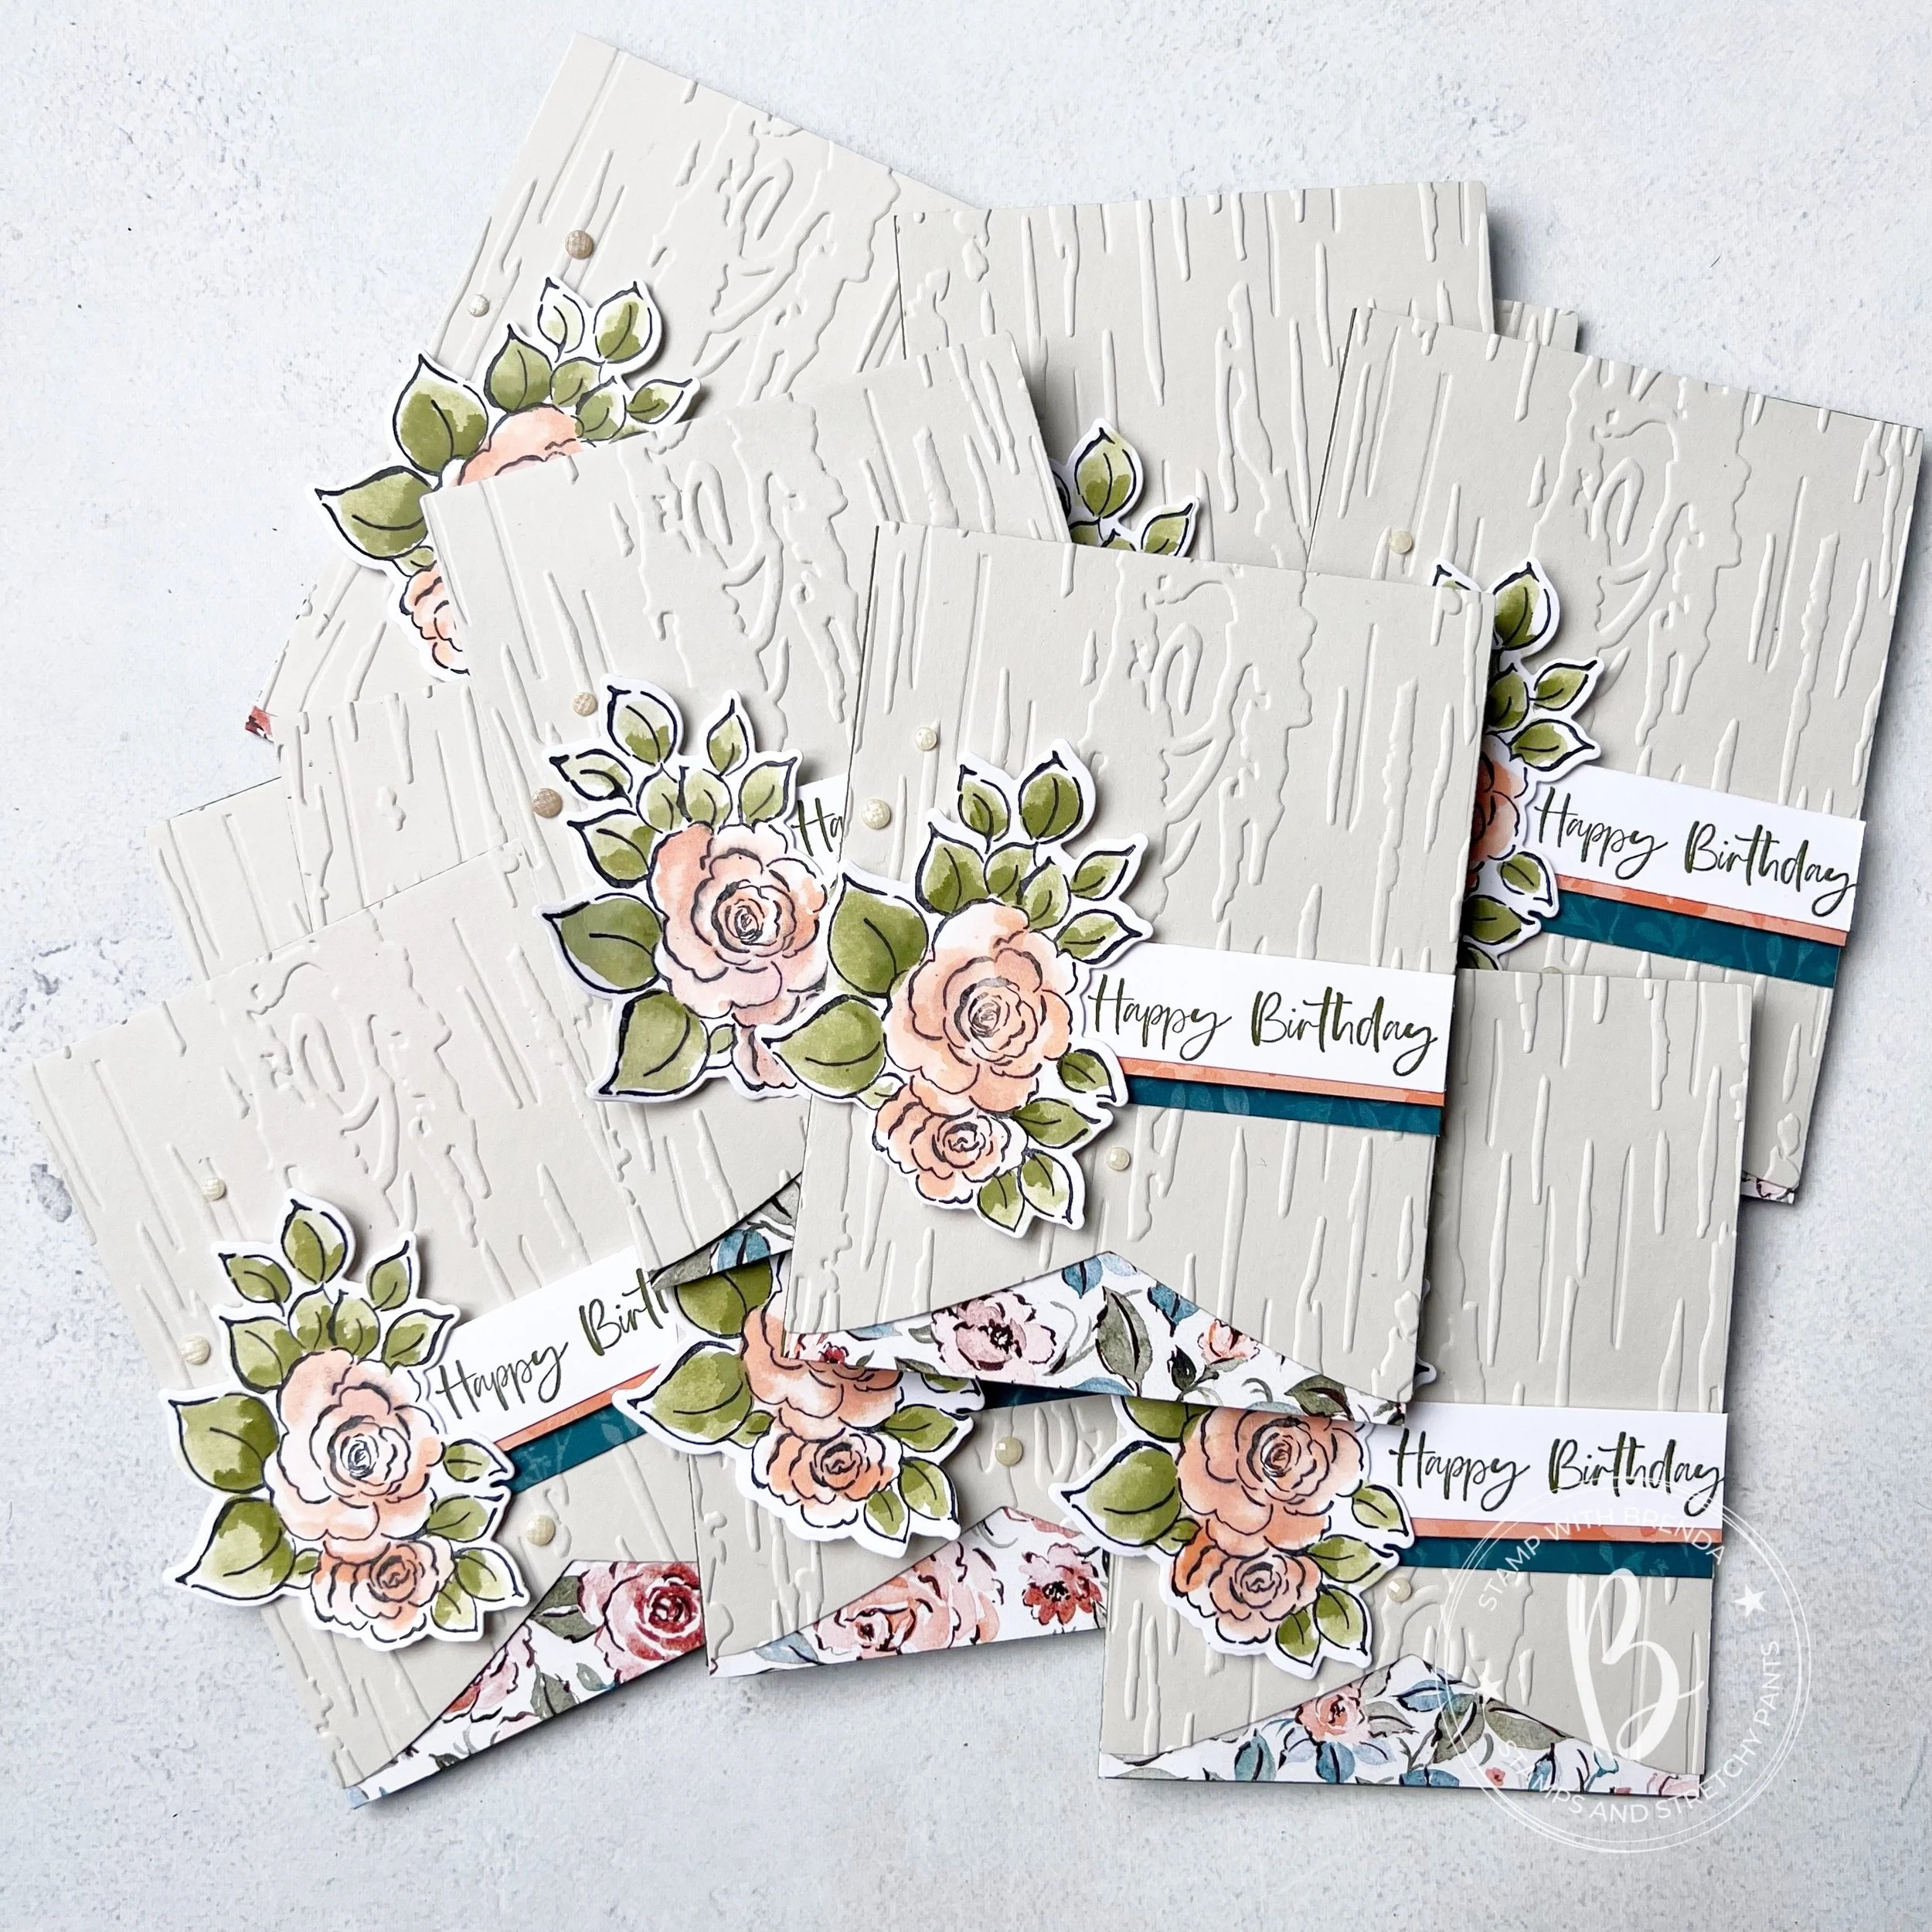
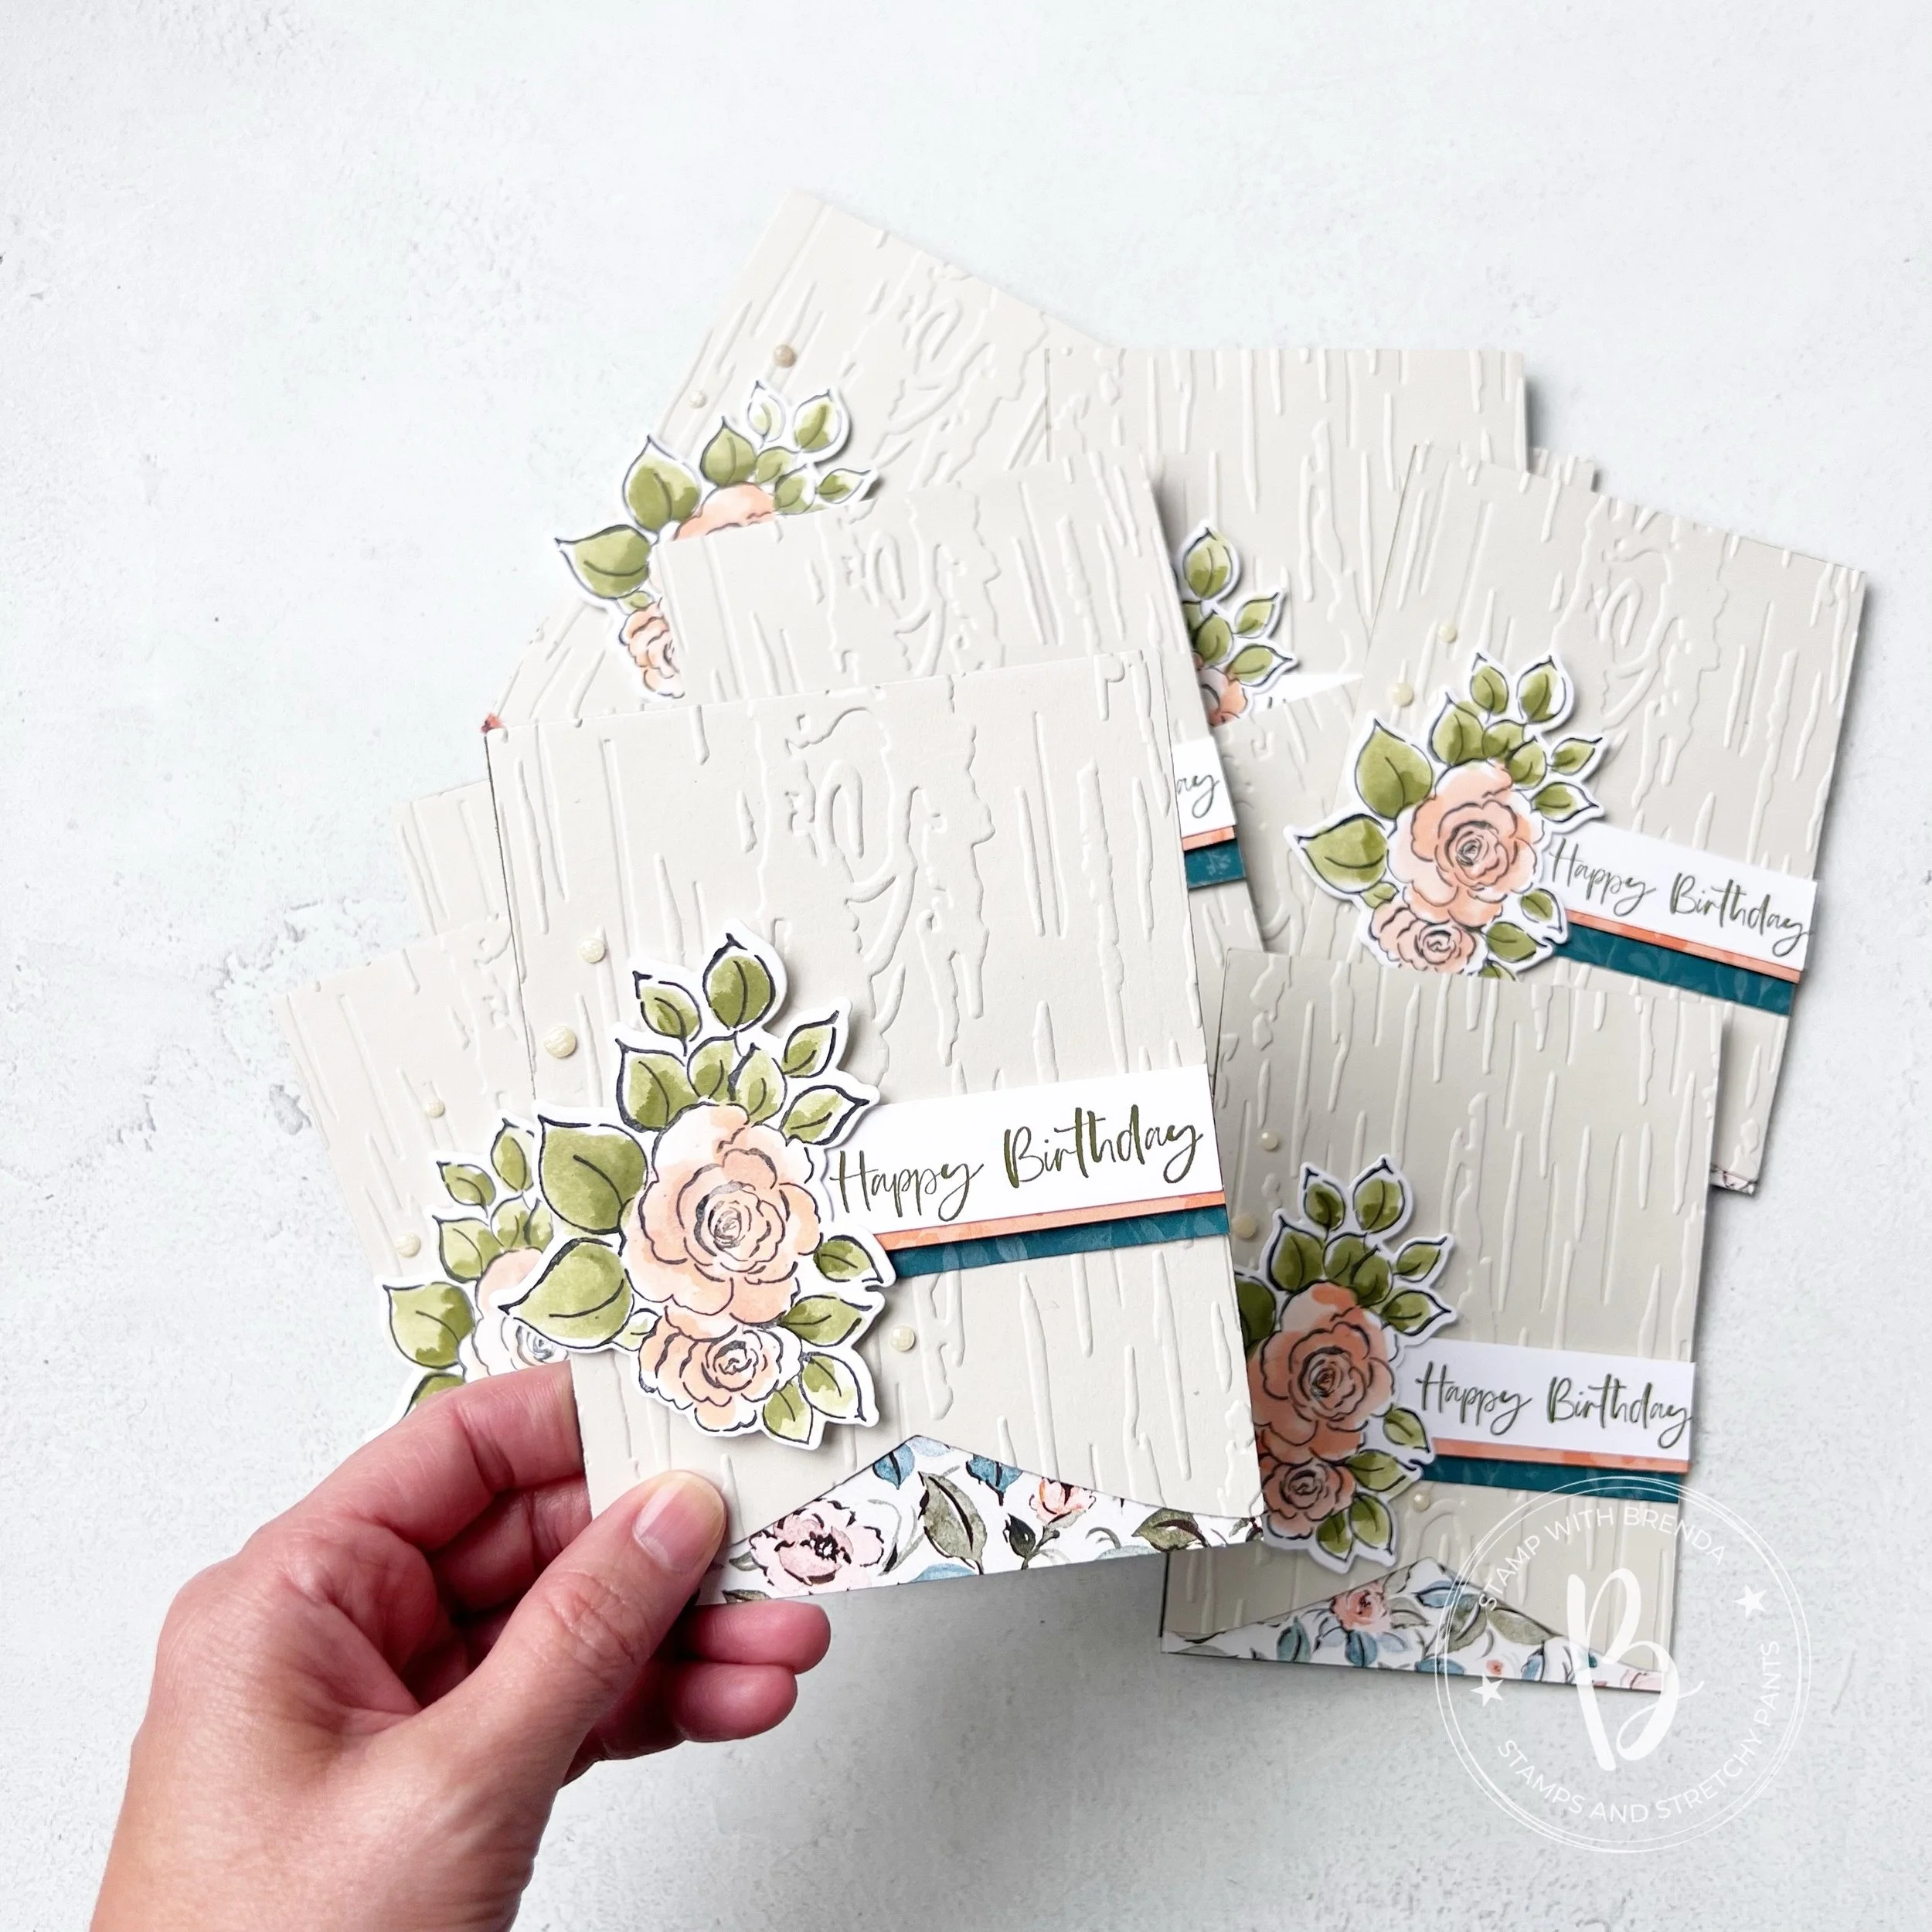
I really love how this card turned out and it inspired me to create a coordinating scrapbook page that I will share in a separate post.
This blog hop is full of some absolutely amazing designers which is why you need to make sure you hop all the way through. You can go backwards from me to see what Lou Kitzelman has designed. Just click the button below.

You can also go forward and see what Melissa Kerman has designed. I know you will find a ton of stampin’ inspiration along the way,
If you have enjoyed my project and feel inspired, please consider shopping with me so I can continue to love what I do!

![Beach Time Photopolymer Stamp Set (English) [ 166832 ]](https://assets1.tamsnetwork.com/images/EC042017NF/166832s.jpg "Beach Time Photopolymer Stamp Set (English) [ 166832 ]")
![Boardwalk Fun Dies [ 166828 ]](https://assets1.tamsnetwork.com/images/EC042017NF/166828s.jpg "Boardwalk Fun Dies [ 166828 ]")
![Beach Boardwalk 12" X 12" (30.5 X 30.5 Cm) Designer Series Paper [ 166820 ]](https://assets1.tamsnetwork.com/images/EC042017NF/166820s.jpg "Beach Boardwalk 12\" X 12\" (30.5 X 30.5 Cm) Designer Series Paper [ 166820 ]")
![Beach Boardwalk Puffy Stickers [ 166838 ]](https://assets1.tamsnetwork.com/images/EC042017NF/166838s.jpg "Beach Boardwalk Puffy Stickers [ 166838 ]")
![Lovely Doilies [ 167104 ]](https://assets1.tamsnetwork.com/images/EC042017NF/167104s.jpg "Lovely Doilies [ 167104 ]")
![Balmy Blue 1/4" (6.4 Mm) Gingham Ribbon [ 166952 ]](https://assets1.tamsnetwork.com/images/EC042017NF/166952s.jpg "Balmy Blue 1/4\" (6.4 Mm) Gingham Ribbon [ 166952 ]")
![Basic White 8 1/2" X 11" Cardstock [ 166780 ]](https://assets1.tamsnetwork.com/images/EC042017NF/166780s.jpg "Basic White 8 1/2\" X 11\" Cardstock [ 166780 ]")
![Balmy Blue 8-1/2" X 11" Cardstock [ 146982 ]](https://assets1.tamsnetwork.com/images/EC042017NF/146982s.jpg "Balmy Blue 8-1/2\" X 11\" Cardstock [ 146982 ]")
![Fresh Freesia 8 1/2" X 11" Cardstock [ 155613 ]](https://assets1.tamsnetwork.com/images/EC042017NF/155613s.jpg "Fresh Freesia 8 1/2\" X 11\" Cardstock [ 155613 ]")
![Small Blending Brushes [ 160518 ]](https://assets1.tamsnetwork.com/images/EC042017NF/160518s.jpg "Small Blending Brushes [ 160518 ]")
![Bubble Bath Stampin’ Blends Combo Pack [ 161675 ]](https://assets1.tamsnetwork.com/images/EC042017NF/161675s.jpg "Bubble Bath Stampin’ Blends Combo Pack [ 161675 ]")
![Bubble Bath Classic Stampin' Pad [ 161664 ]](https://assets1.tamsnetwork.com/images/EC042017NF/161664s.jpg "Bubble Bath Classic Stampin' Pad [ 161664 ]")
![Fresh Freesia Classic Stampin' Pad [ 155611 ]](https://assets1.tamsnetwork.com/images/EC042017NF/155611s.jpg "Fresh Freesia Classic Stampin' Pad [ 155611 ]")
![Balmy Blue Classic Stampin' Pad [ 147105 ]](https://assets1.tamsnetwork.com/images/EC042017NF/147105s.jpg "Balmy Blue Classic Stampin' Pad [ 147105 ]")

![Charming Day Bundle (English) [ 166136 ]](https://assets1.tamsnetwork.com/images/EC042017NF/166136s.jpg "Charming Day Bundle (English) [ 166136 ]")
![Party Banners Dies [ 165264 ]](https://assets1.tamsnetwork.com/images/EC042017NF/165264s.jpg "Party Banners Dies [ 165264 ]")
![Birch Wood 3 D Embossing Folder [ 164069 ]](https://assets1.tamsnetwork.com/images/EC042017NF/164069s.jpg "Birch Wood 3 D Embossing Folder [ 164069 ]")
![Floral Charm 12" X 12" (30.5 X 30.5 Cm) Designer Series Paper [ 166125 ]](https://assets1.tamsnetwork.com/images/EC042017NF/166125s.jpg "Floral Charm 12\" X 12\" (30.5 X 30.5 Cm) Designer Series Paper [ 166125 ]")
![Basic Beige 8 1/2" X 11" Cardstock [ 164511 ]](https://assets1.tamsnetwork.com/images/EC042017NF/164511s.jpg "Basic Beige 8 1/2\" X 11\" Cardstock [ 164511 ]")
![Neutral Matte Dots [ 165561 ]](https://assets1.tamsnetwork.com/images/EC042017NF/165561s.jpg "Neutral Matte Dots [ 165561 ]")
![Clear Wink Of Stella Glitter Brush [ 141897 ]](https://assets1.tamsnetwork.com/images/EC042017NF/141897s.jpg "Clear Wink Of Stella Glitter Brush [ 141897 ]")
![Water Painters [ 151298 ]](https://assets1.tamsnetwork.com/images/EC042017NF/151298s.jpg "Water Painters [ 151298 ]")
![Tuxedo Black Memento Ink Pad [ 132708 ]](https://assets1.tamsnetwork.com/images/EC042017NF/132708s.jpg "Tuxedo Black Memento Ink Pad [ 132708 ]")
![Old Olive Classic Stampin' Pad [ 147090 ]](https://assets1.tamsnetwork.com/images/EC042017NF/147090s.jpg "Old Olive Classic Stampin' Pad [ 147090 ]")
![Petal Pink Classic Stampin' Pad [ 147108 ]](https://assets1.tamsnetwork.com/images/EC042017NF/147108s.jpg "Petal Pink Classic Stampin' Pad [ 147108 ]")
![Calypso Coral Classic Stampin' Pad [ 147101 ]](https://assets1.tamsnetwork.com/images/EC042017NF/147101s.jpg "Calypso Coral Classic Stampin' Pad [ 147101 ]")
![Mossy Meadow Classic Stampin' Pad [ 147111 ]](https://assets1.tamsnetwork.com/images/EC042017NF/147111s.jpg "Mossy Meadow Classic Stampin' Pad [ 147111 ]")


")

 Polka Dot Trim")


")


")


