Color Fusers--July!
/Hi friends! Welcome to July—as a teacher, this is an exciting month. I think I live for not setting my alarm clock! And I now have time for more crafting, which is everyone’s dream!
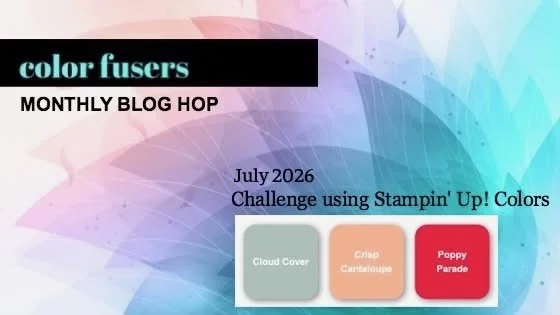
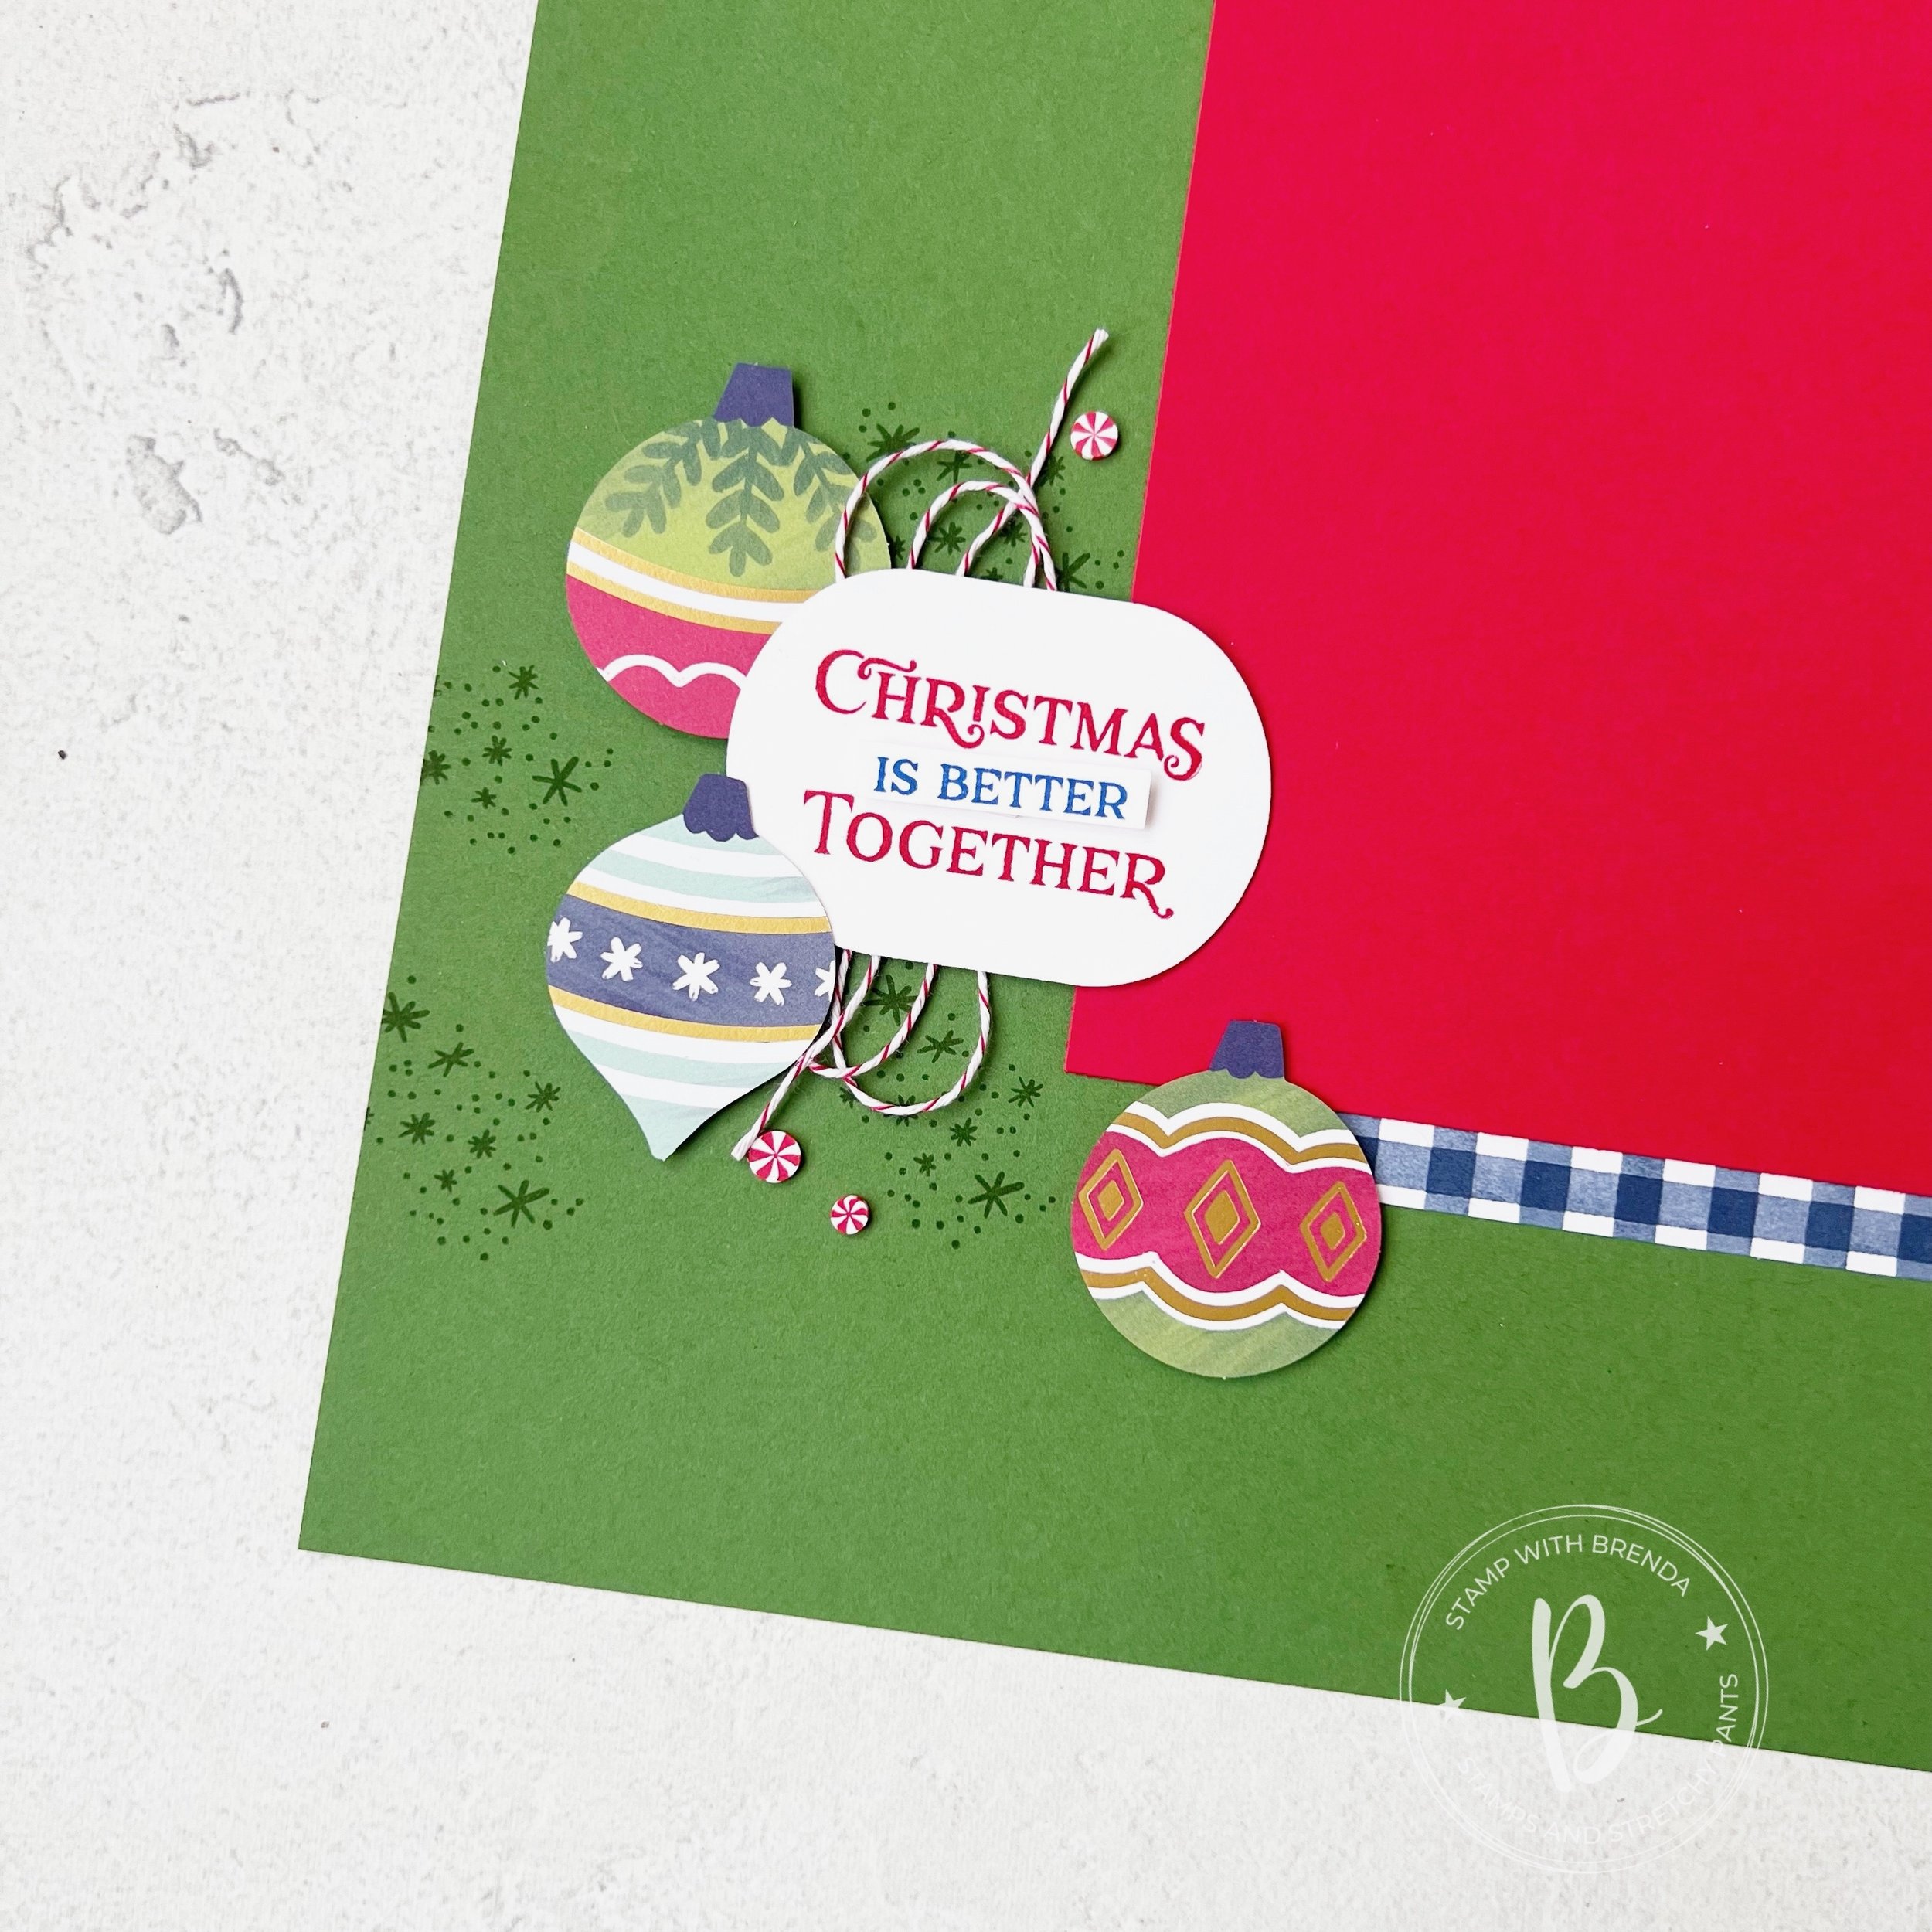
This month the Color Fusers are creating with Cloud Cover, Crisp Cantaloupe (a new In Color but a returning color) and Poppy Parade. I decided to use this combo to create a scrapbook layout.
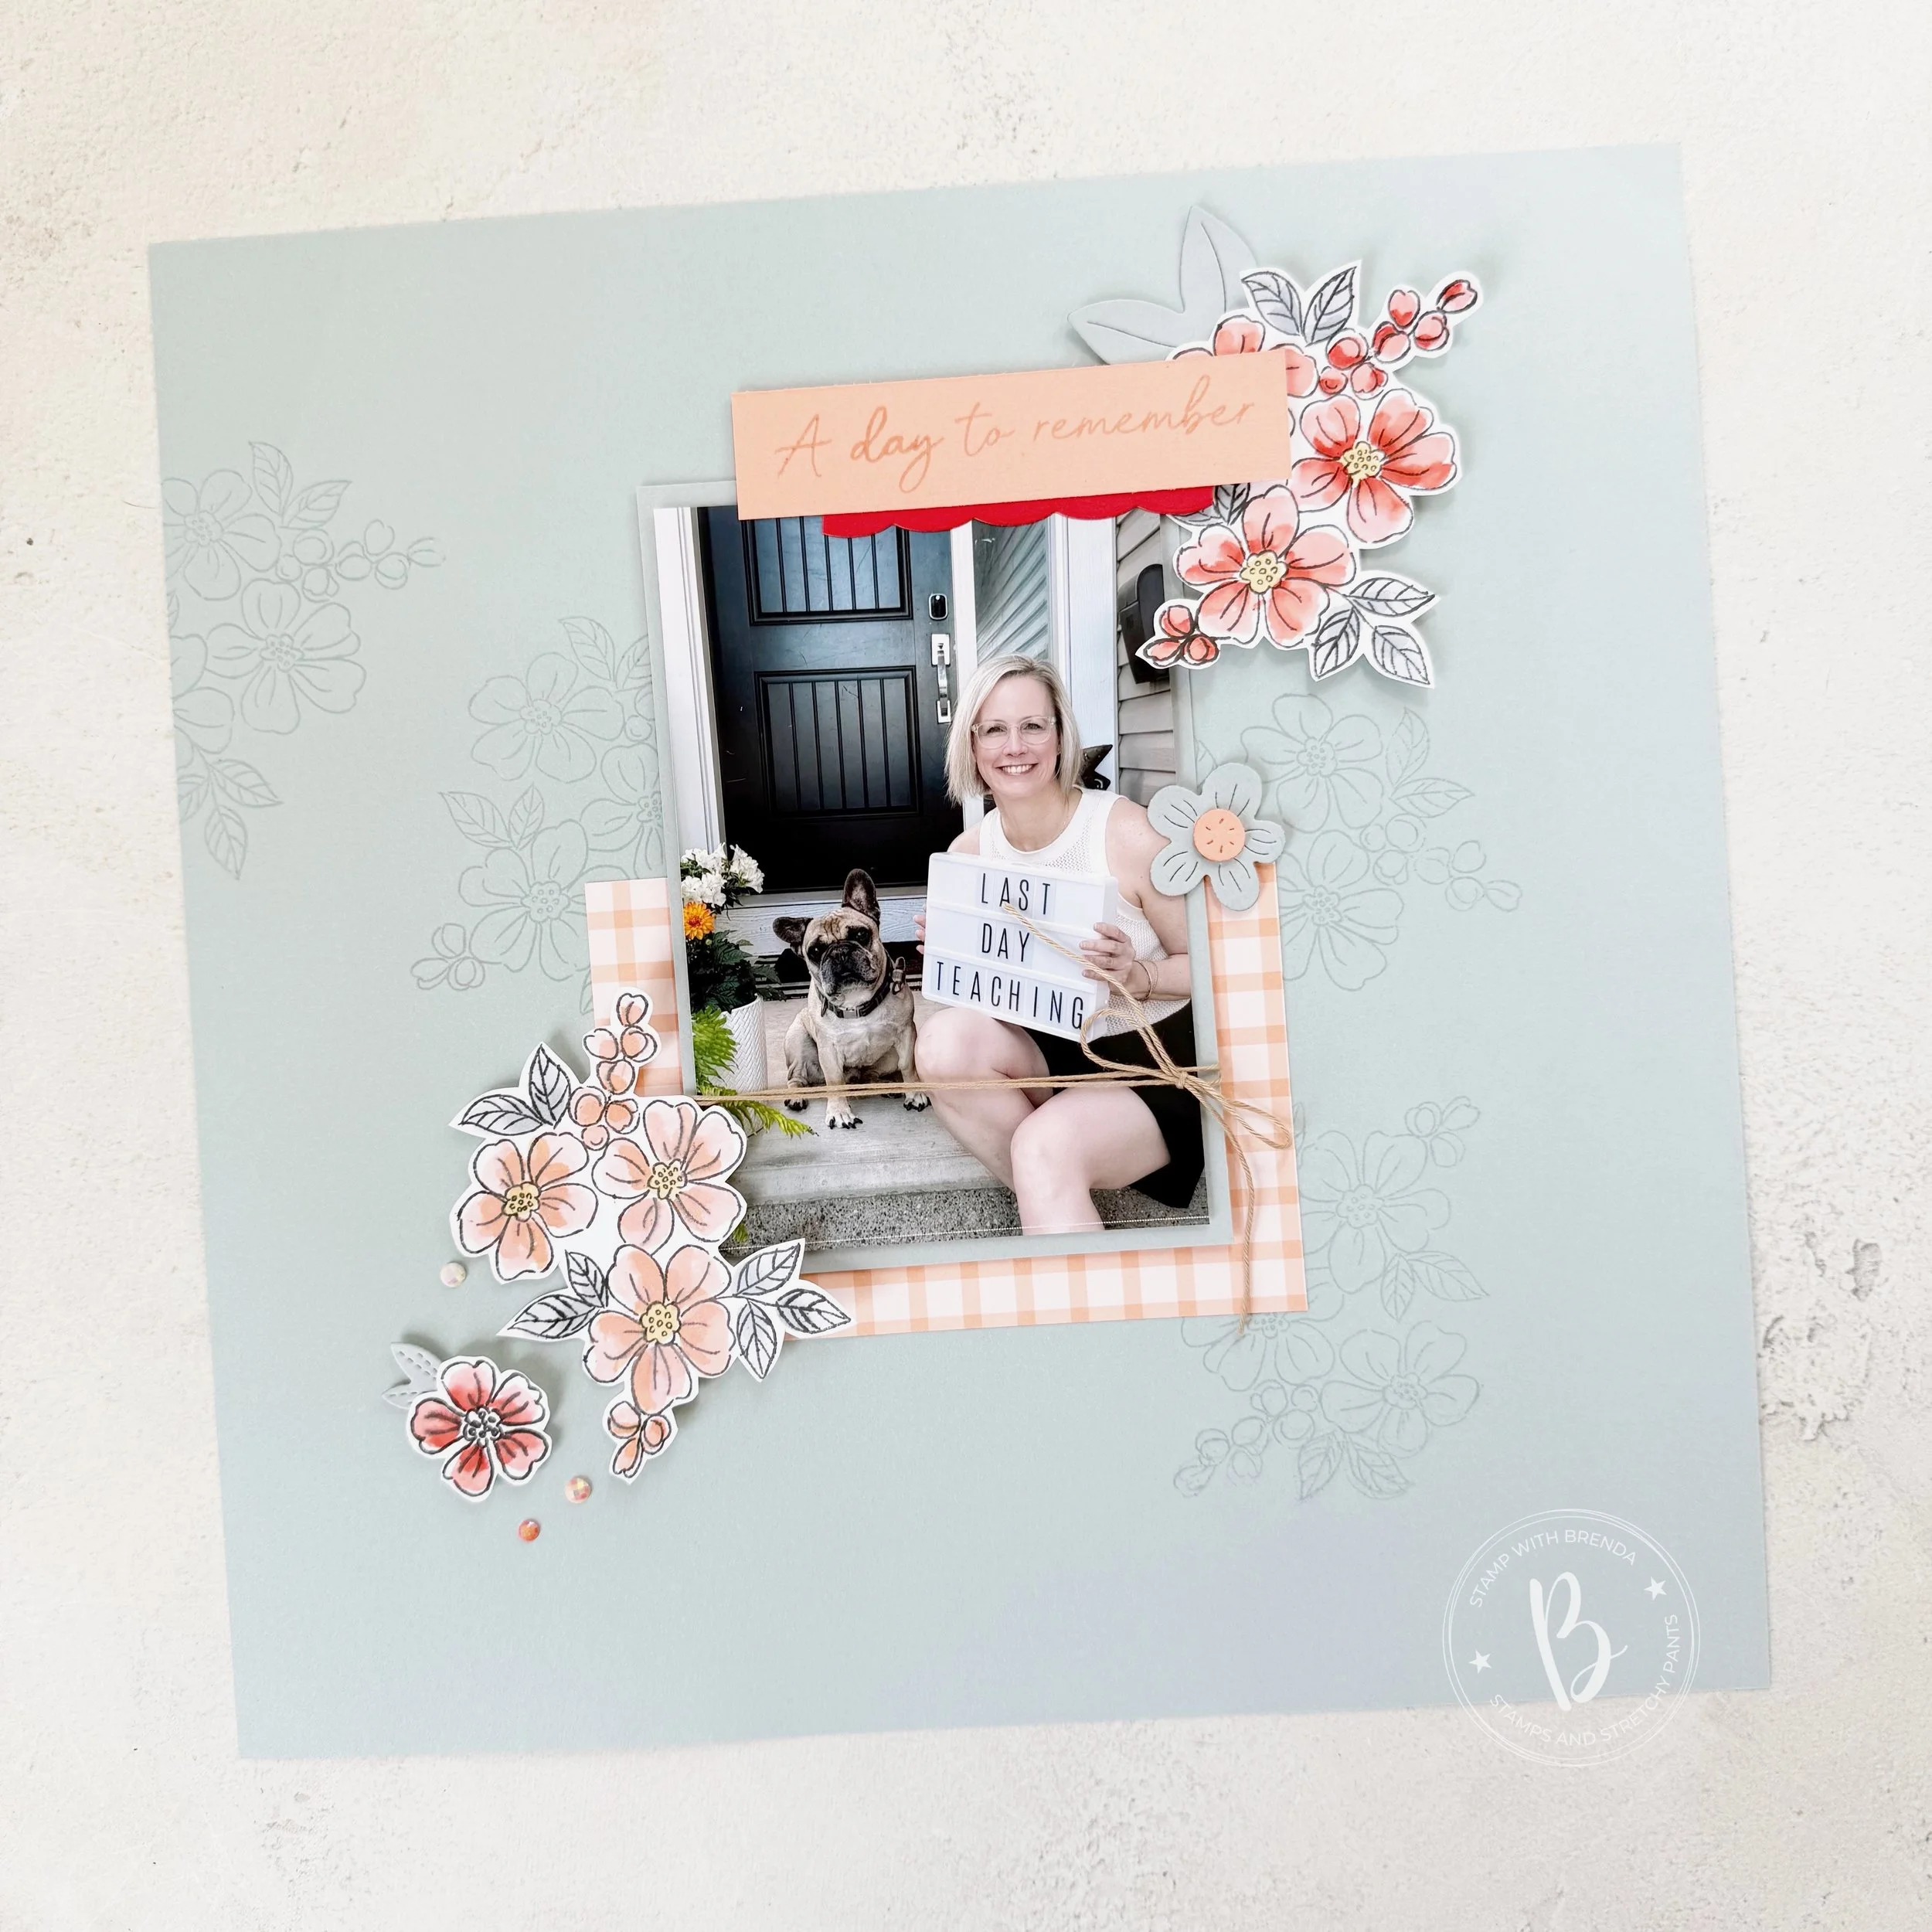
Isn’t my dog so adorable! I love that he wanted to join me for this picture!
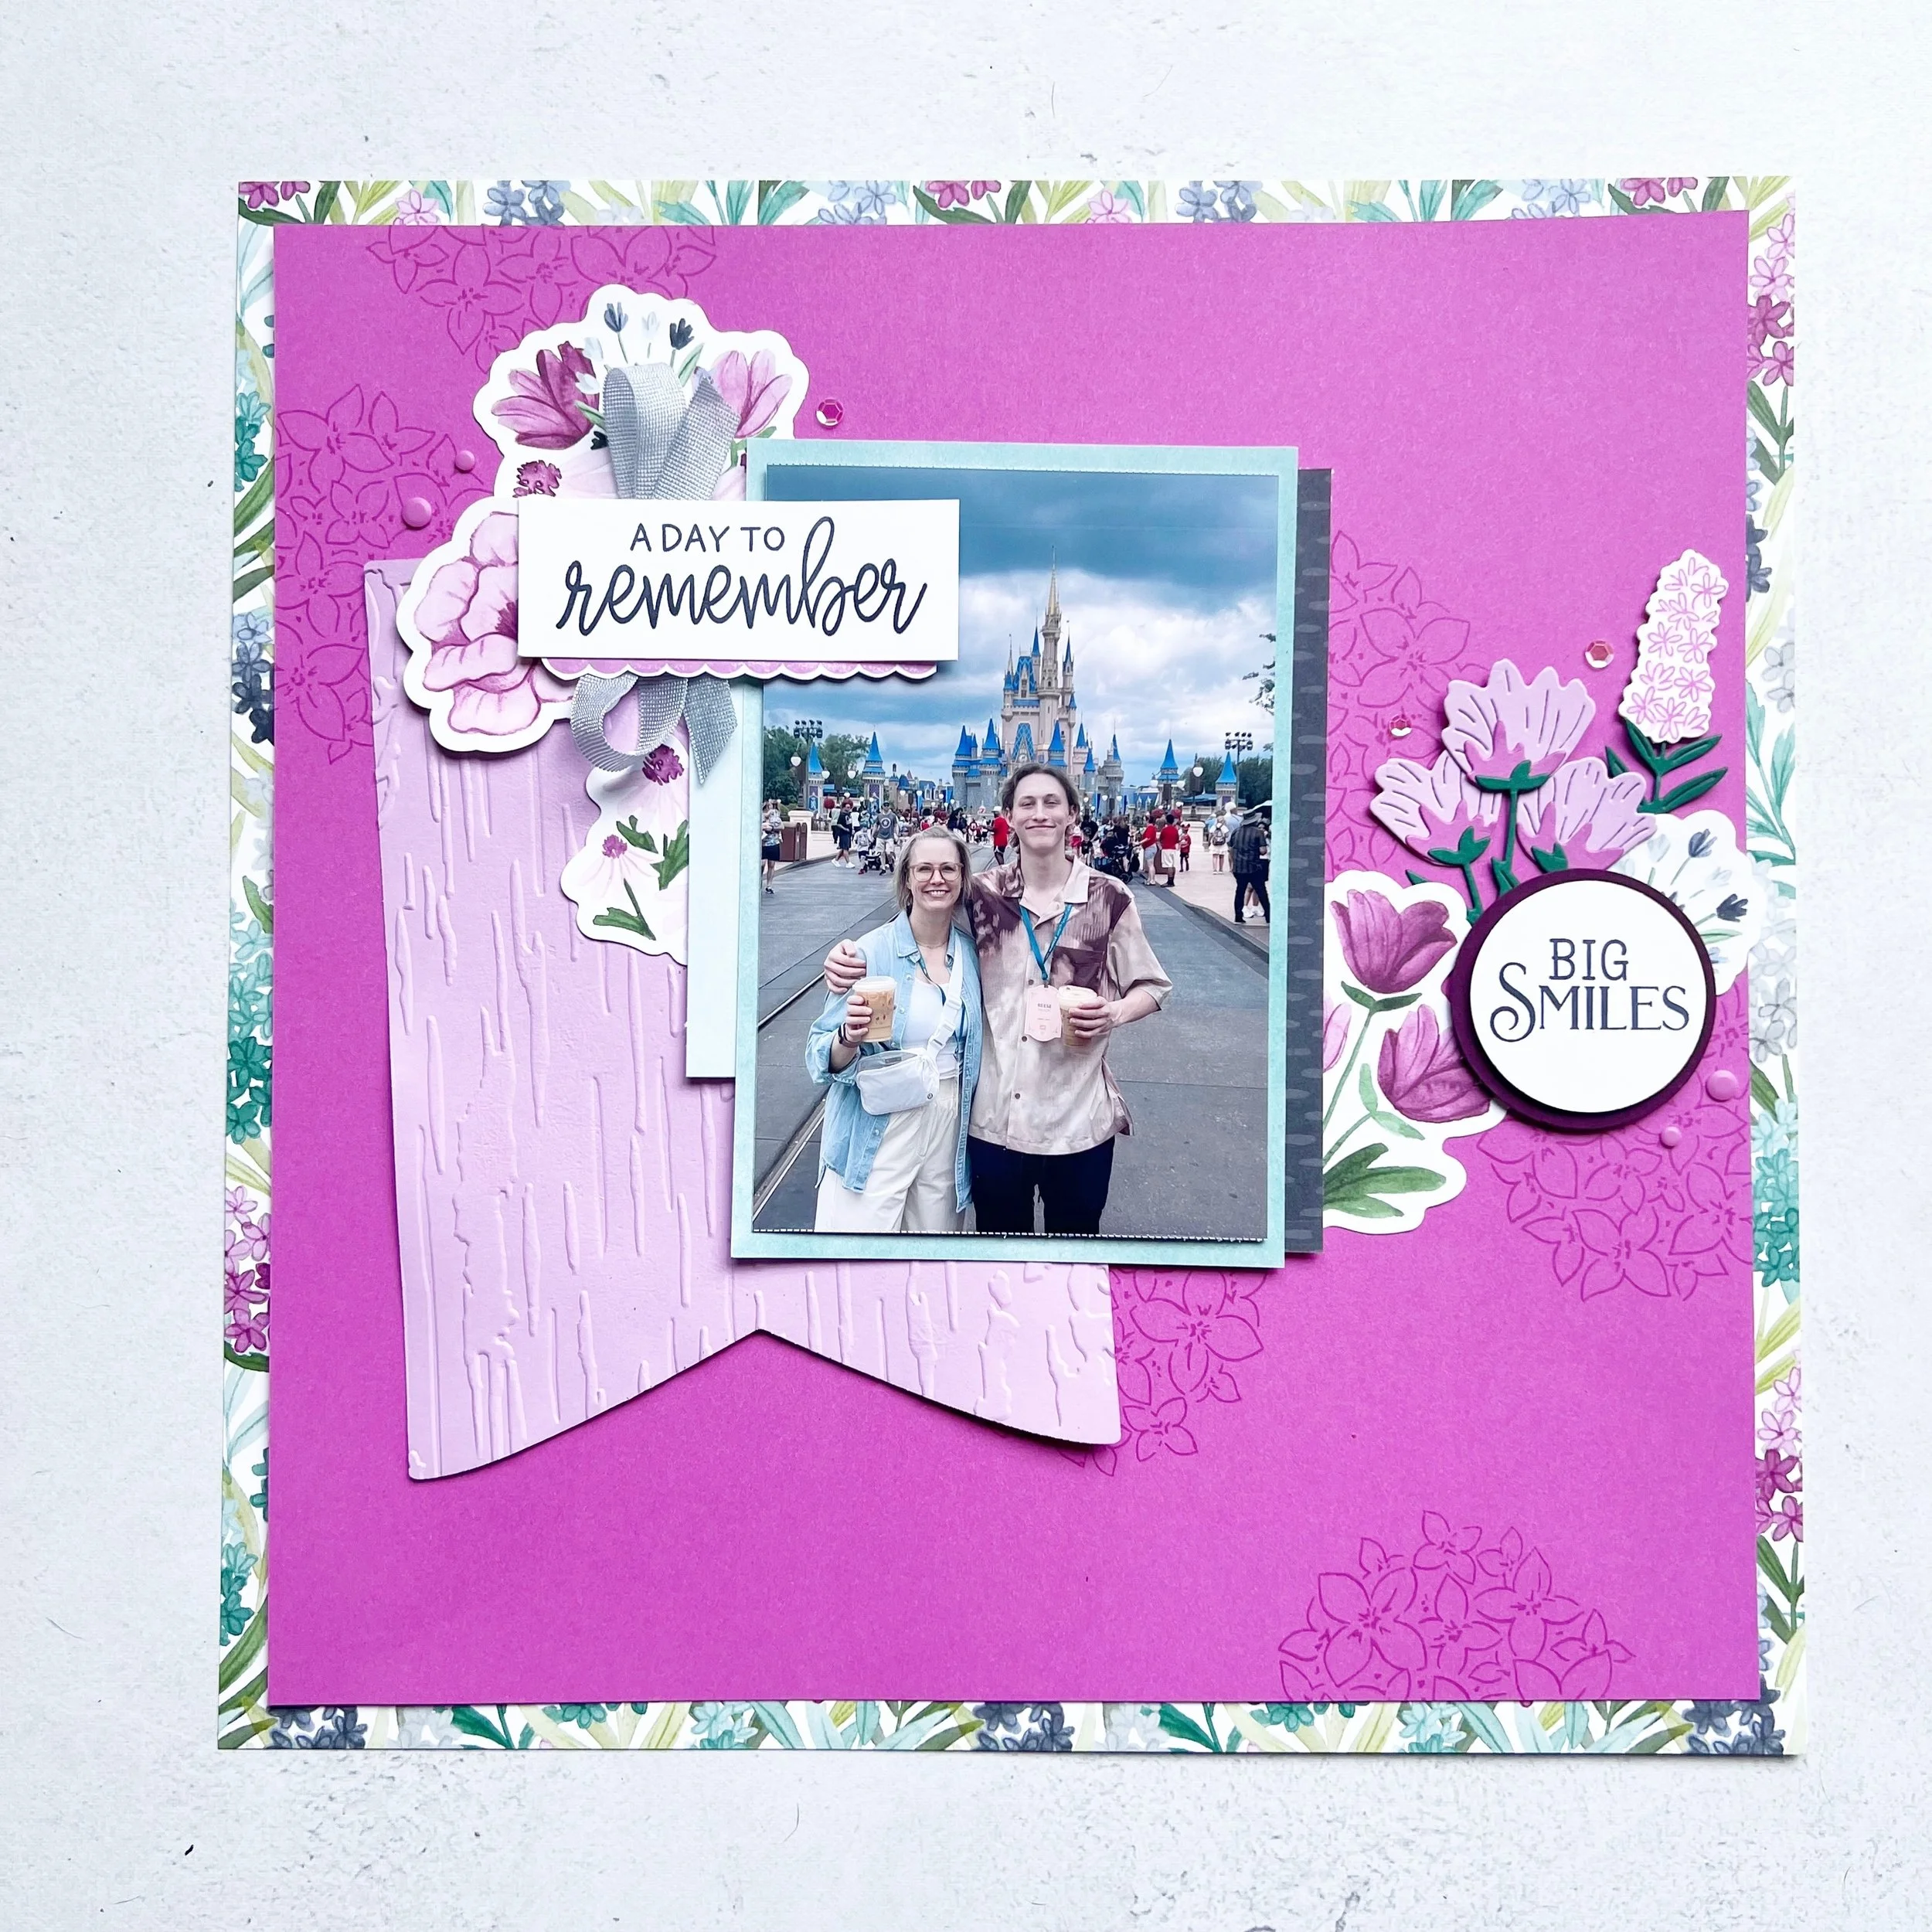
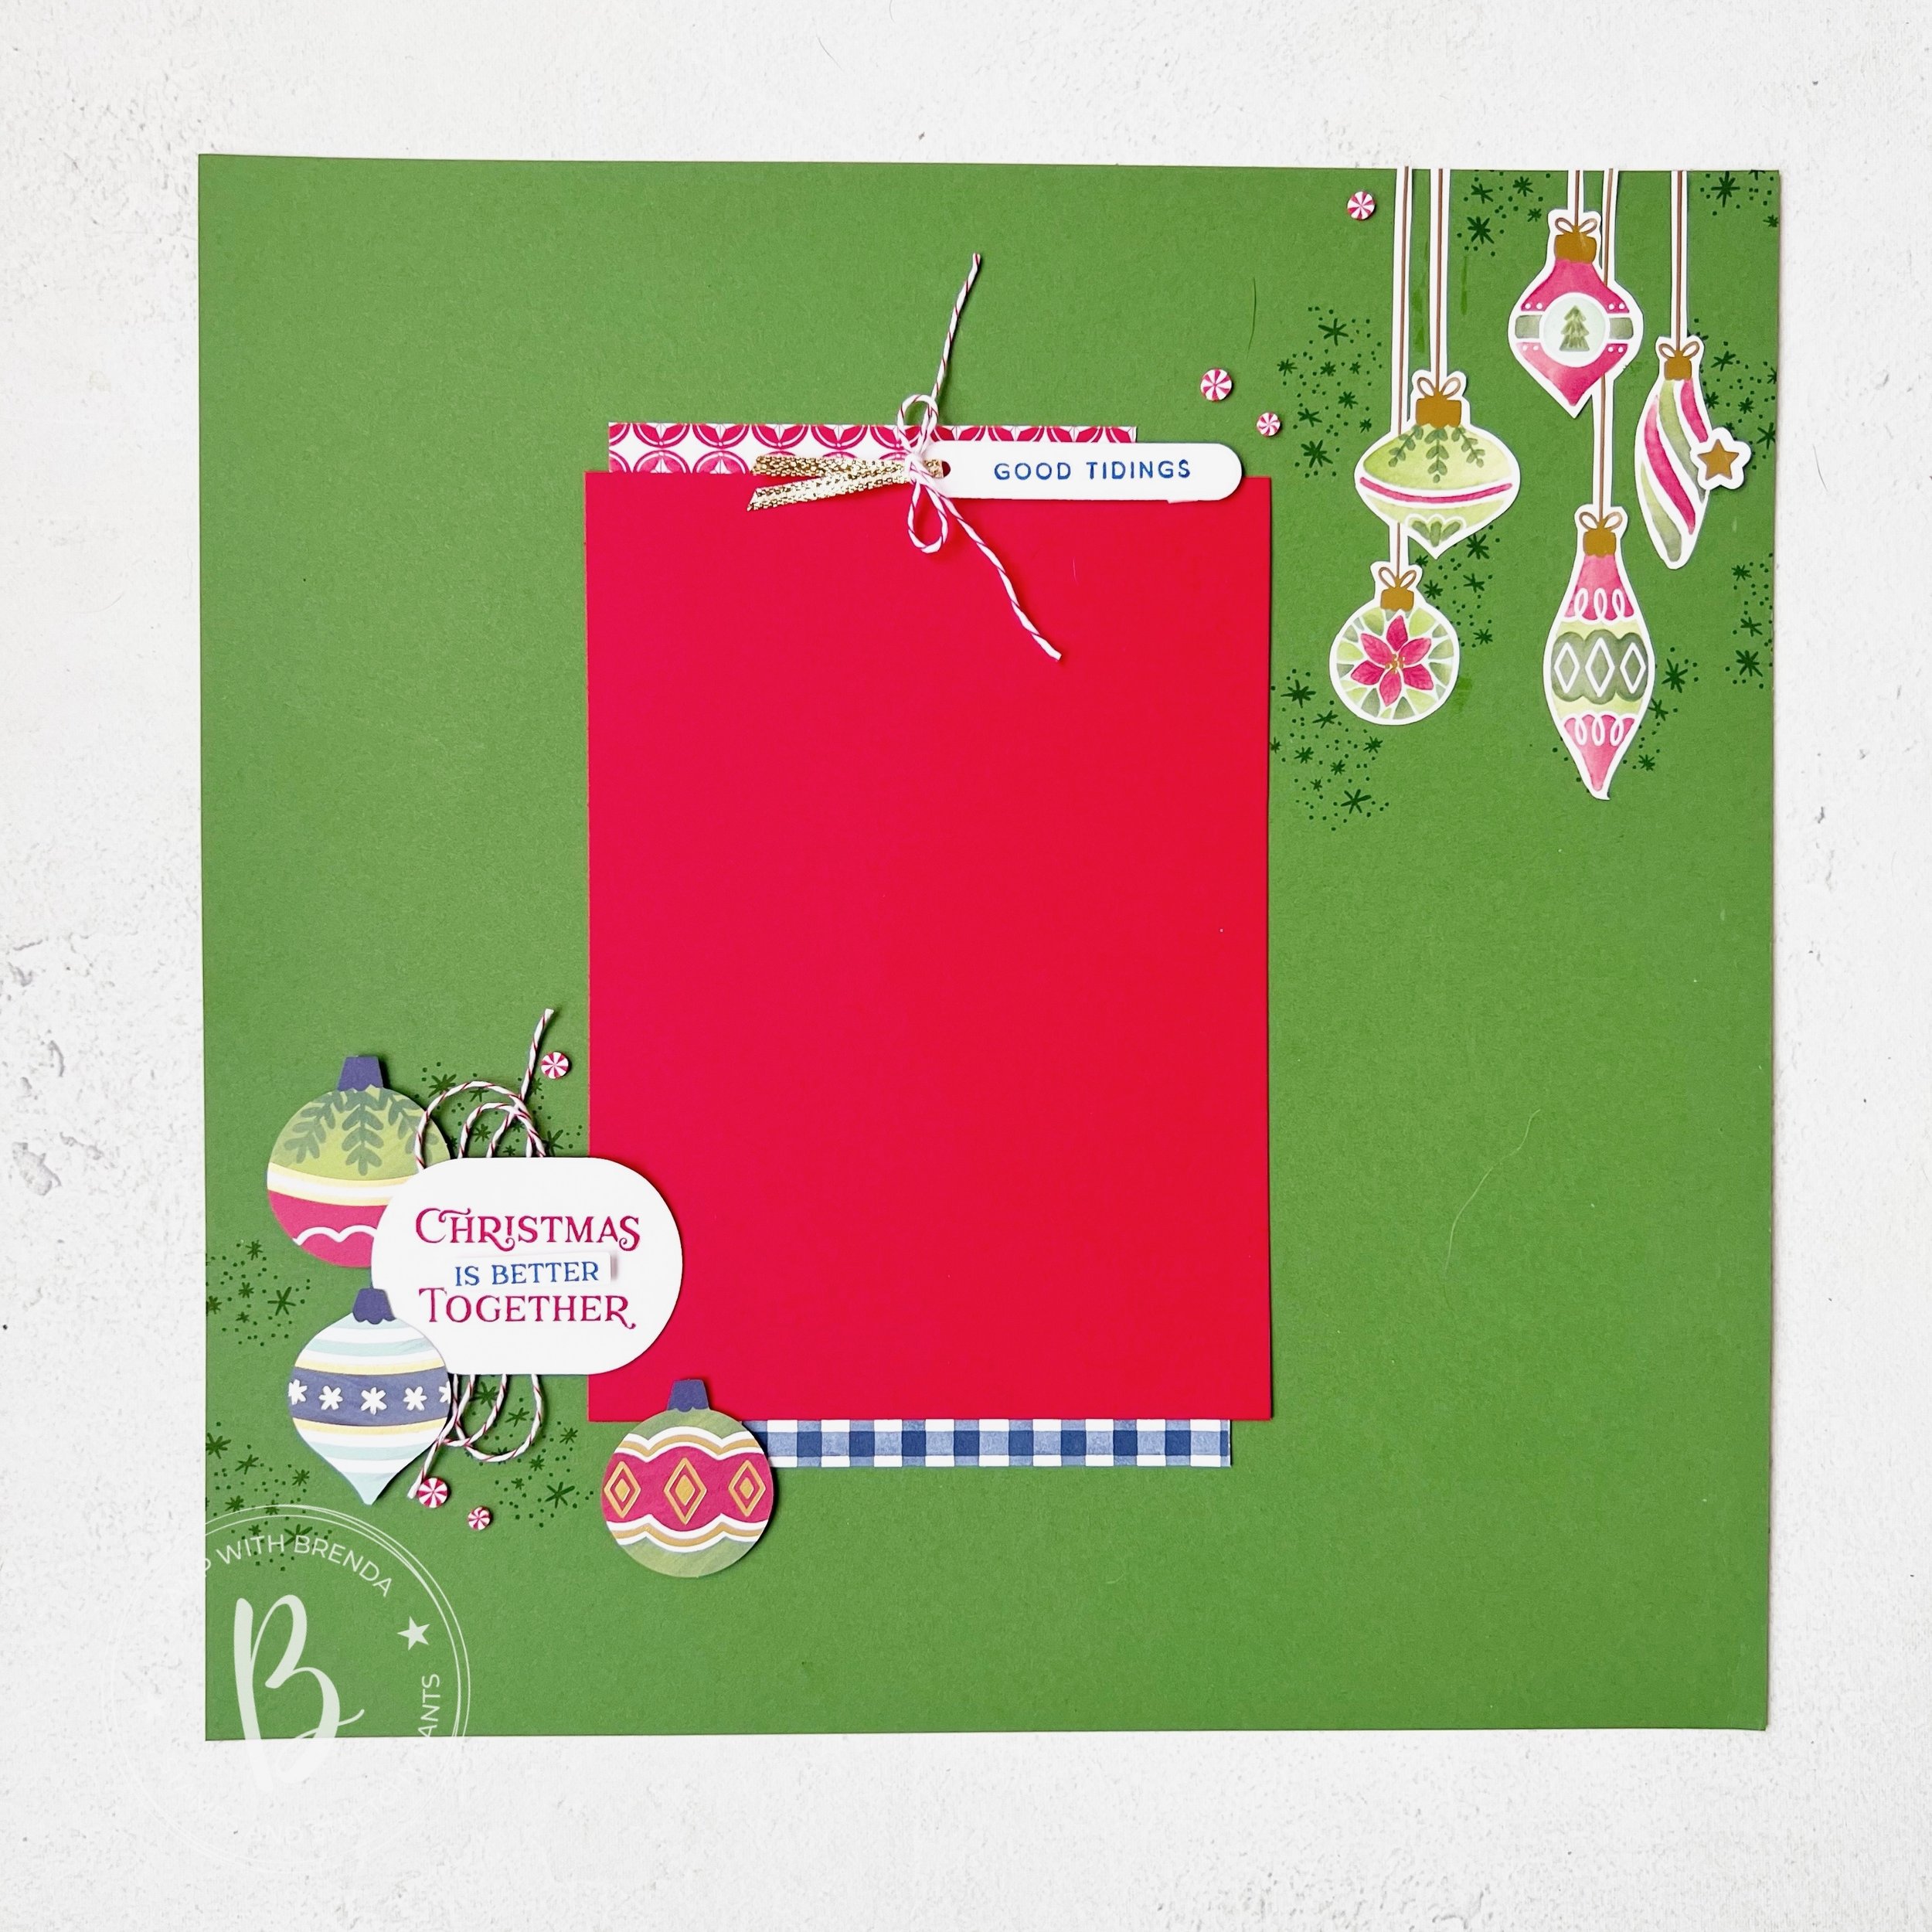
I started my page with Cloud Cover Two Tone card stock on the original color side. I used the Fragrant Layers stamp set (one of my current favourites) as the main stamp for my page.
The new Gingham In Color DSP is at the top of my DSP list at the moment. I wish we had it for every color family as you cannot go wrong with gingham! I used a section in the small gingham in Crisp Cantaloupe under my photo. My last day of school picture is mounted on Cloud Cover card stock with some Crumb Cake Bakers Twine wrapped around.
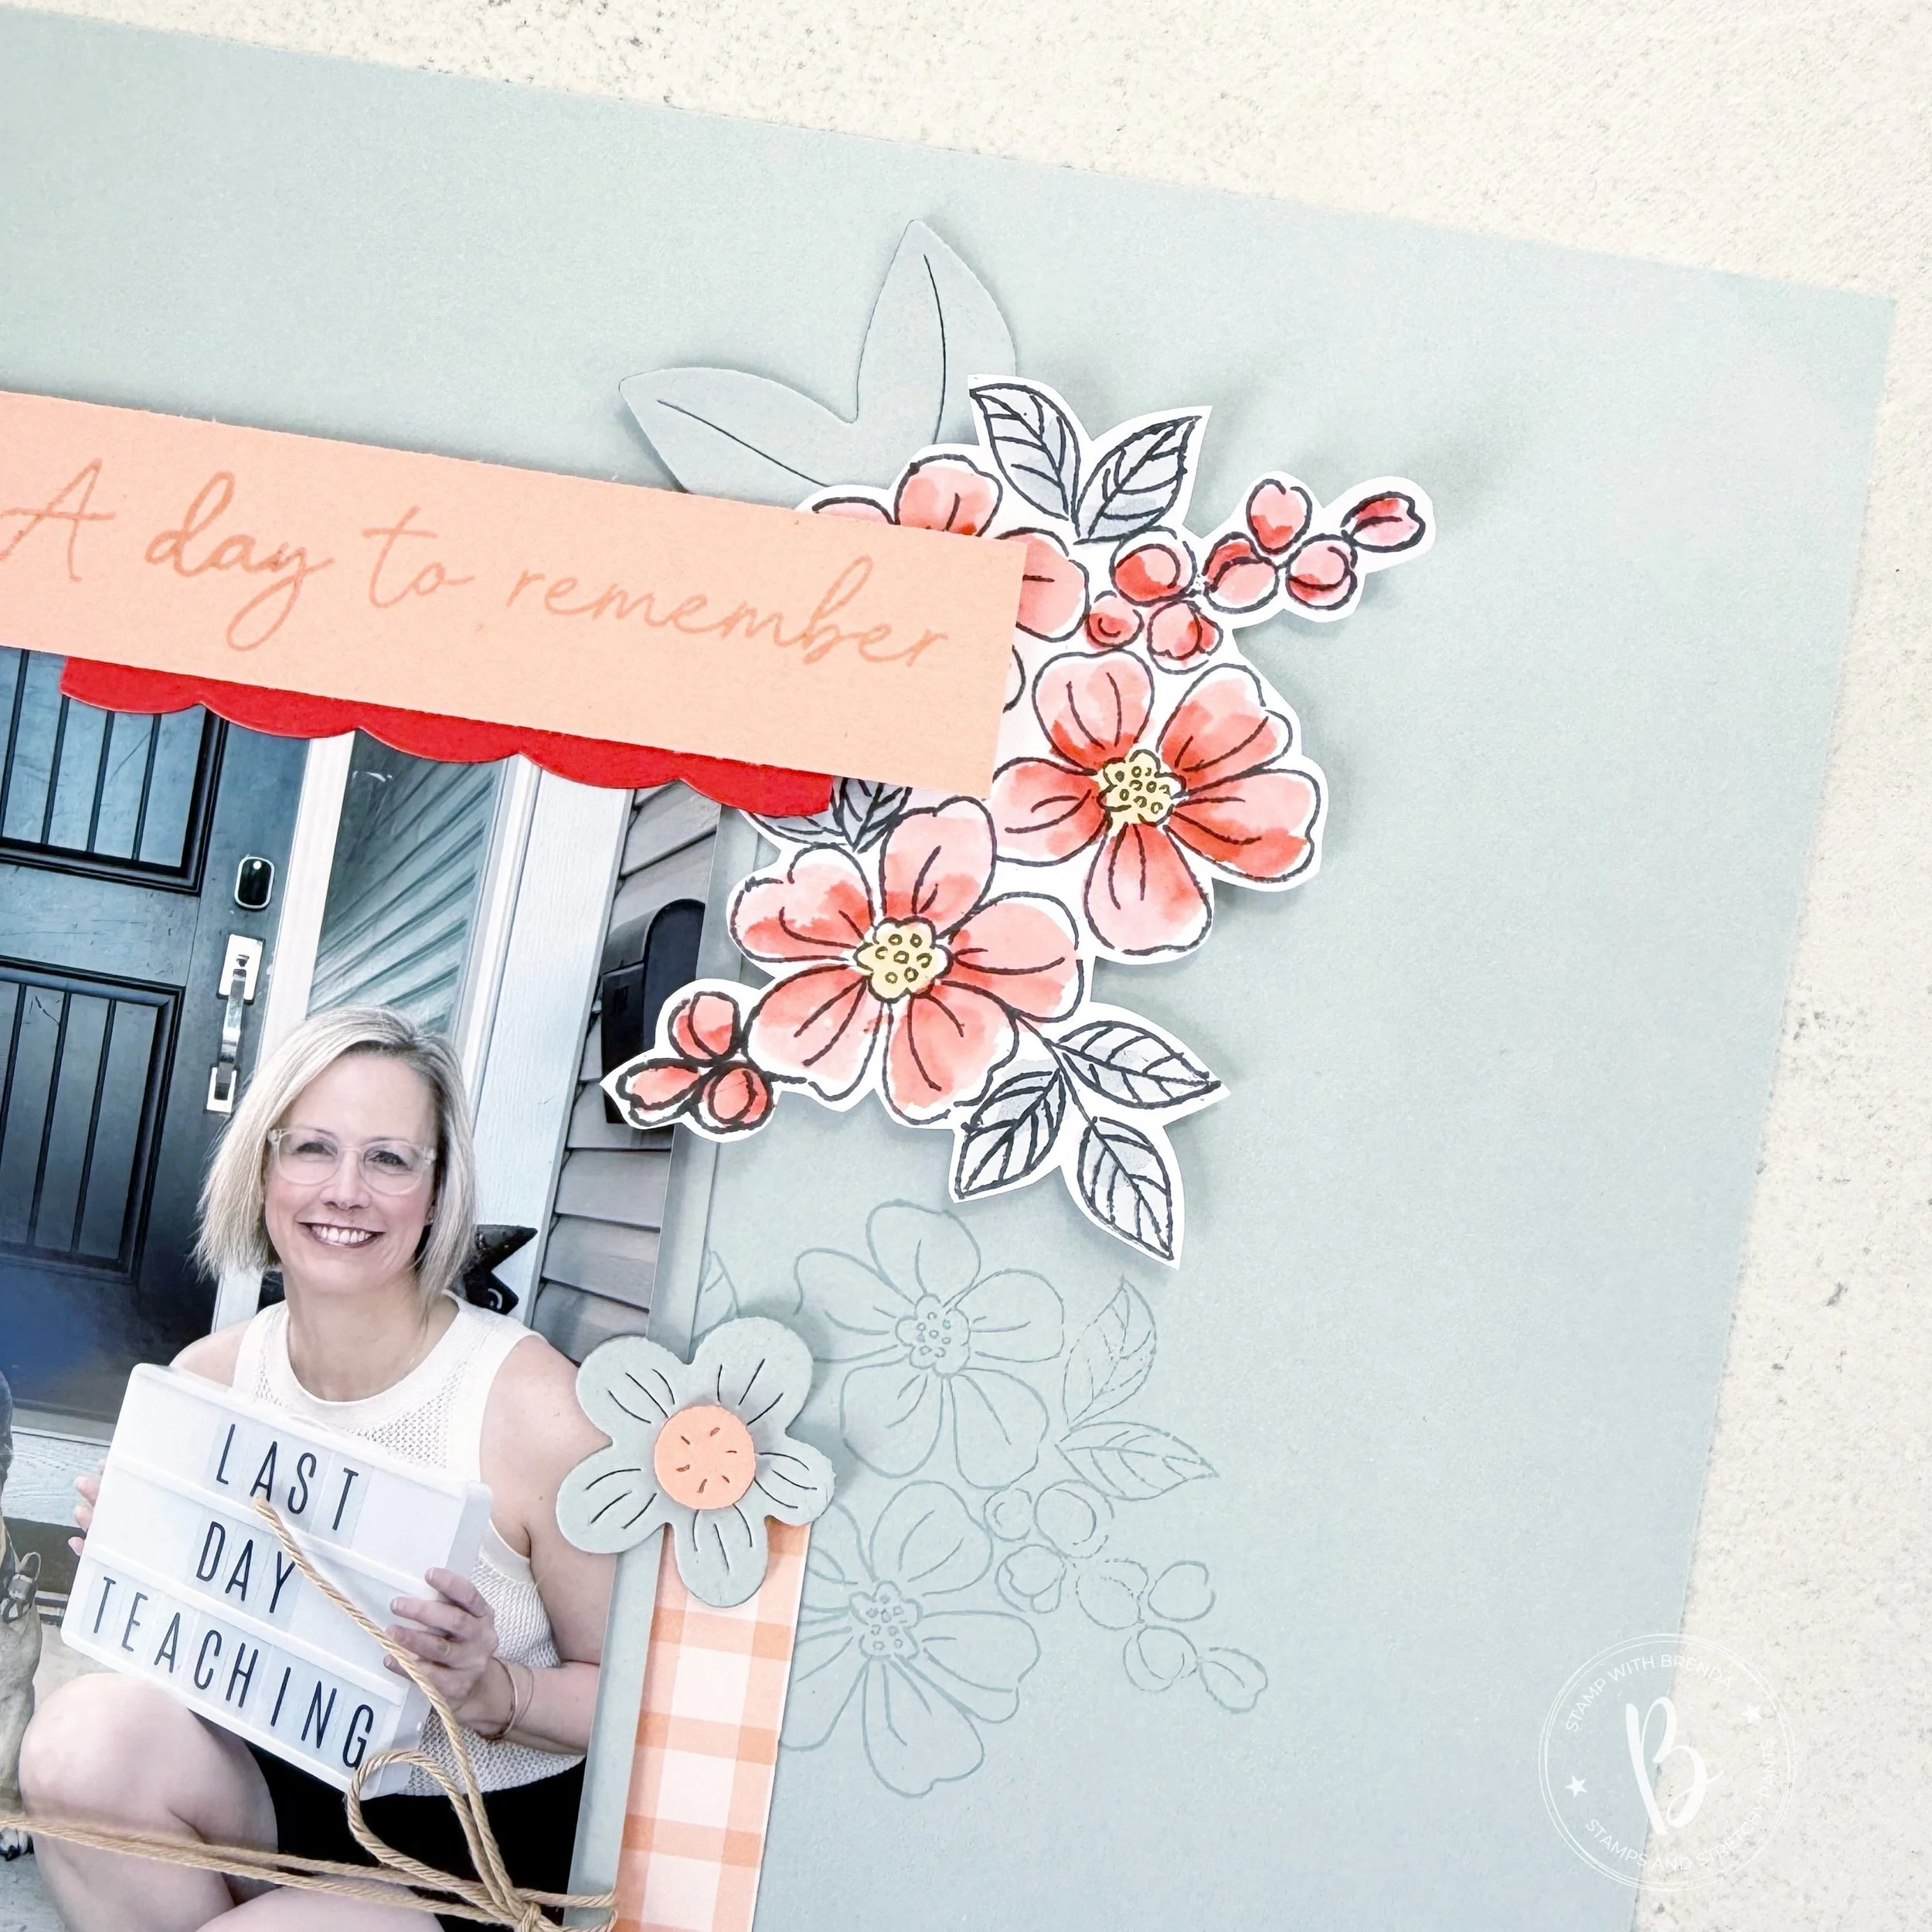
The sentiment is from the Fragrant Layers stamp set and is accentuated by a little scallop border detail in Poppy Parade. This was cut using the Bordered in Beauty Dies.
I also added a die cut flower and leaf from the Heirloom Boutique Die set.
The flowers on my page are coloured using the lazy watercoloring technique and the leaves are coloured with a Cloud Cover Stampin’ Blend. I used a Golden Glow dark Stampin’ Blend for the flower centers.
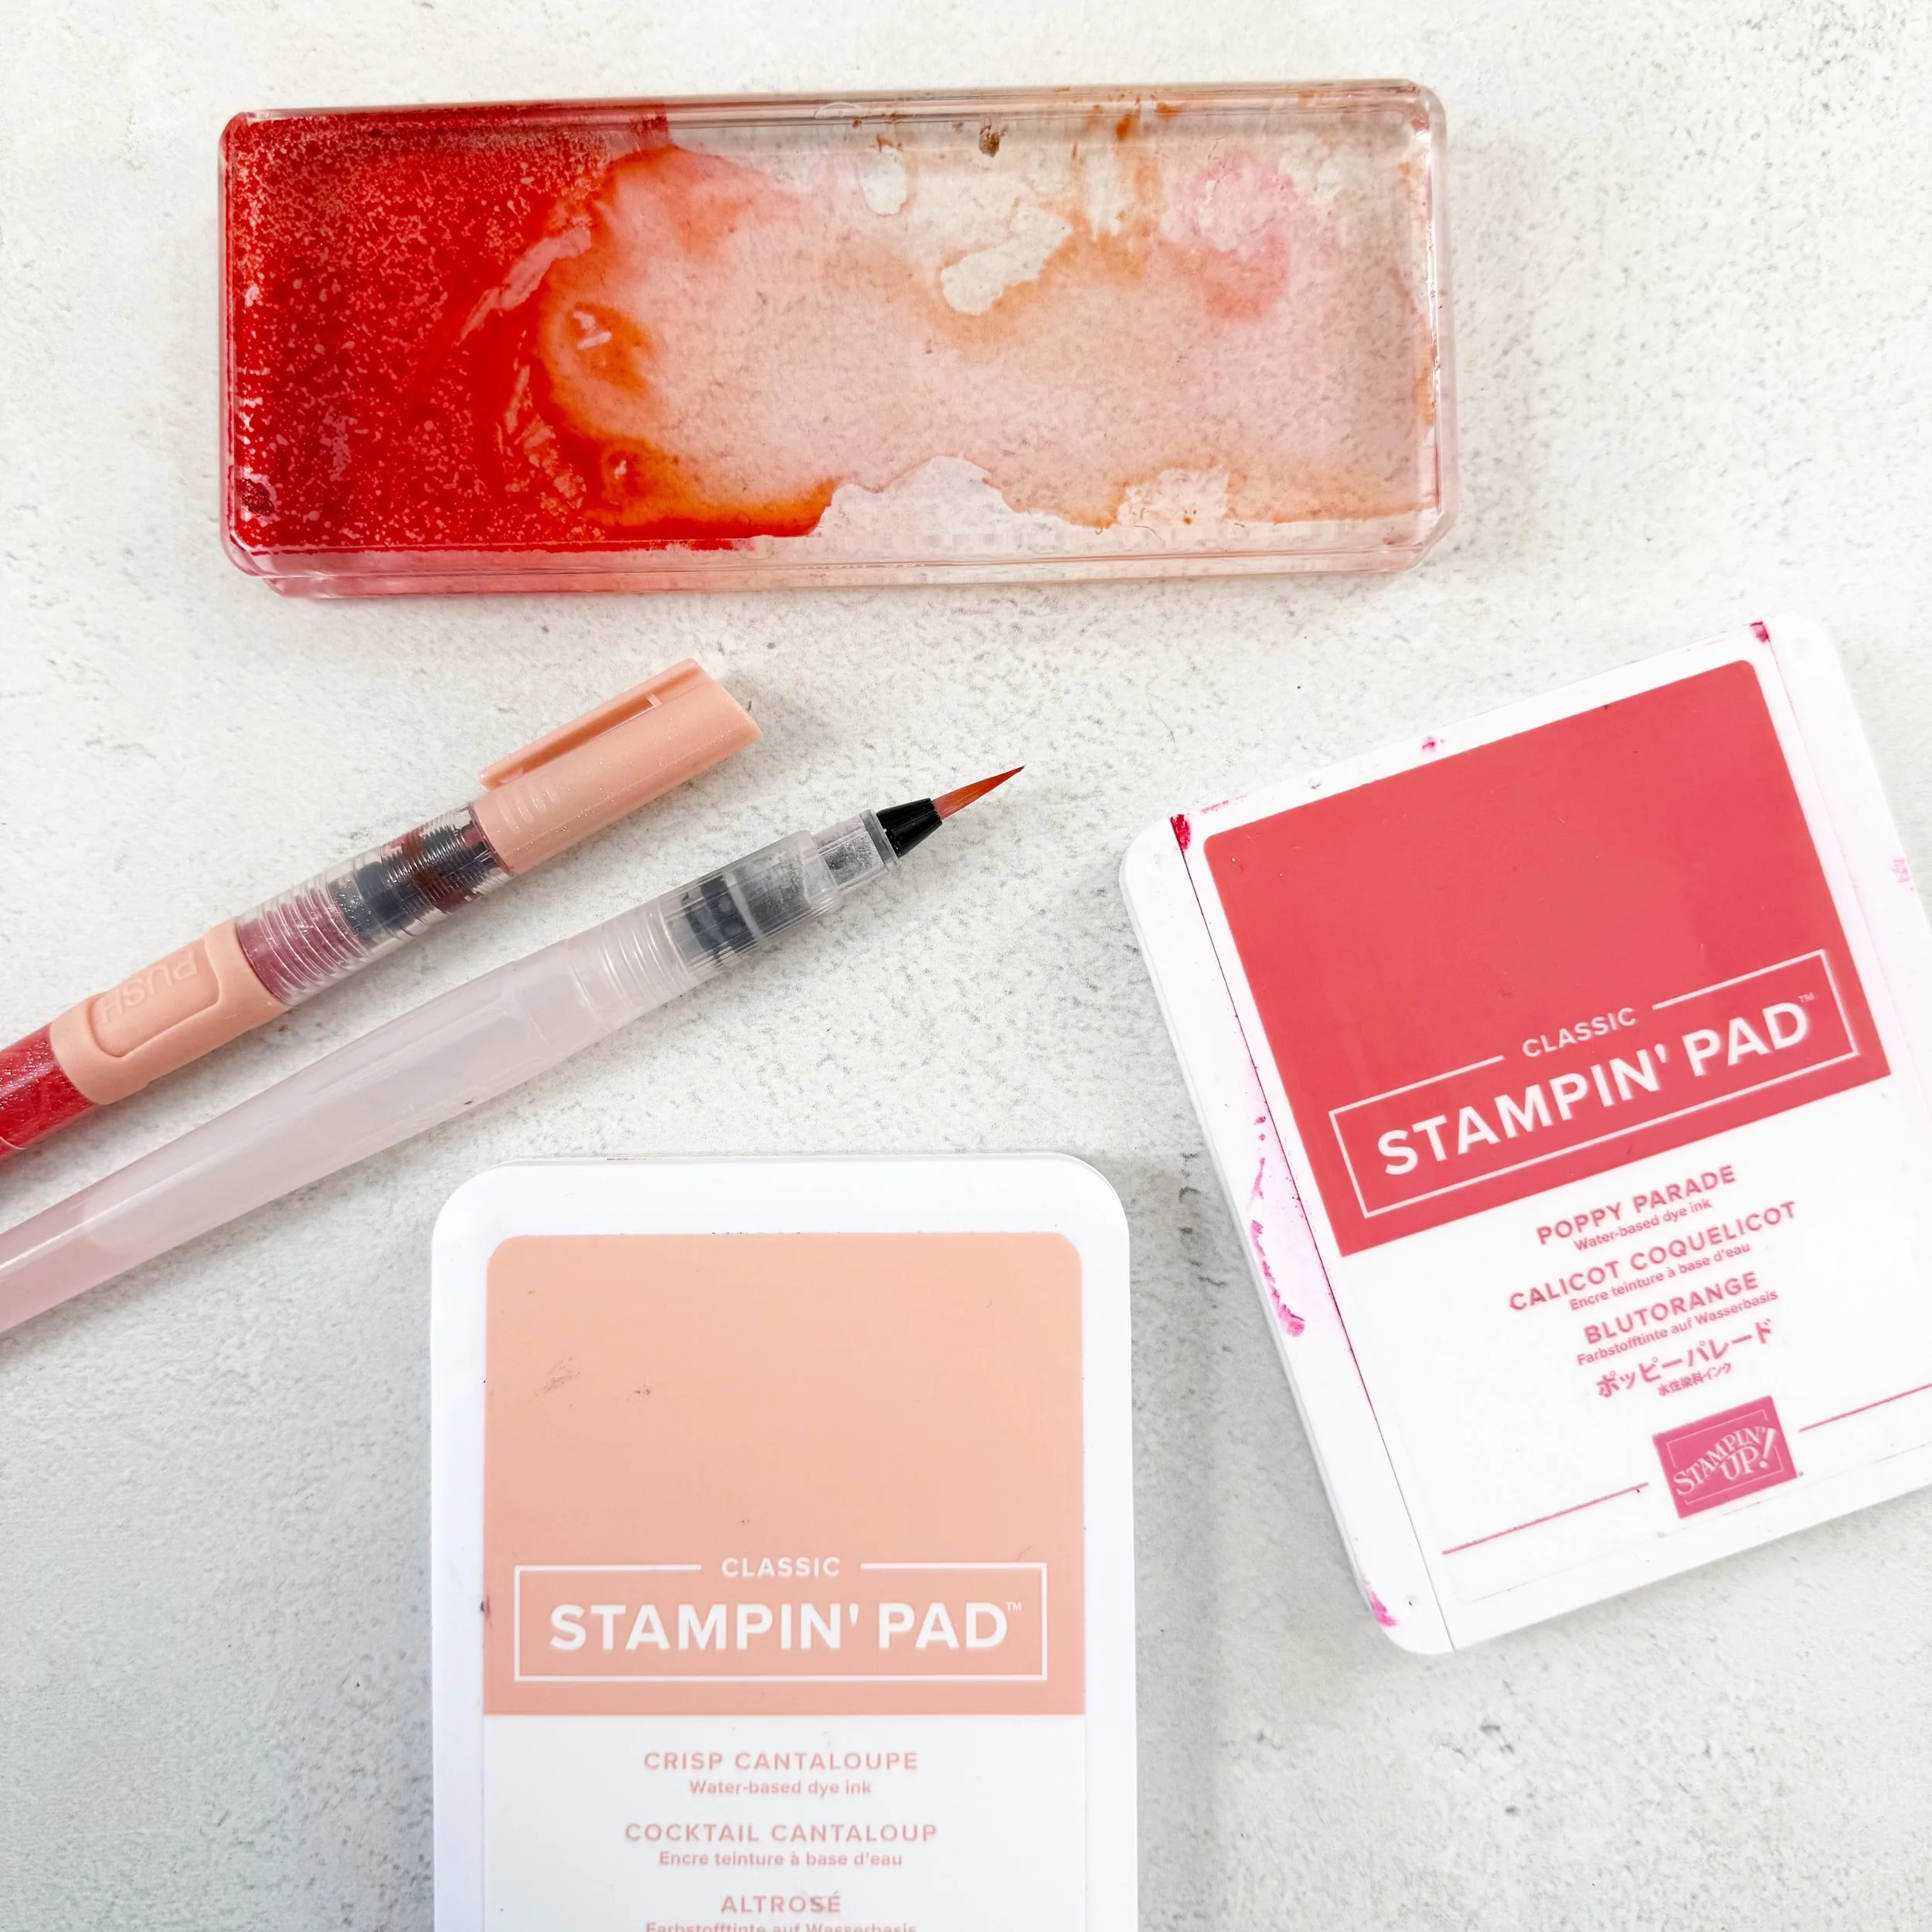
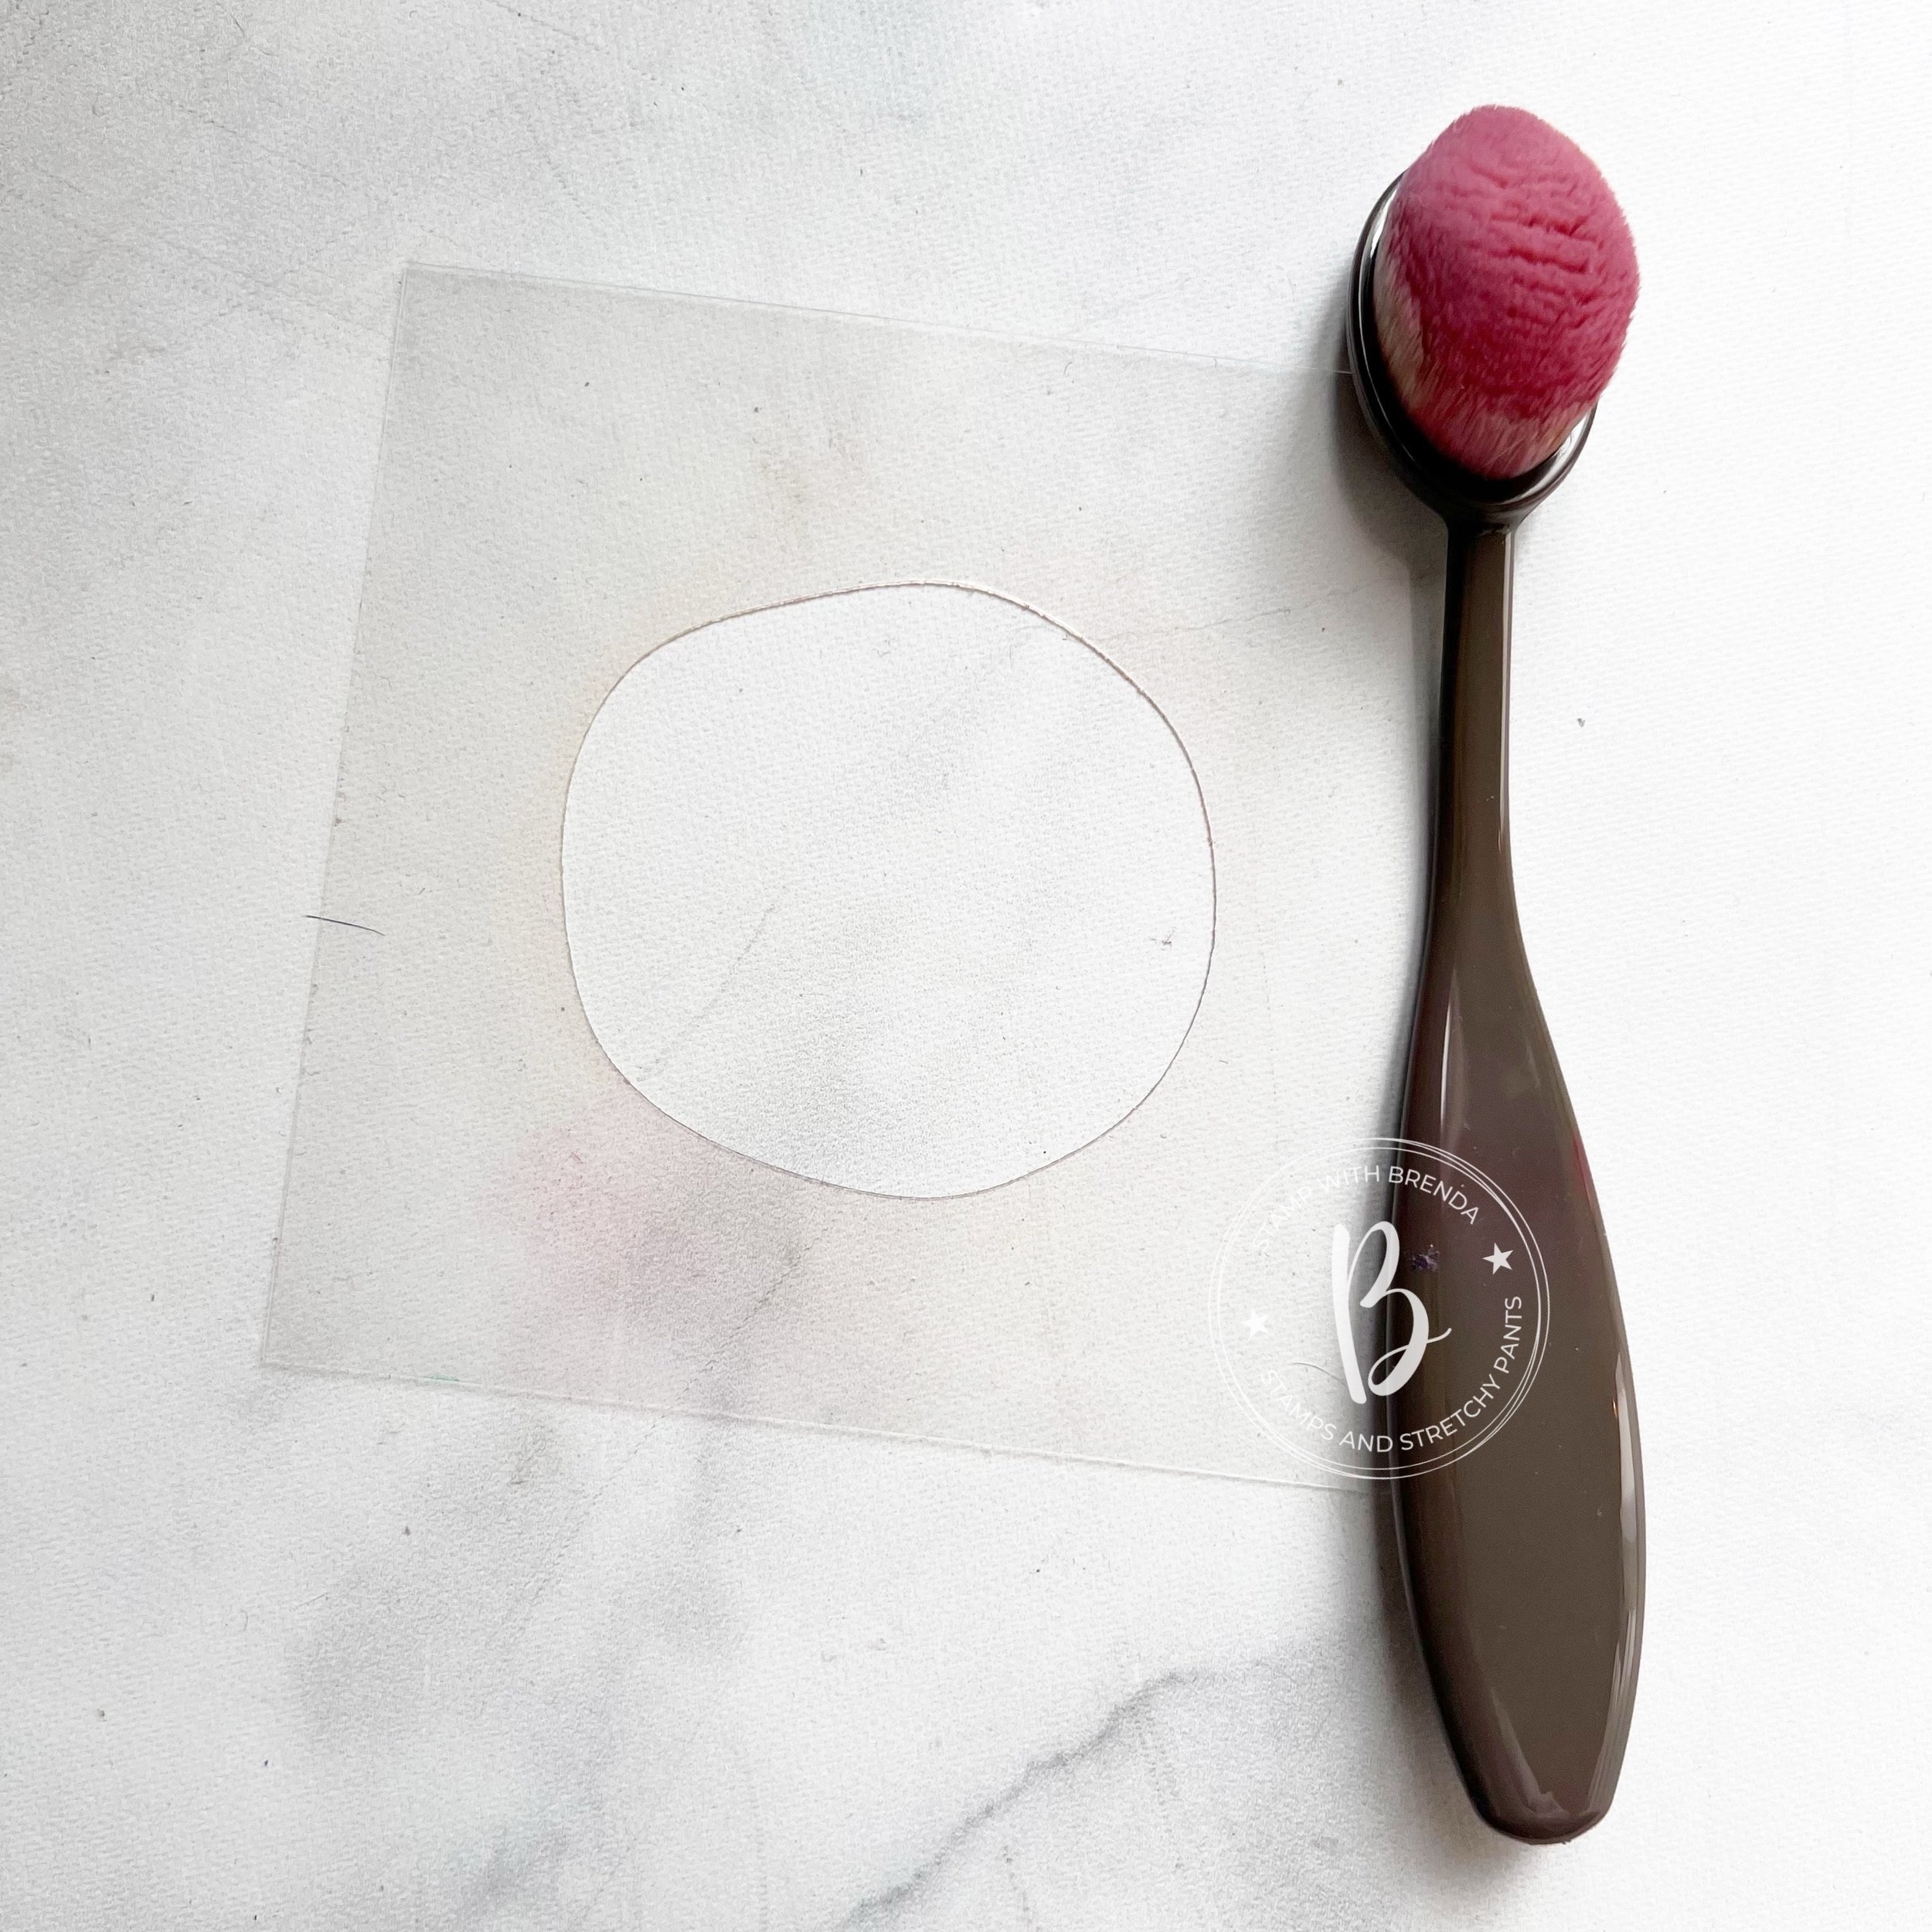
I use one of my larger blocks to press my ink pad to it to create a palette. Then I used a water painter to lightly color the image. The trick is to really dilute the ink for your first pass or wash of color. Then you can go back and add shading.
I am also really enjoying our new Shimmer Pens and I added some Crisp Canataloupe over top of this flowers for a little bit of sparkle!
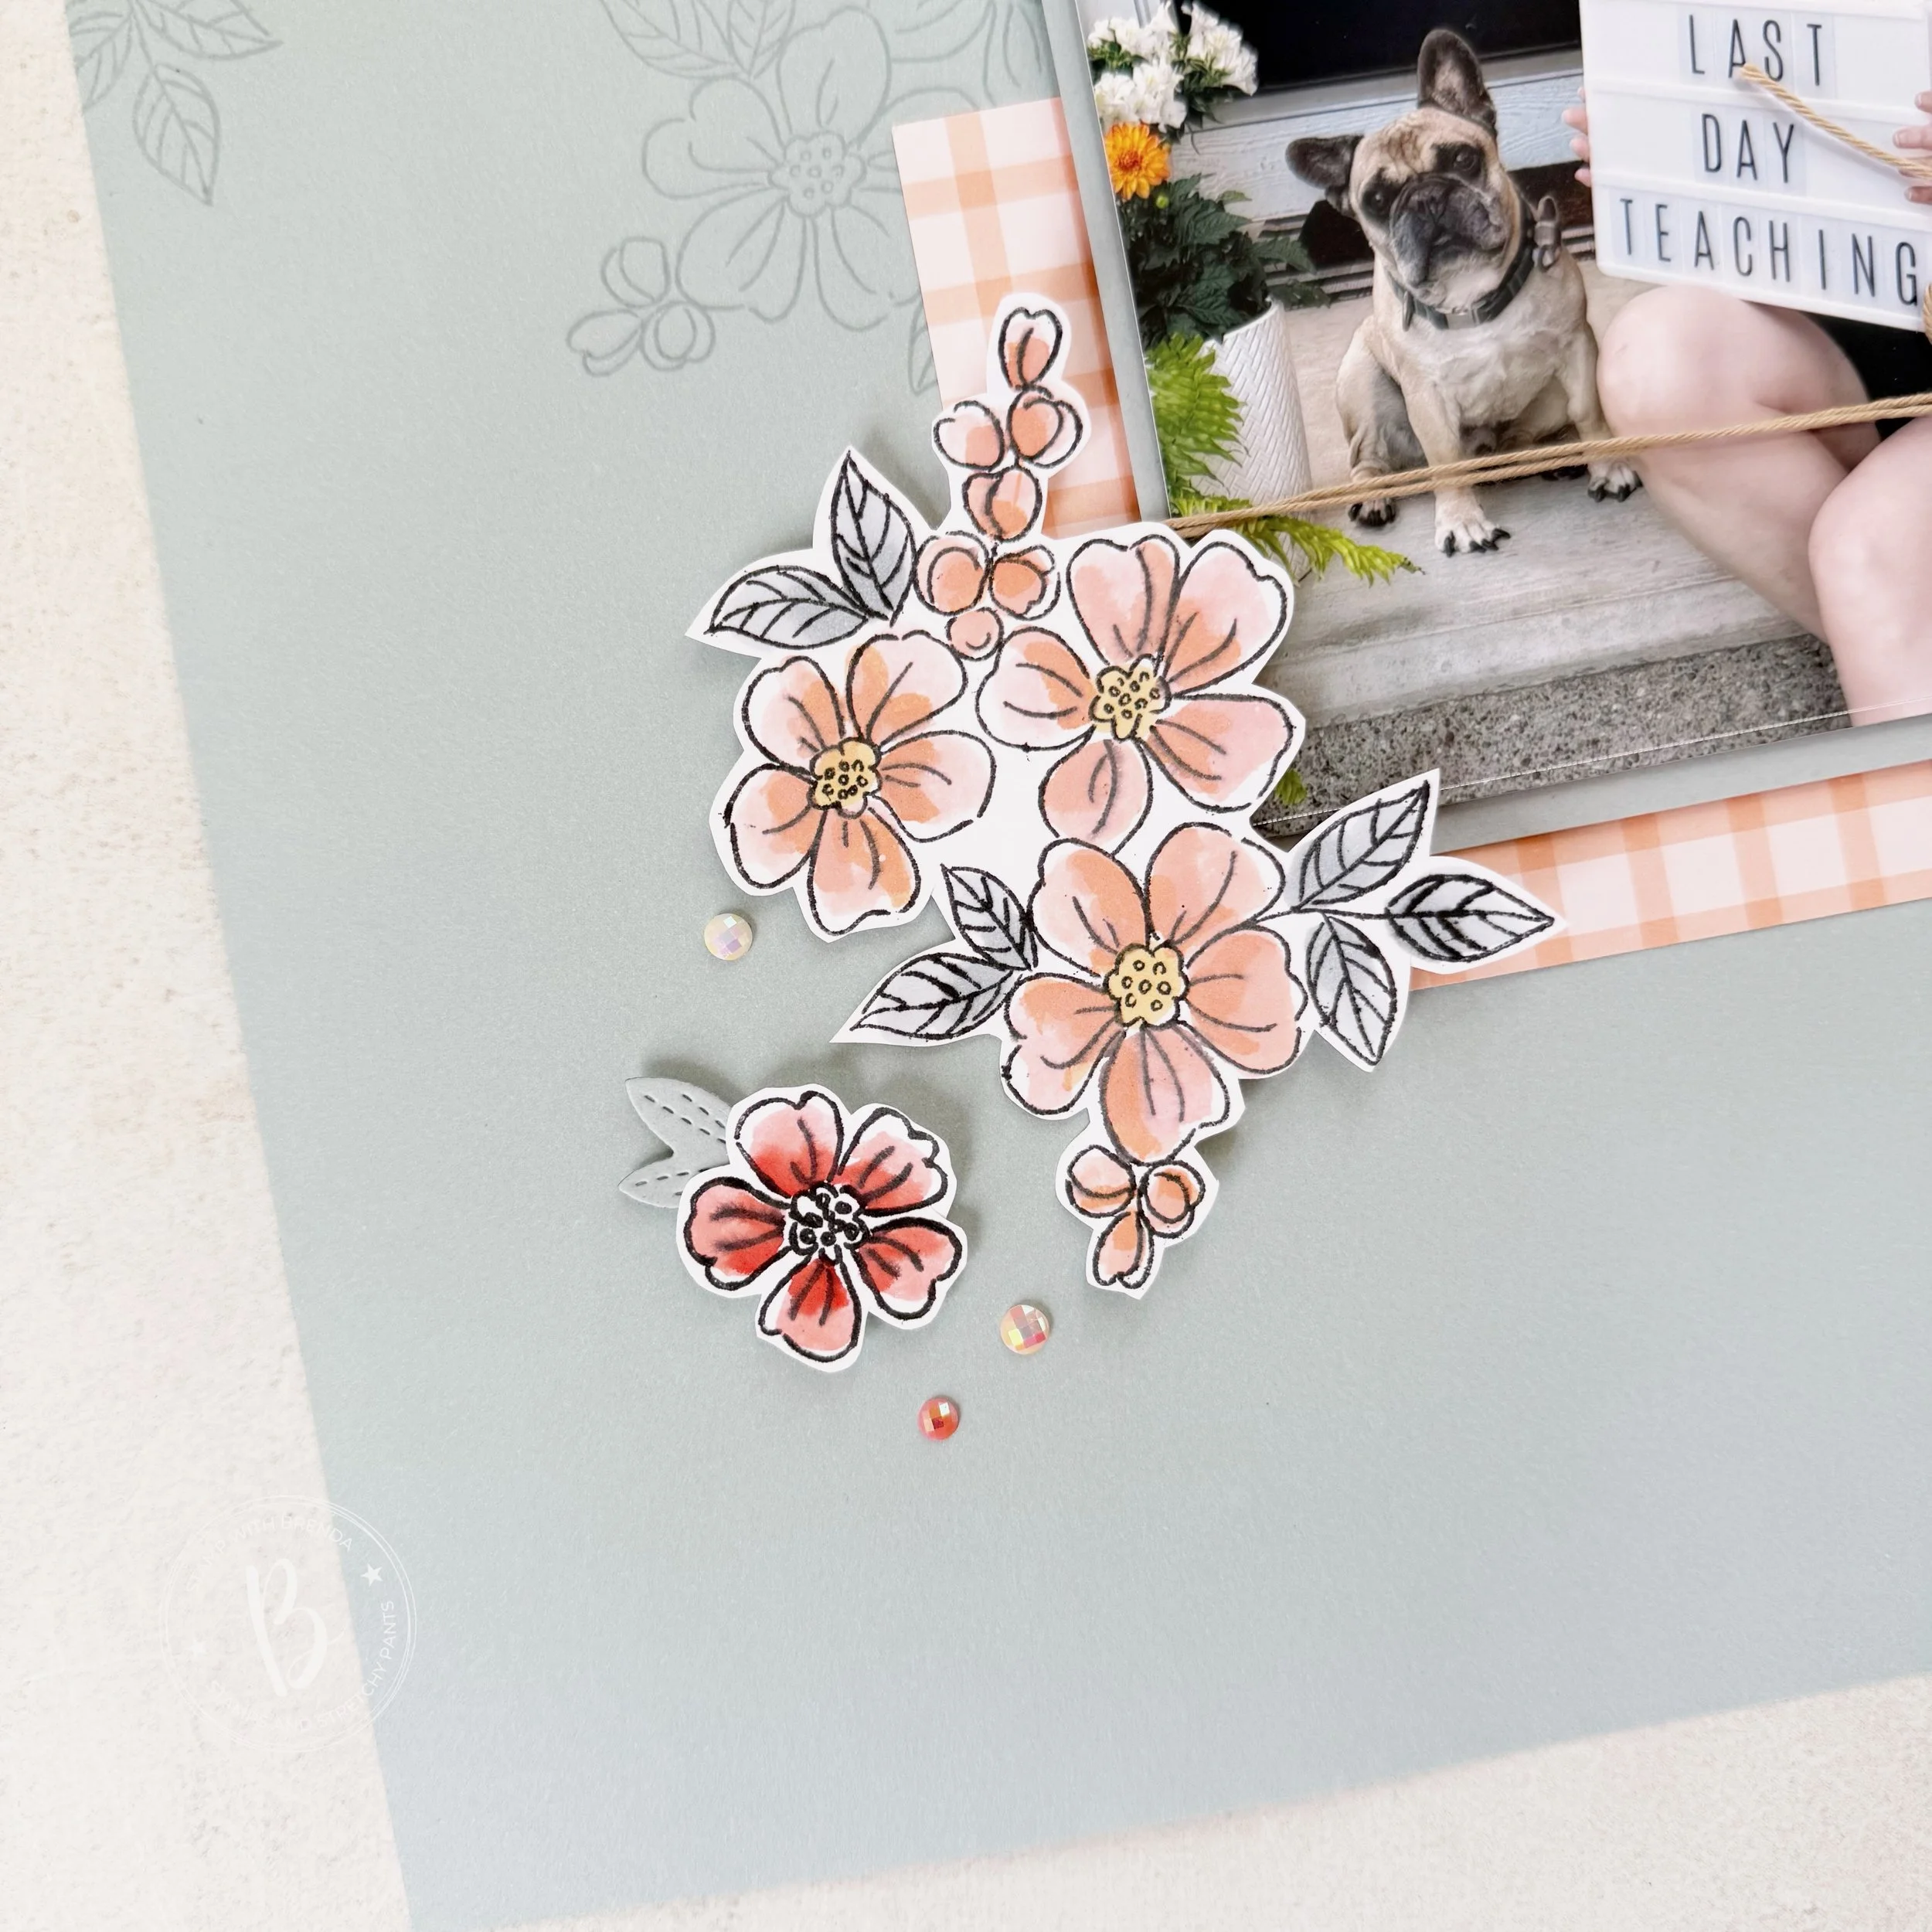
I also used a tiny leaf from the Extraordinary Life die set and some pearls from the Pearlized Faceted Circles on my page. Some background stamping with the same floral image also creates interest in the foreground of the page.

I really enjoyed crafting with this color combo as Crisp Cantaloupe and Poppy Parade both have a bit of orange undertone to them so they do buddy up really well.
I can’t wait to see what the rest of the team has designed this month! Next on the hop is the amazing Tami, who has such a fantastic style of stamping. I know you will be inspired!

If the hop gets broken, you can go in reverse from here to see what the talented Lou Kitzelman has designed for us this month!

Either way, please see what the Color Fusers team has designed! Feel free to leave me a comment or shop with me if you are in Canada! Every order helps me keep loving what I do!
![Fragrant Layers Photopolymer Stamp Set (English) [ 167150 ]](https://assets1.tamsnetwork.com/images/EC042017NF/167150s.jpg "Fragrant Layers Photopolymer Stamp Set (English) [ 167150 ]")
![Heirloom Boutique Dies [ 167730 ]](https://assets1.tamsnetwork.com/images/EC042017NF/167730s.jpg "Heirloom Boutique Dies [ 167730 ]")
![Extraordinary Life Dies [ 167718 ]](https://assets1.tamsnetwork.com/images/EC042017NF/167718s.jpg "Extraordinary Life Dies [ 167718 ]")
![2026–2028 In Color™ Gingham Gallery 12" X 12" (30.5 X 30.5 Cm) Designer Series Paper [ 168218 ]](https://assets1.tamsnetwork.com/images/EC042017NF/168218s.jpg "2026–2028 In Color™ Gingham Gallery 12\" X 12\" (30.5 X 30.5 Cm) Designer Series Paper [ 168218 ]")
![Cloud Cover 12" X 12" (30.5 X 30.5 Cm) Two Tone Cardstock [ 166708 ]](https://assets1.tamsnetwork.com/images/EC042017NF/166708s.jpg "Cloud Cover 12\" X 12\" (30.5 X 30.5 Cm) Two Tone Cardstock [ 166708 ]")
![Cloud Cover 8 1/2" X 11" Cardstock [ 165621 ]](https://assets1.tamsnetwork.com/images/EC042017NF/165621s.jpg "Cloud Cover 8 1/2\" X 11\" Cardstock [ 165621 ]")
![Crisp Cantaloupe Shimmer Brush [ 167661 ]](https://assets1.tamsnetwork.com/images/EC042017NF/167661s.jpg "Crisp Cantaloupe Shimmer Brush [ 167661 ]")
![Baker's Twine Essentials Pack [ 155475 ]](https://assets1.tamsnetwork.com/images/EC042017NF/155475s.jpg "Baker's Twine Essentials Pack [ 155475 ]")
![Pearlized Faceted Circles [ 166978 ]](https://assets1.tamsnetwork.com/images/EC042017NF/166978s.jpg "Pearlized Faceted Circles [ 166978 ]")
![Water Painters [ 168253 ]](https://assets1.tamsnetwork.com/images/EC042017NF/168253s.jpg "Water Painters [ 168253 ]")
![Poppy Parade Classic Stampin' Pad [ 147050 ]](https://assets1.tamsnetwork.com/images/EC042017NF/147050s.jpg "Poppy Parade Classic Stampin' Pad [ 147050 ]")
![Crisp Cantaloupe Classic Stampin Pad [ 167680 ]](https://assets1.tamsnetwork.com/images/EC042017NF/167680s.jpg "Crisp Cantaloupe Classic Stampin Pad [ 167680 ]")
![Cloud Cover Stampin’ Blends Combo Pack [ 165287 ]](https://assets1.tamsnetwork.com/images/EC042017NF/165287s.jpg "Cloud Cover Stampin’ Blends Combo Pack [ 165287 ]")
![Golden Glow Stampin’ Blends Combo Pack [ 167682 ]](https://assets1.tamsnetwork.com/images/EC042017NF/167682s.jpg "Golden Glow Stampin’ Blends Combo Pack [ 167682 ]")
![Memories In Bloom Scrapbooking Workshop Kit (English) [ 166713 ]](https://assets1.tamsnetwork.com/images/EC042017NF/166713s.jpg "Memories In Bloom Scrapbooking Workshop Kit (English) [ 166713 ]")
![Party Banners Dies [ 165264 ]](https://assets1.tamsnetwork.com/images/EC042017NF/165264s.jpg "Party Banners Dies [ 165264 ]")
![Pretty Florals Bundle [ 165179 ]](https://assets1.tamsnetwork.com/images/EC042017NF/165179s.jpg "Pretty Florals Bundle [ 165179 ]")
![Storybook Life Photopolymer Stamp Set (English) [ 166635 ]](https://assets1.tamsnetwork.com/images/EC042017NF/166635s.jpg "Storybook Life Photopolymer Stamp Set (English) [ 166635 ]")
![Thankful Garden Photopolymer Stamp Set (English) [ 165526 ]](https://assets1.tamsnetwork.com/images/EC042017NF/165526s.jpg "Thankful Garden Photopolymer Stamp Set (English) [ 165526 ]")
![Birch Wood 3 D Embossing Folder [ 164069 ]](https://assets1.tamsnetwork.com/images/EC042017NF/164069s.jpg "Birch Wood 3 D Embossing Folder [ 164069 ]")
![Petunia Pop 12" X 12" (30.5 X 30.5 Cm) Two Tone Cardstock [ 166690 ]](https://assets1.tamsnetwork.com/images/EC042017NF/166690s.jpg "Petunia Pop 12\" X 12\" (30.5 X 30.5 Cm) Two Tone Cardstock [ 166690 ]")
![Blackberry Bliss 8-1/2" X 11" Cardstock [ 133675 ]](https://assets1.tamsnetwork.com/images/EC042017NF/133675s.jpg "Blackberry Bliss 8-1/2\" X 11\" Cardstock [ 133675 ]")
![Fresh Freesia 8 1/2" X 11" Cardstock [ 155613 ]](https://assets1.tamsnetwork.com/images/EC042017NF/155613s.jpg "Fresh Freesia 8 1/2\" X 11\" Cardstock [ 155613 ]")
![Basic White 8 1/2" X 11" Cardstock [ 166780 ]](https://assets1.tamsnetwork.com/images/EC042017NF/166780s.jpg "Basic White 8 1/2\" X 11\" Cardstock [ 166780 ]")
![Cloud Cover 3/8" (1 Cm) Faux Linen Ribbon [ 165271 ]](https://assets1.tamsnetwork.com/images/EC042017NF/165271s.jpg "Cloud Cover 3/8\" (1 Cm) Faux Linen Ribbon [ 165271 ]")
![Petunia Pop Classic Stampin Pad [ 163811 ]](https://assets1.tamsnetwork.com/images/EC042017NF/163811s.jpg "Petunia Pop Classic Stampin Pad [ 163811 ]")
![Secret Sea Classic Stampin' Pad [ 165285 ]](https://assets1.tamsnetwork.com/images/EC042017NF/165285s.jpg "Secret Sea Classic Stampin' Pad [ 165285 ]")


![Thankful Garden Bundle (English) [ 165534 ]](https://assets1.tamsnetwork.com/images/EC042017NF/165534s.jpg "Thankful Garden Bundle (English) [ 165534 ]")
![Meant To Bee Dies [ 166582 ]](https://assets1.tamsnetwork.com/images/EC042017NF/166582s.jpg "Meant To Bee Dies [ 166582 ]")
![Beautiful Butterflies Photopolymer Stamp Set (English) [ 164608 ]](https://assets1.tamsnetwork.com/images/EC042017NF/164608s.jpg "Beautiful Butterflies Photopolymer Stamp Set (English) [ 164608 ]")
![White Willow 12" X 12" (30.5 X 30.5 Cm) Cardstock [ 166703 ]](https://assets1.tamsnetwork.com/images/EC042017NF/166703s.jpg "White Willow 12\" X 12\" (30.5 X 30.5 Cm) Cardstock [ 166703 ]")
![Petunia Pop 8 1/2" X 11" Cardstock [ 163801 ]](https://assets1.tamsnetwork.com/images/EC042017NF/163801s.jpg "Petunia Pop 8 1/2\" X 11\" Cardstock [ 163801 ]")
![Soft Sea Foam 8-1/2" X 11" Cardstock [ 146988 ]](https://assets1.tamsnetwork.com/images/EC042017NF/146988s.jpg "Soft Sea Foam 8-1/2\" X 11\" Cardstock [ 146988 ]")
![Lost Lagoon 8-1/2" X 11" Cardstock [ 133679 ]](https://assets1.tamsnetwork.com/images/EC042017NF/133679s.jpg "Lost Lagoon 8-1/2\" X 11\" Cardstock [ 133679 ]")
![Petunia Pop Stampin’ Blends Combo Pack [ 163828 ]](https://assets1.tamsnetwork.com/images/EC042017NF/163828s.jpg "Petunia Pop Stampin’ Blends Combo Pack [ 163828 ]")
![Fresh Freesia Stampin' Blends Combo Pack [ 155518 ]](https://assets1.tamsnetwork.com/images/EC042017NF/155518s.jpg "Fresh Freesia Stampin' Blends Combo Pack [ 155518 ]")
![Soft Sea Foam Stampin' Blends Combo Pack [ 154902 ]](https://assets1.tamsnetwork.com/images/EC042017NF/154902s.jpg "Soft Sea Foam Stampin' Blends Combo Pack [ 154902 ]")
![Tuxedo Black Memento Ink Pad [ 132708 ]](https://assets1.tamsnetwork.com/images/EC042017NF/132708s.jpg "Tuxedo Black Memento Ink Pad [ 132708 ]")
![2024–2026 In Color™ Stampin' Write Markers [ 163829 ]](https://assets1.tamsnetwork.com/images/EC042017NF/163829s.jpg "2024–2026 In Color™ Stampin' Write Markers [ 163829 ]")
![Subtles Stampin' Write Markers [ 161698 ]](https://assets1.tamsnetwork.com/images/EC042017NF/161698s.jpg "Subtles Stampin' Write Markers [ 161698 ]")


")
")


 Cardstock")


 Mix & Match Specialty Designer Series Paper")
")
")

 Cardstock")


 Trim Combo Pack")


