Color Fusers--October

Hi friends!
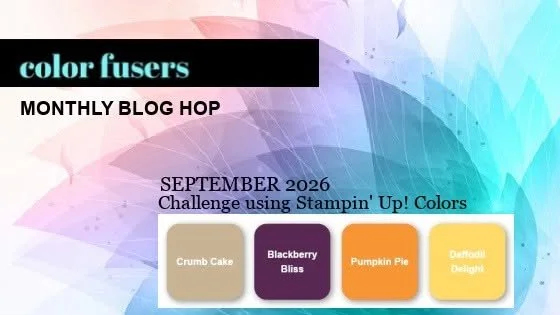
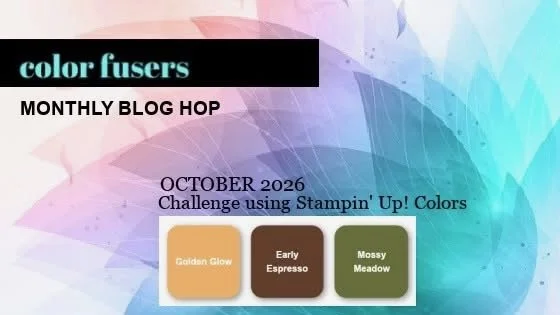
I am so happy you are here! I was really excited about this month’s Color Fusers color combo—Golden Glow, Early Espresso and Mossy Meadow are perfect for fall crafting and I had an immediate idea for a scrapbook page!
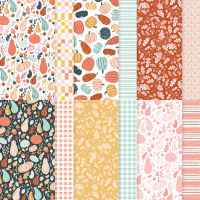
I love all of the options we have for fall crafting! My favorite Designer Series Paper paper right now is the Painted Patch collection—particularly the two awesome plaid patterns—one which has this awesome Golden Glow leaf design on the reverse sign. Sometimes it is so hard to choose which side to use! However, this leaf pattern was the beginning of my scrapbook page.
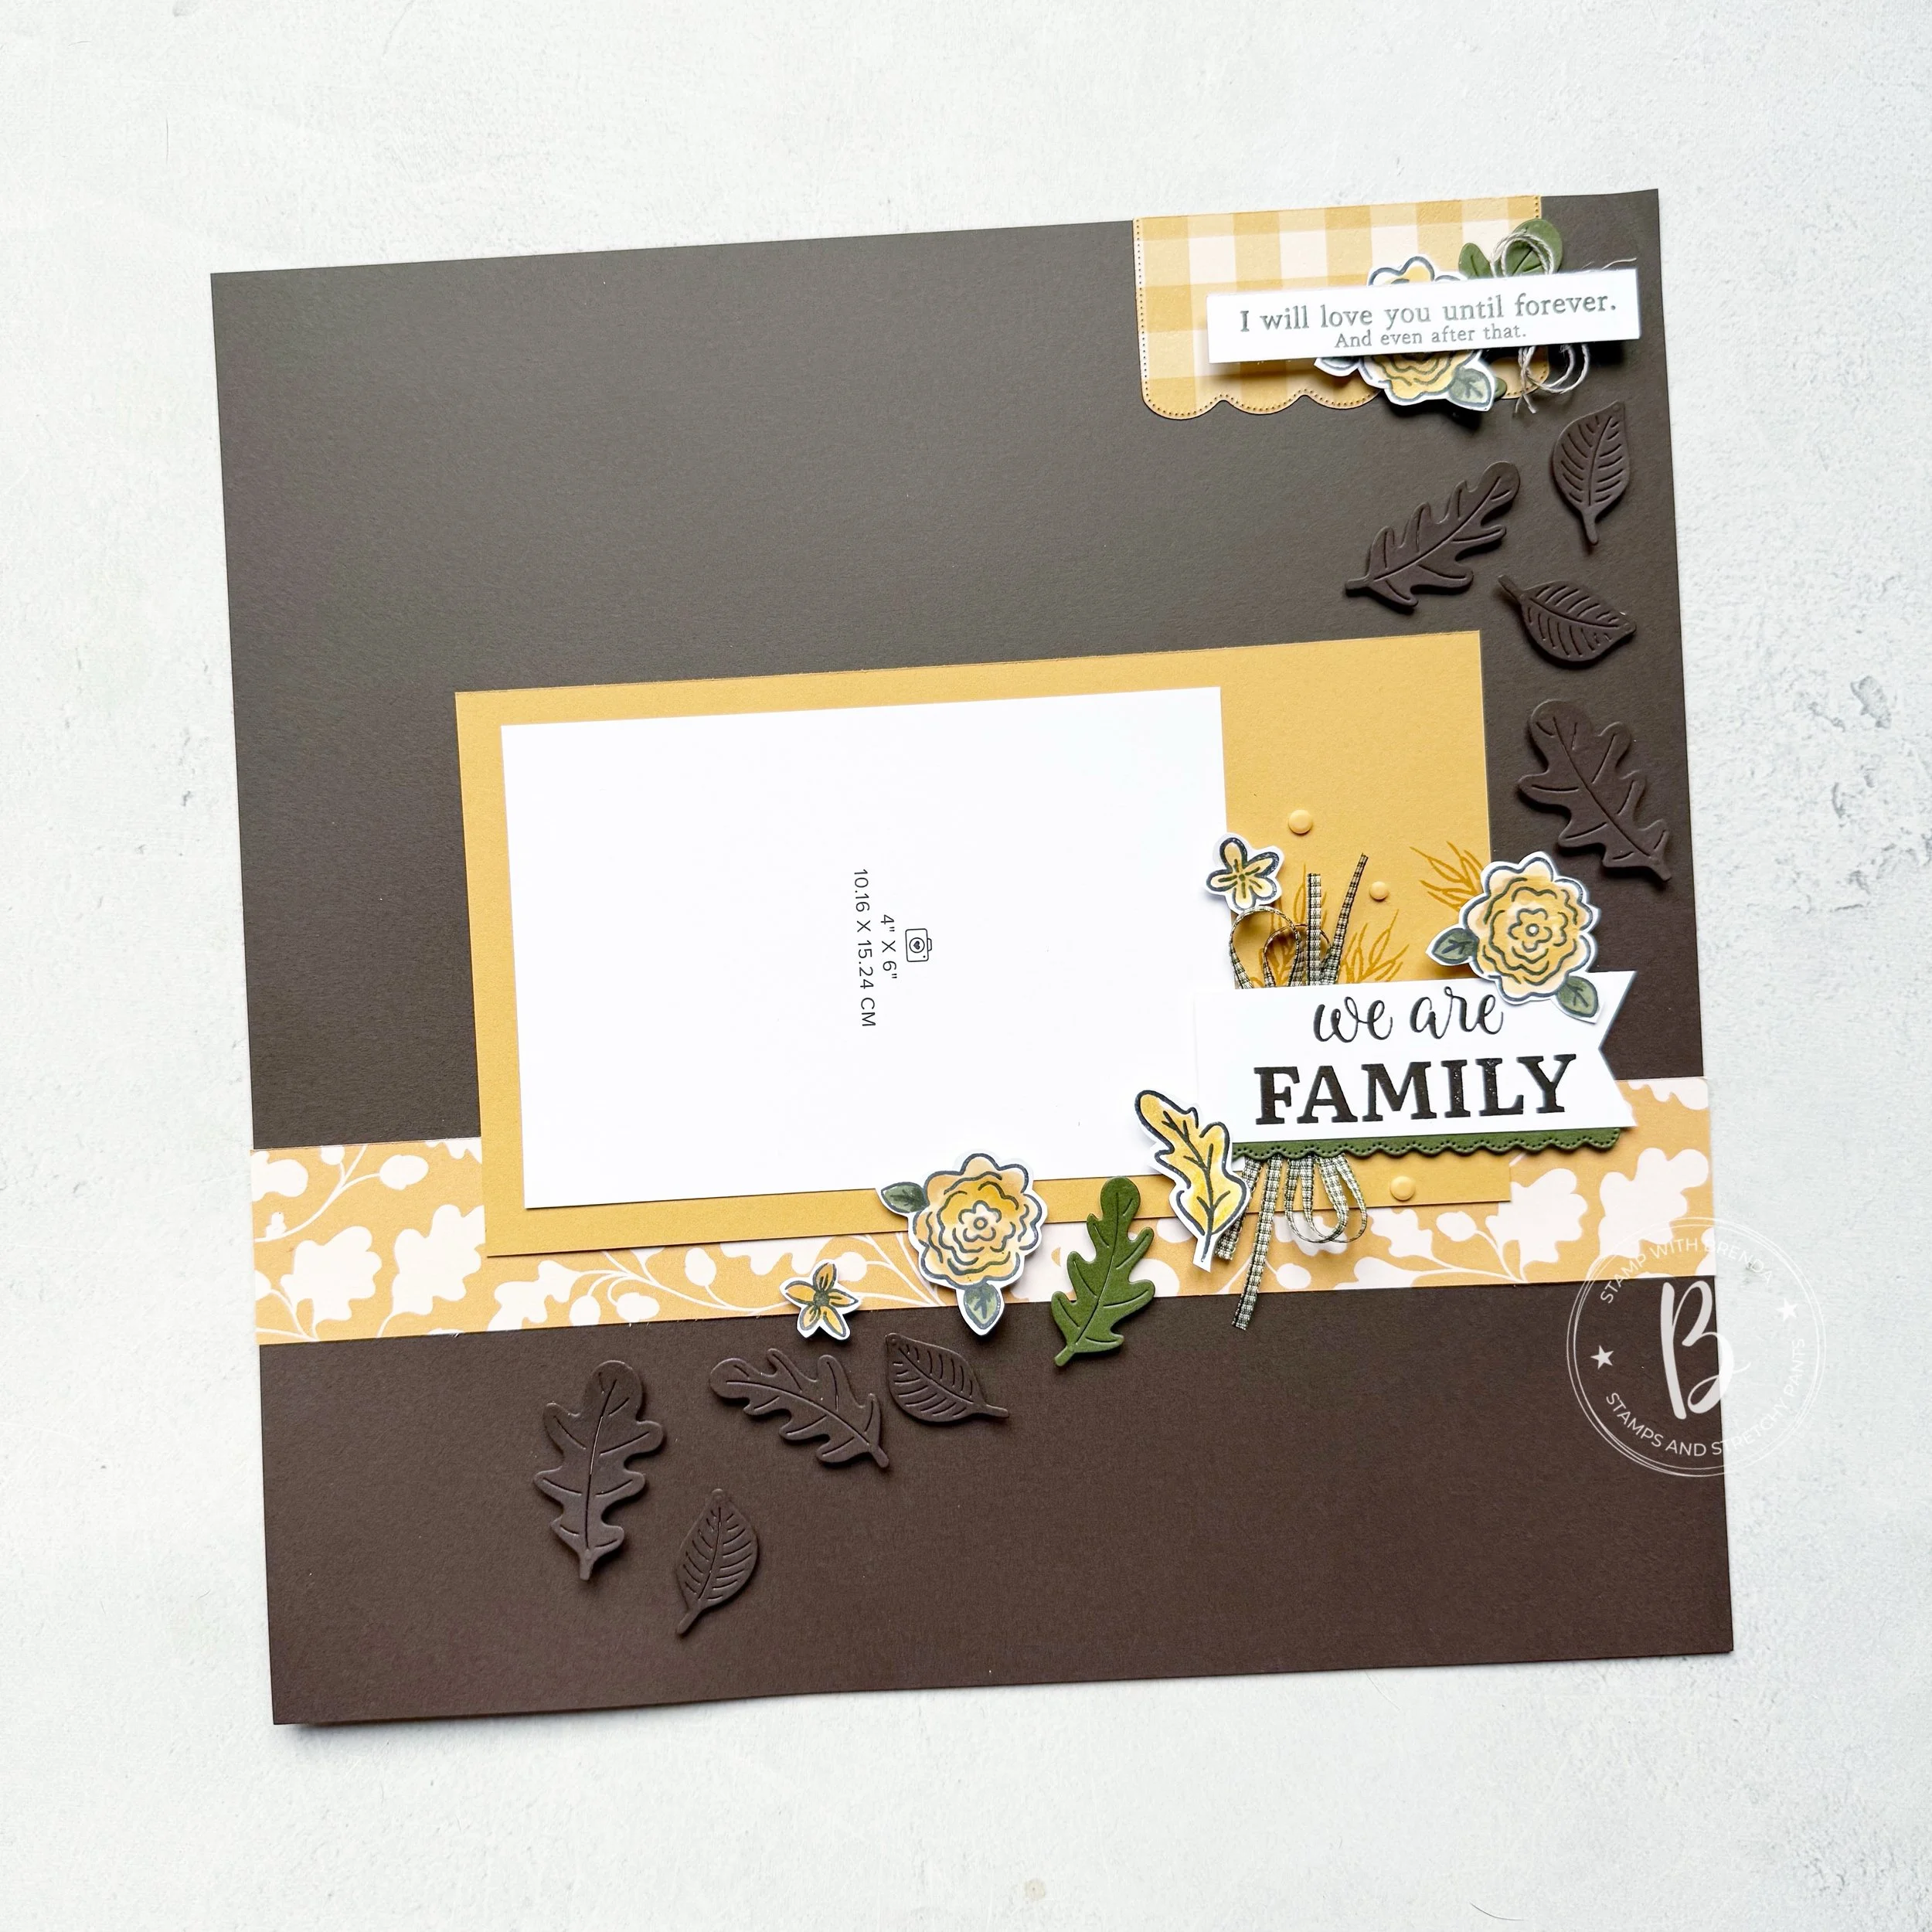
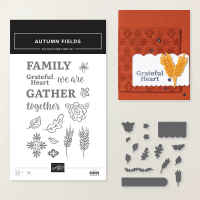
The base of the page is Early Espresso and to me the DSP strip influenced the rest of my design by focusing on the leaf pattern and bringing it to life with the dies from the Autumn Fields Bundle. Die cutting them and popping them up with dimensionals makes the background so interesting. It adds texture and interest keeping them tone on tone.
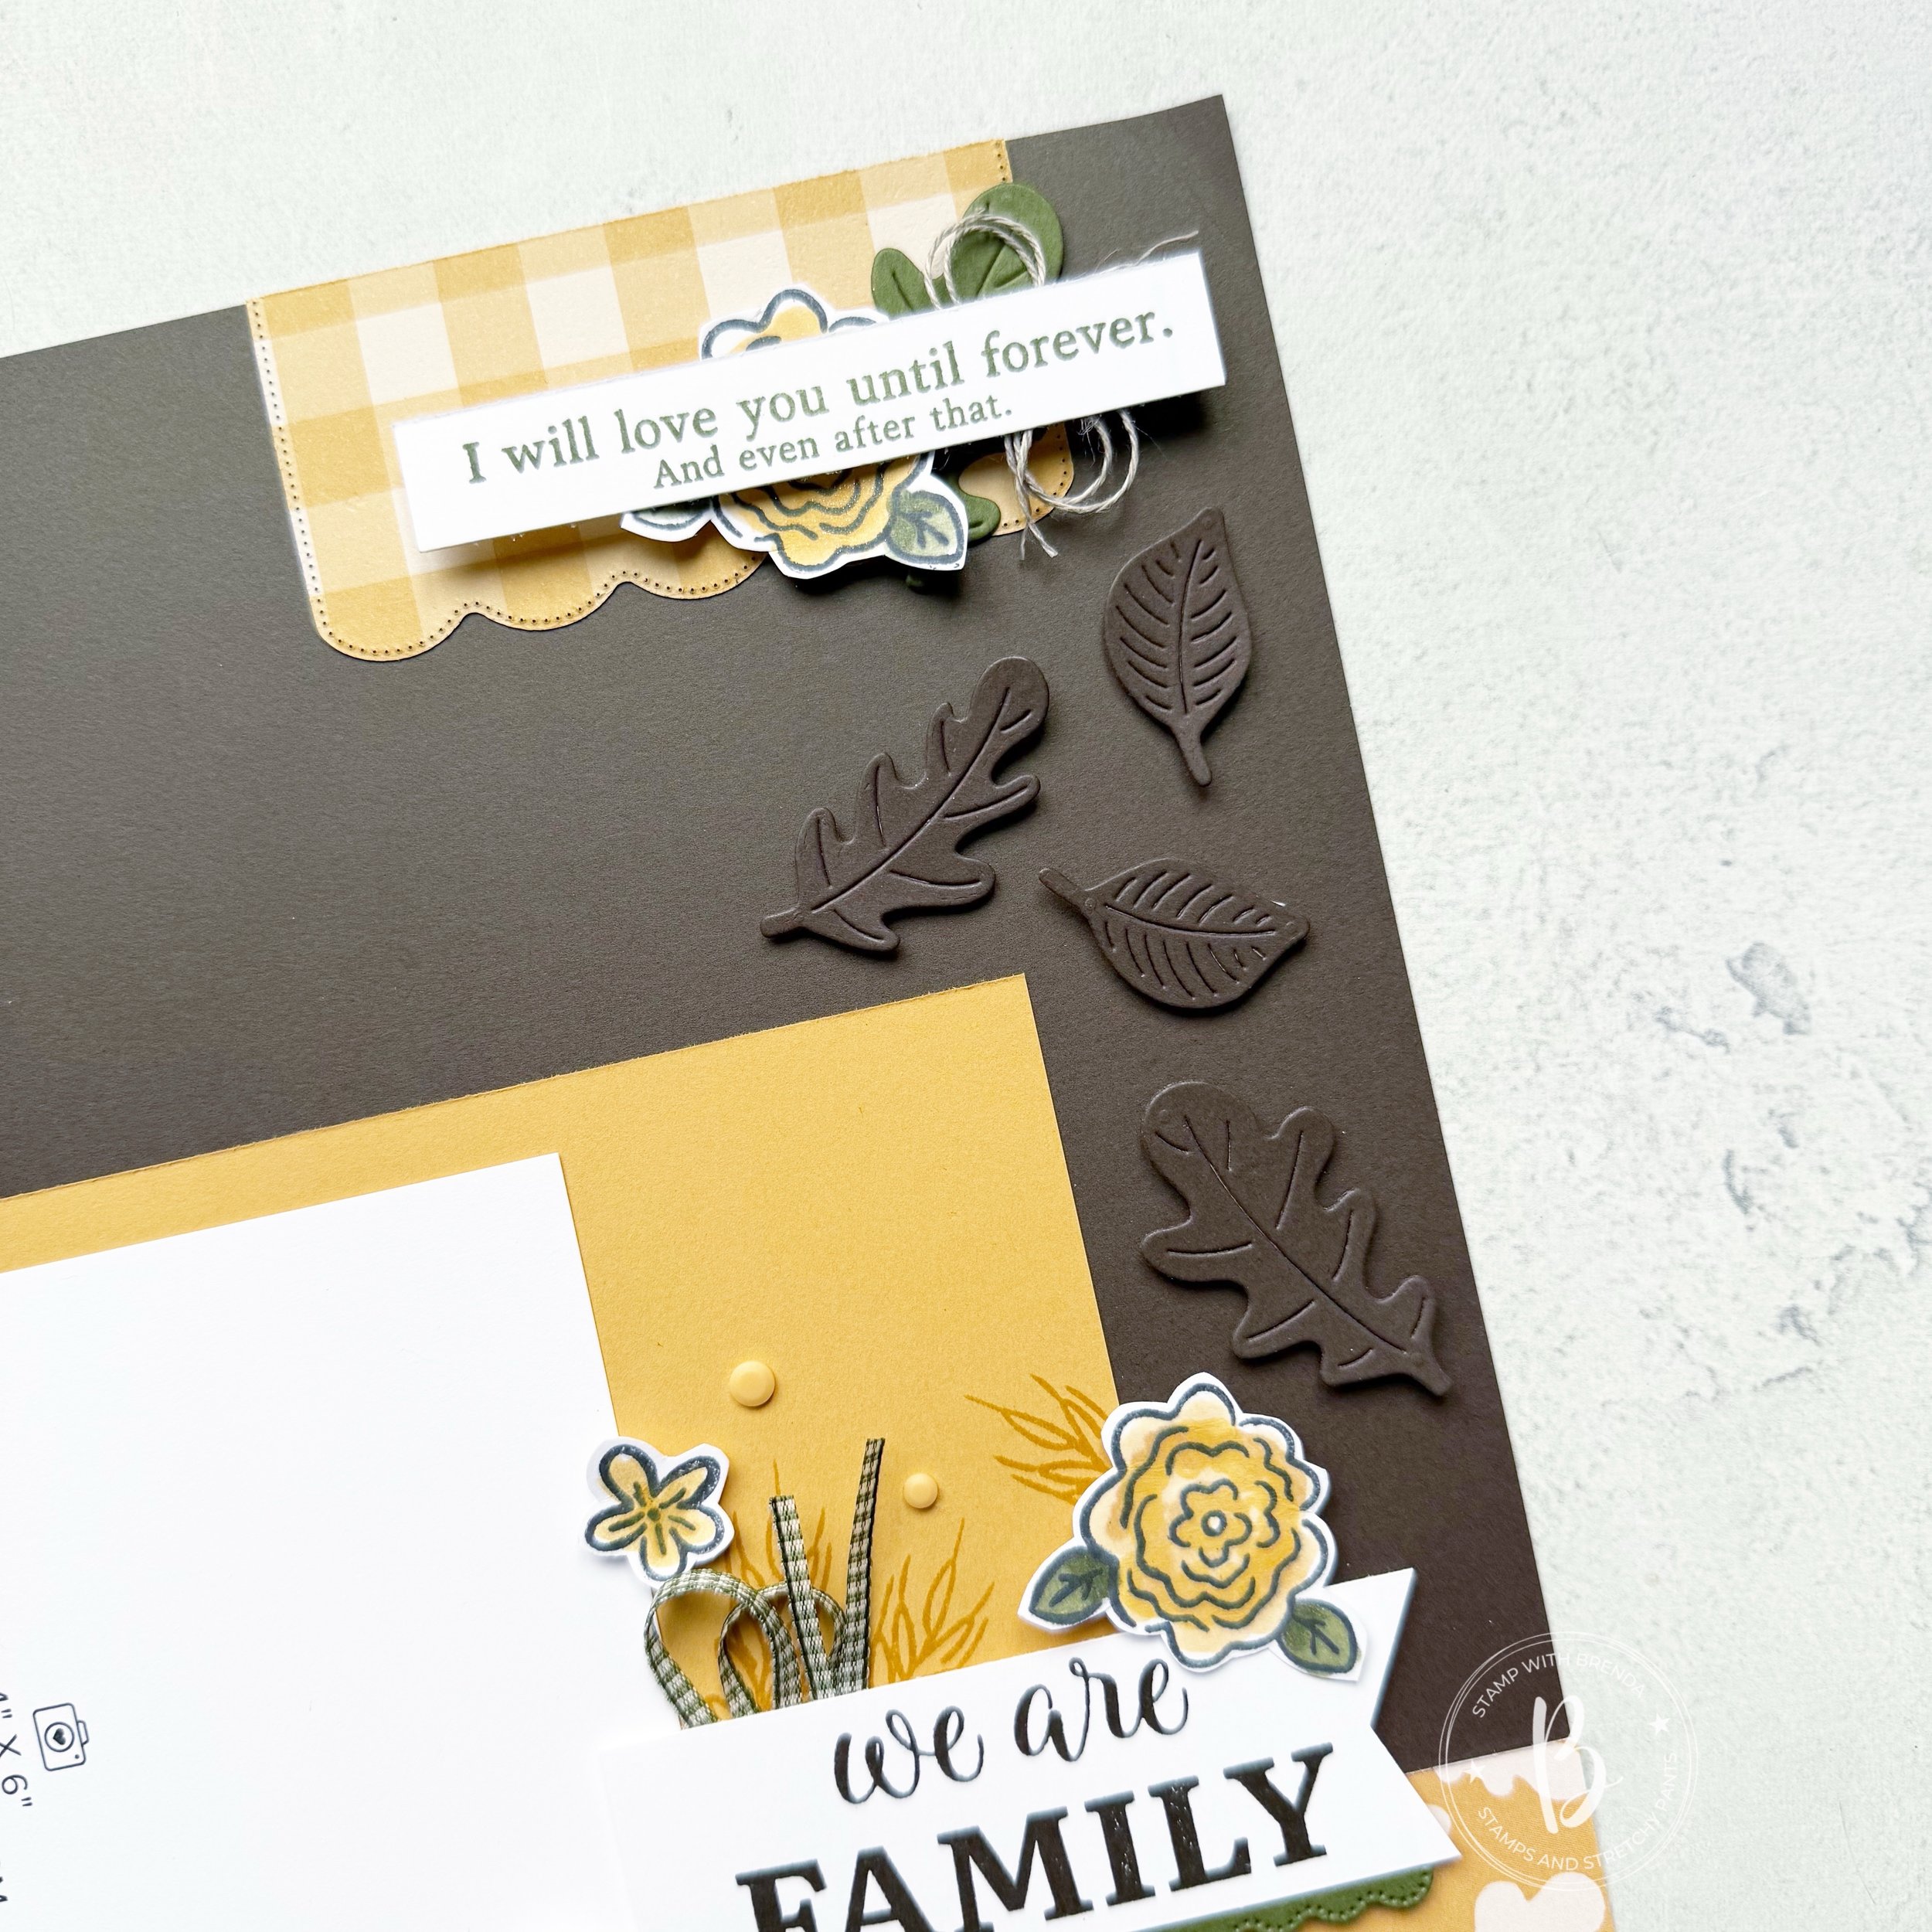
I also used the Gingham Gallery DSP in Golden Glow to die cut the scallop section at the top of the page. I trimmed off the top (which also a smaller scallop) to give this a straight edge to butt up along the top of my page.

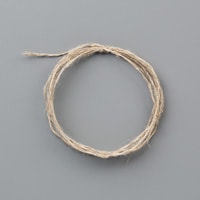
I thought this was a nice way to build another sentiment into the page. This sentiment is from the Winnie the Pooh Sweet Word & Labels set. I layered a flower and Mossy Meadow leaf behind with some Linen Thread. Adding a brush of the Golden Glow Shimmer Pen on the flowers gave them a really nice finish.
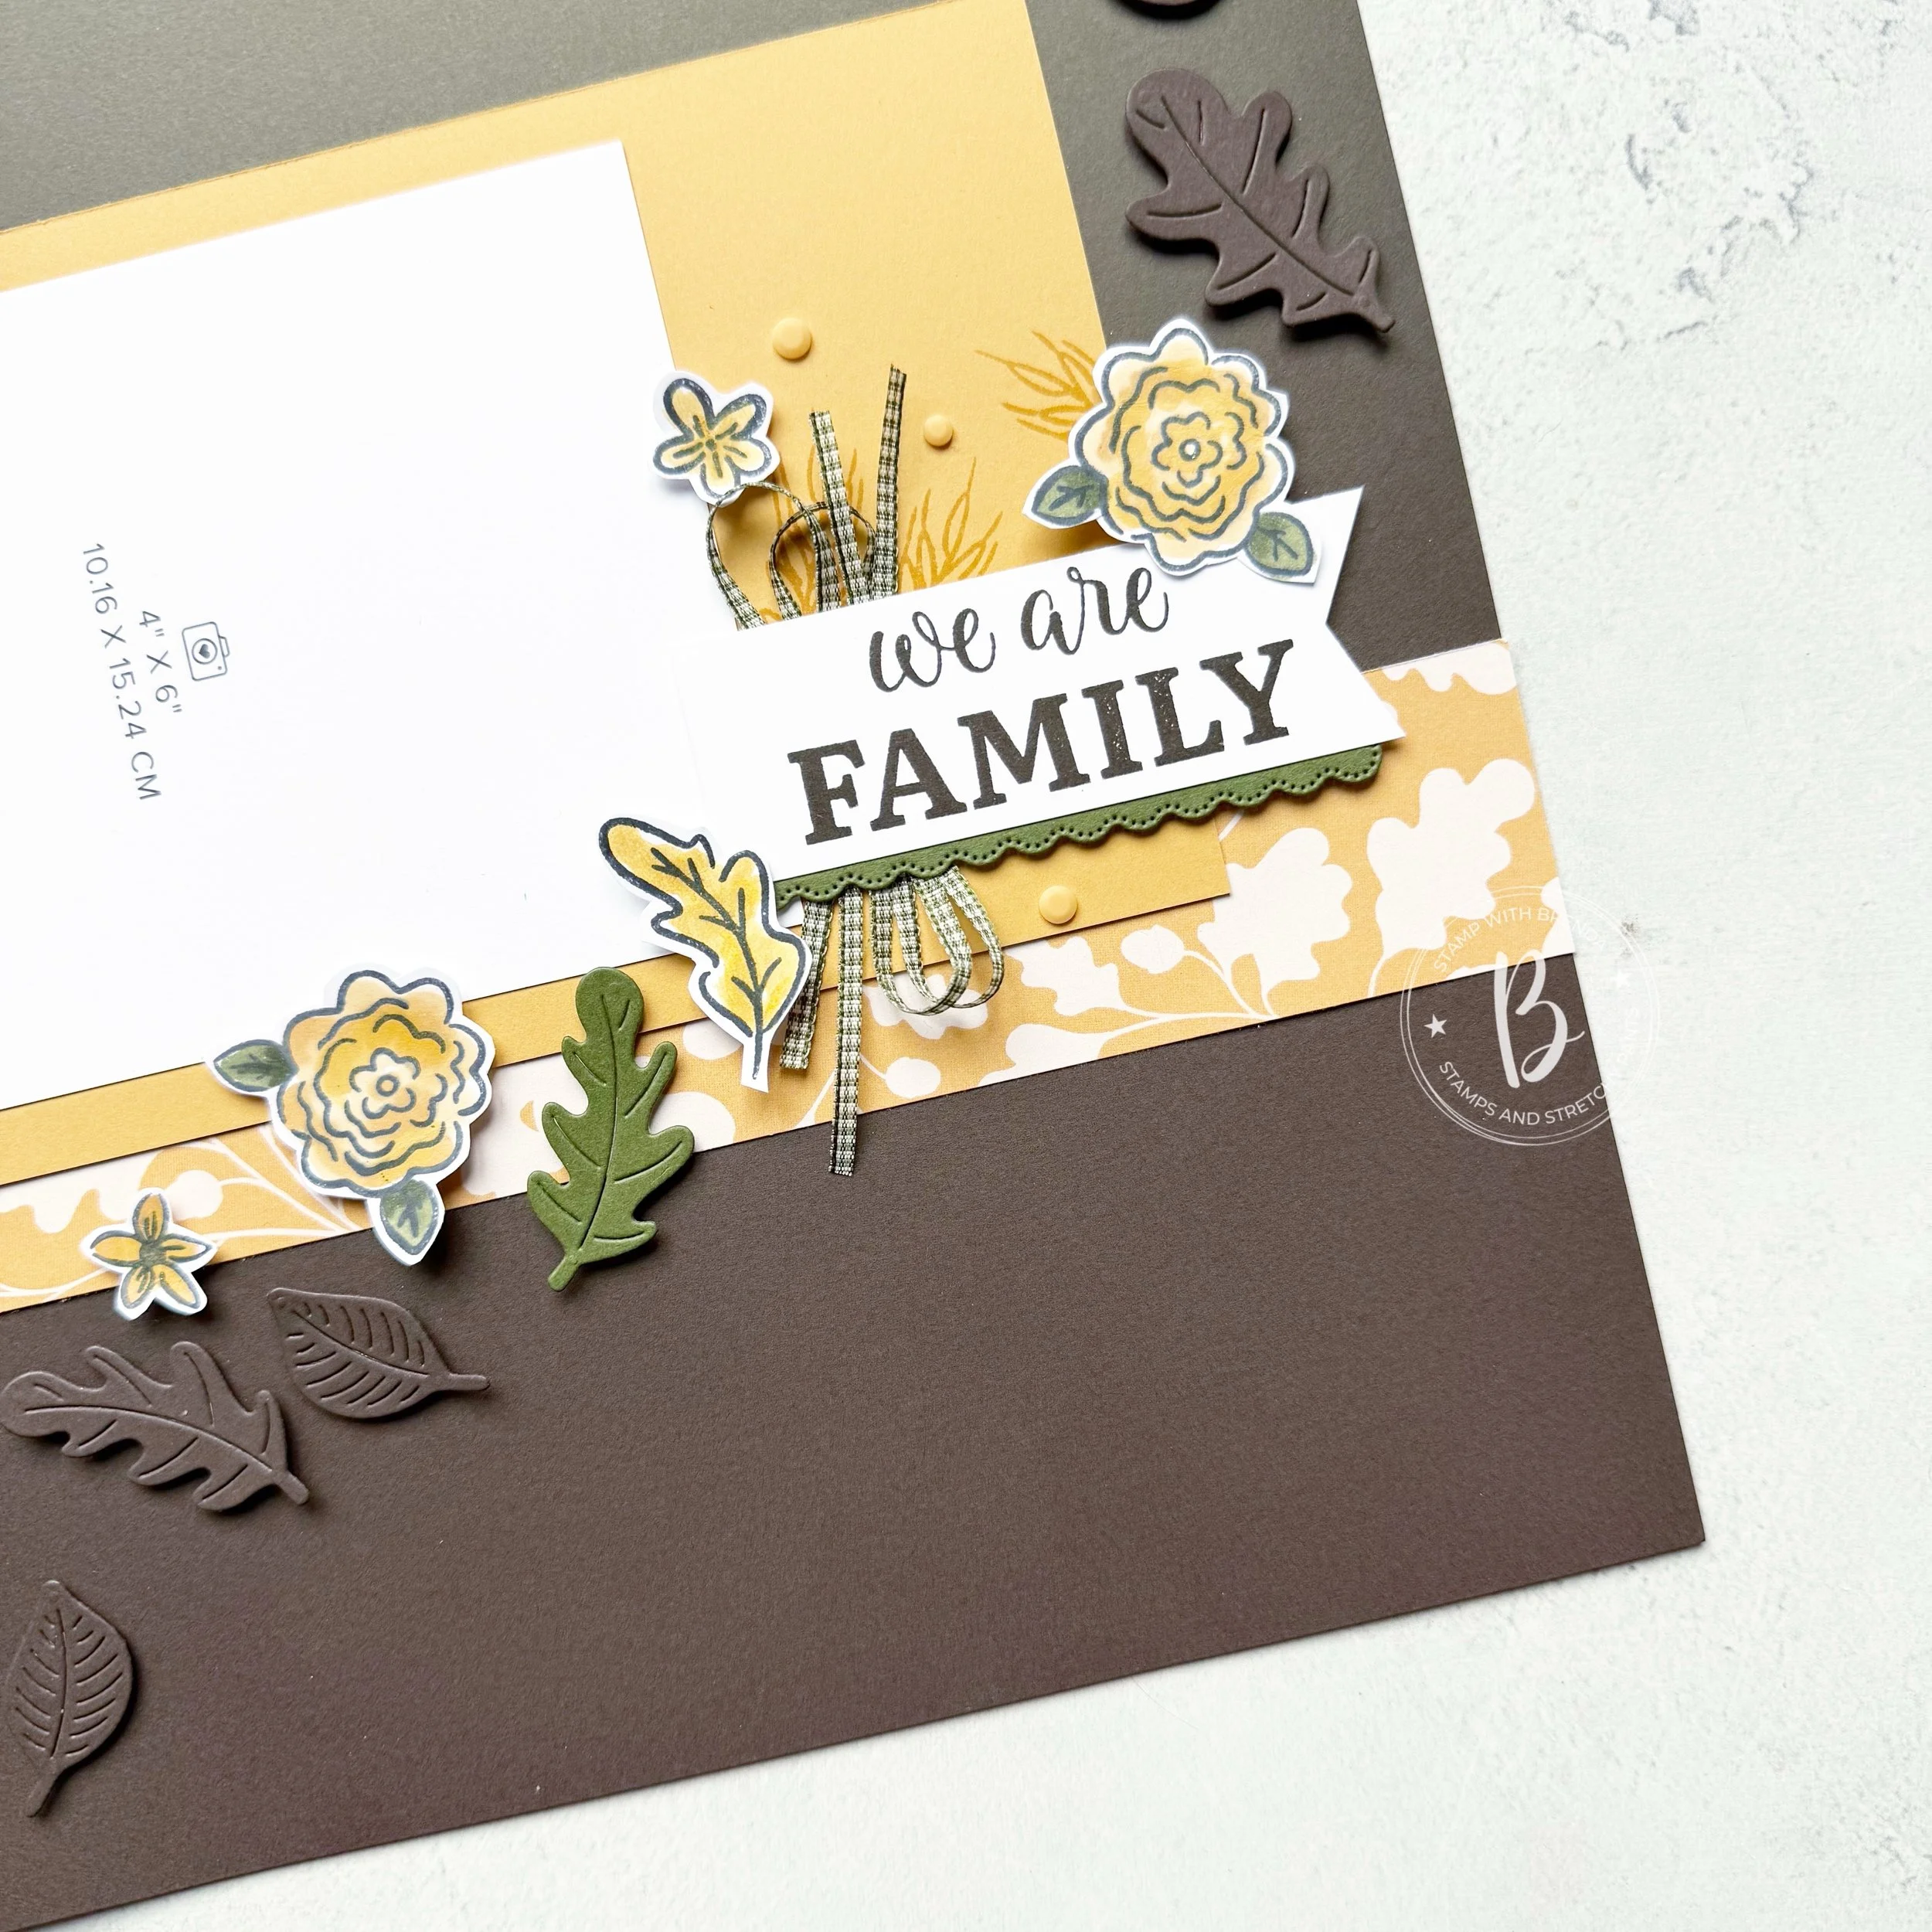
The same scallop die makes a smaller scallop option that I decided to use under the sentiment “We Are Family”. This sentiment is created by blending two stamps together. Another great aspect of the Autumn Fields stamp set.

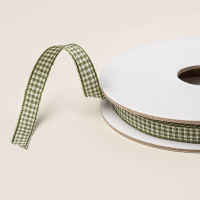
I used the new Mossy Meadow Gingham ribbon (trimmed in half) to add some interest to the sentiment. Honestly, I rarely make a scrapbook page without ribbon or thread of some kind.

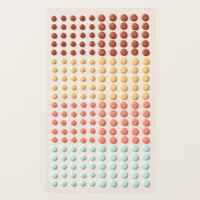
The stamp set also includes an image that looks like a sheaf of wheat. So I decided to add that on my oversized photo mat. This photo mat is designed to give you space to decorate. It is 8 1/2 by 4 3/4 and holds a 4x6 photo on the left. Adding some of the Golden Glow dots from the Painted Patch Adhesive Backed Dots was the perfect finishing touch.

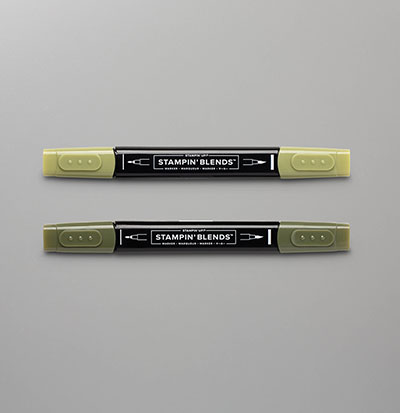
I really love the combination of stamped and coloured flowers and leaves (using Golden Glow Blends, Shimmer Pen and Mossy Meadows Blends) and die cut leaves.
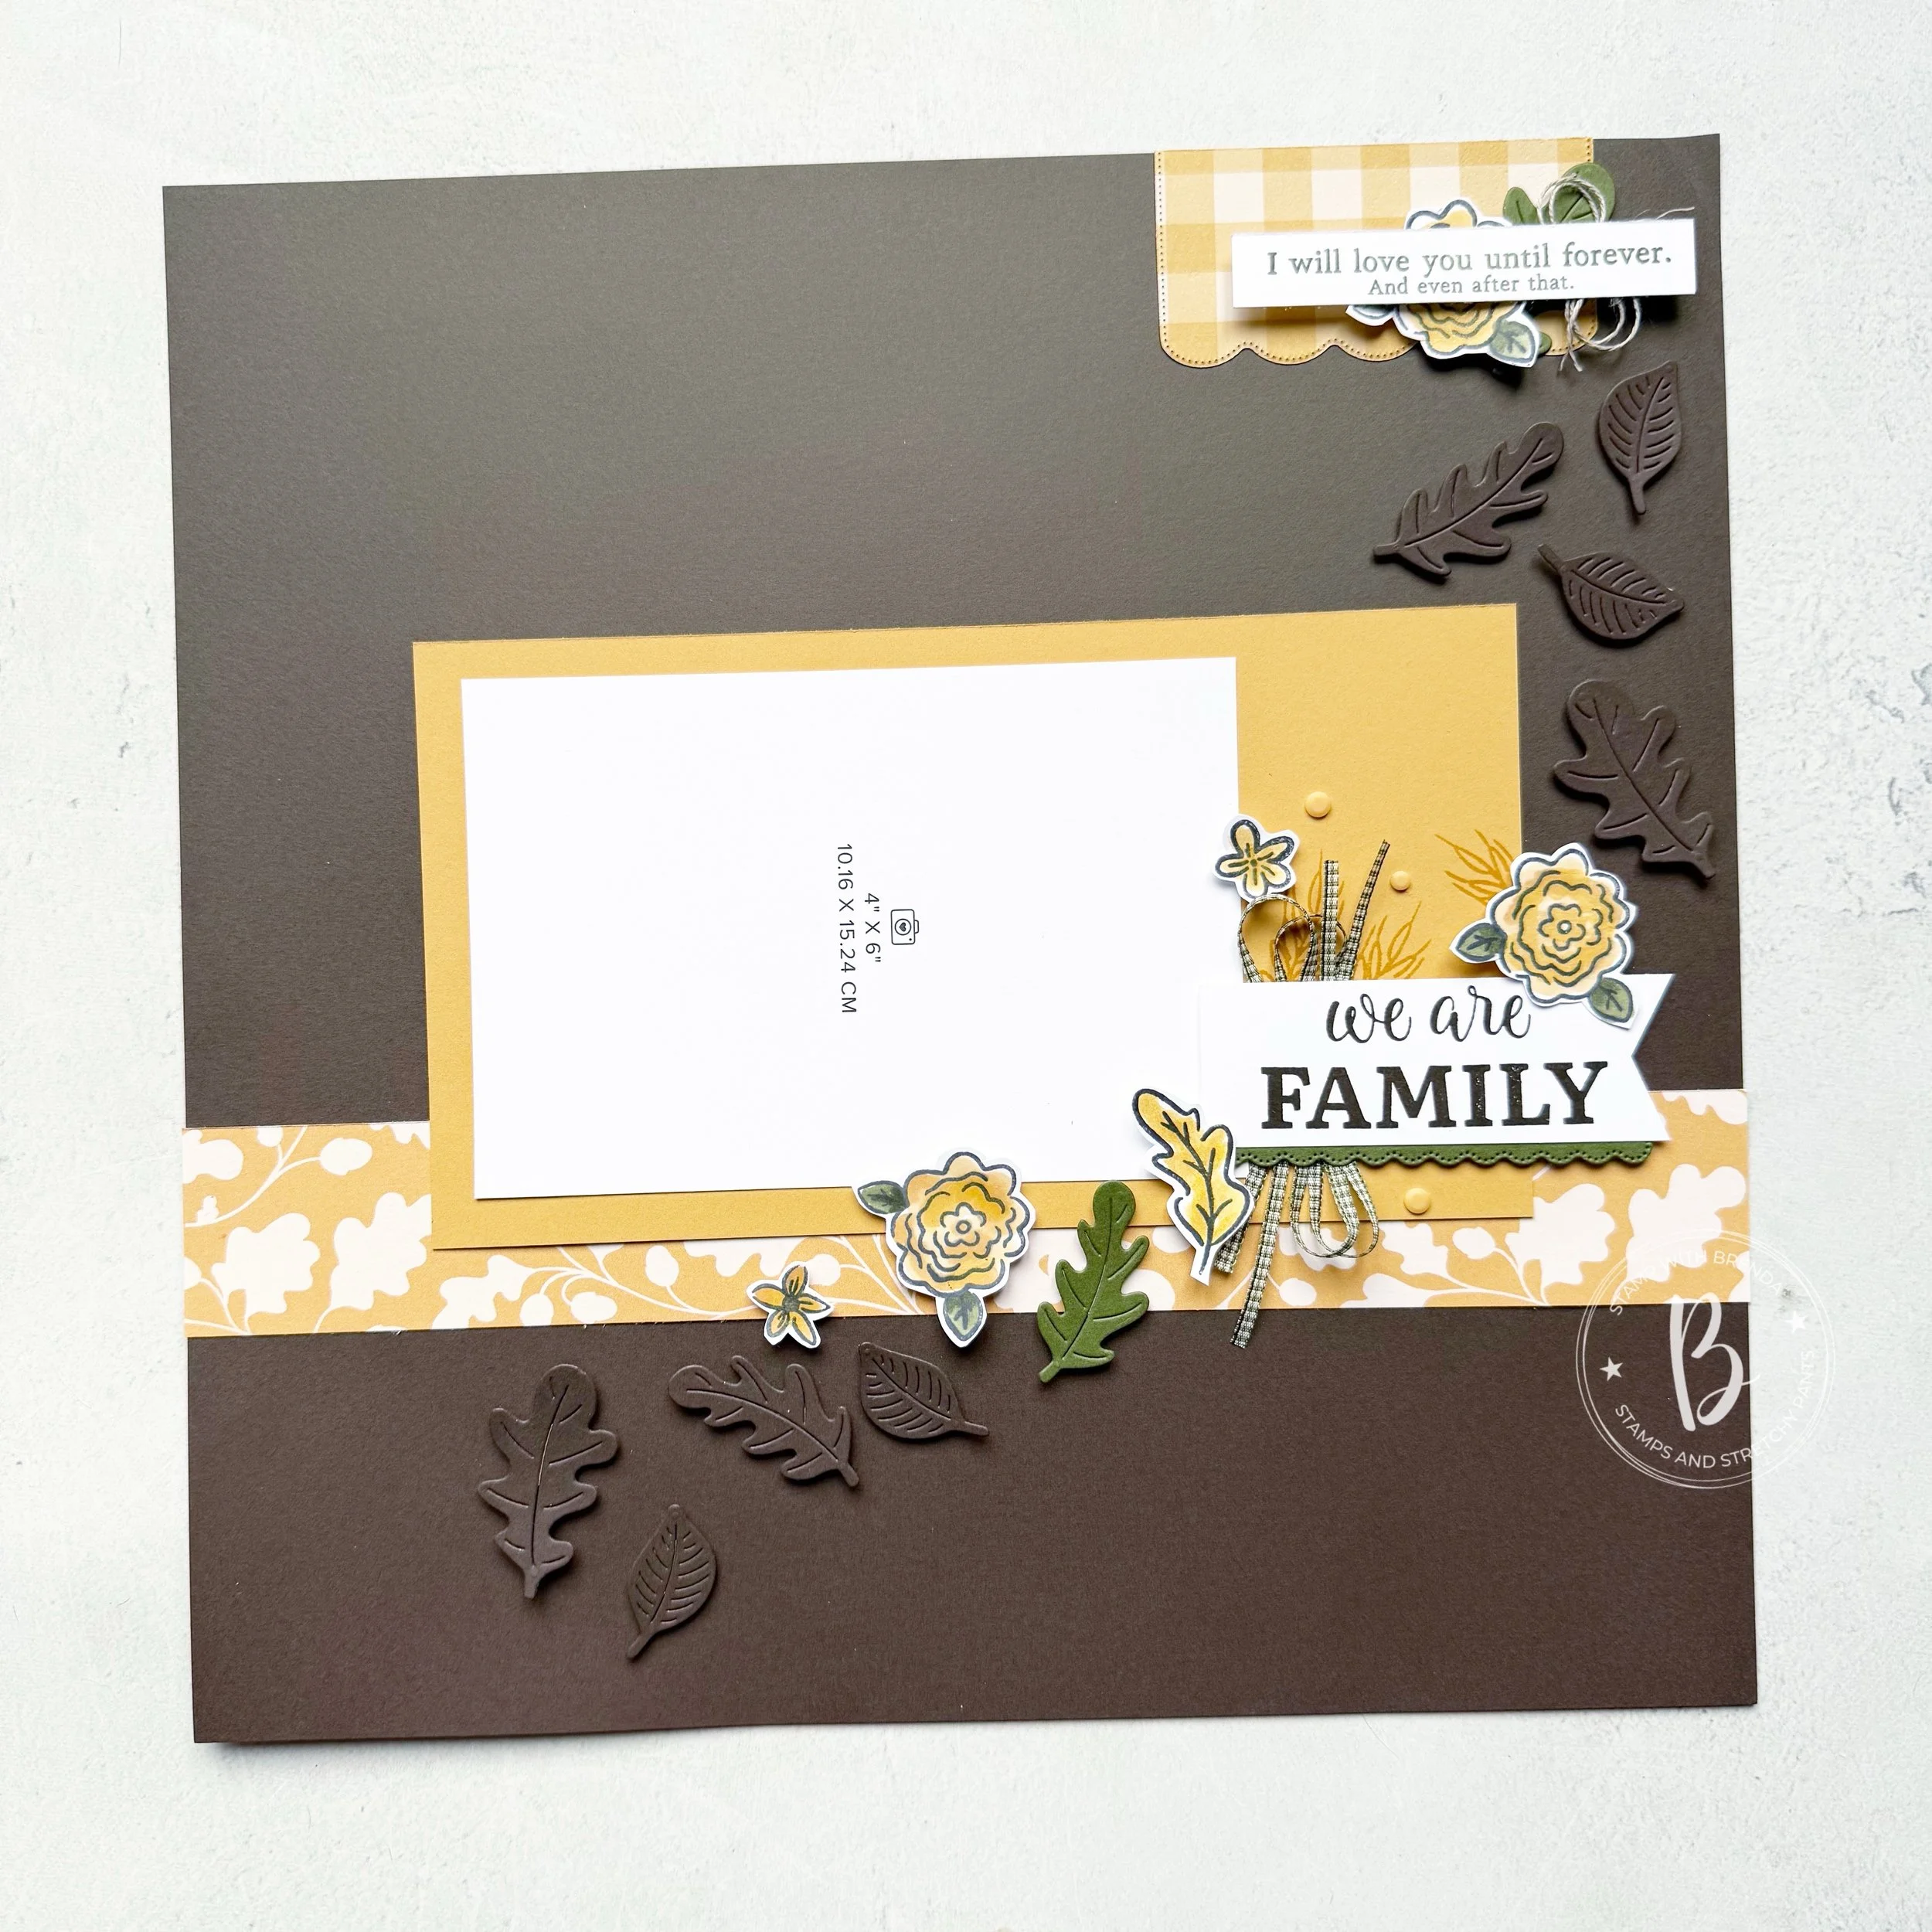
I really hope this page inspires you to create your own fall scrapbook page. Mine is waiting for the perfect memory—it’s a good way to motivate me to be outside!

Next up on the swap is Heather from the Songbird Stamper. You can see what she has designed by copying this link into your browser:


Or go in reverse and see what Melissa created first!

If you have enjoyed my project, please consider following me on Instagram as I shared a lot more over on that platform. I have also been sharing my 50 Things to Do When I am 50 List on the Lifestyle portion of my blog—feel free to check out what I have been up to. And if you are in Canada and need any crafting supplies, consider shopping with me so I can keep doing what I love!

Color Fusers--September

Hi friends! Welcome to September’s Color Fusers Hop. While the calendar says it isn’t officially fall, I am getting those vibes here in Alberta as you can feel a shift in the air!

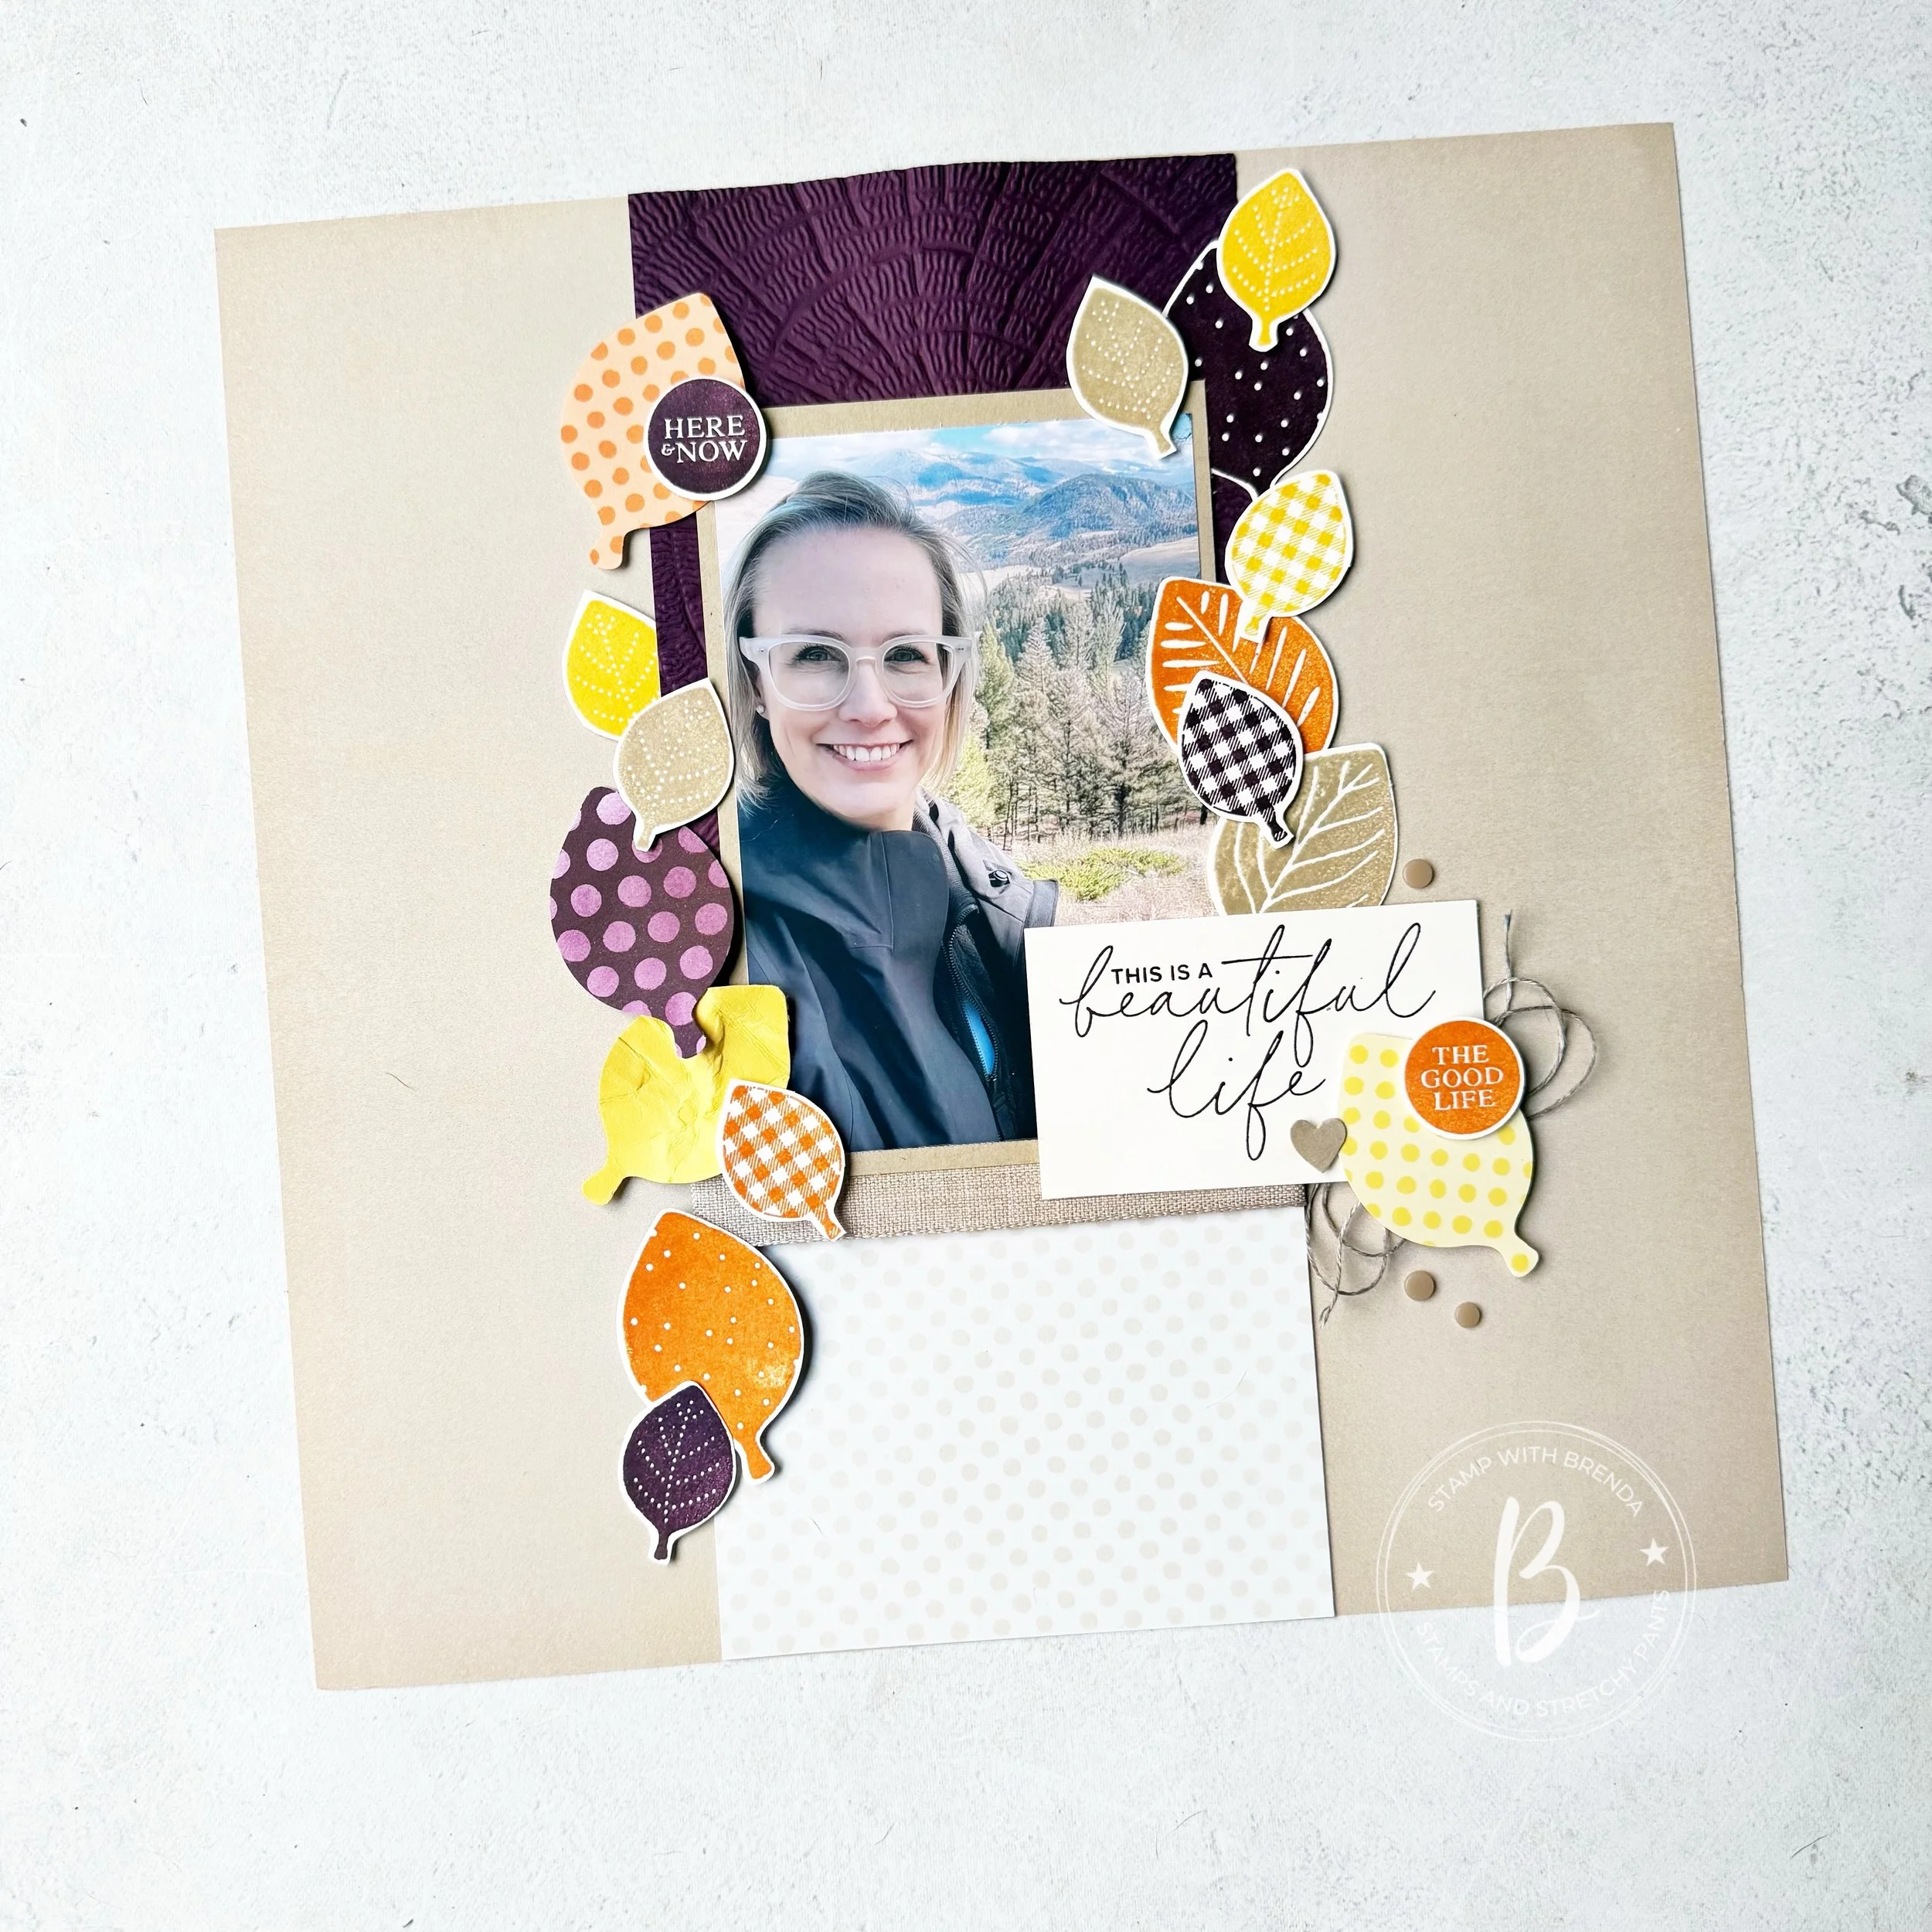
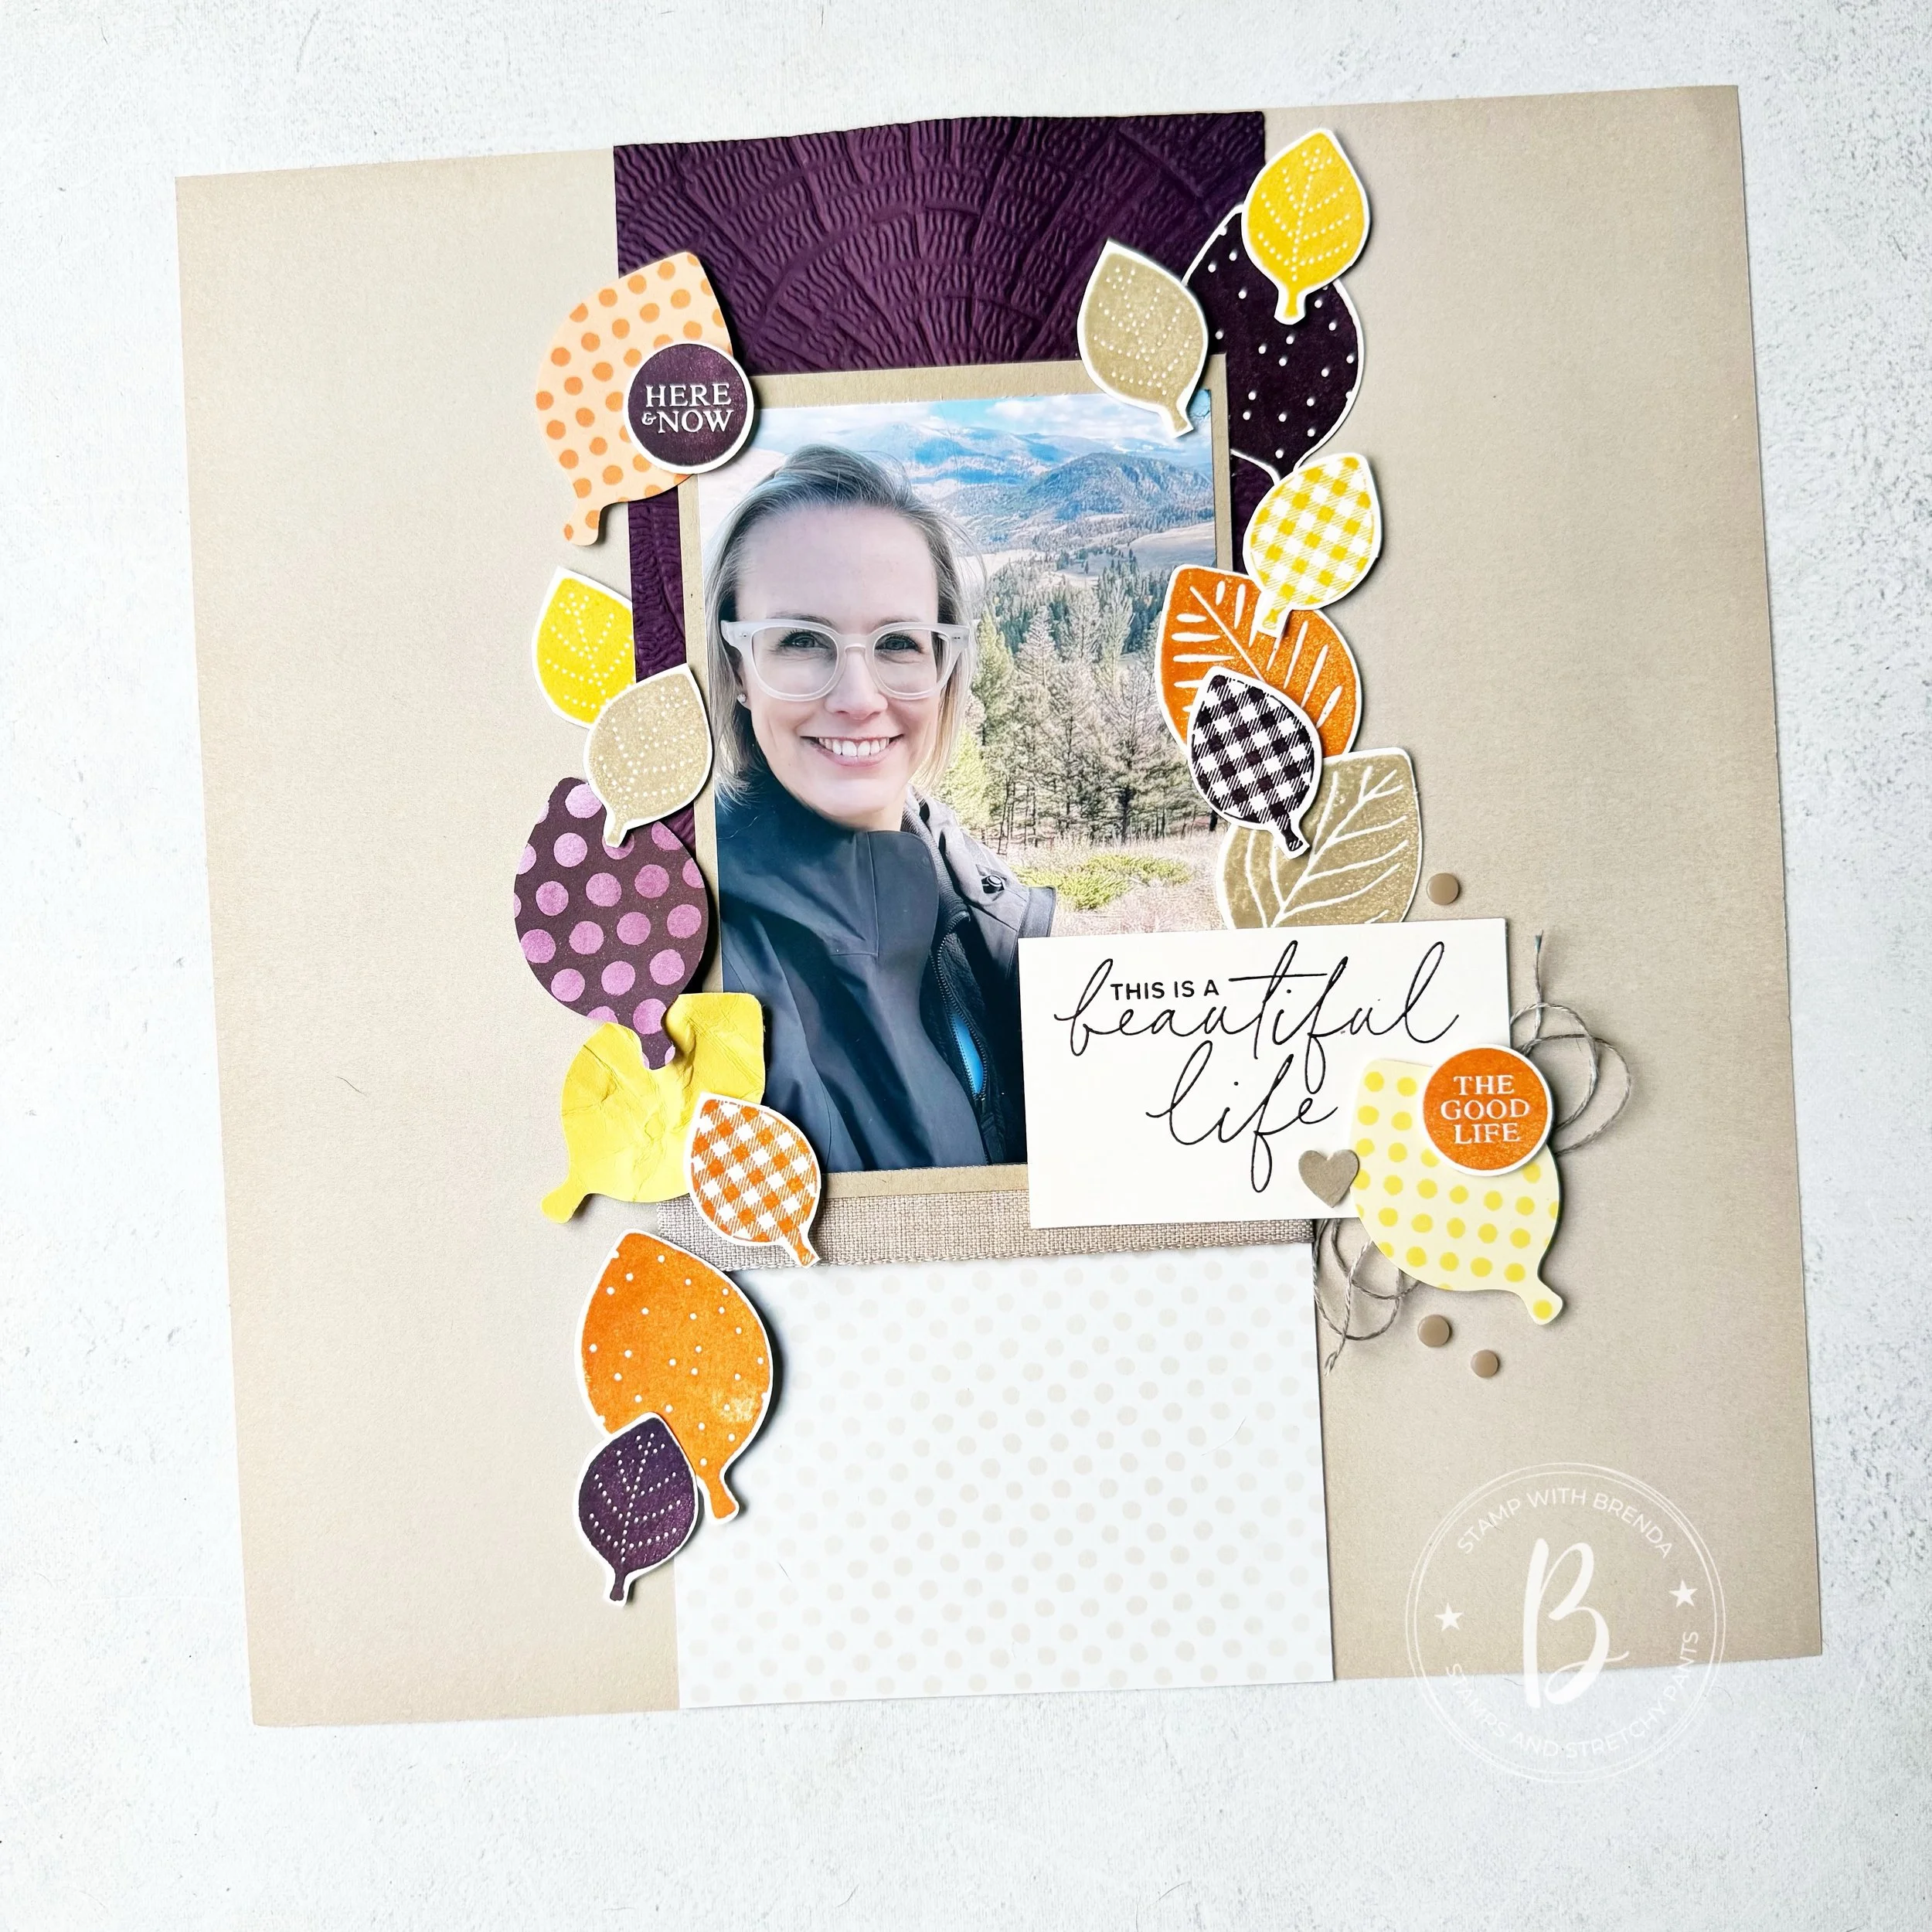
Our color palette for this month also reflects that fall feeling so I could not resist making a scrapbook page!
This is me in yellowstone park last fall. It was a really beautiful place!
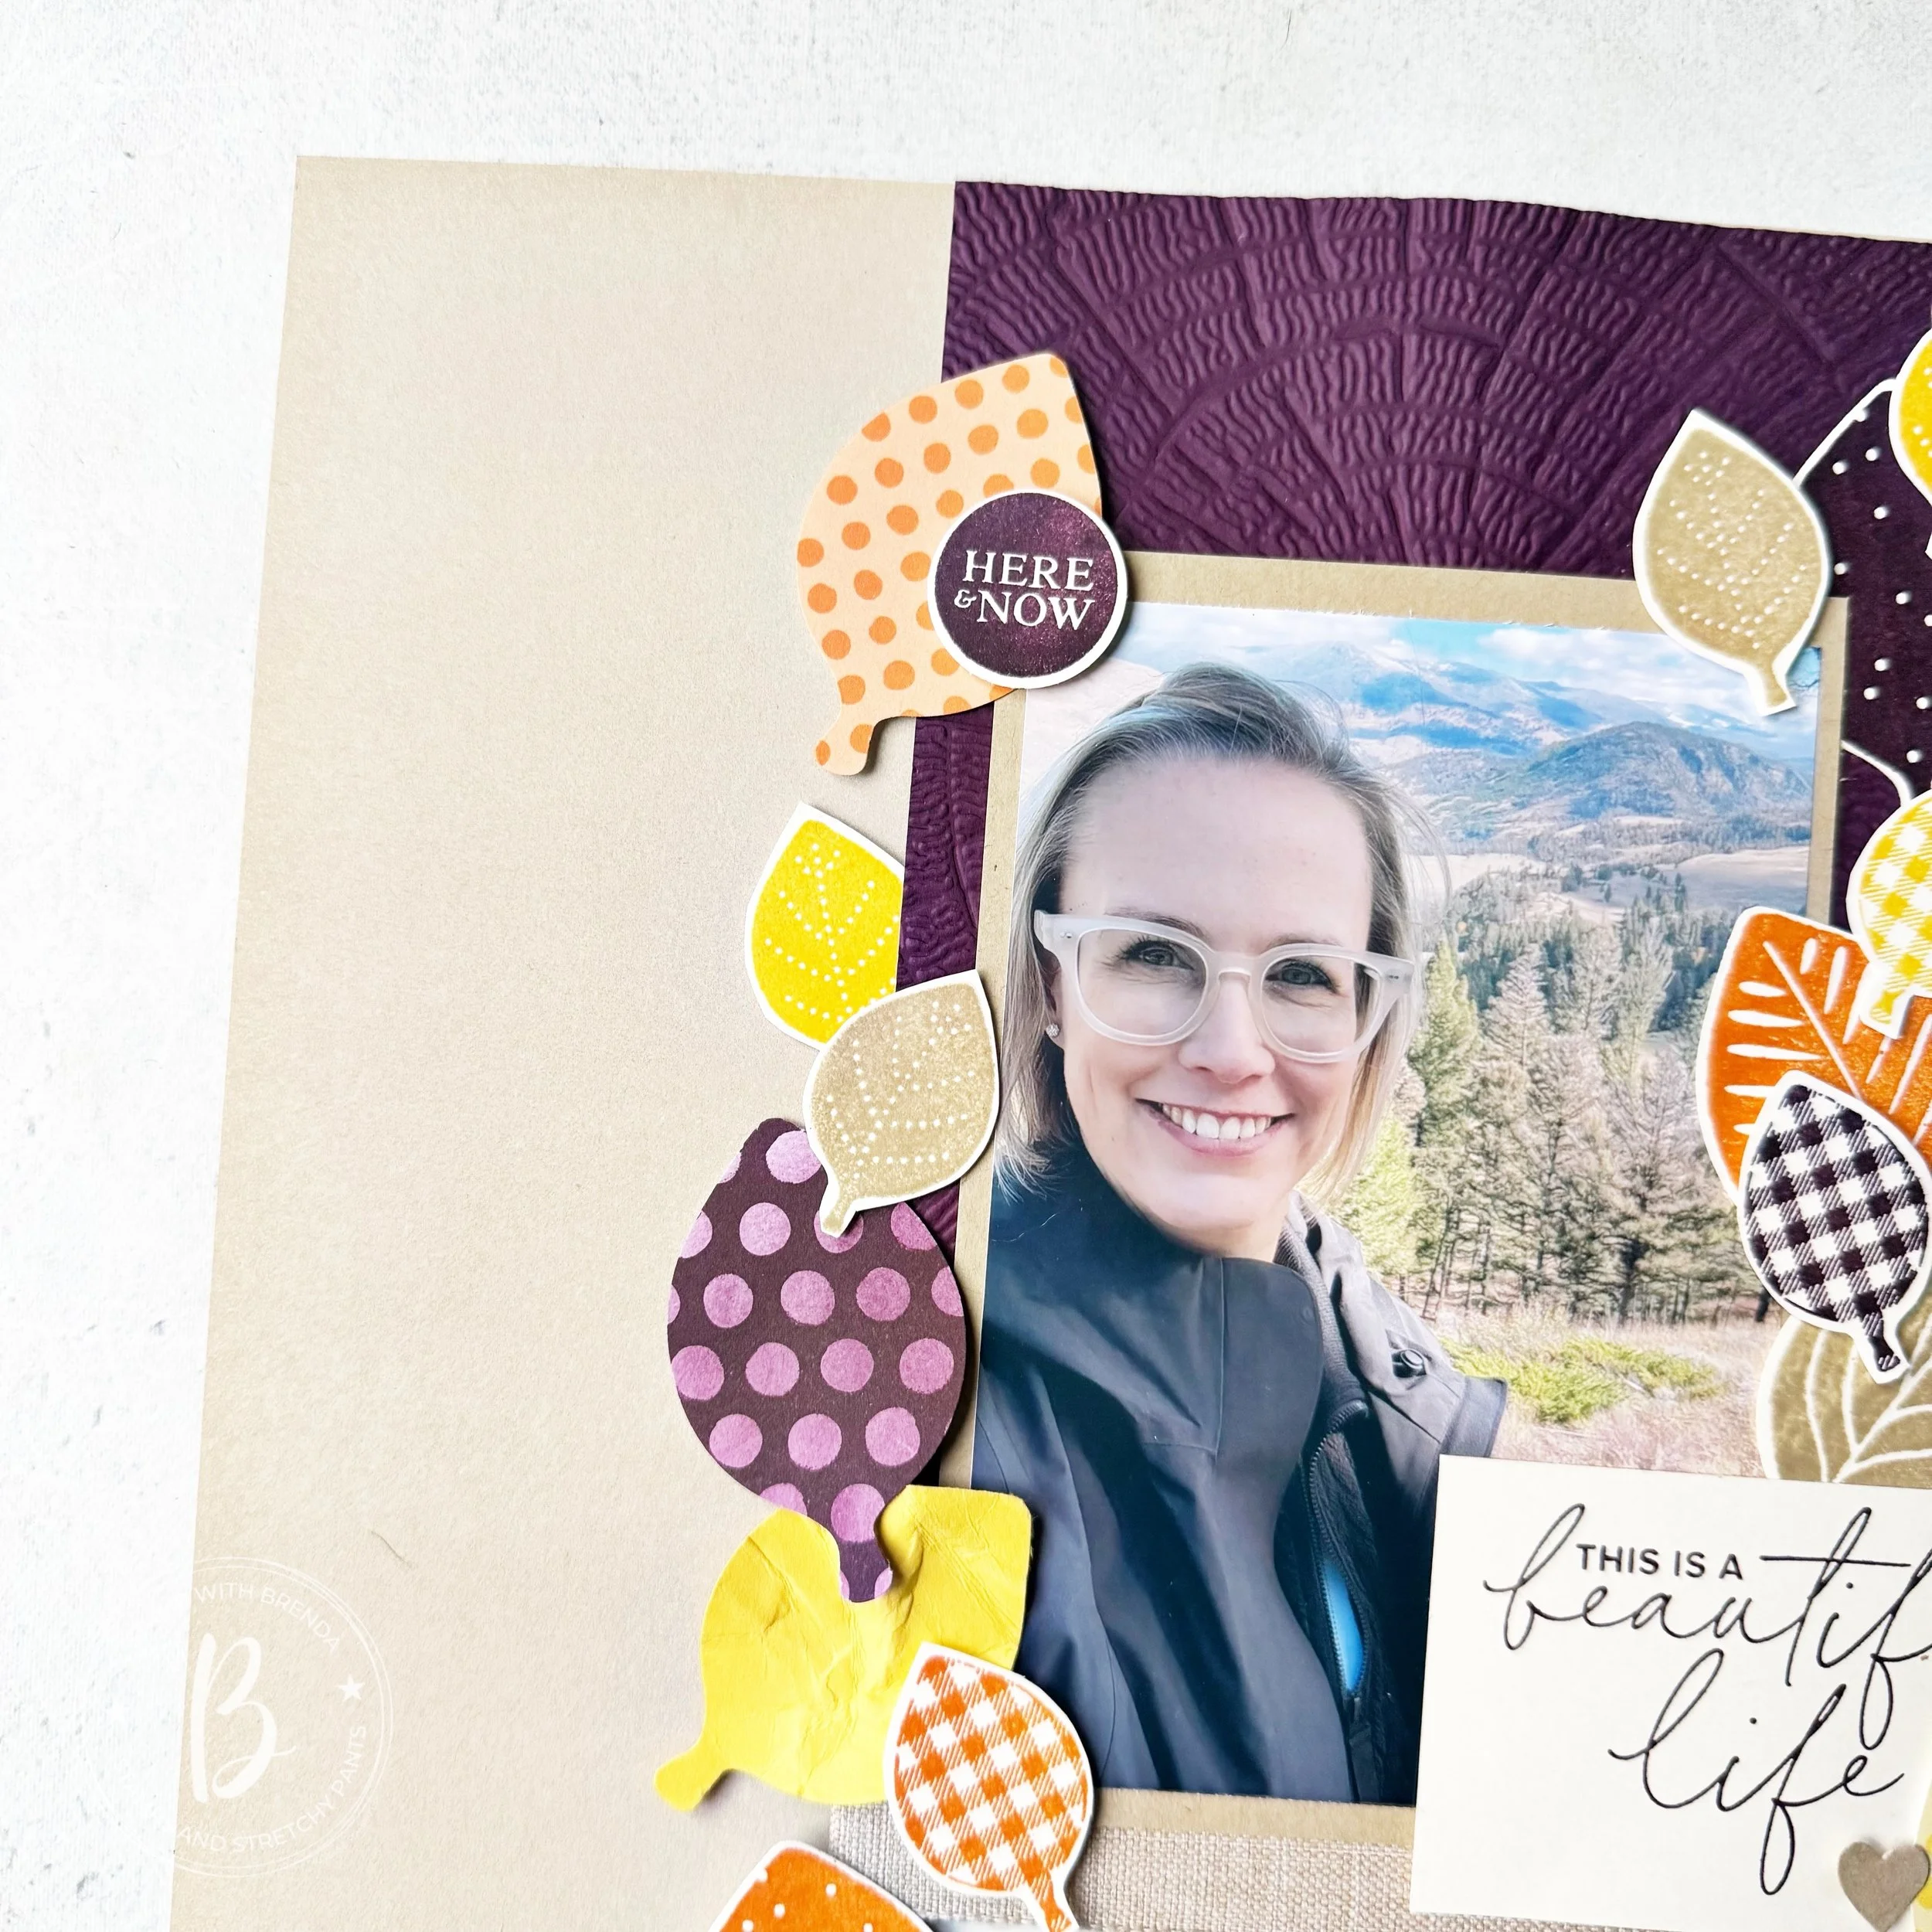
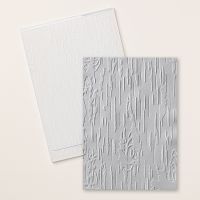
I started with a 12 x 12 base of Two Tone Crumb Cake and added a 5 x 12 section of Blackberry Bliss that I ran through our new Textured Tree Ring Embossing Folder. As the paper was longer than the folder (it is one of our oversized folders but still won’t cover a full 12 inches). I decided to add a section of polkadot DSP from the Neutrals collection and a strip of some long retired Crumb cake ribbon. This is a great way to mask off the fact that the tree ring design does not go the whole length of the paper.

I new that I was going to use the new Simply Leaves bundle and I wanted to find a creative way to share a bunch of leaves —focusing on some stamping, using card stock and of course DSP. Having a punch made this so quick! I decided to frame either side of my center panel in leaves focusing on the colours the Team is using this month.

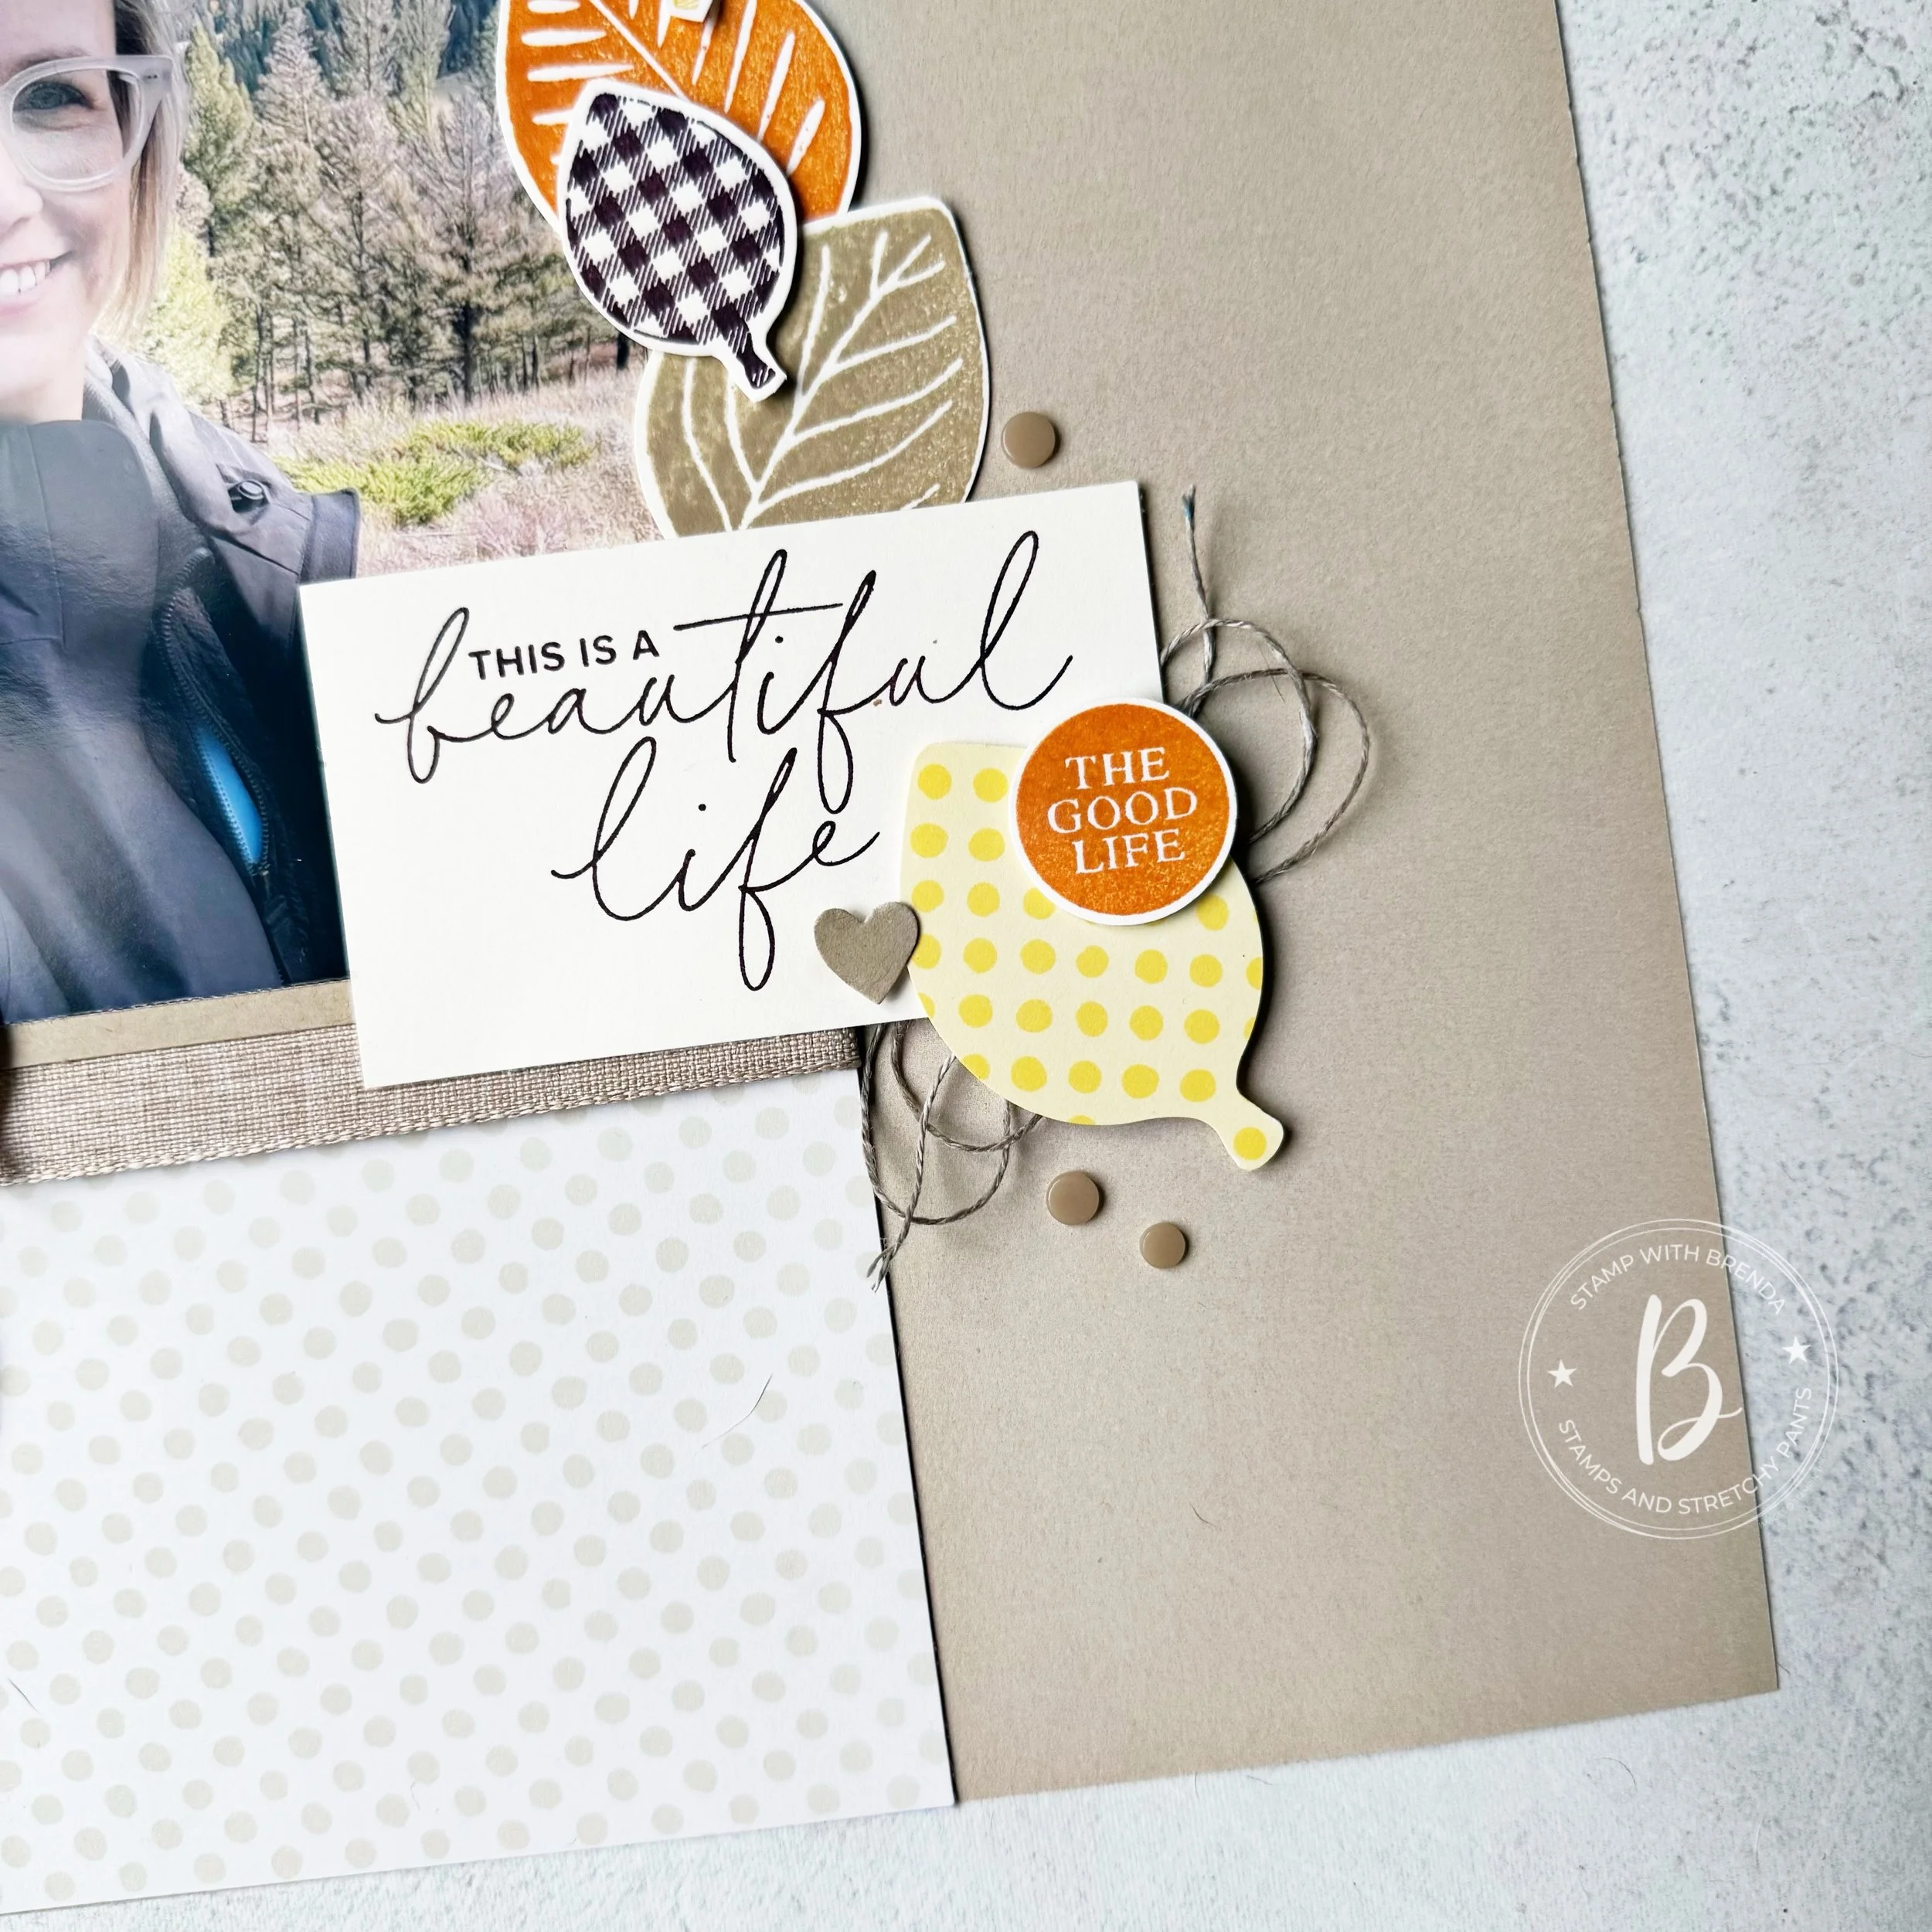
The main sentiment on my page is from the Extraordinary Life stamp set and it definitely captures the sentiment of how I have been feeling and approaching my life this past year.

I matted my photo on a piece of Crumb Cake card stock to help draw attention to it against the Blackberry Bliss. I added a few other sentiments from the new Beautiful Together stamp set (I love the circles with Here & Now and Good Life).

The plaid little leaf is also a fan favourite of mine! And a few Neutral Matte Dots and I had my page together!

Please Hop around to everyone and see what amazing projects they have created this month. Next up on the Hop is the amazing former Artisan Design Team member Heather from the Songbird Stamper. I love everything she creates and we were on the team together a few years back!

If you prefer to got the other way you can check out Melissa Kerman and see what fabulous project she has designed.

Thank you for stopping by and if you are interested in what I have been up to besides stamping this year, check out my Lifestyle Tab and see what goals I have been crushing on my 50 Things to Do List!

Thanks friends!

Color Fusers--July!

Hi friends! Welcome to July—as a teacher, this is an exciting month. I think I live for not setting my alarm clock! And I now have time for more crafting, which is everyone’s dream!

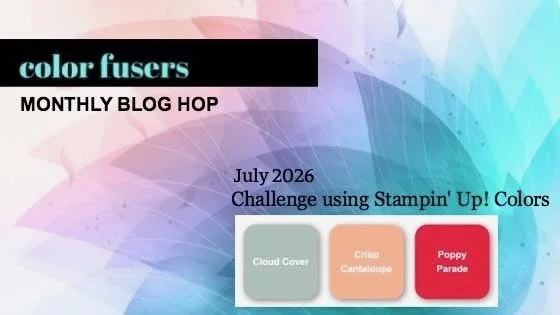
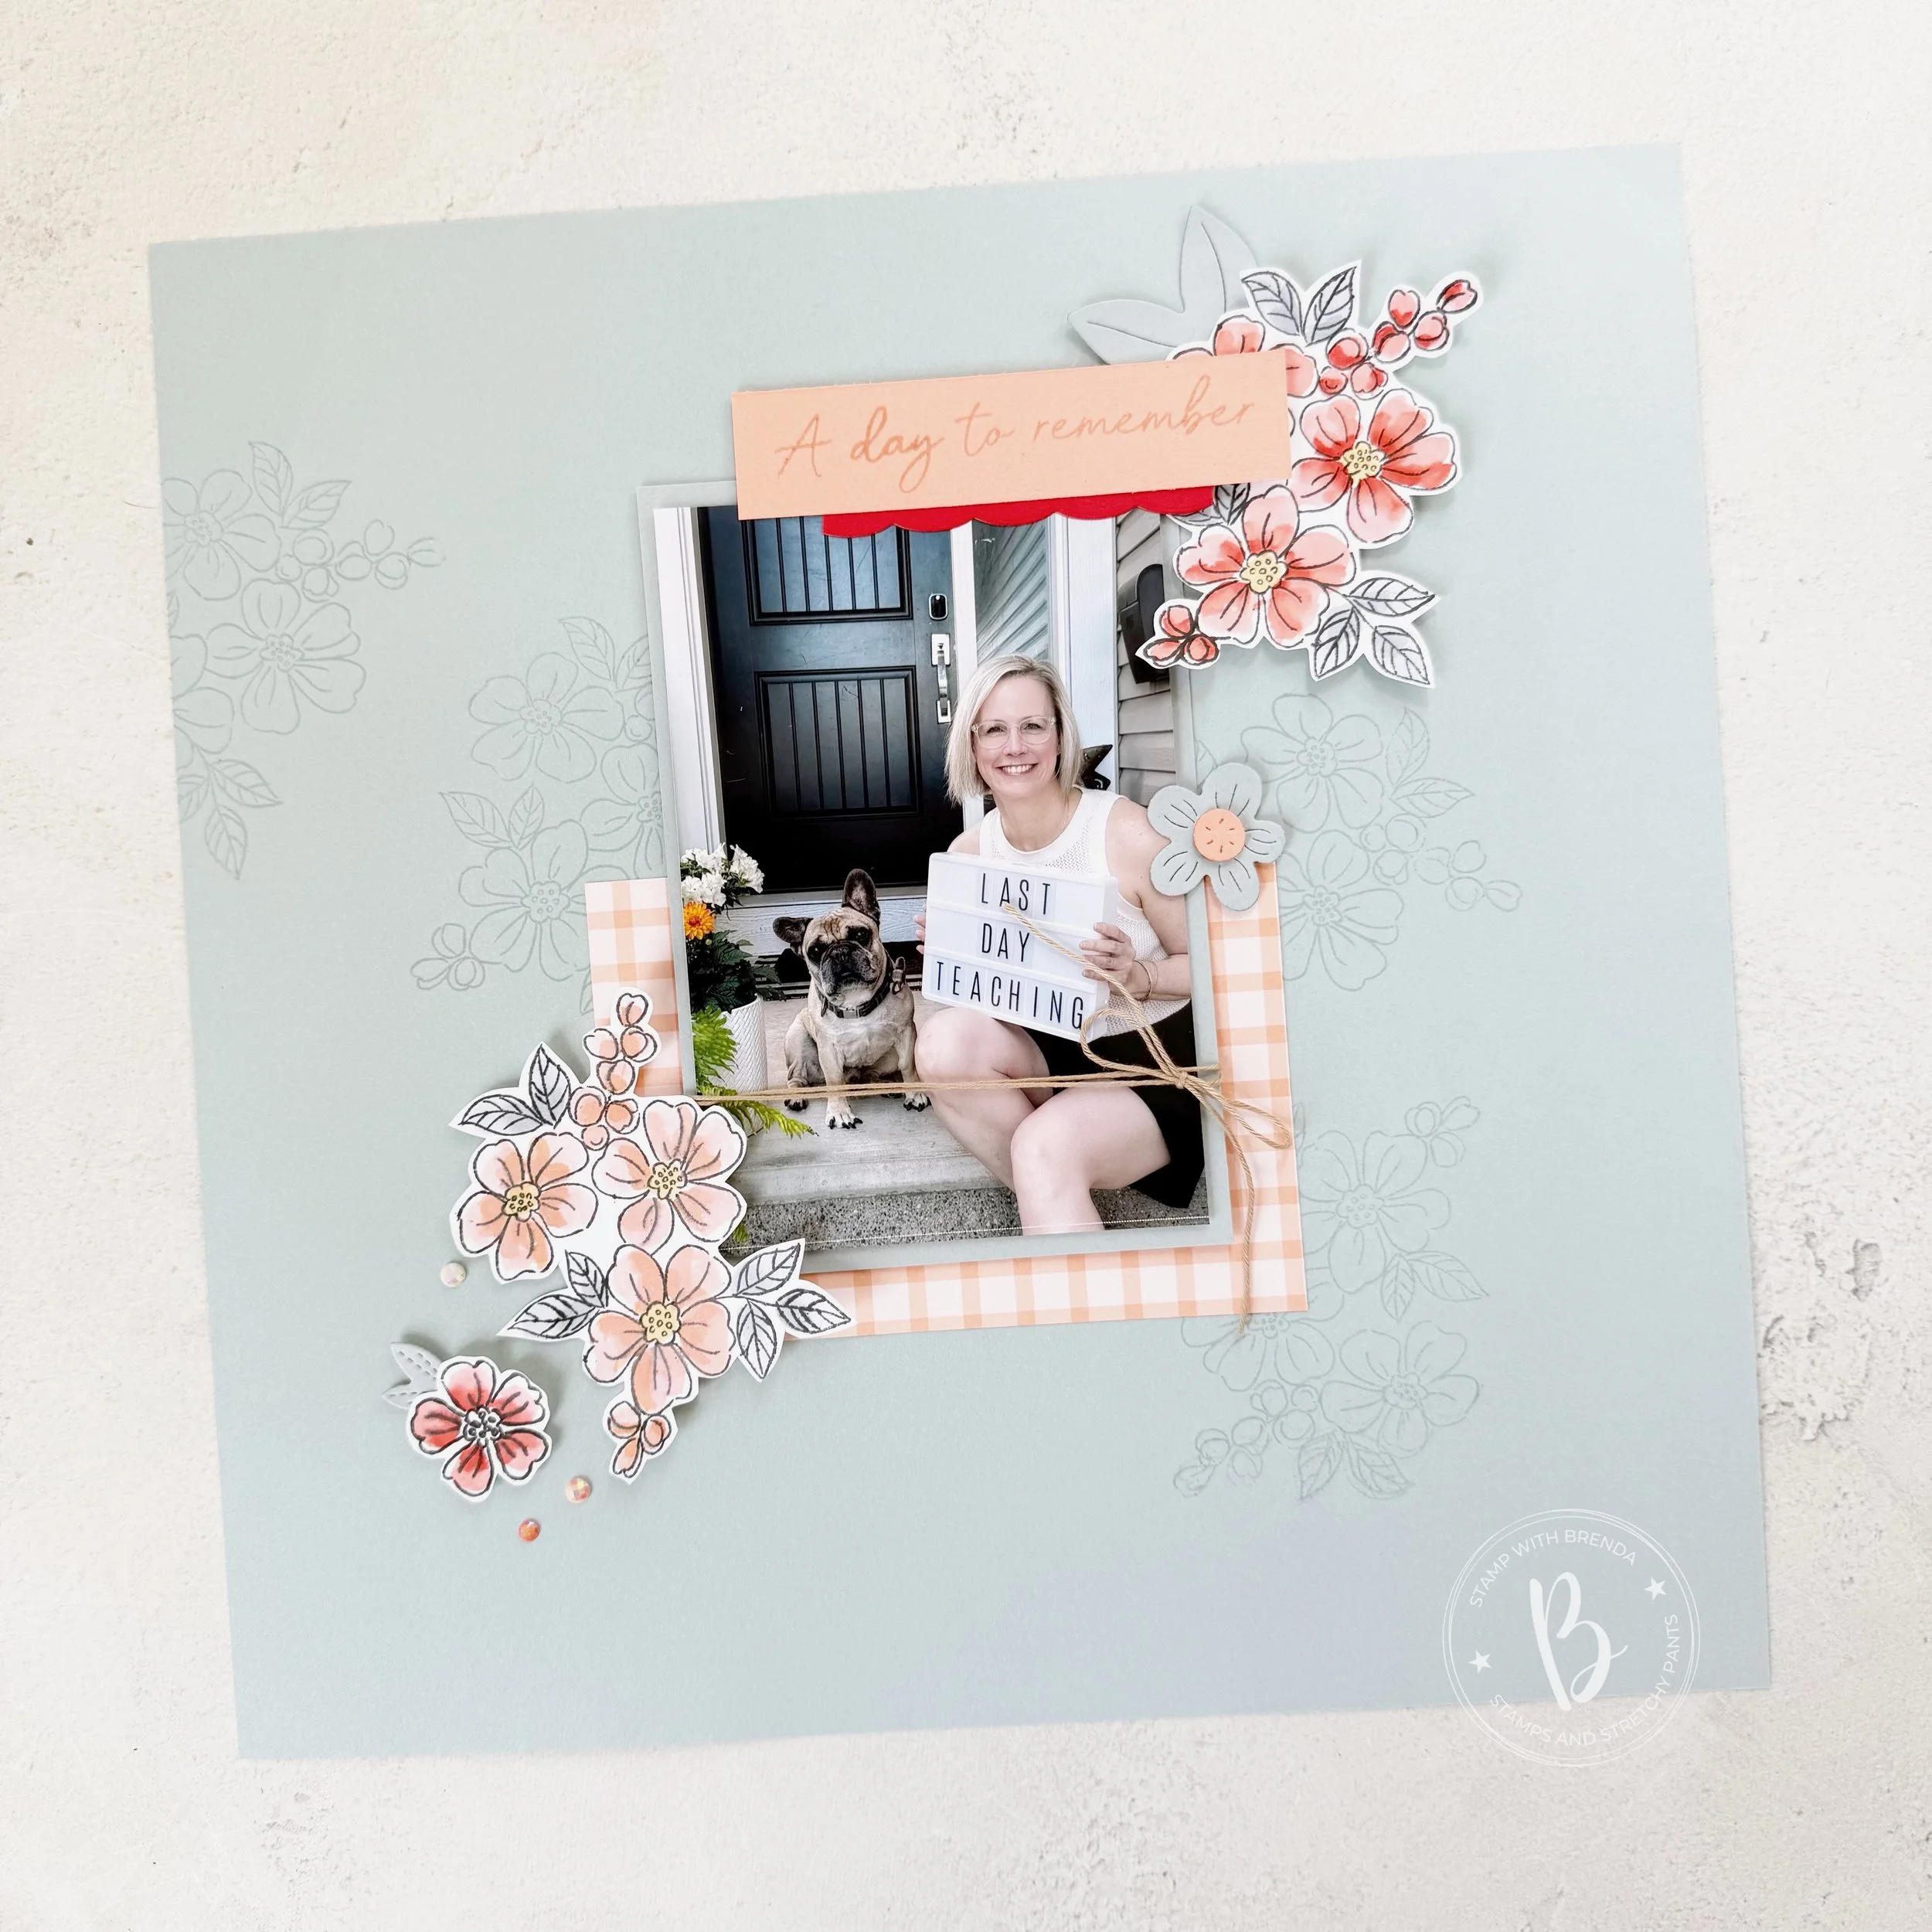
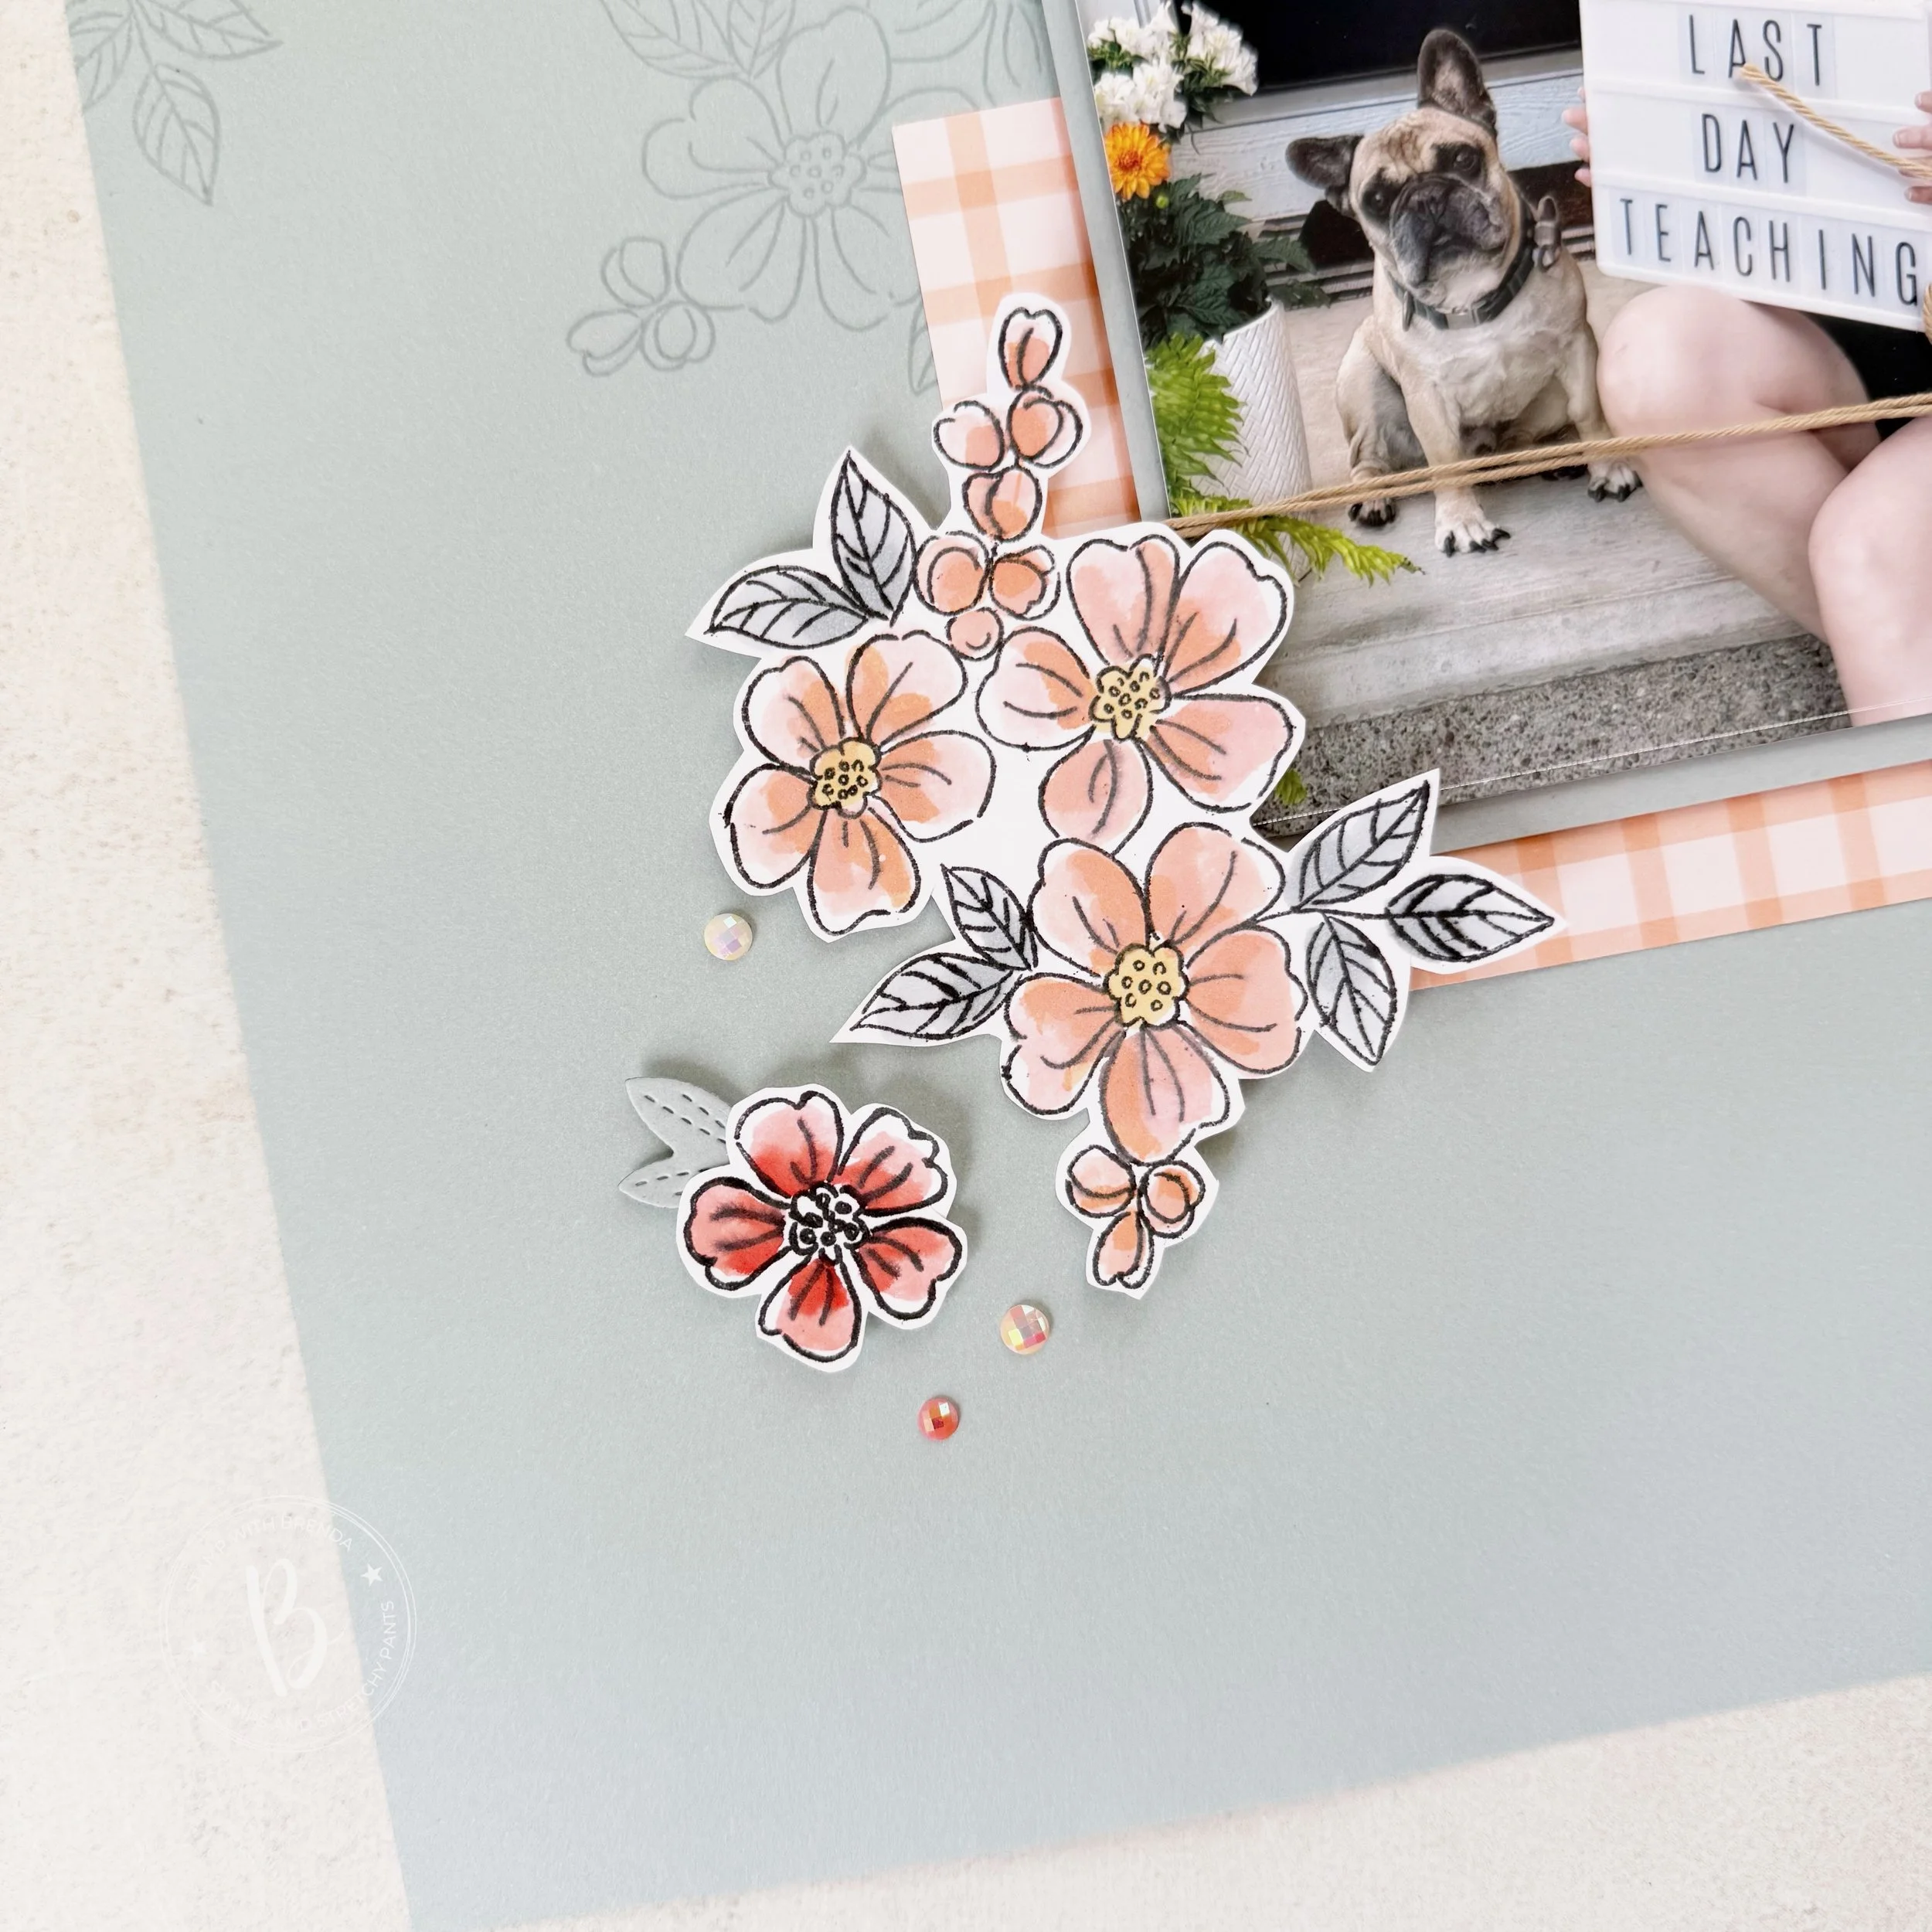
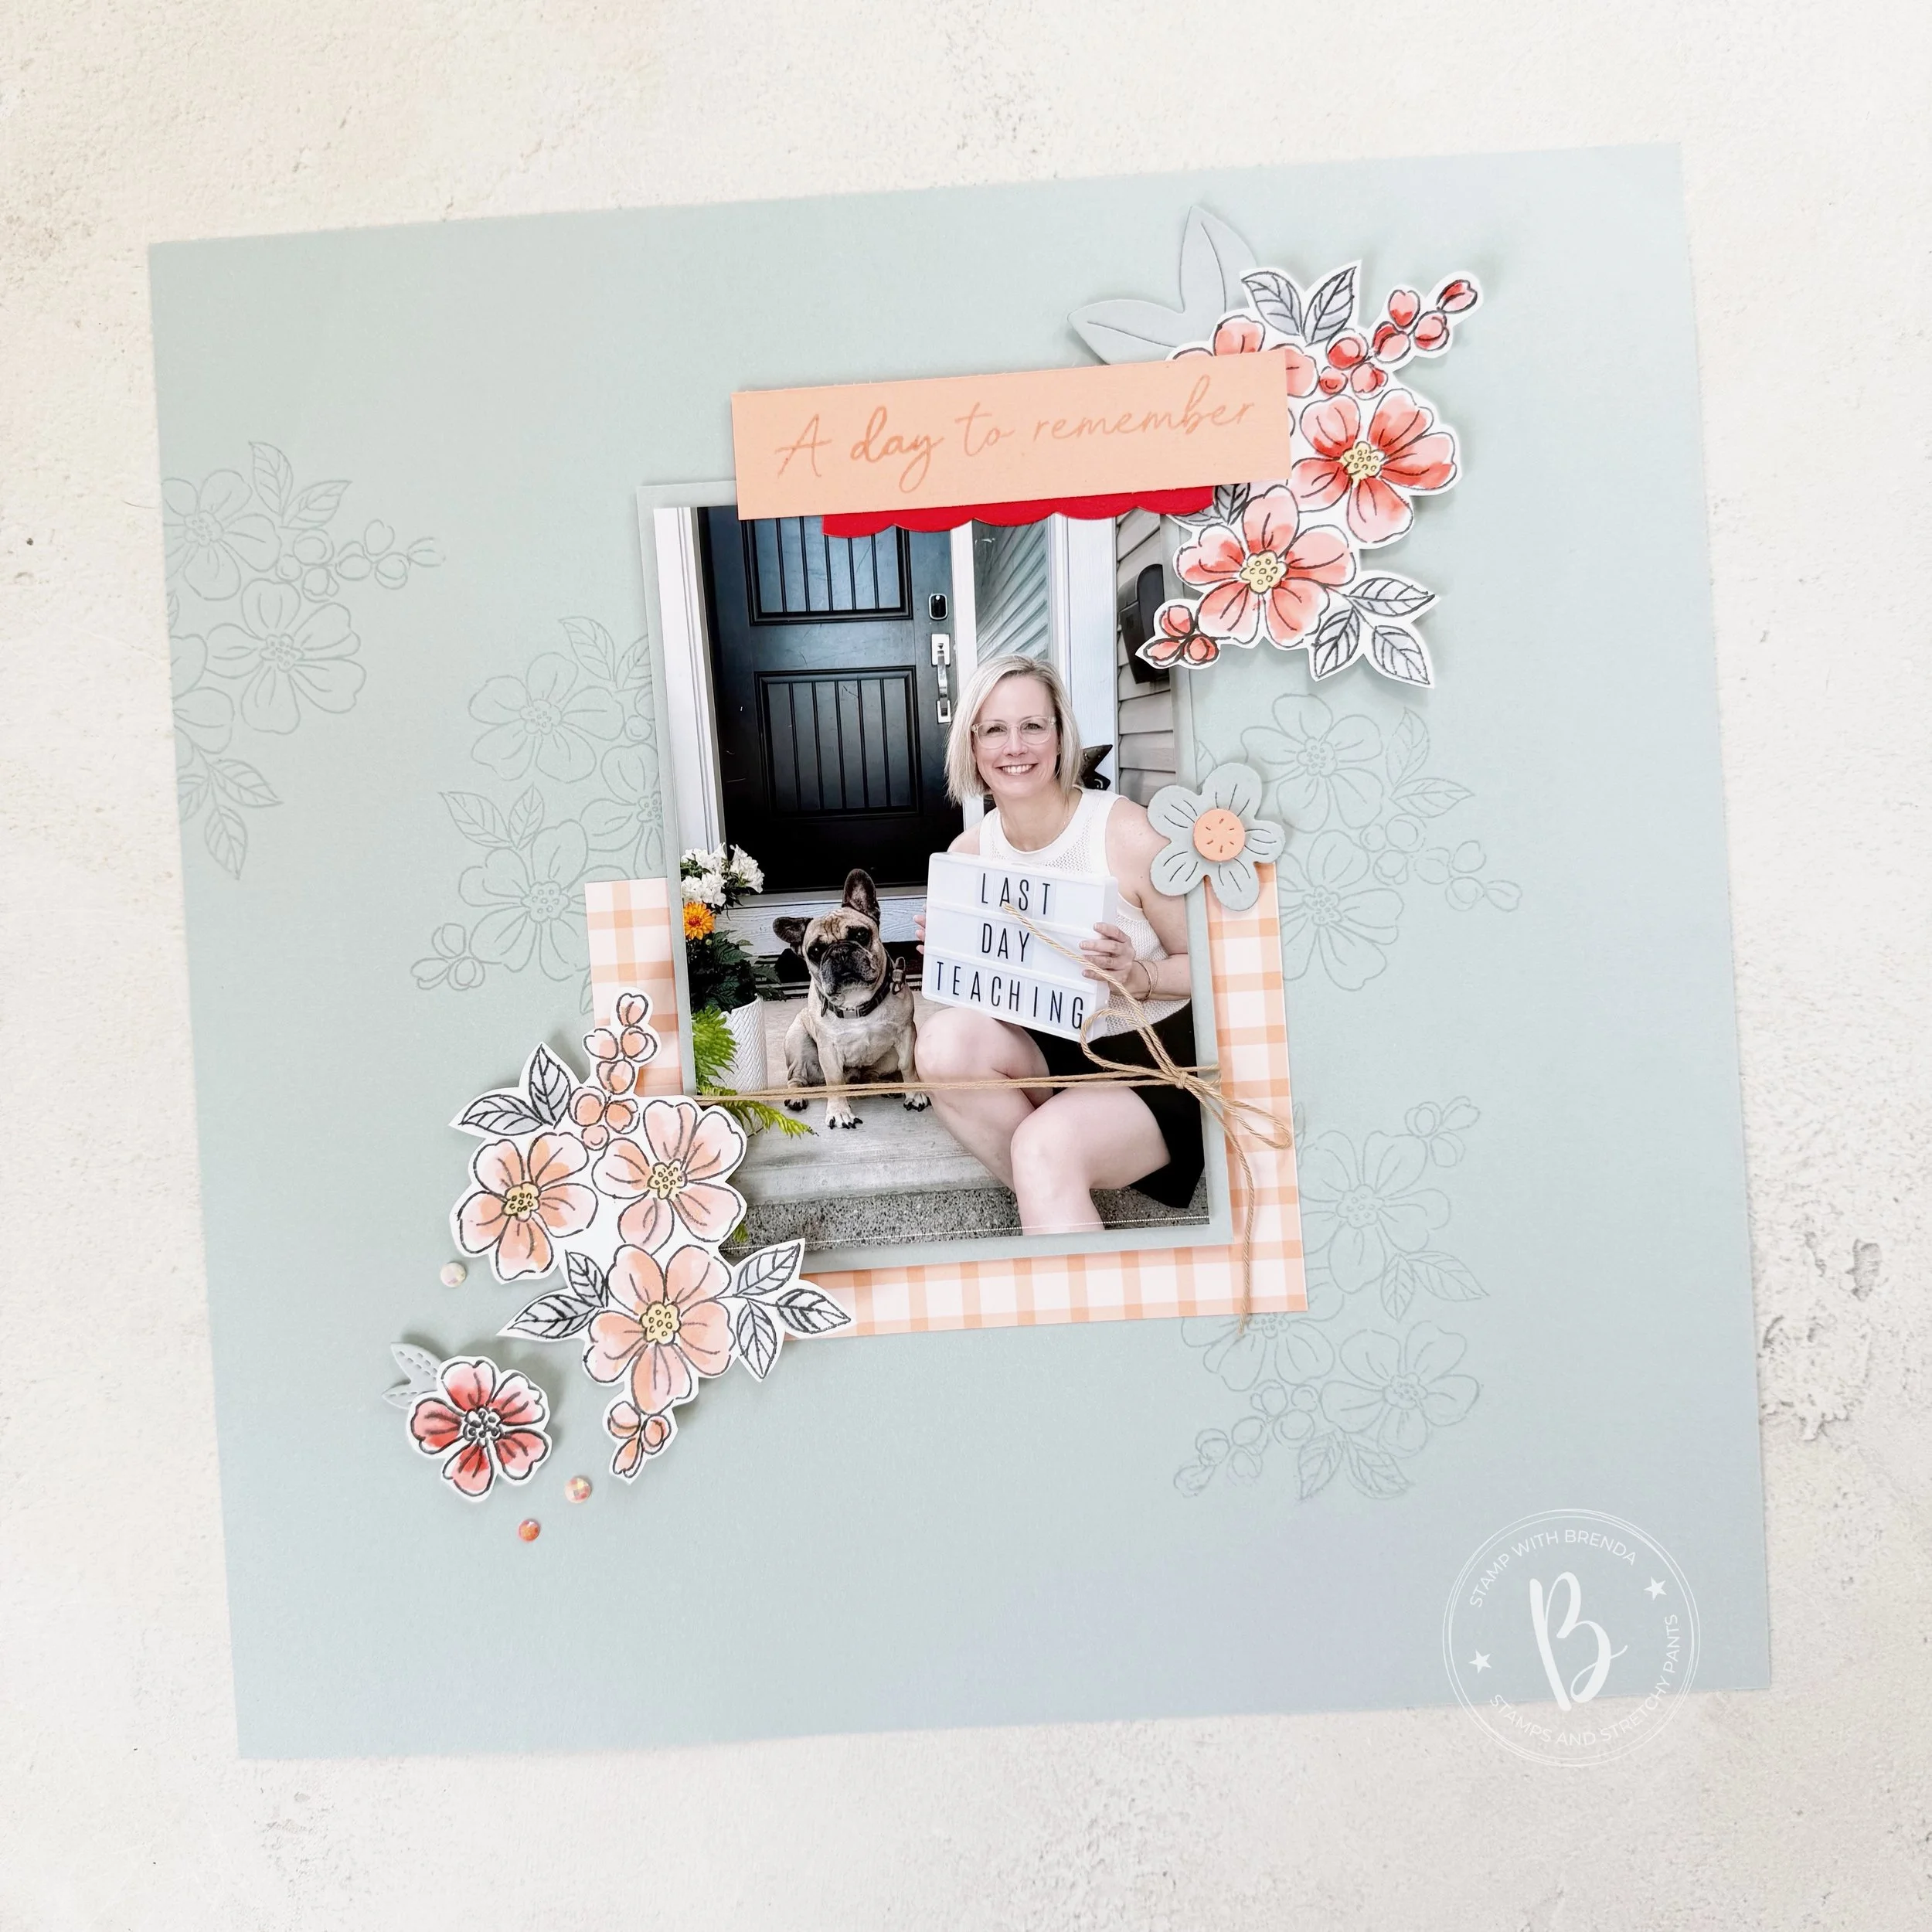
This month the Color Fusers are creating with Cloud Cover, Crisp Cantaloupe (a new In Color but a returning color) and Poppy Parade. I decided to use this combo to create a scrapbook layout.

Isn’t my dog so adorable! I love that he wanted to join me for this picture!

I started my page with Cloud Cover Two Tone card stock on the original color side. I used the Fragrant Layers stamp set (one of my current favourites) as the main stamp for my page.

The new Gingham In Color DSP is at the top of my DSP list at the moment. I wish we had it for every color family as you cannot go wrong with gingham! I used a section in the small gingham in Crisp Cantaloupe under my photo. My last day of school picture is mounted on Cloud Cover card stock with some Crumb Cake Bakers Twine wrapped around.

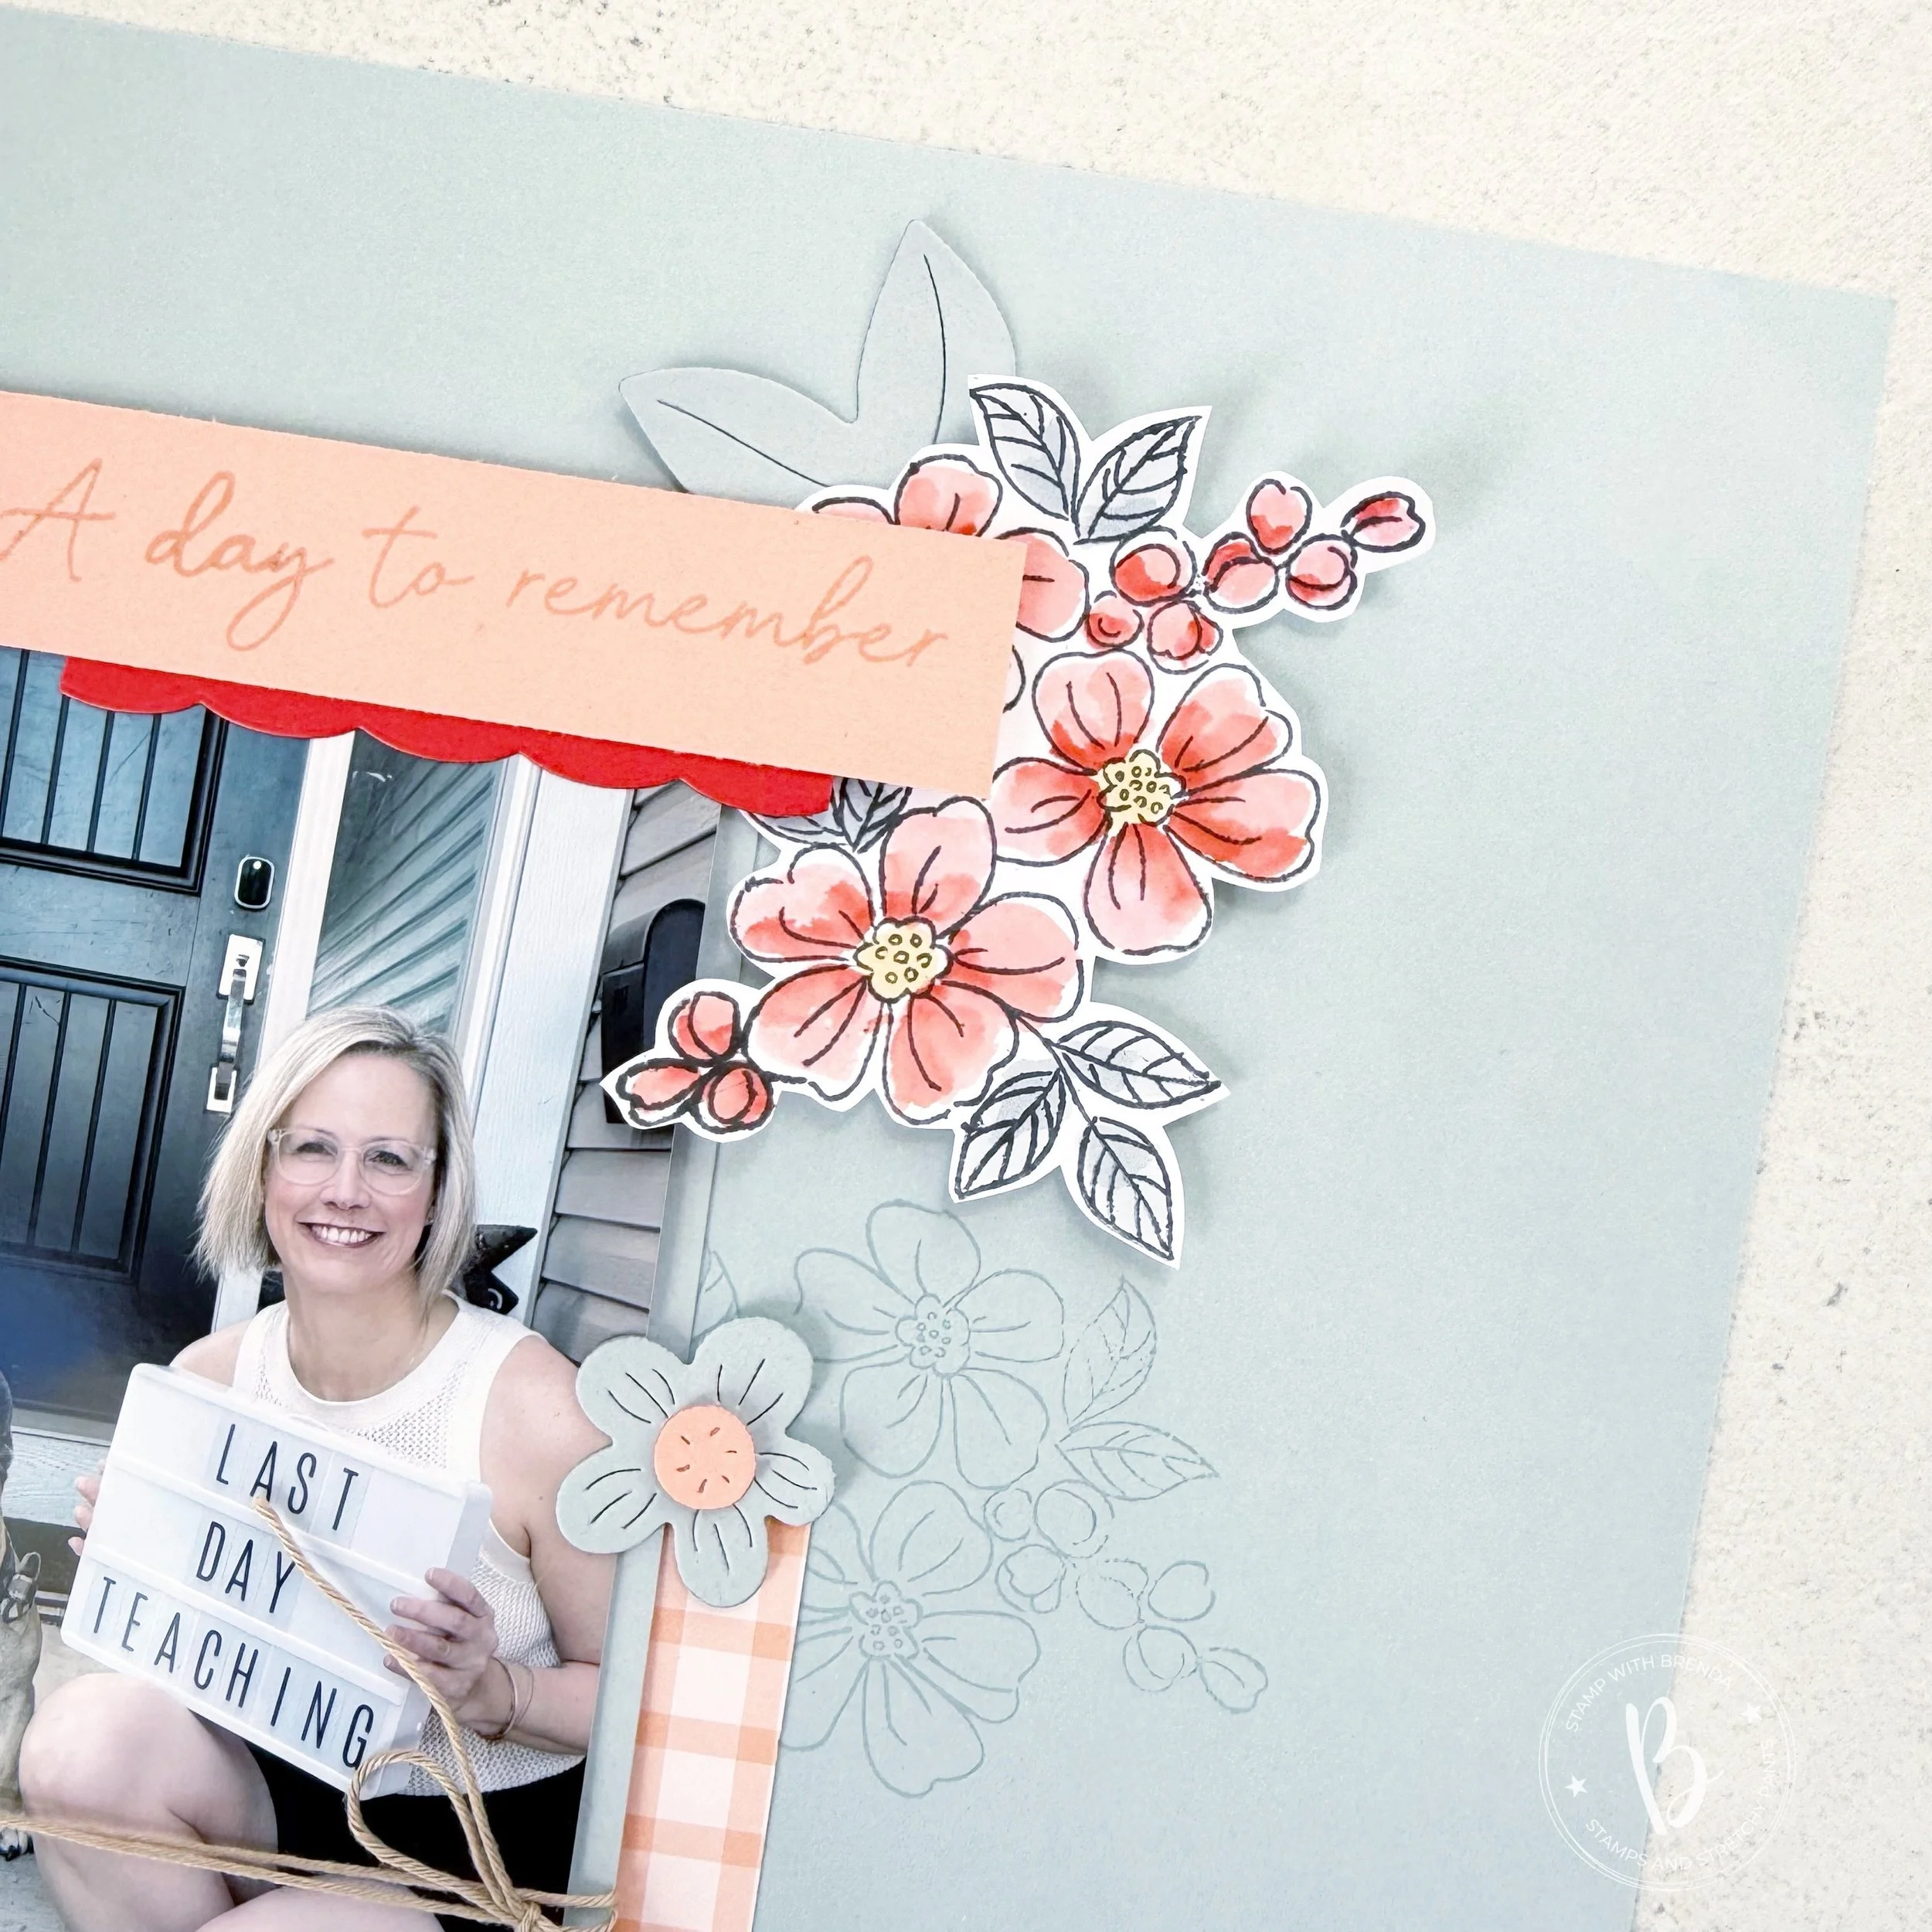
The sentiment is from the Fragrant Layers stamp set and is accentuated by a little scallop border detail in Poppy Parade. This was cut using the Bordered in Beauty Dies.

I also added a die cut flower and leaf from the Heirloom Boutique Die set.

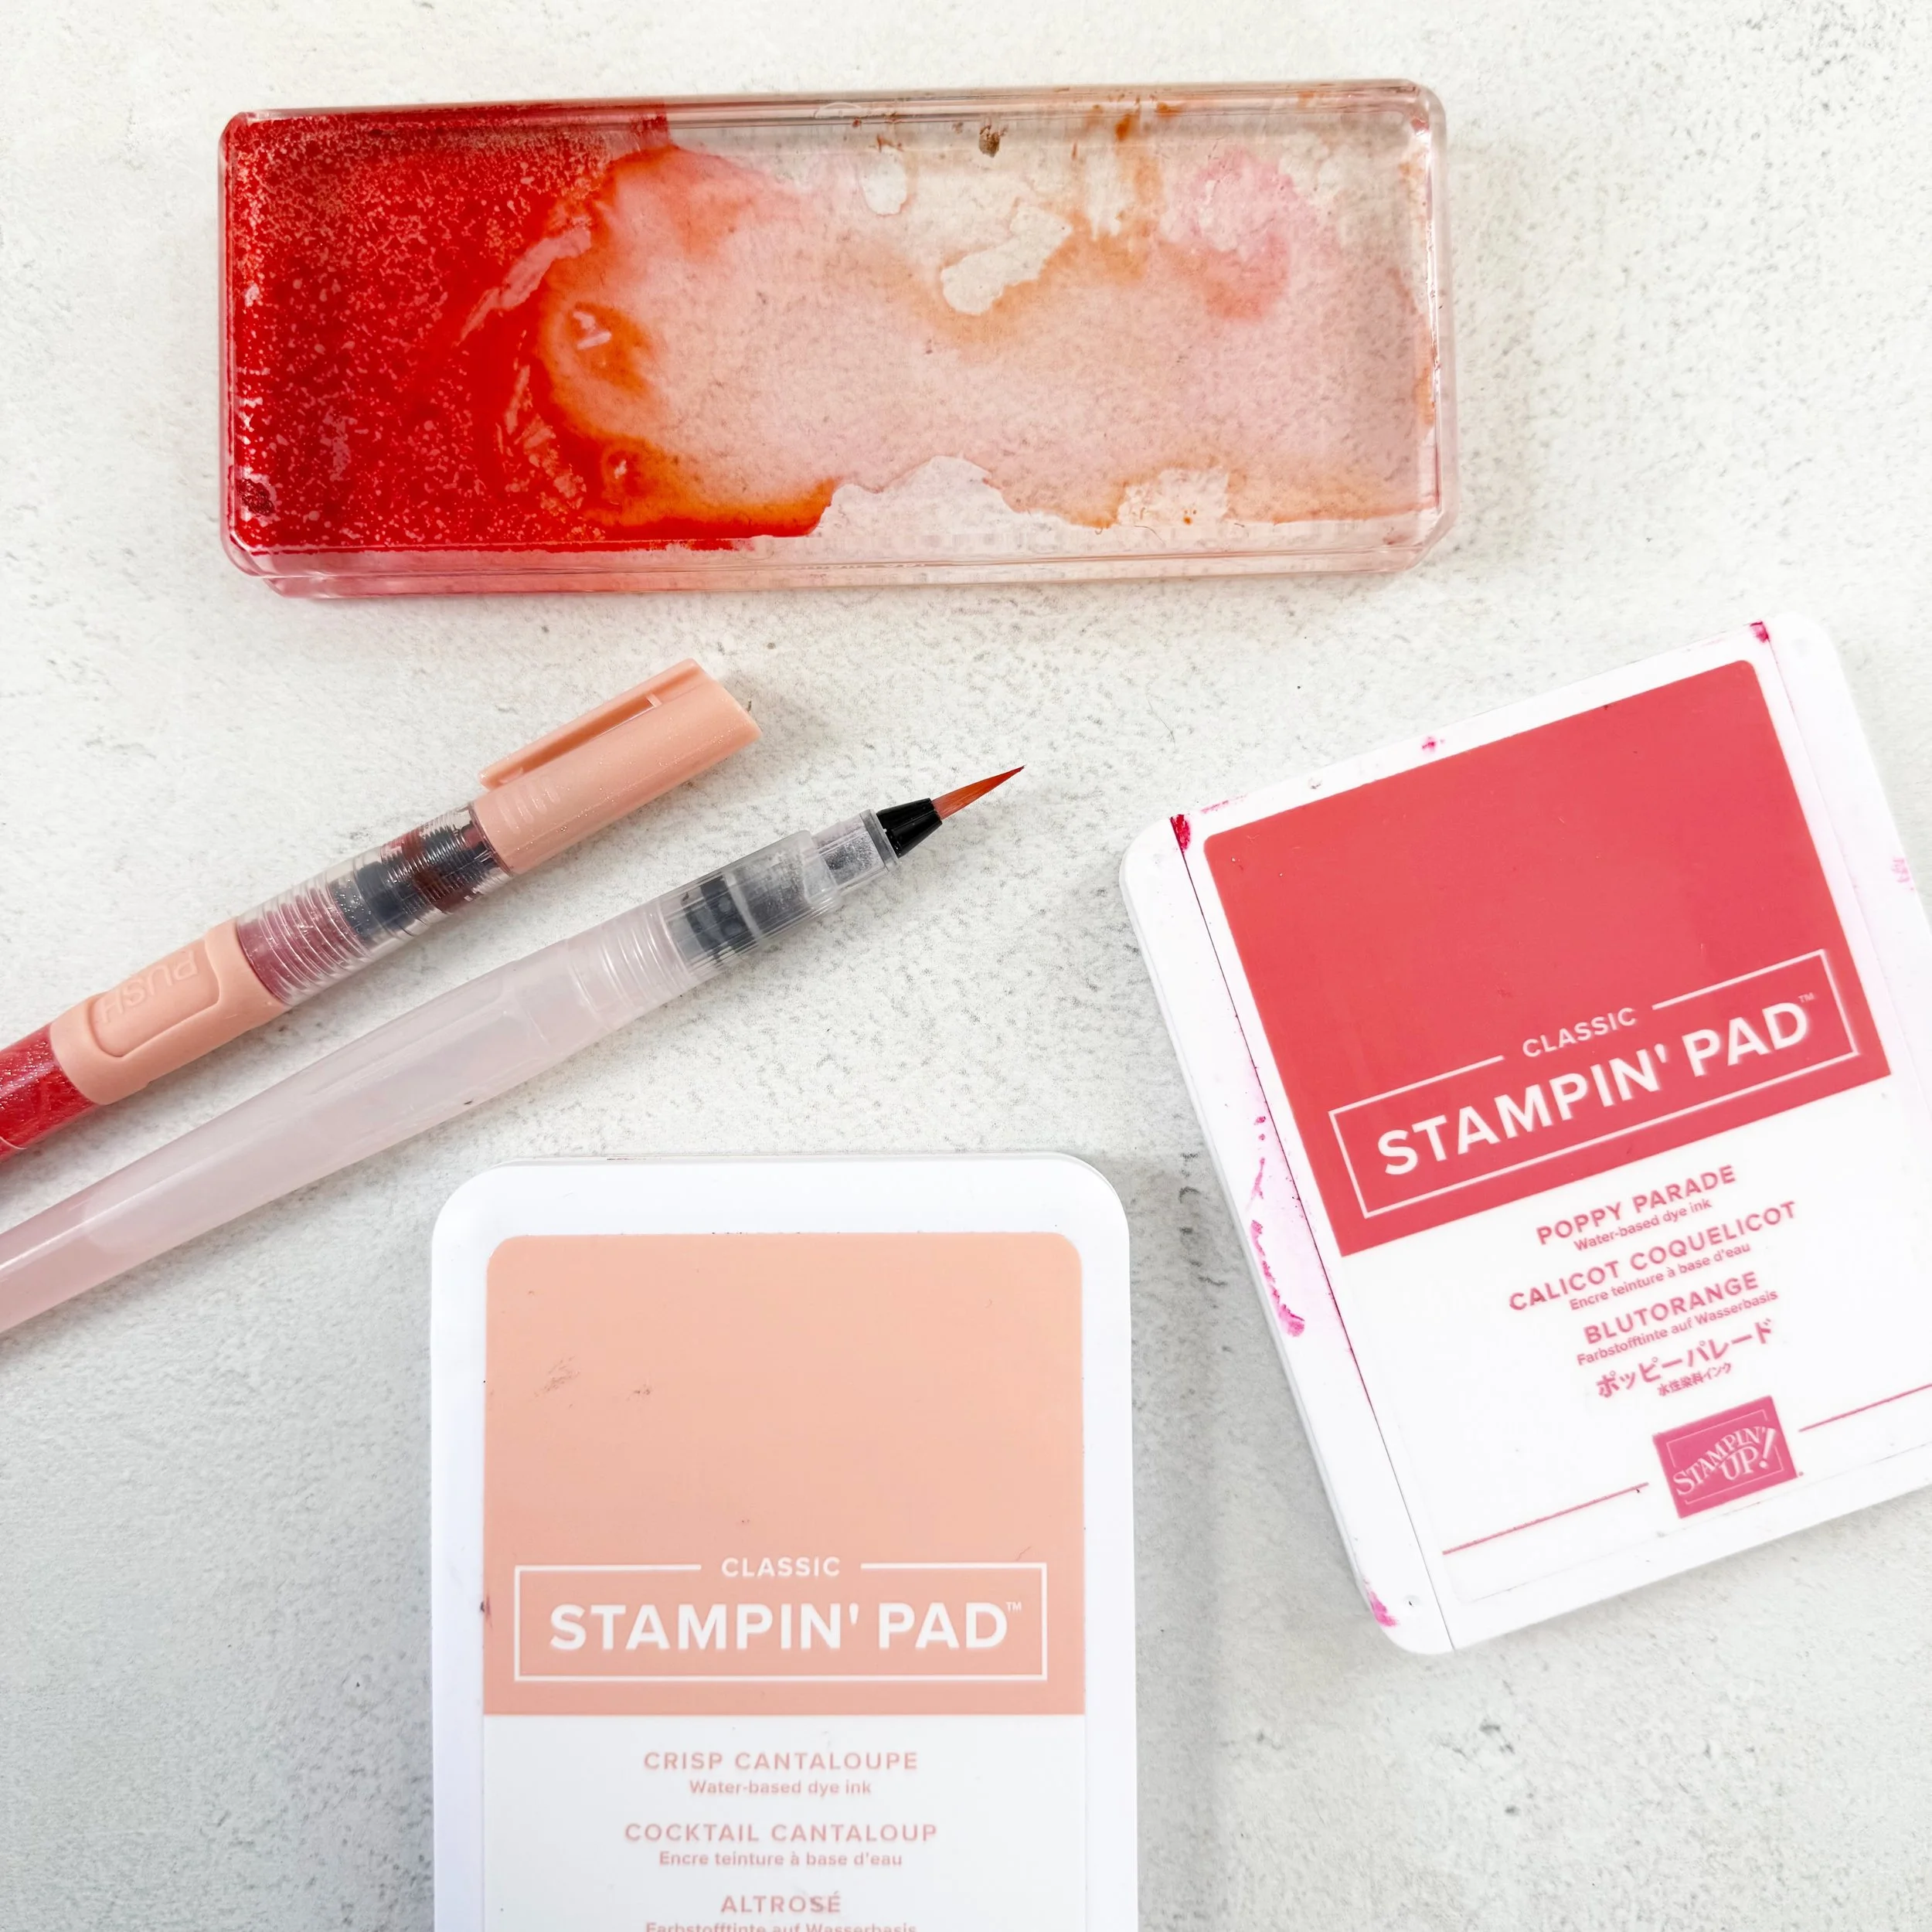
The flowers on my page are coloured using the lazy watercoloring technique and the leaves are coloured with a Cloud Cover Stampin’ Blend. I used a Golden Glow dark Stampin’ Blend for the flower centers.

I use one of my larger blocks to press my ink pad to it to create a palette. Then I used a water painter to lightly color the image. The trick is to really dilute the ink for your first pass or wash of color. Then you can go back and add shading.

I am also really enjoying our new Shimmer Pens and I added some Crisp Canataloupe over top of this flowers for a little bit of sparkle!

I also used a tiny leaf from the Extraordinary Life die set and some pearls from the Pearlized Faceted Circles on my page. Some background stamping with the same floral image also creates interest in the foreground of the page.

I really enjoyed crafting with this color combo as Crisp Cantaloupe and Poppy Parade both have a bit of orange undertone to them so they do buddy up really well.

I can’t wait to see what the rest of the team has designed this month! Next on the hop is the amazing Tami, who has such a fantastic style of stamping. I know you will be inspired!

If the hop gets broken, you can go in reverse from here to see what the talented Lou Kitzelman has designed for us this month!

Either way, please see what the Color Fusers team has designed! Feel free to leave me a comment or shop with me if you are in Canada! Every order helps me keep loving what I do!

12 Days of Christmas with Brenda & Melanie

Hi friends welcome back to our annual 12 Days of Christmas Blog Hop! This year Mel and I are going to feature a variety of projects using the Homemade Treats and the Gingerbread Man bundles! Today we will each share a project and then we will alternate days and on the 12 day each share a project! So over the course of the next 12 days you will get piles of inspiration using these bundles!

For my first project I wanted to share a scrapbook page as I love scrapbooking and I wanted to share a fun idea with how you can use this fun bundle to create a scrapbook page.

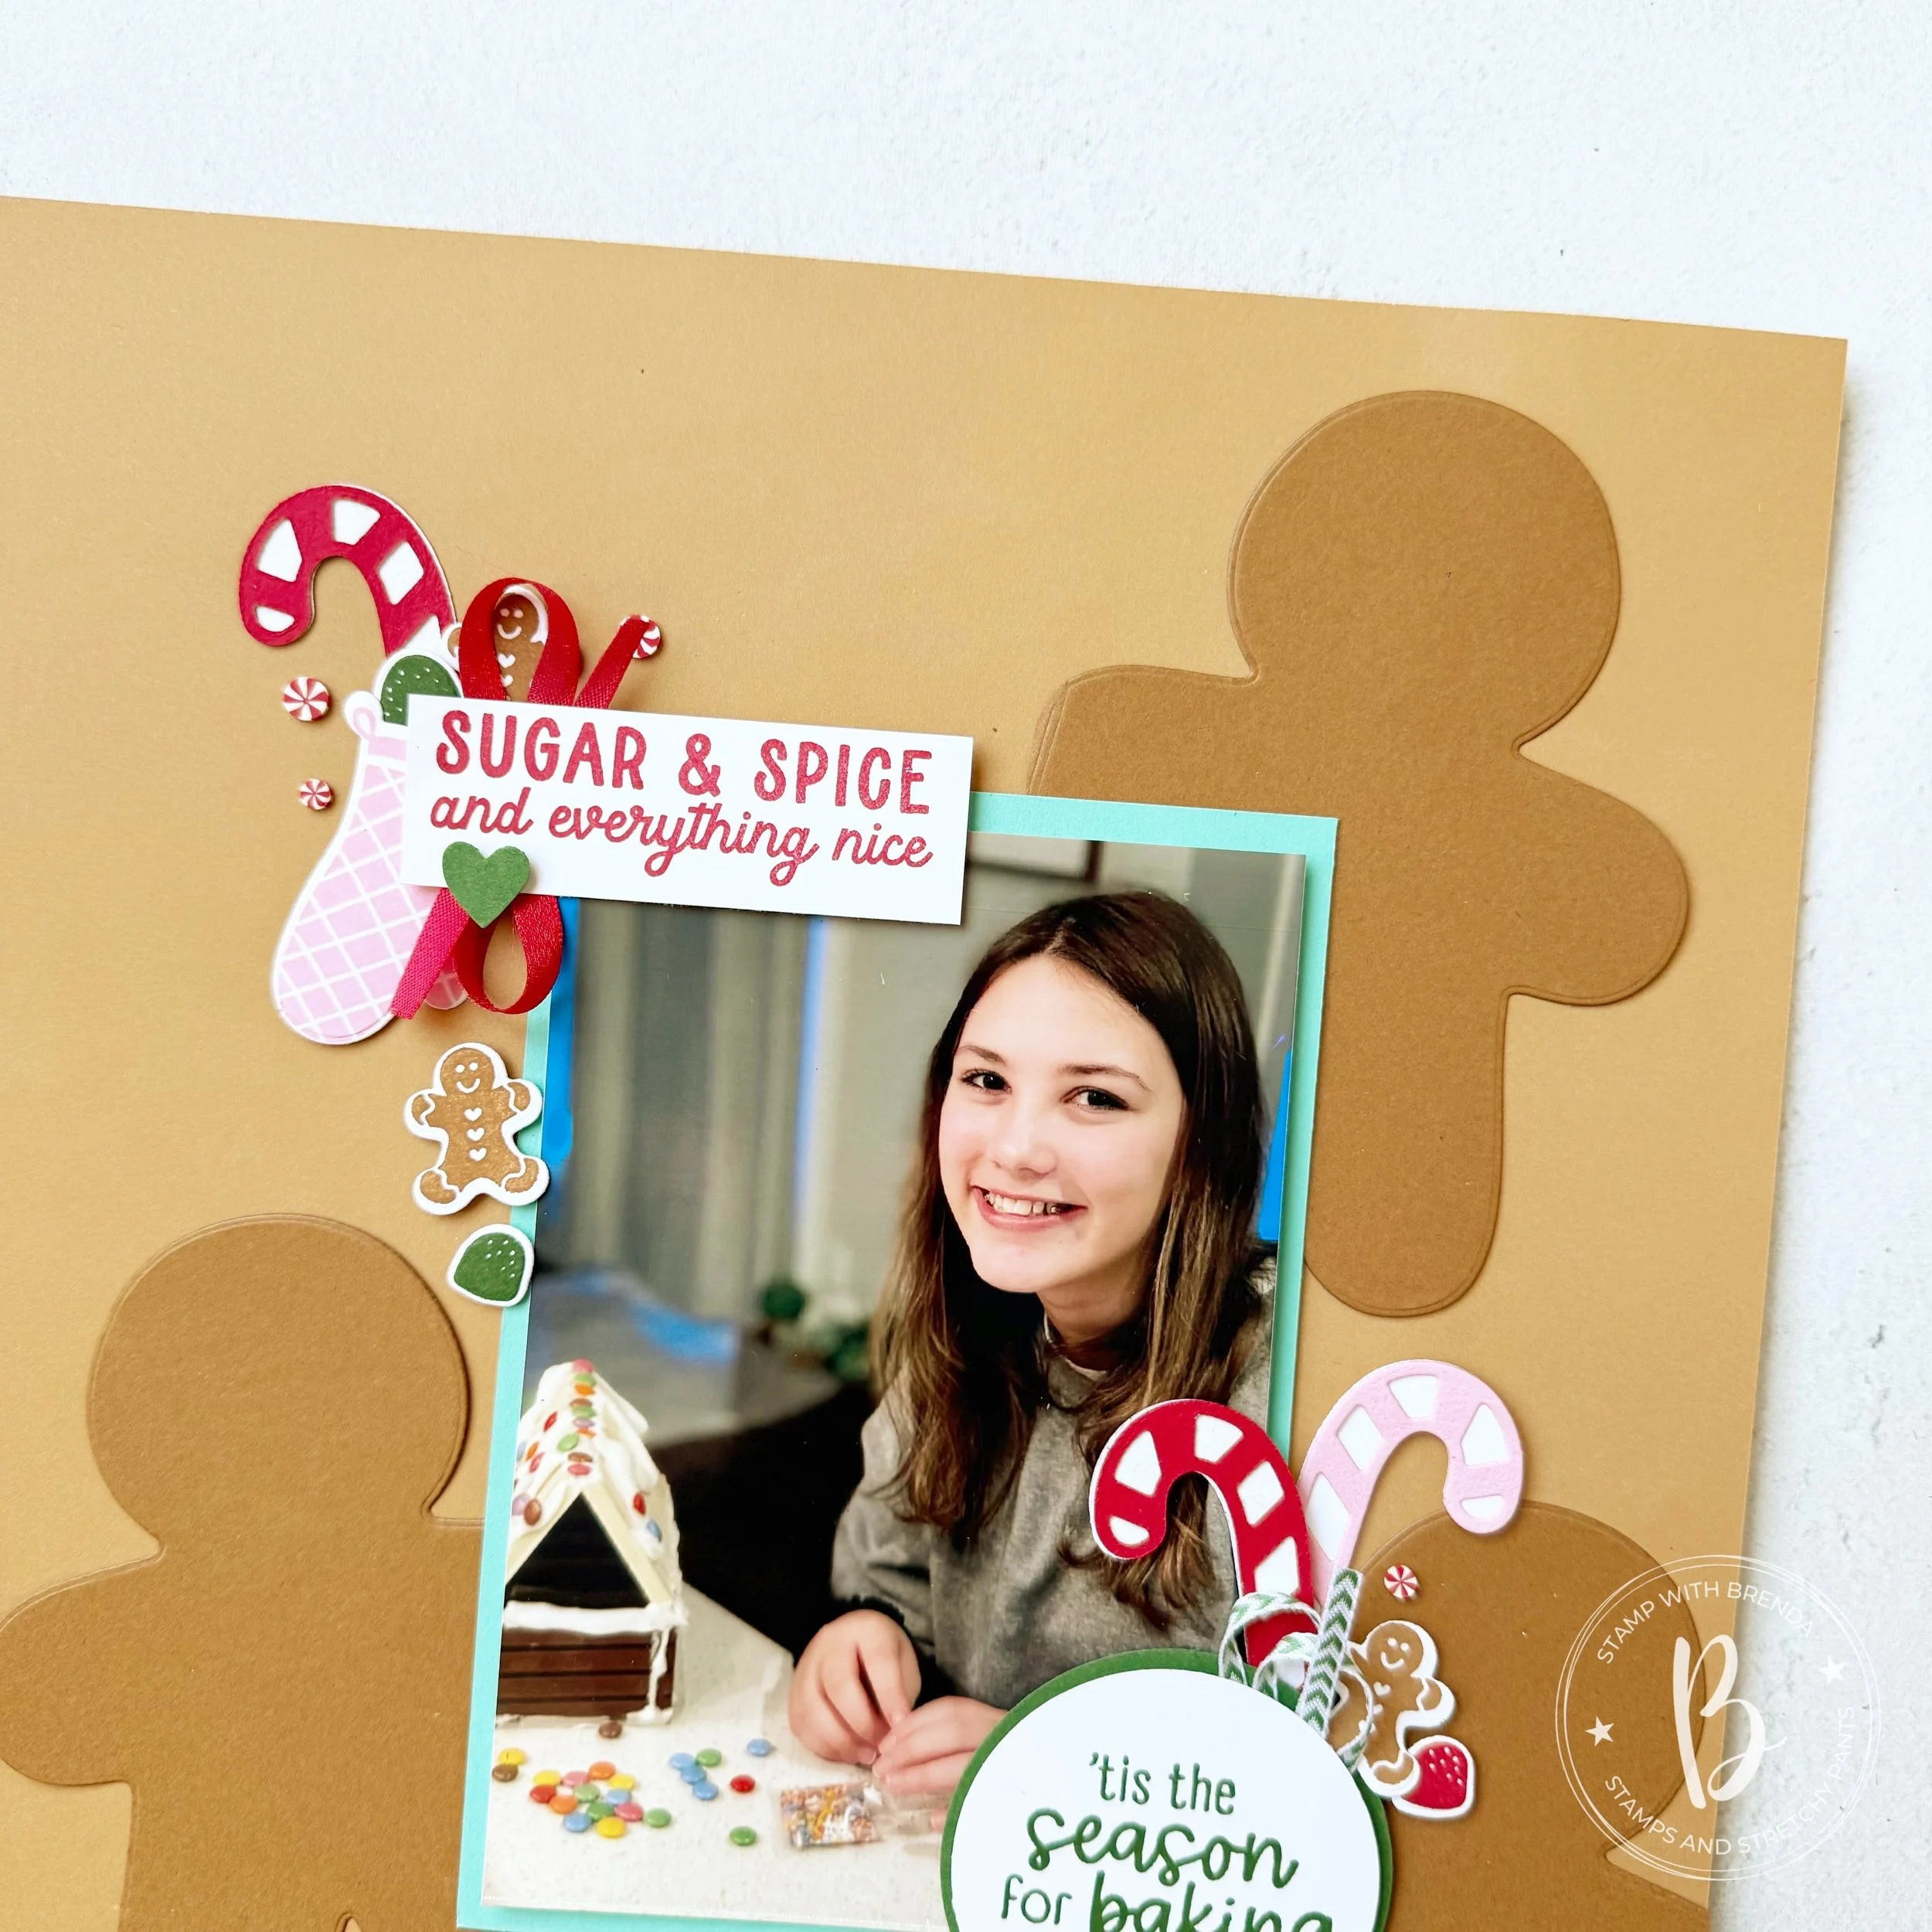
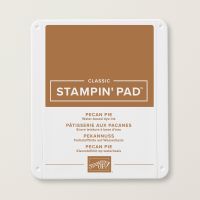
I started with a base of Pecan Pie Two Tone card stock and used the light side. The reason for this was so that when I die cut the gingerbread men out of the card stock you would see a contrast in the shapes. I love how it turned out!

I dug out an older picture of Summer where she is putting together a Gingerbread House as its a fun memory I want to keep. This is a reminder that we are never caught up in our memory keeping—its not a linear hobby!

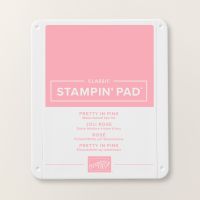
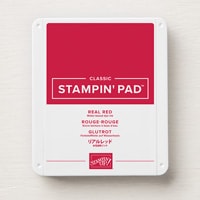
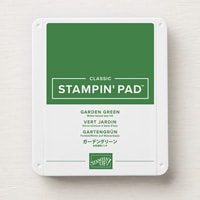
The photo mat is Coastal Cabana and this color lends itself so well to this general color combination of Real Red, Garden Green and Pretty in Pink.

As mentioned Melanie and I are going to be using both the Homemade Treats and Gingerbread Man bundles over our 12 Days of Christmas Shares so I wanted to design this page to showcase how to use both on this project.

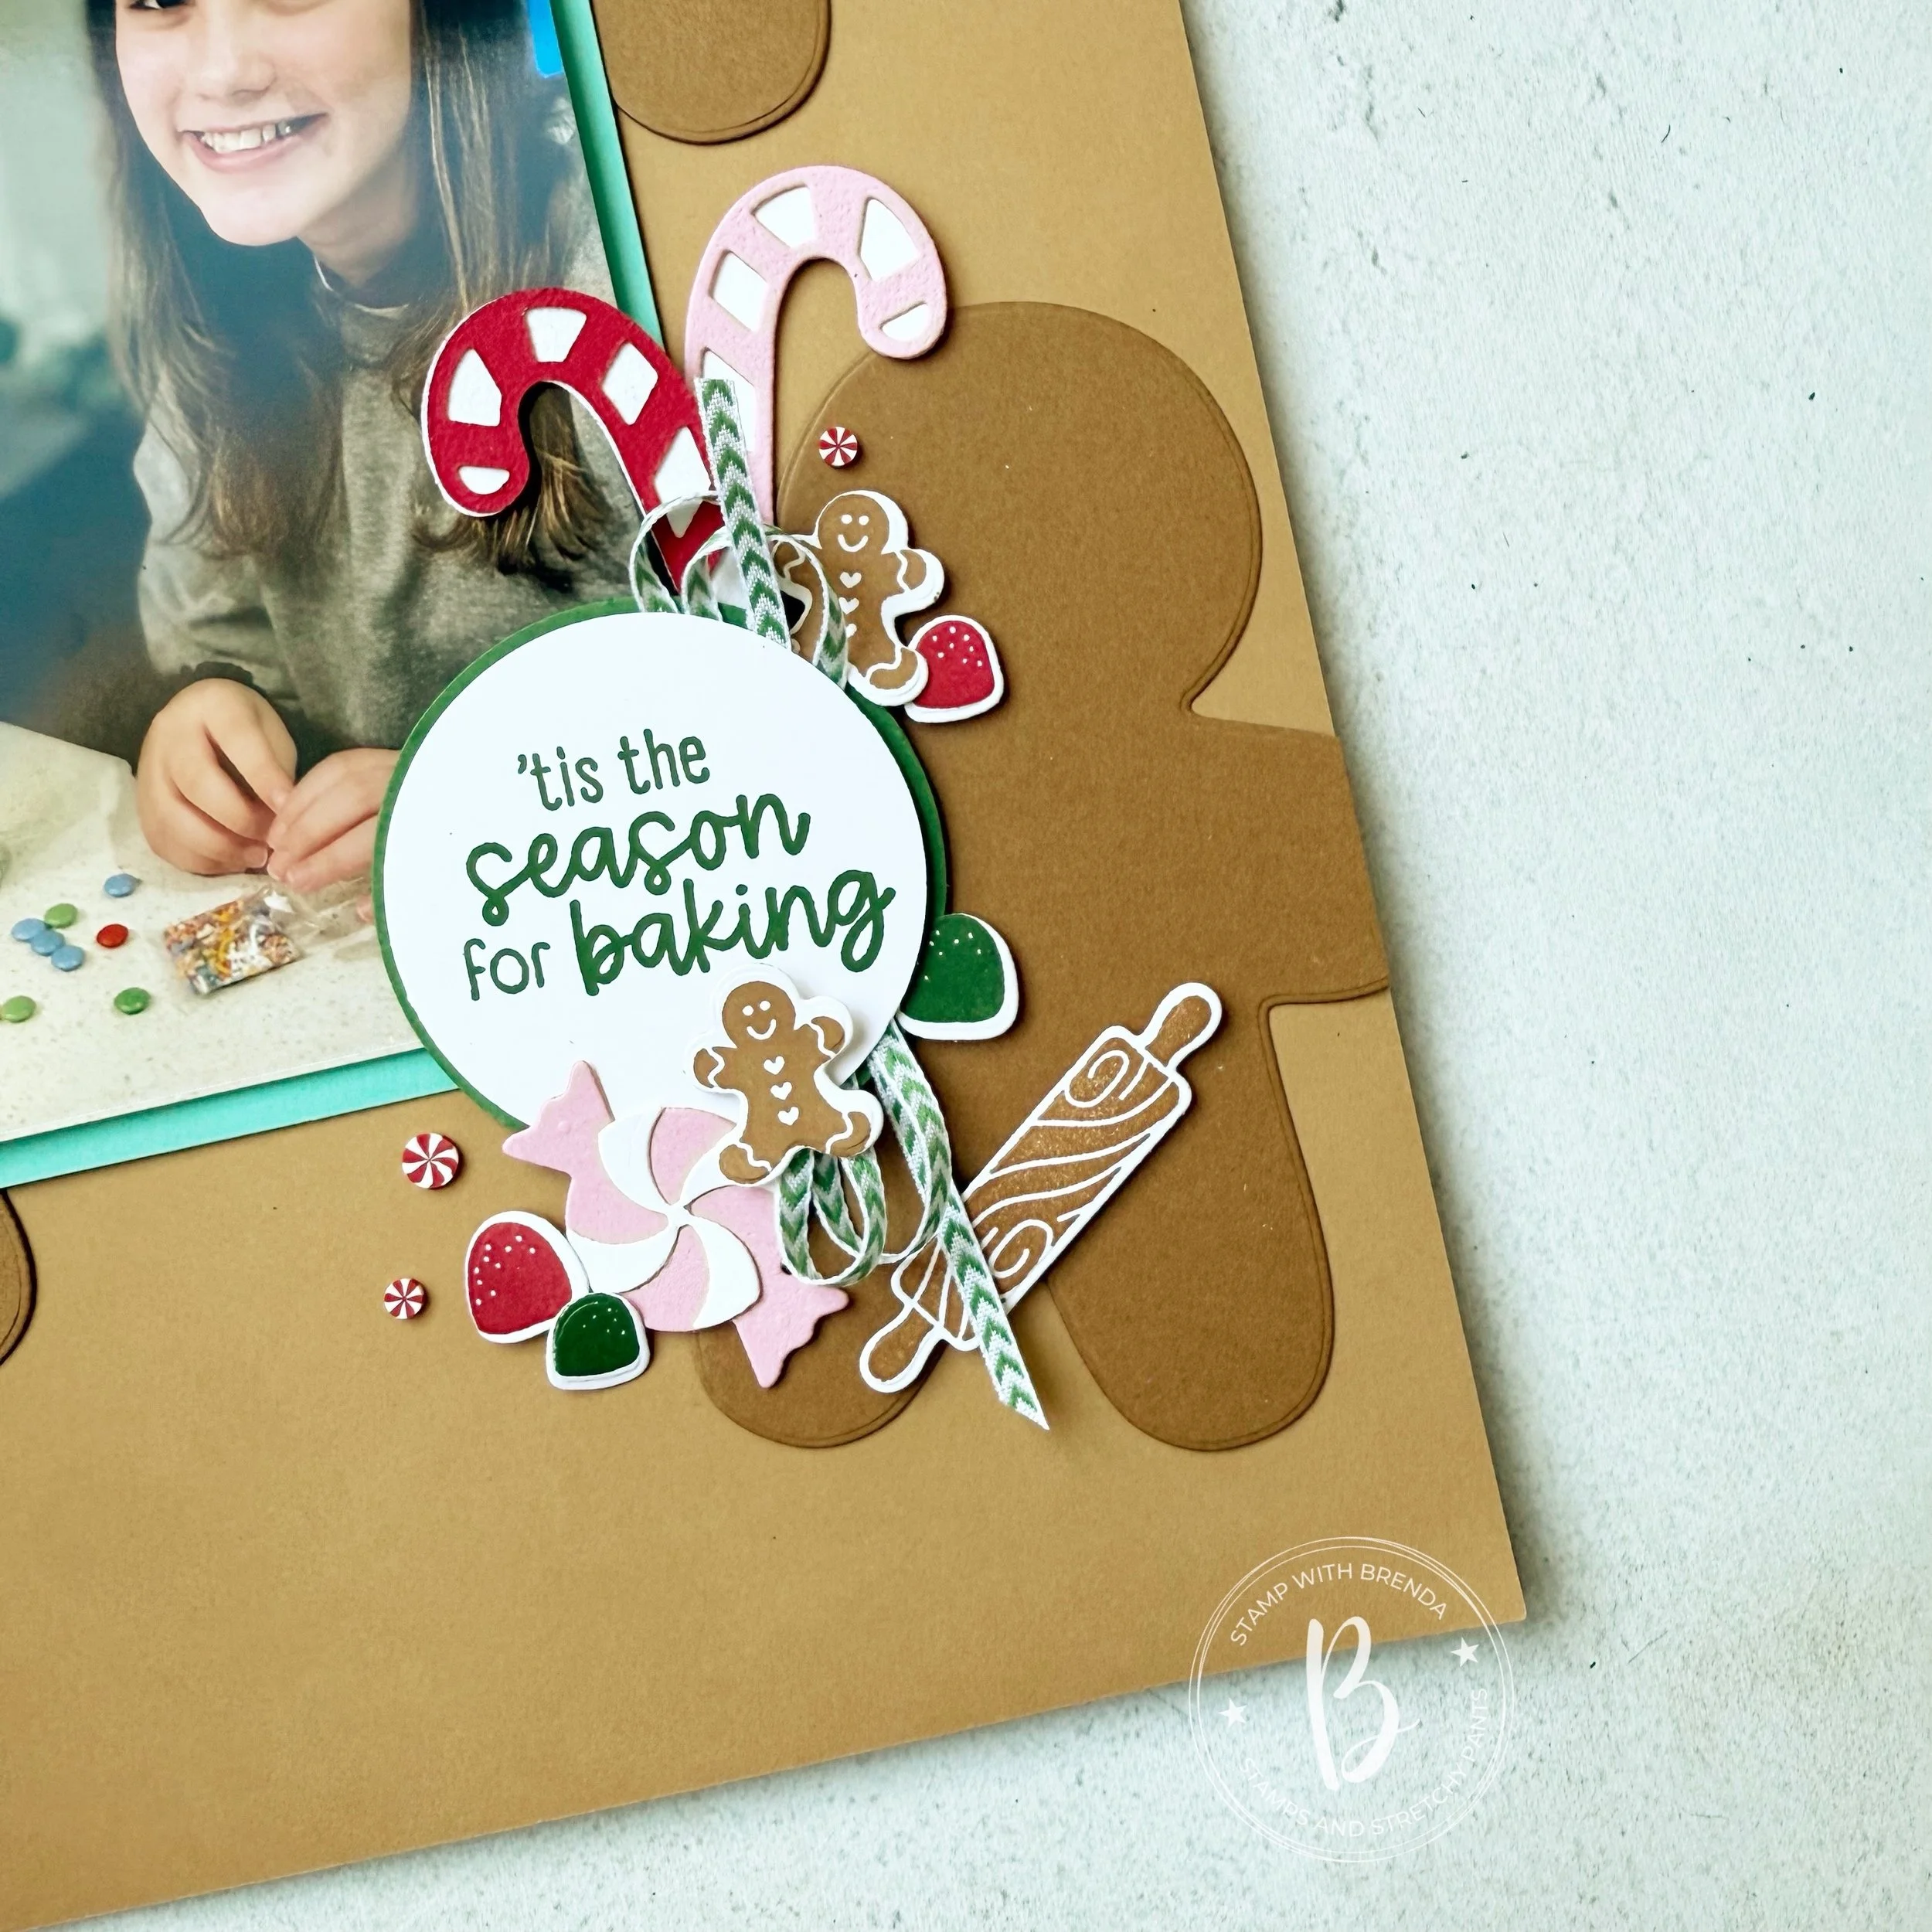
I absolutely. LOVE the dies from the Gingerbread Man Bundle —especially the candy cane. I cut it out to have both a red and white candy cane and a Pretty in Pink candy cane.

TOP TIP: This is easy to do with the dies as you just flip the paper over to the backside to have the candy canes going in opposite directions.


The sentiment Sugar & Spice is from the Gingerbread Man stamp set and the ‘tis the Season for Baking’ can be found in the Homemade Treats stamp set.

I had fun adding in the little gingerbread man and gumdrops to act like embellishments on this page.

I wanted the oven mitt to act like a stocking in a sense with things popping out of the top of it and falling down the side of the photo.

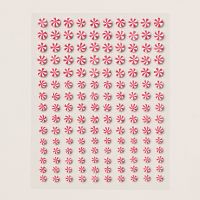
Adding the wrapped candy, rolling pin and the Peppermint Embellishments made this little section so fun. The Garden Green and White Chevron ribbon is a sneak peek of a new ribbon coming out this month with our newest Online Exclusive release. It’s a perfect ribbon to add to this page along with the Real Red Shiny Ribbon at the top.

I hope this page inspires you to use these bundles together as they really are perfect partners! You can now head on over to Melanie’s blog—Mels Inky Fingers to see what she is sharing today. Click on the image below to go straight to her blog.

Then check back with her tomorrow as she is going to share on even days and I will share again on the odd days (so Nov 3rd) and we will each share on day 12!

If you are inspired and live in Canada, please consider shopping with me so I can continue to love what I do!

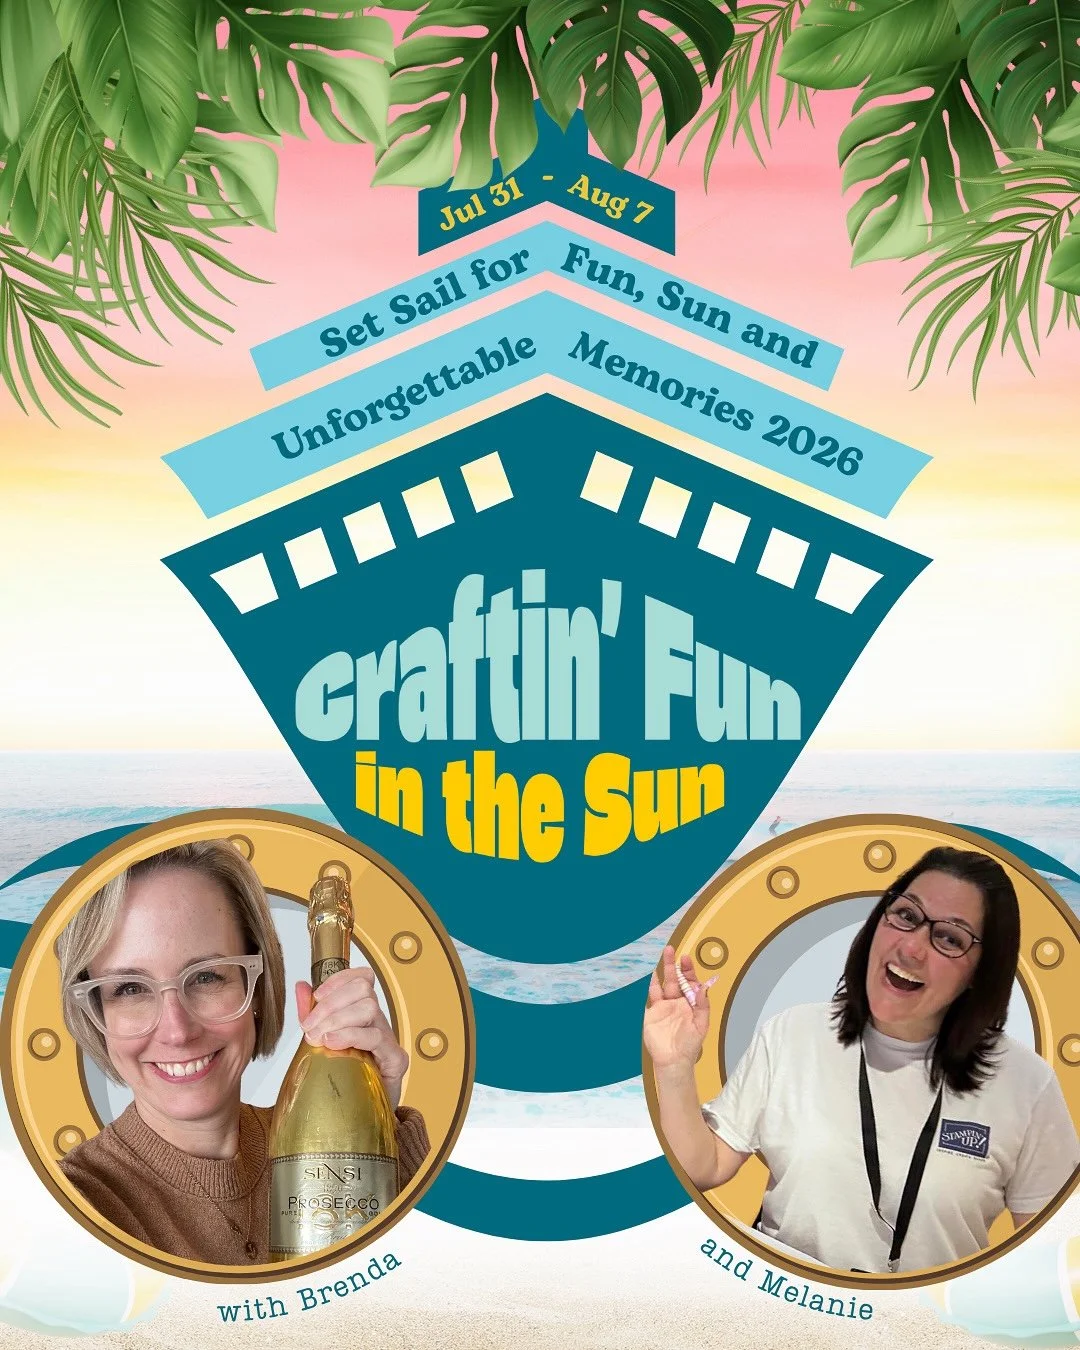
And if you didn’t hear the fun news we are hosting a crafting cruise in 2026 and would love you to join us! Our blog hop will give you an idea of our crafting styles plus you can check out our social channels as well! If you would like to join our Craftin’ Fun in the Sun Facebook group, please let me know or search it to join!

You can follow me on Instagram @stampwithbrenda

Memories in Bloom!

Hey friends—its been a while. Its been the worst two years of my life. I was not really prepared for the direction my life was taking but now that I am here I am grateful for the things that God was lining up for me before I knew what was happening. It was not an accident, it was a plan designed to save me.

I am thankful for my crafting community, especially those who were in the nitty gritty with me as I cried through teaching classes or needed to vent, who kindly offered me reassurance that I would not be stuck in that space for long. Because that is the thing right—we are never actually in that space for long. No matter what we are always moving forward. For a long time I was coasting along on the tide of life into an ocean where I did not want to be. But now I have the chance to bring myself and my kids into a space where we are meant to be.

I want to get back to share my creativity with others and focusing on creating life long memories with my kids and friends, and capturing these in a paper legacy! I look foward to sharing with you in this space. Including recipes and just general life stuff. One day my kids can look back on this too :)

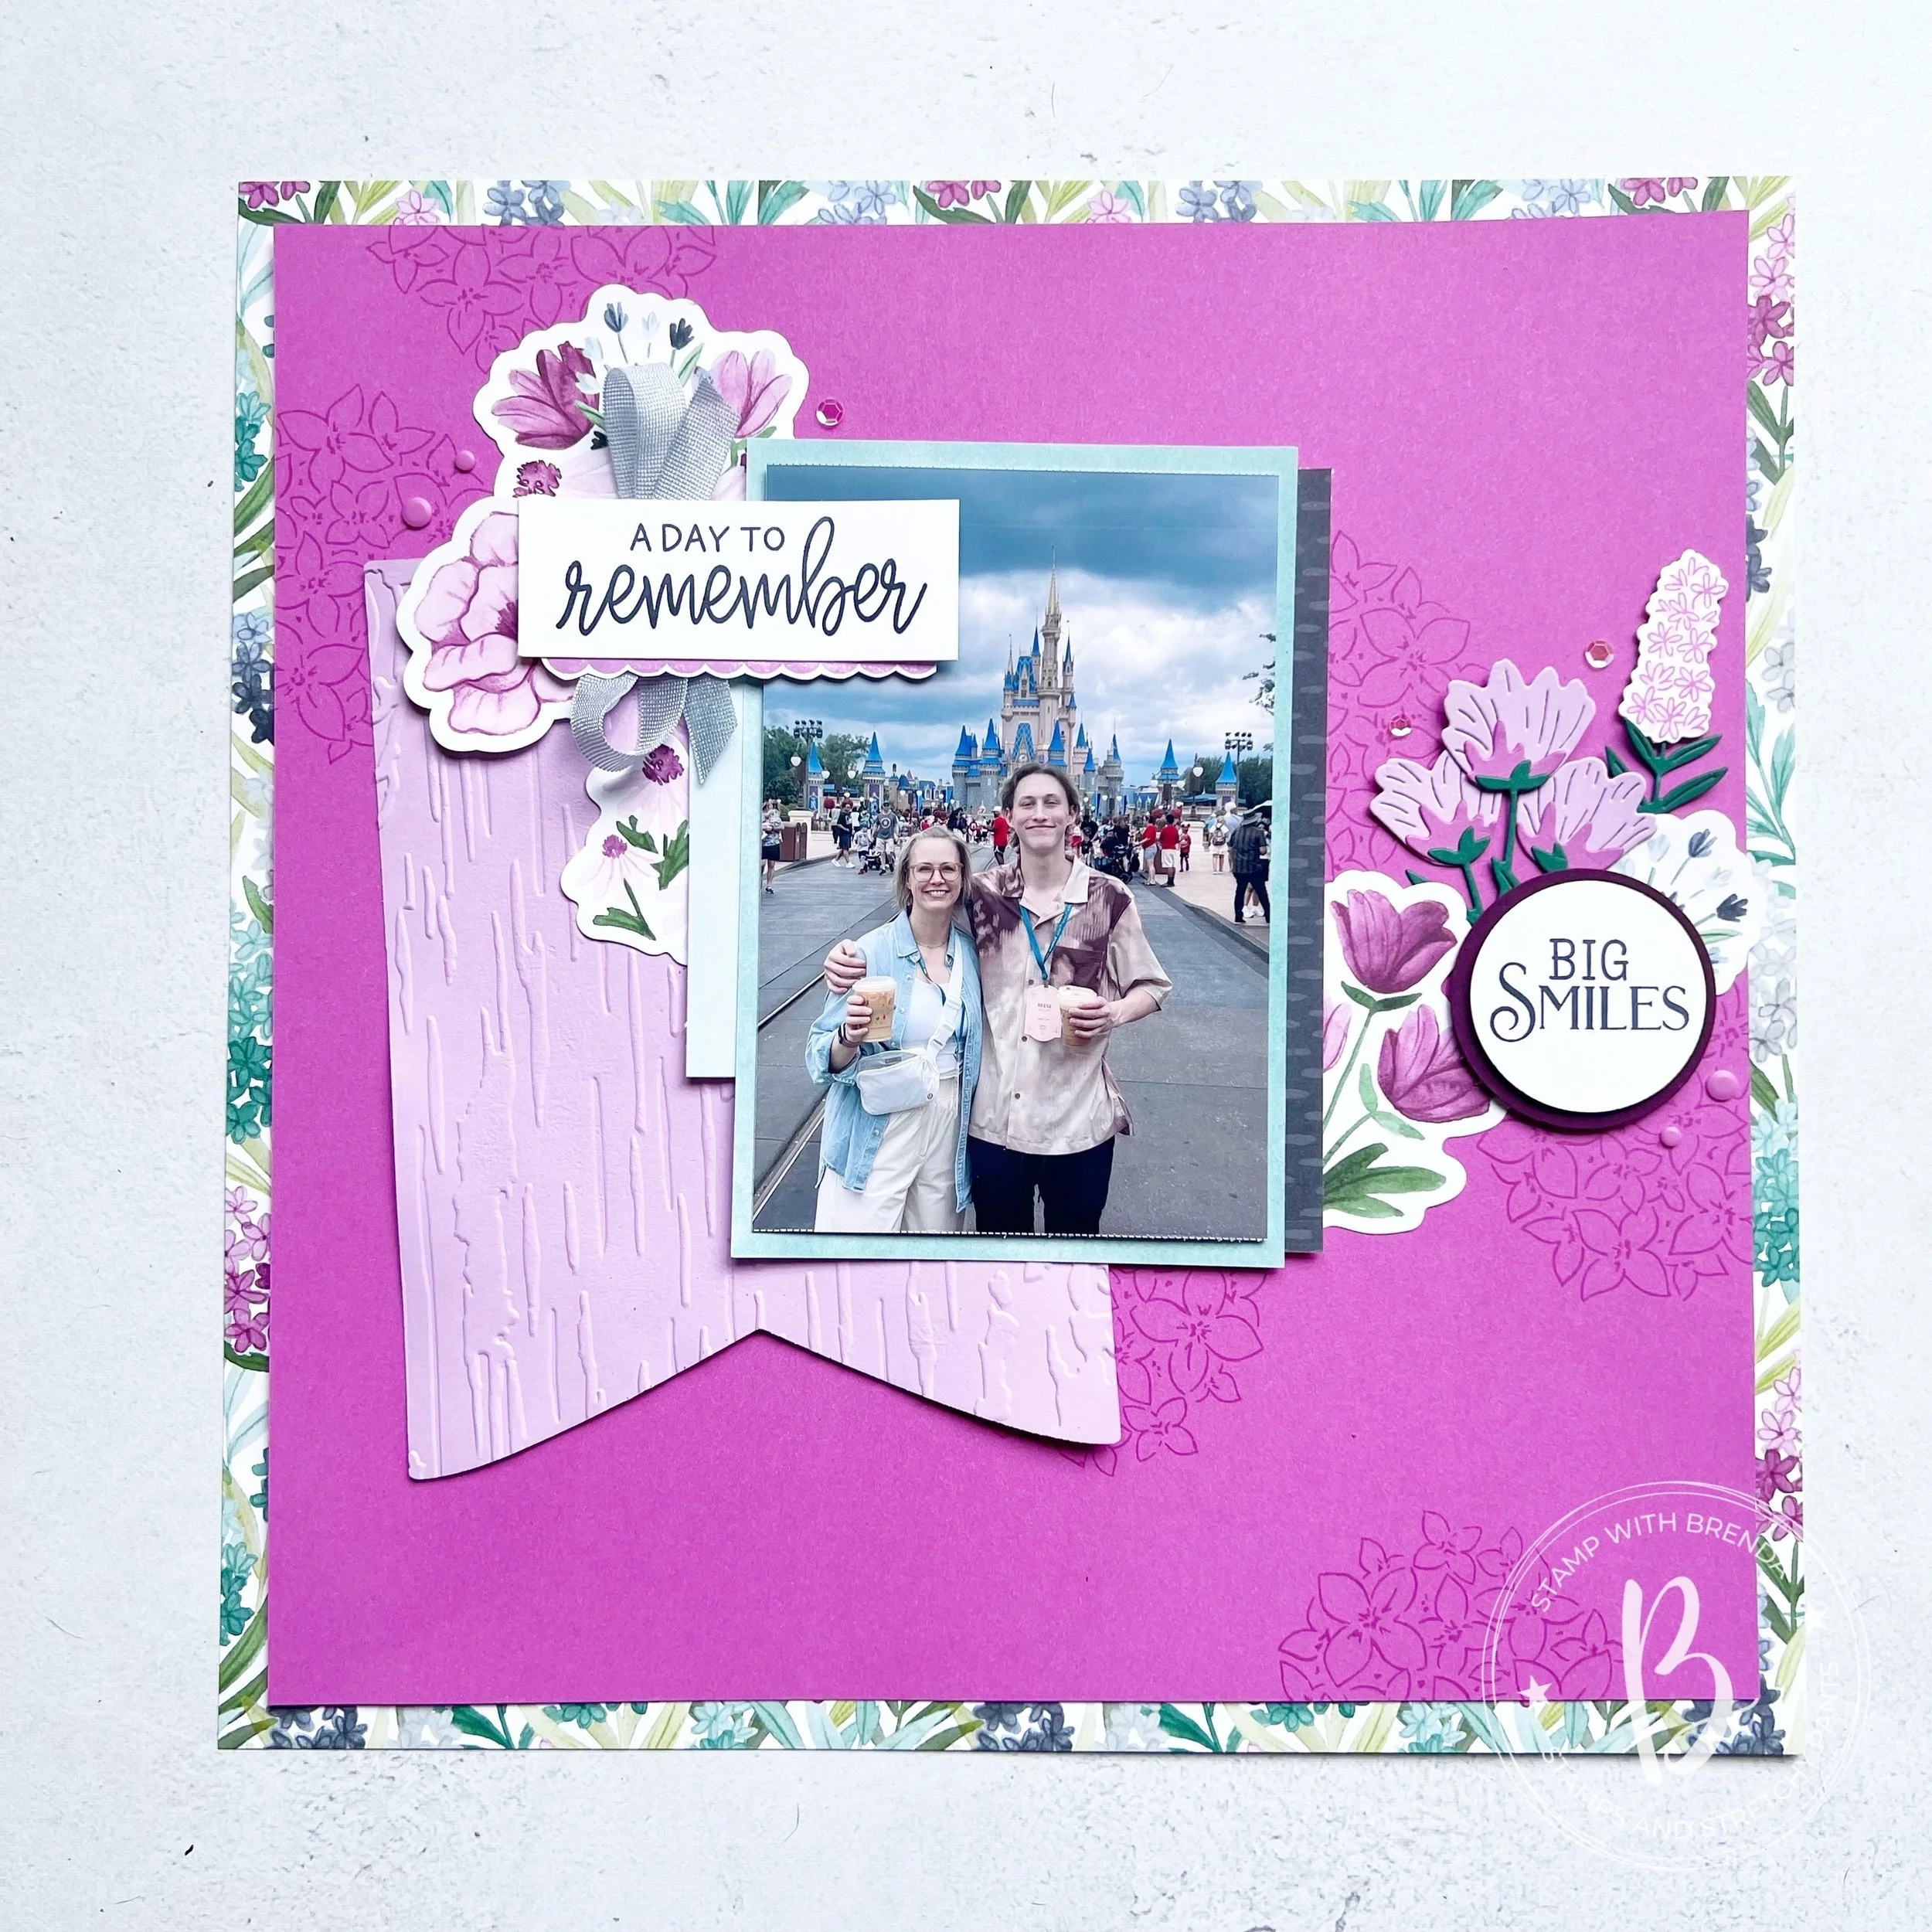
I hadn’t been to disney since before Covid…its the same nostalgic feeling!

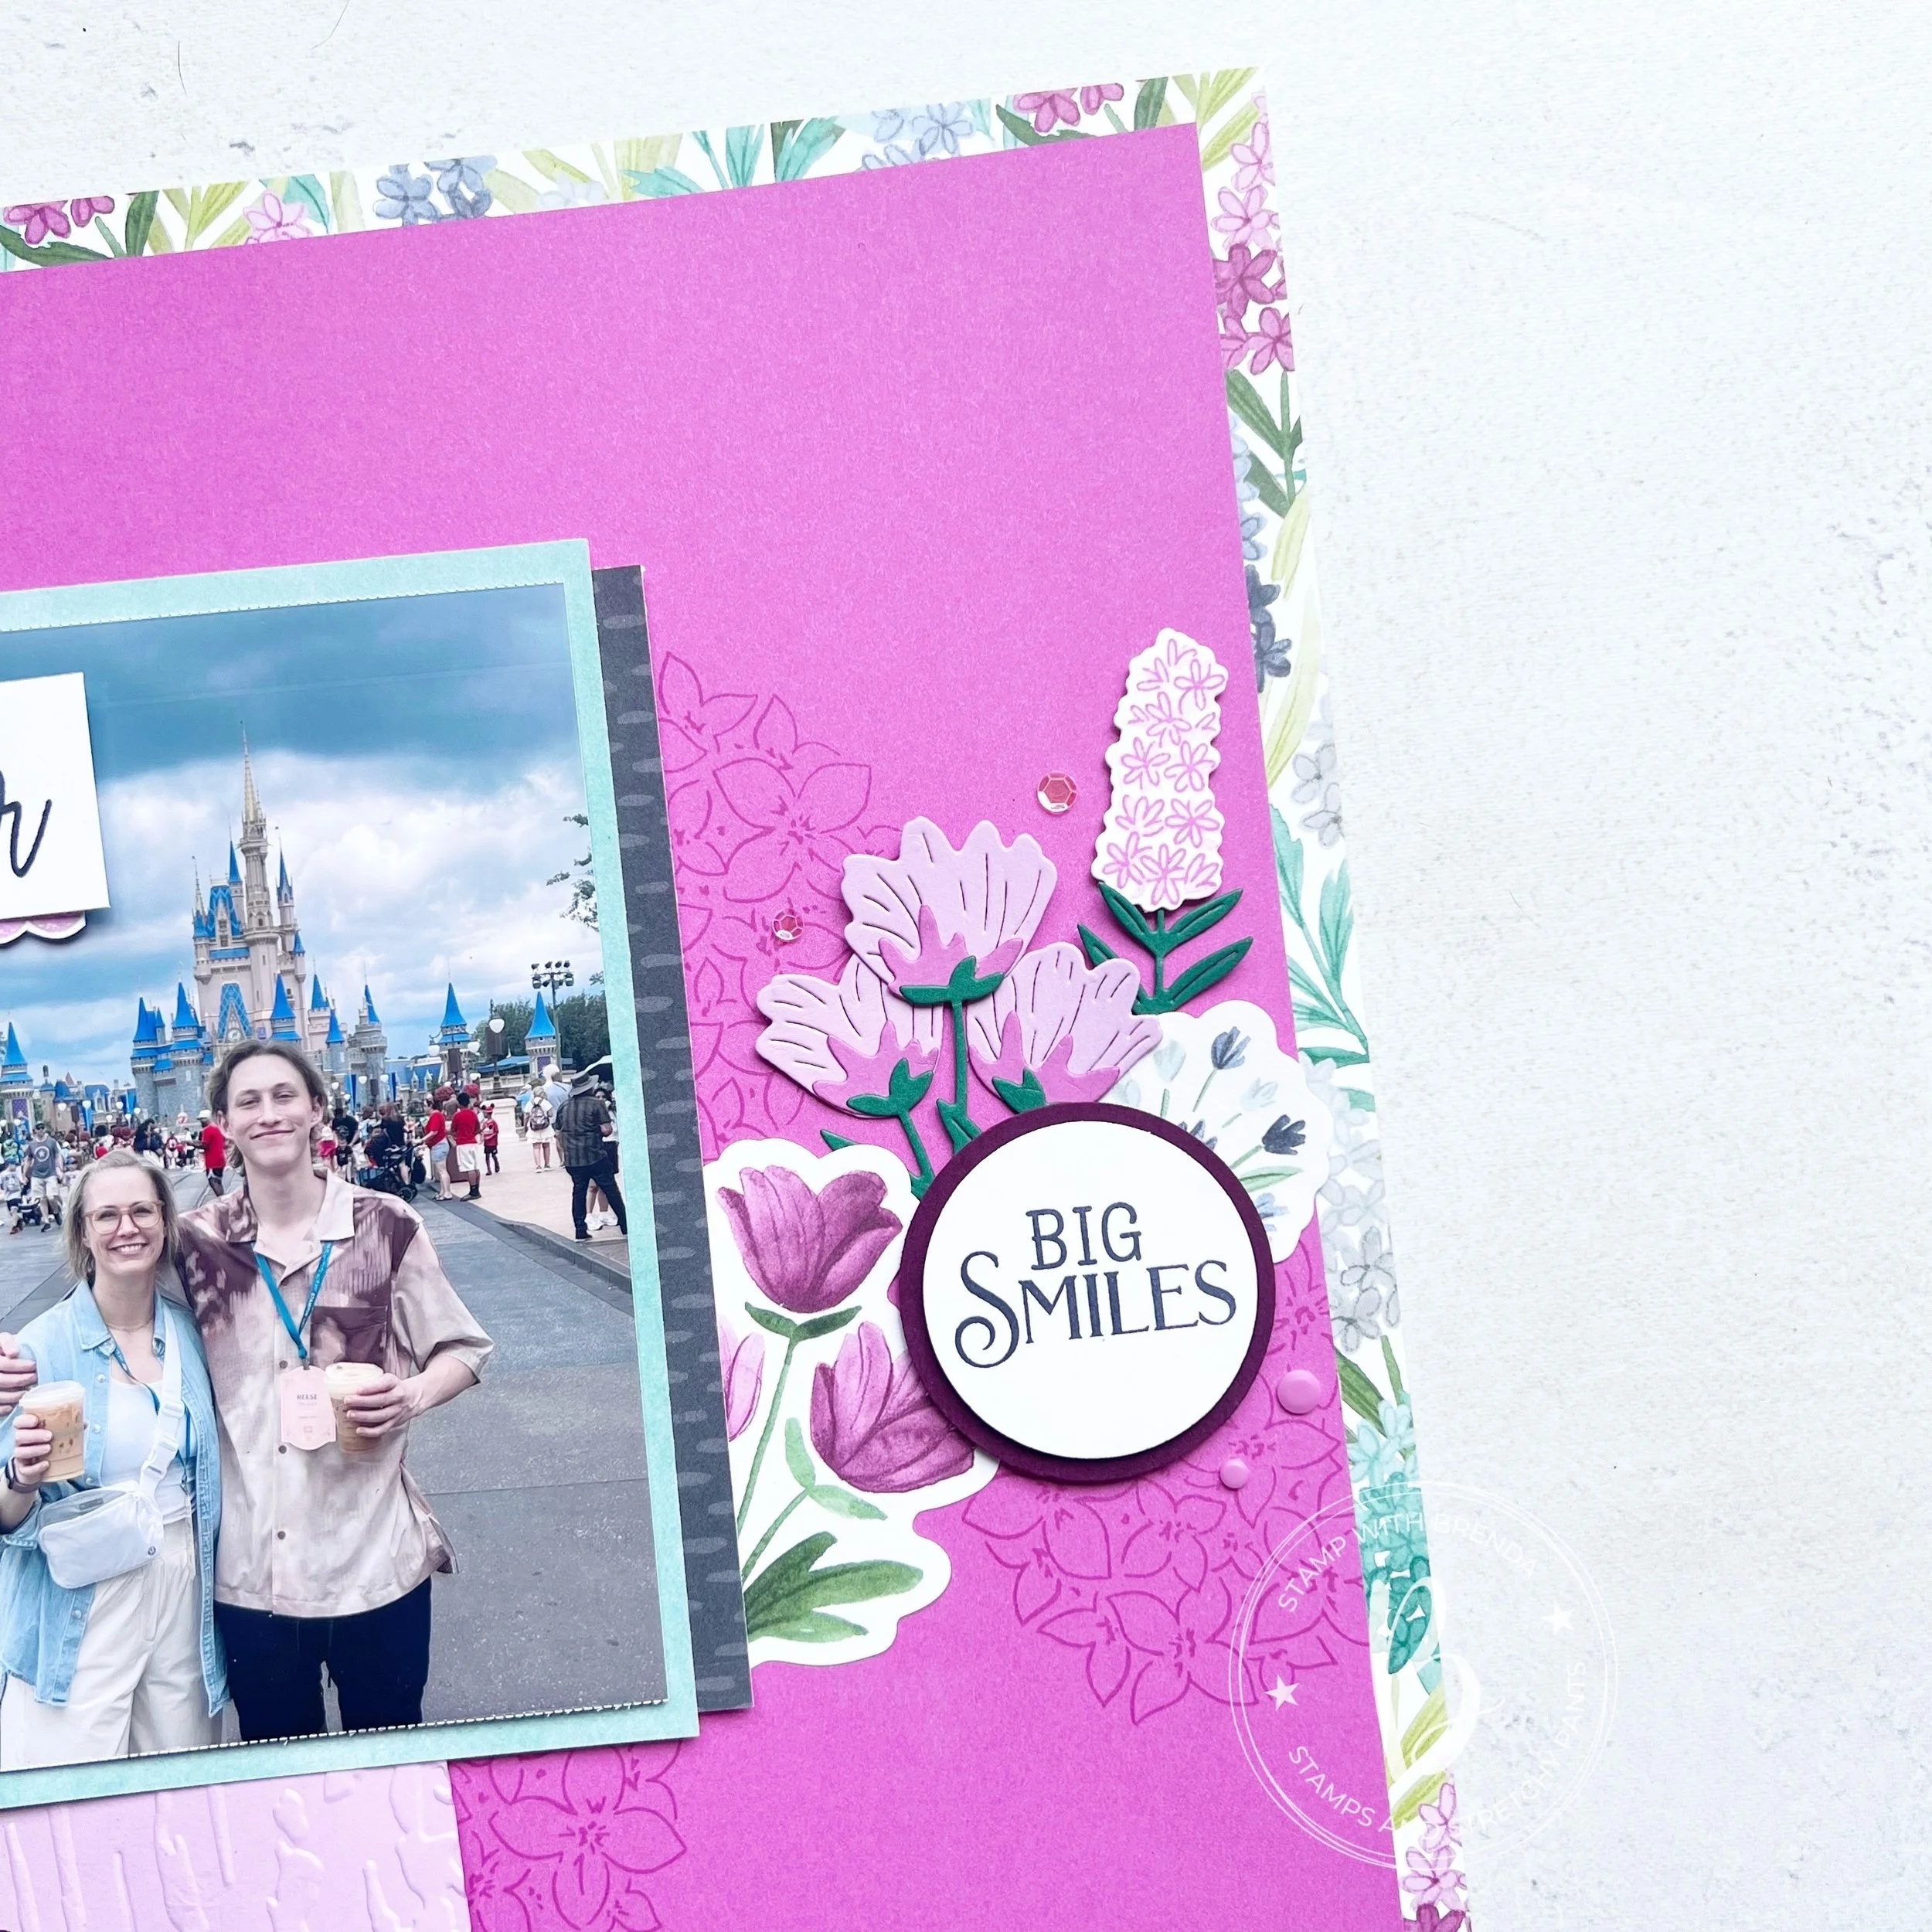
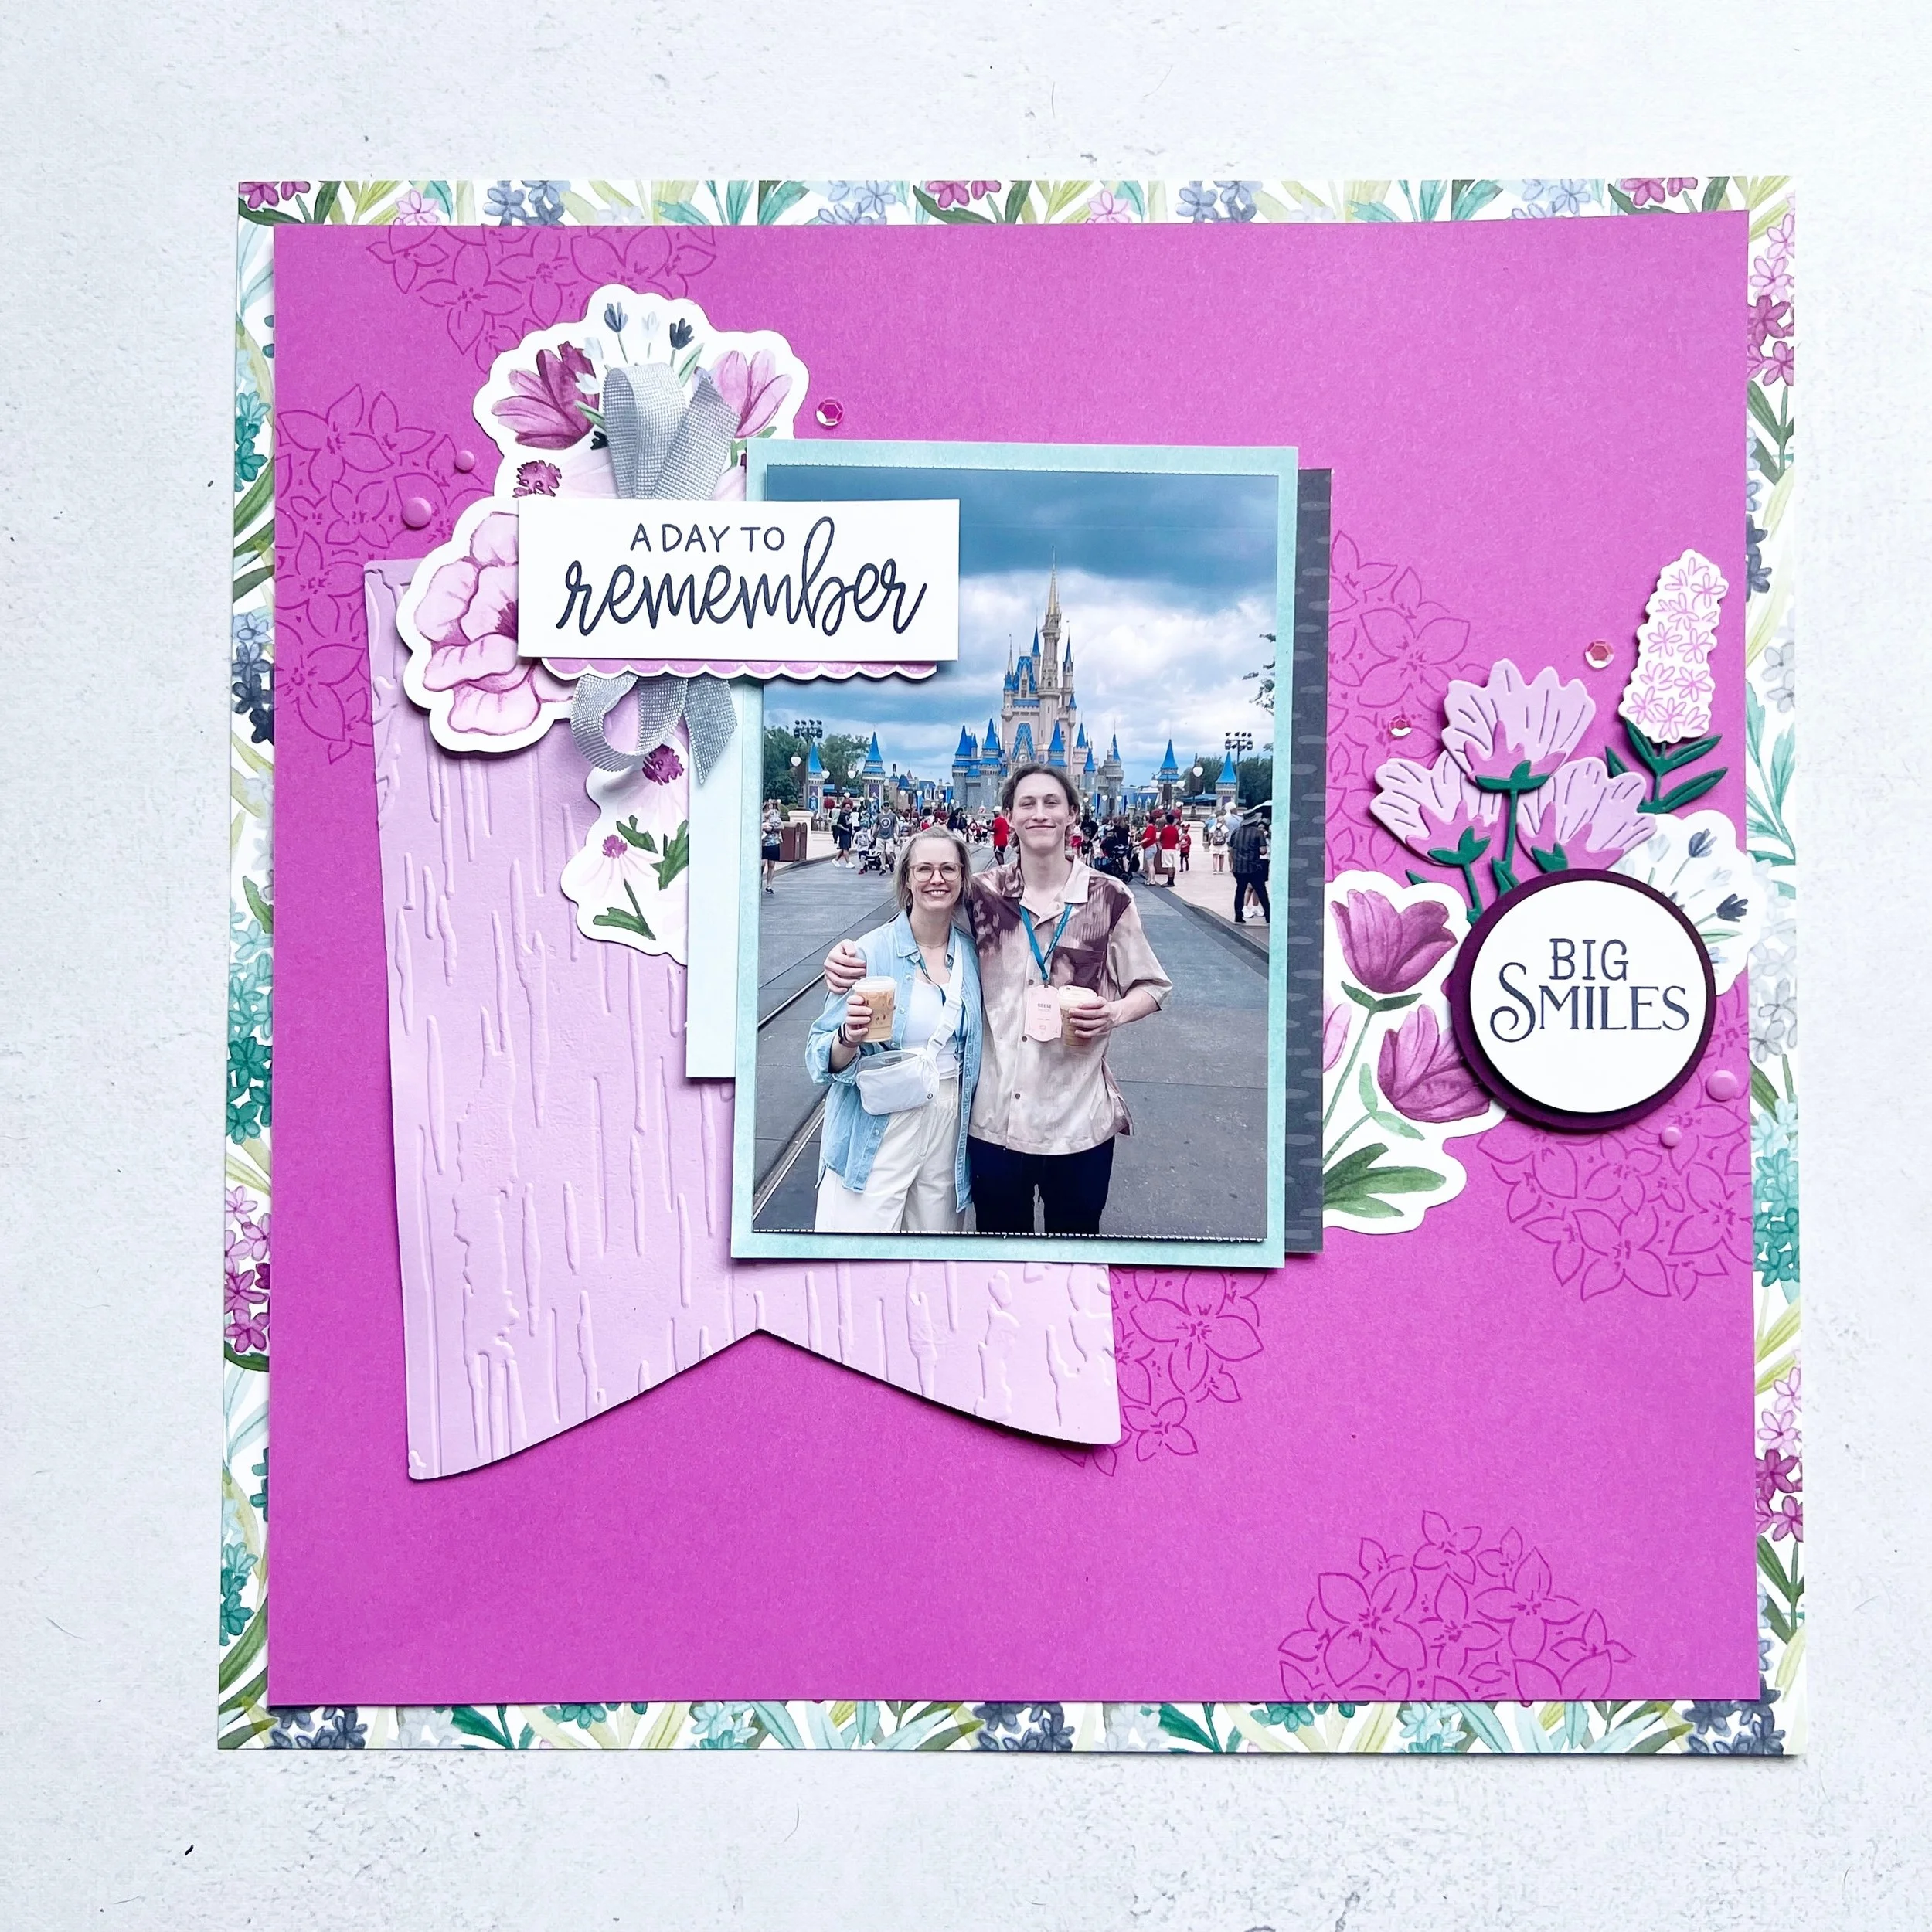
In May I spent a week in Disney with Reese. It was a amazing. Every mom should be so lucky to spend time on a vacation with their son, and in a place as fun as Disneyworld. I could not have asked for a better travel companion! Our first stop in the Magic Kingdom was for a Starbucks and a picture in front of the castle.

I created this page as part of a series for my Scrapbook the Day event that I have been hosting every few months in my Home Studio. Its been fun to take our kits and turn them into other designs, treat people to a homemade lunch and dessert and have happy energy in my crafting studio.

I used the Memories in Bloom kit as the backdrop for this page. Personally I feel like you can use flowers for almost anything. I really loved the colors of the kit and the fact that there was a matching bundle to incorporate. The Pretty Florals bundle was a great add on to bring dimension into my design as I am not prone to just using the pop out images from our kits. My personal style is for things to be more dynamic.

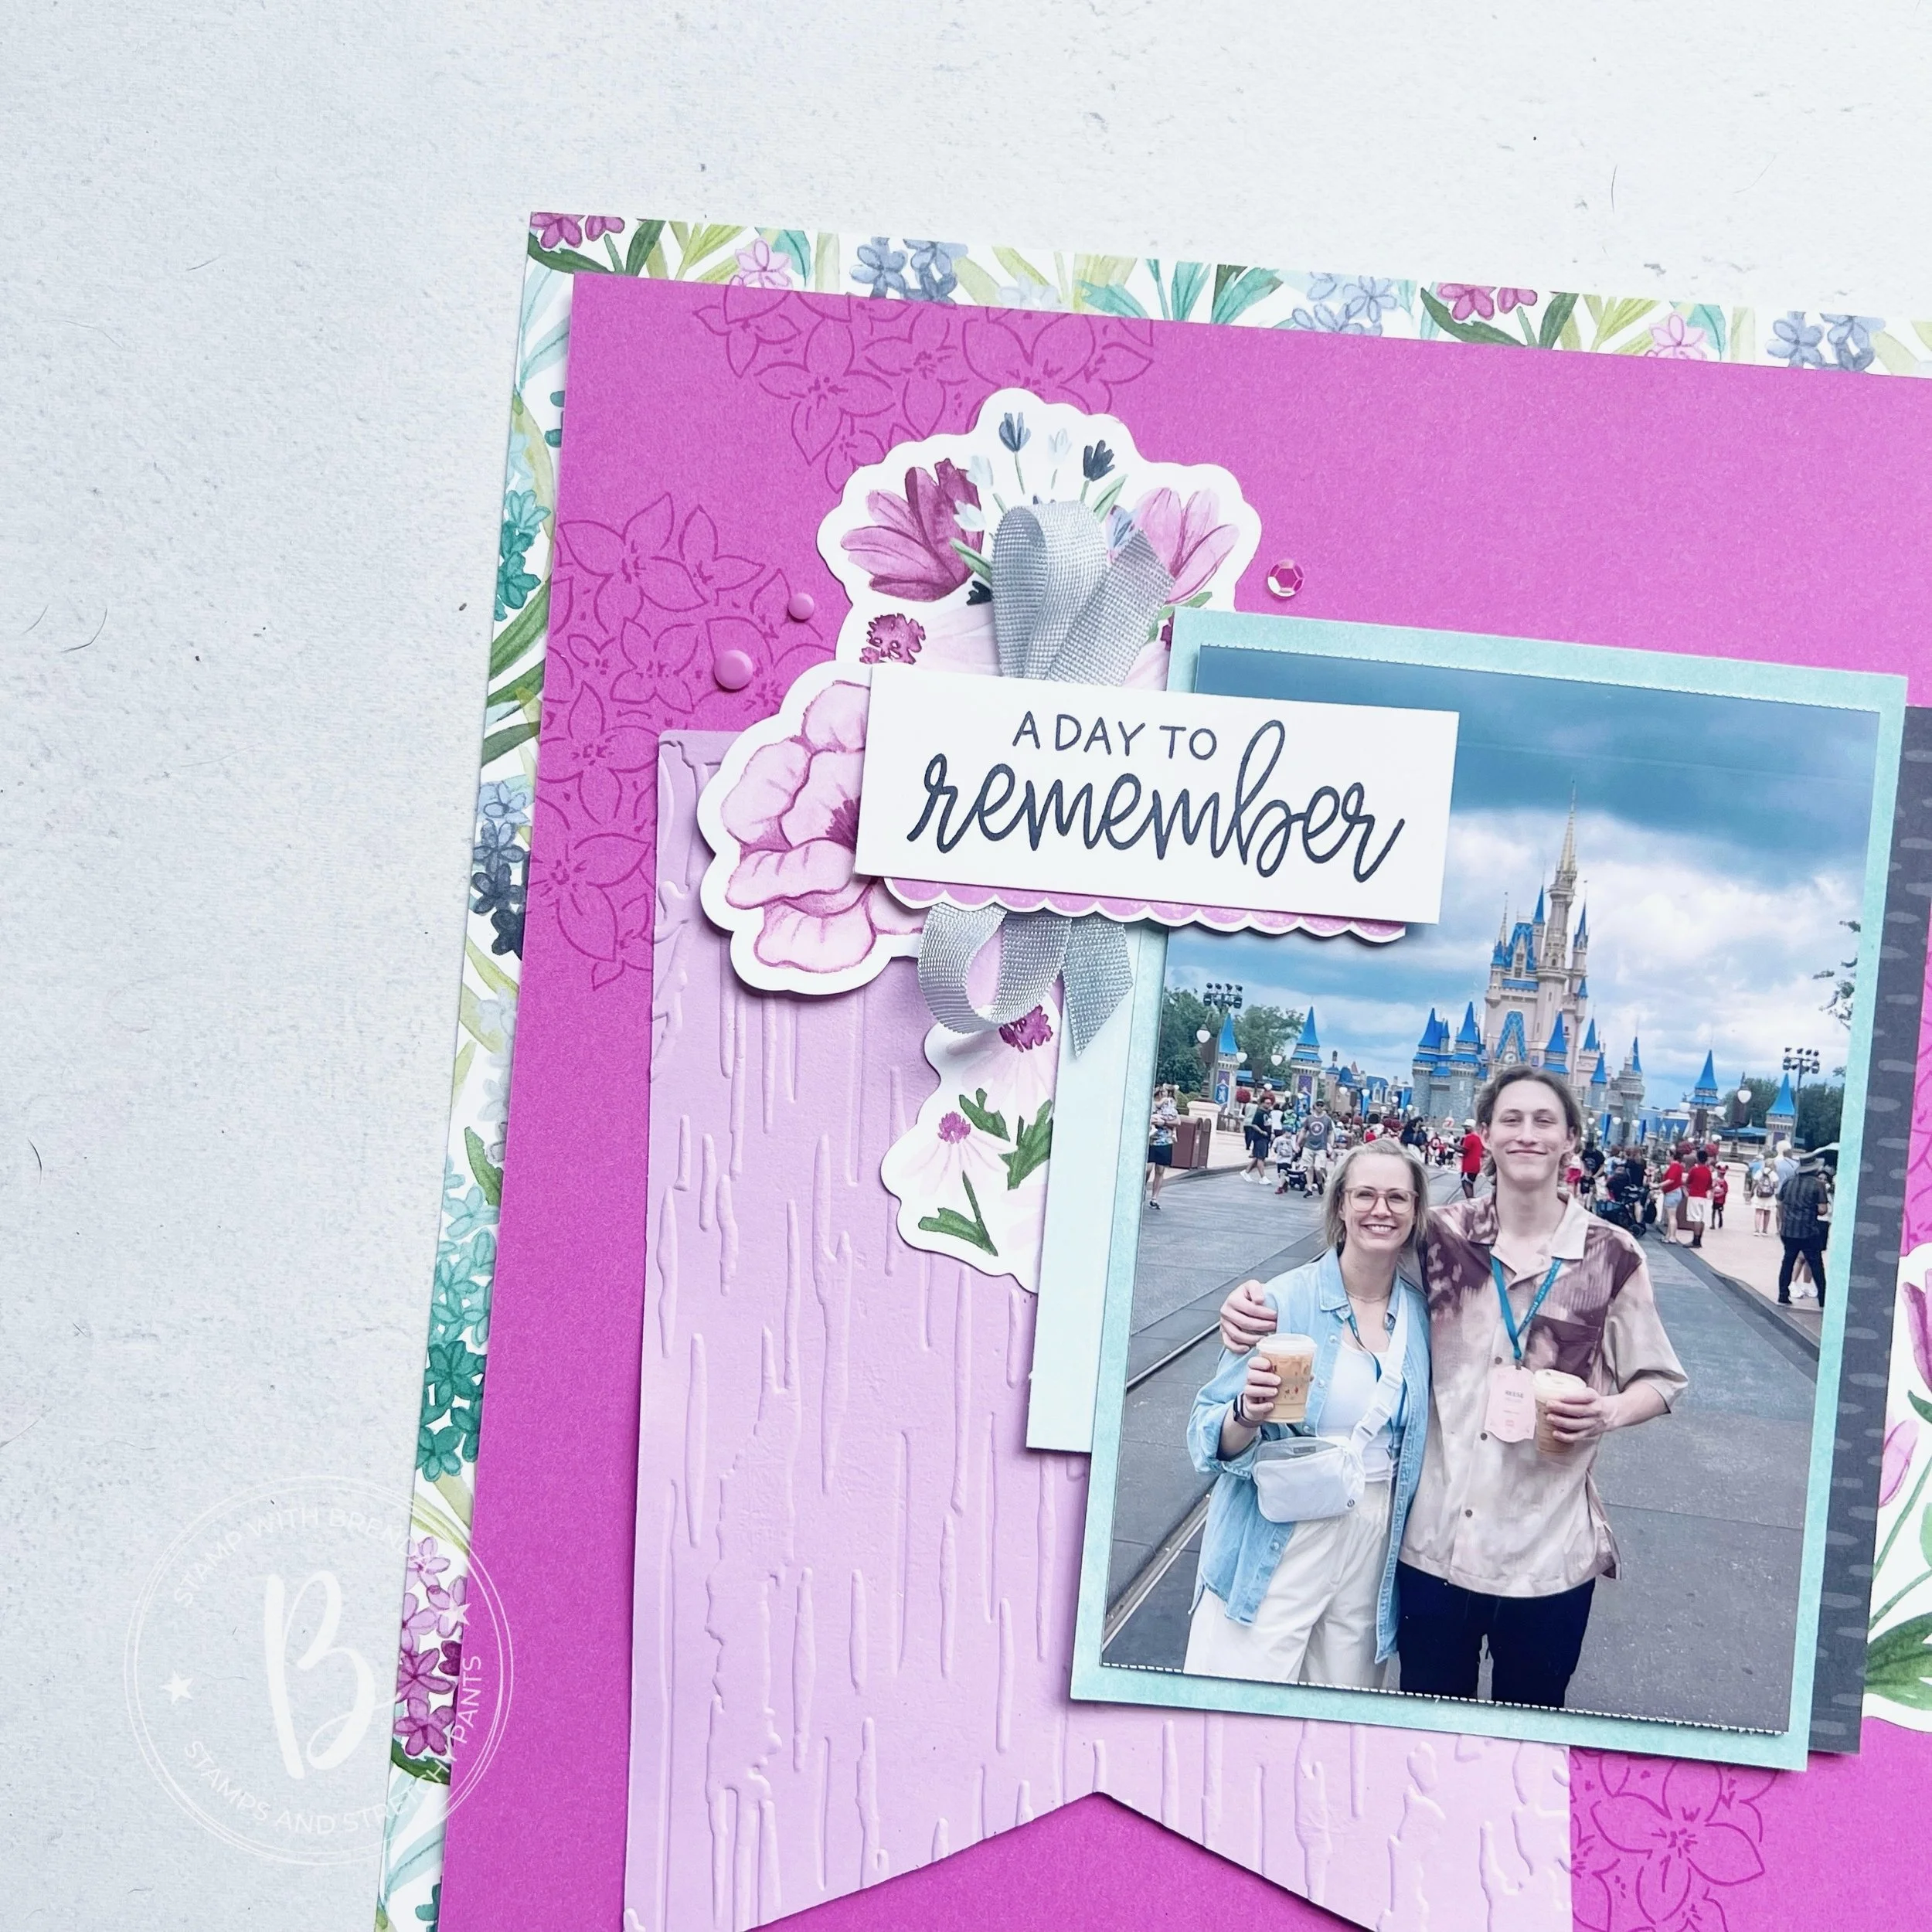
However, I did pull in a lot of other supplies as well to complete my page. I am loving the new Party Banners Dies and the Celebrate Together stamp set is an #addtocart moment if you have not already. I have used the ‘A Day to Remember’ so many times already! It’s a perfect scrapbooking or memory keeping stamp set. Storybook Life is another fantastic memory keeping stamp set and that is where ‘Big Smiles’ is found.

My sentiments are stamped in Secret Sea ink which is such a great alternative to Memento ink.

TOP TIPS:

Combining pop out pieces with stamping and die cuts is a great way to use a kit and bring a design to life. I like my pages to have texture and interest.

Balancing out a busy pattern by layering a solid card stock over top is a great tip when you do not know how to use those busy pattern.

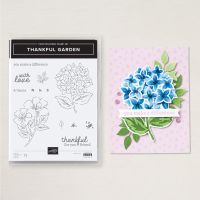
I used one of the large flowers from the Thankful Garden stamp set to fill in some space on the Petunia Paper base (stamping tone on tone). A combination of different embellishments is also fun (use up those random sequins or gems that you have left, it’s a crime they get abandoned!)

I hope this page sparks some new ideas in your own memory keeping!

If you are just starting your memory keeping journey—check out my gallery for a bunch of inspiration and follow me on instagram @stampwithbrenda if you are not already!

And wish me luck on my new journey—as I have been saying Brenda2.0 has just launched! If you are inspired to create this page please consider shopping with me in Canada—this helps me to keep loving what I do!