12 Days of Christmas--Day 1!

Hello friends! I am so excited to welcome you back to our 2nd 12 Days of Christmas event! Melanie and I started this last year and have decided to make it a tradition! Each day for the next 12 days you can visit both of our blogs for some Holiday Inspiration! We plan on sharing some great card, project, 3 D and scrapbook inspiration with you!

Melanie and I finally got a chance to meet each other in person this past August when we attended Backstage (a leadership conference held by Stampin’ Up!) and here are a couple of my favorite pictures!

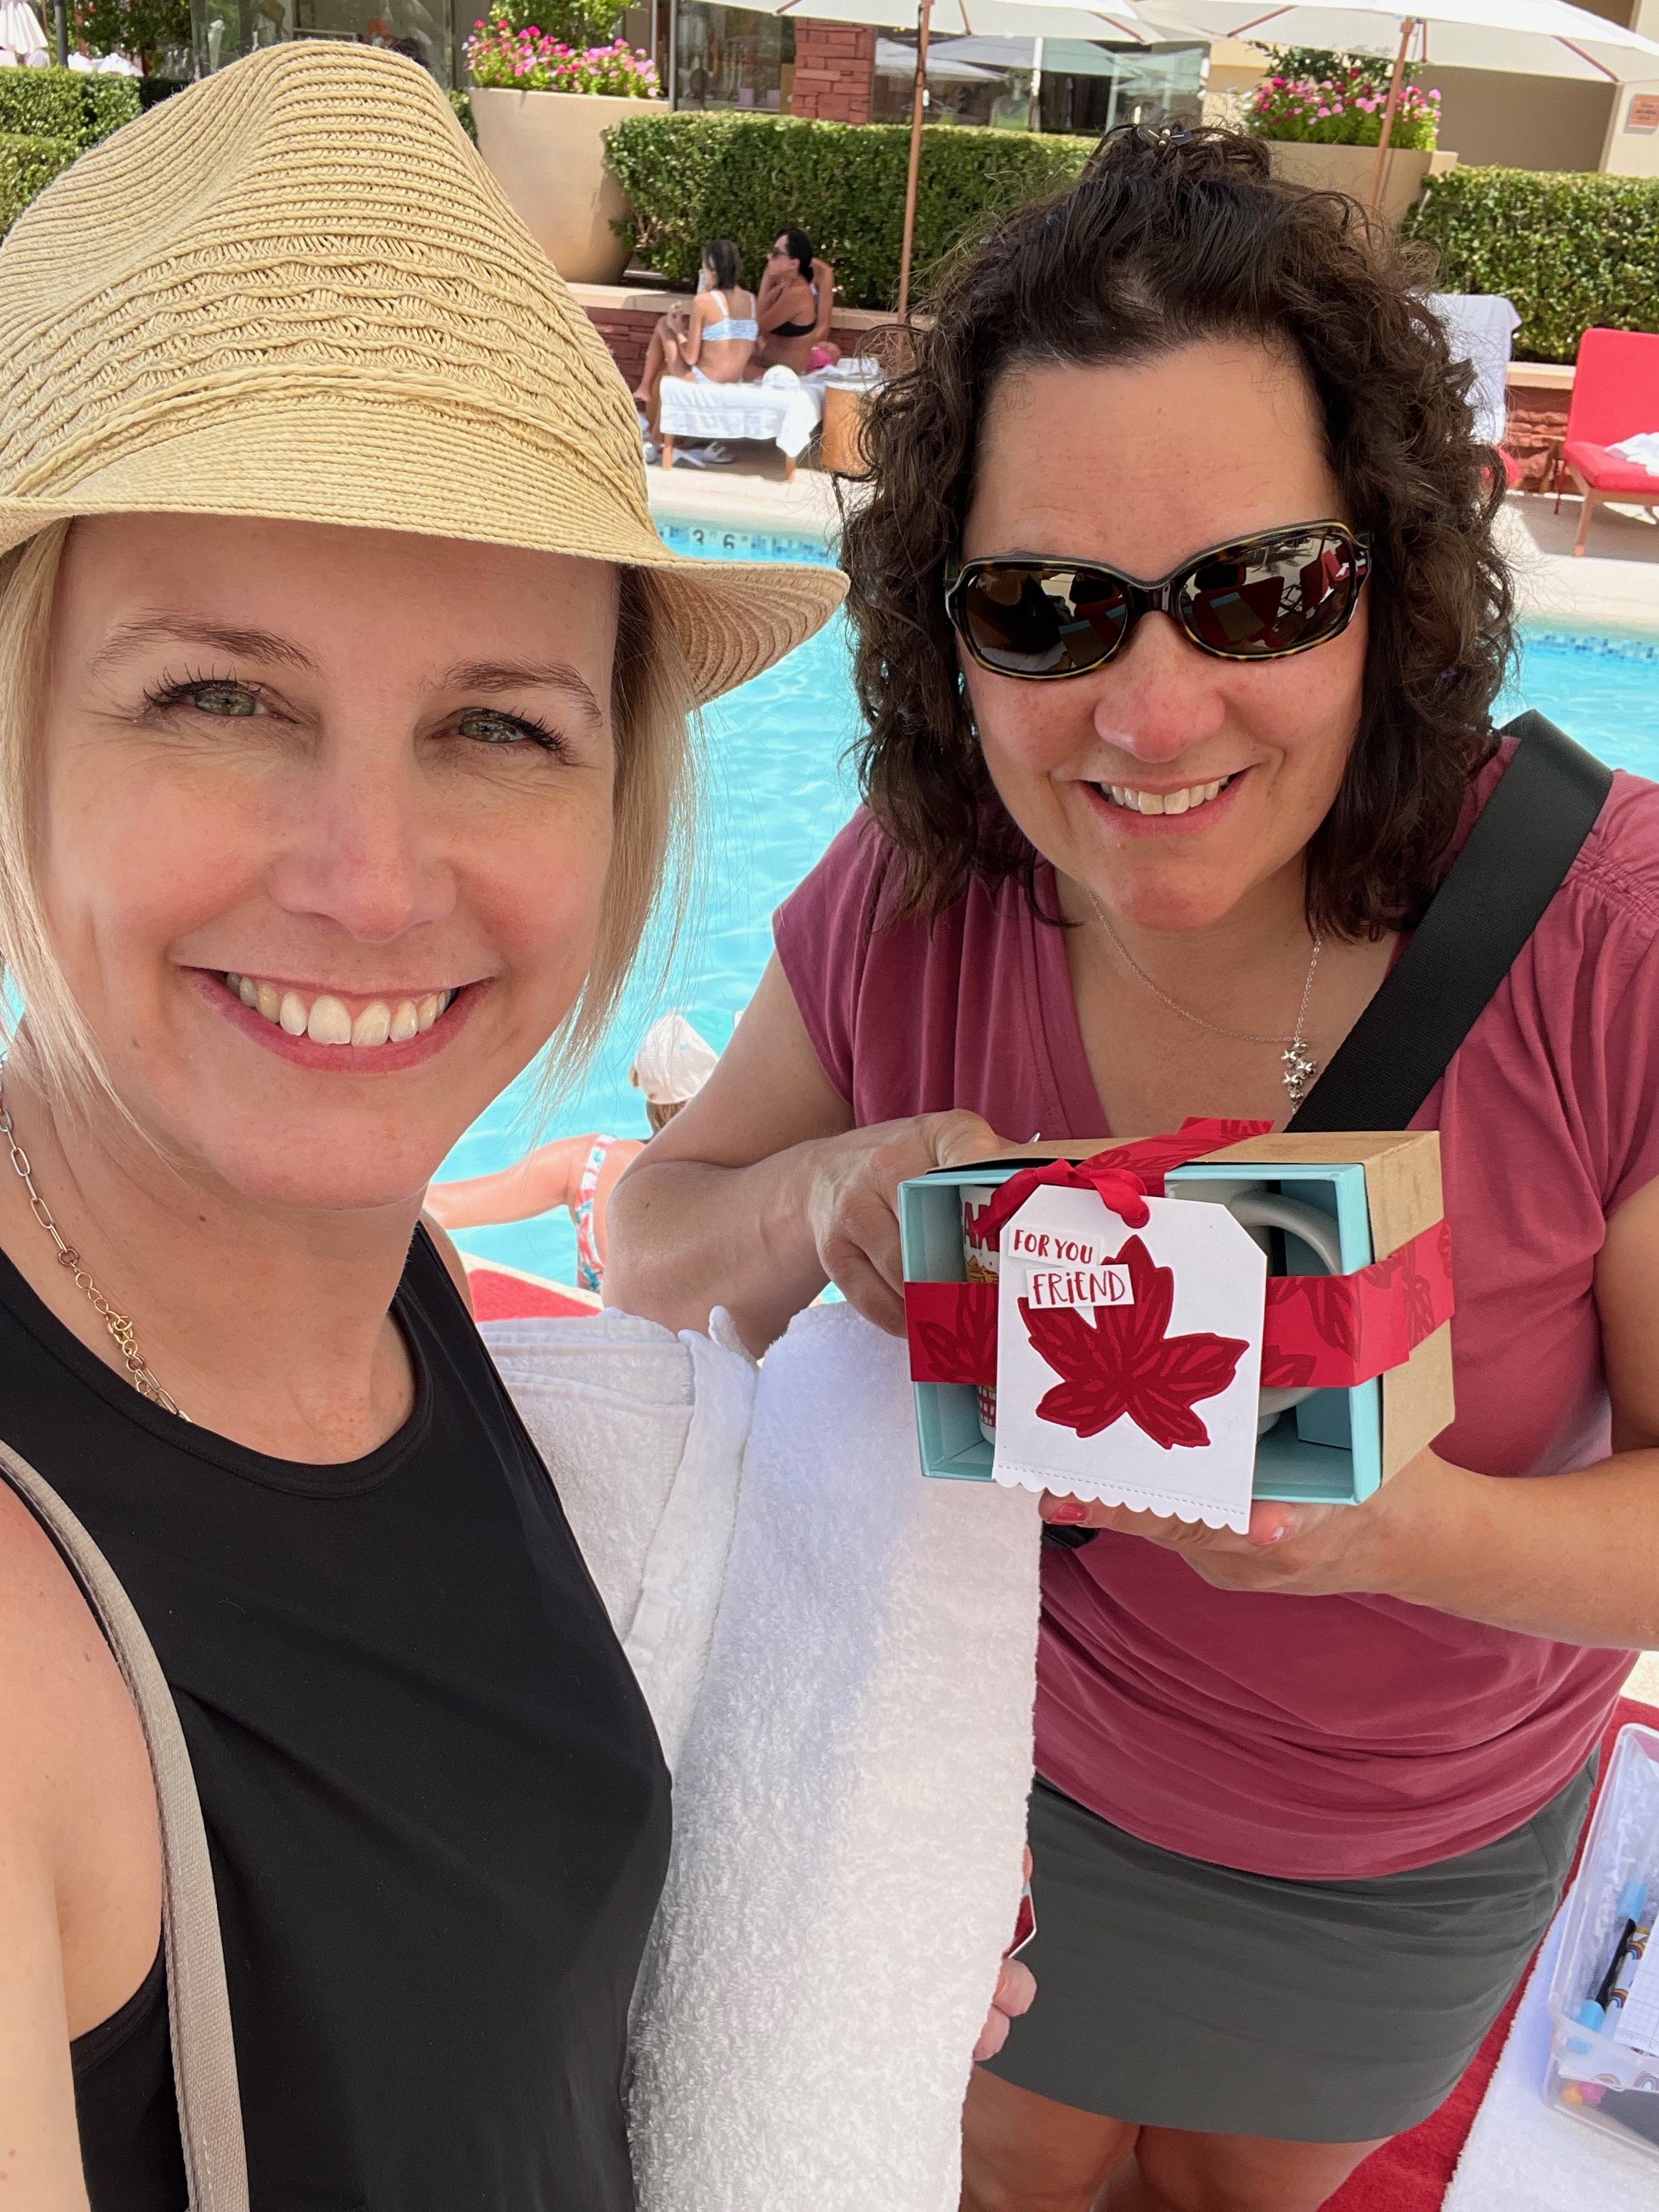
We went on a really awesome horseback ride in the desert and of course had to exchange some gifts with each other!

And here we are a few months later gearing up for the holidays!

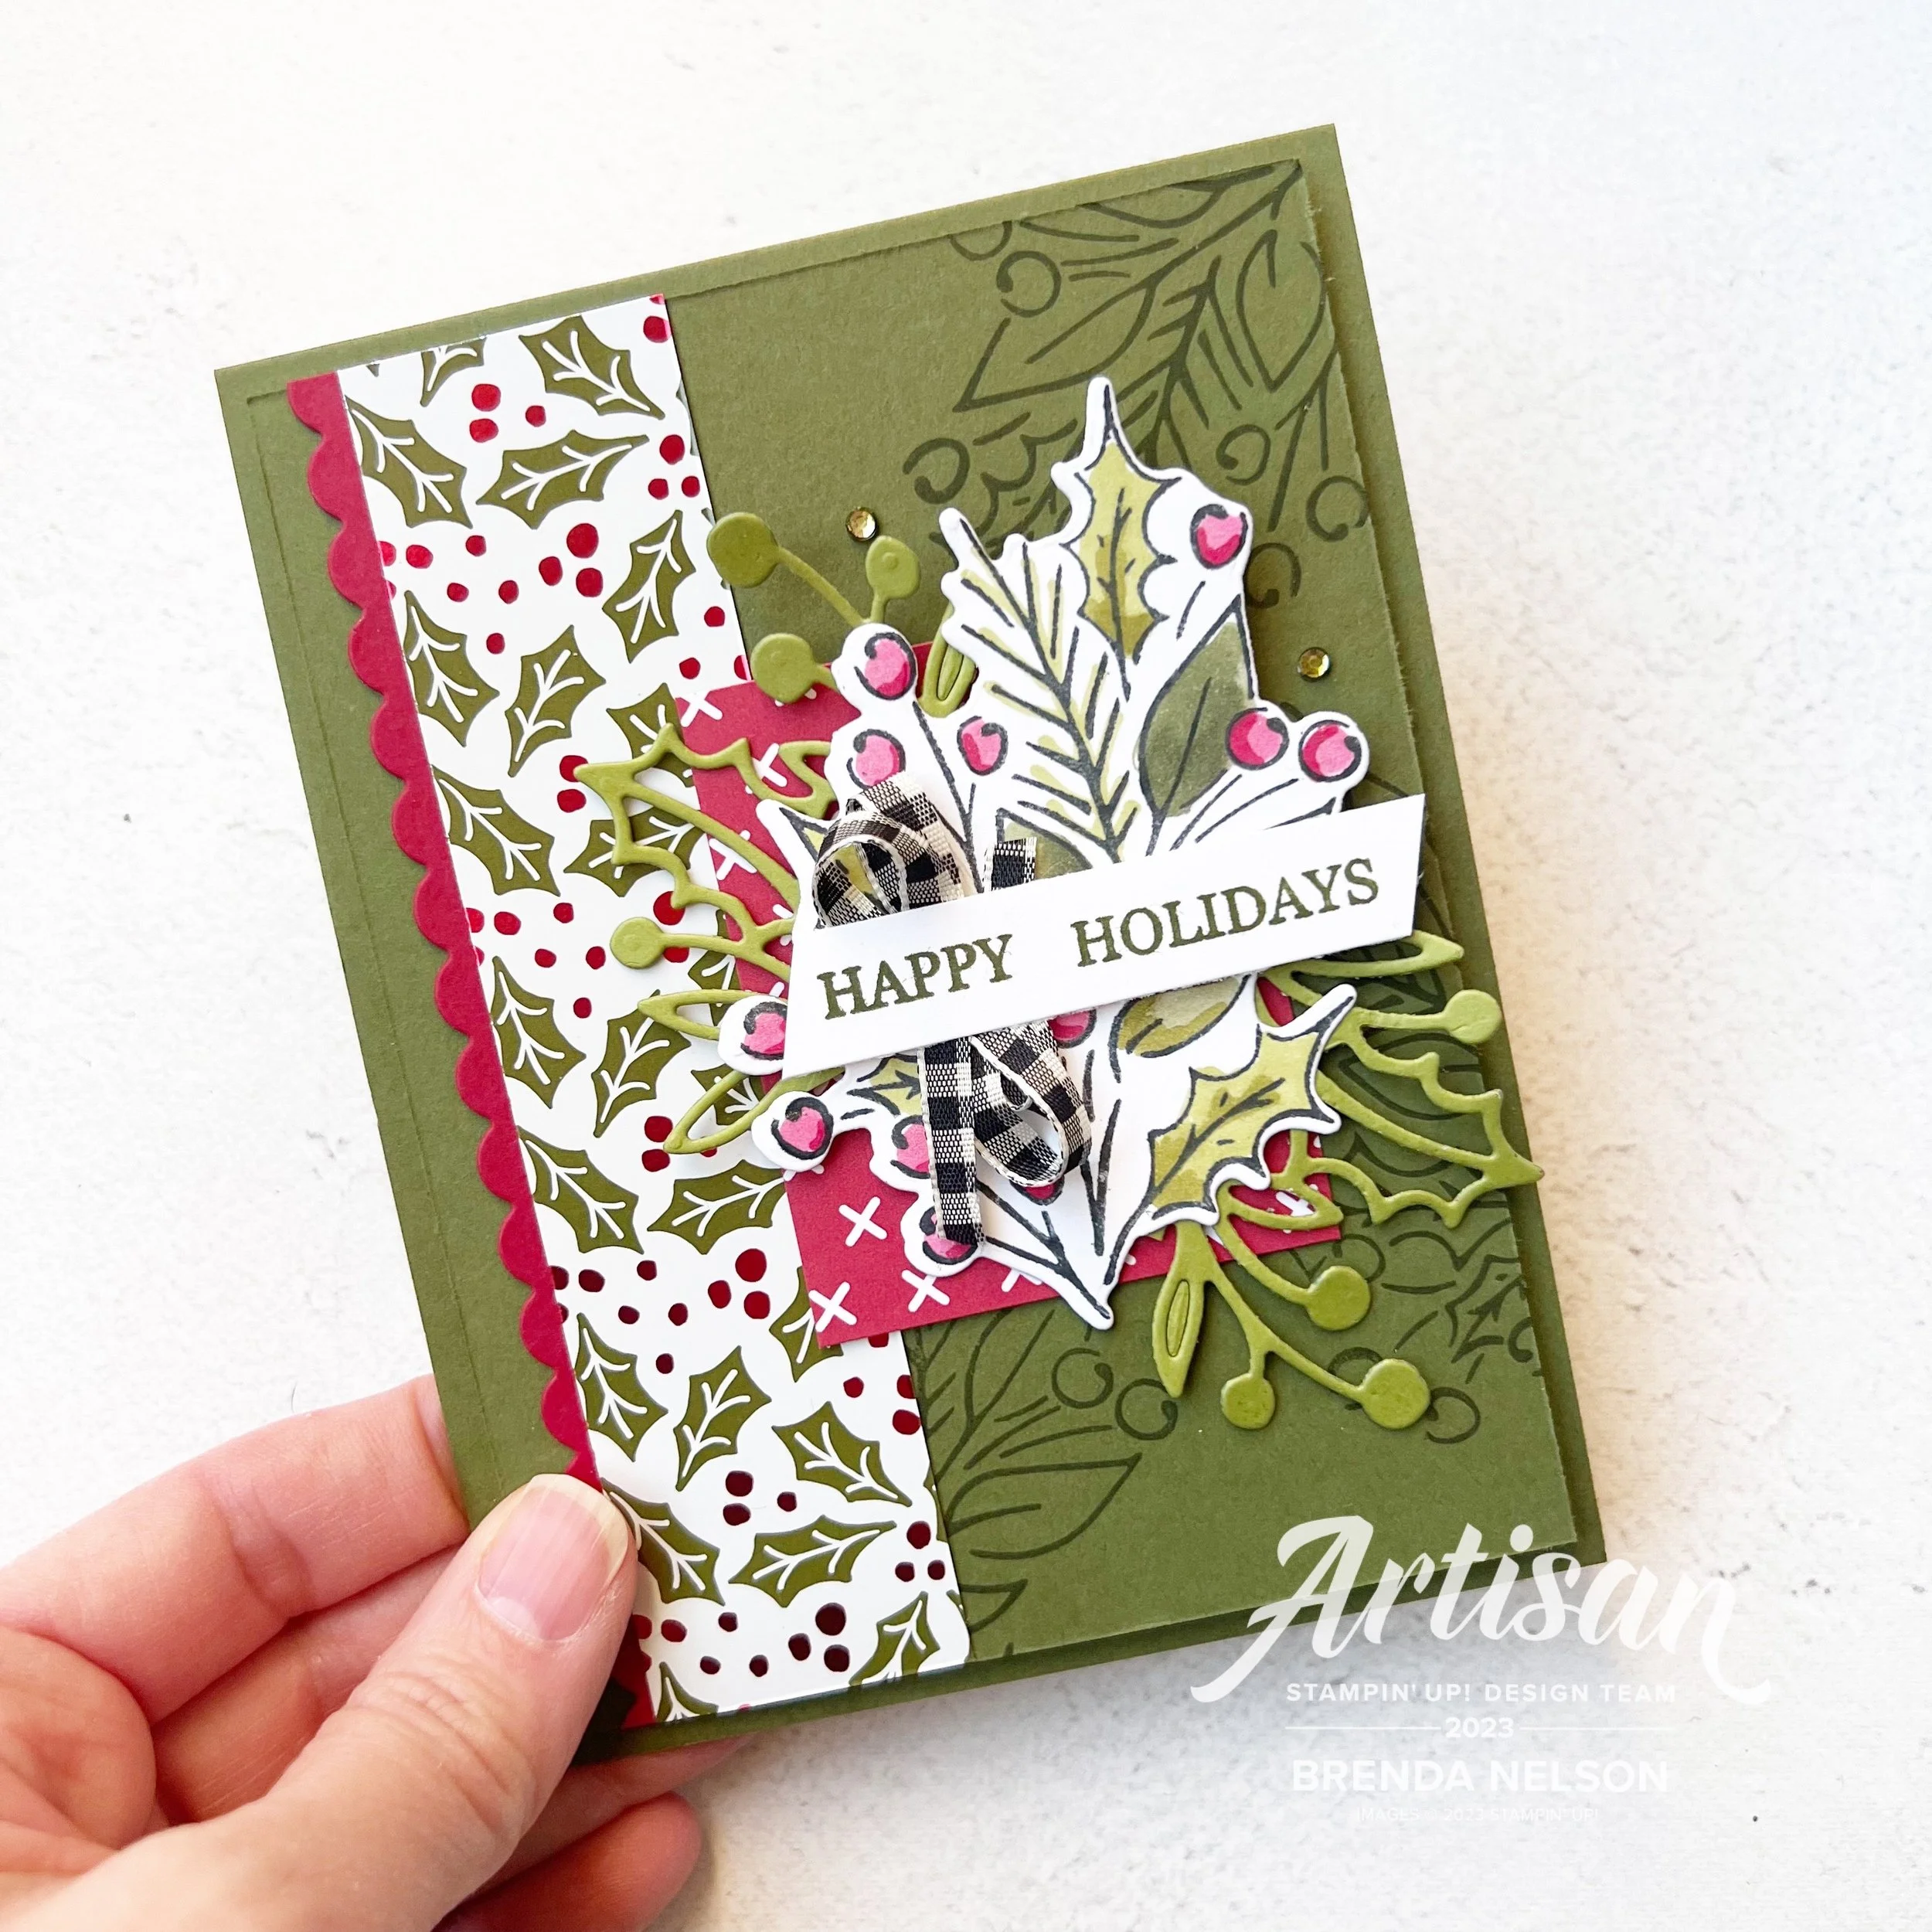
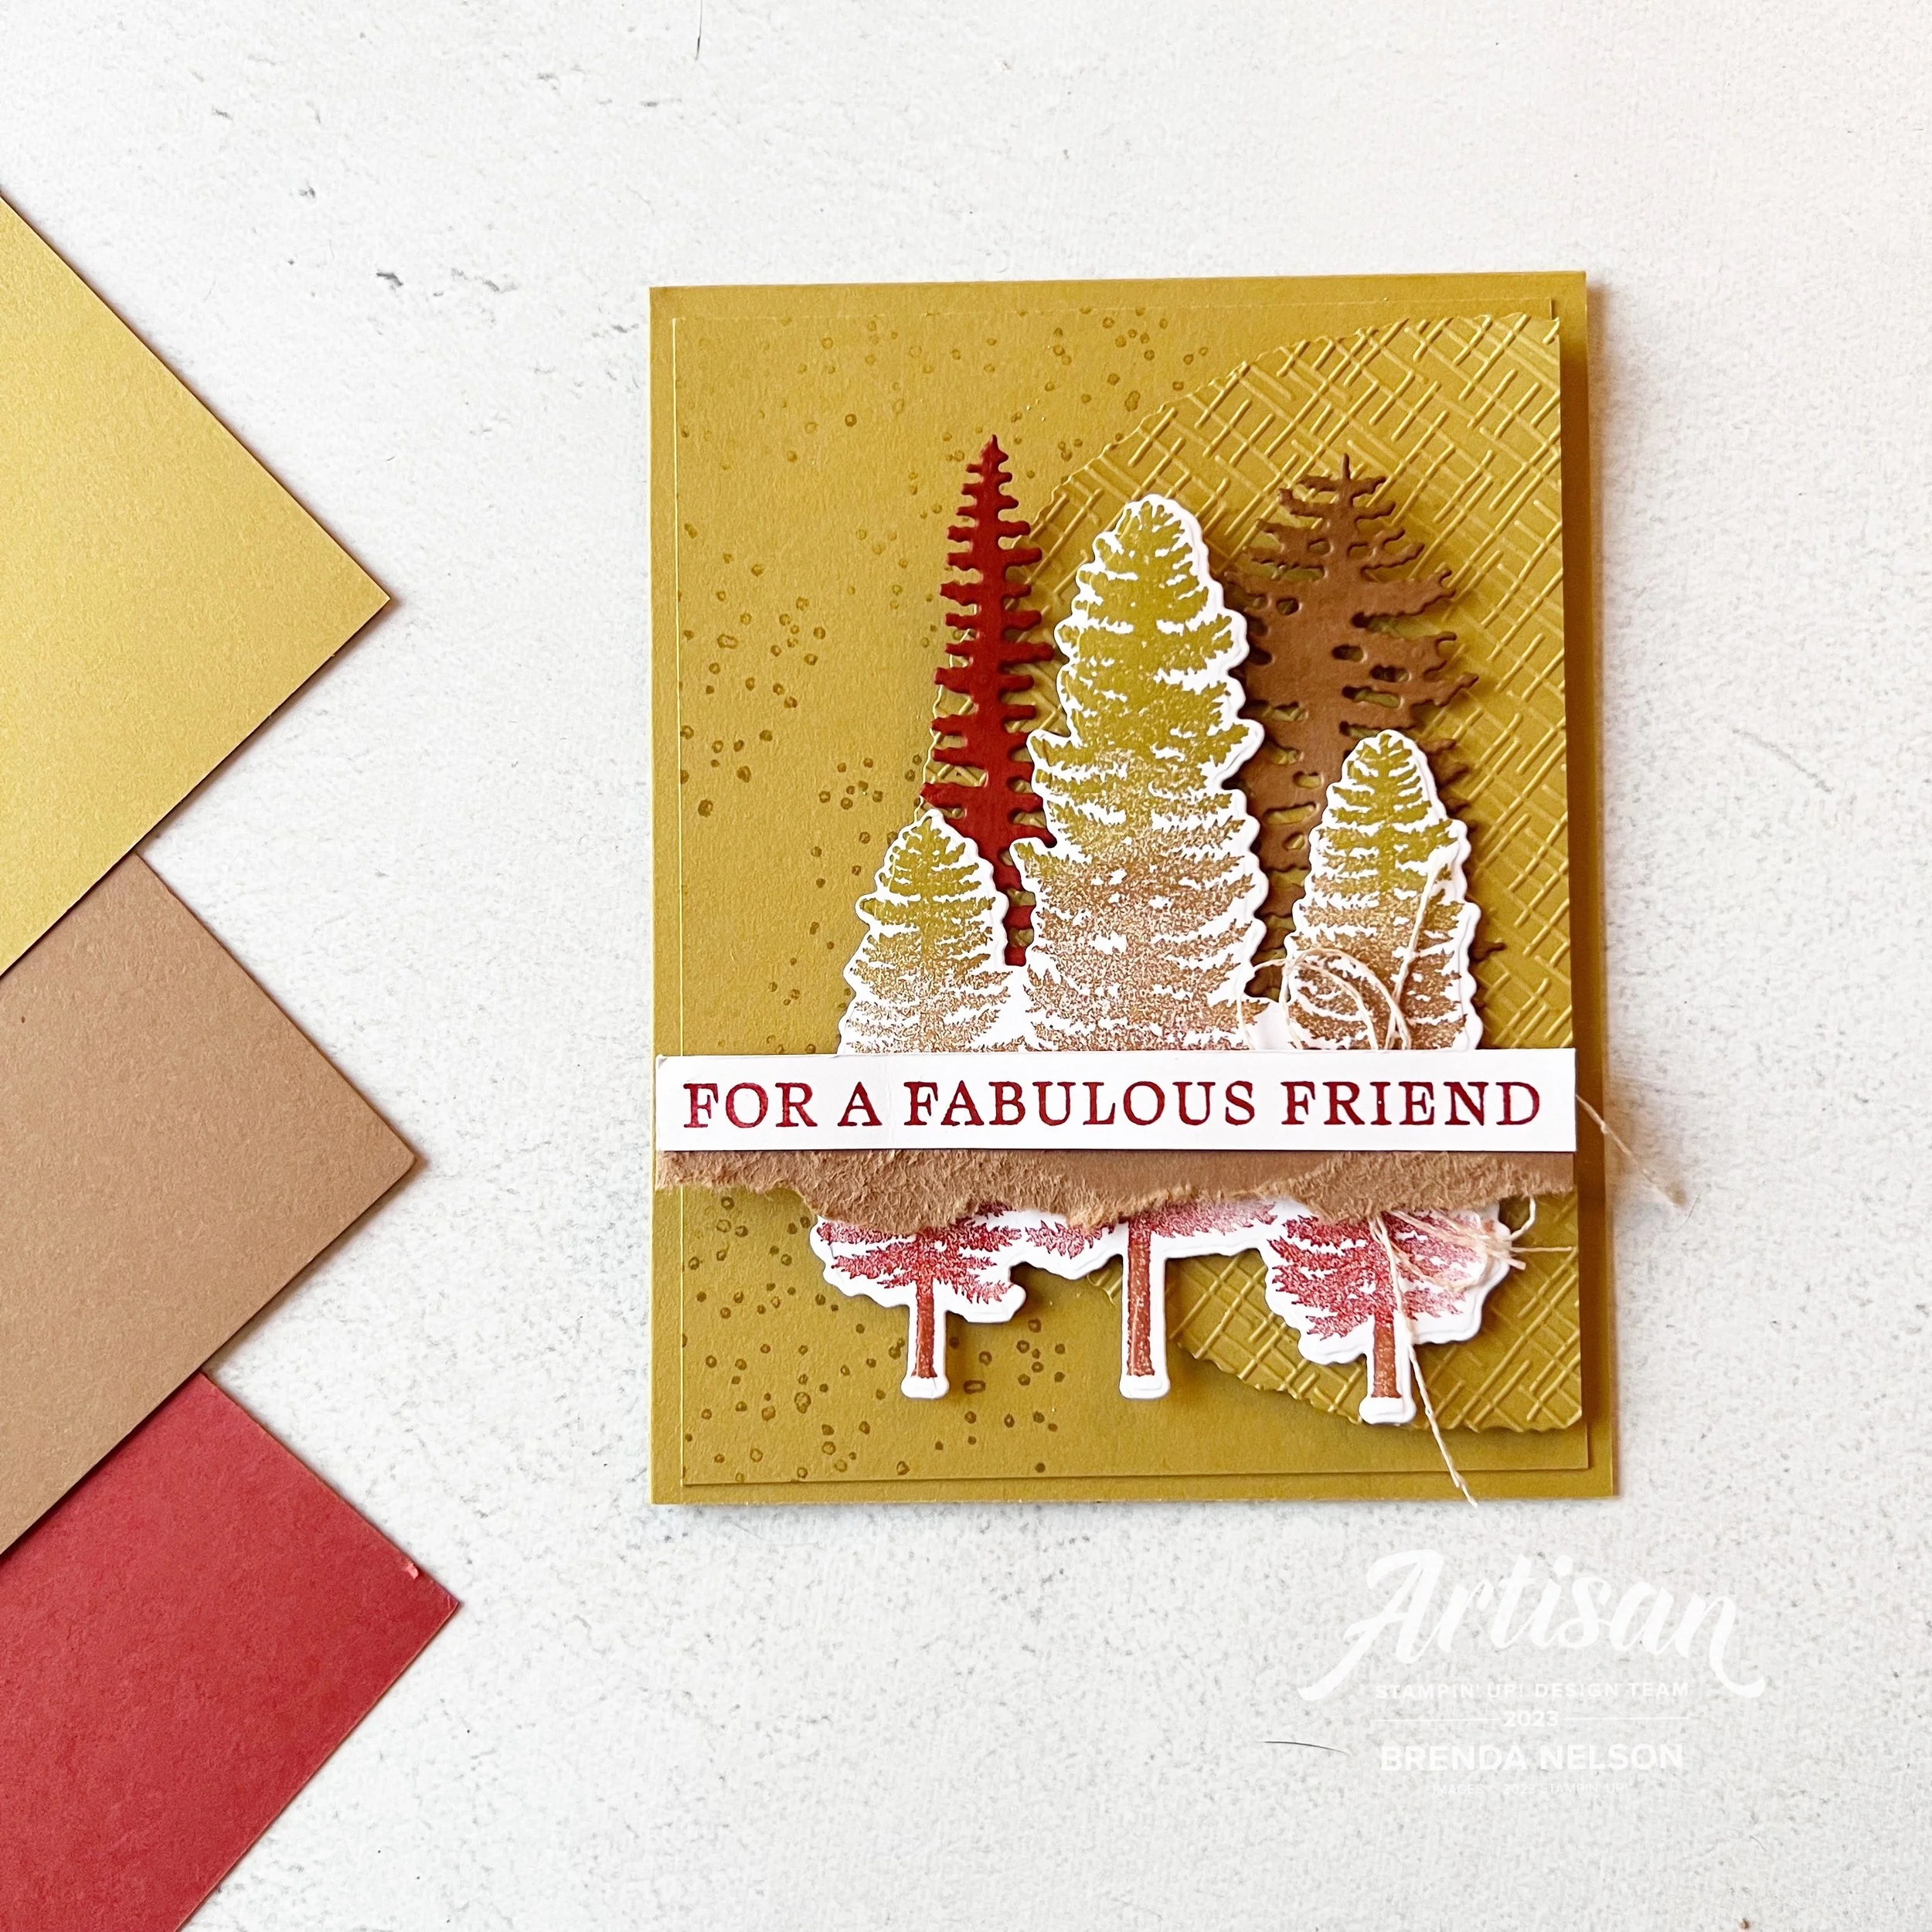
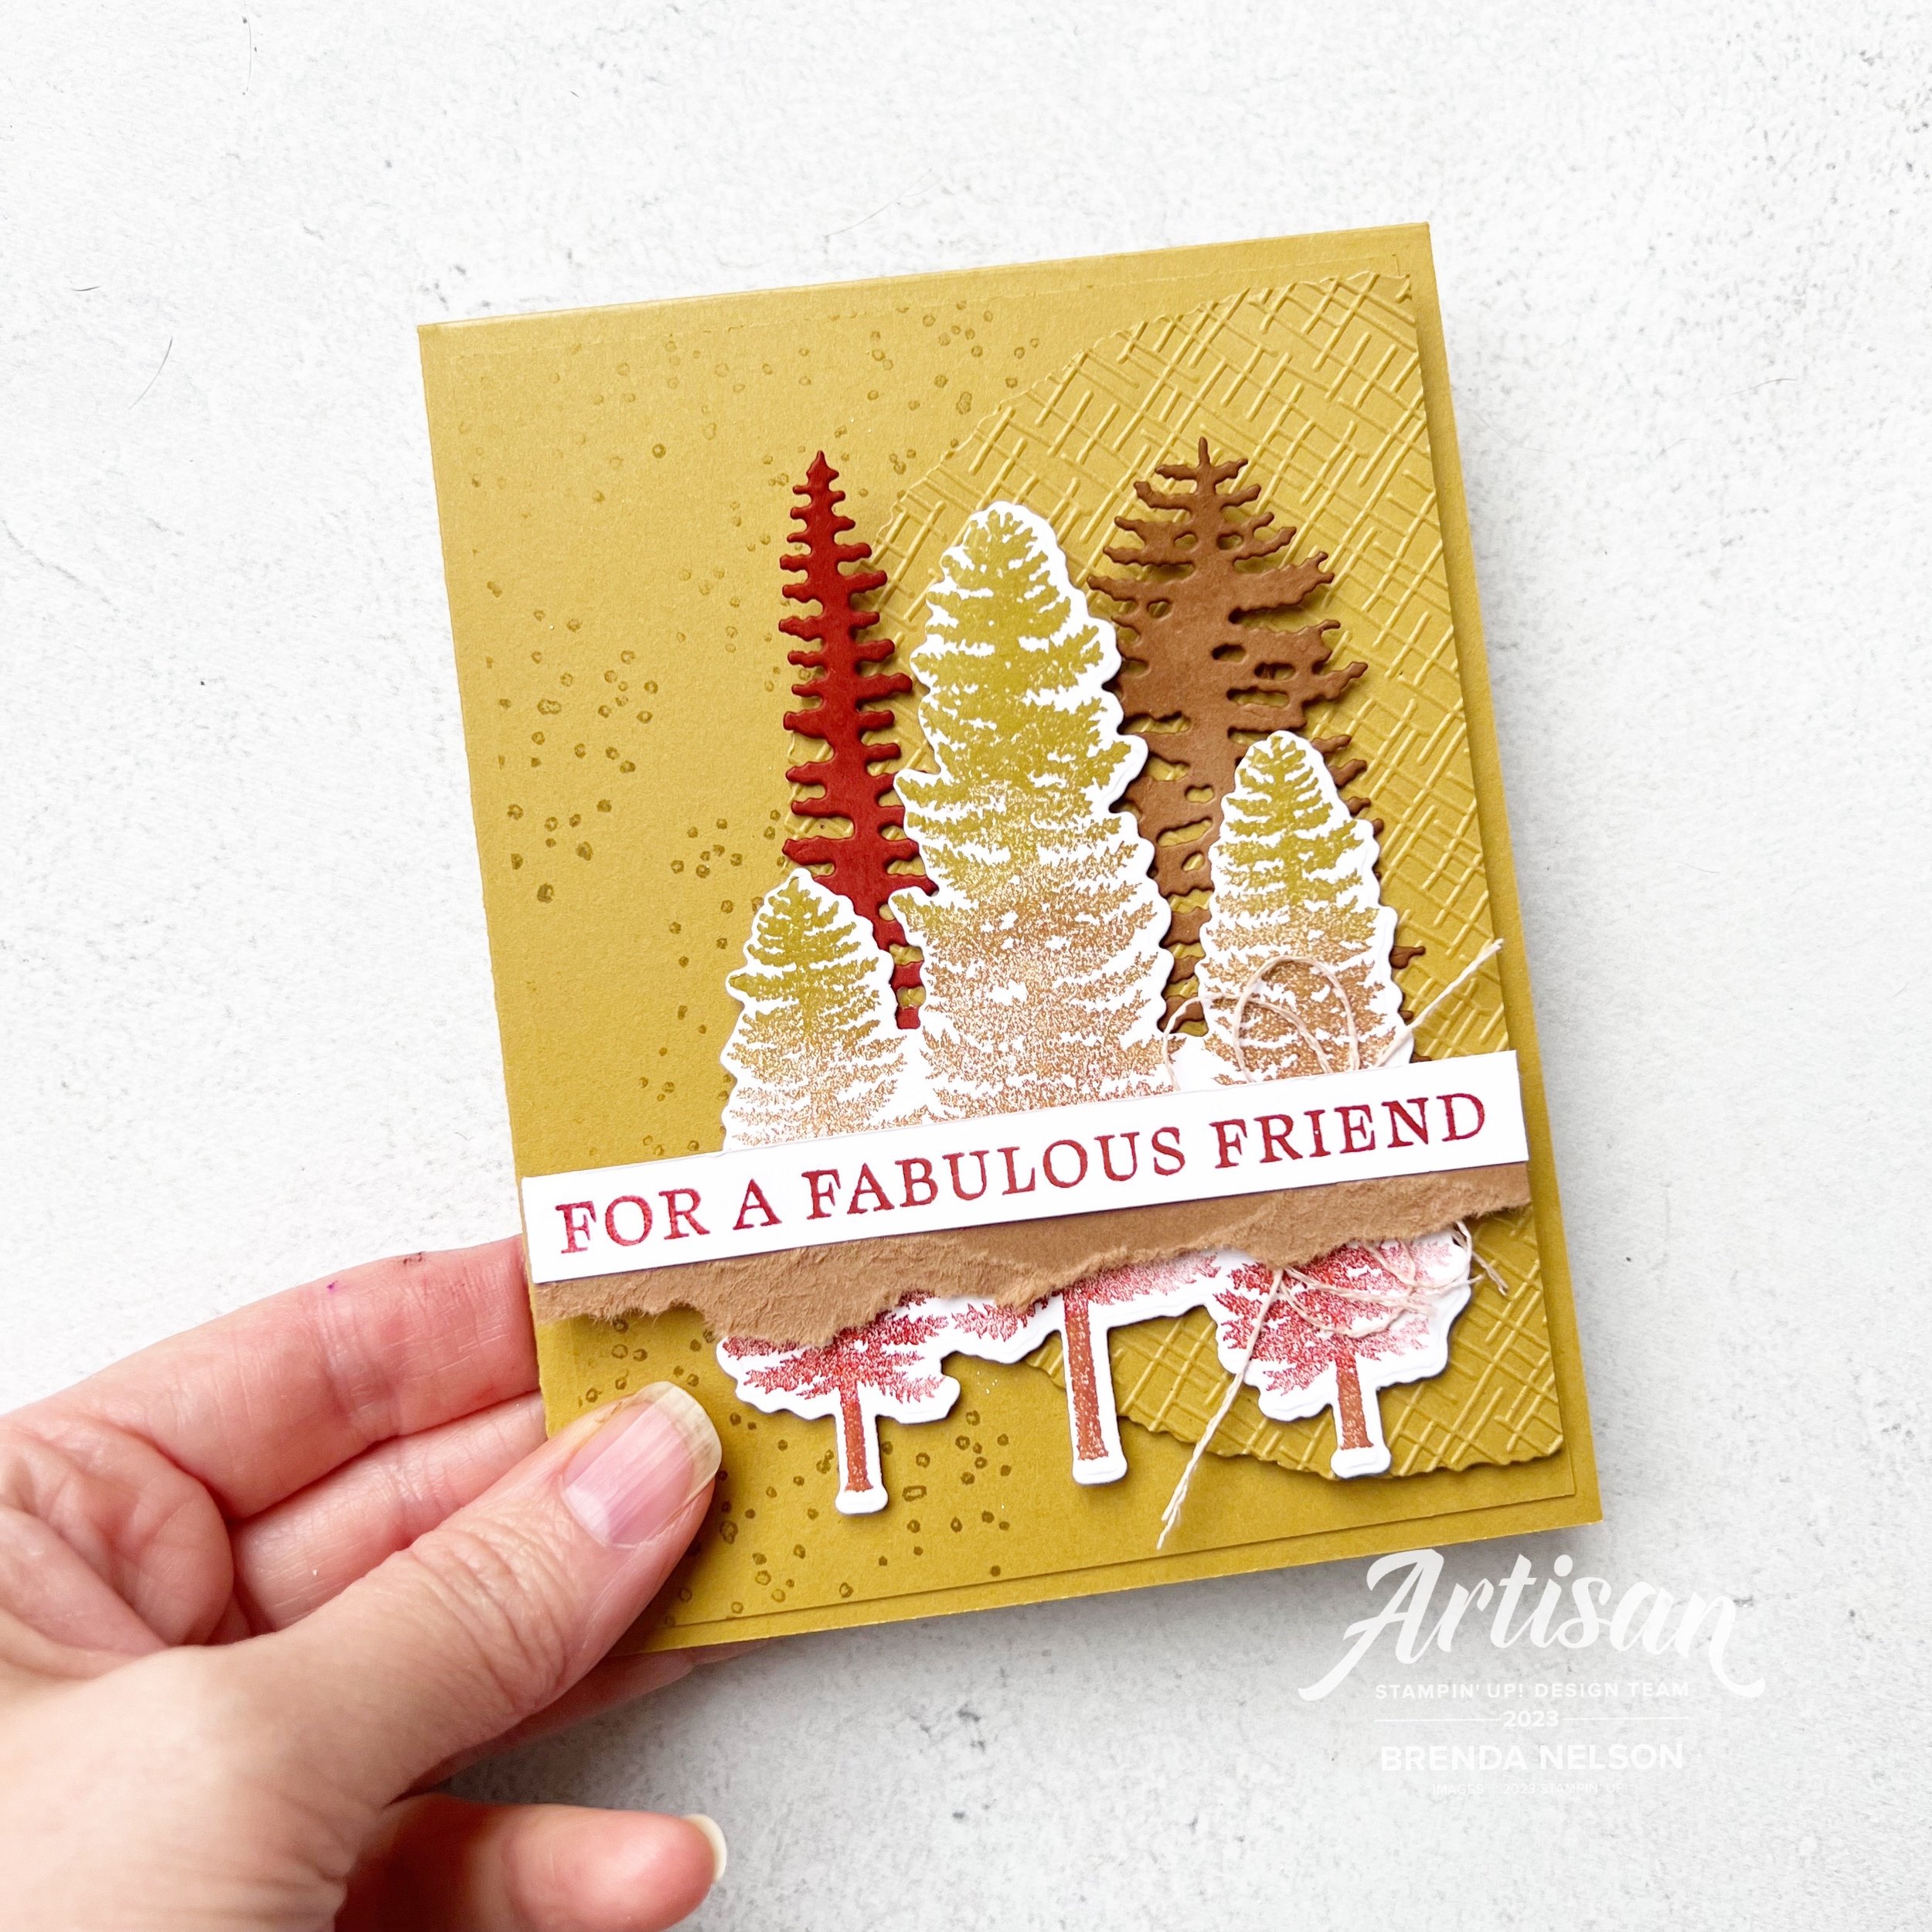
It was actually really hard to decide what project to kick the 2023 edition of 12 Days of Christmas off with but I finally decided to share a card made with the Joy of Noel Bundle.

I decided to create a holiday card with a classic color palette of Real Red, Pecan Pie, some Old Olive on the ribbon and crisp Basic White.

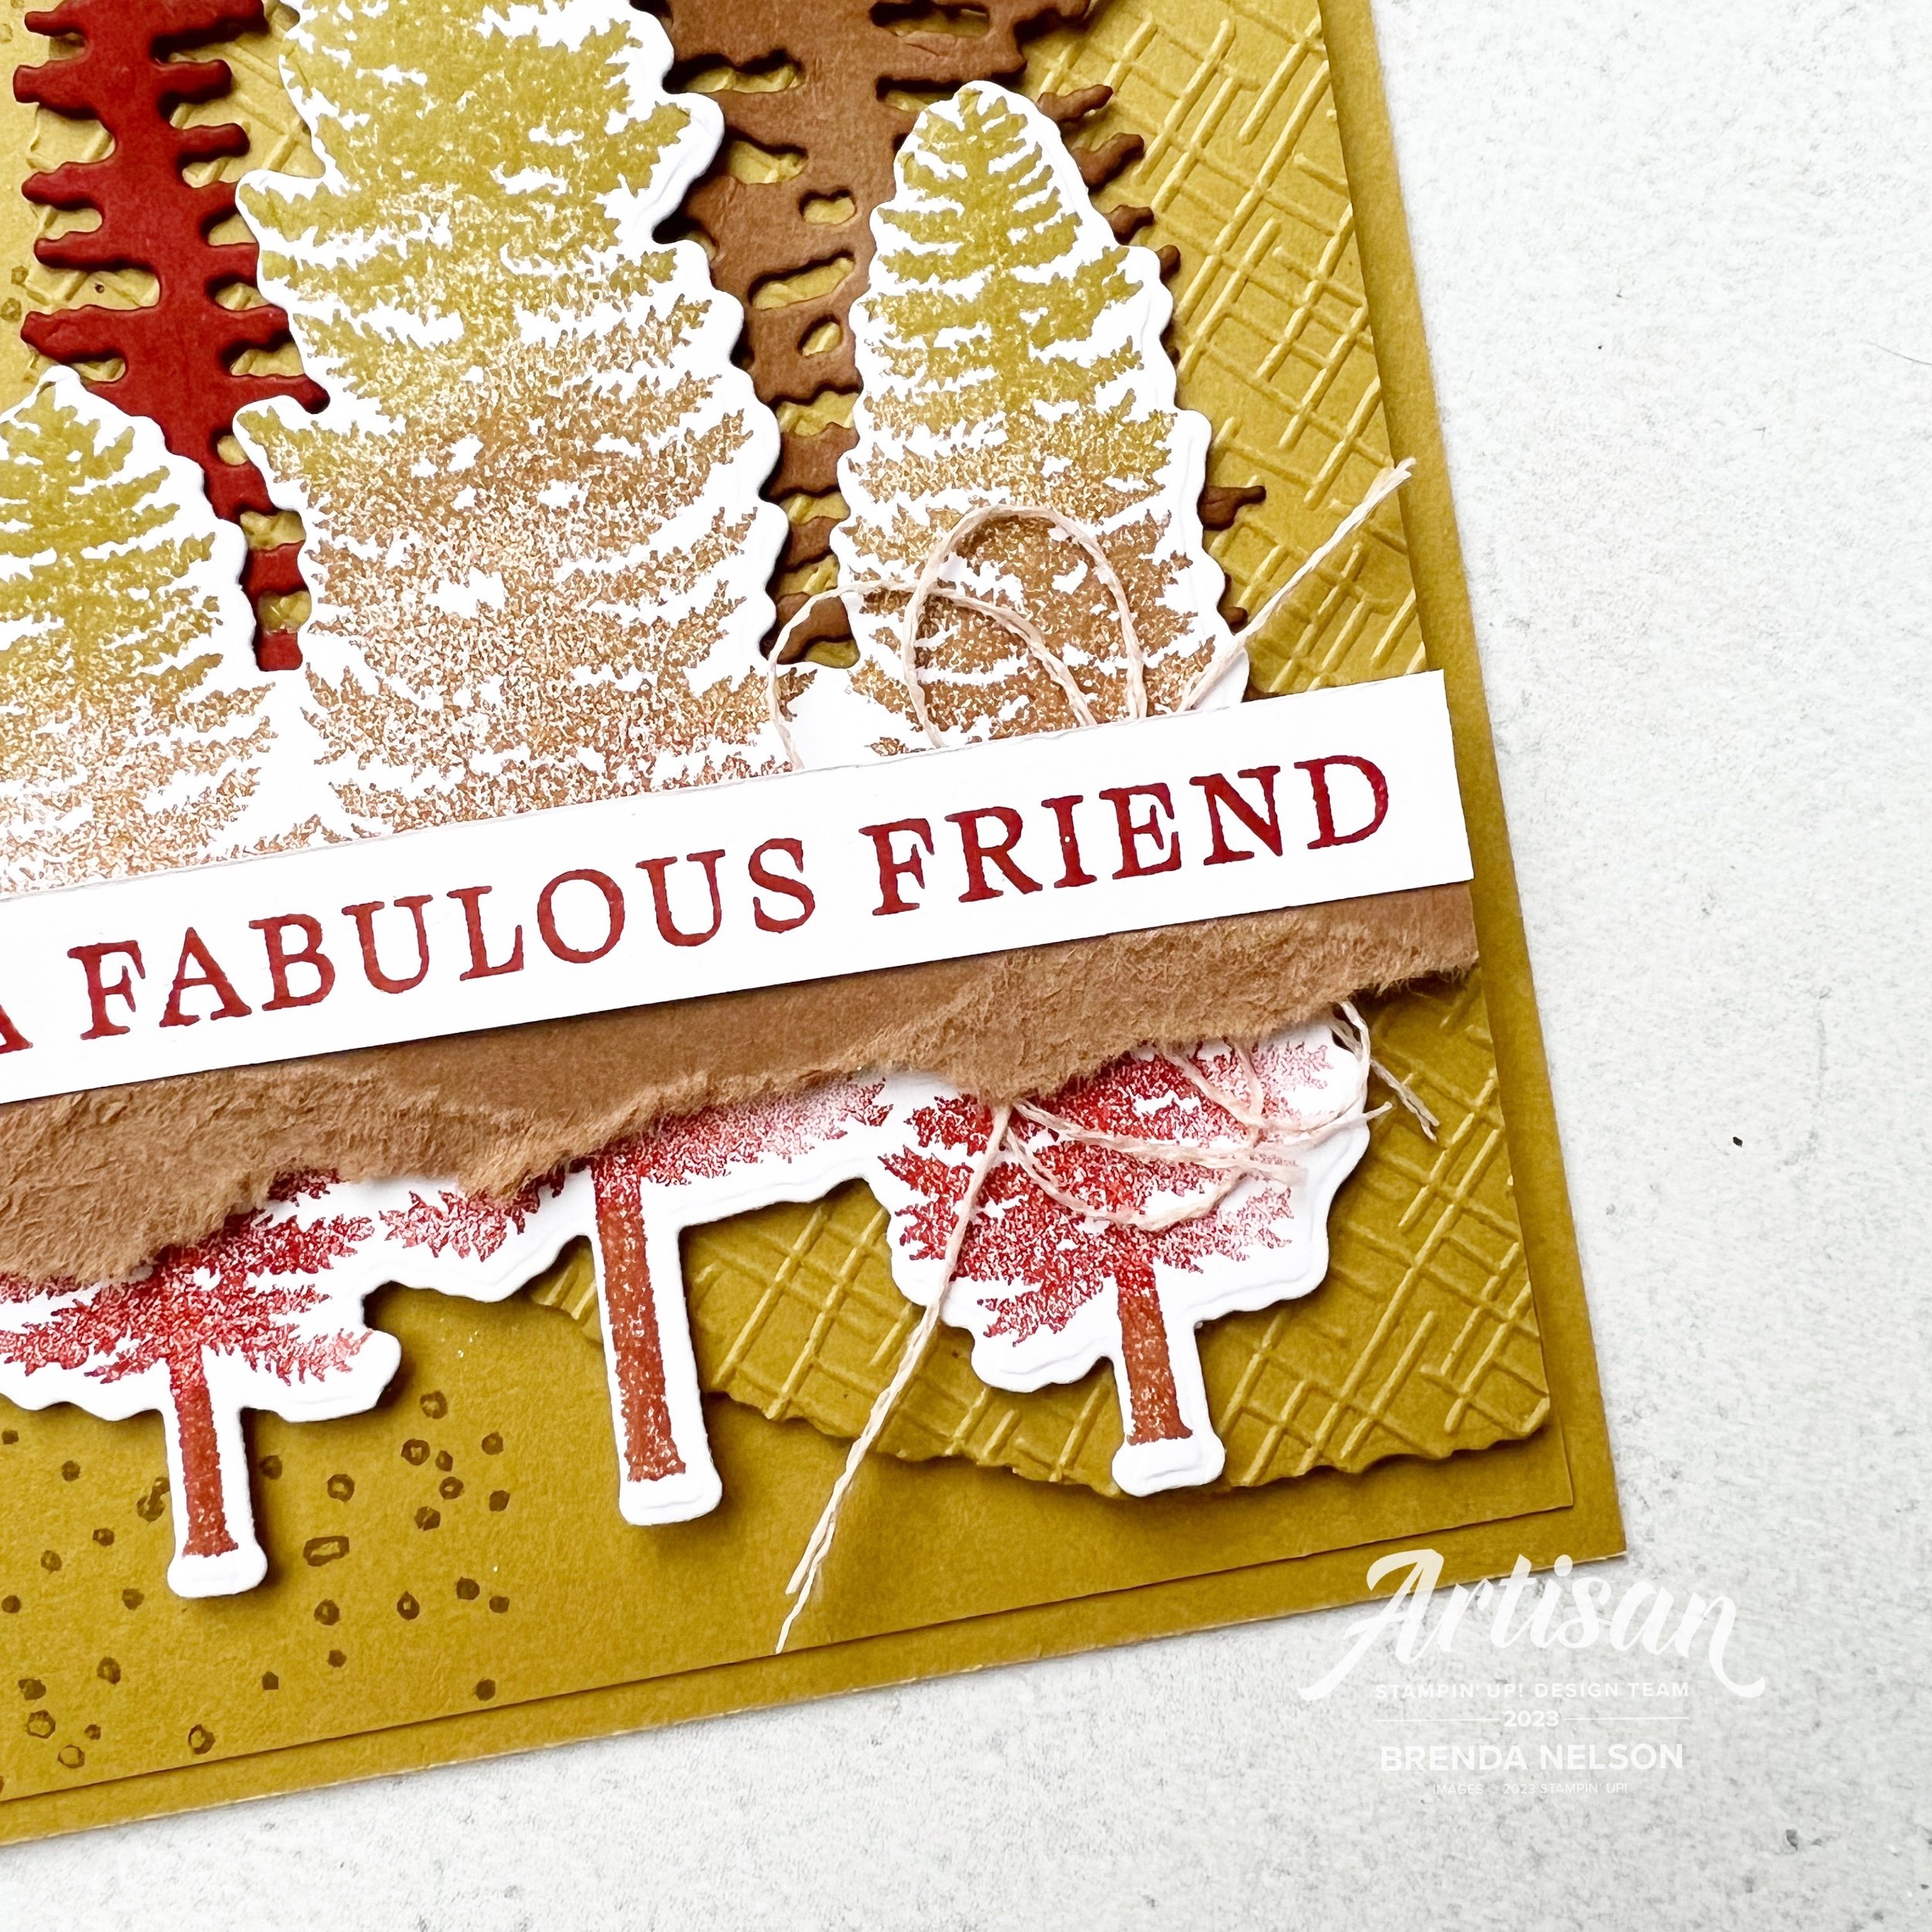
I stamped the large image from the Joy of Noel stamp set in Real Red ink on the background/first layer. I colored in the Very Vanilla & Black Gingham ribbon with my Old Olive Blend Marker to give the ribbon a green hue. This is such an easy trick to incorporate or match a color to your project with the ribbon.

I thought it would be fun to use the negative image from NOEL as the focal point for this card. I layered it on top of a piece of DSP from the Joy of Christmas in the Pecan Pie music print using Dimensionals.

I cut the ribbon in half to. make a double bow to tuck in beside the NOEL and give the illusion of it being tied around the card. A few Neutrals sequins and this card was perfect!

I can’t wait to see what Melanie has created and I am looking forward to sharing some amazing things with you over the next 12 days! Click this image to visit Melanie’s blog—Mel’s Inky Fingers!

Be Inspired Blog Hop--Mini Catalogue!

What has been inspiring you out of the 2023 Mini Catalogue? There are honestly SO MANY fantastic things that I can’t even really choose! But I am excited to see all the awesome creations today from my fellow Blog Teammates as we shared projects featuring this Mini Catalogue!

We had our first snowfall of many this week so I think it is perfect for me to share a set of holiday cards that are on a nice crisp white background. With a bit of a fun and bright color palette!

I created this fun and bright set of holiday cards featuring the Joy of Noel Bundle. I just love being able to stamp and cut out ‘Noel’ with some fabulous dies.

I knew I wanted to create these cards using one of my favorite color combination—Coastal Cabana, Flirty Flamingo, Lemon Lime Twist (welcome back, I have missed you!) and Pool Party (you know, Coastal Cabana’s bestie).

I wanted each letter to be a different color, so why not make 4 cards mixing up the colors of each letter? No brainer and so efficient!

I did a little background stamping with the image from the Joy of Noel stamp set that looks like a sweater pattern. I stamped it off on my scratch pad in Pool Party first so it was just a light color and then flicked my Pool Party Stampin’ Blend over top. I also used my Stampin’ Blend to color some of our Basic Rhinestones.

I cut a 1 1/4 x 4 1/4 inch strip of Basic White that I could add my “Noel” to. I cut the letters (all cut with one die, so awesome!) on the Foam Adhesive Sheets first, then inlaid the individual letters after stamping and die cutting them. This way the letter is raised and completely solid. I love it!

Behind the panel I added three die cut sprigs cut with Lemon Lime Twist card stock and the Joy of Noel Dies.

I also added a bit of Silver Cord and White Iridescent Ribbon (trimmed in half) behind the Noel.

I LOVE how these set of cards turned out and I cannot wait to mail them out to some friends this holiday season. I think they are so bright and festive, even though they are a bit of an unusual holiday color combination.

I am really excited to see what Janneke has designed for us this month! I love her creations and am always so inspired by them! Click on the image to head straight to her blog!

I am so happy if my project inspires you to create some projects using something other than red and green for holiday cards! Please click any image to shop with me and help me keep doing what I love!

Around the World on Wednesday--Sketch Challenge!

Hello friends and welcome to Around the World on Wednesday, a fun Blog Hop with amazing Stampin’ Up! creators from ‘Around the World’! I am so proud to be in a Hop with so many amazing designers!

This month, we have a sketch challenge! I always love a sketch challenge to see how people interpret the sketch!

I will admit, I did stick pretty true to the original sketch and I focused on the Joy of Christmas suite with a twist on the DSP!

I decided to use the new DSP which is an Online Exclusive called Shining Christmas, instead of the DSP included in the suite. One side of the DSP has a glossy appearance and the other side is more matte.

The two primary colors in the DSP are Cherry Cobbler and Mossy Meadow, so I decided to focus on Mossy Meadow as my base and first layer. I did some background stamping with the large image from the Joy of Noel stamp set in Mossy Meadow ink.

I added a side strip of the holly leaves pattern from the Shining Christmas DSP and used a retired die to add a scallop strip in Cherry Cobbler as an accent.

Instead of 4 separate squares (as shown in the sketch) I chose to just cut one larger piece of DSP in a Cherry Cobbler X pattern. I used this as the base to add all of my other elements.

I stamped out the same image as the background in Momento ink and used my Stampin’ Blends in Mossy Meadow, Old Olive and Cherry Cobbler to color the image. I added some Wink of Stella to the berries as well.

One of my favorite dies sets is the Christmas Classics —I LOVE the label die with the greenery! You can easily snip the greenery separate from the label tot use as accents pieces, which I have done here on my card in Old Olive. I tucked it behind my colored image.

Happy Holidays is stamped from the Christmas Classics stamp set with a little bit of the Black & Very Vanilla Large Check Ribbon.

TOP TIP: If the ribbon feels to big or wide for your project—cut it in half! By doing so on this card, it felt more on scale with the sentiment.

I wanted a little bling so I took some Basic Rhinestones and gave them a quick wash of color with the Mossy Meadow Stampin’ Blend so they would have the perfect color.

I can’t wait to see what the other members of the Team have designed using this sketch! Please make sure to hop all the way around so you don’t miss any fabulous ideas!

Next up on the Hop is Theresa McEntee from the United States, I know you will love what she has made!


Color Fusers--October!

HI friends and Happy Fall Y’all! It is officially here and so beautiful. I love everything about it, and in the words of Anne of Green Gables, “I’m so glad I live in a world where there are Octobers”.

This month the Team is crafting with three amazing colors—Wild Wheat, Pecan Pie and Cajun Craze.

This color combination definitely feels like fall for me and I was thinking about the beautiful trees in our river valley and Banff, all the gorgeous places nearby me. The Forever Forest Bundle felt like a perfect pairing with this months color combo.

I started with a base of Wild Wheat and added a first layer with a bit of speckle stamping from the stamp set. I then die cut half of a Decked Circle Die (can you believe there are 14 dies in this set!!) and I ran this through one of the 3D Basics Embossing Folders.

HOT TIP: Have you been shopping the Online Exclusives? There are tons of amazing things over there including these MUST HAVE embossing folders!

You can see the amazing detail in the die, as it has that torn edge, and the embossing folder.

My trio of trees is created using Blending Brushes and the 3 feature colors—Wild Wheat, Pecan Pie and Cajun Craze. I layered the colors on with my brushes to give the illusion of trees changing colors. I think they turned our really well.

I die cut two other trees from the die set in Cajun Craze and Pecan Pie and did a little blending with my brushes around the edges of the trees for some dimension.

I nestled them all together to feel like a forest and added the sentiment “For a Fabulous Friend” over top. The sentiment is from the Beautiful Bouquet stamp set. A bit of torn Pecan Pie card stock layered underneath felt like it tied in the torn look of the Deckled Circle.

Next up our awesome team hop is the amazing Sue Vine! I know you will love what she has created!

You can always go backwards from this point as well, you will heading over to my awesome friend Melanie Hockins page!

Thank you so much for stopping by today! If you are not, please feel free to follow me on Facebook and Instagram @stampwithbrenda and if I have inspired you in any way, please shop my online store! I would love to be able to keep doing what I love!

Be Inspired Blog Hop--Fun with Embossing Folders!

Hello my crafty friends! Welcome to the Be Inspired Blog Hop! This month (can you believe its the end of September already?) we are focusing on Embossing Folders. We have so many fantastic ones to choose from so I thought, why not use as many as possible!

I used a total of 8 different embossing Folders to create this page! I am so happy with how it turned out. I love how the fall colors jump off the crisp Basic White background as well.

The Folders I used were:

  1. 2 folders from the Online Exclusive Basics 3D Embossing Folders

  2. Cane Weave

  3. Exposed 3D Brick

  4. Painted Texture

  5. Timeworn Type

  6. Twisted Rope

  7. Distressed Tile

I cut each Basic White square or panel to 3 7/8 x 3 7/8 so that they can fit on your 12 x 12 and look like a bit of a grid. They give such an amazing texture!

You can find the words ‘to’ and ‘you’ in the Sending Cheer stamp set.


I used the large 2 3/8 punch to create a circle that was turned into an easy tag with the Black & Very Vanilla Large Check Ribbon and some black bakers twine.

I stamped the background with the star cluster from the Tricks & Treats stamp set and used the ghost and ‘boo’ from the coordinating dies.

The Pick of the Patch stamp set has been a craft room favorite these past couple of weeks so there was no doubt I was going to use it to add some fun pumpkins! I turned one into a jack o lantern and added some little leaves that were stamped in Pebbled Path.

On this little vignette I added ‘Happy Halloween’ and another little pumpkin patch!

The photos are on a double photo mat—Basic Black and Smoky Slate to really help them pop about the white textured background. A few of the In Color Enamel Dots added to my layout!

Thank you to the Edmonton corn maze for the great photo opps!

I am really excited to see what the rest of the team has created focusing on Embossing Folders. There really are so many different techniques and ways to use these. They are definitely a craft room staple item in my opinion! I hope this page gives you some inspiration on how you could even incorporate mini squares on a card front using a variety of folders.

Next up on the hop is Janneke and I always love her projects and design style! Click on the link below to visit her blog! And as always, please feel free to leave any comments. I love to get your feedback!

If I have inspired you and you need to #addtocart, please click any image to shop my store! Thank you for helping me continue to ‘Love What I Do!’