12 Days of Christmas--Day 12

For my final 12 Days of Christmas project I want to share a mini album with you. The cover of this mini album was actually one of my Artisan Design Team projects shared a couple months back. I decided to complete this album and offer it as a class! It is a pretty simple album idea that I have used repeatedly for different seasons and events!

The base of this album is an 8 1/2 x 11, cut in two pieces. I used 2 sheets to create this album and after it was all decorated I added two binder rings (found at any office supply store) with a variety of ribbons tied around the top ring. I have made several versions of this album, either designed to be horizontal (like this one) or vertical (to stand up on a shelf or table).

The base of this album is Smoky Slate which I thought was a nice neutral to pair up with the Santa Express Designer Series Paper.

I added a mix of patterns on the left side of the album along with a strip of Poppy Parade card stock to define an edge.

On the right side I stamped ‘Ho Ho Ho’ in Smoky Slate and added a DSP tag from the Santa Express paper along with the sentiments from the Santa’s Delivery stamp set. A bit of Iridescent Trim through the top completed the look of the tag. I used some of the Adhesive Backed Stars as a fun accent embellishment on the front as well.

This page is the inside of the cover. Now, do you ever have a boo boo? I do, I dropped an ink pad in the top left of this page and since I had already completed the front cover and didn’t want to start again, I just covered it with some DSP, hahaha! Sometimes you gotta do what you gotta do!

This album is pretty simple because I knew that I wanted kids in my studio to make it and my youngest stamper was 6! She did an amazing job. You can step up these pages if you like, but if not I think this is an all ages project.

Merry Christmas is cut from a retired punch and I added some Sweet Sorbet Bakers Twine and a Wonderful Snowflake behind it as an accent. The Mint Macaron scalloped border is from the Hand Penned Dies. I actually never put this die away, it just lives permanently on my magnet board beside my Stamp Cut & Emboss Machine.

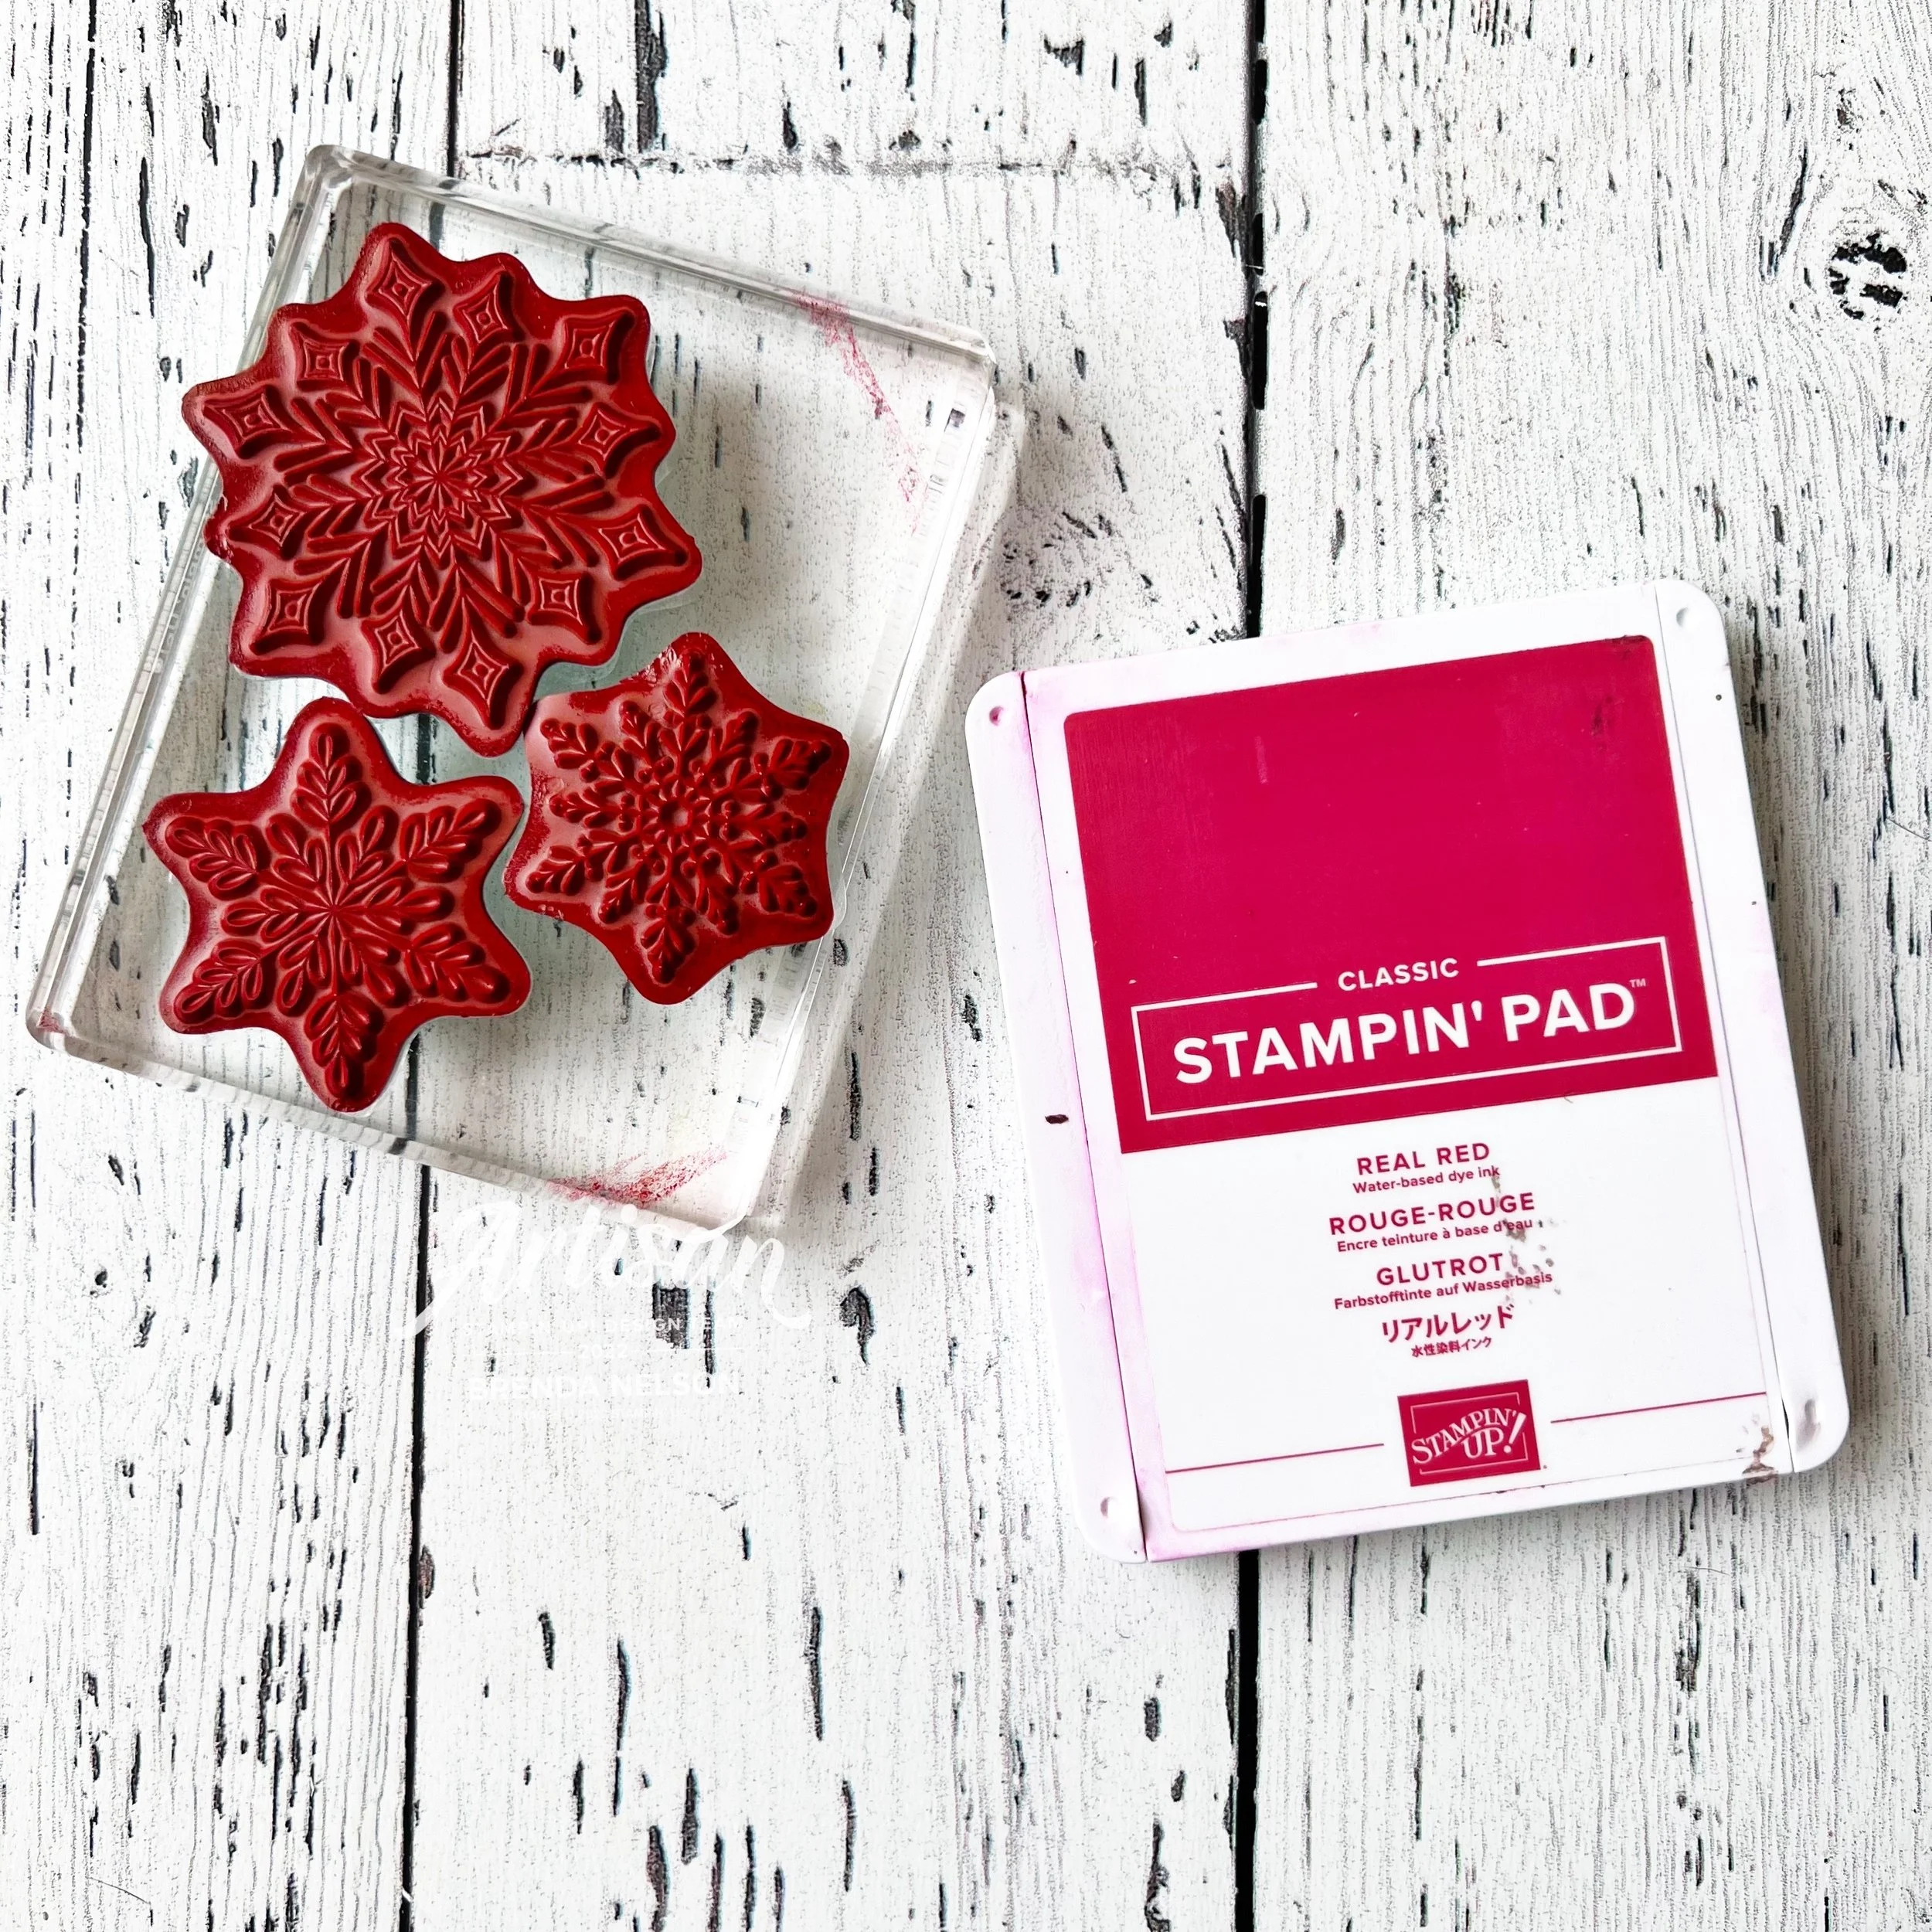
I love the Joyful Flurry stamp set, especially when you can mount several stamps on a large block and stamp all at once, which is what I did for the boarder. I added a couple die cut snowflakes from the dies and the “let is snow” sentiment.

The next two pages feature the Spruced Up Dies and snowflakes once again. “Snowflake Wishes…” is a sentiment from the retired Snowflake Wishes stamp set/bundle. I will never part with it as I absolutely LOVE this sentiment!

And finally the last two pages in this easy mini album. Behind the “Falala" which is from the Framed & Festive stamp set, I added the other part of the trees from the Spruced Up Dies. I love how you get 2 trees cut at once with this set. Such a time saver and brilliant. I added more DSP and some Adhesive Backed Stars as well.

The “Ho Ho Ho” page is the last page in the book and the sentiment is from the Santa’s Delivery stamp set. I added some Basic White Bakers Twine behind the sentiment and on top of another Wonderful Snowflake.

I hope this quick and easy album inspires you to create your own! I have made them for all seasons and they are suitable for any age group!

I can’t wait to see what Melanie’s final project is today! THANK YOU SO MUCH for hopping along with us as we shared 12 Days of Christmas projects. I covered cards, treats, scrapbooking and a mini album within my 12 Days so I hope you enjoyed the variety—its the spice of life after all!


12 Days of Christmas--Day 11

Fun Fact—I actually designed this card in JULY! And I have not shared it anywhere, I don’t know what I was waiting for but this feels like as good a time as any! This is my 11th project share over our 12 Days of Christmas Hop between myself and @melsinkyfingers! I hope you have been enjoying everything so far!

I actually really love this card and am so glad I came across it on my camera roll again so I can share it with you! Hopefully it will inspire you to recreate it, especially if you still have a few holiday cards left to stamp for the holidays.

I used the Spruced Up Bundle to create this fun and whimsical holiday card. The color combo of Garden Green, Sweet Sorbet, Pool Party and Coastal Cabana has probably been my 2022 holiday card favorite! I am sure if I scroll my Instagram @stampwithbrenda I will see a lot of variations of this color combo!

For this card, I used Garden Green as the base and the first layer was also run through the Timber 3D folder. One of my favorite folders!


I stamped out the two different tree shapes in two colors and die cut one tree that I stamped little stars on top. I love the mix of stamped and die cut trees and baby stars on this page.

I love stars, they are my favorite shape of all time so I couldn’t resist these two options that are included in the die set.

The sentiment is a mix of 2 individual stamps and is die cut with the label from the Stylish Shapes dies (another craft room must have). I added some rhinestones and Sweet Sorbet Bakers Twine for a couple embellishment touches. I am pretty sure the rhinestones are from the retired Holiday Rhinestones but you can always color our Basic Rhinestones with a Stampin’ Blend to create any color of bling you want! Isn’t that fun?

Please make sure to click the link to Melanie’s blog today to see what she has created for Day 11 of 12 Days of Christmas!


12 Days of Christmas--Day 10

Do you love to give out treats? I always make special thank you treats for my stamping friends and team members, especially around the holiday season. Recently, I got to go on a girls trip to Target visiting 7 different Target stores in Washington and Montana! haha! It was a lot of fun and I made sure to bring home some exclusive snacks to share!

I found these chocolate toffee pretzel rods at target and created a fun tag for them to add to my team members holiday bags!

Taking the time to make a cute tag is an easy way to jazz up a little treat or gift! I used some Sale a bration DSP that I had laying around in my scrap bin and paired it up with the Garden Green ribbon from the Real Red & Garden Green combo package in the holiday catalogue. The little tags are cute using the Tailor Made Tags Dies. A definite craft room must have!

The sentiment and stamped snowflake are from the Joyful Flurry stamp set and the die cut snowflake in Coastal Cabana is from the Celebrations Tags dies.

I also flicked Wink of Stella over top of my tag for a little bit of shimmer! Sometimes things don’t have to be uber fancy to surprise and delight people! Most people in our crafting circle will appreciate the fact that you took the time to make them something fun. I know I do!

Let’s see what Melanie has created for us today—after today we each only have 2 more projects to share with you!


12 Days of Christmas--Day 9

Welcome to day 9 of 12 Days of Christmas! This also means we are over a week into December! Have you started mailing out holiday cards yet? I am happy to say that I have! Many more to hit the mail box, hand deliver, or add into my stampin’ friends product bags! So today I wanted to share a holiday card inspired by the Holiday Catty!

Isn’t this little penguin the cutest? I have loved stamping and creating with the Penguin Place stamp set for the last couple of holiday seasons. And I thought this card project of him floating on a block of ice was just too cute not to recreate!

I love how the Diorama Dies help create the illusion of floating ice. These dies are so fun and can be used in such unique ways. I still had a ton of the Sunshine & Rainbow Sale a bration DSP left so I used that as a layer between the die cuts.

I ran the ‘block’ of ice through the Painted Texture 3D folder to add the look of ice.


I added a little bit of snowflake stamping to the background and I stamped the sentiment out twice in two colors—Pool Party and Real Red. I then dissected it change the orientation of the stamp to fit the card design.

I love how the penguin is a mix of stamped and punched images too and the Adhesive Backed Stars were a perfect embellishment to add.

I am excited to see what Melanie is sharing today and I hope you have been enjoying our projects so far!

Make sure to check back for the last 3 days of our 12 Days of Christmas Hop!

12 Days of Christmas--Day 8

Today I want to share a Christmas inspired scrapbook page with you. It uses a little bit of new, a little bit of old and a little bit of current! It is always my favorite things to do, mash up a bunch of products that I love and enjoy!

The base of this page is Real Red which is just classic Christmas and I paired it up with Crumb Cake, Early Espresso and Basic White elements for a really awesome holiday feel. The Gingerbread & Peppermint DSP from holiday 2021 was some of my favorite DSP and I still have a couple of packages to use on some projects for this holiday season.

I almost always add DSP to my scrapbook pages and often that color dictates the rest of my page design. I wanted to go with a winter Christmas feel so I added some snowflakes from the Joyful Flurry stamp set to the background in Real Red ink.


Top Tip: when stamping background images, mount as many of the stamps onto a large block as you can. This way you can ink up the stamp and efficiently fill in your background!

I added some of the Wonderful Snowflakes to both of my scrapbook pages. This is one of the main elements that connect these two pages to each other along with the coordinating photo mats in Early Espresso and Crumb Cake.

I used a variety of sentiments from Snowflake Flurry and Framed & Festive for my pages.

Have you been seeing sneak peeks of the Alphabet A La Mode Dies around the internet? I love love love these dies and knew that I wanted to incorporate them into my page design. The word ‘JOY’ fit perfectly on the tag from the Celebration Tags Dies.

I love these dies and have used them so many times over this holiday season! A few classic Rhinestones are the perfect bling for these pages!

The North Pole Sacks are the perfect scrapbook page accessory! I added one to my page with a little pull out that you could use to journal or tuck Christmas momento’s inside.

I really love how this page layout came out and I can’t wait to share it with my scrapbook group later this month. If you are local to YEG and are interested in scrapbooking, please let me know! I would love to share in some creativity with you in 2023.

Click on the link below to see what Melanie has shared today over on her blog!