12 Days of Christmas--Day 11!
/On the 11th day of Christmas my friend shared with me a really fun hot chocolate treat! I hope you were singing that with the tune in mind! Welcome to another 12 Days of Christmas post!

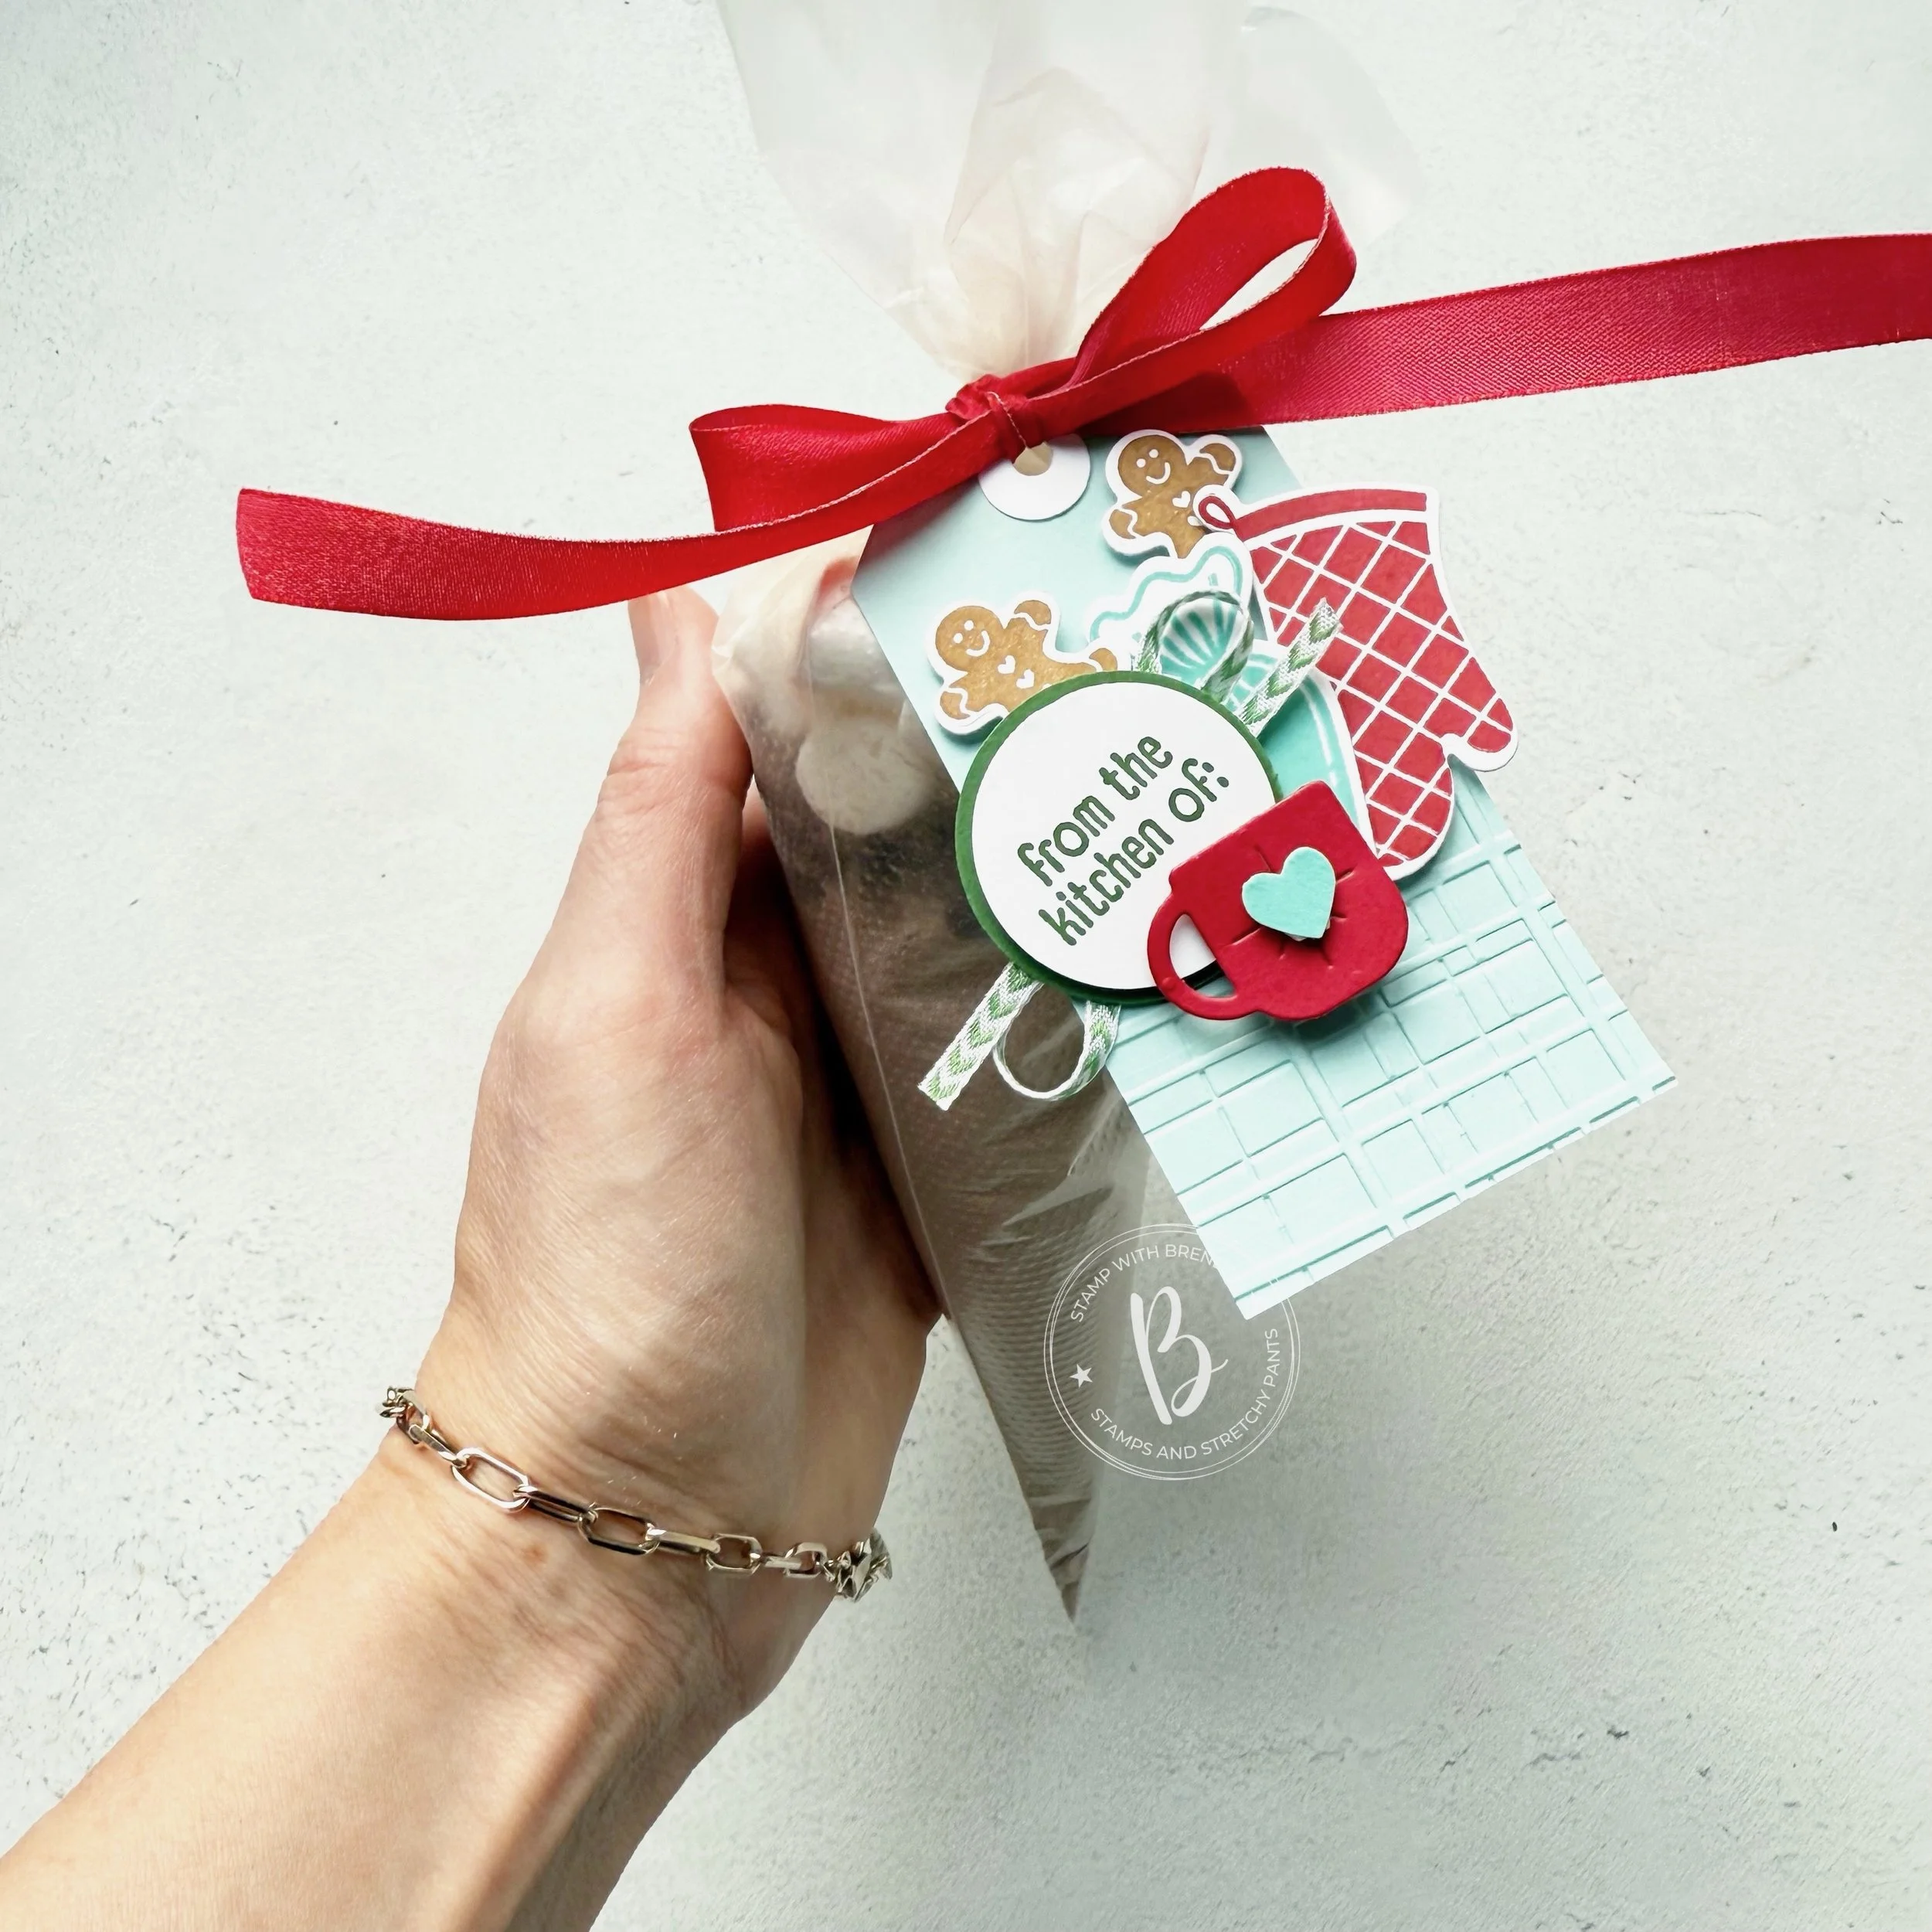
Today I wanted to share a fun treat idea inspired by the piping bag in the Homemade Treats bundle! I ordered myself some icing piping bags off Amazon and filled them up with hot chocolate, mini chocolate chips and mini marshmallows for a fun treat giving idea.
I love to make things for my customers and co-workers and thought these would make a really fun treat to leave in someone stamping spot or on their desk. It has already snowed here in Edmonton so a little cup of warm on a chilly day is a nice surprise.

I used the Real Red Shiny ribbon to tie and attach the tags for these hot chocolate bags. The first tag is on Pool Party card stock and I ran the bottom of the tag (custom cut to 2 x 4 inches) through the Plaid embossing folder. I decided to use the ‘From the Kitchen of’ stamp on both of my projects. This one is stamped and layered on Garden Green with some of the new Garden Green & White chevron ribbon layered in between the circles.
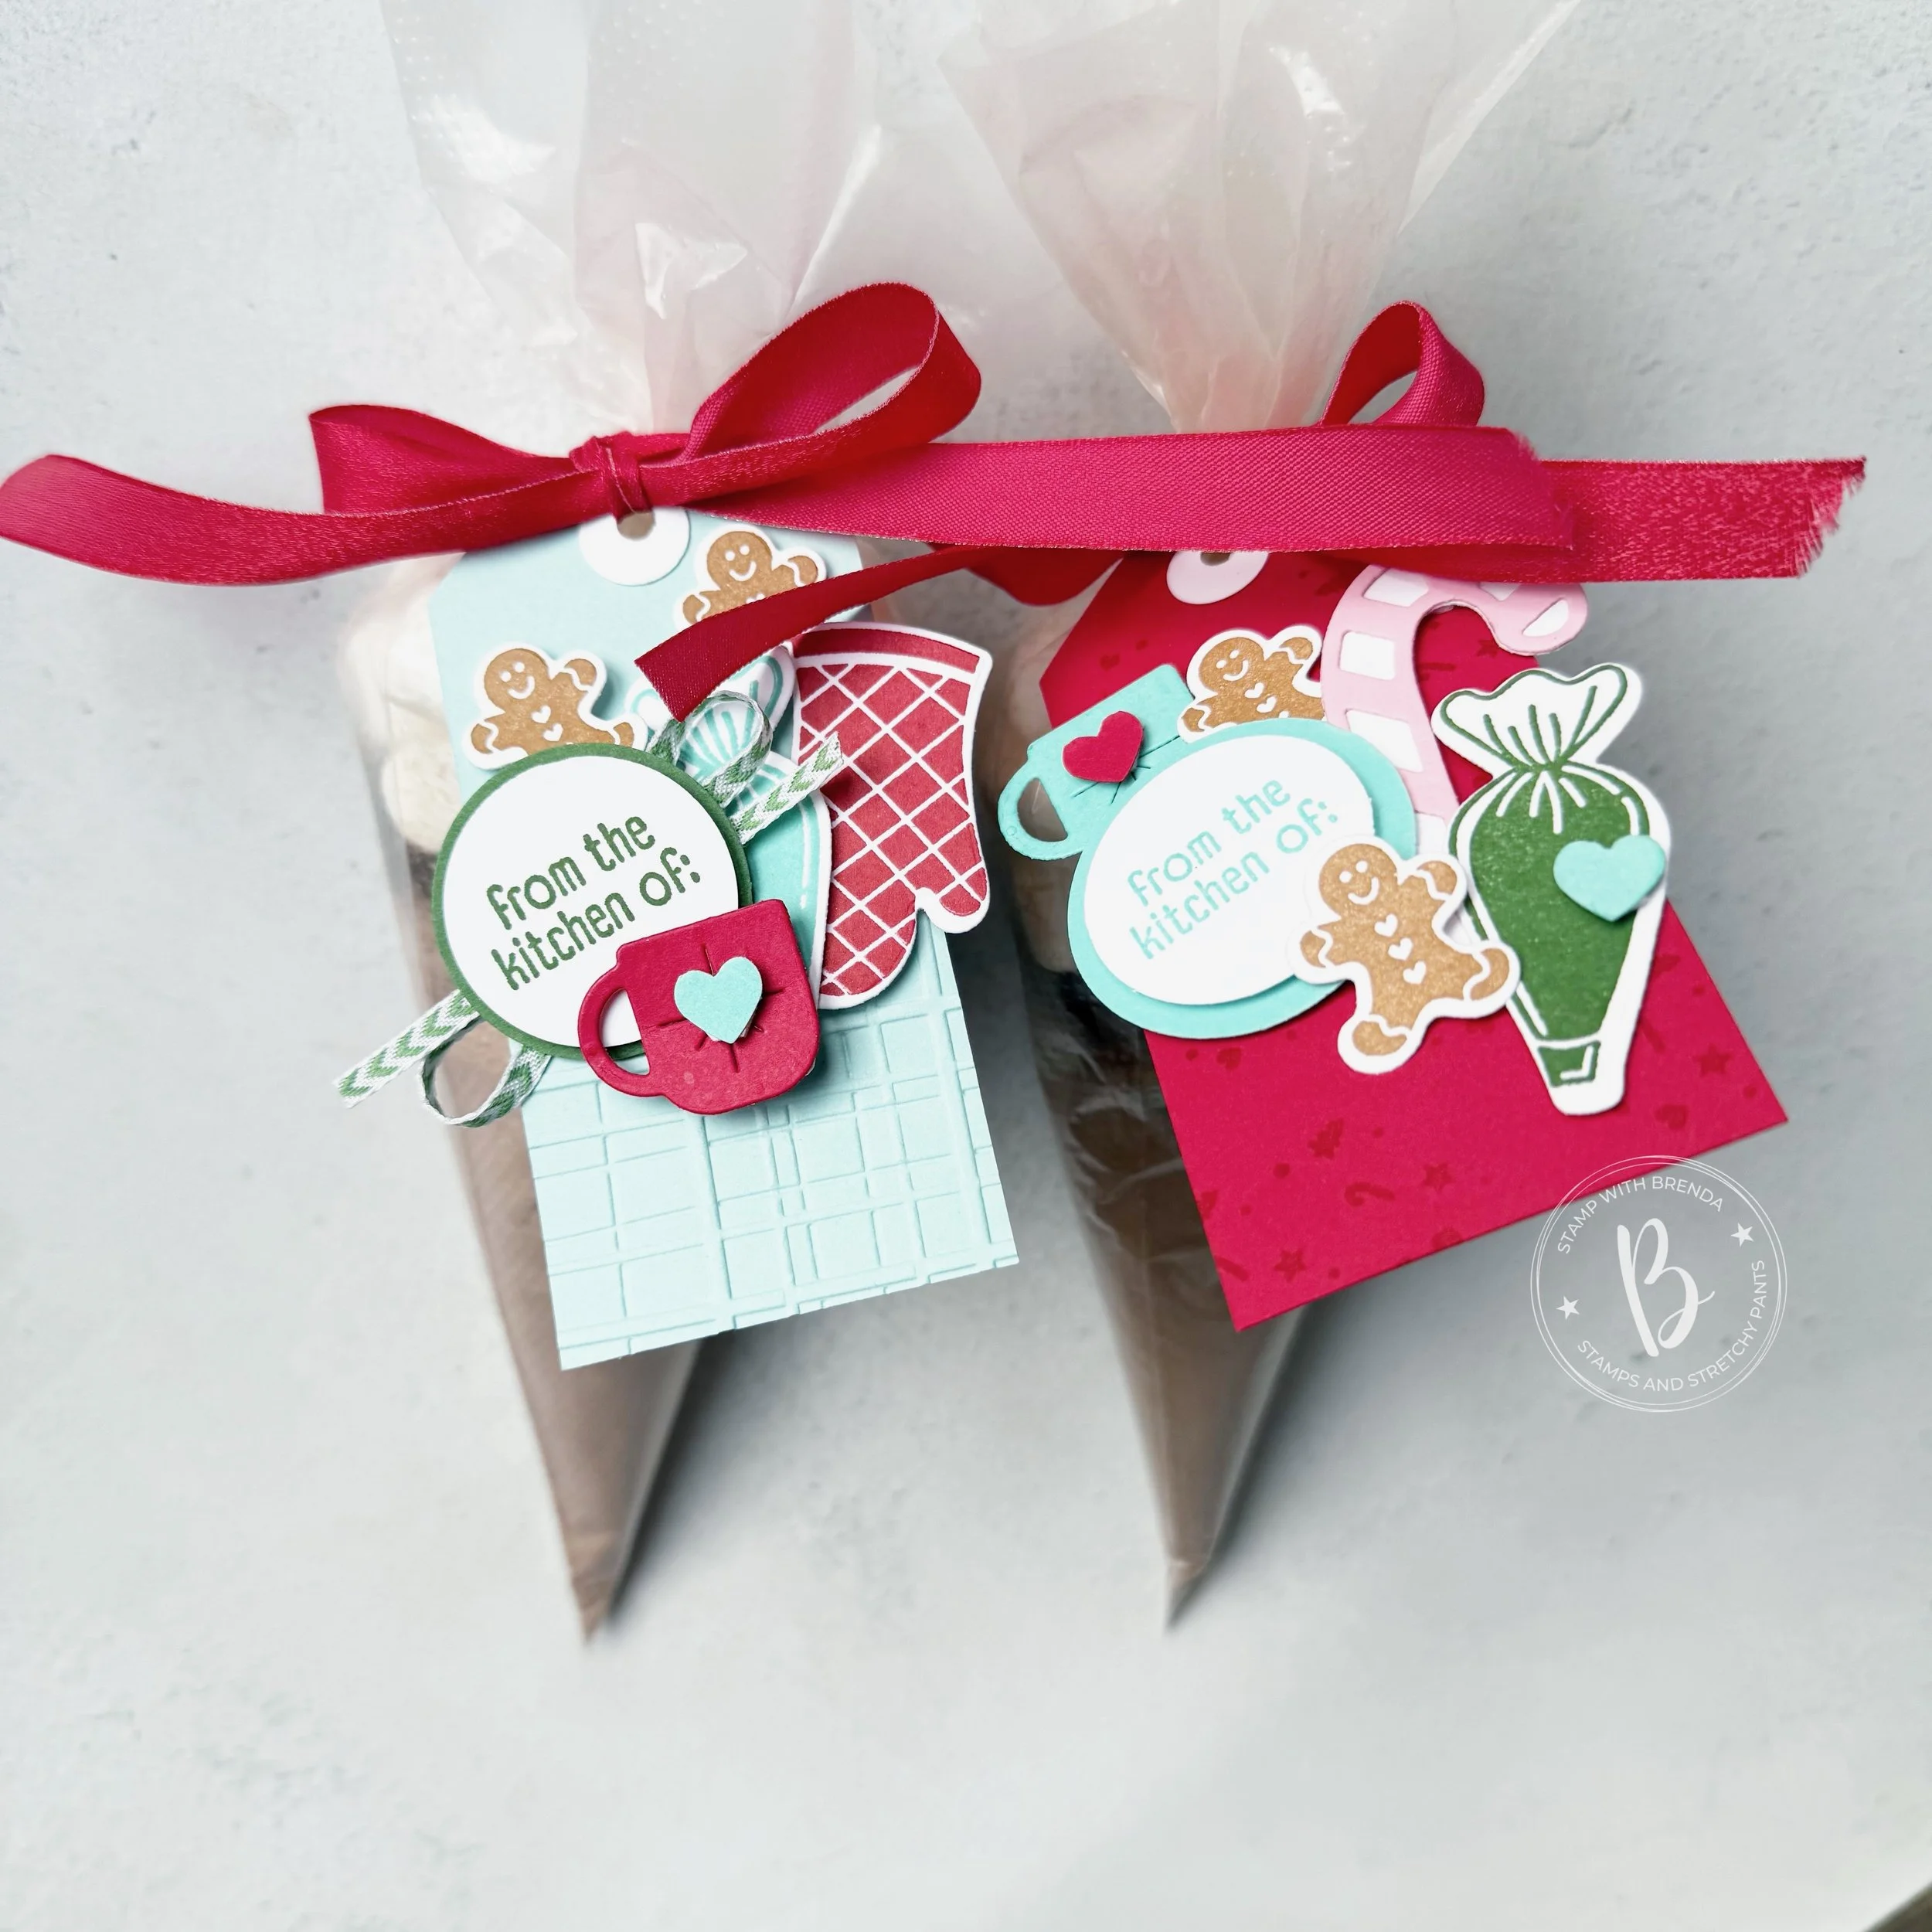
I stamped out a Real Red oven mitt (so cute) and added a cute little gingerbread man and a fun little coastal cabana icing piping bag.
On my second tag, I used Real Red and stamped the little sprinkles all over it. I used the Gingerbread Man dies to create a pink candy cane to add to the tag and then once again stamped little gingerbread men in Pecan Pie and a piping bag in Garden Green.
These tags were so fun to make and they dress this little hot chocolate treat up so well.

Make sure to check in with Melanie to see what she has to post tomorrow and then come back here to see what I am sharing for our final project!
If my projects have inspired you, please consider shopping my online store so I can continue to love what I do!
Hot Chocolate Treat Bag Supplies
Product List![Gingerbread Man Bundle (English) [ 165785 ]](https://assets1.tamsnetwork.com/images/EC042017NF/165785s.jpg "Gingerbread Man Bundle (English) [ 165785 ]")
![Homemade Treats Bundle (English) [ 166017 ]](https://assets1.tamsnetwork.com/images/EC042017NF/166017s.jpg "Homemade Treats Bundle (English) [ 166017 ]")
![Forever Plaid 3 D Embossing Folder [ 164049 ]](https://assets1.tamsnetwork.com/images/EC042017NF/164049s.jpg "Forever Plaid 3 D Embossing Folder [ 164049 ]")
![Real Red 1/2" (1.3 Cm) Shiny Ribbon [ 165876 ]](https://assets1.tamsnetwork.com/images/EC042017NF/165876s.jpg "Real Red 1/2\" (1.3 Cm) Shiny Ribbon [ 165876 ]")
![Garden Green 1/8" (3.2 Mm) Chevron Ribbon [ 167212 ]](https://assets1.tamsnetwork.com/images/EC042017NF/167212s.jpg "Garden Green 1/8\" (3.2 Mm) Chevron Ribbon [ 167212 ]")
![Bee Builder Punch [ 162553 ]](https://assets1.tamsnetwork.com/images/EC042017NF/162553s.jpg "Bee Builder Punch [ 162553 ]")
![Basic White 8 1/2" X 11" Cardstock [ 166780 ]](https://assets1.tamsnetwork.com/images/EC042017NF/166780s.jpg "Basic White 8 1/2\" X 11\" Cardstock [ 166780 ]")
![Pretty In Pink 8 1/2" X 11" Cardstock [ 163793 ]](https://assets1.tamsnetwork.com/images/EC042017NF/163793s.jpg "Pretty In Pink 8 1/2\" X 11\" Cardstock [ 163793 ]")
![Garden Green 8-1/2" X 11" Cardstock [ 102584 ]](https://assets1.tamsnetwork.com/images/EC042017NF/102584s.jpg "Garden Green 8-1/2\" X 11\" Cardstock [ 102584 ]")
![Real Red 8-1/2" X 11" Cardstock [ 102482 ]](https://assets1.tamsnetwork.com/images/EC042017NF/102482s.jpg "Real Red 8-1/2\" X 11\" Cardstock [ 102482 ]")
![Coastal Cabana 8-1/2" X 11" Cardstock [ 131297 ]](https://assets1.tamsnetwork.com/images/EC042017NF/131297s.jpg "Coastal Cabana 8-1/2\" X 11\" Cardstock [ 131297 ]")
![Pecan Pie Classic Stampin' Pad [ 161665 ]](https://assets1.tamsnetwork.com/images/EC042017NF/161665s.jpg "Pecan Pie Classic Stampin' Pad [ 161665 ]")
![Real Red Classic Stampin' Pad [ 147084 ]](https://assets1.tamsnetwork.com/images/EC042017NF/147084s.jpg "Real Red Classic Stampin' Pad [ 147084 ]")
![Garden Green Classic Stampin' Pad [ 147089 ]](https://assets1.tamsnetwork.com/images/EC042017NF/147089s.jpg "Garden Green Classic Stampin' Pad [ 147089 ]")
![Coastal Cabana Classic Stampin' Pad [ 147097 ]](https://assets1.tamsnetwork.com/images/EC042017NF/147097s.jpg "Coastal Cabana Classic Stampin' Pad [ 147097 ]")
Fancy a cruise and some crafting? Ask to join our Fun in the Sun Crafting Cruise Facebook group to get the details on setting sail with us in July/August 2026.


")


 Designer Series Paper")


 Crinkled Seam Binding Ribbon")


