Happy Anniversary--soft and sweet!

I wanted to share an anniversary card that I recently created for a swap card in one of my groups. When I went to create this card, I realized that Anniversary sentiments are ones that I severely lacking in my giant stamp collection! The only ‘Happy Anniversary’ that I could find came from the Itty Bitty Greetings stamp set. It is actually a set that I refer to beginner stampers because it has a little bit of everything in it. The sentiments are nice size can fit in many of our punches. This is important to our newer customers because we have not had a die cutting machine to offer them for the past year. So stamp sets that have many punch options are a go to for me!

final.jpg

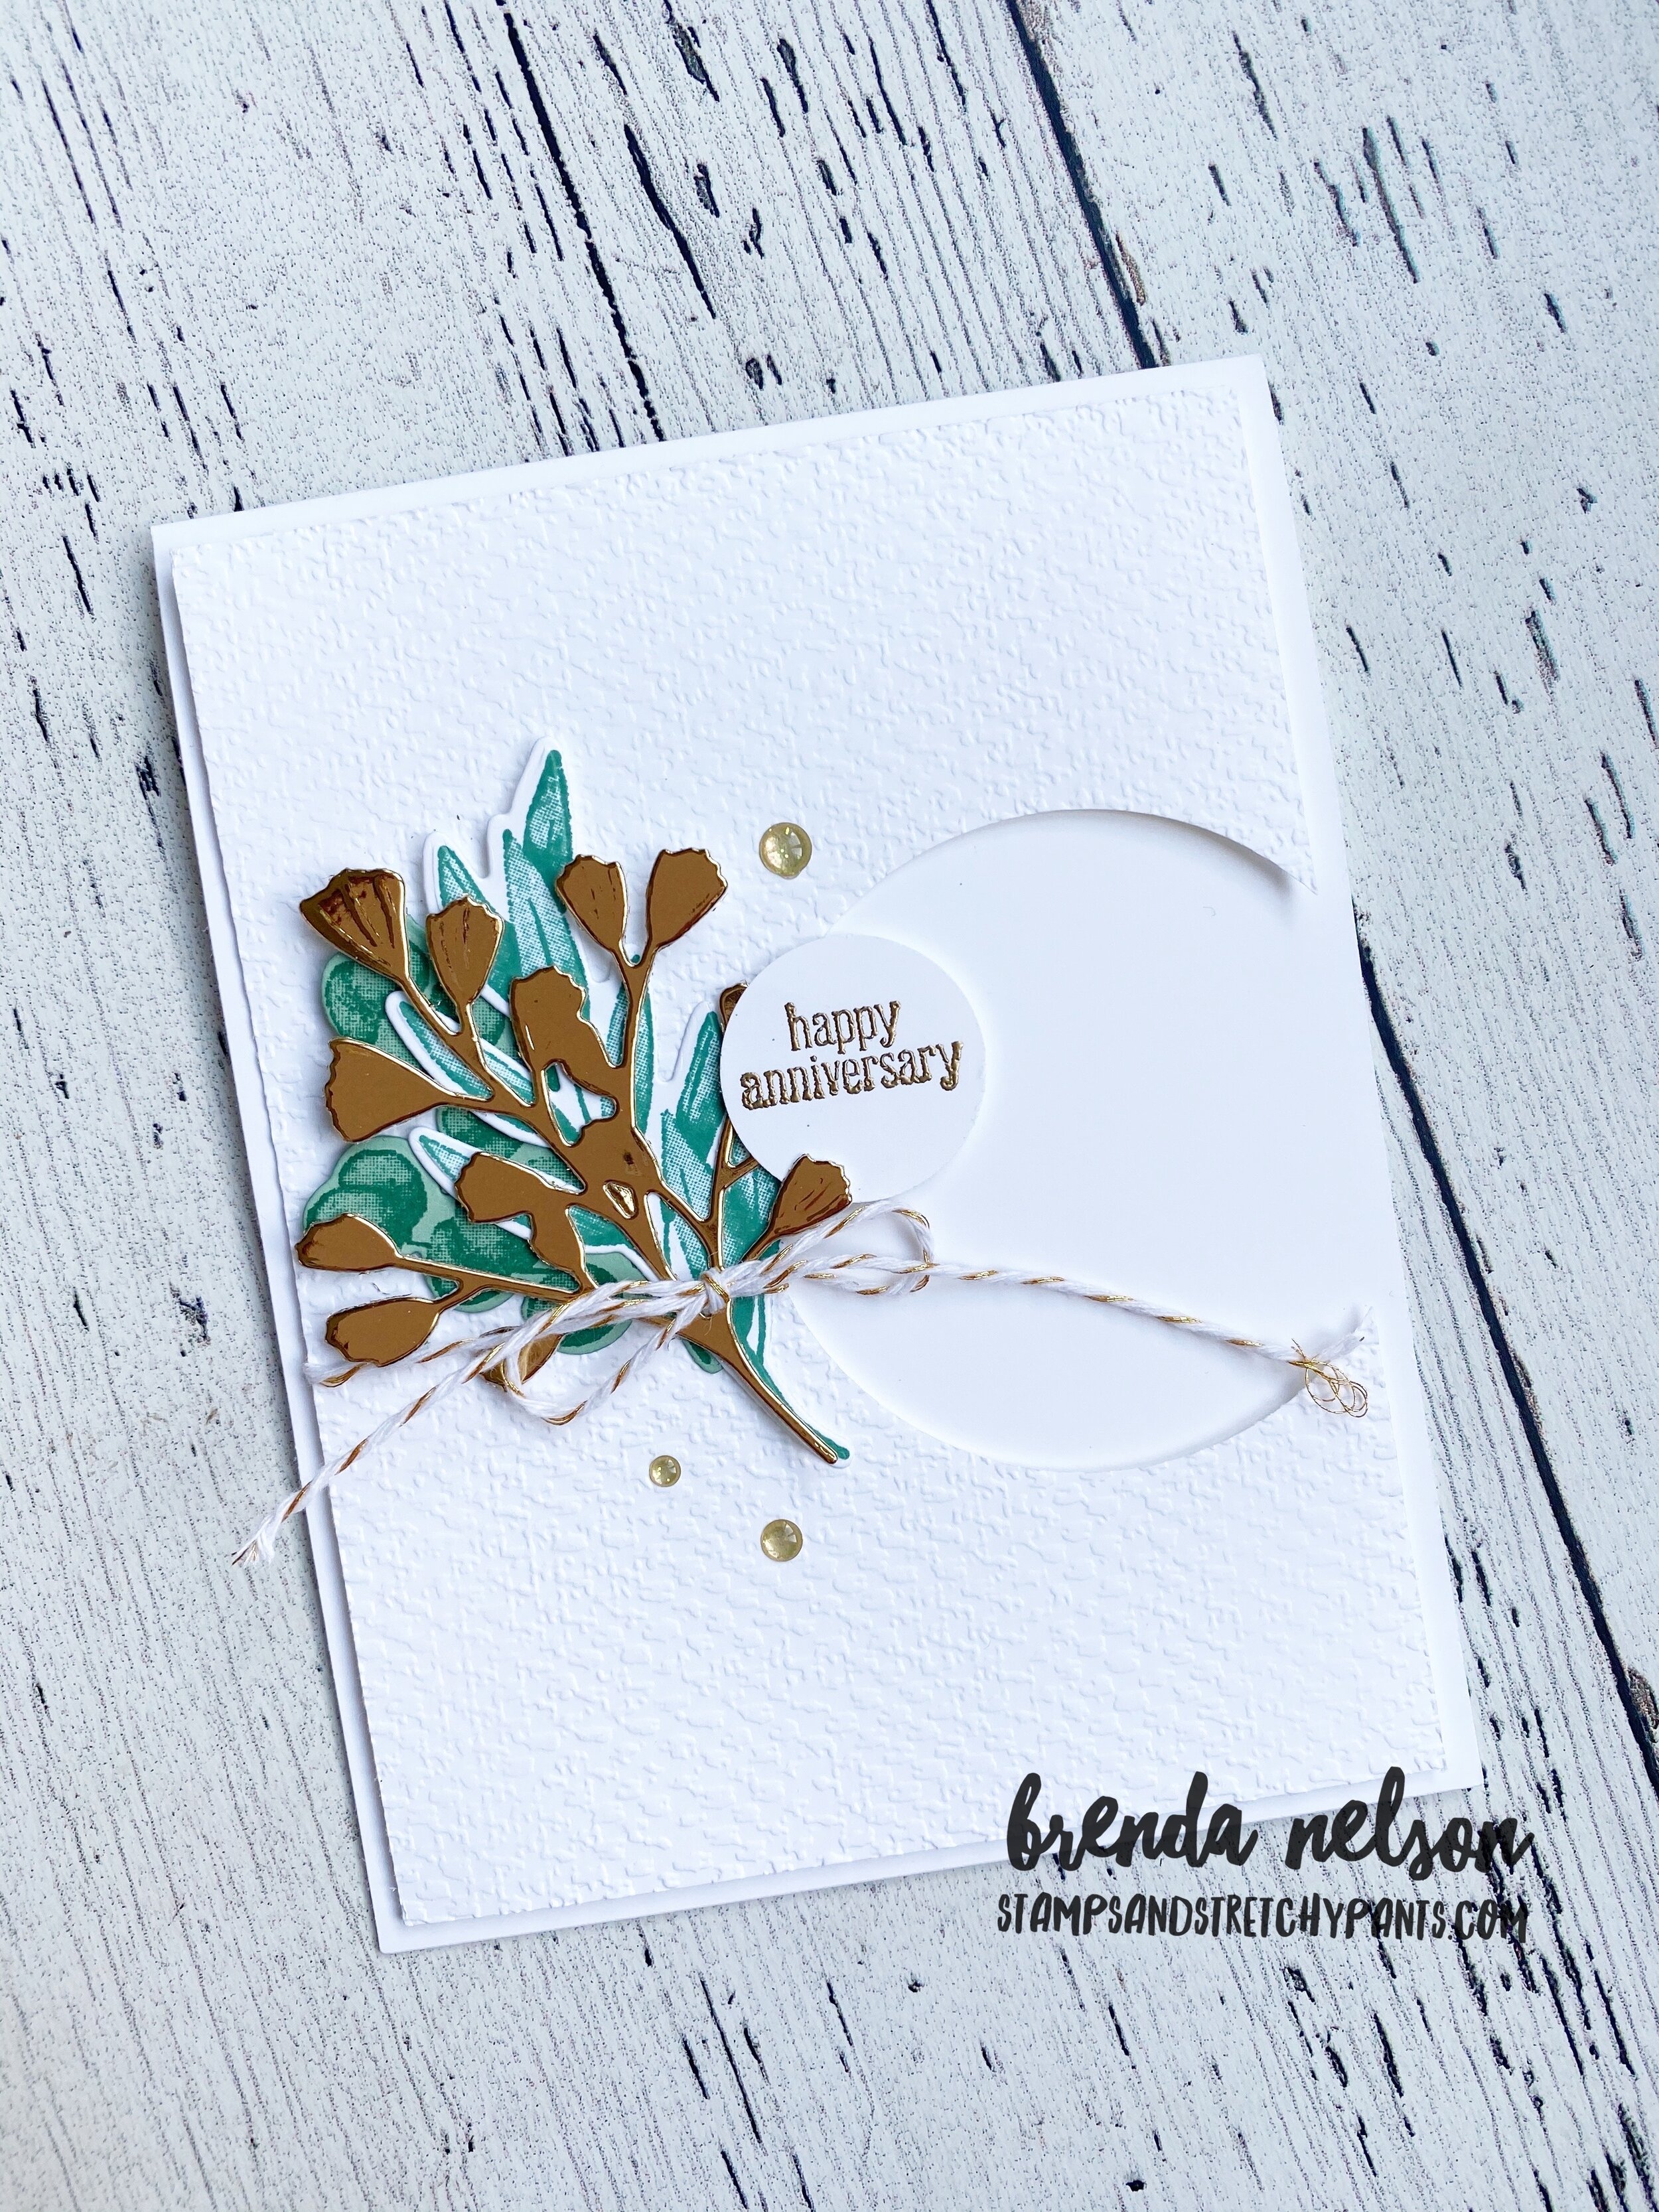
I am really loving the simplicity and impact that a white card and base can make. Keeping this white gave this card a touch of elegance, especially with the gold and bronze accents used on this card.

I ran the front panel of this card through the Tasteful Textile 3D folder, it really should be a must have in your craft room! I then cut a 2 inch circle out so that when I placed this layer on the card front it would make the embossing folder stand out even more by seeing the contrast of solid paper behind the window.

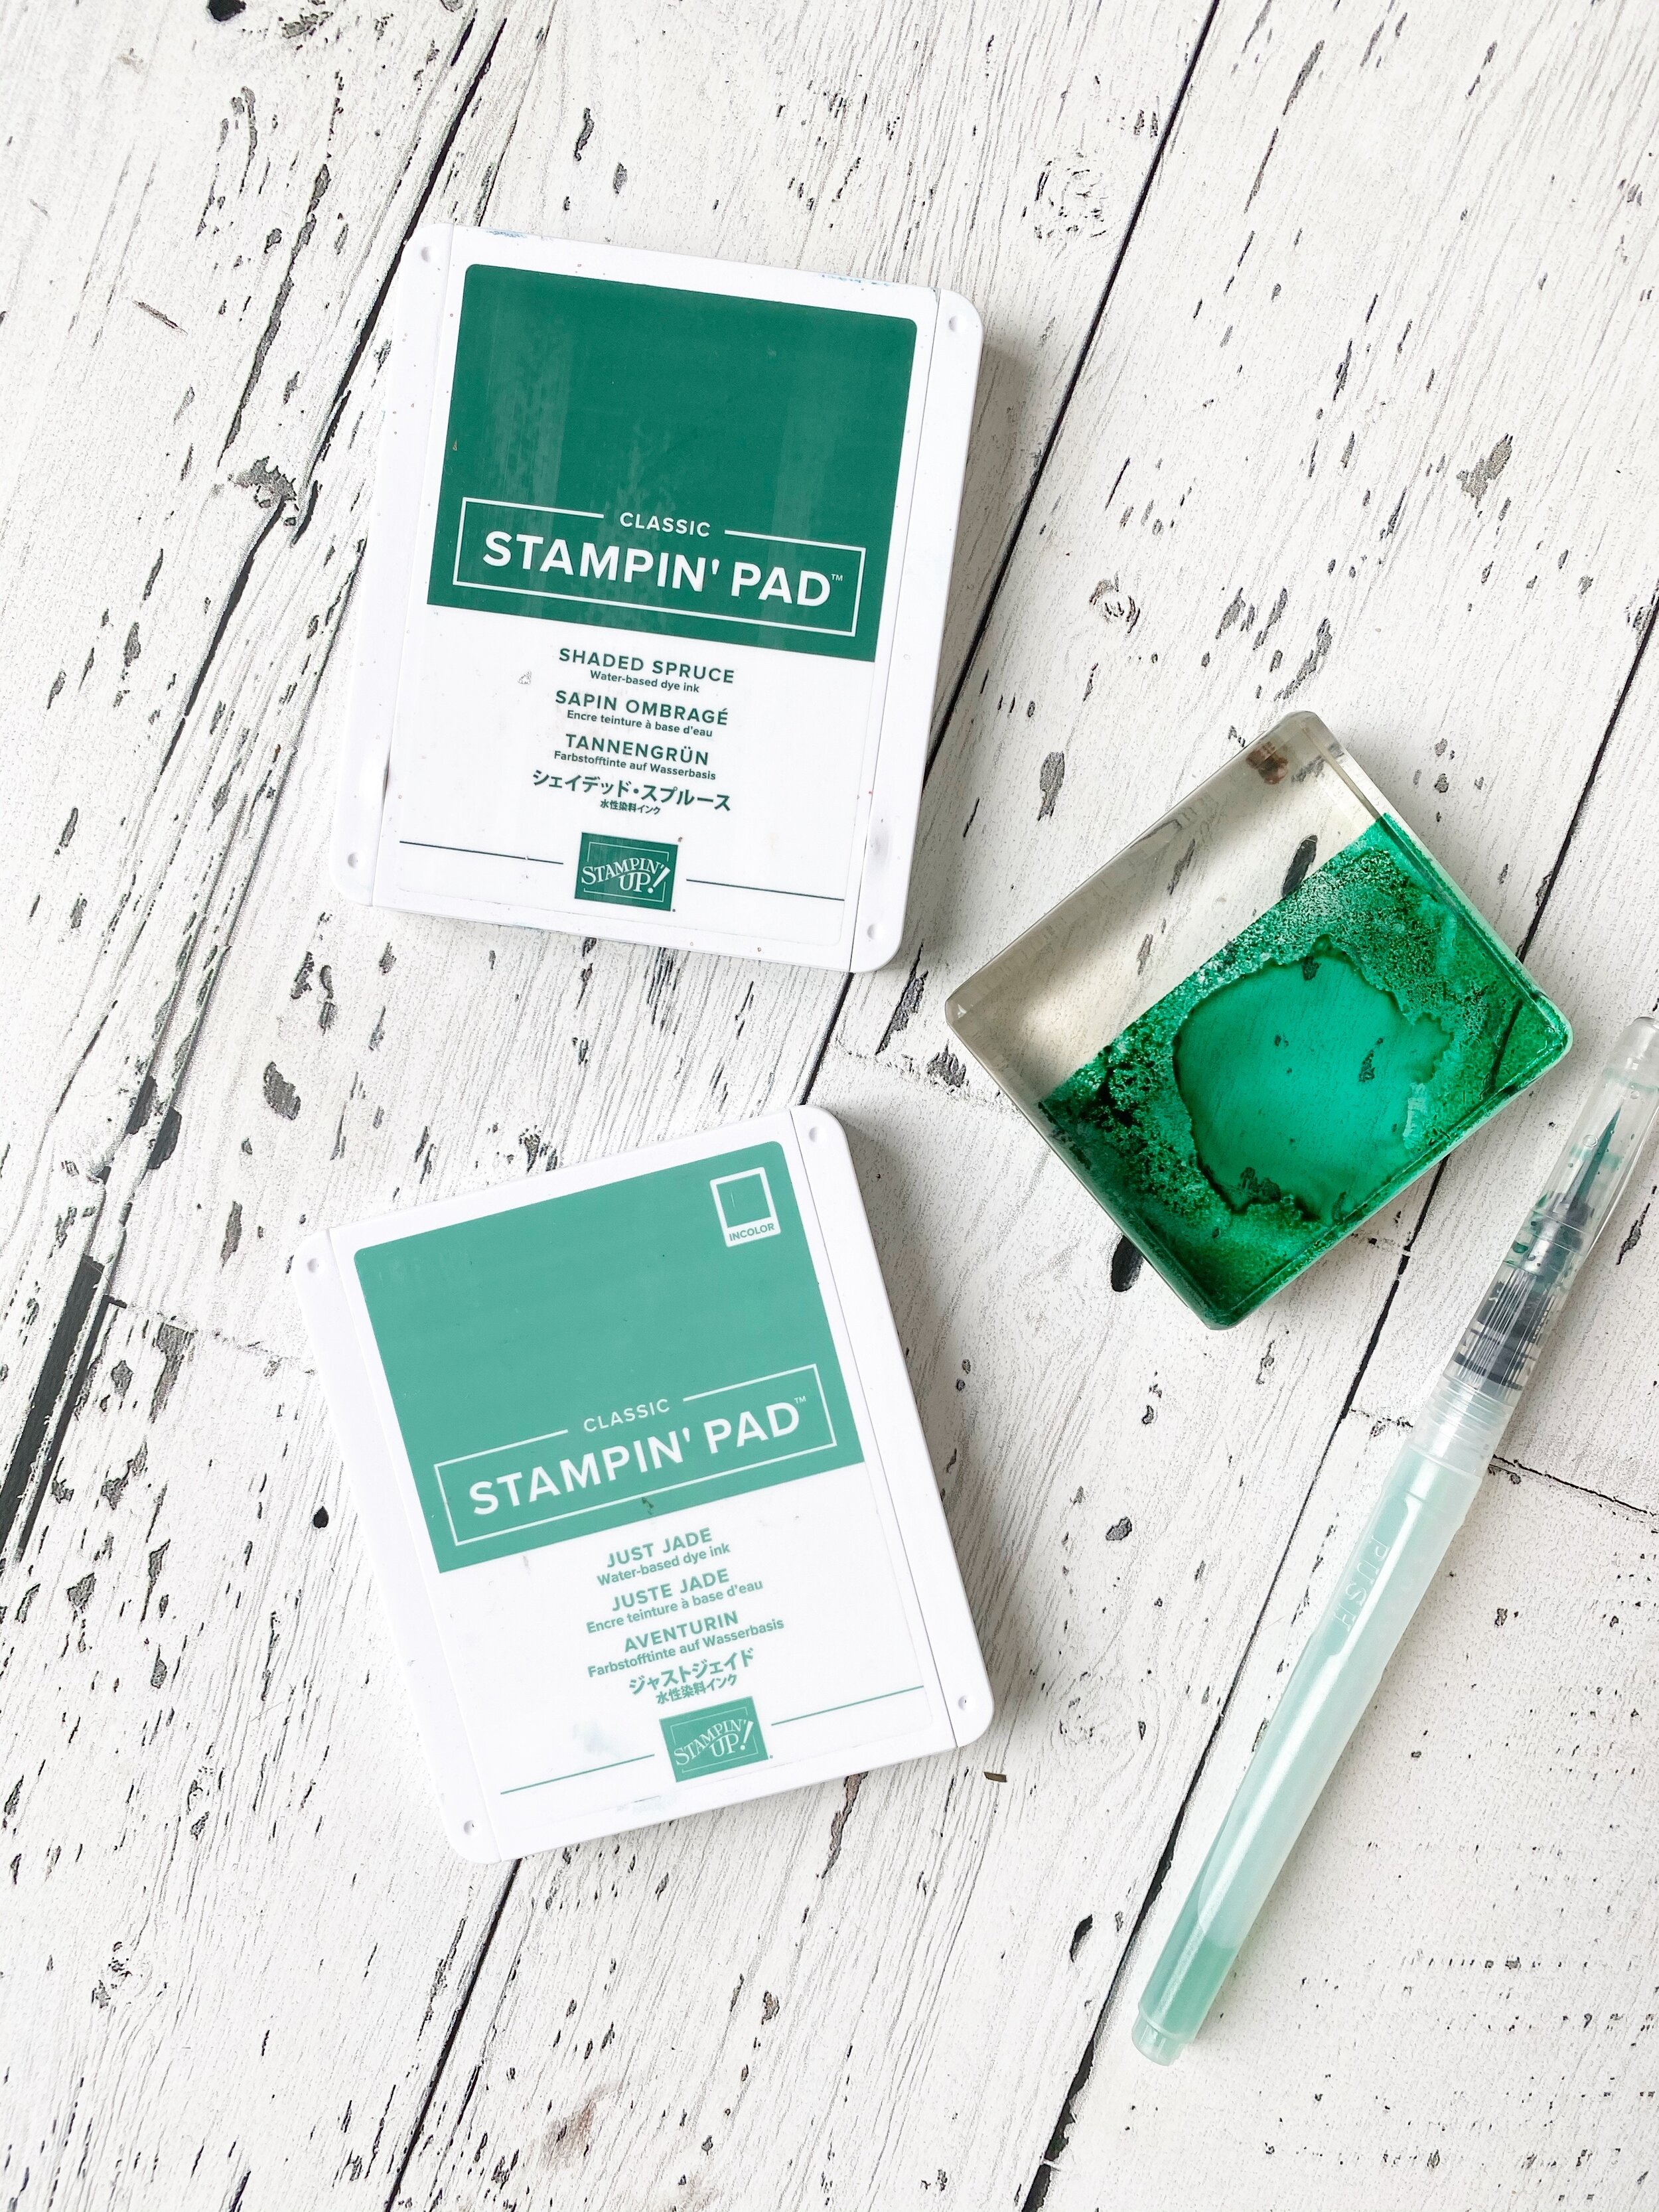
I once again reached for the Forever Fern bundle to embellish this card. I cut one of the larger ferns out of the Bronze Foil sheets and stamped two of the images, both in Just Jade ink, one on Whisper White and one on Just Jade card stock.

Happy Anniversary is embossed in gold and I added in a few of the Gold Glitter Dots. The twine is from some long ago kit that I found laying around! I will admit, I am a scraps of this and that hoarder! This was the perfect find for this card!

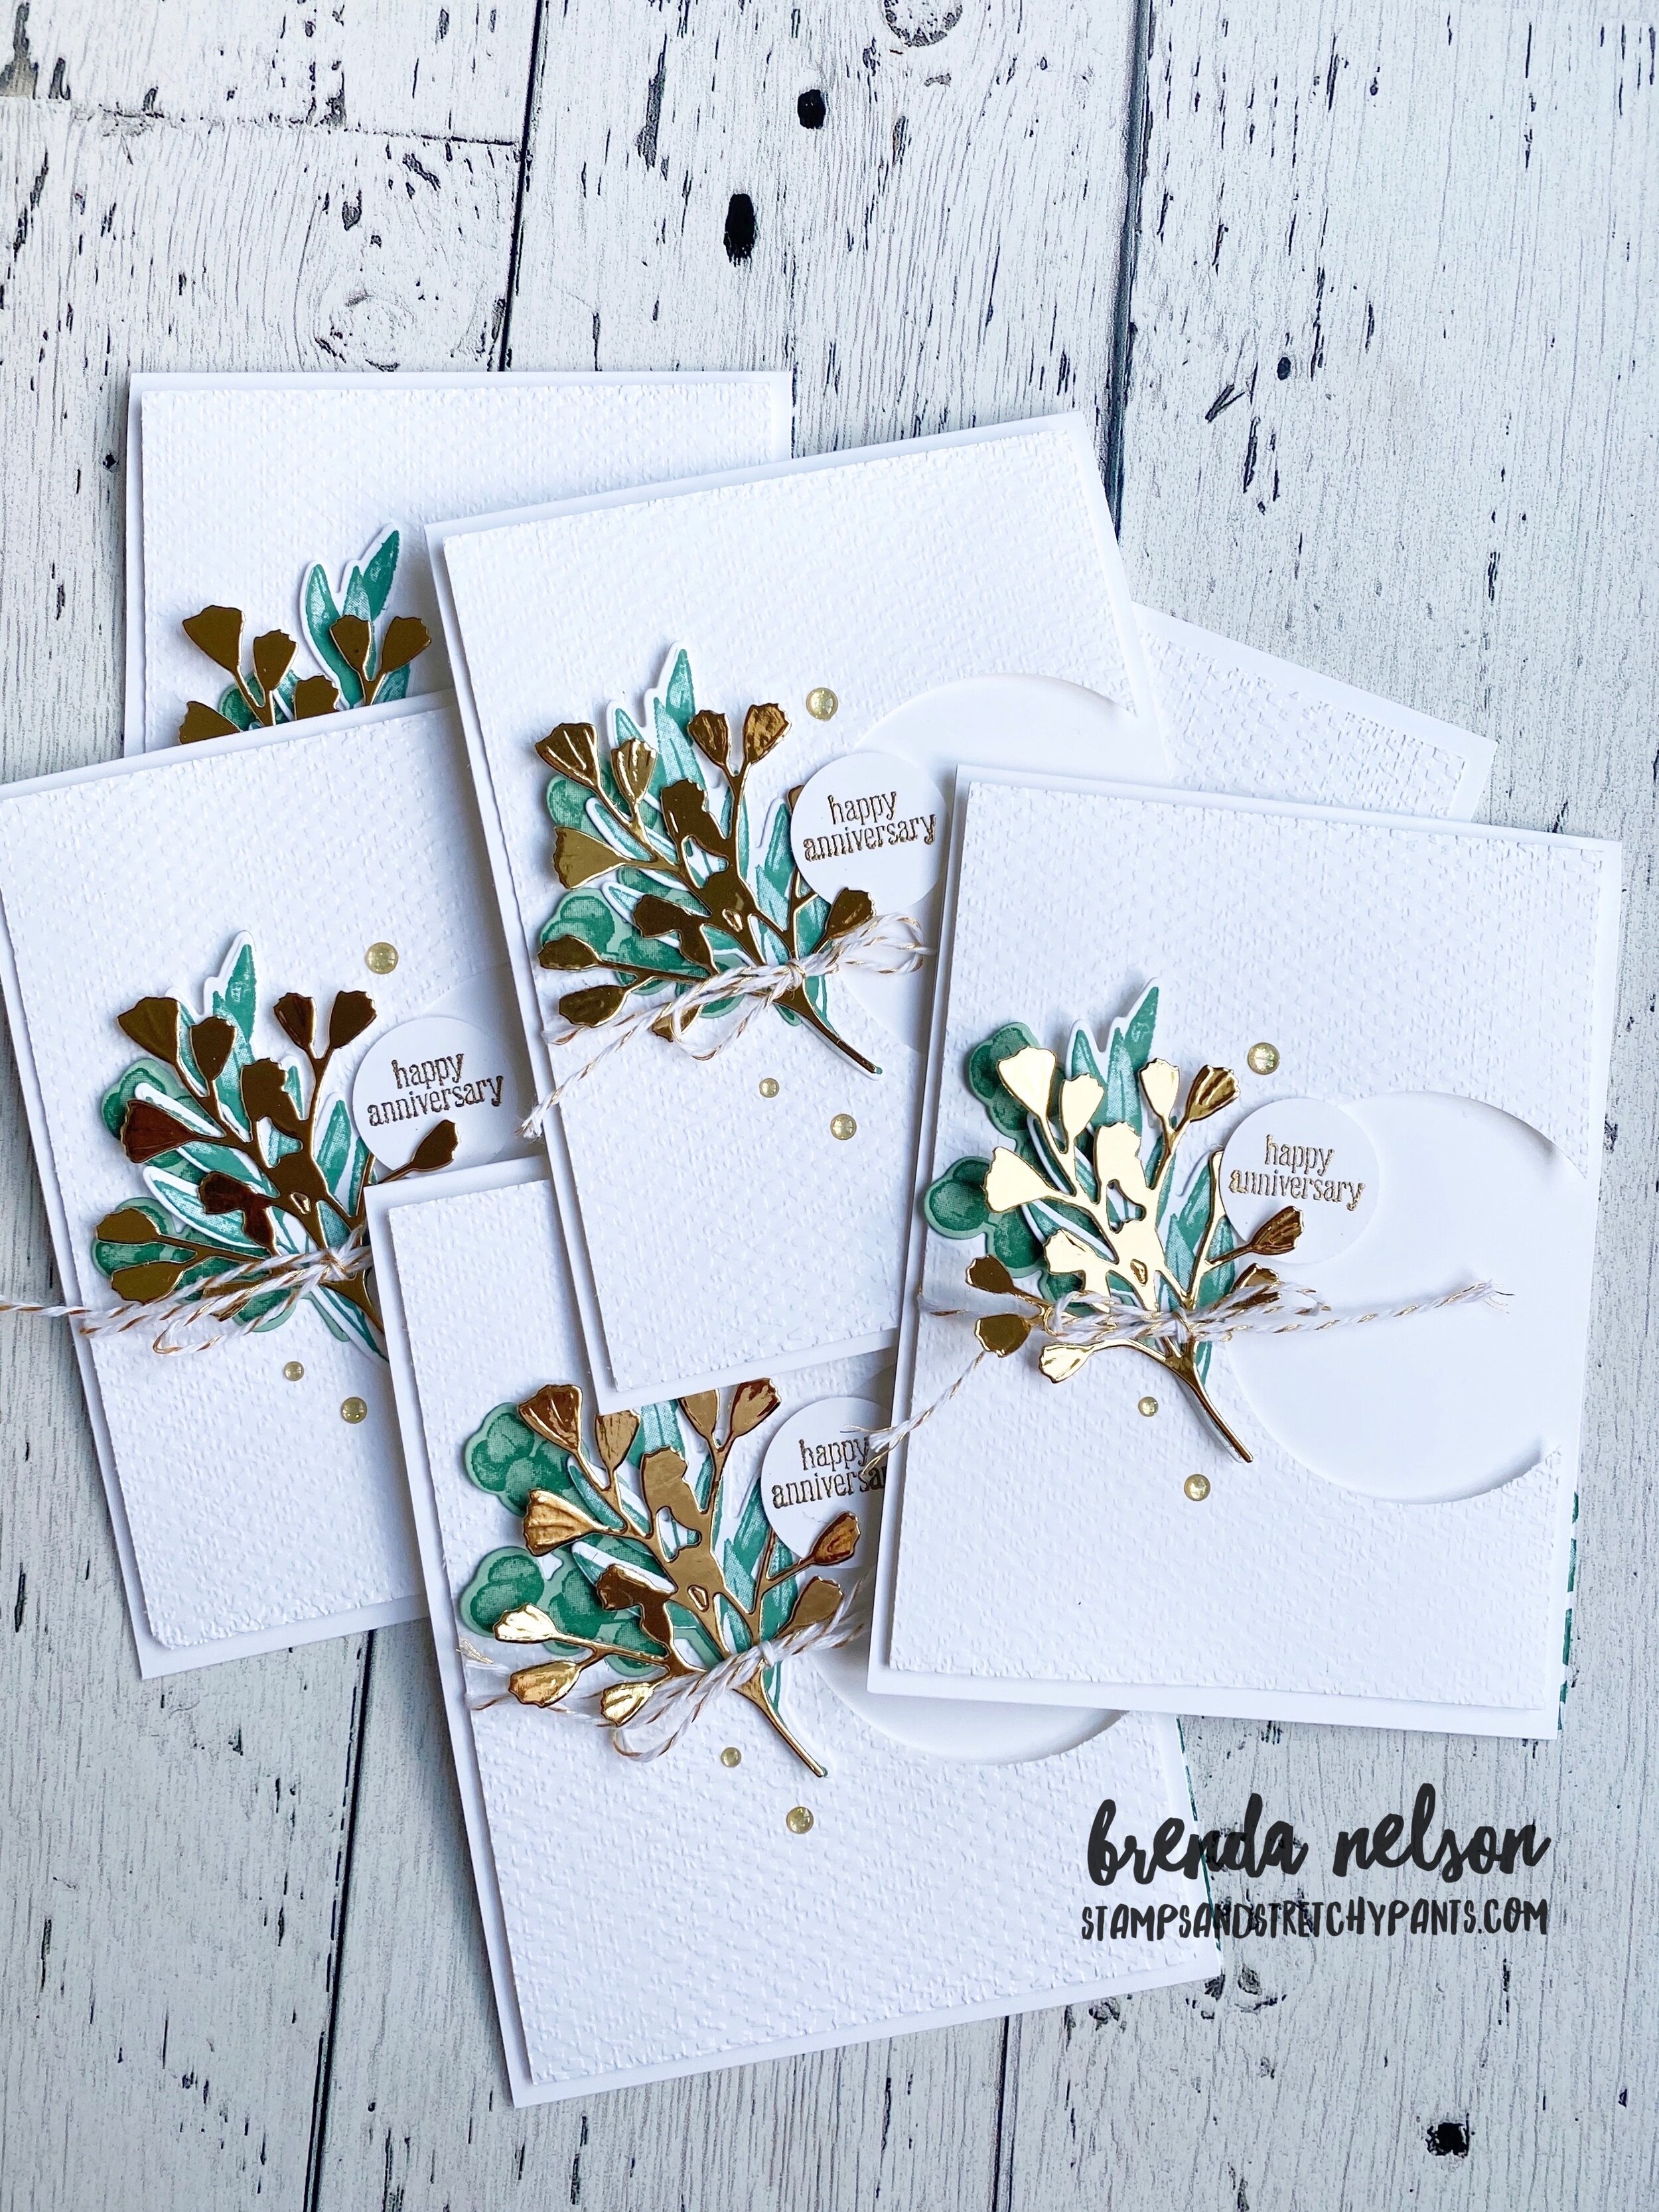
You could easily swap this sentiment out for Happy Birthday, Thinking of You, Hello or anything really! The card design is timeless.

shop my store

Just Tag it! Create with Connie & Mary!

Happy Christmas in July! Are you having fun hopping with us and getting some holiday inspiration? Stampin’ Up! has really knocked it out of the park with the new upcoming Handmade For You (Holiday) catalogue. Once August hits our stampin’ friends will be able to order! I was able to get my hands on some products because of my demo status #myfavoritething! Getting my hands on new stuff early is super exciting for me!

Image+2020-04-27+at+6.31+PM+(1).jpg

One of the things I was super excited about was the Tag Buffet Project Kit—it is right at the start of the Handmade For You catalogue so you cannot miss it! And you won’t want to! I have been a demonstrator for a long time and I think I can safely say this is the BEST tag kit we have had yet! I love the oversized tags, the traditional Christmas colors and the volume of tags this kit makes—-30 in all of 6 designs! Everything you need is inside a cute decorated box, similar in size to our mini Paper Pumpkin boxes (which I love!).

final.jpg
 

As soon as I put these tags together I knew I needed to create a scrapbook page! It might be the fastest page I have ever made!

final.jpg

There is a separate and coordinating stamp set to purchase to accompany this kit—called Tag Buffet. I used it to stamp the sentiments on the tags and ‘Tis the Season’ on my page. The font is fun and whimsical and perfectly suits this tag kit.

Scrapbooking doesn’t always have to take hours to put together a page! When you have great elements like these in the Tag Buffet kit, fabulous pages can come together in a snap!

Scrapbooking doesn’t always have to take hours to put together a page! When you have great elements like these in the Tag Buffet kit, fabulous pages can come together in a snap!

Isn’t the size of these tags perfect? Great for gifts giving, easy card embellishments and memory keeping!

Isn’t the size of these tags perfect? Great for gifts giving, easy card embellishments and memory keeping!

 
final.jpg
fullsizeoutput_1245a.jpeg

I added a bit of background splatter with my Water Painter and Shaded Spruce ink pad. Just smash your ink pad on an acrylic block, drop a bit of water in and flick the Water Painter across your background. It creates a really easy background.

final.jpg
 

You will notice that I did not pop the holes out on the tags I used on the layout. This helped them look more like shapes versus tags. I added a few of the Gold Glitter Gems to the page and few twigs/leafs stamped in the background here and there!

I hope by sharing all of these fabulous tags you are inspired to purchase this Tag Kit! I cannot wait to offer it as a class when it gets closer to the holidays! You can hop back to see Melissa’s Christmas in July projects and hop forward to see what Connie has created!

Create with Connie and Mary--Tropical Feelings!

Hello my friends! I am definitely having Tropical Feelings this week as I was scheduled to be in Maui on the Stampin’ Up! Incentive trip. And while I am not there, I am still counting my blessing and feeling thankful for all the people that continually support me so I can earn and achieve these trips each year! This past year, 40 Canadian Demonstrators stamped their way to Maui and to be a part of such a wonderful group (our biggest yet) is truly an honour. I love what I do and have had the support of so many people over the years to truly “LOVE WHAT I DO”.

Our weekly Saturday Blog Hop is channelling those ‘Tropical Feelings’ and I pictured myself on a beach drinking yummy cocktails while being fanned by my husband (well maybe not the last part but a girl can dream!) So I leaned into the Nothings Better Than stamp set as a jump start for some fun cocktail cards!

Image+2020-04-27+at+6.31+PM+(1).jpg
What is really awesome about this stamp set (pg 91) is the variety of words and sentiments in the stamp set. It actually makes creating custom phrases so easy and fun which is what I did here with these cards.

What is really awesome about this stamp set (pg 91) is the variety of words and sentiments in the stamp set. It actually makes creating custom phrases so easy and fun which is what I did here with these cards.

IMG_4566.JPG

Using the Playing with Patterns DSP was also a no brainer in creating these cards! I love the color palette and being able to mix and match the patterns made these cards come together so easily. The featured colors are Calypso Coral, Crushed Curry, Coastal Cabana, Night of Navy and Purple Posy. I swapped out the Night of Navy for Misty Moonlight and added Blushing Bride in as well for the 6 card bases.

final.jpg

The cocktails are stamped in Momento ink and then colored with Stampin’ Blends in the coordinating colors. I used a water painter to flick coordinating ink over top of the first card stock layer, focusing mainly on the edges (as that is all you see once the white layer goes on top). I added a couple of the Playing with Patterns Resin Dots to each card for the perfect finishing touch!

I just love the added texture the water painter can add to a background! This is a technique I definitely use A LOT!

I just love the added texture the water painter can add to a background! This is a technique I definitely use A LOT!

As usual you can go back to see what Tropical Creation Melissa is sharing with us or continue going forward (NEXT) to see what Connie has designed!

Christmas in July--Joy of Sets Style!

It is Christmas in July over here! Stampin’ Up! is adjusting their catalogue release dates which means that the new Holiday Catalogue Demonstrator pre-order period began July 1st! Just in time for me to create some fun cards for this Joy of Sets Blog Hop!

 
81540689_10215726056411300_2006779918087618560_o.jpg

I had so much fun designing and creating these cards once I got into the Christmas mindset!

I used a new stamp set called Tag Buffet. It is actually the complimentary stamp set to create the Tag Buffet project kit. I thought it was a unique set to use for this blog theme.

final.jpg
final.jpg

To create this first card I started with a new Designer Series Paper called ‘Tis the Season. It is a 6x6 medley that features the colors Cherry Cobbler, Garden Green, Real Red and Shaded Spruce. I decided to add our new In Color, Just Jade into the mix as it looks SO GOOD with Shaded Spruce.

All of the elements on the 3 cards I designed were cut by hand, yes OLD SCHOOL, as there are no dies or punches that coordinate with this stamp set. I also used our Stampin’ Blends in Just Jade and Cherry Cobbler to color the stocking and ornament.

In the card above I stamped the sentiment in Cherry Cobbler and then flicked my marker over top to take away the white. I added a small strip of Shaded Spruce card stock that had been run through the Tasteful Textile 3D folder. And the gems I used on all 3 of the cards are, surprise, Blue Adhesive Backed Gems! There are two tones in this embellishment and one had a green feeling to me so I decided to add them in!

final.jpg
final.jpg

To create the second card I used Just Jade as the base and added a panel of Shaded Spruce card stock with some coordinating DSP from the ‘Tis the Season medley. I stamped some of the sprigs behind and used my water painter in the Just Jade ink to add a spray of color. I stamped two ‘leaves’ on Just Jade paper and used one of the blends to give them a bit more detail before cutting them out. The sentiment is also a part of the stamp set and is stamped in Cherry Cobbler with a spray of Just Jade ink. And once again I added in some of those Blue Adhesive Backed Gems.

final.jpg

The 3rd and final card in this cute little trio features a plaid DSP option from the ‘Tis the Season medley. I flicked a water painted across the Shaded Spruce card base and stamped a couple of leaves in the same ink color. I thought the little ornament was so cute and I decided to cut apart one of the larger phrases in the stamp set to be the greeting on the card.

final.jpg
final.jpg

I hope you love this trio of Christmas Cards, I am thrilled with how they turned out and can’t wait to offer them as a class when it gets a little closer to holiday season!

The next stop on our Christmas in July blog hop is with Libby Fens! I know you will love her creations and I hope our hop inspires you with projects and ideas!


Rainbow Baby Shower Invites

It was my absolute pleasure and joy to create these custom baby shower invites for a dear friend. A baby after a loss is lovingly known as a ‘rainbow baby’ and that is what is being celebrated here. I have my own rainbow baby so designing and creating these invites were especially meaningful for me.

Even though these invites feature a retired product I still wanted to share them as I did use a new stamp set called ‘So Inviting’. It a must have set for someone who likes to entertain and host events. I love to create handmade invites!

The rainbow colors match some party supplies and are Real Red, Flirty Flamingo, So Saffron, Mint Macaron, Seaside Spray and Pacific Point. I think they are soft and perfect for a baby shower invite.

final.jpg
 
final.jpg
I created the cloud  by smearing Shimmery White embossing paste on strips of Whisper White card stock. I kept it full of texture so when I cut it out into the cloud it had had the appearance of looking fluffy!

I created the cloud by smearing Shimmery White embossing paste on strips of Whisper White card stock. I kept it full of texture so when I cut it out into the cloud it had had the appearance of looking fluffy!

I hope everyone who receives one of these whimsical and delightful invites knows how much love went into them and how much they mean to the mom.  Especially during these times when gatherings have to be limited, they are extra special and it was a b…

I hope everyone who receives one of these whimsical and delightful invites knows how much love went into them and how much they mean to the mom. Especially during these times when gatherings have to be limited, they are extra special and it was a blessing to create them!