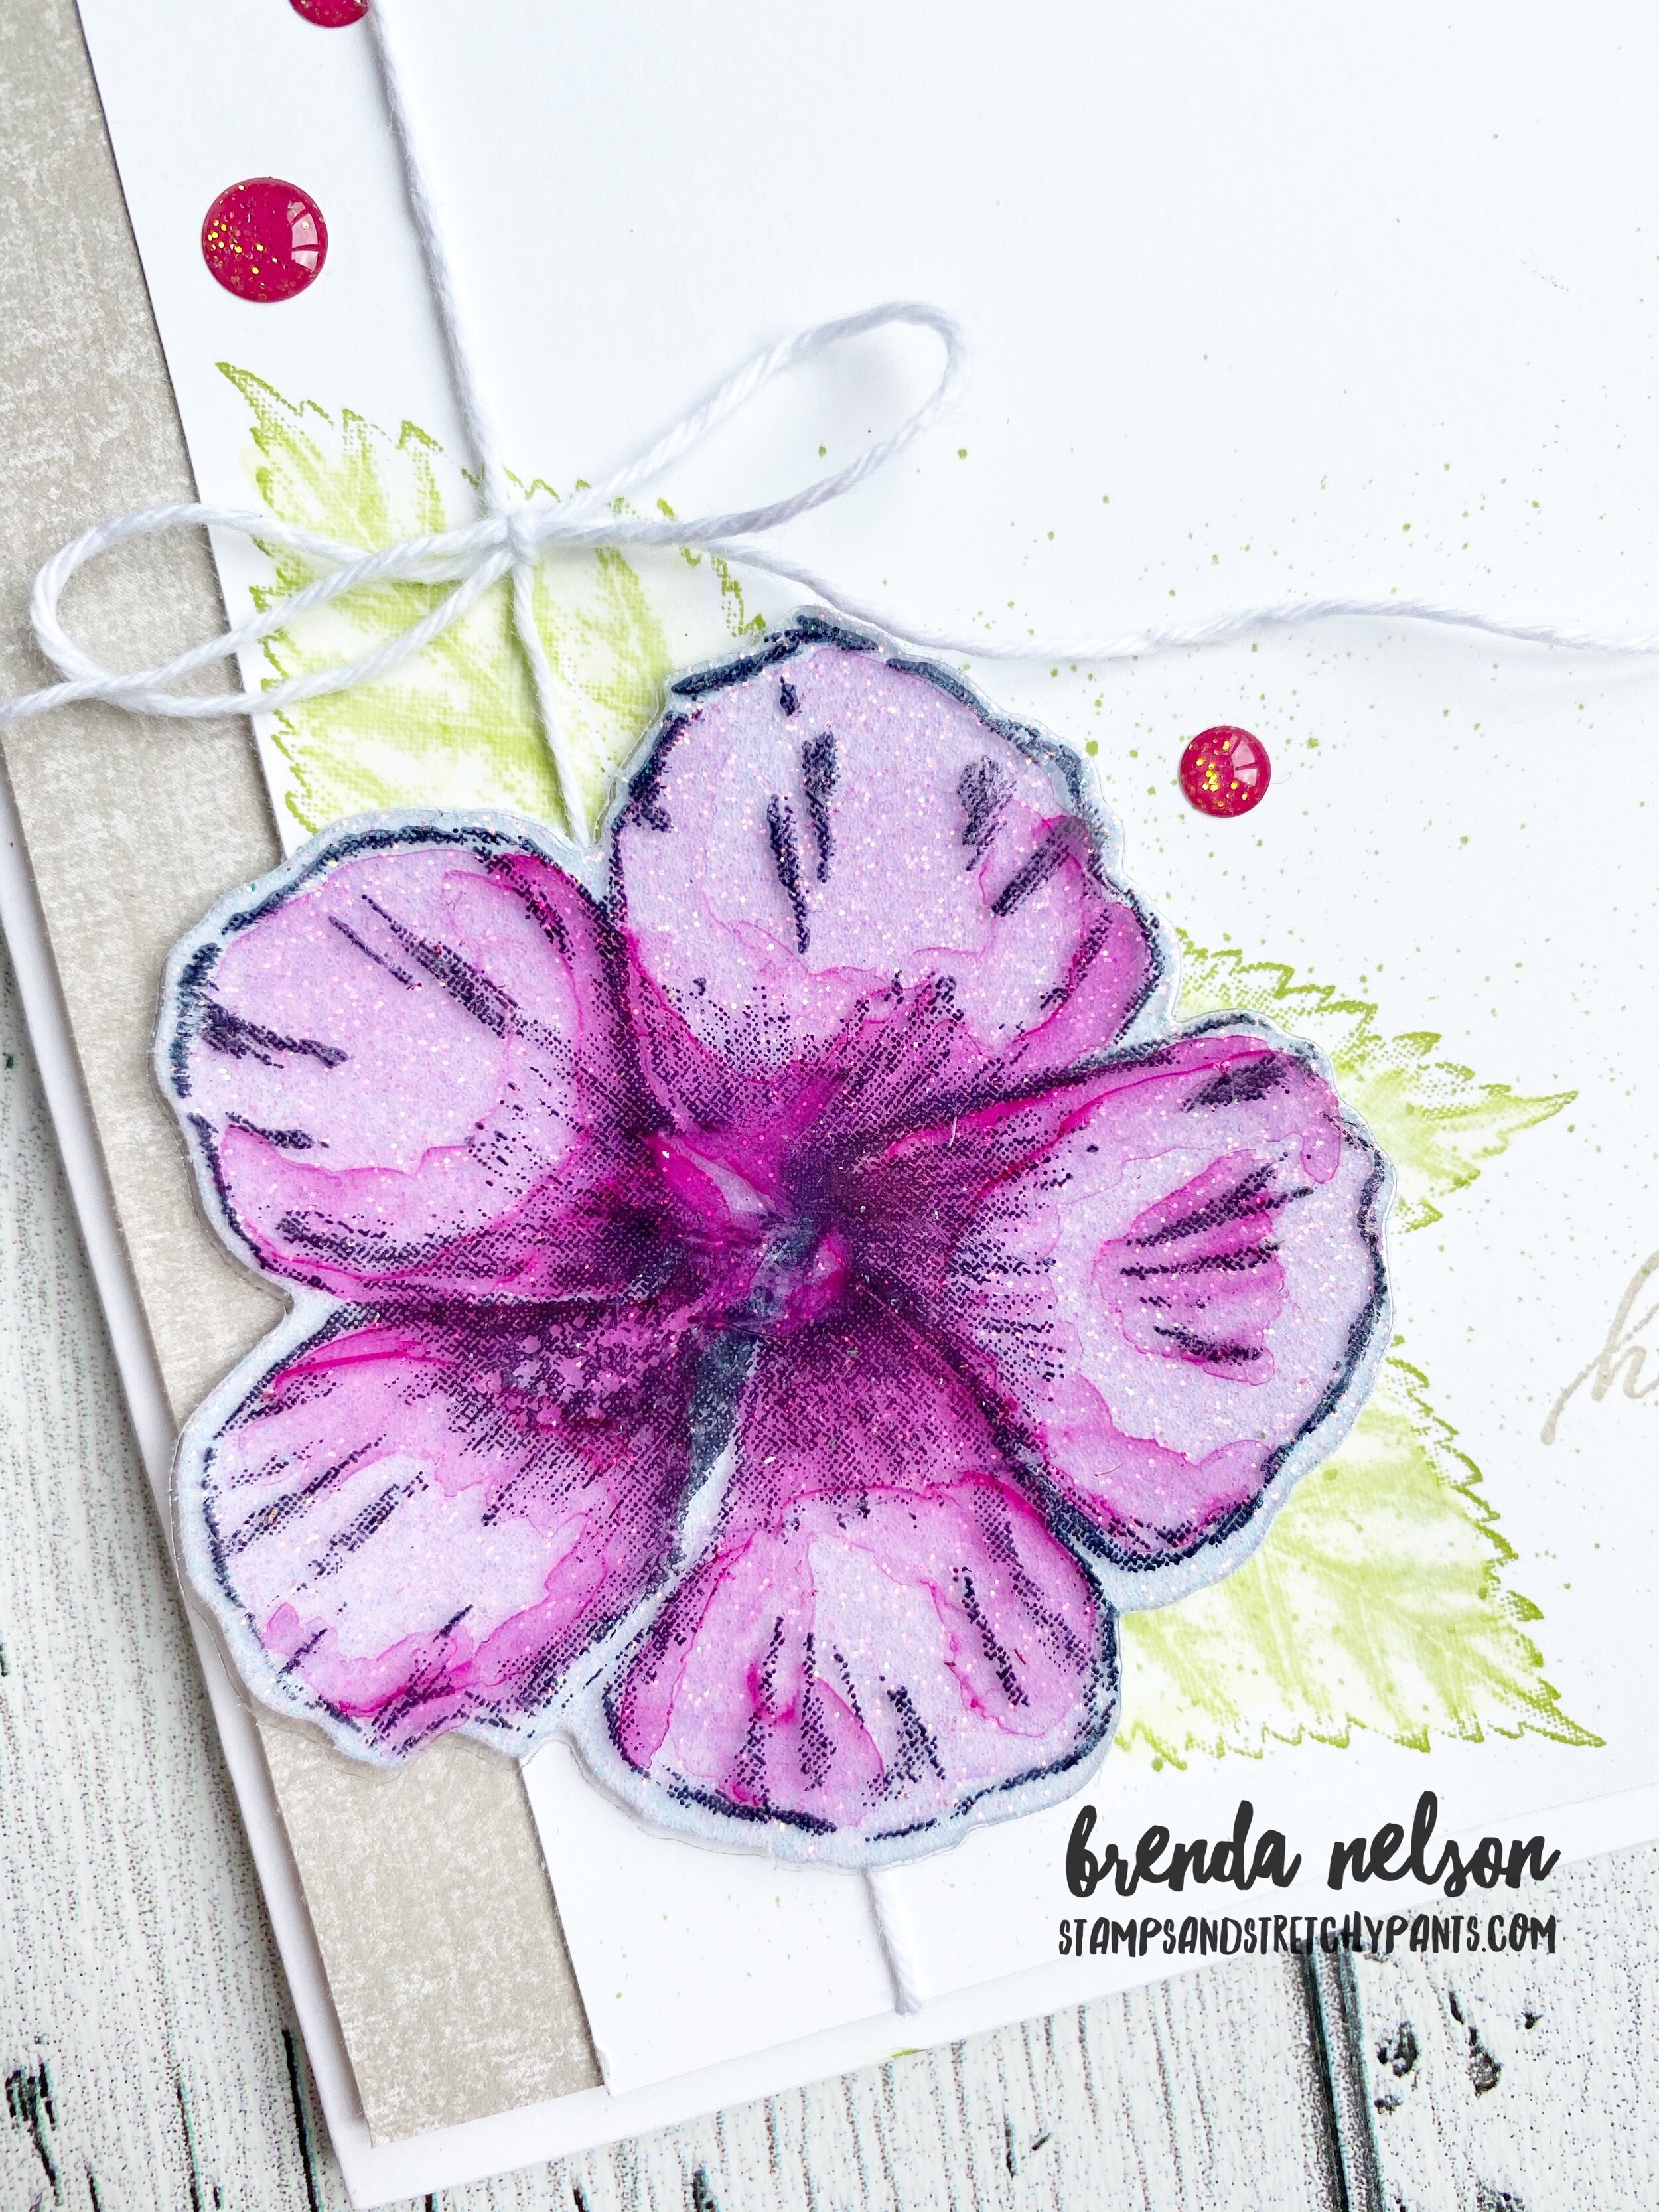
Friendship

My card for Day #17 features a fun way to use the Birchwood Background stamp. I believe the gals from Stampin’ Through the Catalogue showed this on their Instagram feed and I thought it was awesome!

I used the So Sentimental stamp set for the phrase and cut it with the coordinating Stitched So Sweetly dies after embossing it in gold. I added a strip of the Best Dressed DSP along the top with a Mossy Meadow scallop edge created with the Decorative Ribbon Border punch. The sequins are from the Peaceful Poppies Sequins set. The whole sentiment panel is up on Dimensionals.

 
final.jpg

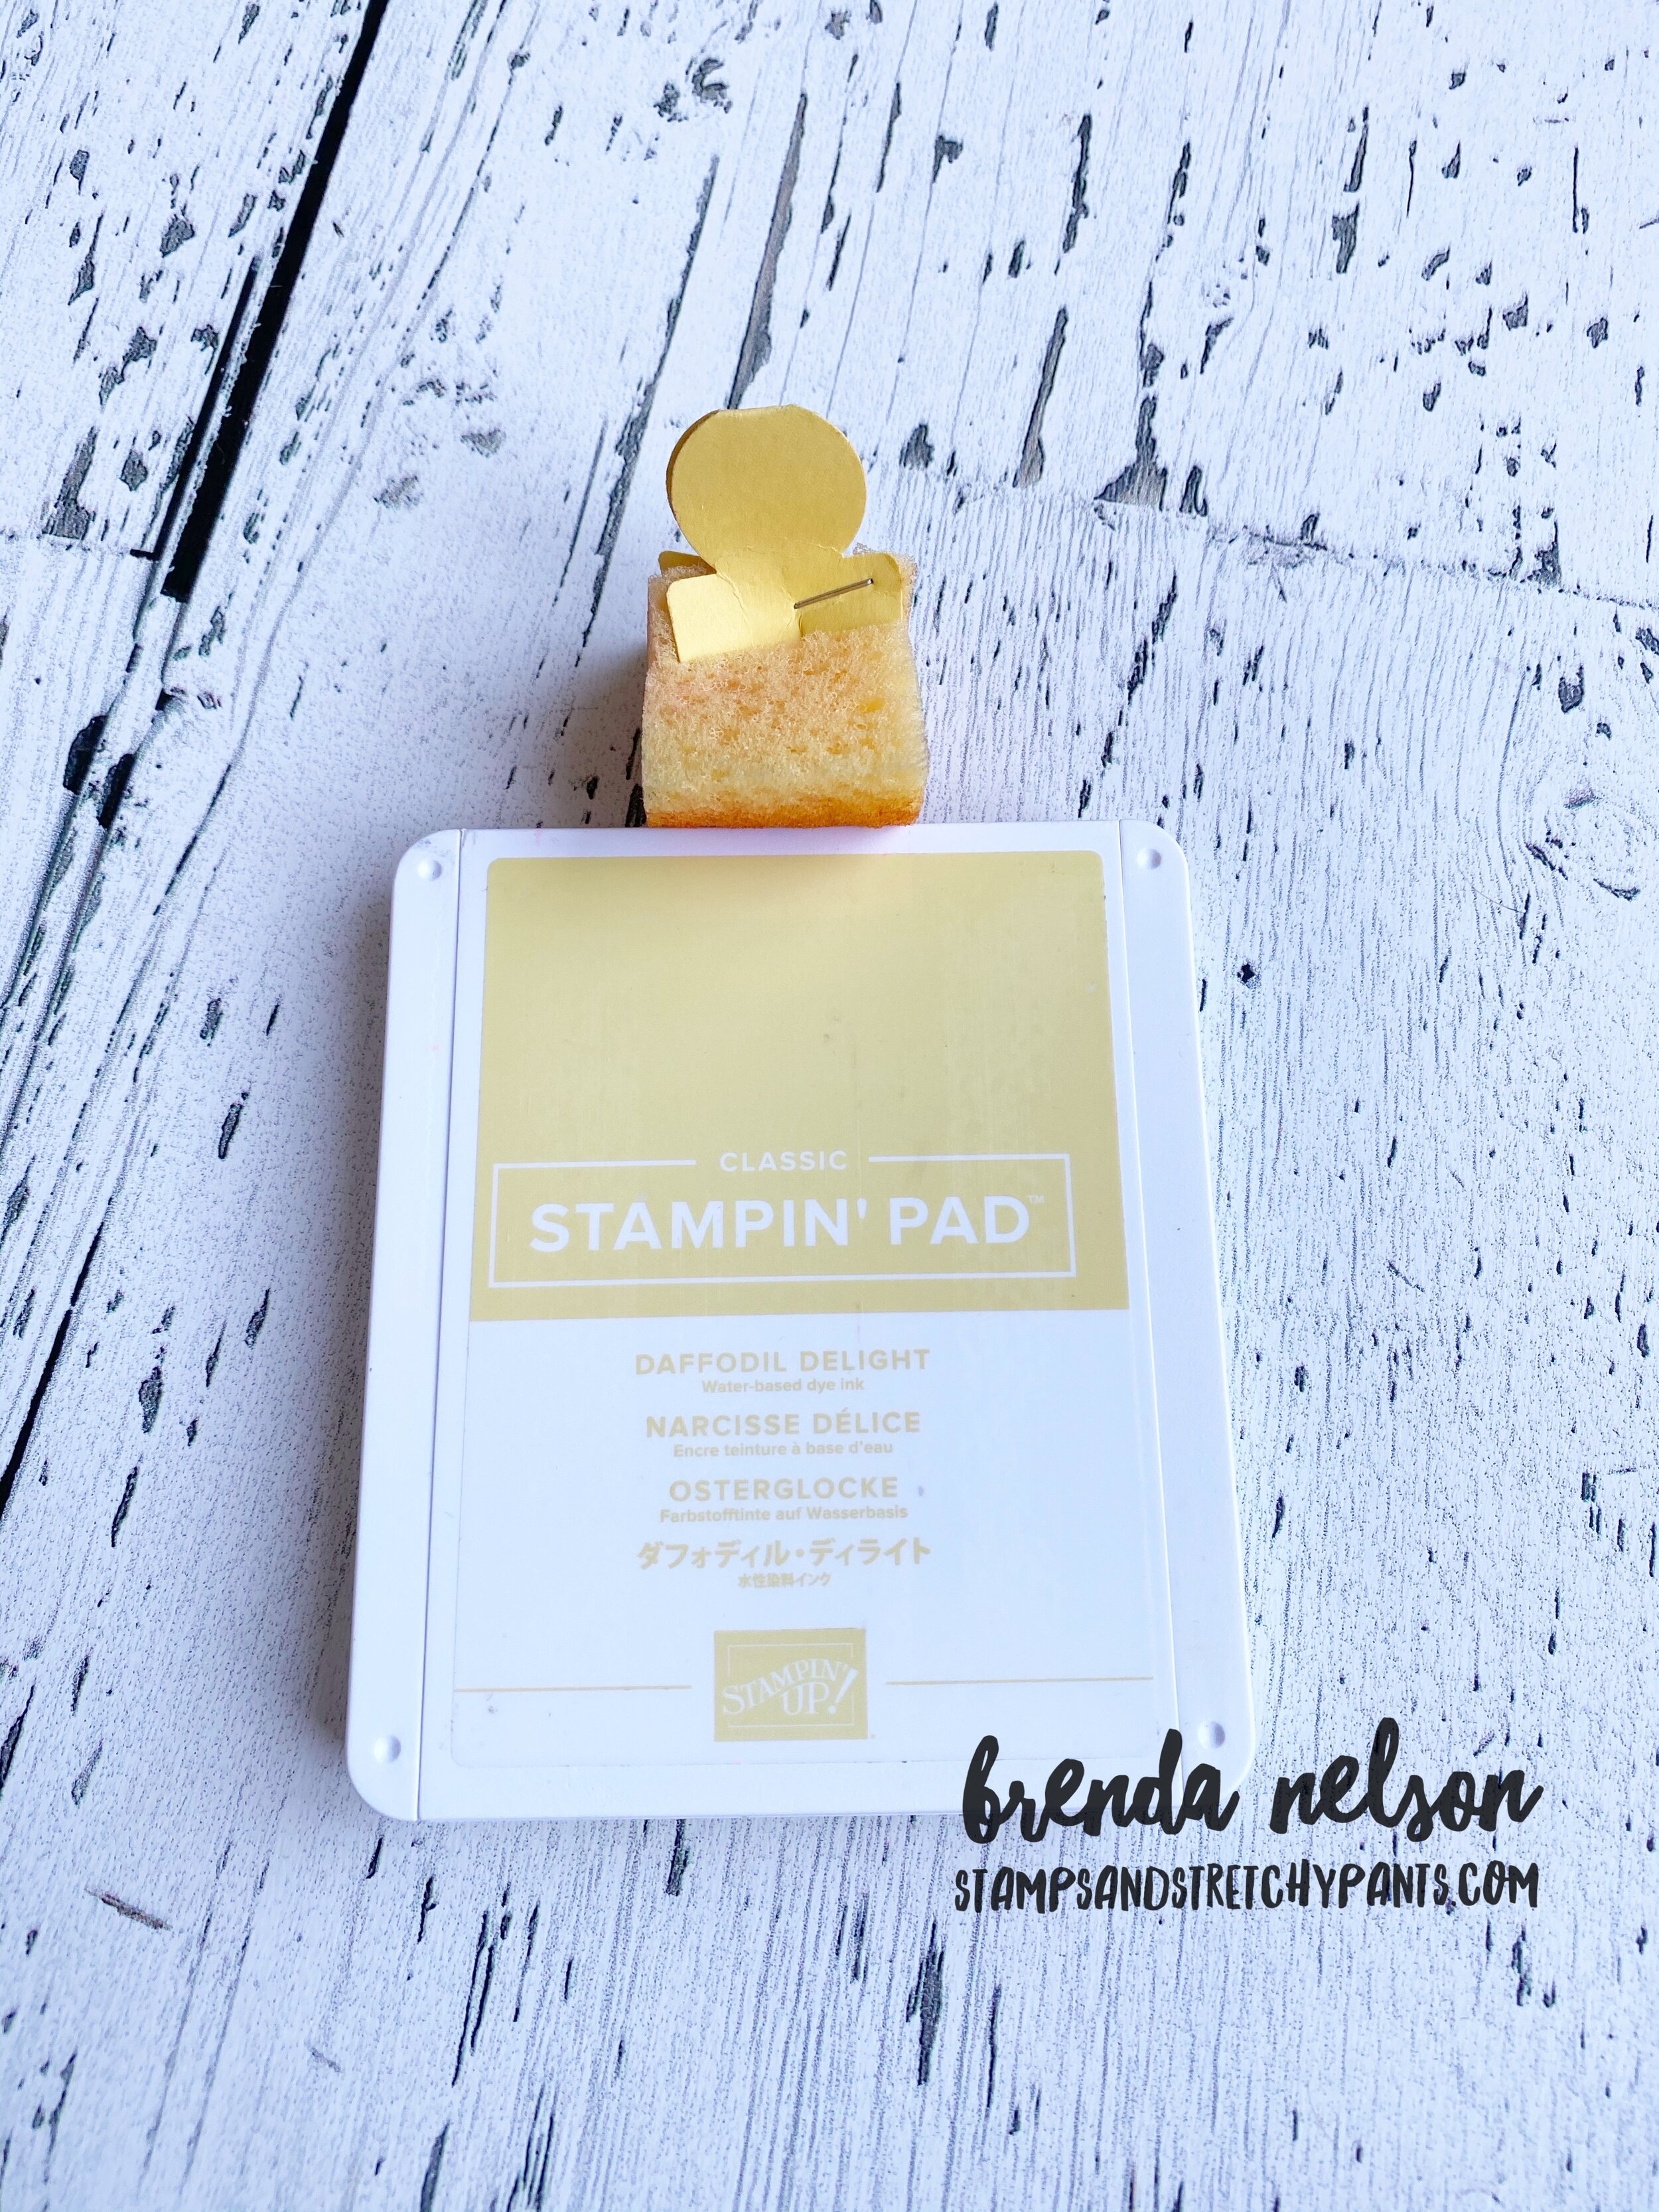
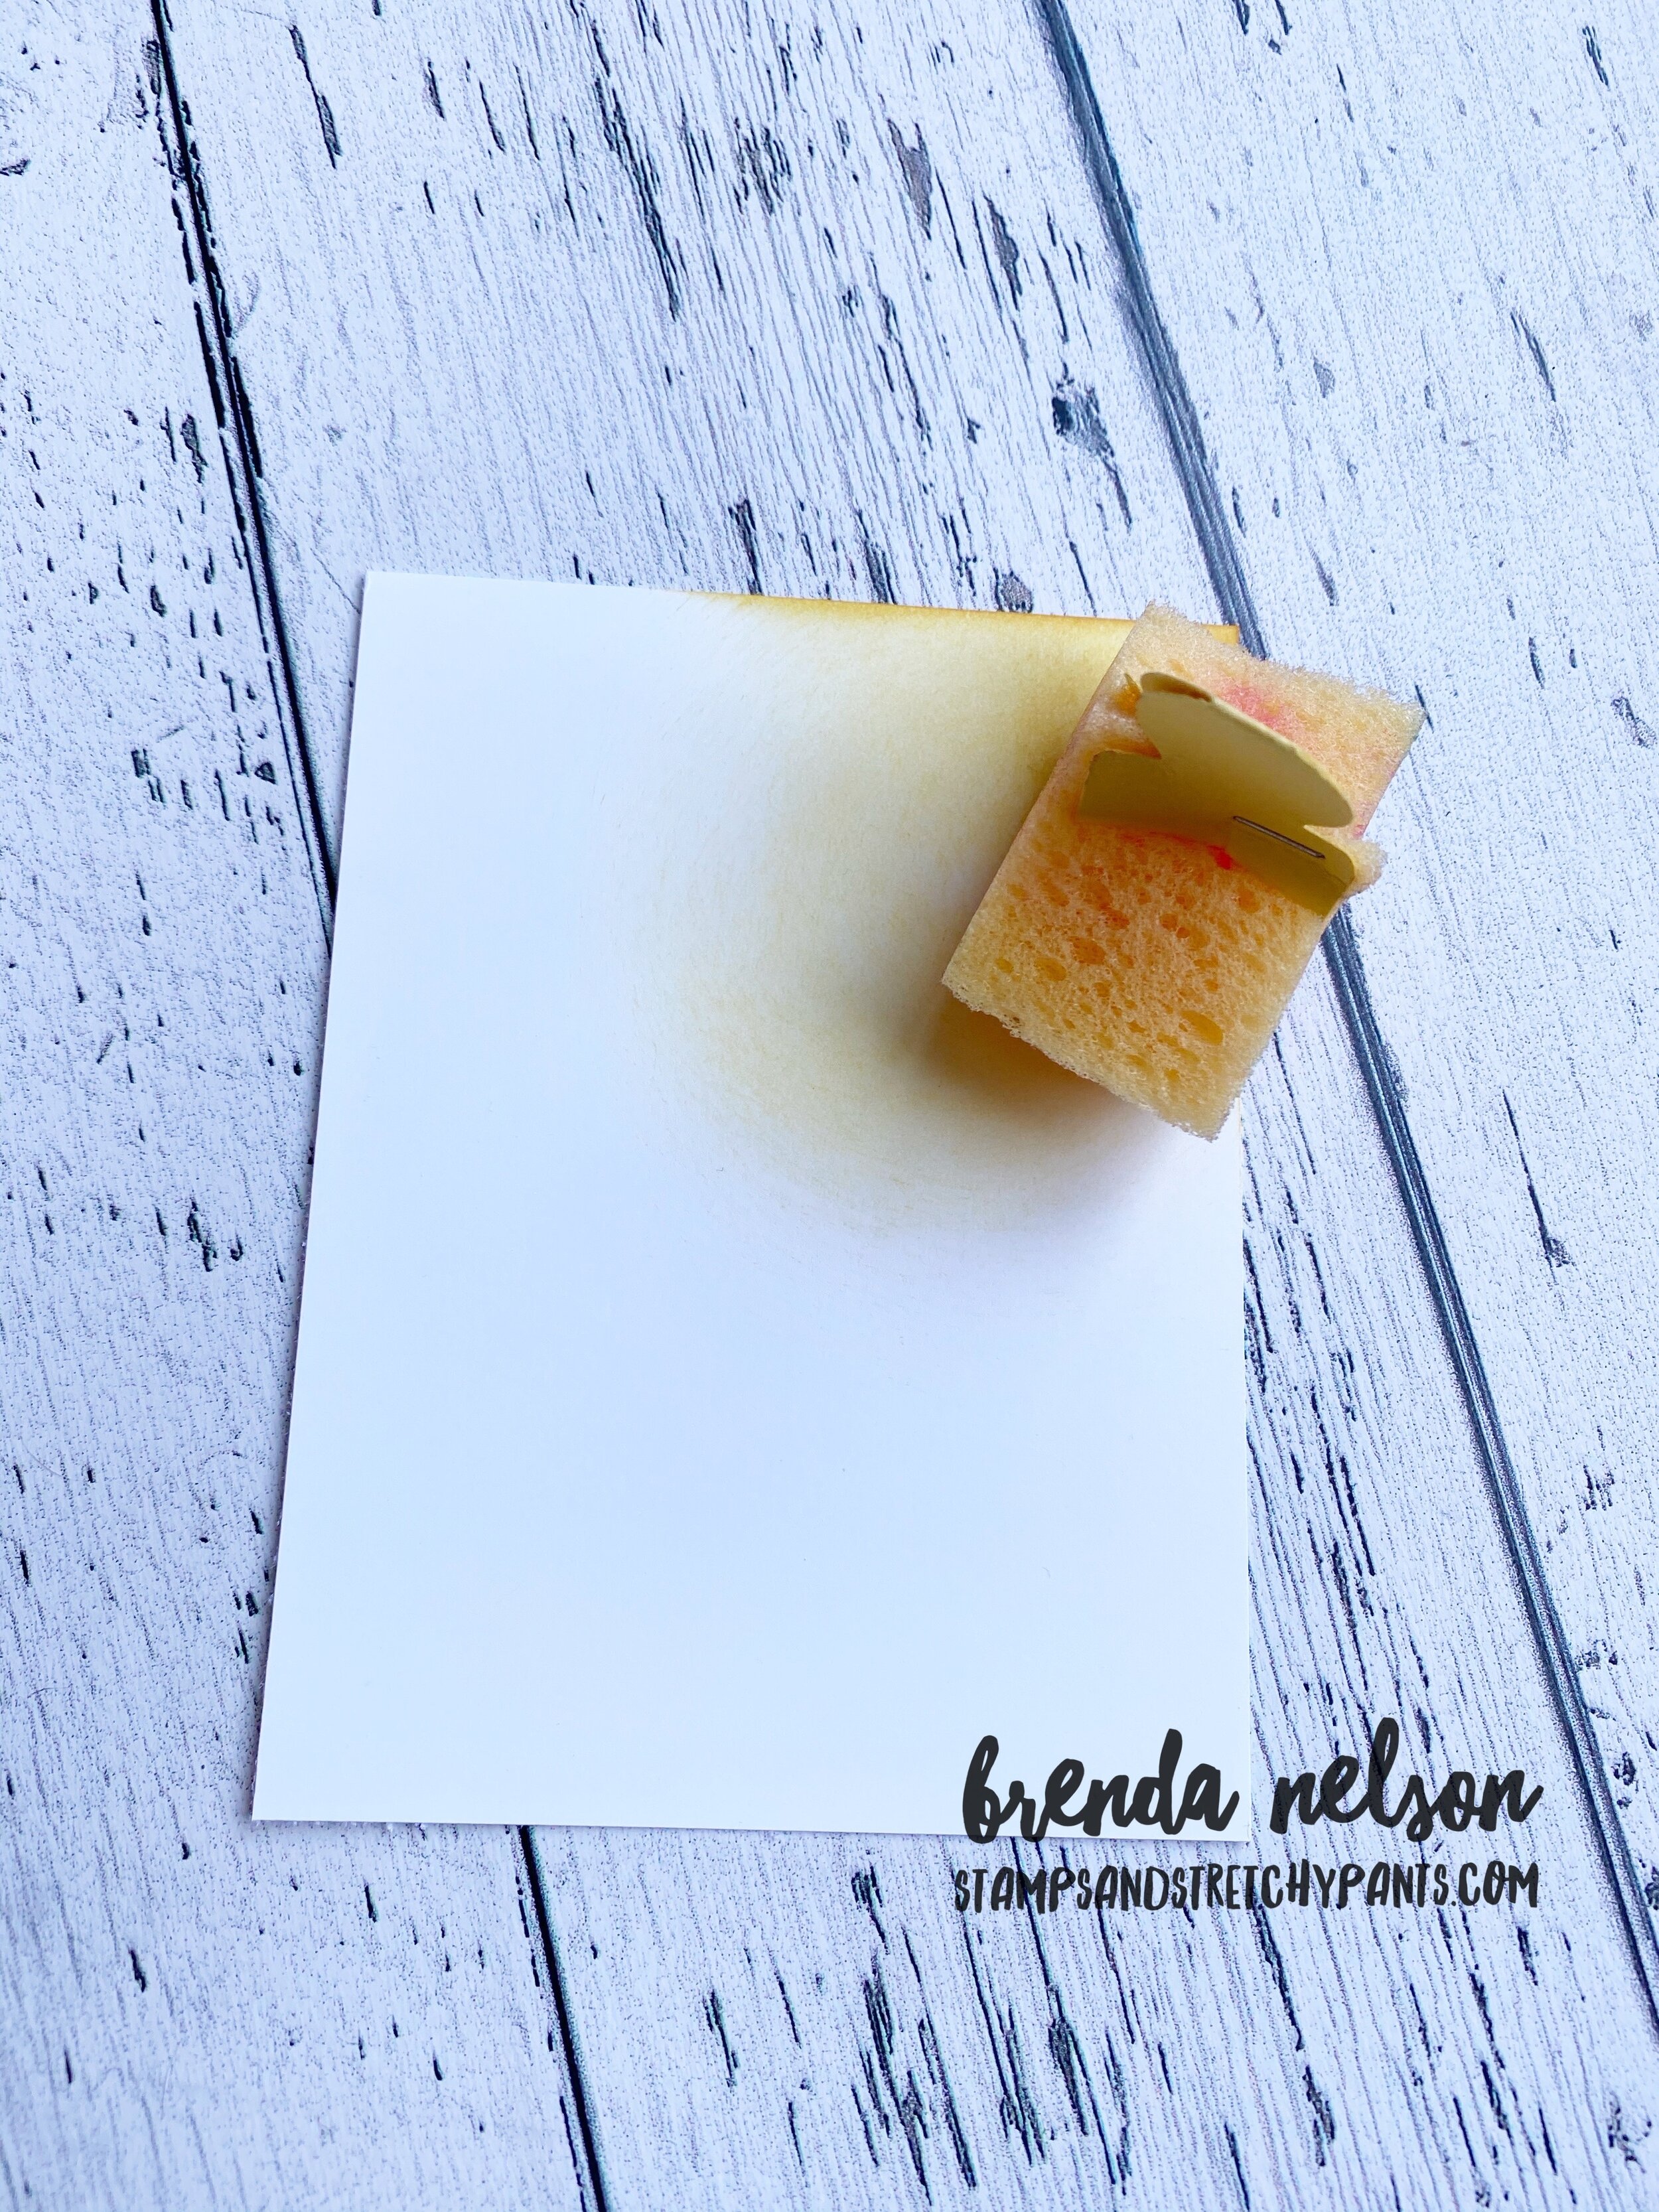
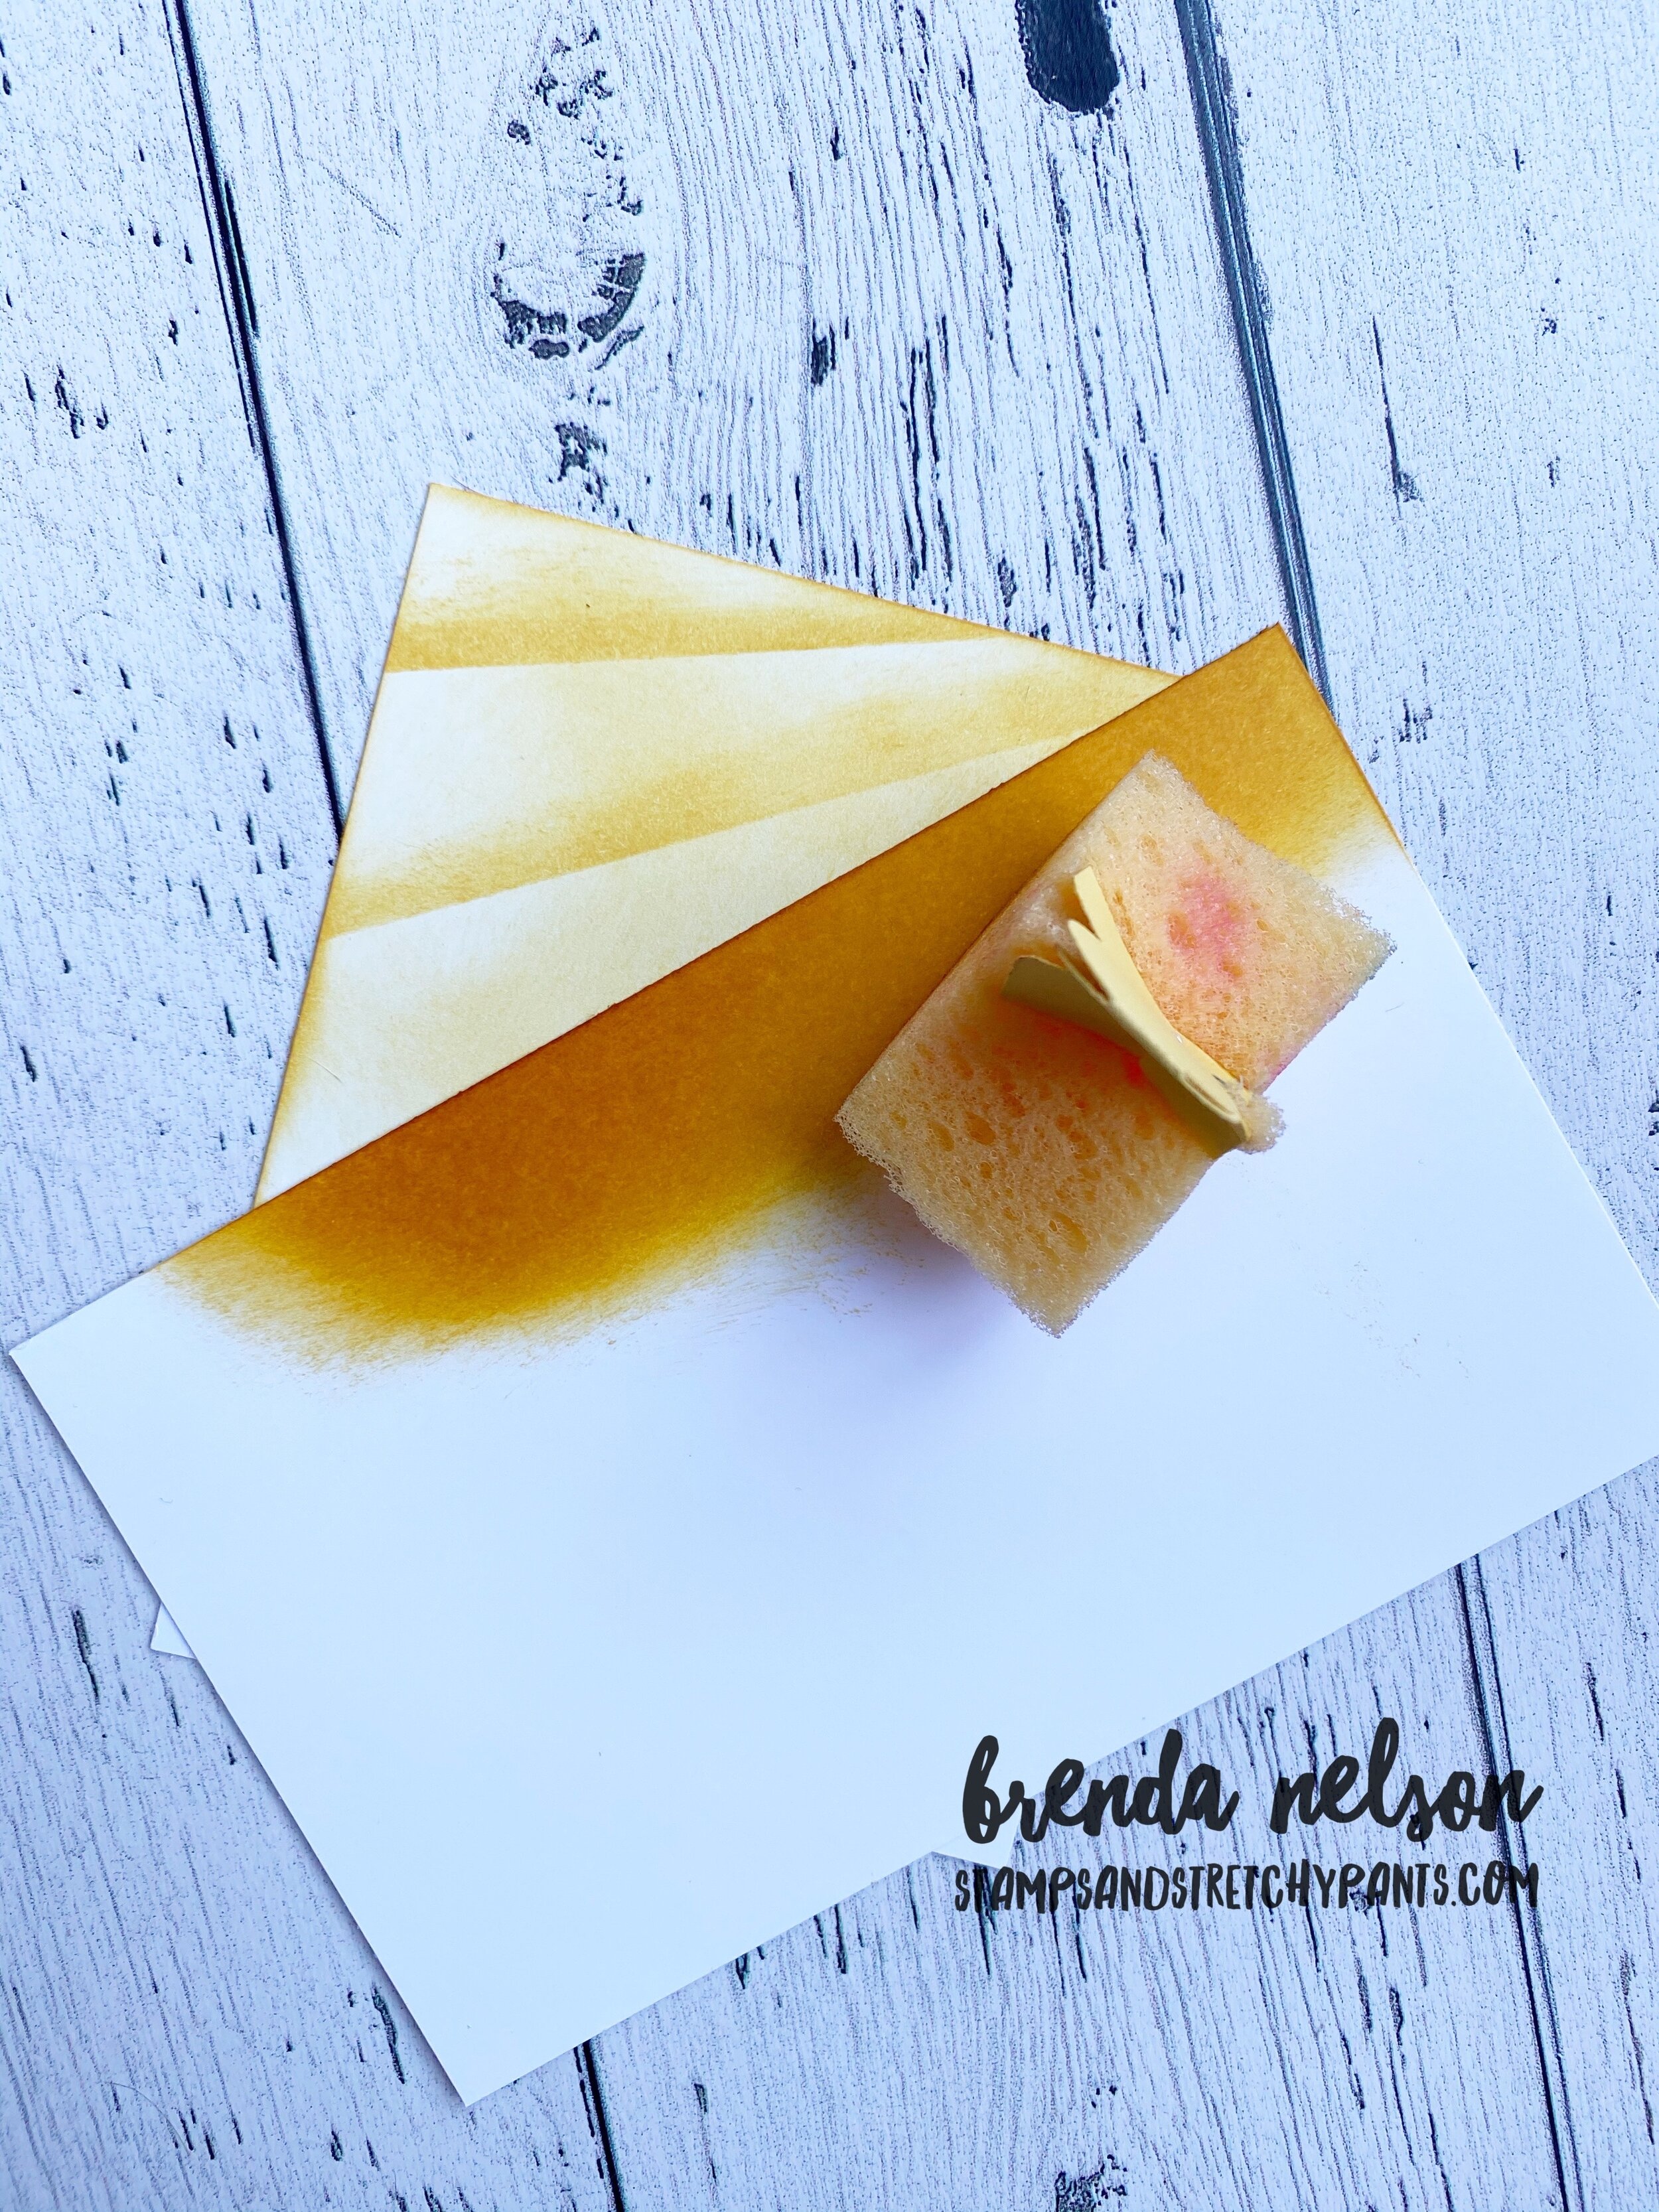
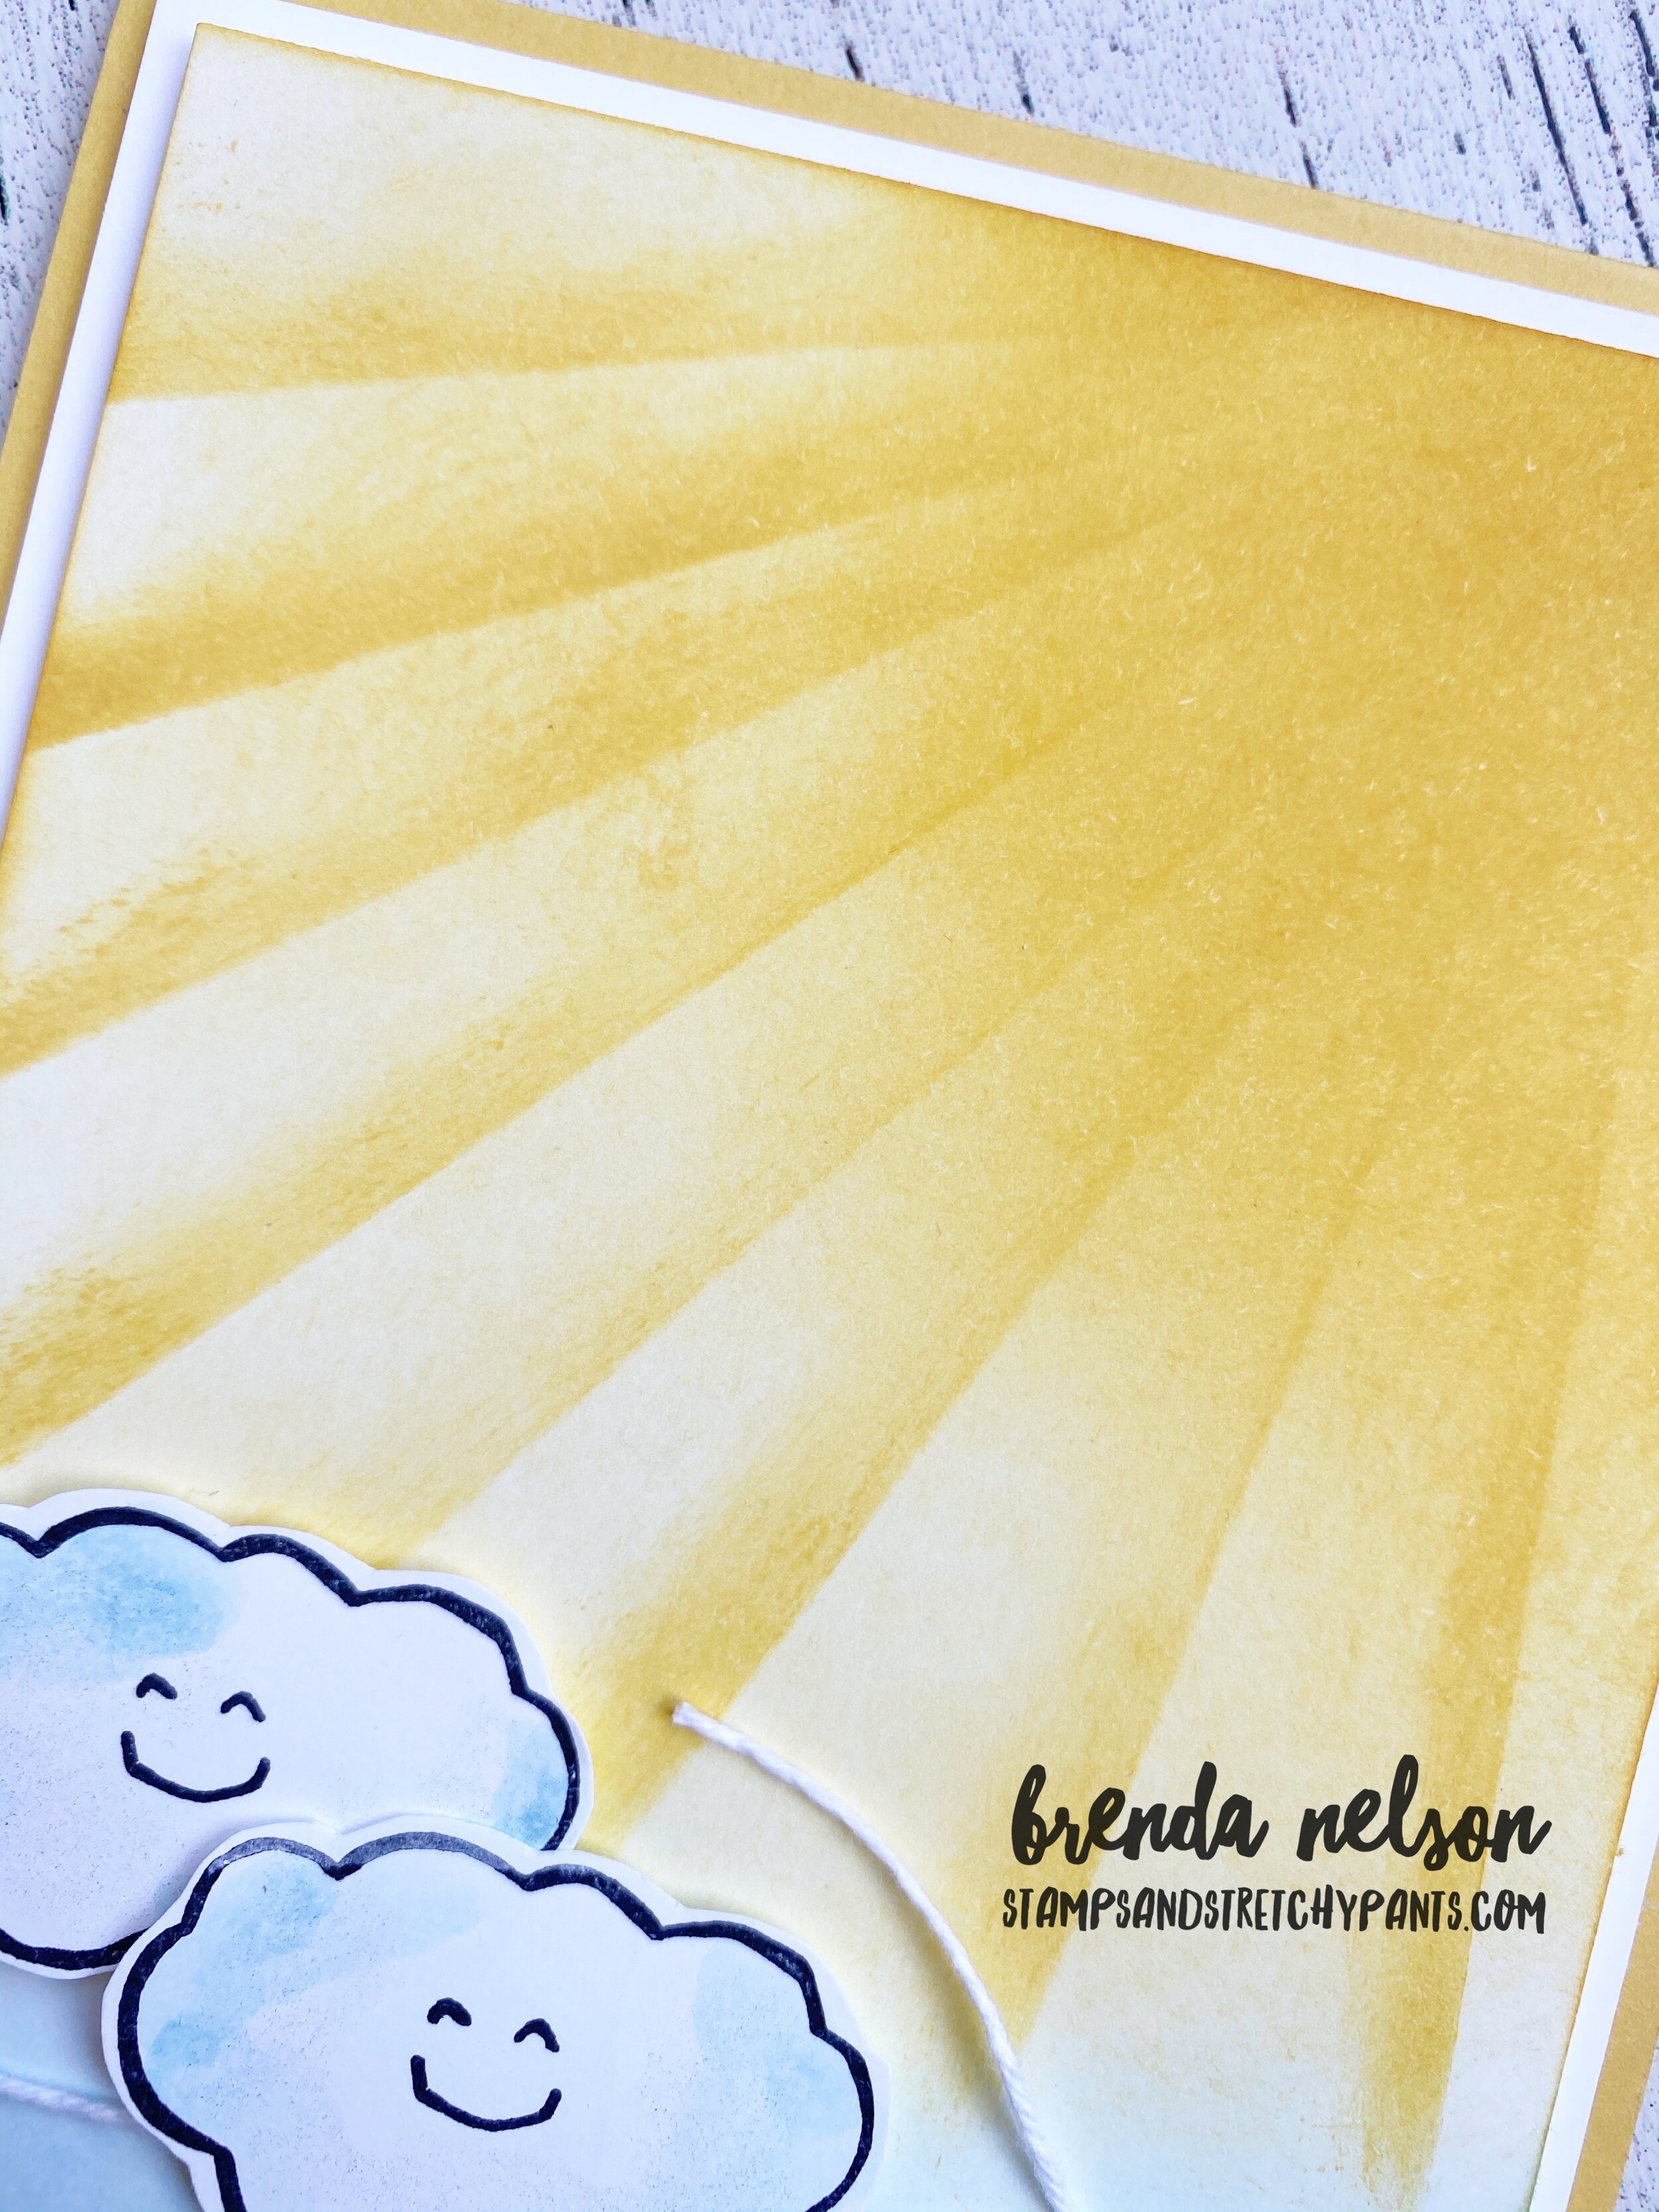
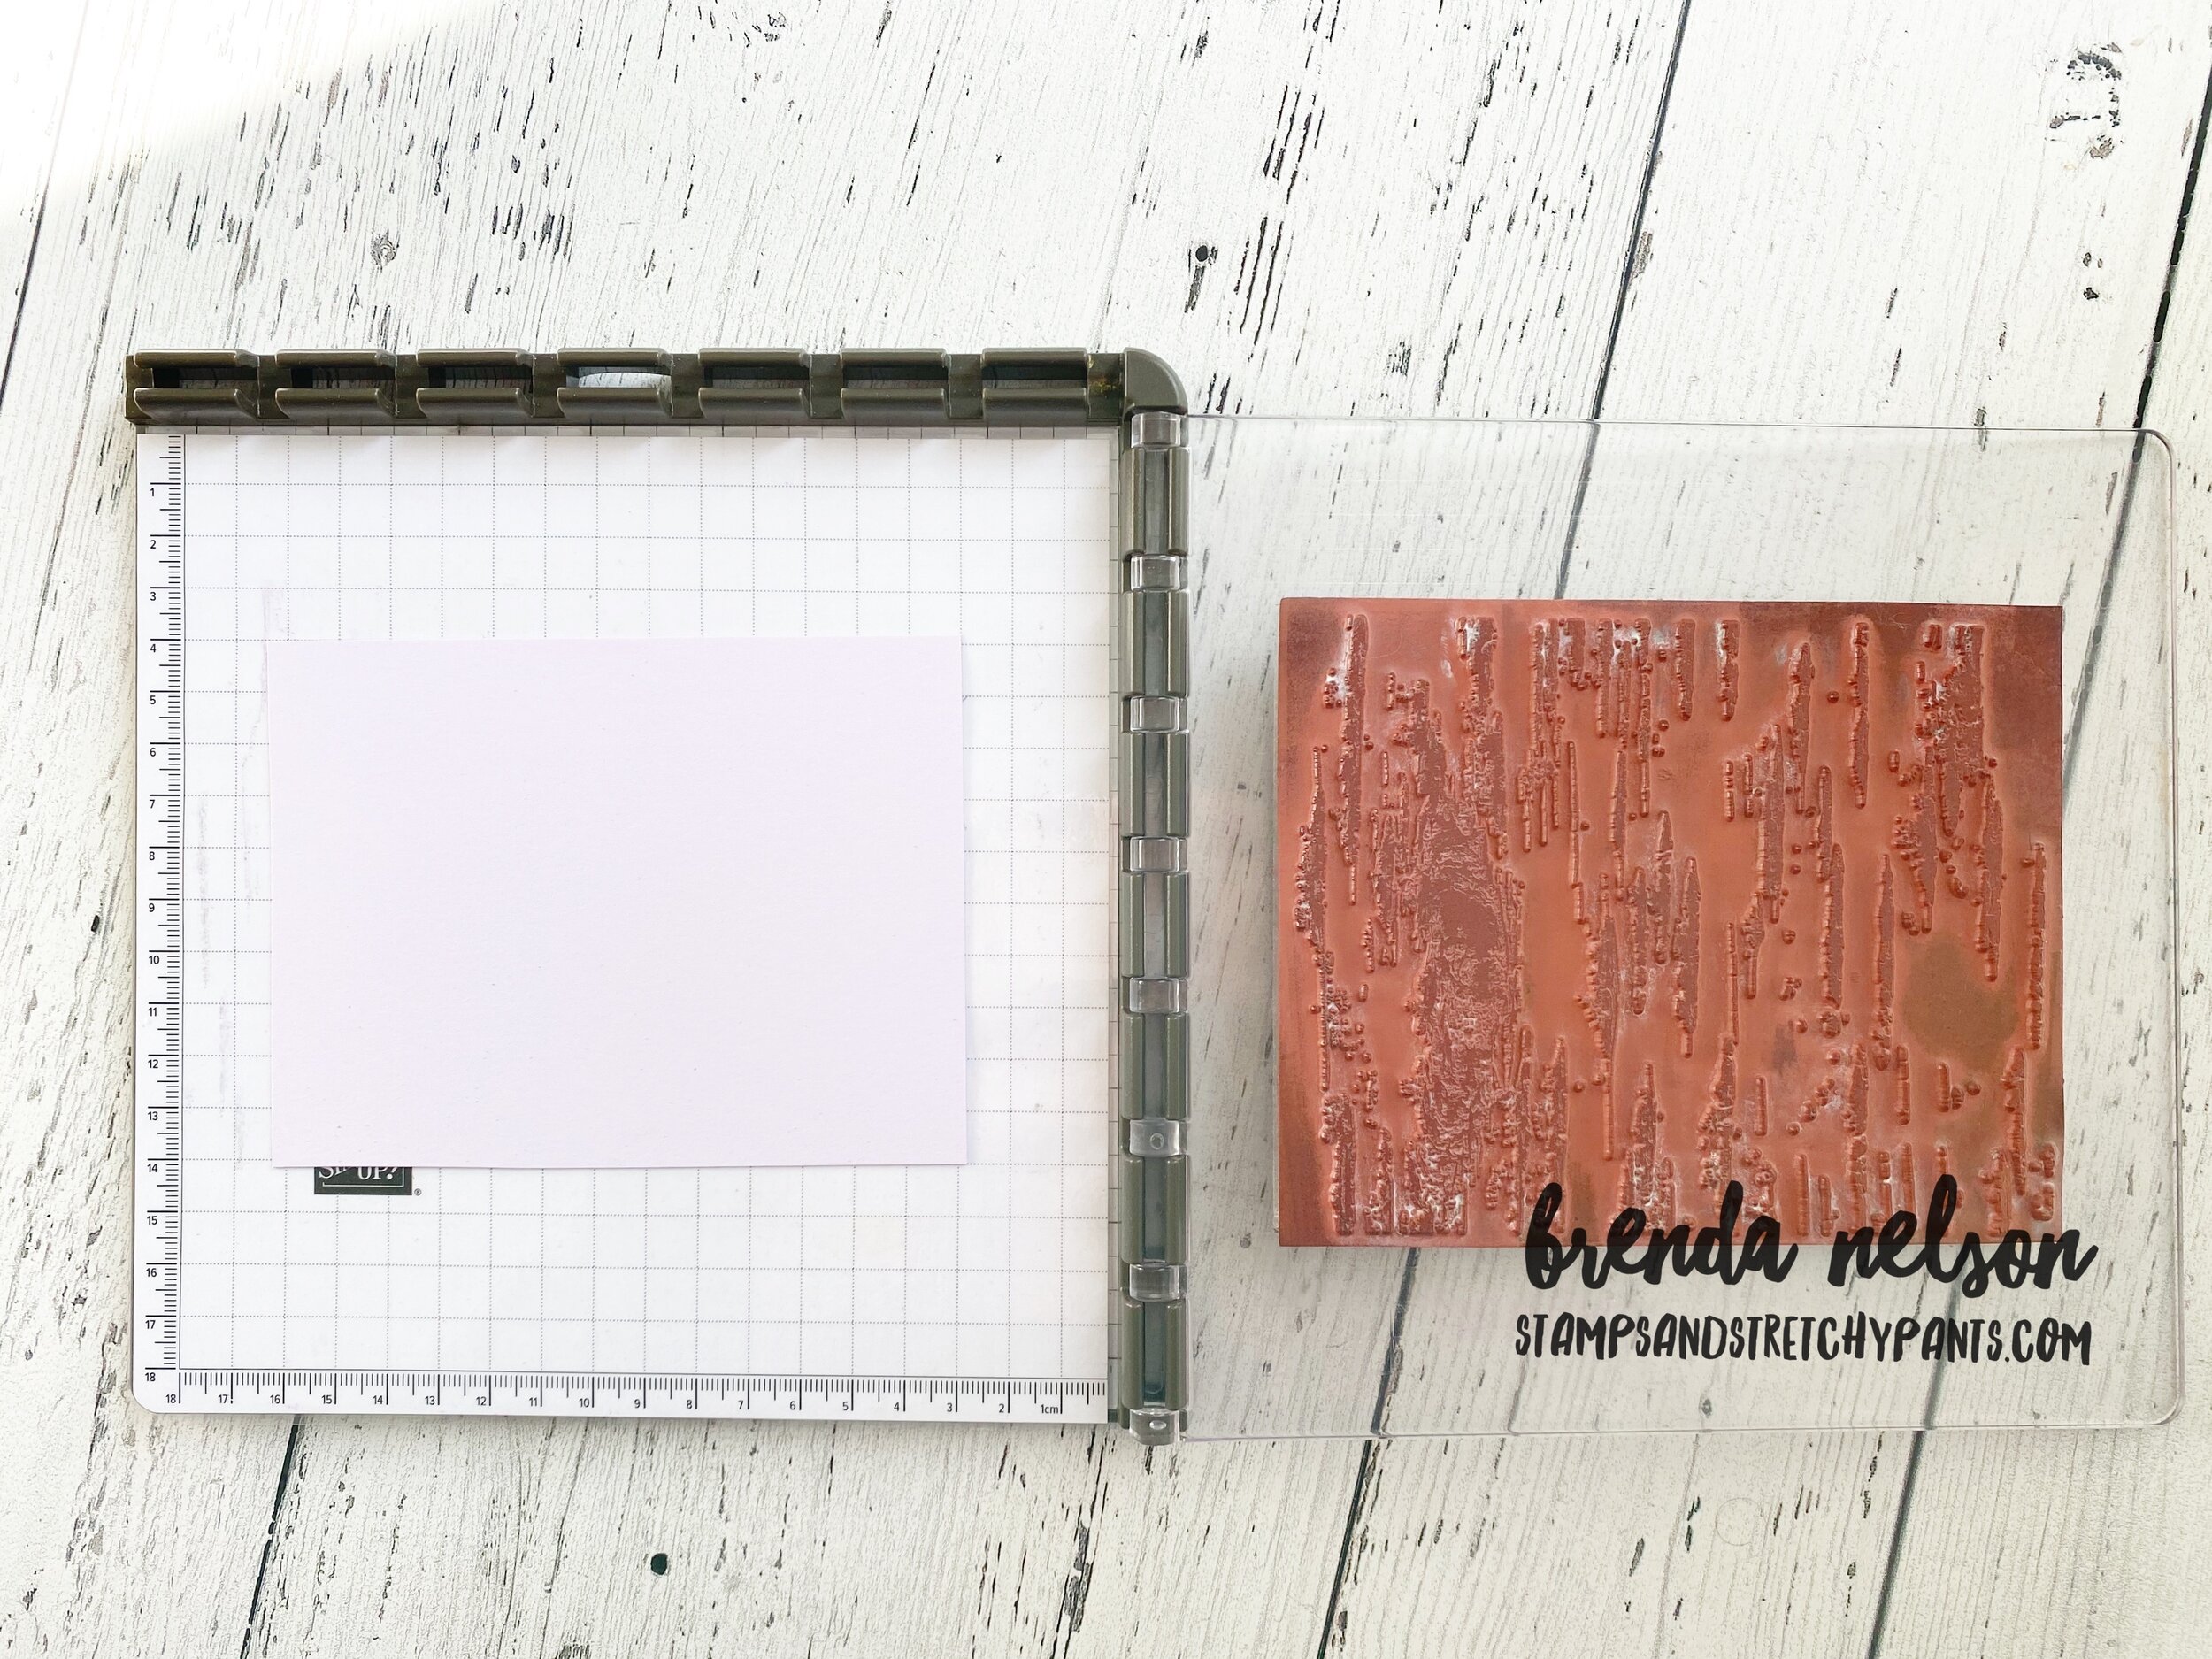
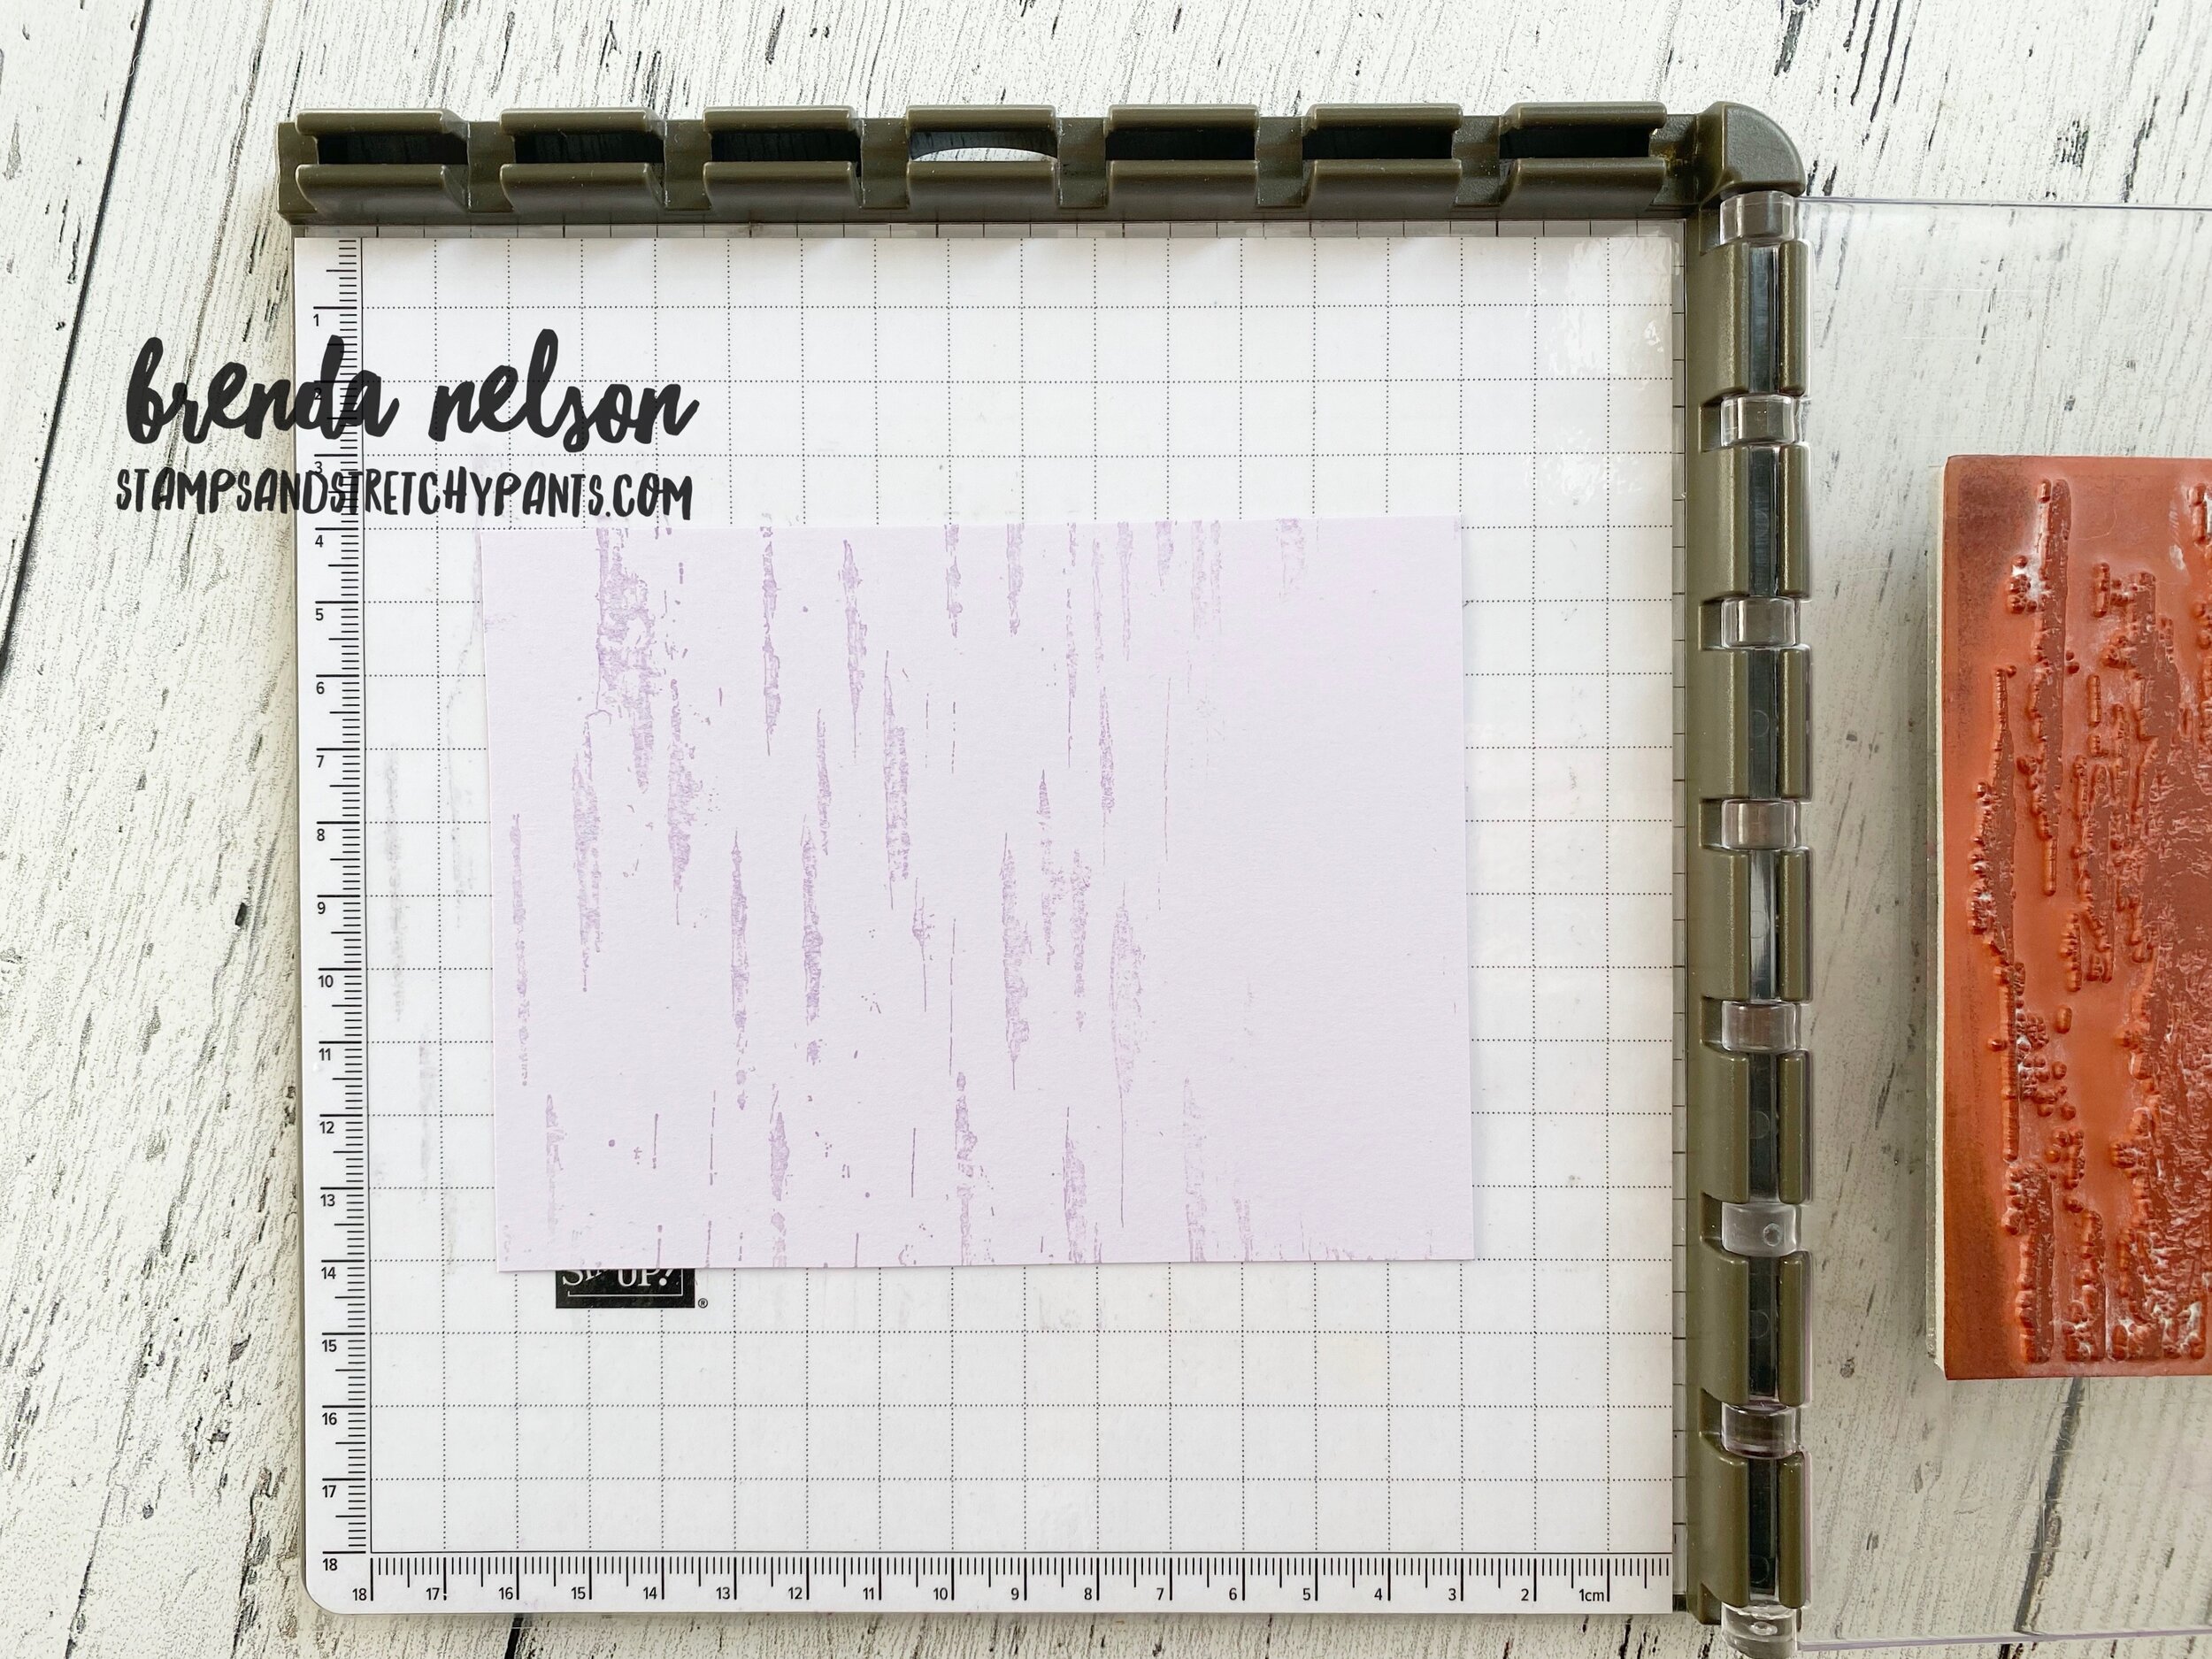
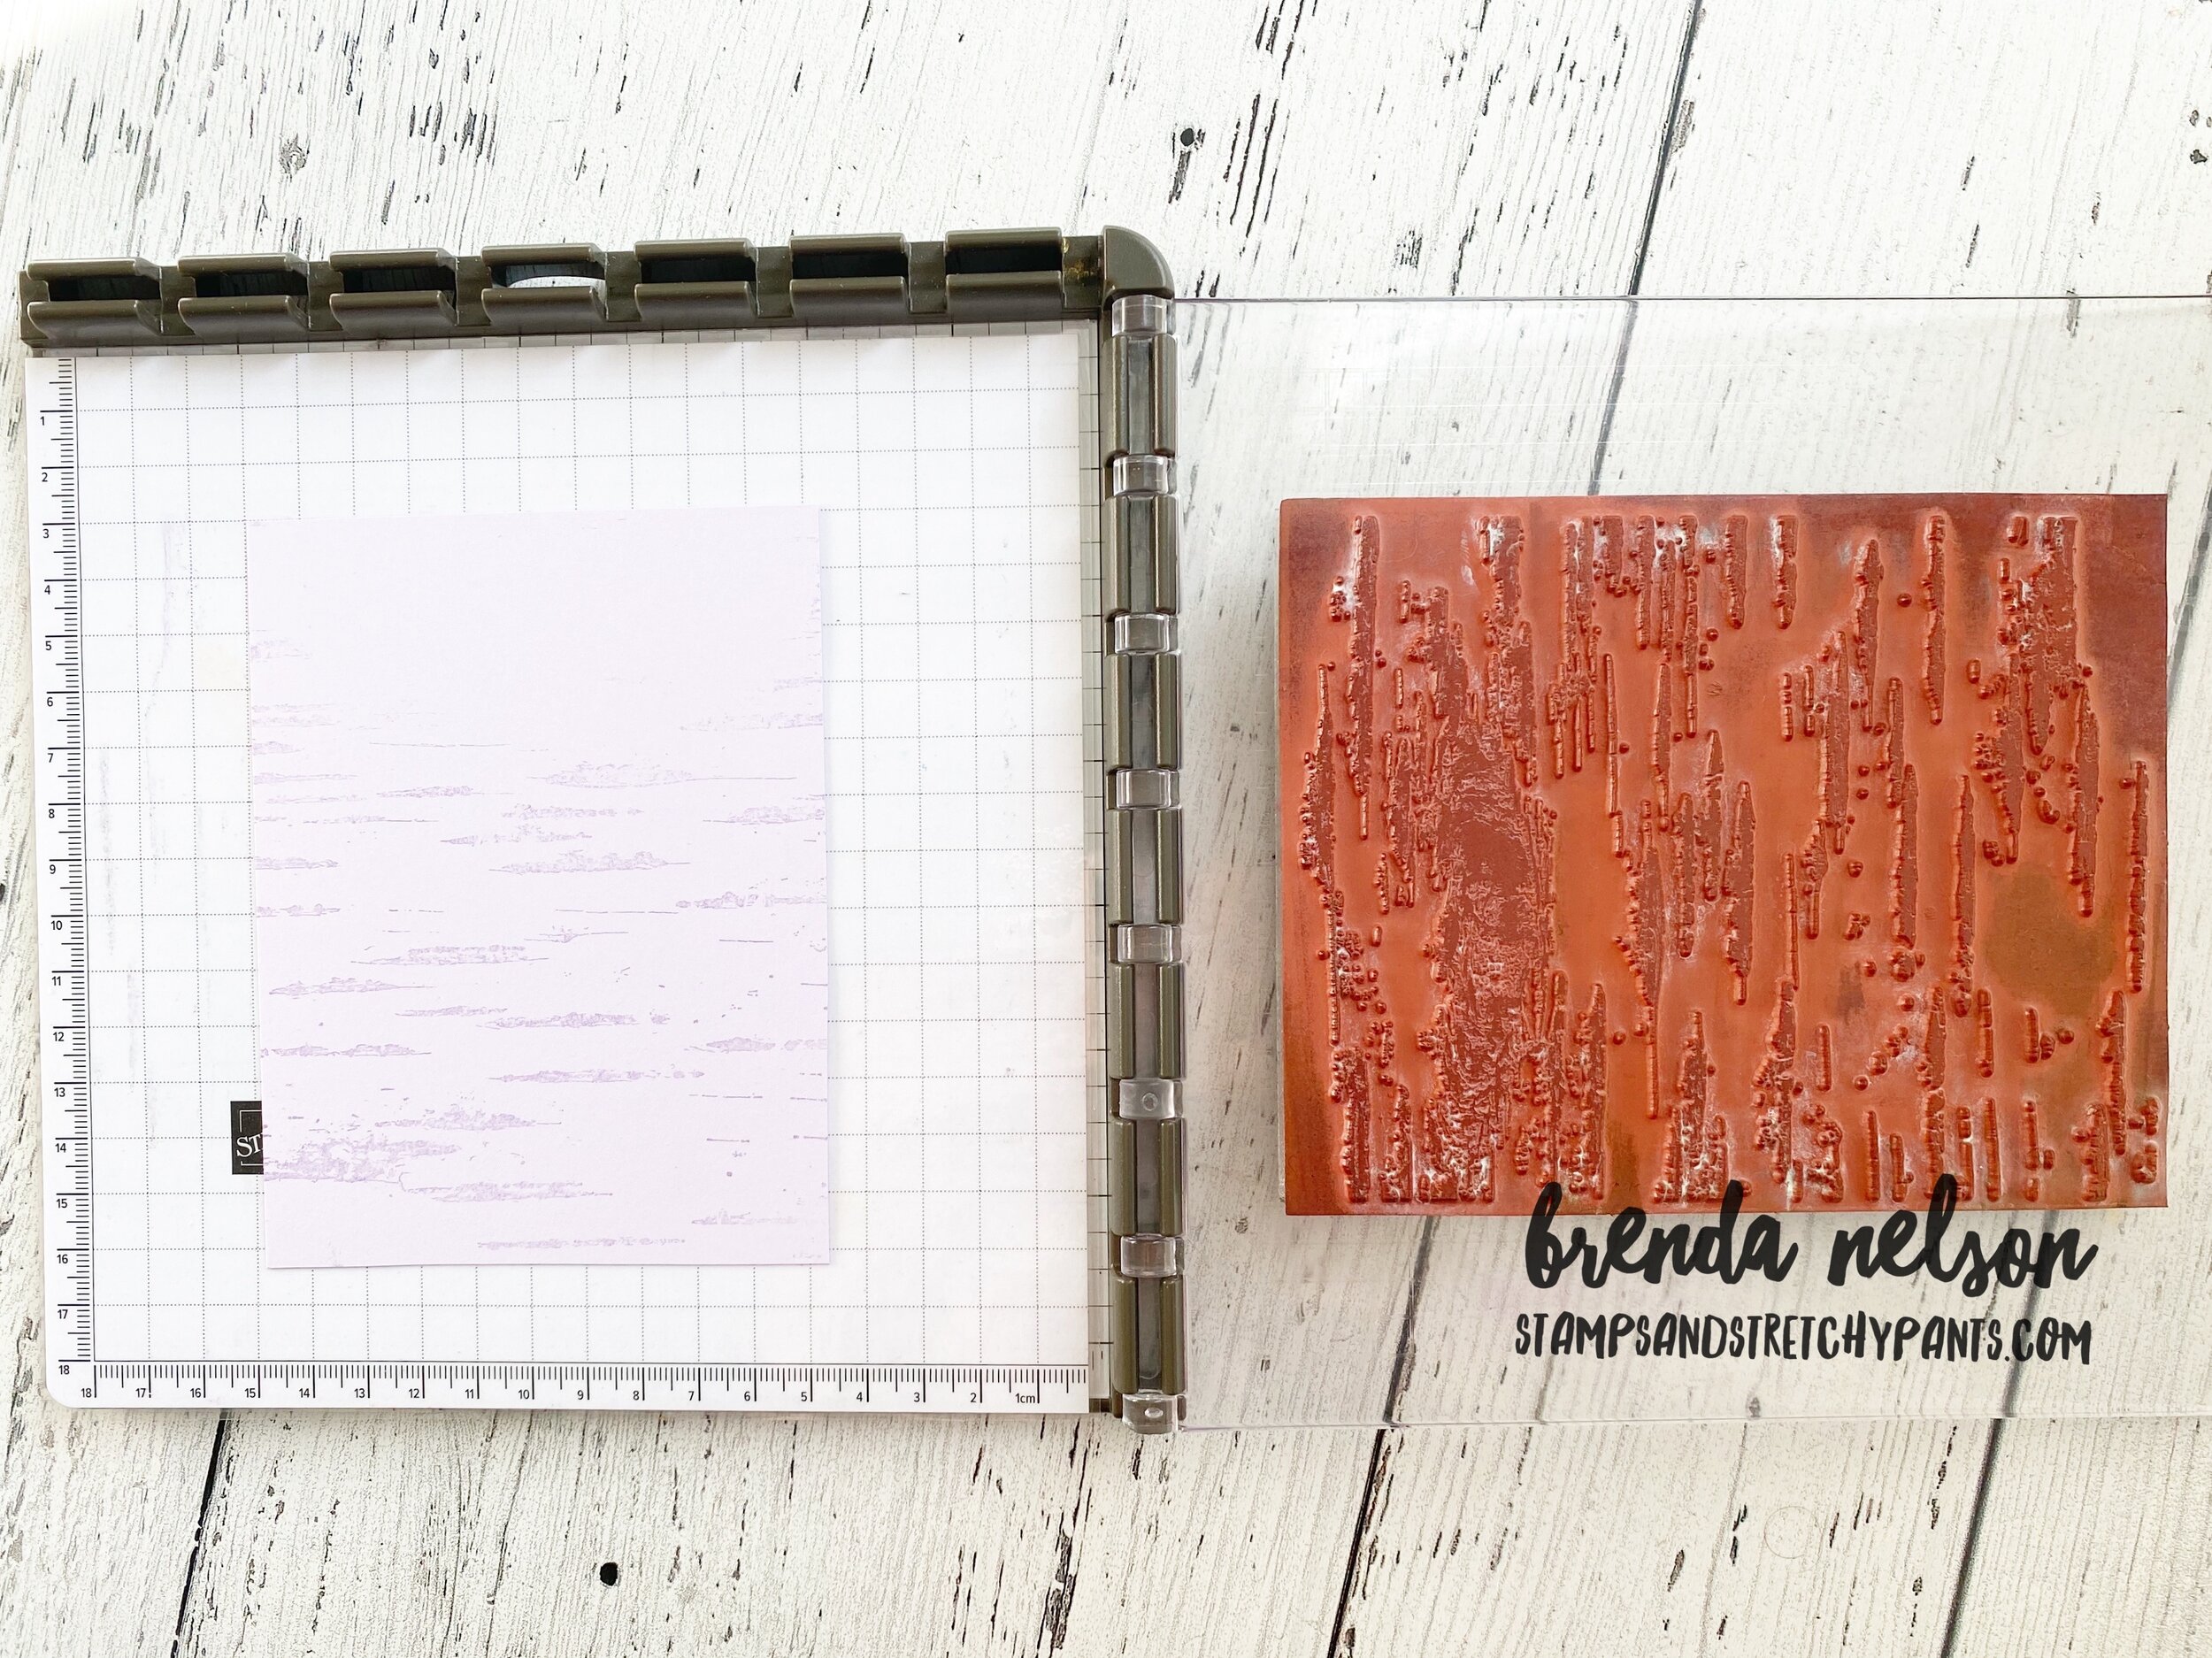
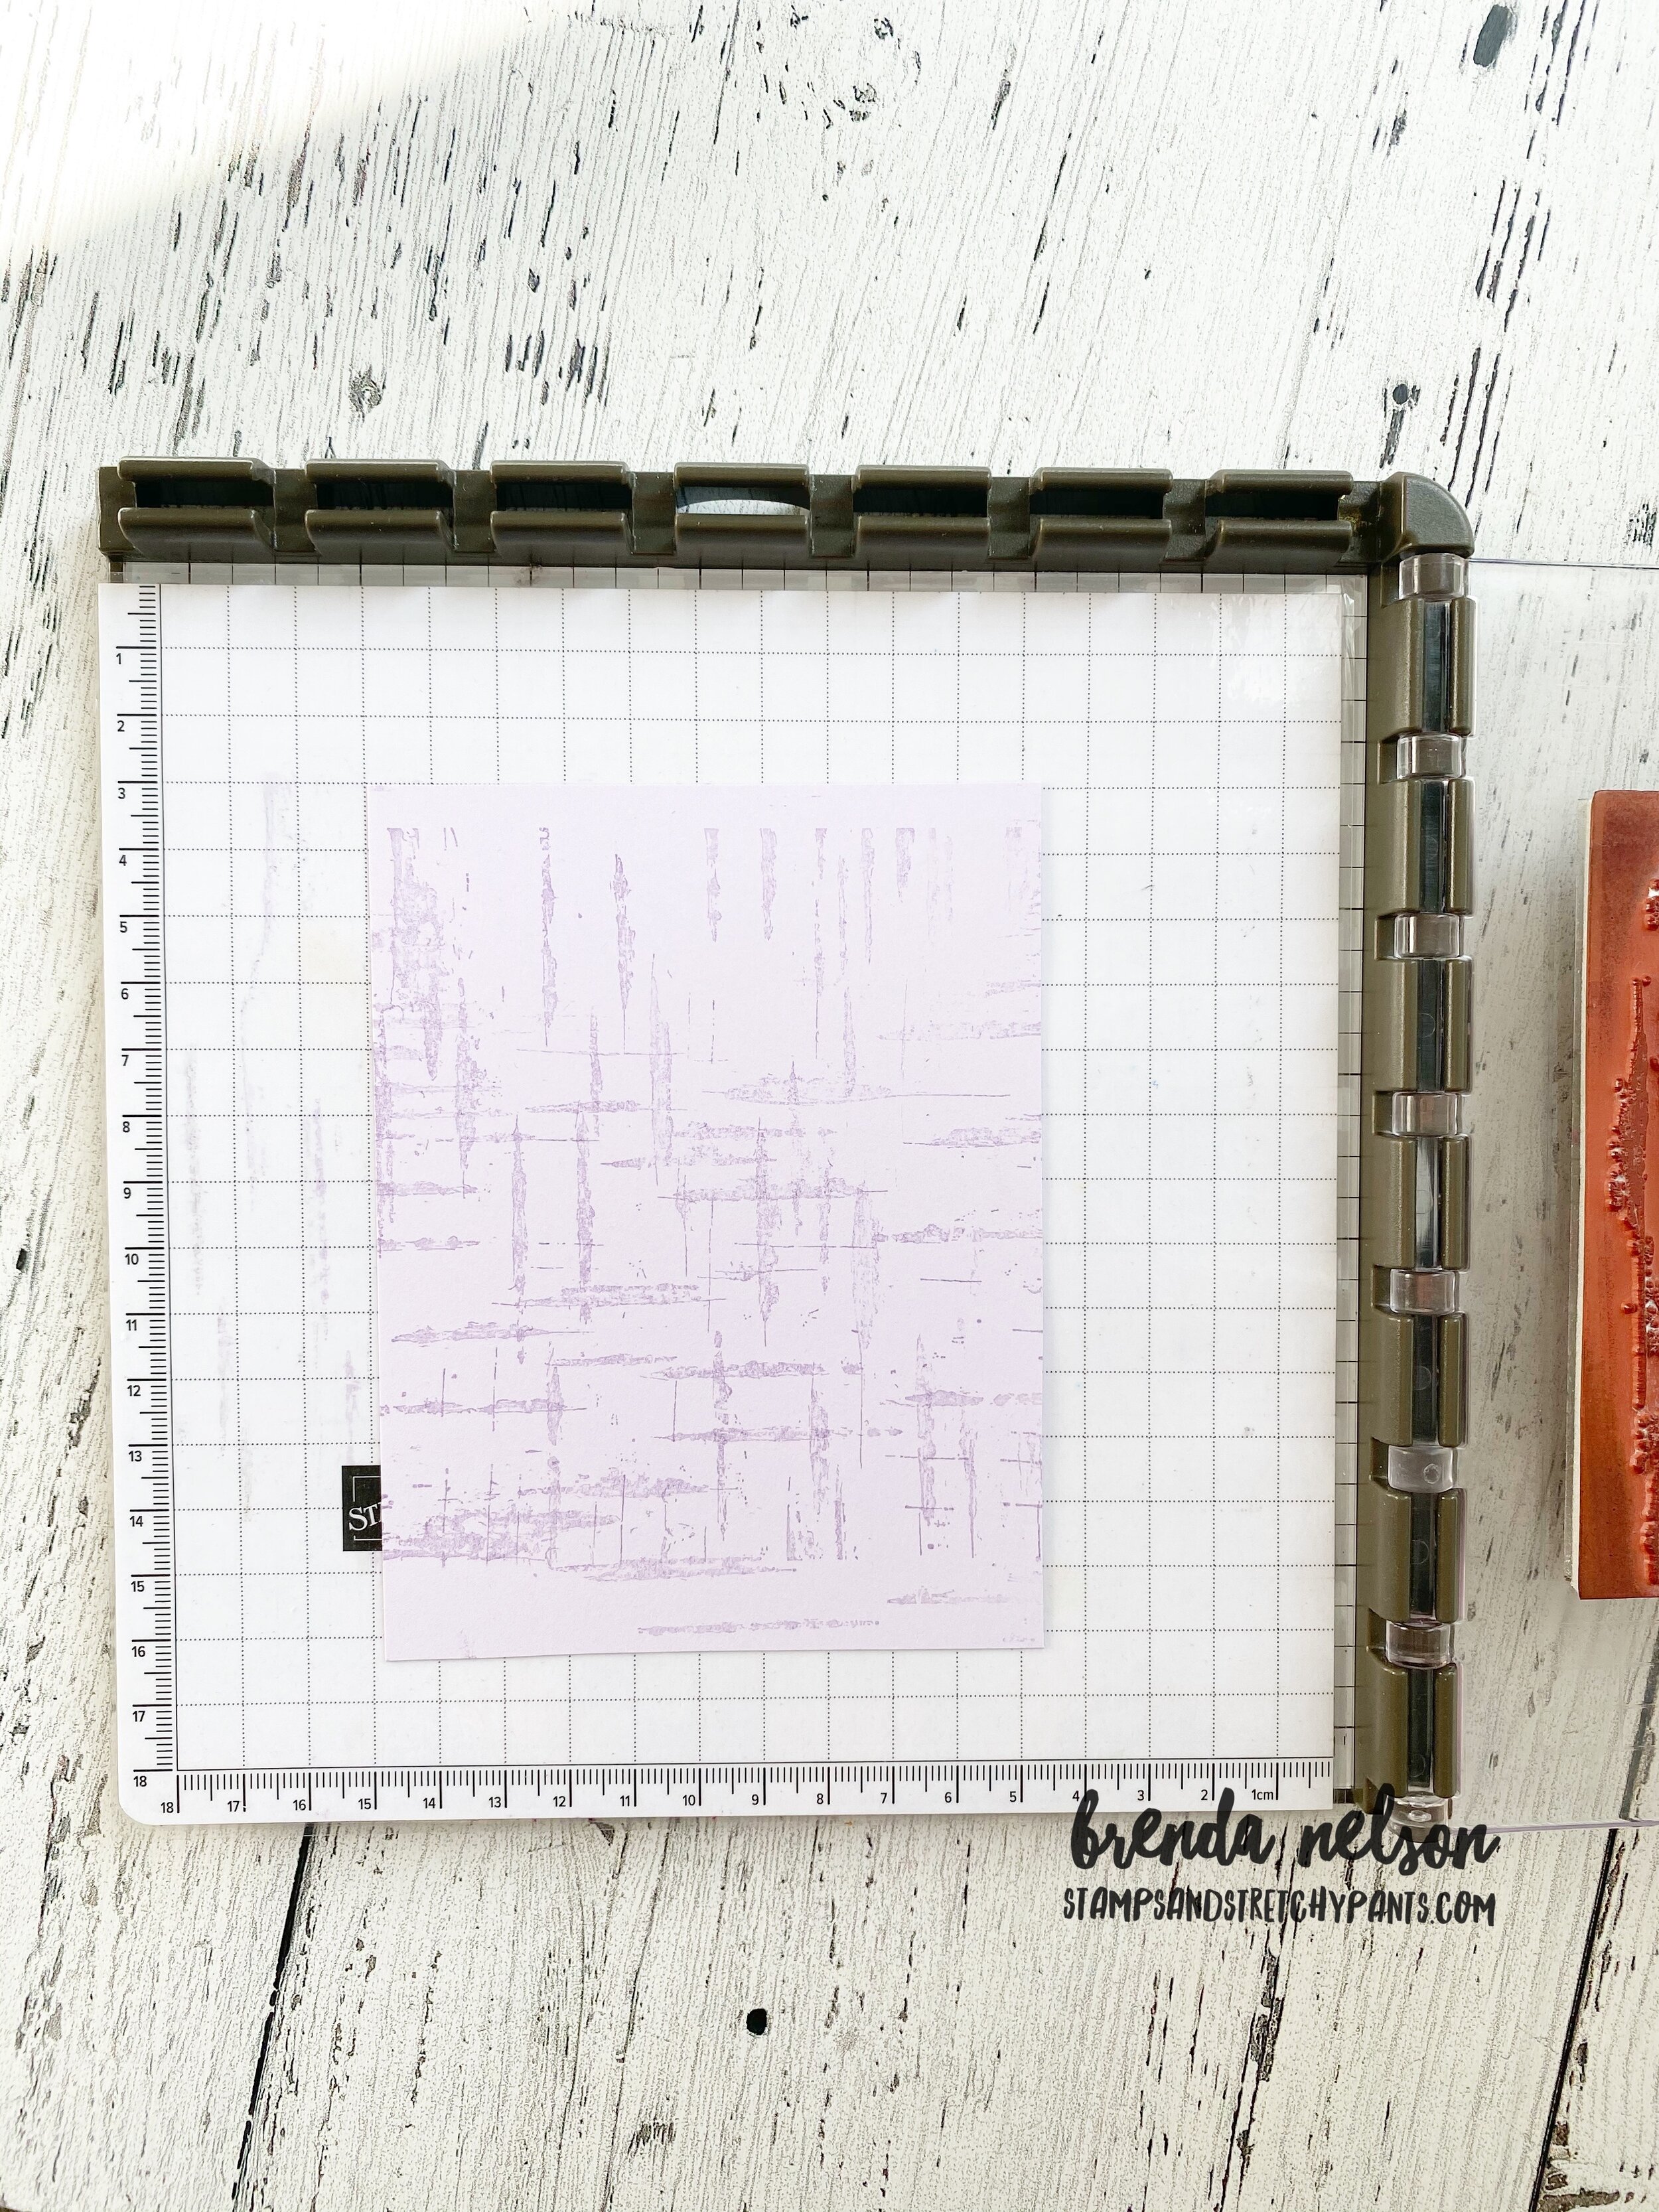
The create the background I started with my Birchwood stamp mounted on my Stamparatus. Line up your paper and ink your stamp and gently press it down. Lift up your paper and rotate it in the opposite direction (if you start horizontal, rotate vertical or vice versa). Ink the stamp again and press. You end up with this really cool background!

This card is simple and was pretty fast to come together! I already have a list of gal pals I will be sending this to!

This card is simple and was pretty fast to come together! I already have a list of gal pals I will be sending this to!


Brighter Days Ahead--a Hop with Connie and Mary!

Brighter days truly are ahead and why not send some fun and bright cards out to your friends to celebrate? That is the theme for this week and I know you are going to find some serious inspiration on this blog hop!

 
Image 2020-04-27 at 6.31 PM (1).jpg
I was inspired to create this sunbeam technique from Michelle Zindorf.  I have been such a fan of hers over the years, she really is the blending master!

I was inspired to create this sunbeam technique from Michelle Zindorf. I have been such a fan of hers over the years, she really is the blending master!

These adorable little clouds are from the stamp set Hoot Hoot Hooray which is in the Beginner Catalogue. The sentiment ‘Delivering Sunshine Your Way’ is from the You Always Deliver stamp set which is on the Last Chance list! Make sure you consider i…

These adorable little clouds are from the stamp set Hoot Hoot Hooray which is in the Beginner Catalogue. The sentiment ‘Delivering Sunshine Your Way’ is from the You Always Deliver stamp set which is on the Last Chance list! Make sure you consider it!

It is actually a lot easier than you might think to create this sunbeam technique. Simply start with a yellow ink of your choice. I used Daffodil Delight. I take one of our Stampin’ Sponges and I cut it into quarters.

Top Tip: punch a tab of coordinating card stock with the Circle Tab punch so you always know what color is on your sponge

Lightly sponge background about 3/4 of the way down. You want to leave a section at the bottom to color in a light blue for the sky. I used Balmy Blue and the sentiment is stamped over top in Pacific Point.

Once you have the yellow base, take a second piece of card stock that is longer than your card base to use as the masking for the beams. You can see in my third picture what I mean. You will angle this piece of card stock, starting from the right corner across the base and rub along the edge in the same ink color. This will create the beams. Work your way across your base and make sure you don’t go past where you have sponged the yellow base. I found that I also needed to keep sponging the ‘sun’ area in the top right corner. After I sponged 2-3 beams I would blend the edge of the beam out in a circular motion to create that sun effect.

The little clouds are lightly coloured with Balmy Blue and my aqua painter and of course I went over them with Wink of Stella. Glitter does make everything better!

The little clouds are lightly coloured with Balmy Blue and my aqua painter and of course I went over them with Wink of Stella. Glitter does make everything better!

Click BACK to visit Melissa at Rubberfunatics and NEXT to see what Connie at has designed for this week!


Introducing...


The NEW In Colors for 2020-2022 of course! I am sure you have seen them floating around online already! They are Misty Moonlight, Magenta Madness, Bumblebee, Cinnamon Cider, and Just Jade!

final.jpg

This card is a fabulous way to showcase these five new amazing colors! They look outstanding together and will compliment our existing lineup in an awesome way.

I used the Stitched Stars dies to cut out the front image and then layered strips of card stock behind in varying widths. I thought it was a fun way to present these colors especially paired with the sentiment “Hello Fabulous” from the Dressed to Impress stamp set, which will be in the new catalogue!

Adding in a couple couple new embellishments is also a great way to showcase the New In Colors.  I used the In Color Enamel Dots, 1/4 inch ribbon in Misty Moonlight and the 1/4 gingham ribbon in Bumblebee.  I also snuck in some Gold Metallic thread …

Adding in a couple couple new embellishments is also a great way to showcase the New In Colors. I used the In Color Enamel Dots, 1/4 inch ribbon in Misty Moonlight and the 1/4 gingham ribbon in Bumblebee. I also snuck in some Gold Metallic thread as I will use it until my last spool is gone (cue heartbreaking).


Misty Moonlight, Magenta Madness, Bumblebee, Cinnamon Cider and Just Jade—your new best friends until 2022!

Misty Moonlight, Magenta Madness, Bumblebee, Cinnamon Cider and Just Jade—your new best friends until 2022!


Just Saying Hello...

I have to admit that the temptation to play with NEW stuff is so strong! So I could not help myself by making a card with all new products for card #14 in my “A Card a Day in May” challenge!

This card features the Tasteful Touches stamp set which is a new offering. The flower is stamped twice and hand cut. The dies for this bundle do not cut out the images in the stamp set. I coloured the flowers with the Purple Posy and Highland Heather Stampin’ Blends. I went over top of the flowers with the Wink of Stella Pen. I really wish I could capture the sparkle it adds in a photo!

I used the Scallop Tag Topper punch to create the vellum tag and embossed the sentiment in white. The foliage is cut with the Sunflowers dies in Mossy Meadow and Old Olive. The base layer of the card is embossed with the new Old World Paper 3D folder. The texture it gives is just unbelievable!

Finally I added some Gilded Gems and gold metallic trim from the Forever Greenery Combo Pack!

If you are like me and cannot wait for new stuff, then consider that I got ALL OF THIS product on the demonstrator pre-order! You can join my Glitter Girls team NOW and get all of this in your Starter Kit too!


final 22.JPG
sign up now
 
final 21.JPG
Aren’t these blooms just gorgeous on this Old World embossed background? LOVE LOVE LOVE!

Aren’t these blooms just gorgeous on this Old World embossed background? LOVE LOVE LOVE!

Around the World on Wed--Crafty Coloring!

Welcome to the second Around the World on Wednesday Blog Hop! This round is focused on colouring tools. I had to go with Stampin’ Blends! They actually have a ton of versatility! You can color on card stock, designer series paper, vellum, ribbon, embellishments such as rhinestones and wooden elements and even window sheets!

Window sheets is what I am working with today. I created a flower focal point using the Stained Glass technique (that is what I know it as at least).

 
IMG_1266.JPG
final.jpg

To create the Stained Glass Technique you will need a window sheet, Stampin’ Blends in a color of your choice, an image that can be coloured, Staz On ink, and Sparkle Glimmer Paper.

For my project I used the flower from the Timeless Tropical stamp set. I liked this as an option because it also has a coordinating die. You want to stamp your image using Staz On ink (Momento Ink will not work as it will never truly dry on this surface), and then flip it over and color with your Blends on the reverse side. Once you are done colouring with the Blends you can see what a cool finish the alcohol marker leaves on the window sheet. Use the die to cut out the same shape on the Glimmer Paper and then adhere you coloured image to this. This creates the ‘stained glass’ look.

Upon closer look at this card yo may notice that the leaves feel really soft. After stamping them in Granny Apple Green I went over them with an Aqua Painter to soft and blend the ink slightly.  Use a light hand with the water because this is just a…

Upon closer look at this card yo may notice that the leaves feel really soft. After stamping them in Granny Apple Green I went over them with an Aqua Painter to soft and blend the ink slightly. Use a light hand with the water because this is just a Whisper White base.

I actually tried to keep this card simple. It is a challenge for me, I won’t lie! I am an avid girl at heart. I used a neutral strip of designer paper from the Woven Threads collection along the left edge and tied a simple bow in White Bakers Twine. I flicked my Granny Apple Green marker in the background and added ‘hello’ from the Timeless Tropical set in Sahara Sand. A few Glitter Enamel Dots and voila!

final.jpg
Visit Tricia Butts from the US next to see her colouring tools creation!

Visit Tricia Butts from the US next to see her colouring tools creation!