Happy New Year 2023

Hello to all of my friends and family! Wishing you the very best as we kick off a NEW YEAR! I am always excited for a new year and all the NEW that it can represent—new opportunities to try new things (maybe a Facebook live….), go new places (can’t wait for the Norway Incentive Trip with Shepard in May), read new books (did you see my post yesterday with all the new book recommendations), stamping with NEW STUFF (can’t wait for the Occasions Catty to go live in a few days) and meeting new friends! The world is full of so many interesting people, I can’t wait to meet some of them in 2023 (I have a whole new bunch of Artisan Design Team friends to get to know!)

Here is a little fun card for some creative inspiration. I was inspired by a card that Cindy Schuster shared recently on Stampin’ Fancy Friday and since I didn’t give out too many Christmas cards, I thought it would be fun to make some for a few crafty friends!

Petal Pink is my favorite color as of late, and if you check through the new DSP coming out in the Occasions Catalogue, you will see its a popular color with the concept artists over at Stampin’ Up! too.

The stars in the background are from an ancient stamp set called Perpetual Birthday Calendar and the main sentiment ‘Hooray’ is from a current set called Big Hooray in the Annual Catalogue. The sentiment ‘to the new year’ is trimmed from a stamp in another retired set called Cheers to That. So this card is really a mix of everything!

The main sentiment is ombre with Coastal Cabana, Bermuda Bay, Mint Macaron and Pool Party ink—literally all my favorite colors on this card!

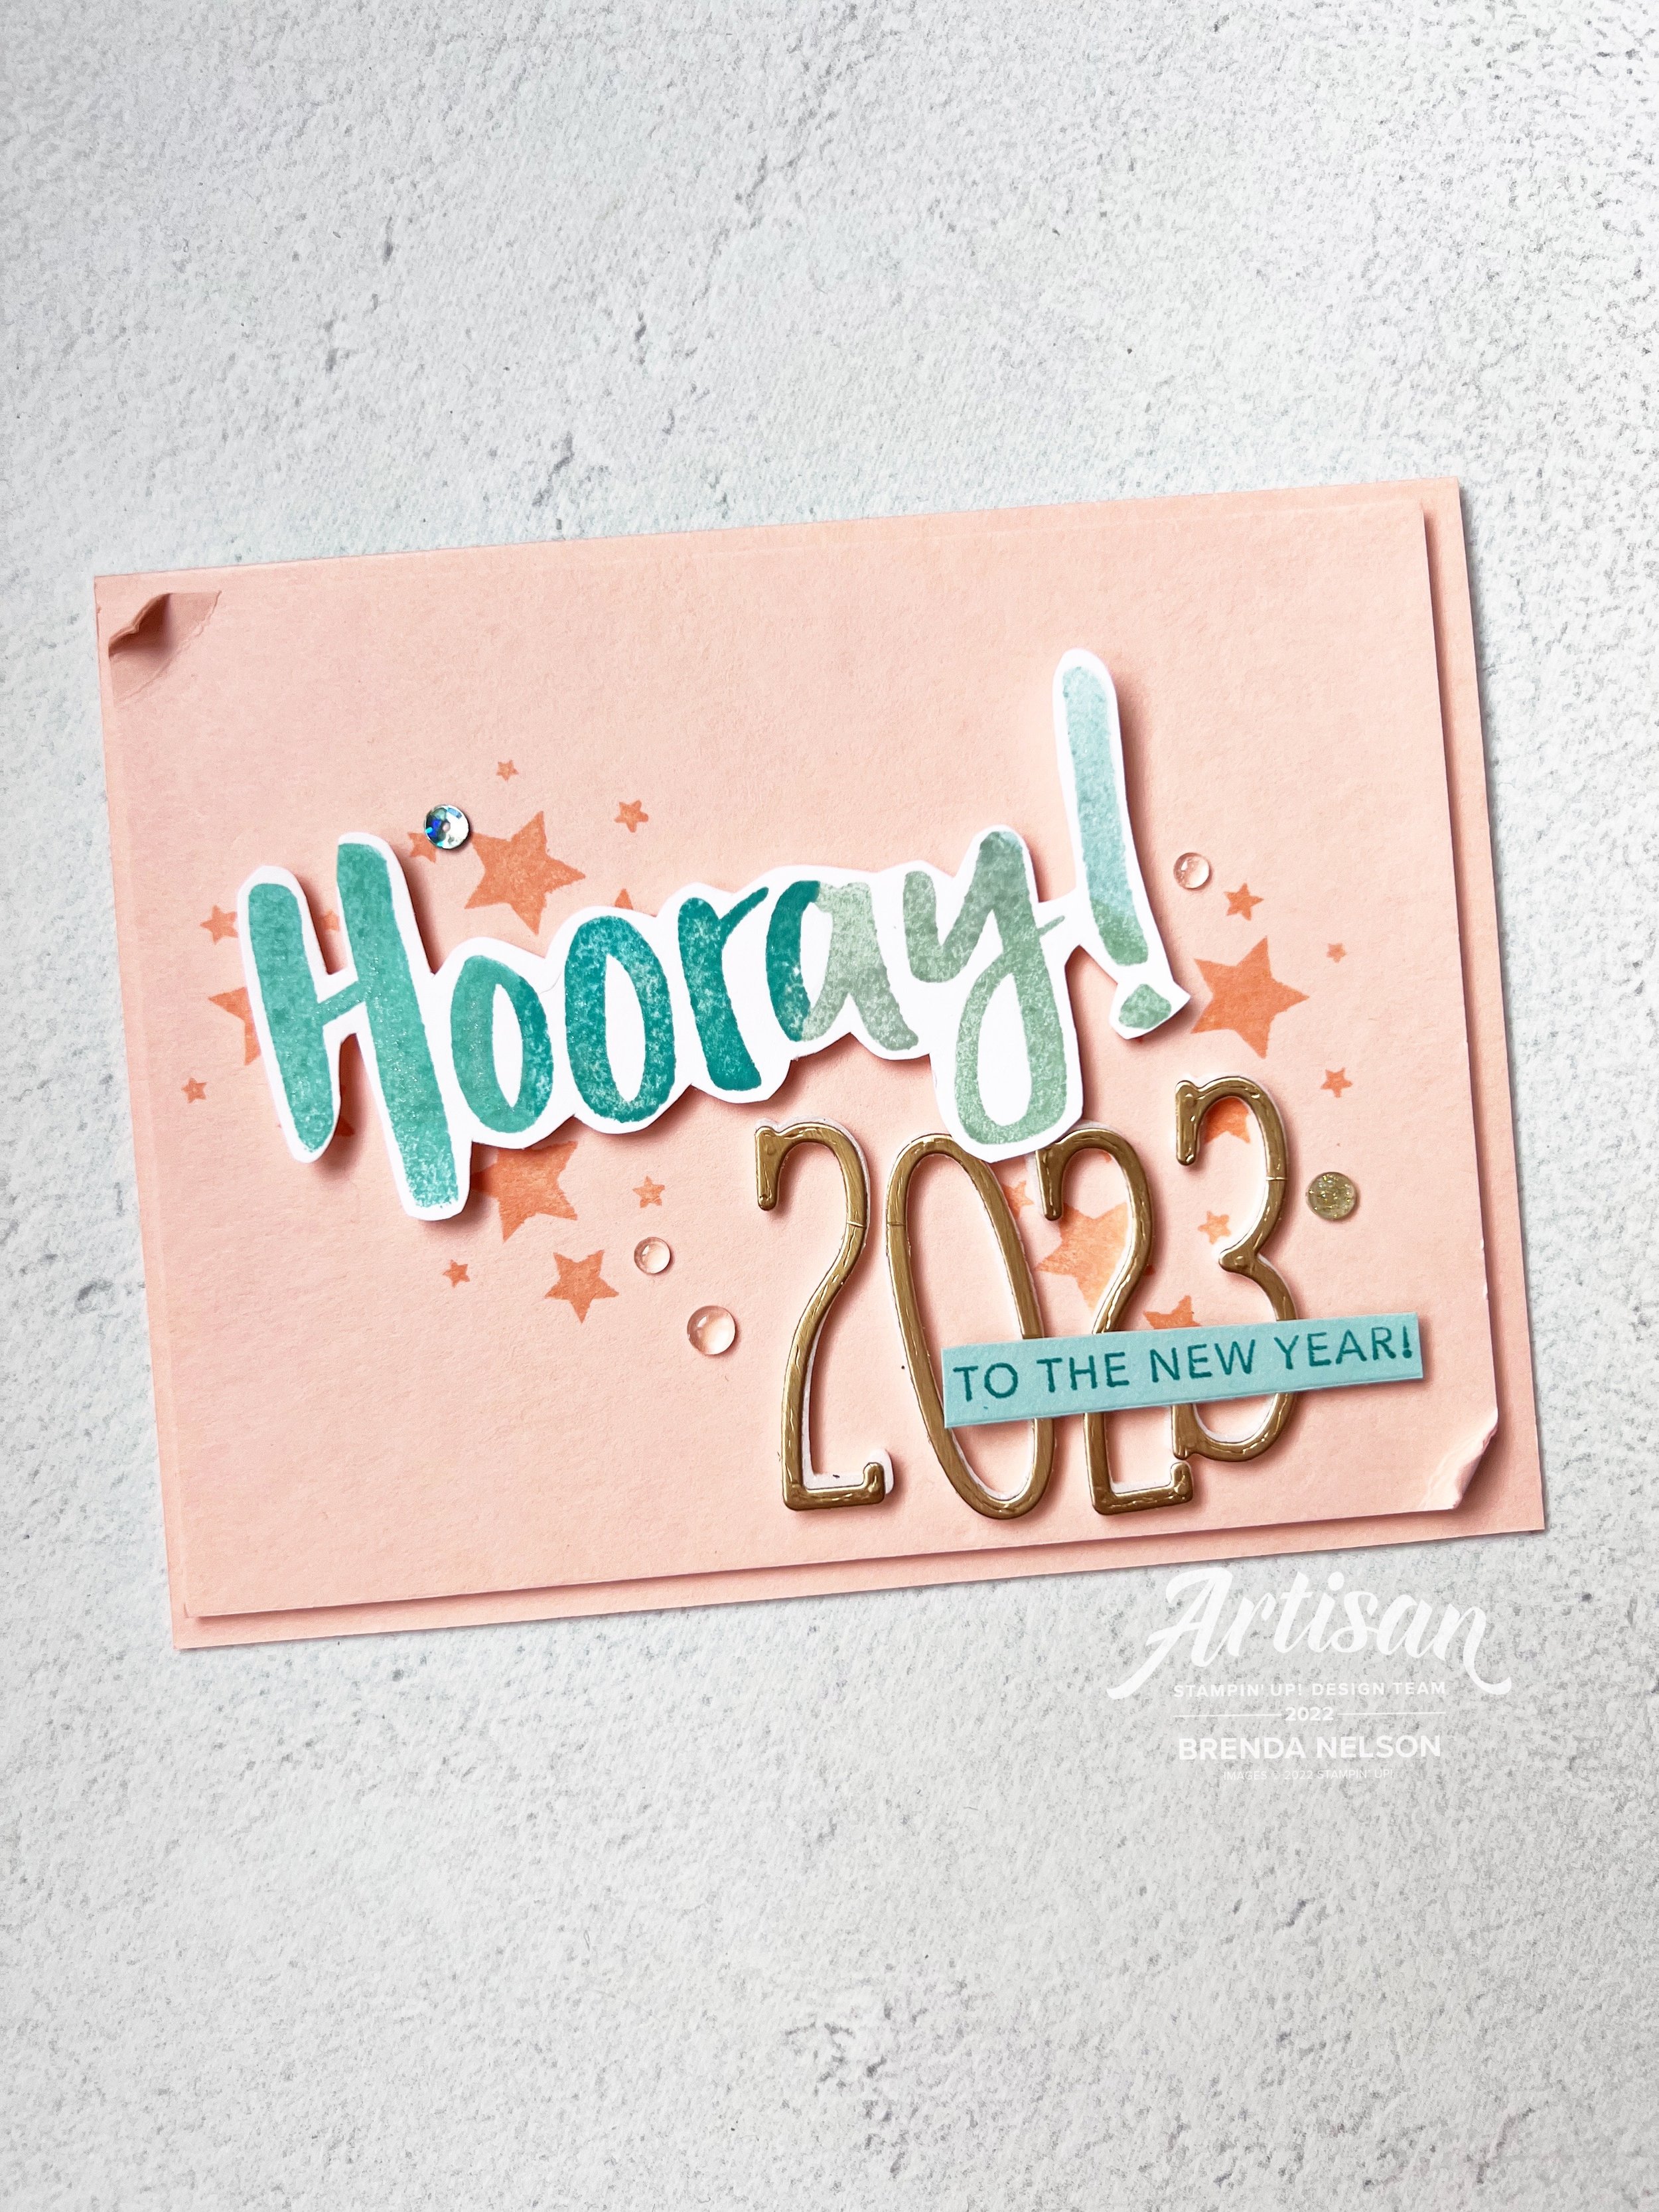
I am really excited about the new Alphabet A la Mode dies in the Occasions Catalogue and I used them with the Foam Adhesive Sheets and all my scrap pieces of gold or goldish toned paper…this projects was such a good way to use up scraps and bits that I seem to hang on to. I also went over the ‘Hooray’ with my Wink of Stella pen so it had a bit of sparkle too.

I used a mash up of embellishments—new Pastel Adhesive Backed Gems, Polished Dots and some Elegant Gems.


I hope you have a creative 2023 and I invite you along on my journey! I can’t wait to see what this year has in store and I am starting a new hashtag #goodstuff2023 to manifest all the good stuff to come my way and yours!

Brighter Days Ahead--a Hop with Connie and Mary!

Brighter days truly are ahead and why not send some fun and bright cards out to your friends to celebrate? That is the theme for this week and I know you are going to find some serious inspiration on this blog hop!

 
Image 2020-04-27 at 6.31 PM (1).jpg
I was inspired to create this sunbeam technique from Michelle Zindorf.  I have been such a fan of hers over the years, she really is the blending master!

I was inspired to create this sunbeam technique from Michelle Zindorf. I have been such a fan of hers over the years, she really is the blending master!

These adorable little clouds are from the stamp set Hoot Hoot Hooray which is in the Beginner Catalogue. The sentiment ‘Delivering Sunshine Your Way’ is from the You Always Deliver stamp set which is on the Last Chance list! Make sure you consider i…

These adorable little clouds are from the stamp set Hoot Hoot Hooray which is in the Beginner Catalogue. The sentiment ‘Delivering Sunshine Your Way’ is from the You Always Deliver stamp set which is on the Last Chance list! Make sure you consider it!

It is actually a lot easier than you might think to create this sunbeam technique. Simply start with a yellow ink of your choice. I used Daffodil Delight. I take one of our Stampin’ Sponges and I cut it into quarters.

Top Tip: punch a tab of coordinating card stock with the Circle Tab punch so you always know what color is on your sponge

Lightly sponge background about 3/4 of the way down. You want to leave a section at the bottom to color in a light blue for the sky. I used Balmy Blue and the sentiment is stamped over top in Pacific Point.

Once you have the yellow base, take a second piece of card stock that is longer than your card base to use as the masking for the beams. You can see in my third picture what I mean. You will angle this piece of card stock, starting from the right corner across the base and rub along the edge in the same ink color. This will create the beams. Work your way across your base and make sure you don’t go past where you have sponged the yellow base. I found that I also needed to keep sponging the ‘sun’ area in the top right corner. After I sponged 2-3 beams I would blend the edge of the beam out in a circular motion to create that sun effect.

The little clouds are lightly coloured with Balmy Blue and my aqua painter and of course I went over them with Wink of Stella. Glitter does make everything better!

The little clouds are lightly coloured with Balmy Blue and my aqua painter and of course I went over them with Wink of Stella. Glitter does make everything better!

Click BACK to visit Melissa at Rubberfunatics and NEXT to see what Connie at has designed for this week!