Color Fusers April 2022

FRIENDS!! I cannot tell you how excited I was about this month’s color combination challenge! I say challenge, because some months they really are, but not this month! I had instant inspiration for this project. Don’t you LOVE when that happens?

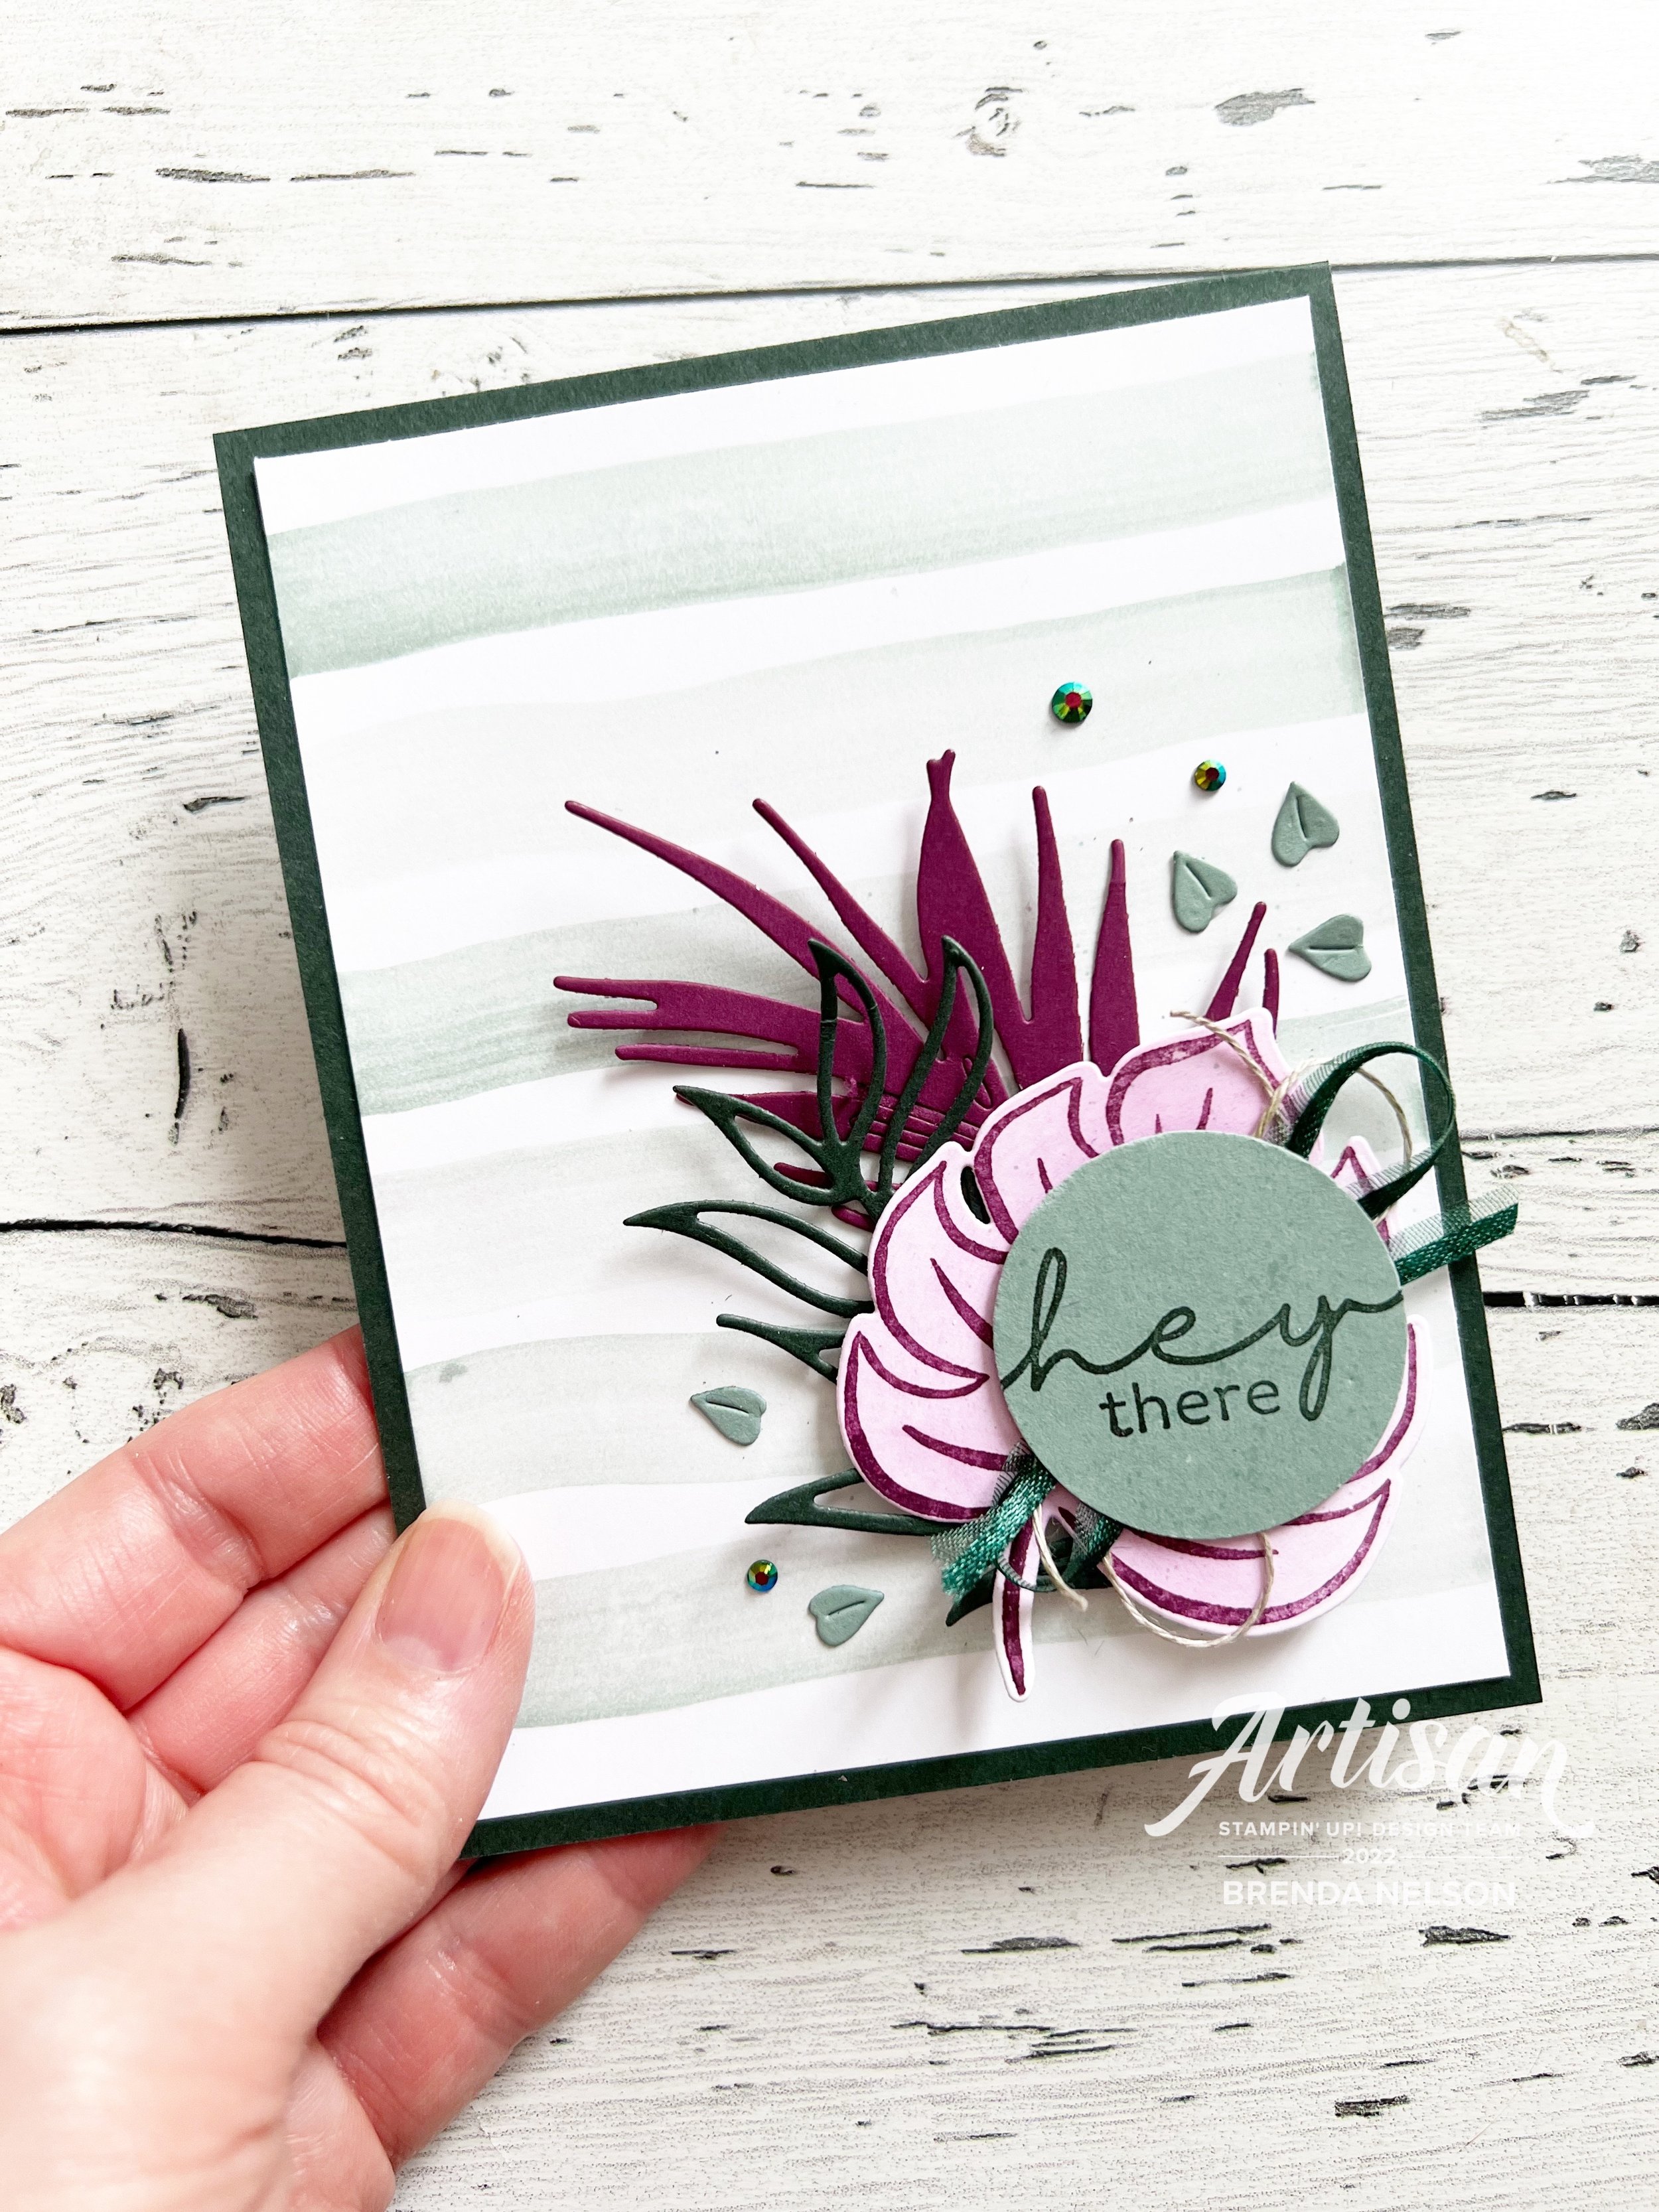
Look at this awesome combination of Crumb Cake, Bermuda Bay, Old Olive and Bumblebee. Let’s have a moment of silence for Bumblebee as it is heading into retirement. In Disney speak we would say ‘The Vault’. Hahaha! But you never know, previous In Color’s have returned as permanent Stampin’ Up! colors—like Coastal Cabana!

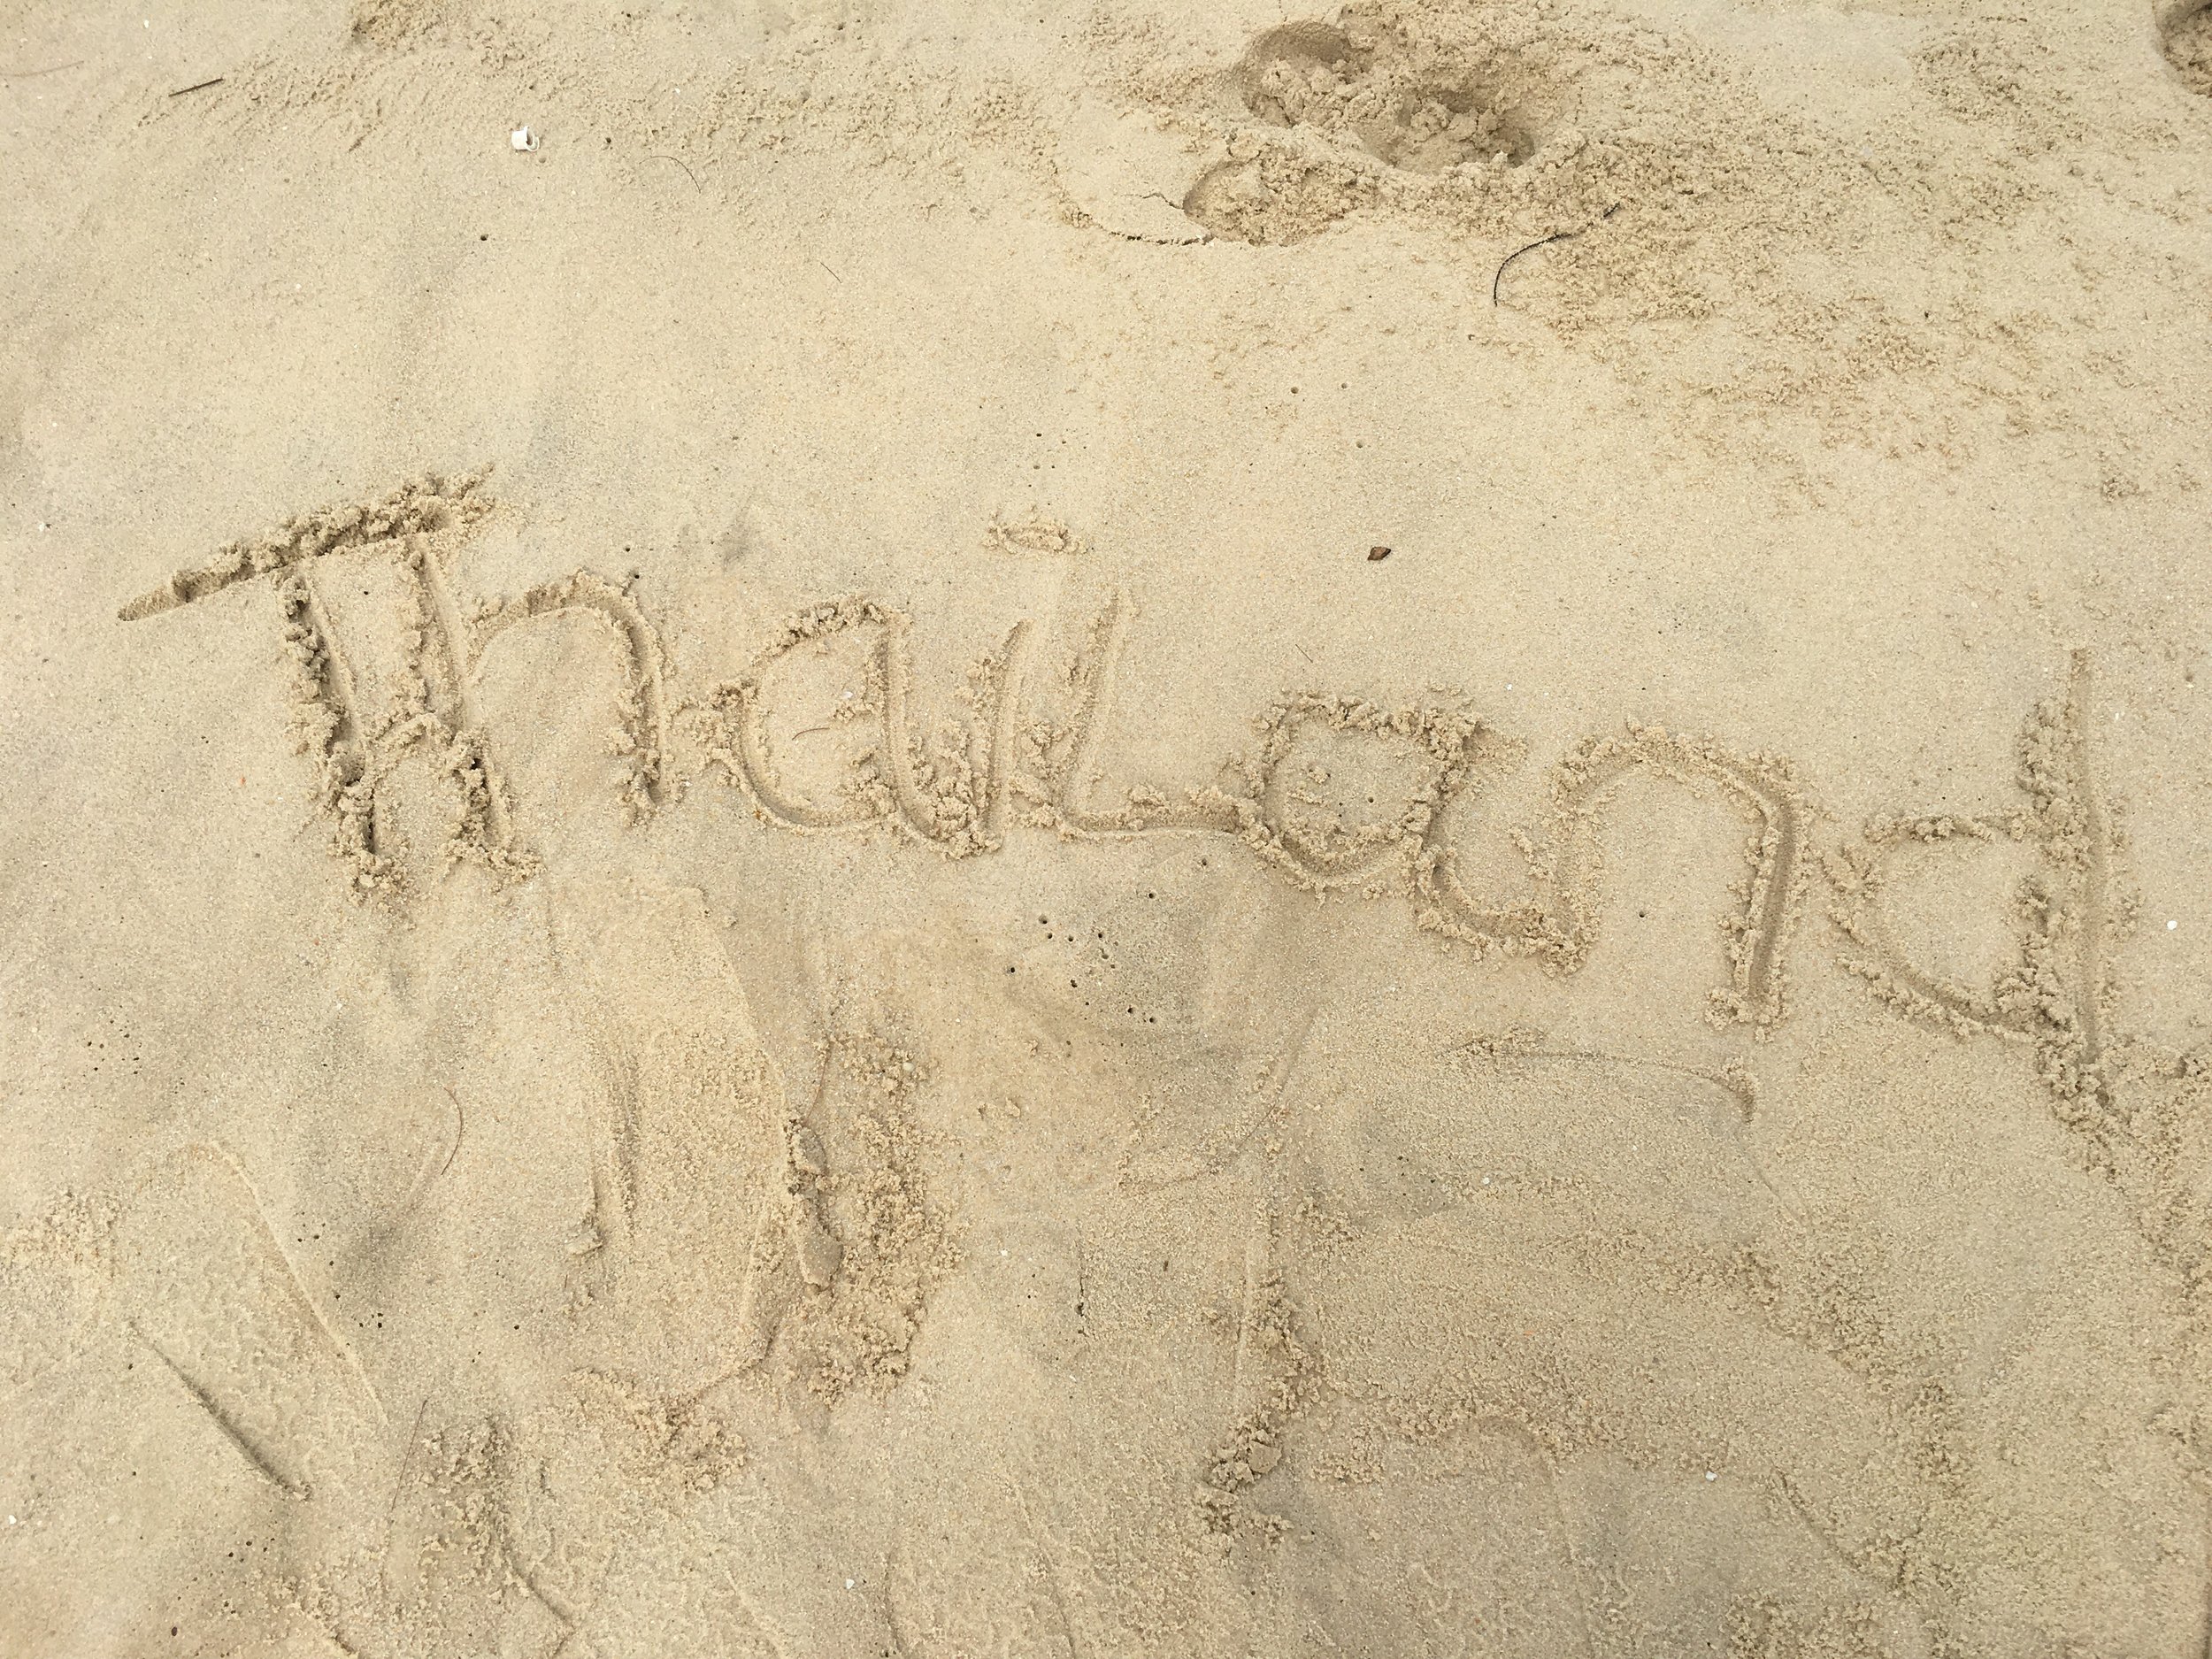
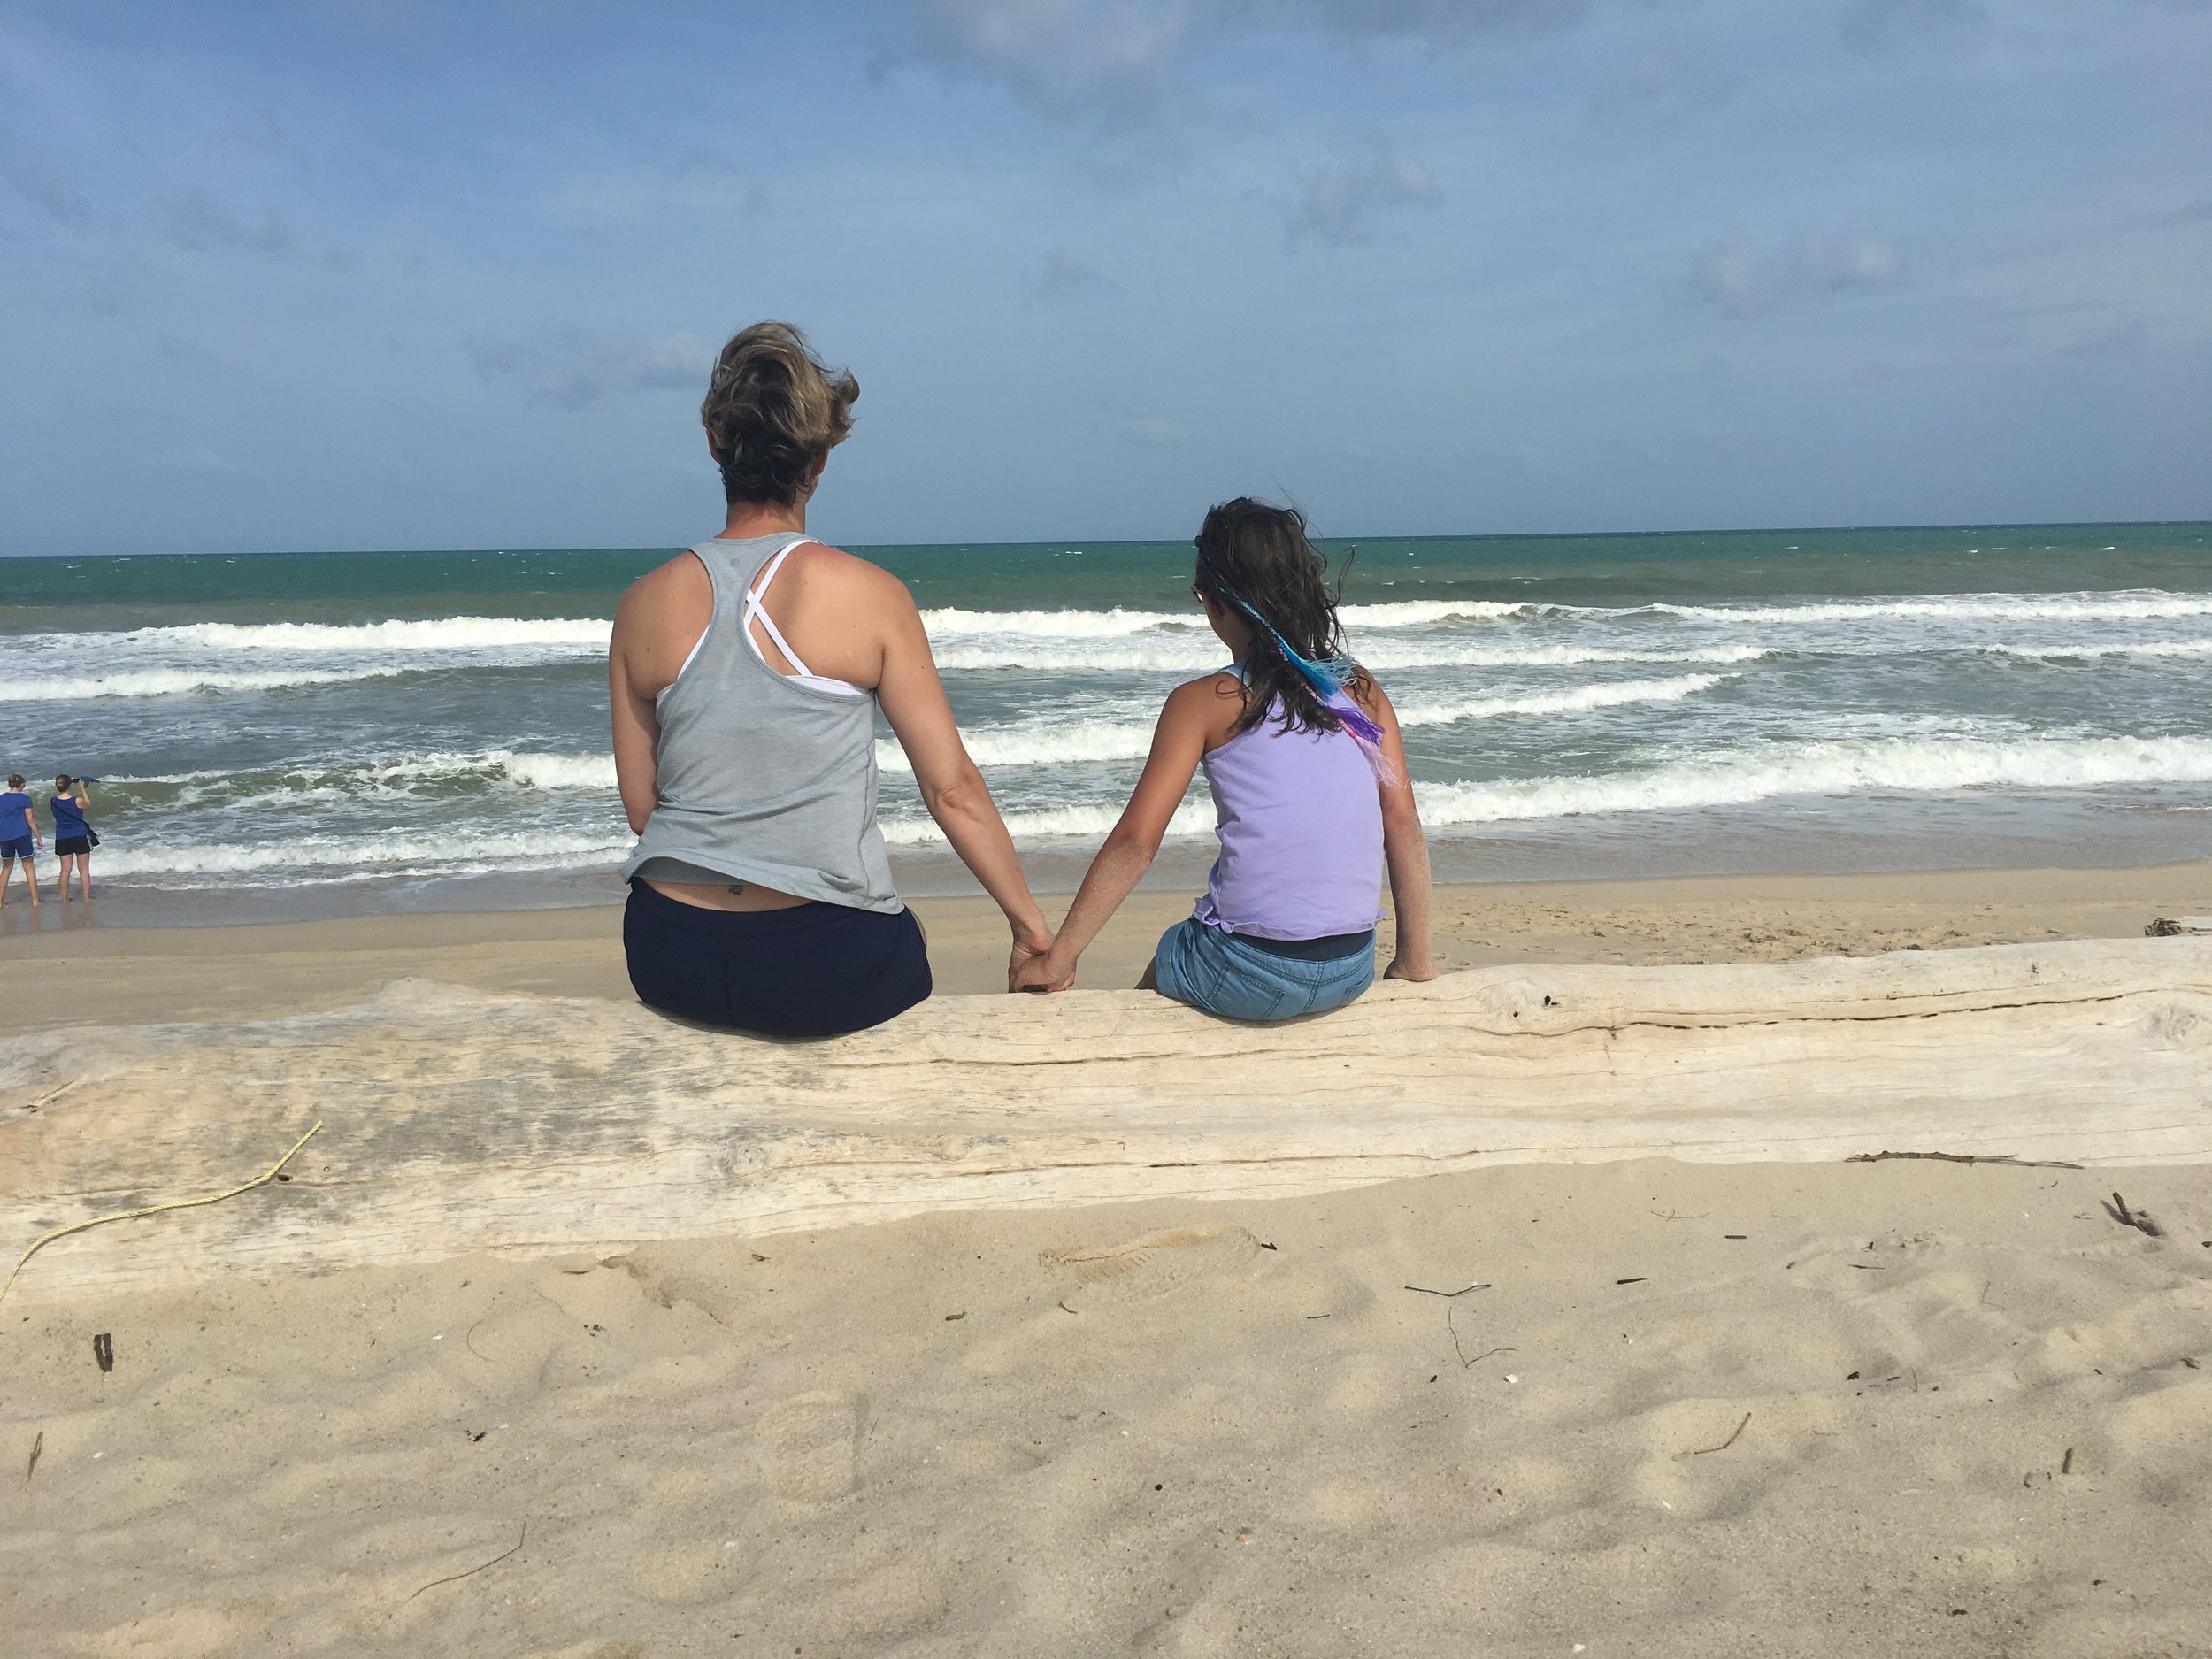
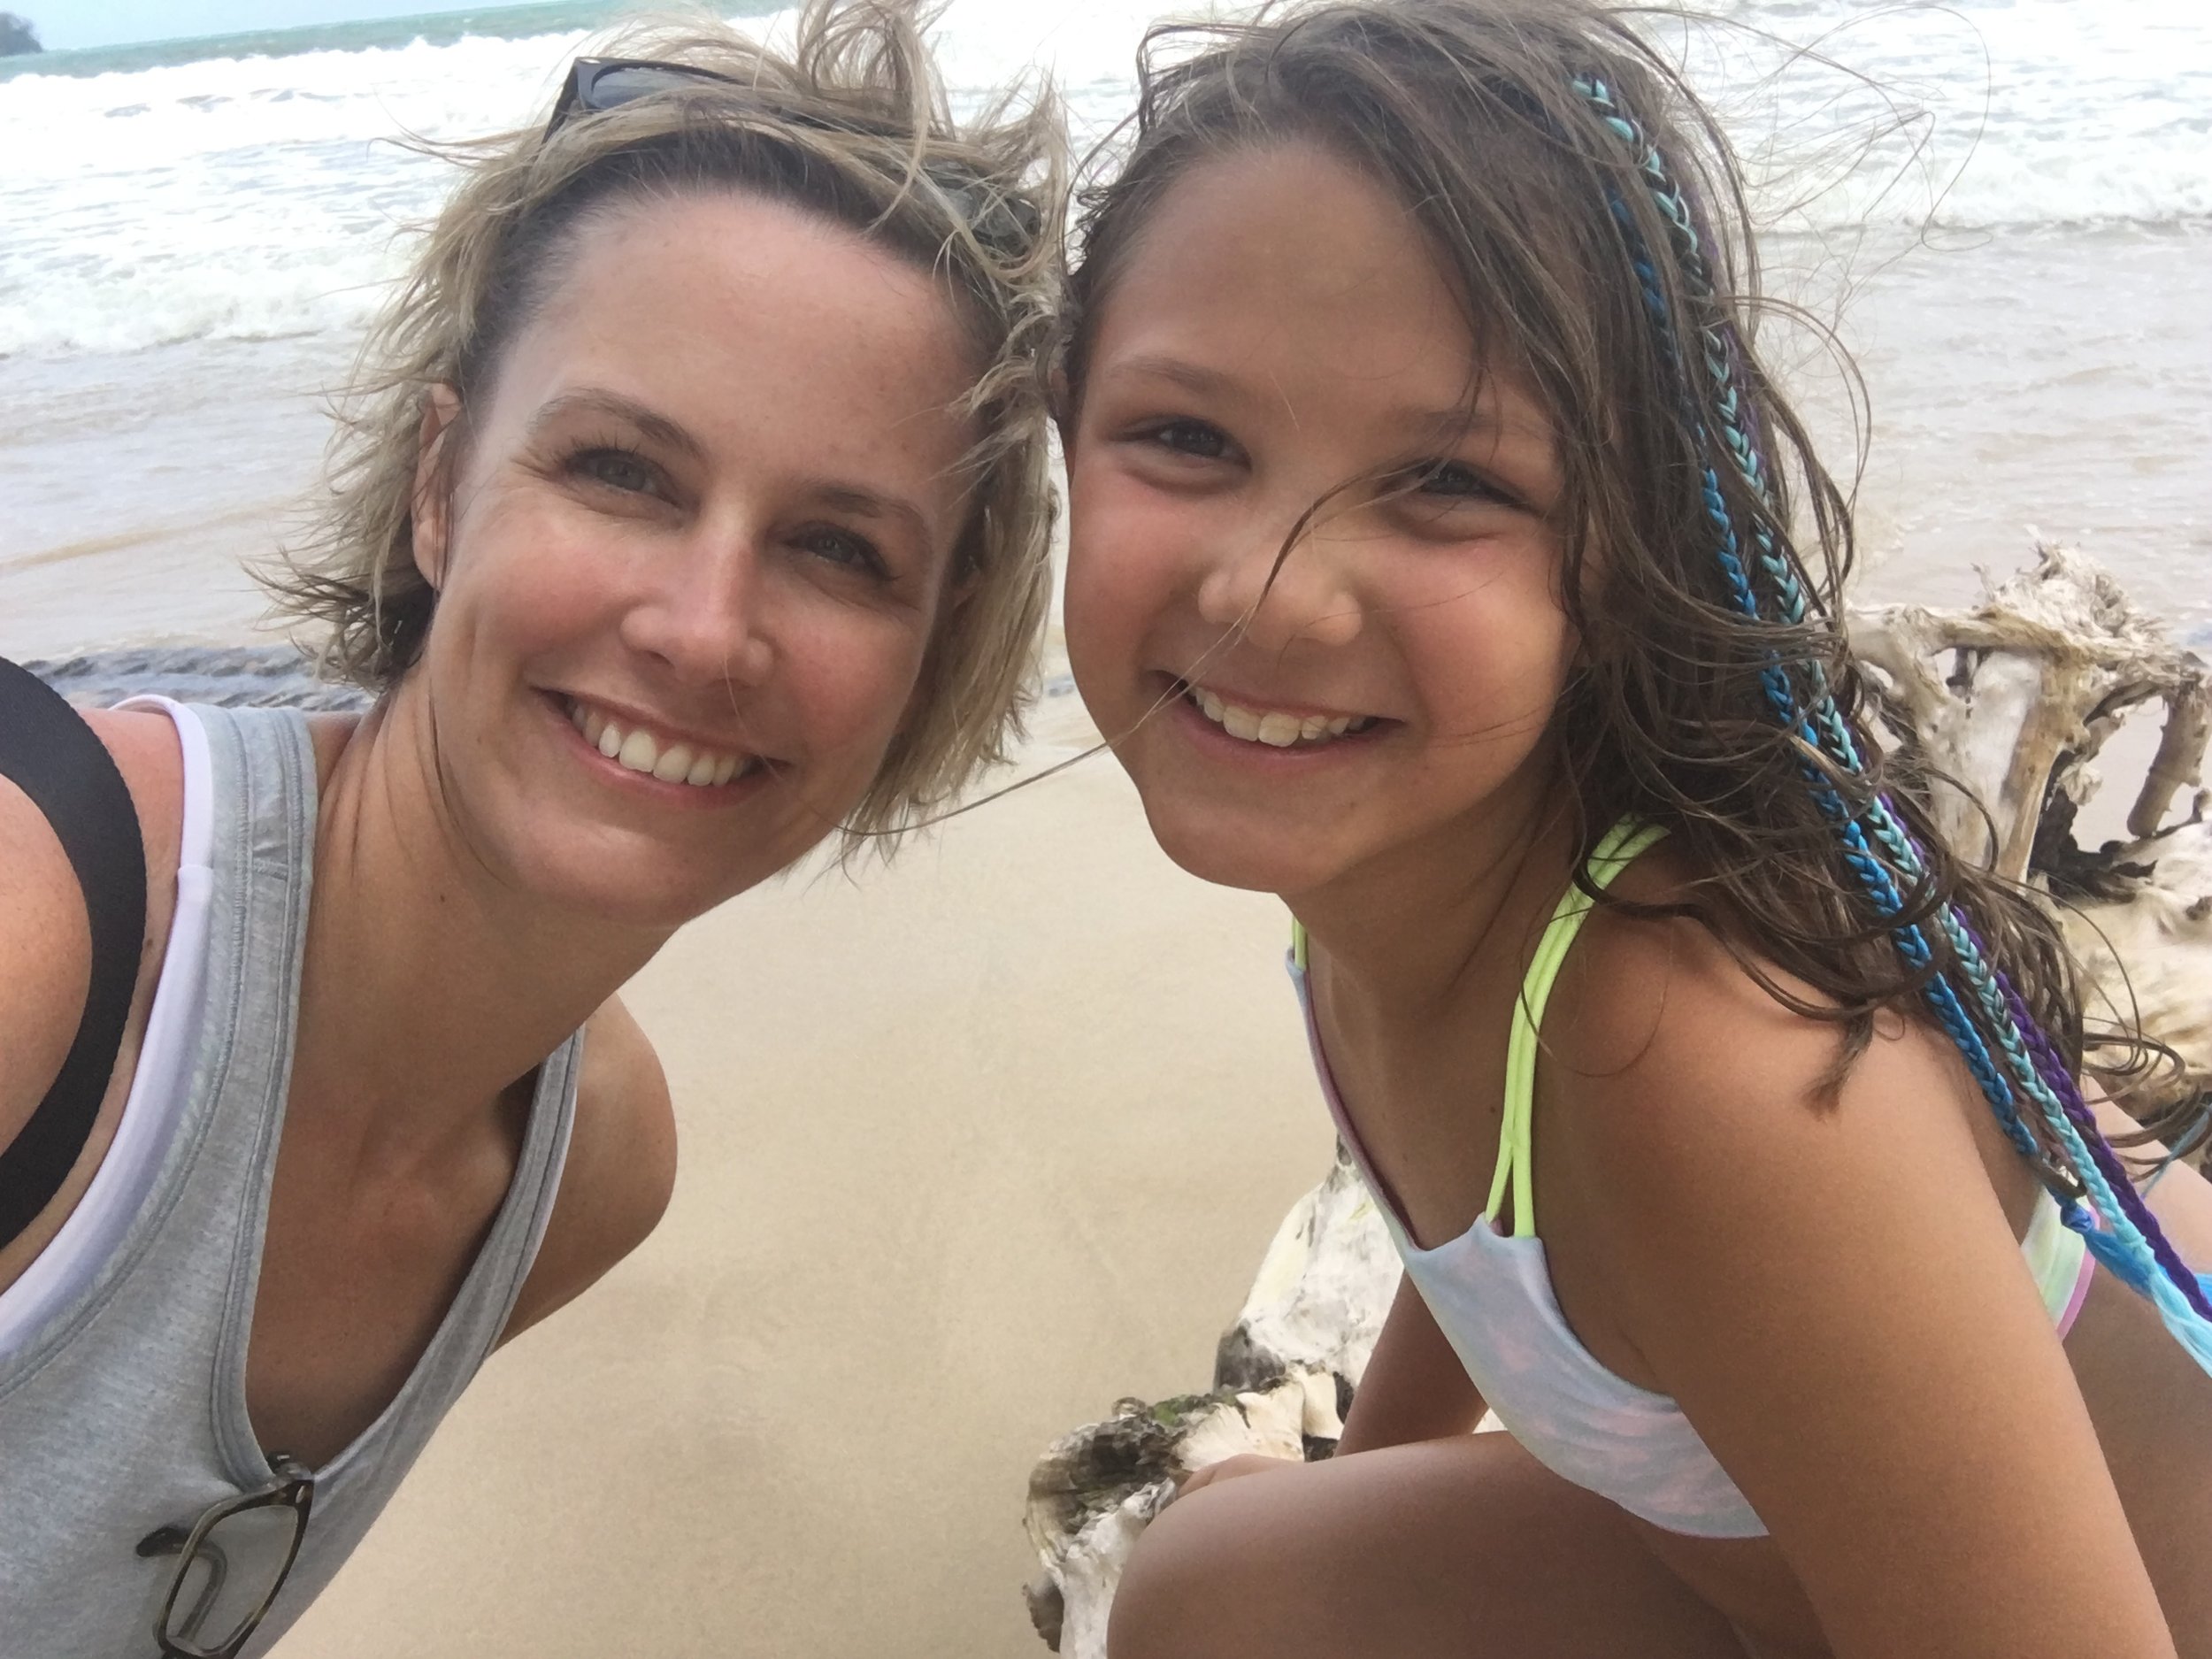
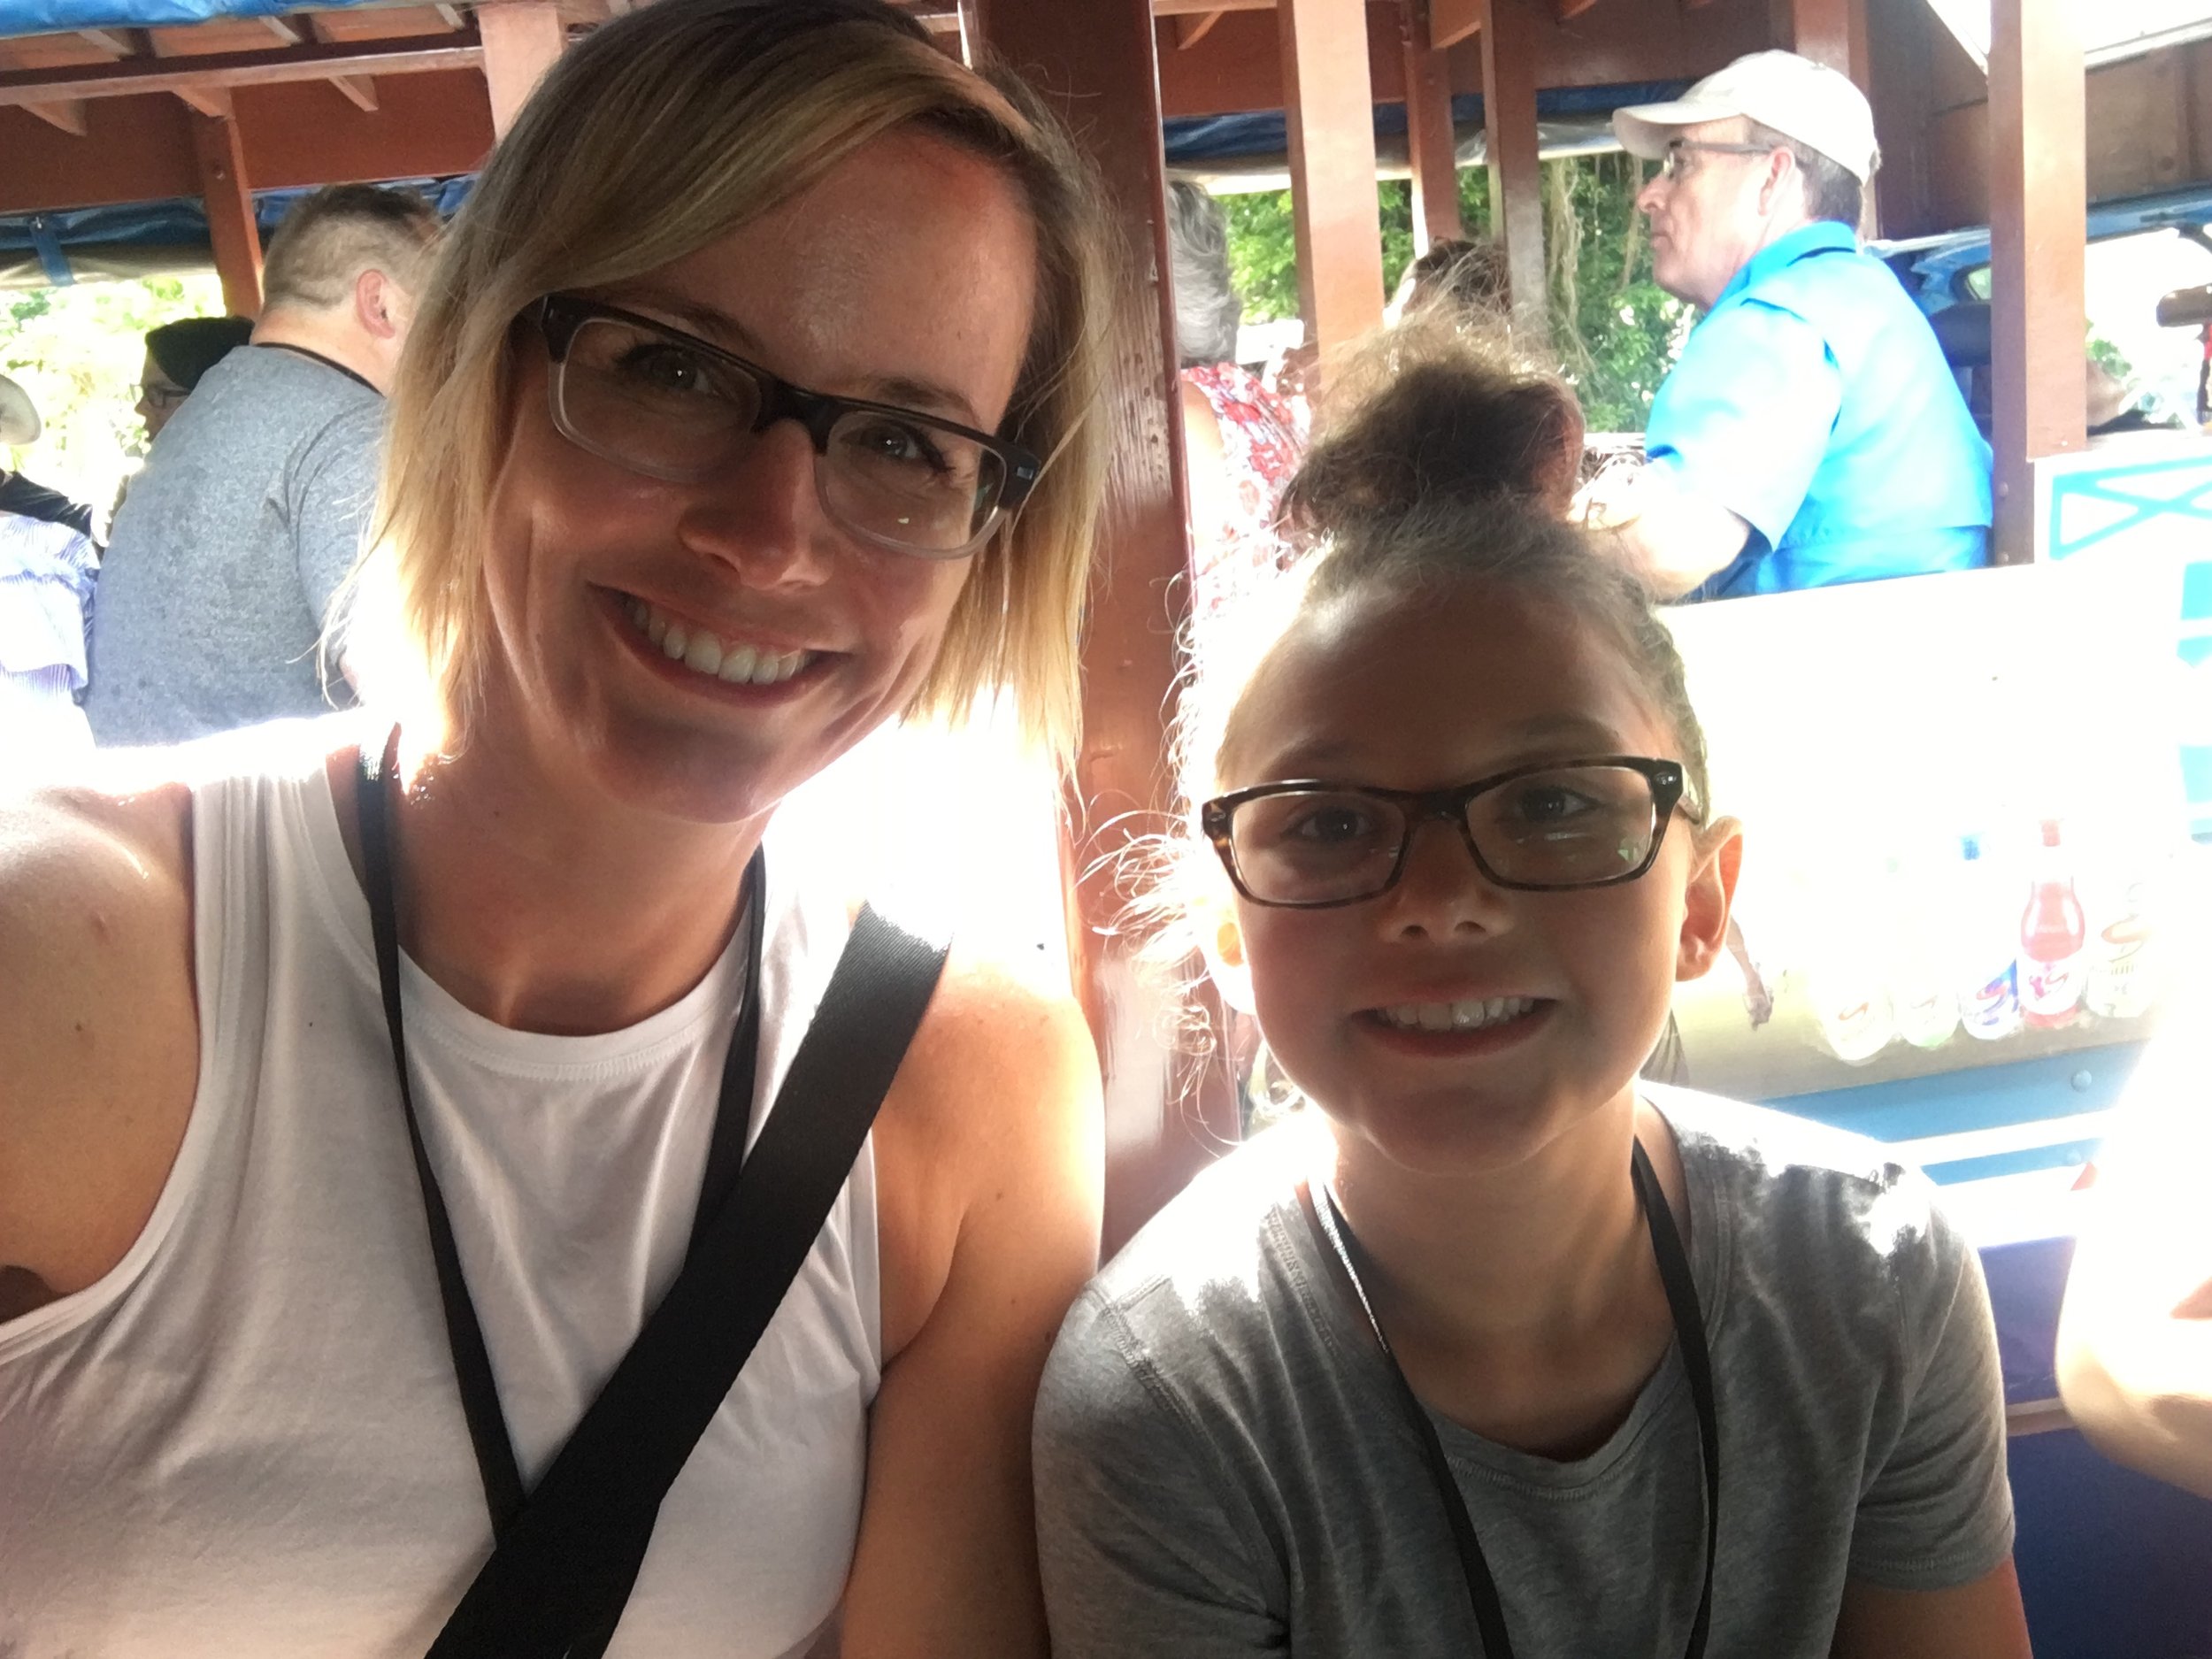
As soon as I saw this combo I thought of this amazing photo of my daughter Summer on the Thailand Incentive Trip in 2017. I absolutely LOVED sharing this experience with Summer. The travel to arrive in Thailand tested me beyond belief and often when I think something is hard, or “I can’t do this”, I actually think of that experience! If you know, YOU KNOW! The travel was like nothing else and I hope to NEVER repeat it again!

And because of that, the moments we spent together on that trip, have even more value to me. As a mom, I will never ever forget being able to share that with Summer.

This picture of Summer was taken at Ao Bang Thao right off the shore by our hotel

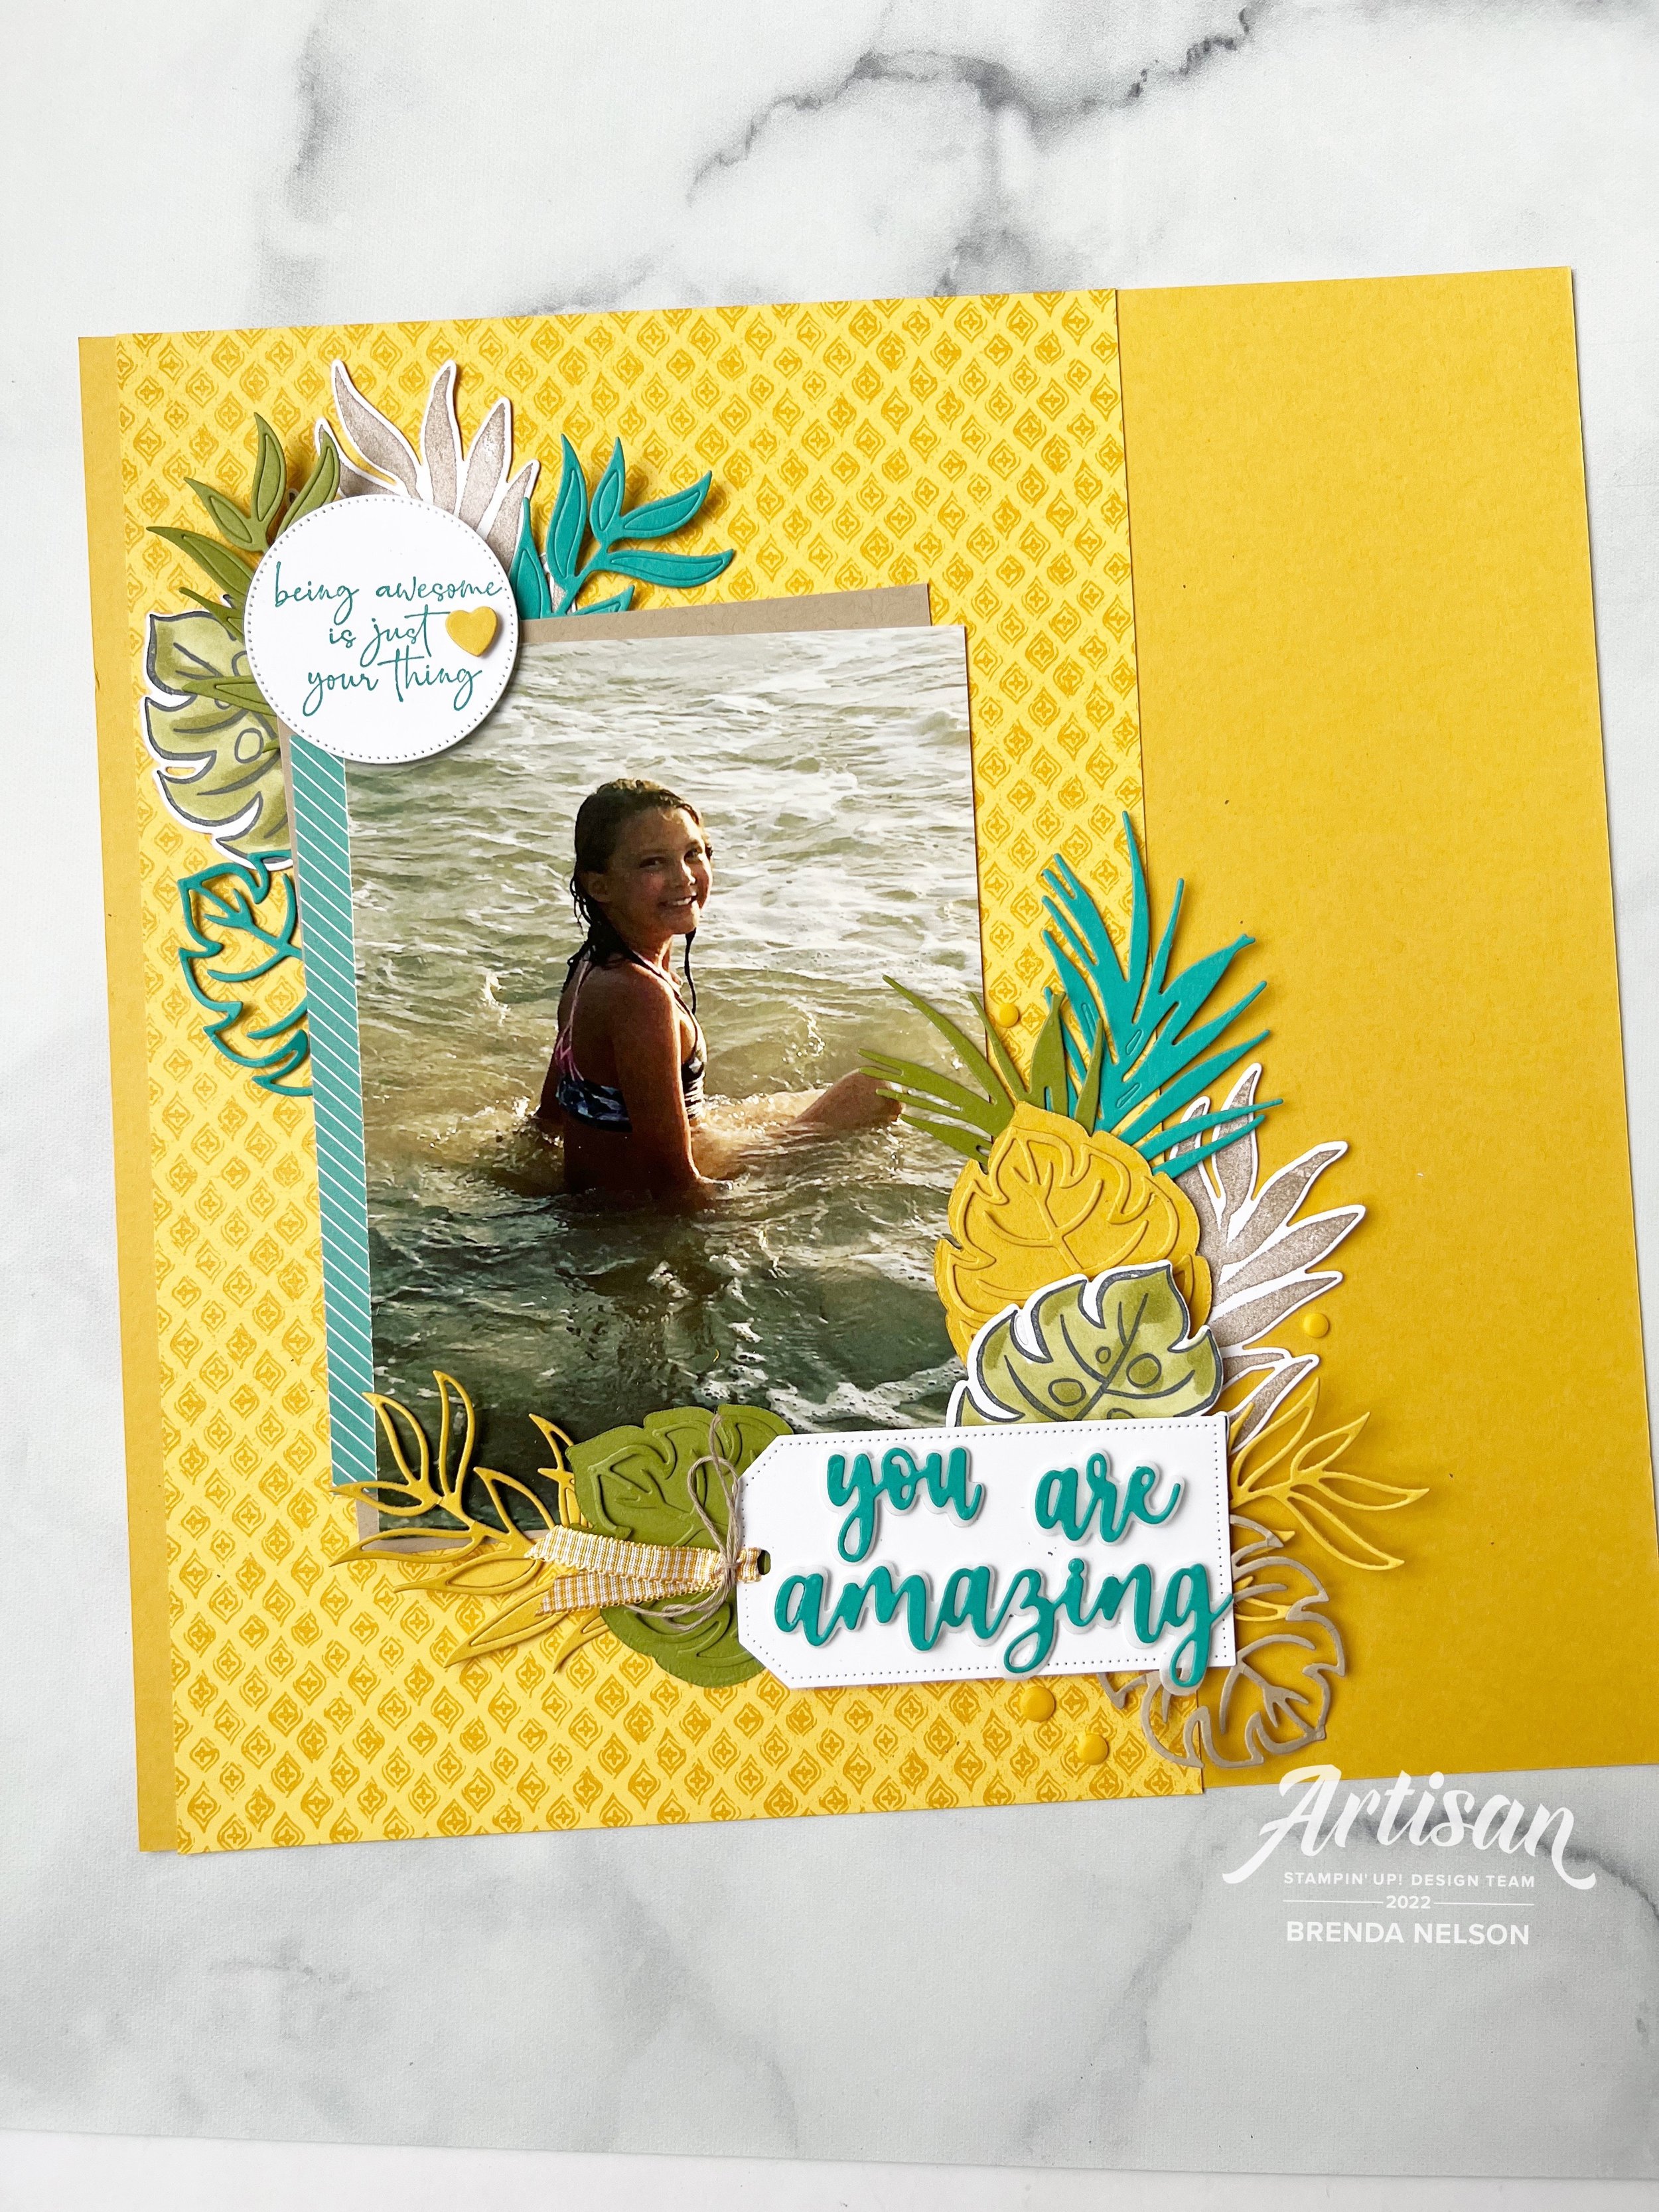
I started with a base of 12x12 Bumblebee card stock and layered a nice big piece of Designer Series Paper from the Daffodil Afternoon Sale a bration collection. This pattern was PERFECT for these pages! The strip of Bermuda Bay stripe is from the Sunshine & Rainbows SAB DSP too. Who does not LOVE free paper!

My photo mat is Crumb Cake and then I incorporated all of the colors from our challenge into my design using the Artfully Layered Bundle. I have created so many projects with this bundle, its just amazing!

The Tailored Made Tags are a must have in my craft room. I use them consistently on scrapbook pages and of course in card design. I would suggest #addtocart if you haven’t already!

“You are Amazing” is die cut using the Amazing Thanks Dies and they are just the perfect accent to this page. Layered on a Tailor Made Tag with a bit of ribbon and twine is such a great way to incorporate a sentiment onto your scrapbook page.

I used a mix of die cut elements, some stamping and coloring with Old Olive Stampin’ Blends and just basic stamping to create texture and dimension to help tell the story of this tropical adventure we had together. My design style always incorporates embellishments and the Playing With Patterns Resin Dots were perfect for this page.

Happy & Heartfelt is another stamp set I have barely put back on my shelf! I love the variety of sentiments and this one was just right for the top left of this page. I added a little heart from the Sweet Hearts Dies and the sentiment is cut from a new up and coming die set called Stylish Shapes. These will be another #addtocart item I will suggest once the new Annual Catalogue begins in May.

When I designed Stamps & Stretchy Pants a few years ago it was to serve two purposes. The most important was to create this digital legacy for my kids. I wanted them to be able to go some place to see our Favorite Family Recipes (yes, I have a whole recipe section under Lifestyle) and be reminded of my passion for scrapbooking and card making. I think it will help them get to know ME beyond just being their MOM and that is really important to me. Secondly, I really really really wanted to apply for the Artisan Design Team so I needed a blog!

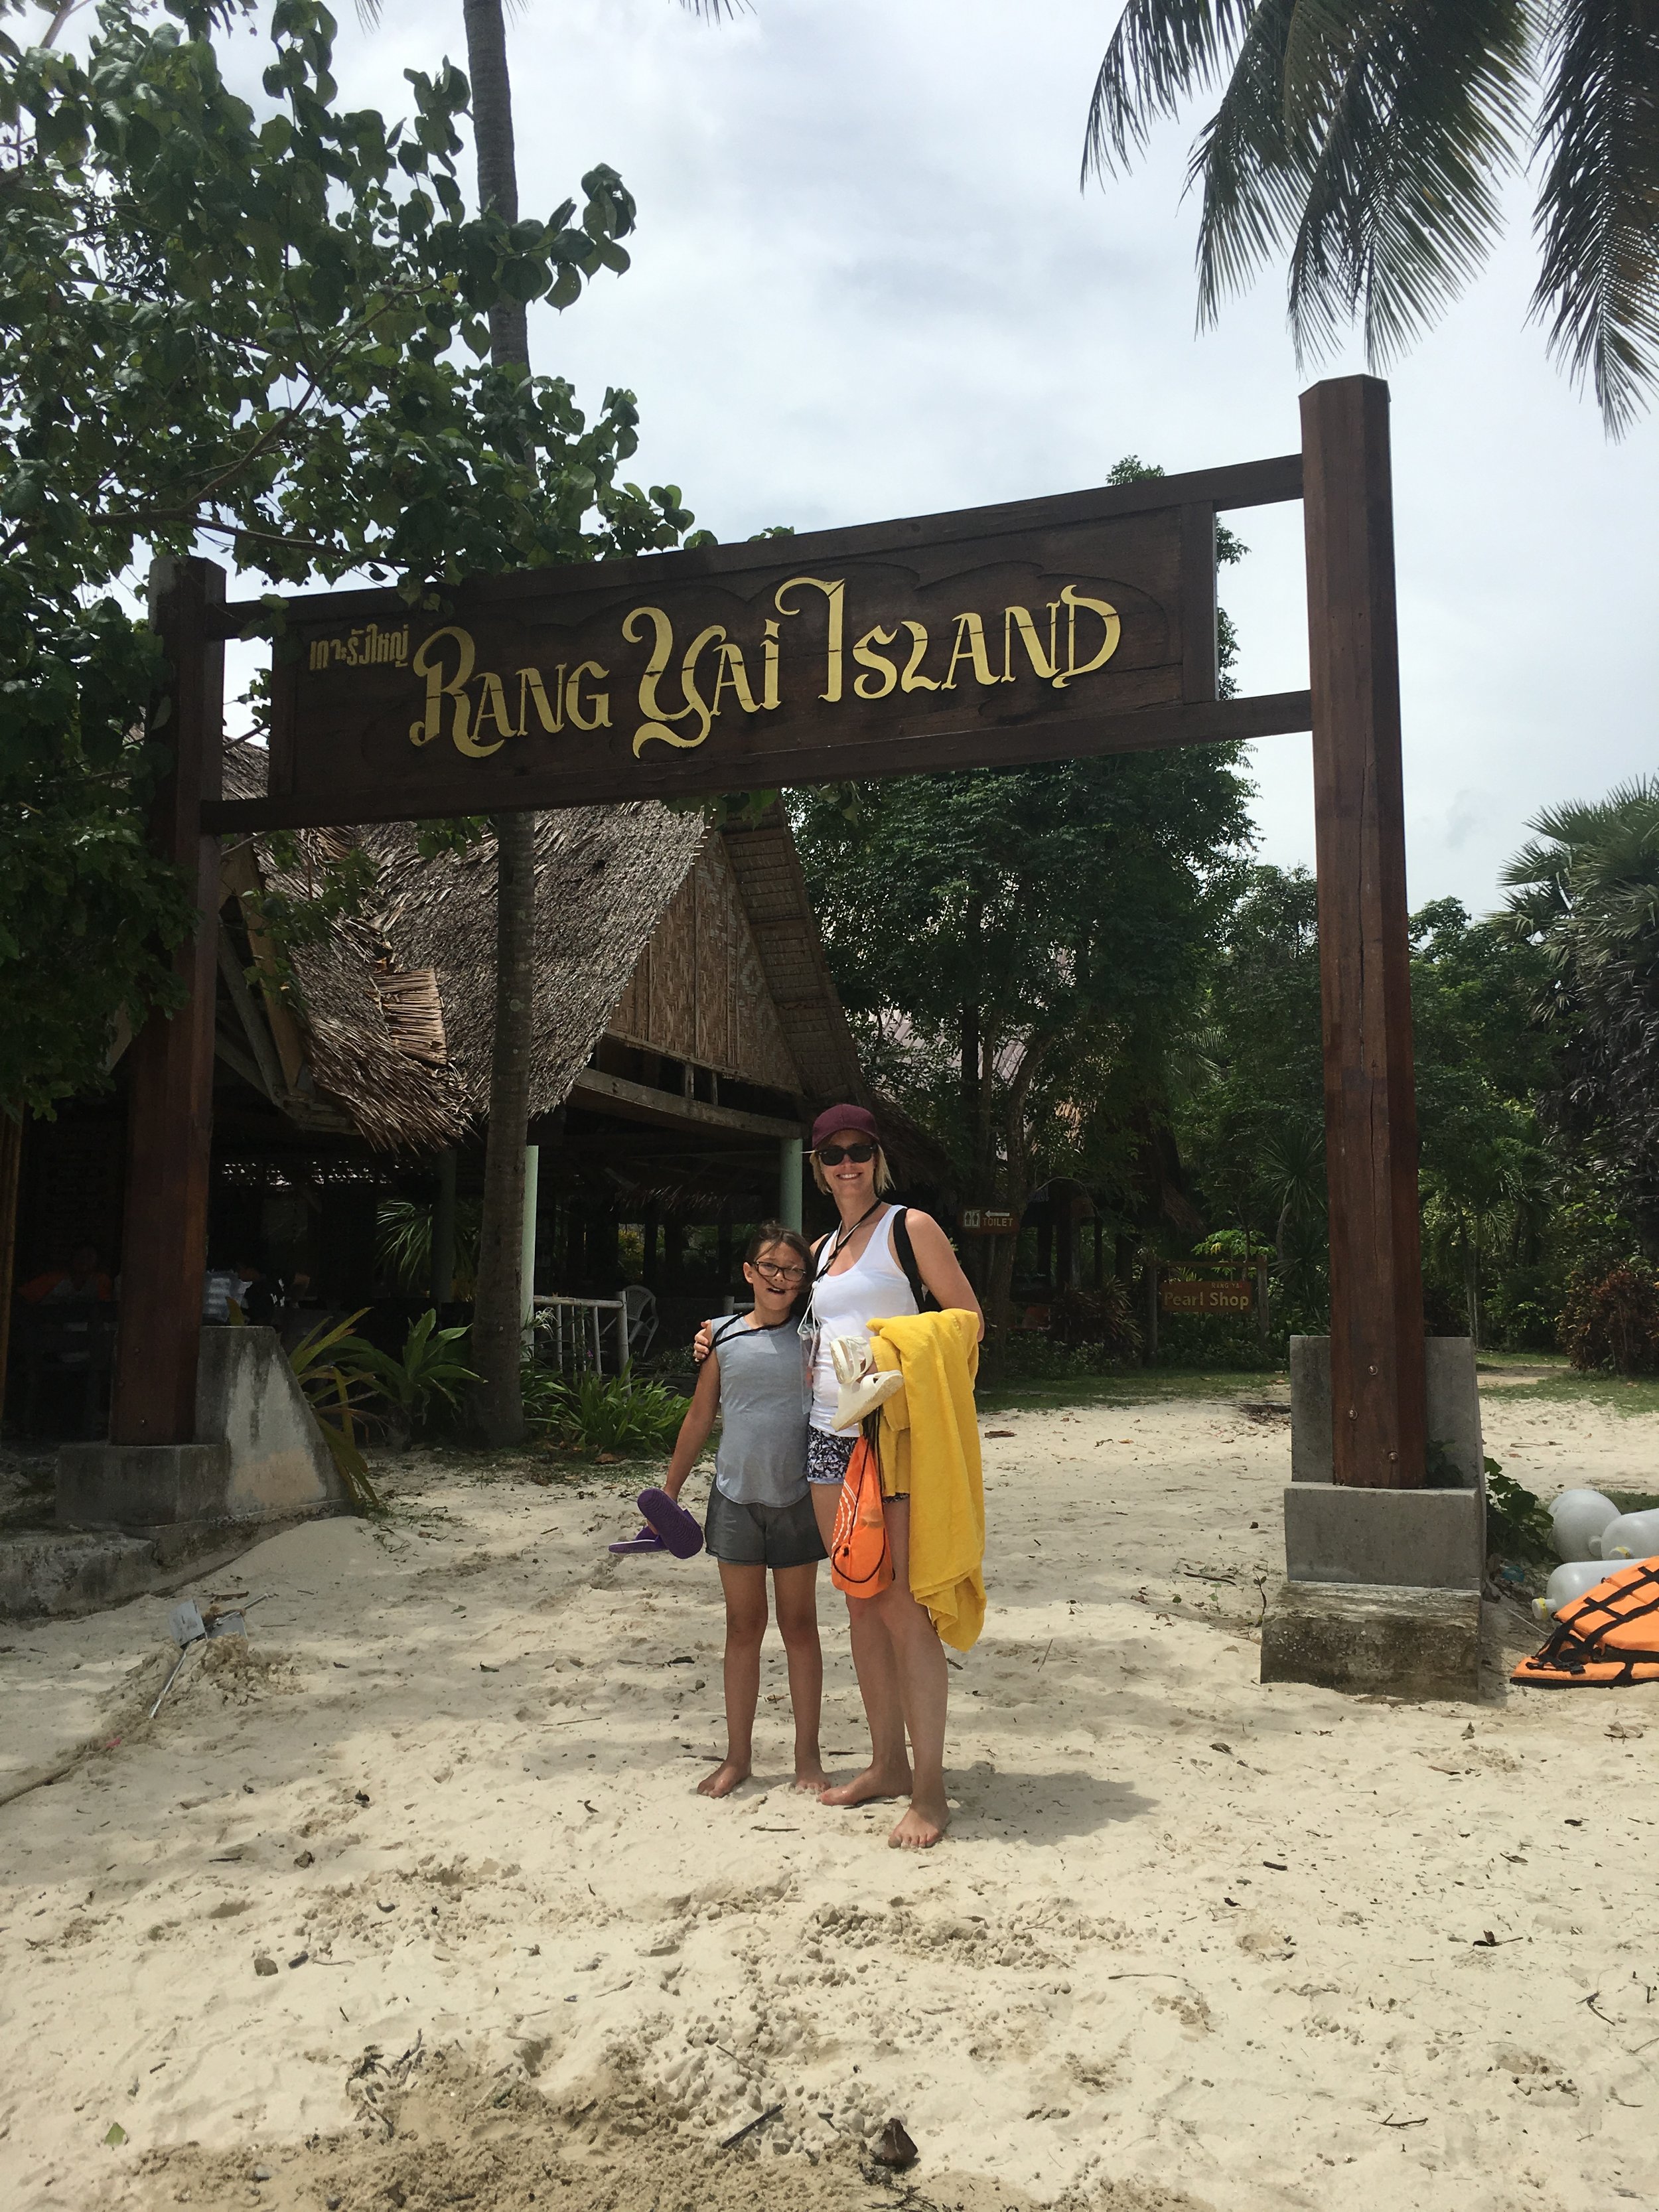
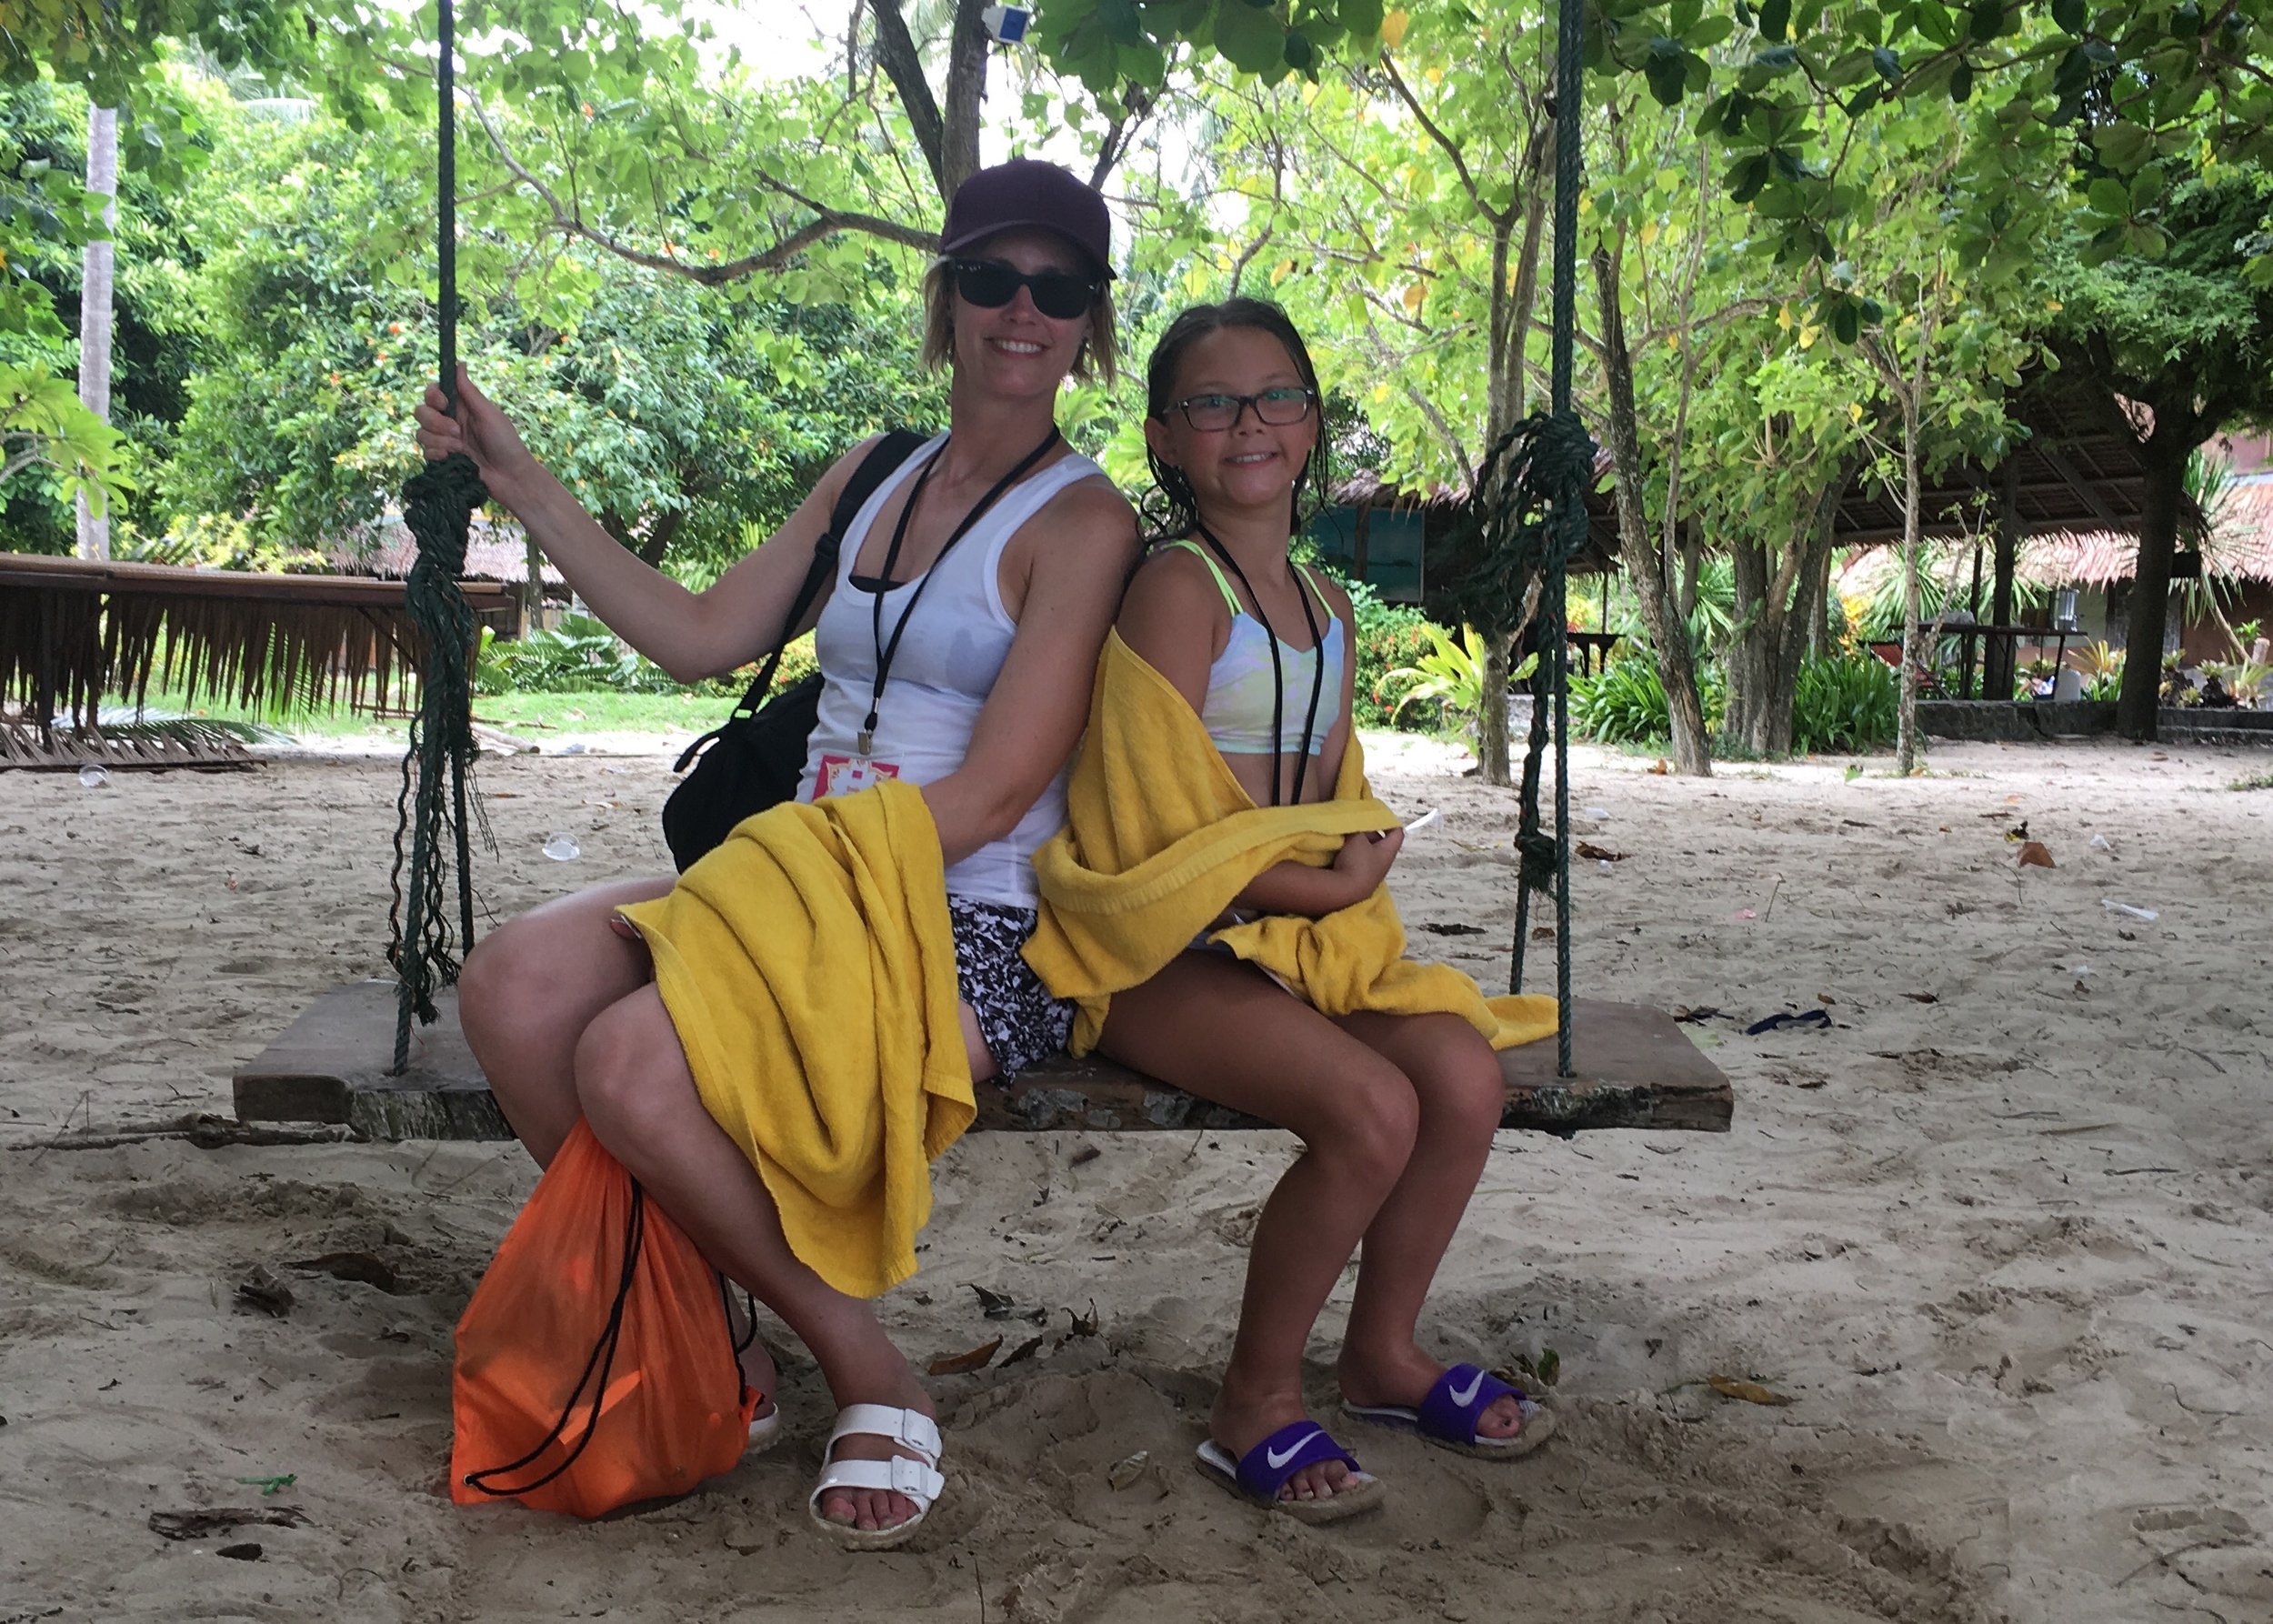
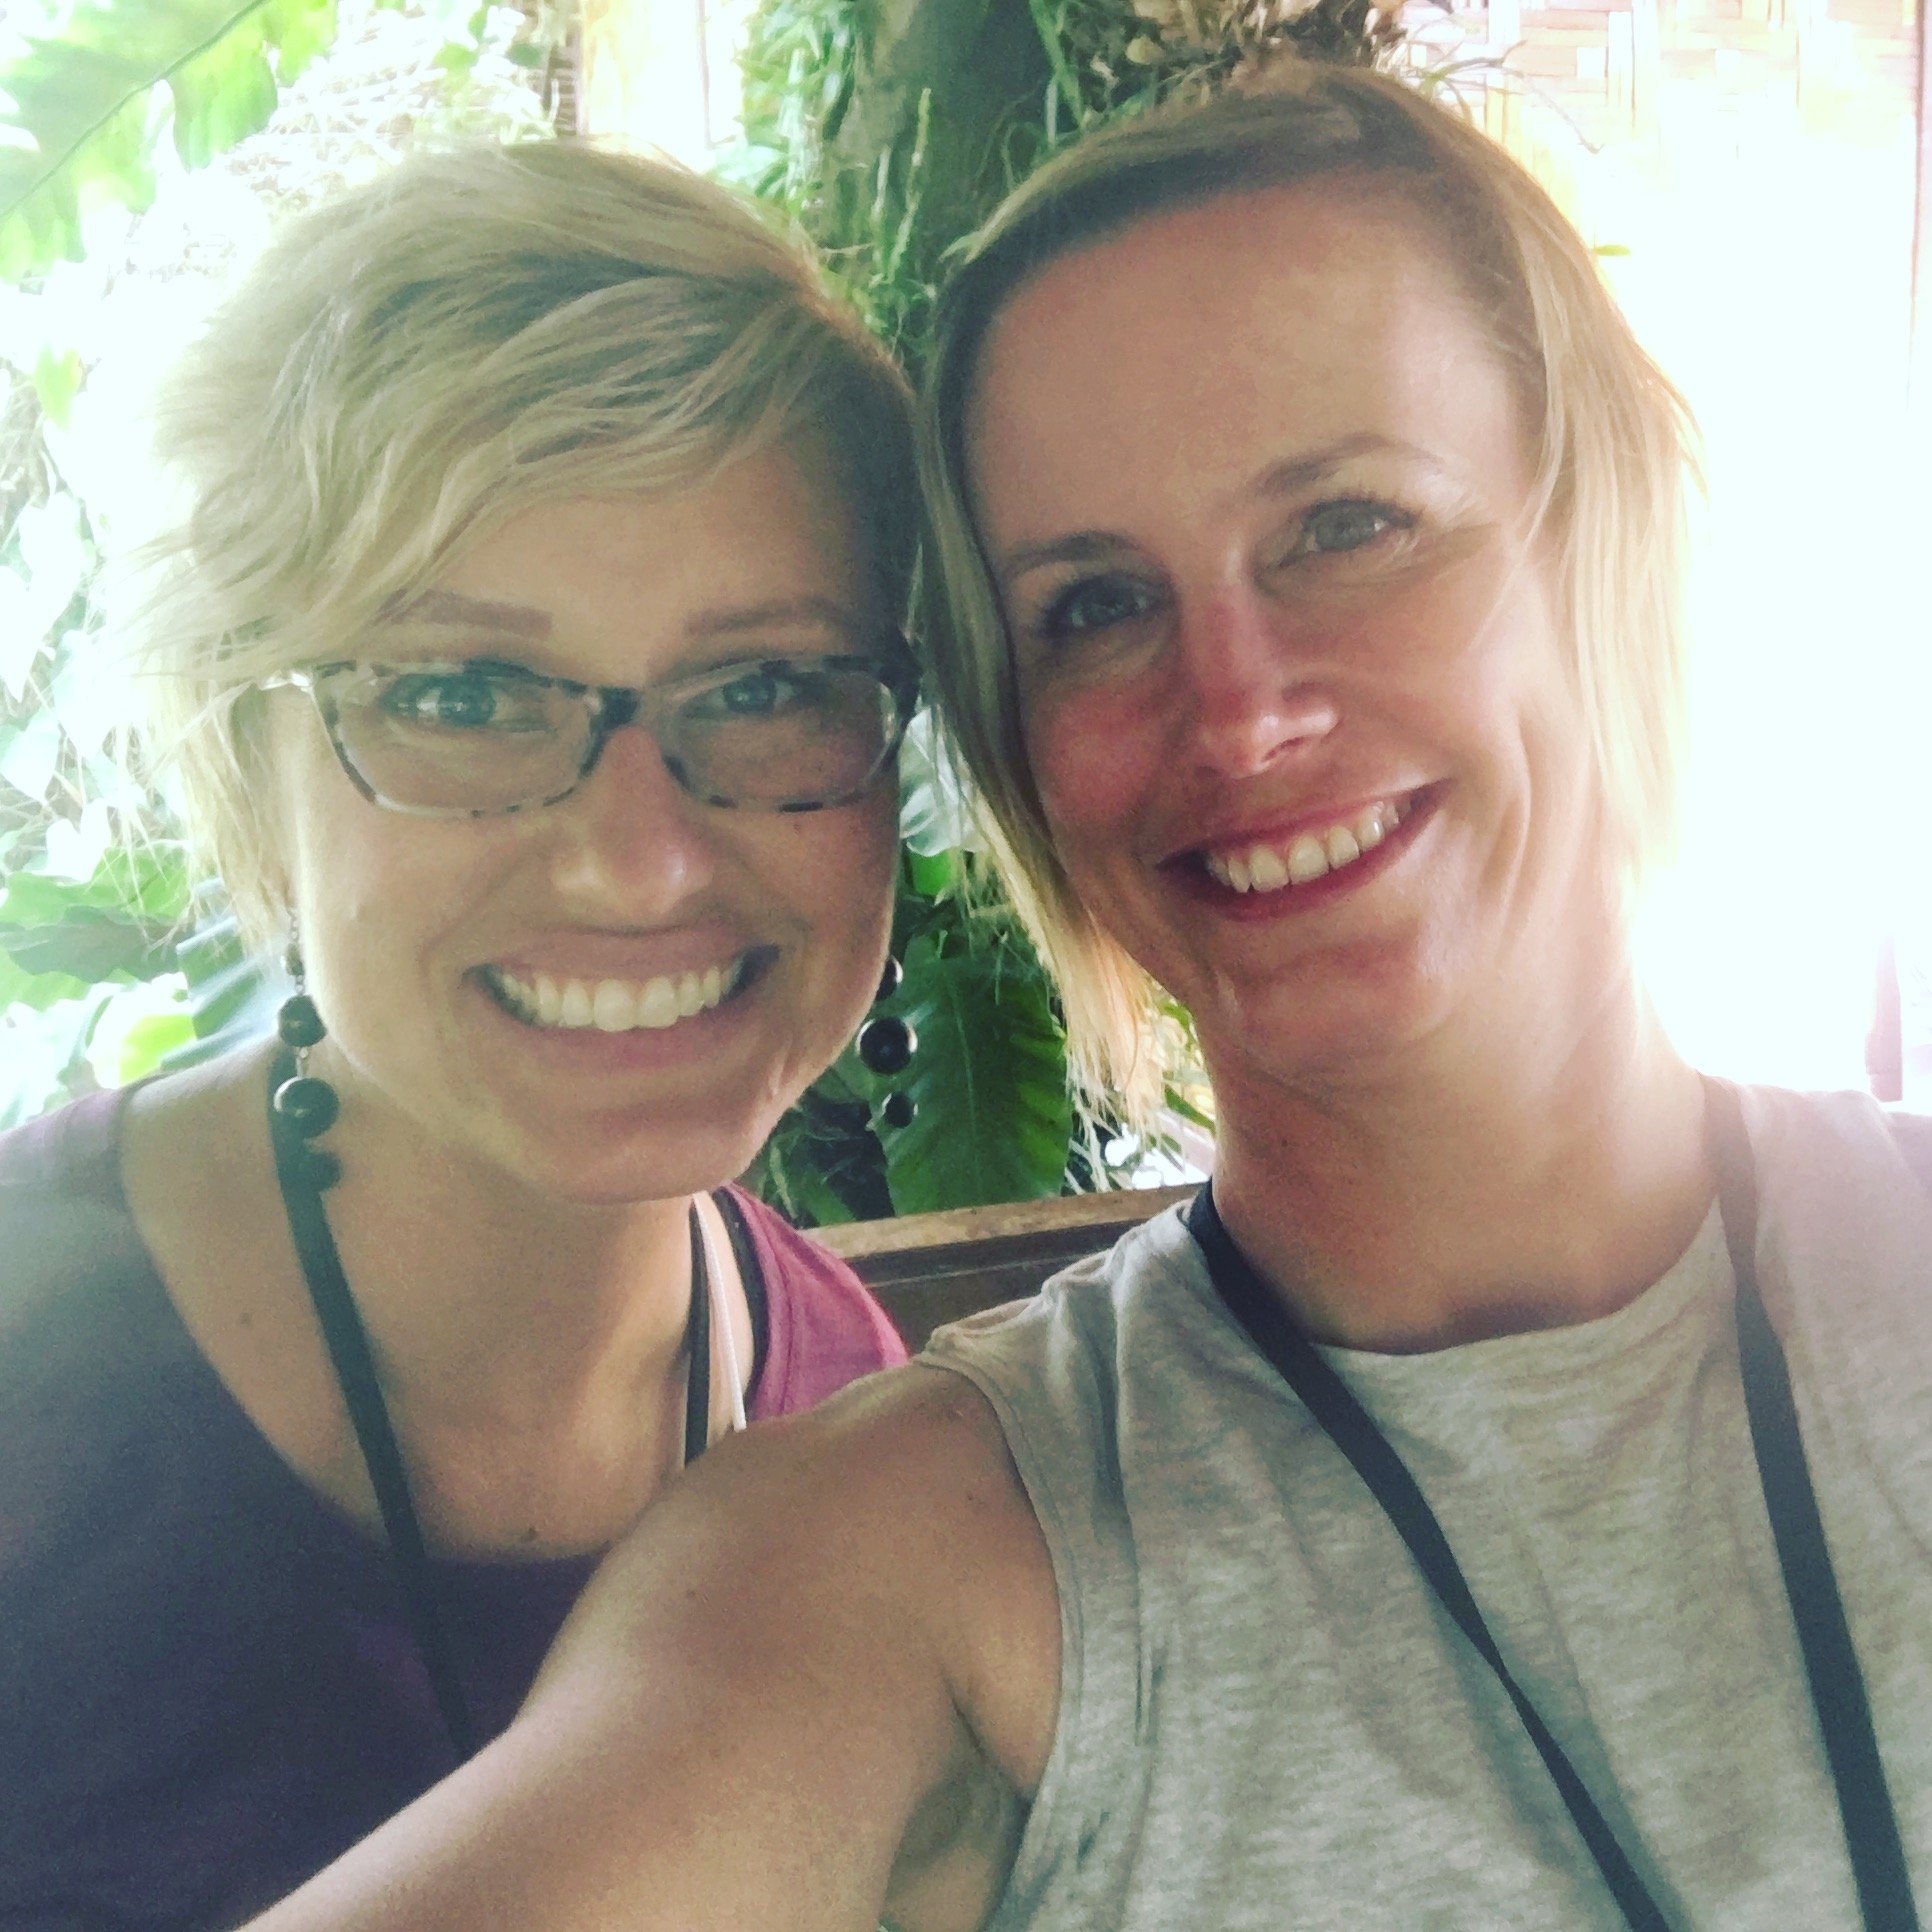
And because my blogs spirit is to record in a digital aspect, my life, I have chosen to add a few fun photos of our trip to Thailand together! I hope you don’t mind! :)

I hope you are inspired by this amazing color combination! I would love to see what you create so share it on Instagram and tag me! You can find me @stampwithbrenda

I cannot wait to see what the rest of the Color Fusers Team has created this month with the bold fun color combination!

Next up is one of my former Artisan Teammates from the 2021 year. You will absolutely LOVE what Janneke has designed, I have no questions about it. She is so talented and has such a lovely style! Just hit 'NEXT STOP’ to check out her creation.


If you would like to go in reverse or jump back, click on the button below and you will find yourself directed to my fellow Artisan Design Team member Tami! I cannot say enough about how kind and generous and amazingly talented Tami is, so please make sure to go all the way around the Hop. You do not want to miss any of the creativity on this team!

If you are inspired to create anything based on my scrapbook page, please do! And if you need any supplies and live in Canada, you can easily shop with me by hitting any of the product images below!

Gumball Goodness!

Have you had a chance to play with the super fun and cute Gumball Greetings stamp set yet? I love this set as it makes the cutest kids birthday cards…or if I am being honest, what full sized human would not love to get one of these cheerful cards in the mail? I know I would!

This bundle can be found in the January to June Catalogue and it has endless possibilities! You can also add the Gumball Machine Shaker Domes and Frosted Beads Assortment to this cute product bundle. For my card below I turned my gumball machine into a traditional shaker card!

The base of the card is one of my absolute favorite colors, Coastal Cabana, and I layered on top a Flirty Flamingo striped DSP from the Hostess DSP collection, Pattern Party. I have gotten so much use out of this paper stack. It has definitely been one of my top Host picks!

I cut a piece of Basic White as the main panel and used the Gumball Machine dies to create the cut out for the shaker part. The base and top of the gumball machine is stamped on Flirty Flamingo card stock with the coordinating ink color and then die cut. I love the little details in this die set including the opening at the bottom where a gumball could roll out and the embossed details in the machines’s mechanism. I used some Silver Foil paper to cut that out. The dies even cut a little snit where you could add in your coin! So brilliant!

I also love how the die set includes a little die cut strip of hearts. You can use this as a border accent as I have here or to even die cut some bitty baby hearts to add into your shaker.

The easiest way to create a shaker card is to use our Window Sheets and the Adhesive Strips for a perfect seal around your shaker window!

I cut a piece of Basic White to lay behind the shaker window and stamped the gumballs and hearts from the stamp set in Gorgeous Grape and Pool Party. I then added a pinch of the Frosted Beads inside!

The sentiment was stamped twice, once in the base color of Gorgeous Grape and cut with our Layering Circle Dies. The second time was Coastal Cabana and I hand trimmed the word ‘sweetest’ and popped it up on a Dimensional to give the sentiment a fun touch. Adding a little coordinating Gorgeous Grape Sheer Ribbon behind also helps it pop.

And of course no card is complete with out BLING! Our Basic Rhinestones were the perfect addition here!

The Gumball Greetings includes great elements to complete the inside of your project as well. I added a few Coastal Cabana stripes to the Basic White layer. The sentiment is stamped in Gorgeous Grape and layered on a circle of Flirty Flamingo!

And just in case you missed my Artisan Design Team project from January—here it is again! I created two other cute cards with this fun bundle! You can see that the gumball machine is colored with Stampin’ Blends and uses the Gumball Machine Shaker Dome!

I hope you are inspired to give this fun bundle a creative go! I know I have enjoyed playing around with this fun bundle!

Thanks so much for checking out my blog today! I share way more creative content on my Instagram account so please go give me a follow @stampwithbrenda

Your support is so appreciated as it lets me continue to do what I love!

Color Fusers March 2022

Hello friend and welcome to the March edition of the Color Fusers Blog Hop! We are all so happy you have decided to check out our Hop and projects! I love this Hop because it helps me focus on NEW color combinations instead of using my go to favorites all the time!

Our color combination this month is a fun one as it includes 2 of my favorite In Colors—Soft Succulent and Evening Evergreen paired up with Rich Razzleberry! I can’t wait to see what the team comes up with this month!

Isn’t this a great combo? Now when I was considering my design, I knew I wanted my card base to be Evening Evergreen and upon searching my Designer Series collection I realized that I had few options for Soft Succulent patterns and decided this was a great opportunity to create my own!

It was easy to create my own stripy fun background with a Soft Succulent ink pad and the largest brush tip from the Water Painters. I just love how we have 3 brush tips to choose from! The widest makes creating a fun background so EASY!

To create the background, I used an acrylic block and stamped my Soft Succulent ink pad onto it, to create sort of a painters palette. I squeezed a bit of water from my Water Painter beside the ink and dipped my brush into the water and then into the ink.


I just swiped my brush across the Basic White card stock, starting at a different end each time. I don’t worry about the stripes being too perfect, I think it adds to the uniqueness and charm when they don’t. So its easy to create your own background using any of our colors!

I also decided to use my favorite bundle on this project as well—the Artfully Layered Bundle! It just has so much potential and it makes me think of vacations, the beach and sunshine!

I added some die cut shapes in Rich Razzleberry and Evening Evergreen, however I think the best part of the card is the large leaf (I am sure it has a fancy name but don’t ask me what, hahaha!). I stamped it on Basic White card stock with Rich Razzleberry ink and then used my Blending Brush with a light hand and Rich Razzleberry ink to add a light dusting of color over top! It is such a nice way to add a hint of color to the shape.

I stamped the sentiment with Evening Evergreen Ink on Soft Succulent card stock and added some Evening Evergreen Open Weave Ribbon and Linen Thread behind.

The final touch was to add some bling—of course! I used the In Color Jewels and the little teeny leaves that you can die cut with the Tropical Layers Dies. I always like to add a few little bits and bobs to my cards, I can’t help myself!

Because this card is made with a dark color as the base I find you always need to add a light layer on the inside to write your greeting. And its another opportunity to STAMP! I stamped the large leaf in Soft Succulent ink on the same color layering piece. I added Thank You in Evening Evergreen ink over top.

I hope this project inspires you to try making your own fun background! I can’t wait to see what the rest of the team designs this month! Please feel free to comment, I love to hear what you have to say!

You can hit NEXT to see what Bonnie has created or you can go in reverse and see what Tami has designed. Either way, make sure you pop around to each of our blogs! Thank you so much!

Hello Ladybug Artisan Design Team Project

Hello friends! This month my group on the Artisan Design Team was assigned the Hello Ladybug Bundle to create with. I was really excited about this bundle as I immediately saw my cute ladybugs in pastel colors. That is the best thing about being the designer, we can create things in any color schemes we like!

I had the perfect picture of my kids for this page layout. This was taken several summers ago at our local zoo. I let the colors of the greenery impact the color of green I used in my layout.

Each month along with our projects we need to share a tip with everyone and as soon as I saw the Ladybug Builder Punch I knew I wanted to share my template tip. Each time we introduce a new builder punch I created a template. The template allows me to align my stamps on a block with perfect precision and have them punch out with little to no paper waste. I then store the template in the stamp case so I always know where to find it.

After you have created the template place the stamps on an acrylic block using the template, stamp and punch!

For both of the projects I designed I used the Vellum 12x12 Layering Designs. I absolutely love this vellum and am so happy it is in a 12x12 format for scrapbooking. Both projects also use DSP from the In Color 2021/23 In Color 6x6 stack.

The colors I used to create my scrapbook page and card are Fresh Freesia, Pale Papaya, Garden Green, Flirty Flamingo and Basic Grey. Black felt like too much of a contrast for the ladybugs so I softened them a bit by using Basic Grey.

Top Tip: Did you know that the daisy in the Hello Ladybug stamp set can be cut with the Medium Daisy Punch in the annual catalogue? I was so excited about that!

I did hand trim the leaves and the flowers to add as accents onto my scrapbook page. I added some of the Polished Dots as embellishments. They are such a great embellishment as they coordinate with everything!

I hope my projects have inspired you to think about using this cute little bundle for card making and scrapbooking! Make sure to check out the whole Artisan Design Team’s projects this month. You will be amazed at what everyone has designed!

Around the World on Wednesday--Fun with Basics!

This month our team is focusing on BASICS—-this can be items with ‘basic’ in the title or crafting basics that are a must have for us. My project, a scrapbook page, combines Basic White as its my go to neutral and a focus on DIES because its very rare that I can make a project of ANY kind without using my Stamp Cut & Emboss Machine.

I also recently just hit a couple of fun milestones—15 years and 500,000 CSV in sales (which is Canadian dollars is over 600,000!) so I wanted to scrapbook a picture of my first meeting/photo with Shelli Gardner at Convention. Remember Convention? Were you ever lucky enough to go? I was blessed enough to go a few times and have such amazing memories!

I am absolutely in LOVE with how this page turned out. It is definitely going on display in my craft room so I can look at it all the time!

The base of my page is Basic White and I also used that for the 5x7 photo mat and all of the clouds. The various clouds came from the Give it a Whirl Dies and the Basic Borders Dies. Both are MUST HAVES if you love the Rainbow of Happiness Bundle. They support this bundle perfectly!

This page might be full of Basic White elements but it is anything but basic if you ask me!

It think it was destiny that my outfit in this page just happened to match the Sunshine & Rainbows DSP, haha! It was actually perfect and the little piece of colored strips on the left is what influenced the colors in the rainbows.

The sentiment “So Happy to Know You” is truly perfect. Over the years I have had the pleasure to meet and visit with Shelli on several occasions. She even came to one of my events in Calgary and we had a lovely phone call when she called to congratulate me on my recent achievements. Her call really affirmed to me the Stampin’ Up! value of “We Care About People First”.

You would never know by her megawatt smile that this picture was taken at the end of a very long day at Convention, there was barely anyone left when I nervously asked her to pose for this picture with me! Of course she said yes with her gorgeous smile!

The sentiment is stamped in Magenta Madness ink and is die cut with the Sweet Hearts Dies (I love when SU adds a great label die into a set) and has my favorite white twine (in truth I rarely make anything without twine. I LOVE IT) and Crinkled Seam Binding Ribbon. Also a craft room must have. Any ribbon in Basic White has unlimited potential because we can color it to match our projects.

I love these Amazing Thanks Dies…add them to cart NOW! Haha! I loved how fresh they looked cut in Basic Black and Vellum. They are a great size for card making and paper crafting! And the phrase is perfect for this page!

I love how the Brilliant Rainbow dies bring this whole page to life with the accent clouds. I love the little rainbow tag above the stamped sentiment and how the pop of color in the bigger rainbow jumps off of the Basic White background. I hope this page inspires you to start your canvas with Basic White and layer in a bit of color. Let your photo guide you with what colors too add onto your project.

Please visit Tricia Butts from the United States who is next on the hop! Thanks so much for joining in with us!

See you next month! We always have unique and fun themes for our hop! And if my page layout inspired you, please click on any images or the Shop with Me tab on the side. Thank you in advance for helping me love what I do!