Around the World on Wednesday--Favorite Inspiration
/This month we are exploring where we get our inspiration from which I think is super interesting. Sometimes I have an idea, or want to use a specific color, but get stuck thinking about what other colors might coordinate. My number one go to tool are the Color Coach cards that Stampin’ Up! has developed. I know everyone who is participating in the Hop this month will have some fantastic tips and inspiration for us to get inspired when we are feeling stuck!

The Color Coach cards are a Demonstrator resource found in the Printing Place. I am sure if you ask your own local demo she/he would be more than happy to share them with you. As a demo myself I have offered this as class project. We organized all of our Color Coach cards into one of our 6 x 8 albums with a card stock sample. I reference this book ALL THE TIME. Sometimes I just need a bit of color inspiration!

So for our project today, I opened up my Color Coach and selected a Calypso Coral Color Coach Card (say that 5x fast!) and used the 3 colors to create my project—Calypso Coral, Petal Pink and Sahara Sand. I used gold as my accent color to add that glitz aspect.

We have so many options to add gold to our projects—we can emboss with gold embossing powder, add gold foil paper to our projects, gold embellishments (so many options) or our brand new gold Gilded Leafing embellishment. The Gilded Leafing has a bit of a different look to it than gold embossing and I wanted to play around with it on this project.

Because I wanted to incorporate all three colors from the Color Coach Card onto my project I reached for my Blending Brushes which are a brand new tool being offered by Stampin’ Up!. I started by blending the Petal Pink color first because I was then able to use the SAME brush to add in the Calypso Coral! These brushes are totally amazing.
The Petal Pink is blended across the mid section of the card. I then added in the Calypso Coral along the bottom left corner and brought the Sahara Sand in from the top right. The Sahara Sand just gives our paper a subtle color but you can see the difference when you add the sentiment which is on Whisper White/Basic White card stock.

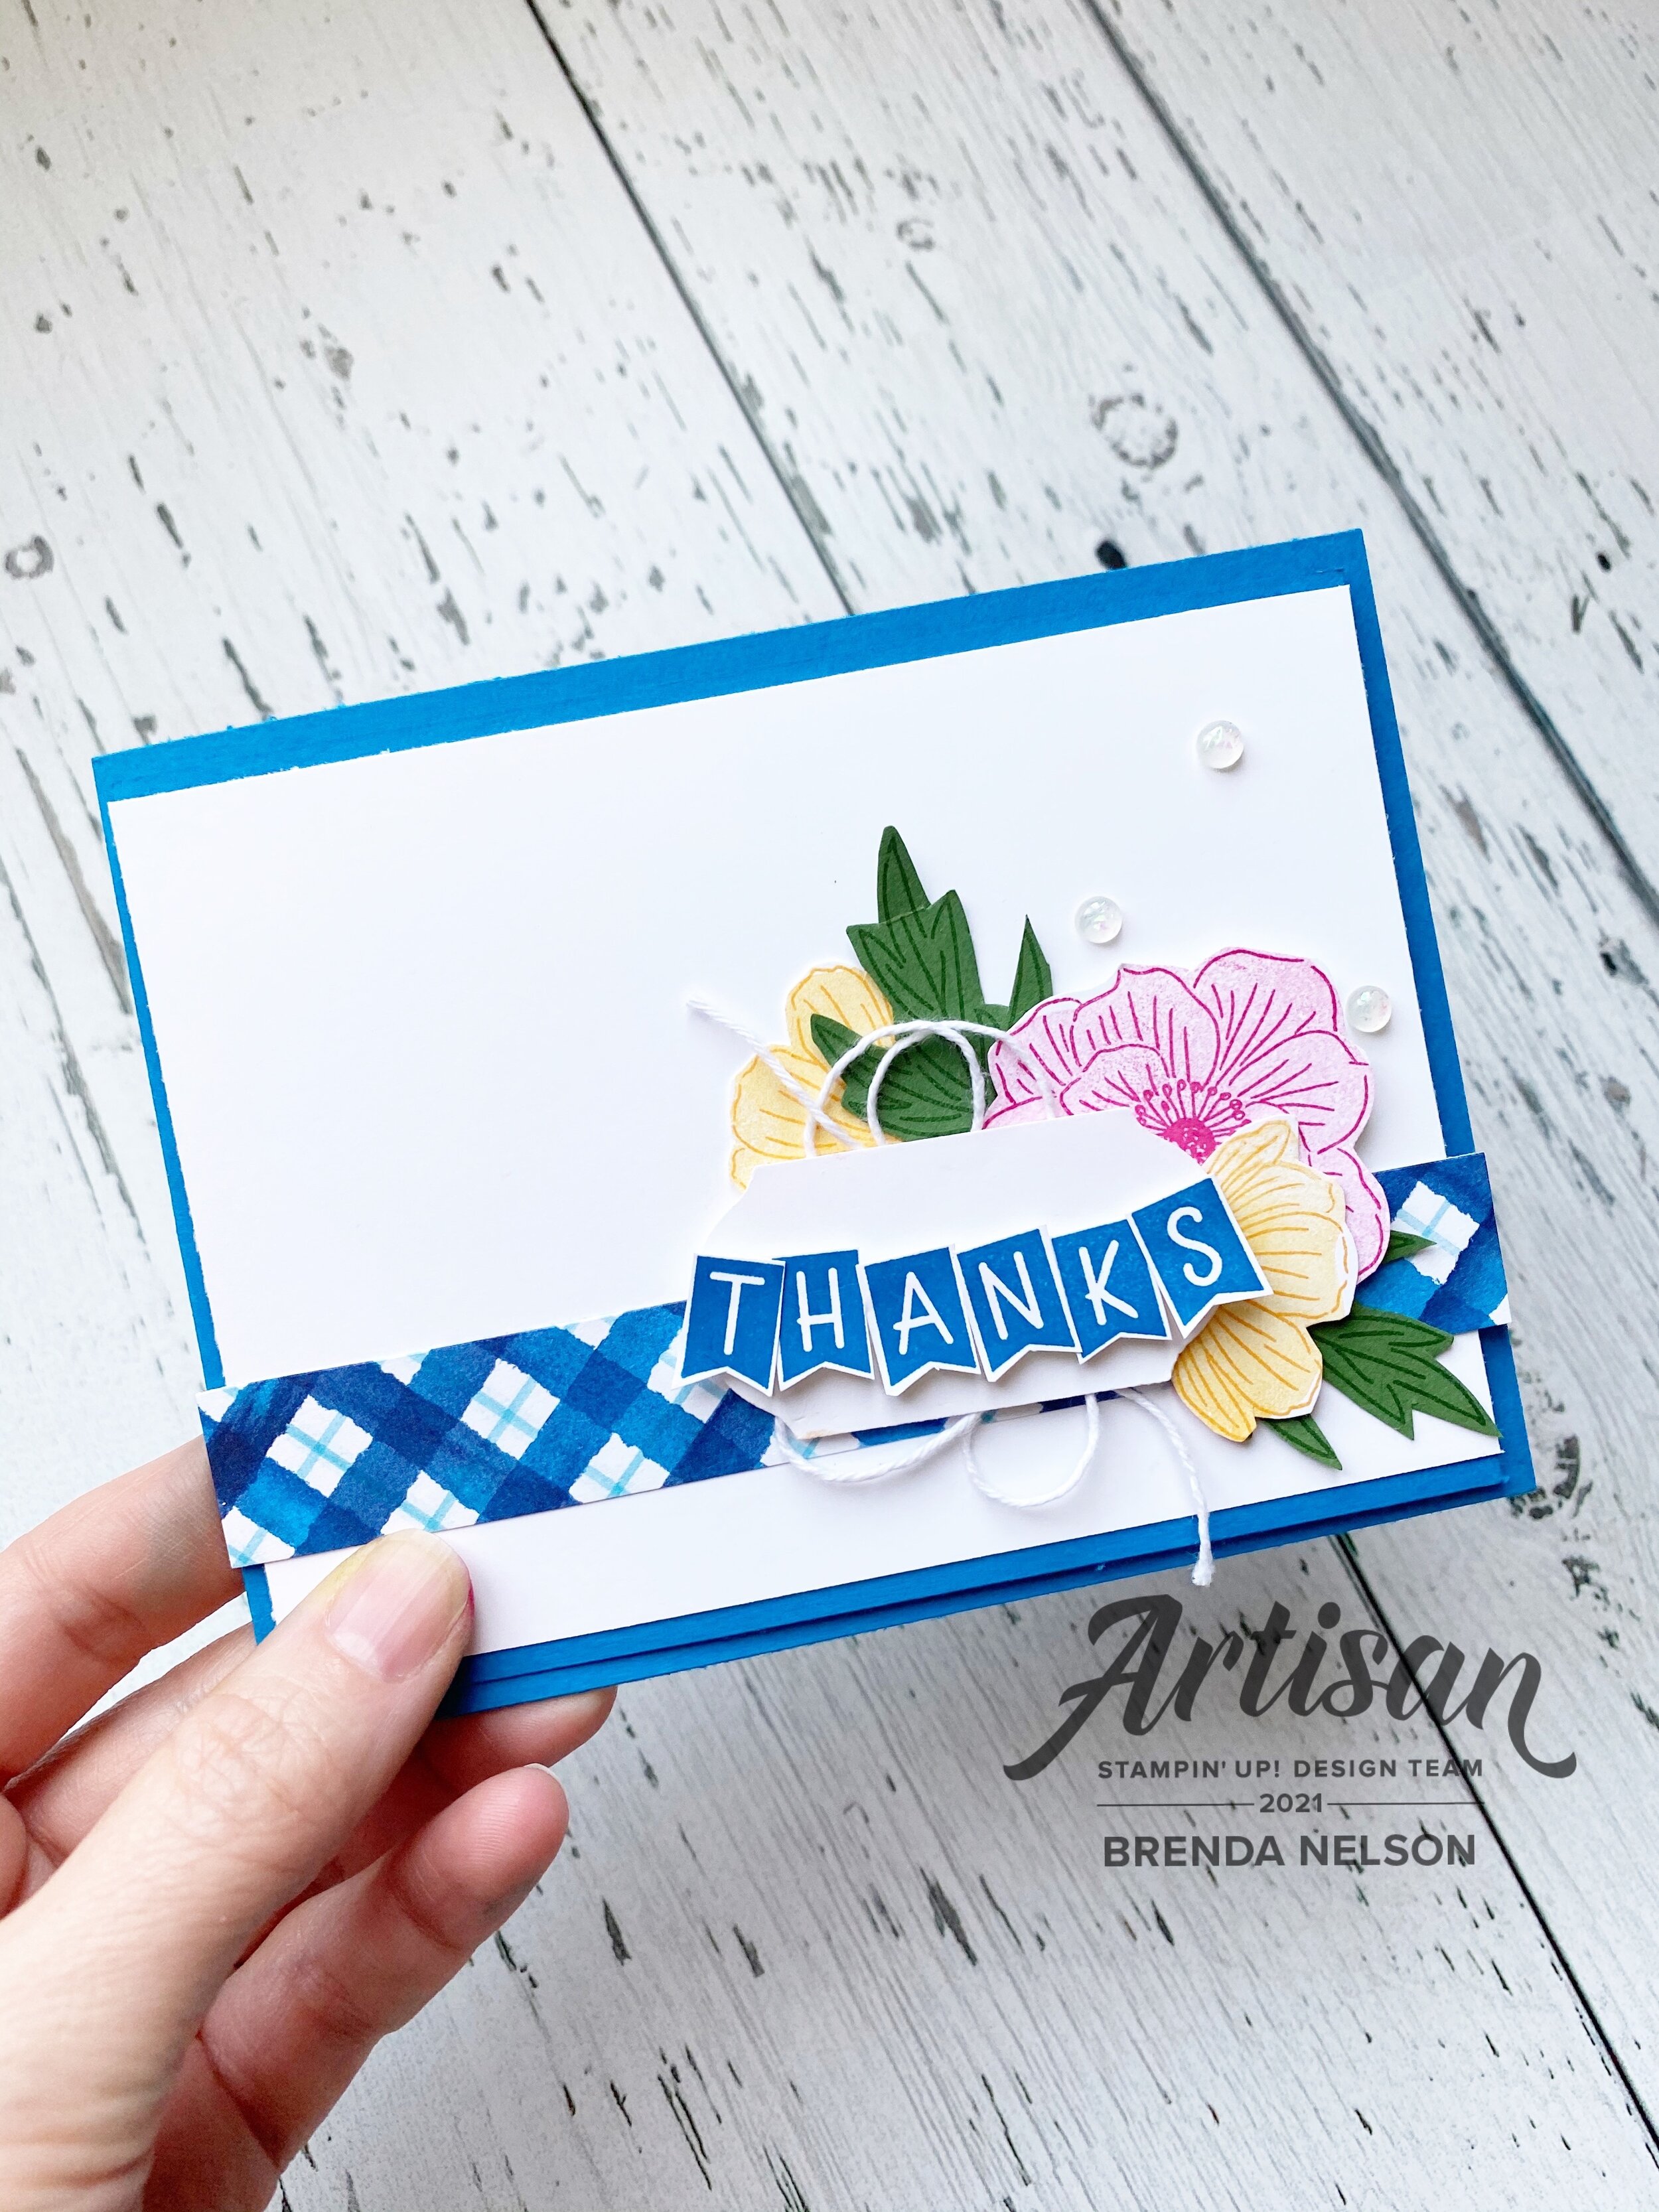
The sentiment is from the stamp set Always in my Heart
I continued the gold theme by accenting my sentiment with some Gold Foil paper cut with the scallop die from the Peony die set and some Gold Metallic Pearls.
I stamped both opposite corners using the Sale-a-bration stamp set Corner Bouquet. To apply the Gilded Leafing to my image I started by stamping it with Versamark and then adding Heat’n Stick Powder over top.
HOT TIP: To use your Heat’n Stick Powder successfully only heat it until it starts to glisten. Once this happens it has become sticky and you can add another ingredient on top. If you over heat or cook it too long, it actually loses its stickiness
After heating the powder you can add your Gilded Leafing. I have dumped out my jar (which will explode in volume) into a large container. You can press your card right into the leafing in the bin or you can add it with tweezers. Either method works but I prefer pressing it into the container. Once you have it attached it, it will look like a hot mess (trust me you are going to look at this and think ‘this ain’t pretty'), you need to use either a Stampin’ Sponge or the large Water Painter brush to brush away the excess and bring the detail to life. I was able to apply extra Gilded Leafing to my project in areas where I didn’t feel there was enough. You can use your finger to rub it with some pressure to your project as well.
In the end, I think it turned out pretty spectacular!

I am so curious to see where everyone else gets their inspiration from. I hope you enjoy our hop this month and if you live in Canada you can shop with me anytime by using the hostess code. Gratitude and thanks in advance! Up next on the hop is the amazing Tricia Butts from the United States!