In a While Crocodile!

Are you loving the new January to June catty as much as I am? I love the variety of stamp sets in this catalogue. We have fun whimsy sets, vintage inspired sets, line image, Reversibles and much much more! I created this super cute and fun card with the new Oh Snap stamp set on page 47. Who doesn’t love a cute crocodile?

final (10).jpg

I wanted to create a soft water background so I used the new Blending Brush with Seaside Spray ink. I added a few little waves in the same ink color near the bottom.

The Croc is stamped in Momento Ink on Whisper White card stock (which has now been replaced with Basic White card stock). I colored this cute croc in with our Stampin’ Blends in Granny Apple Green, Shaded Spruce and Seaside Spray.

final (6).jpg


I wanted it to look like my crocodile was snacking on “Its Your Birthday”, so I used Highland Heather ink on Purple Posy card stock punched into a 1 inch circle which fit perfectly in his mouth.

My croc is popped up on Dimensionals as well to give it some height.


I added a couple little banners to the top left using the In Color 6x6 DSP stack and the woodgrain pattern. I added the Gorgeous Grape little heart on top. This cute little heart can be found in the Kangaroo Dies (pg 17).

I don’t think it matters how old you are, receiving this card is enough to put a smile on anyone’s face!

final (11).jpg


Color Fusers-January 2021

Hello friends! Welcome to our first blog hop of 2021! I can’t wait to share in creativity with the Color Fusers Team this year! I hope you leave every hop being inspired to create a project with our featured color combo and to start experimenting with different color combos yourself!

colorfusers.jpg

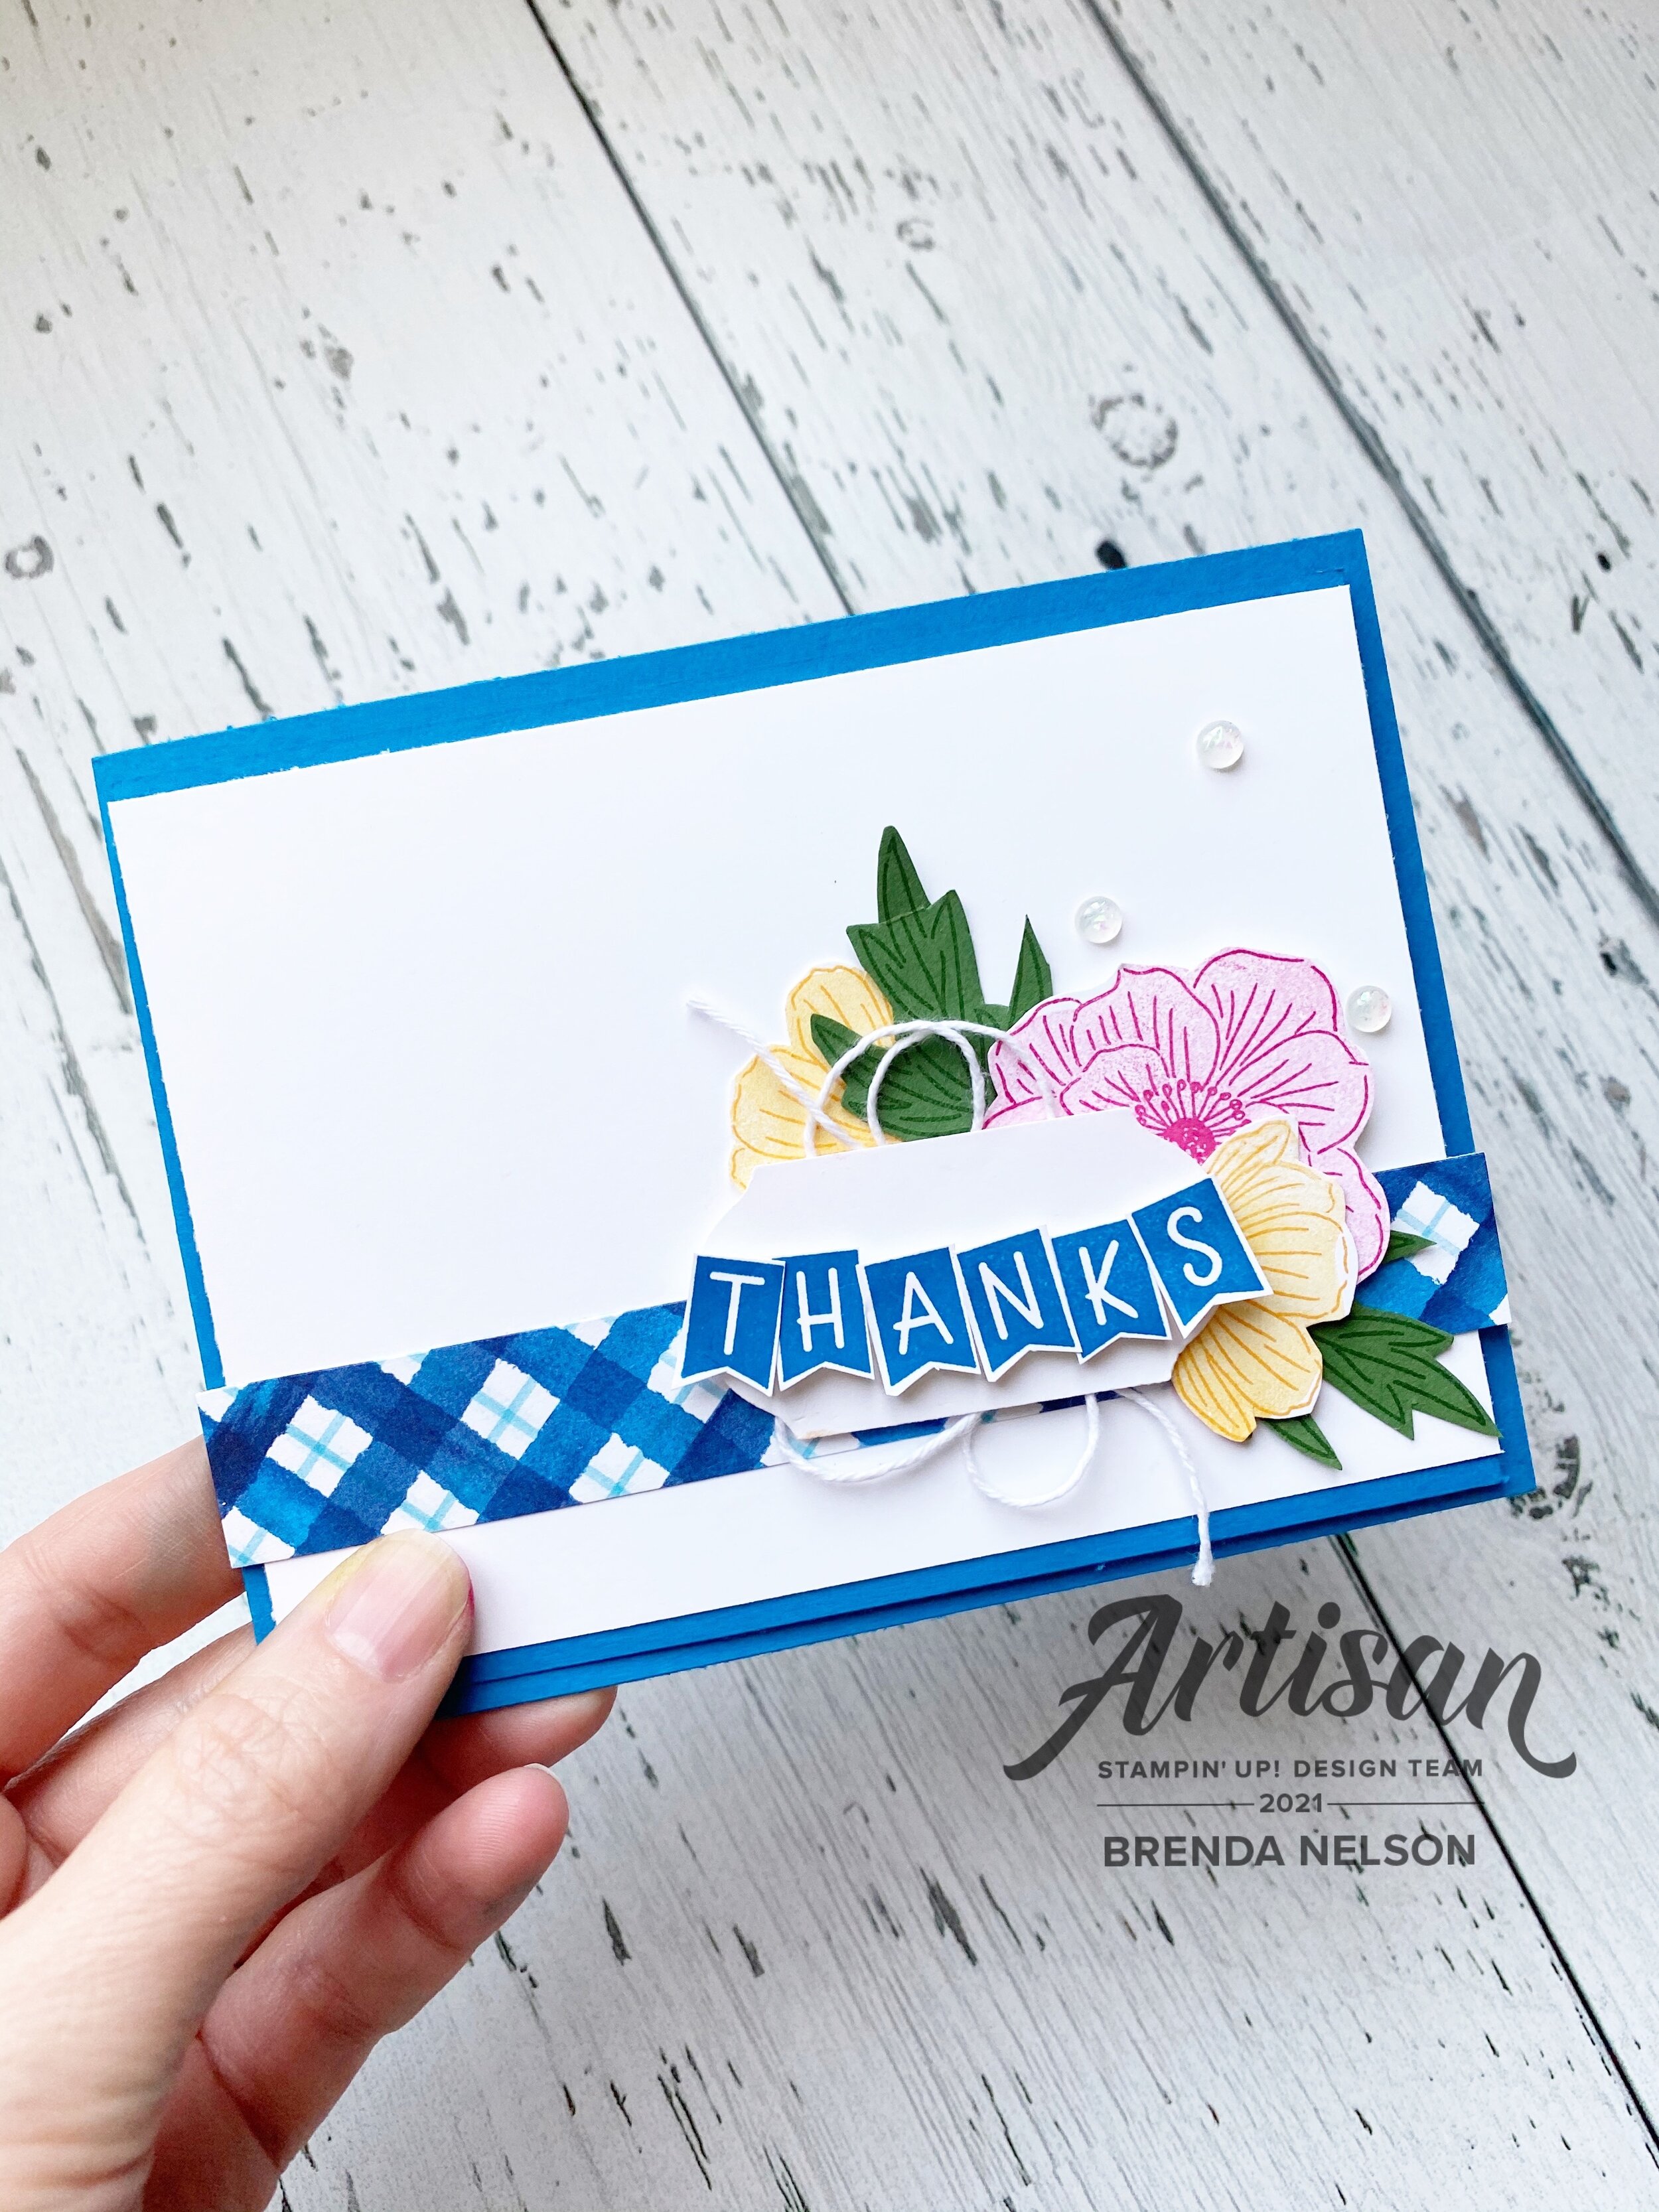
This month we have a color challenge that features FOUR Stampin’ Up! colors. Now I won’t lie, I did find this combo a little intimidating but I am actually really happy with what I was able to create! The featured colors for this month are Pacific Point, Melon Mambo, Garden Green and Mango Melody!

I knew that the only way I could make sense of this combo was to create something with a floral vibe and with our new January to June catalogue there are so many floral stamp and bundle options.

colorfuserjan.jpg

I wanted to use a set that might not be at the top of your list but may actually surprise you with its potential! I used the Back to Back Blooms stamp set which is a ‘Reversibles’ stamp set. This means you stamp the line image using one side of the photopolymer stamp and then clean and flip it (reverse it) to use the other solid side as a filler. Its actually quite genius!


I actually really love how crisp and clean this card feels even though it has four colors in the design.

I started with a base of Pacific Point and created an second layer in the same color that is 4 x 5 1/2. I then layered Whisper White over top.

The strip of designer paper is actually from the Sale-a-bration paper, Berry Delightful.

I stamped the Melon Mambo and Mango Melody flowers on Whisper White and hand trimmed them.

final (59).jpg

The leaves are stamped in Garden Green ink on the same paper. But my favorite part of this card is the “Thanks” banner! Its so adorable and so fun! The Back to Blooms stamp set actually doesn’t have any sentiments so I had to bring in another set. One of my new favorites is the You Are Amazing stamp set. This set is the partner set needed to complete the You Are Amazing card kit. However, it has so much potential! You will see it a lot in my upcoming designs.

final (64).jpg

I trimmed the ‘Thanks’ from its original form and used MIni Dimensionals to pop it up on the Label Punch. I added some White Bakers Twine to the back—-I am so happy it is available again in a combo pack with Blushing Bride! Yay! I added a few Opal Rounds (LOVE) to fill in a bit of the white space and add some subtle glitz!

final (61).jpg

I am really so happy with how this card turned out and I decided I needed to add a little something to the inside too! I did some simple and easy masking with the large flower and added another sentiment to the inside. I kept the flowers to their line image only for that fresh crisp feel. I think anyone would be so happy to get this cute card in the mail!

final (58).jpg

I cannot wait to see what Nicolle has created to share with us this month. If you want to go backwards, you can and you will be visiting Melanie. I hope you are able to hop all the way around and please feel free to leave a comment :). Happy New Year!


Create with Connie and Mary-Favorite NEW Product!

Hello friends! Welcome to a new year and new projects and inspiration! So excited to have you joining us every Saturday for 2021. Wishing you and your family all the best as we kick off 2021 with a renewed spirit and intention. My theme for 2021 is Make it Happen. I have big goals to accomplish this year!

Saturday Blog Hop Welcome.jpg

Our first weekly theme is FAVORITE NEW PRODUCT! I have to say, it was almost hard to pick because there are just so many fabulous items in the new January to June Catalogue (or the JJ catty as some are calling it!).

I landed on the Fine Art Floral Suite. Florals just have so much potential as you can use them on every single theme in one way or another. I wanted to kick off my first project share in the Create with Connie & Mary Hop with a great gift or home decor idea using this suite.

I can often find these rustic frames with the built in clip at Homesense. I snatch them up whenever I can find them! They are perfect for embellishing with your favorite stamps!

I can often find these rustic frames with the built in clip at Homesense. I snatch them up whenever I can find them! They are perfect for embellishing with your favorite stamps!

I started with a large base of DSP from the Fine Art Floral collection and layered on a mat of Poppy Parade. I stamped the flowers from the Art Gallery stamp set in two colors for each flower. The large bloom is actually designed to work this way as there are two separate stamps. The cluster of blooms is only a single stamp with one extra stamp for layering. I decided to use a marker to tap on a darker color.

final (2).jpg
 

I used the colors in the DSP to guide the colors I used for the flowers. The flowers in this DSP were actually hand painted on a canvas! I love this paper especially the sheets that look like paint smeared on canvas, so I chose that piece to stamp my sentiment “You Make the World...” in Versamark with Gold Embossing Powder.

The sentiment is from the Beautiful World stamp set in the Annual Catalogue.

I added some Wink of Stella on top of the flowers for a little shimmer!

The Art Gallery stamp set only has one stem image so I stamped it in Old Olive ink on the same color card stock and then cut it apart to look more like leaves. The Fine Art Floral ribbon was also perfect to layer behind sentiment (cut with Stitched Circle Dies) to continue the gold theme on this project.

final (1).jpg

I stamped “You are Lovely” in Old Olive Ink on the coordinating card stock and cut it with a die from the Floral Gallery Dies. I added a couple more flowers underneath the sentiment.

After I took this picture I thought…it needs something! So I went back and cut the word “friend” in Gold Foil paper using the Well Written Dies (see the first picture to notice the addition!).

I was so happy to give this gift to my friend Tammy. We met on the Alaskan Incentive Trip and have kept in touch ever since. This is a picture of us on the Greek Isles Incentive Trip in the infamous Hospitality Room. I absolutely LOVED this trip and am keeping every body part of mine crossed that we can see each other again in Maui this spring!

I can’t wait to see the other members of the Design Team are sharing a their favorite new products. You can go BACK to see what Melissa has designed and NEXT to see what Connie has created! Please feel free to shop with me if you live in Canada! All of these new and amazing products will be available on January 5th. If you live in Canada you can shop my Online Store or use my Hostess Code at any time!

A Card a Day in December--Day #30

The end of 2020 is so near we can almost start celebrating! So of course I had to design a page layout to capture our celebrations tomorrow as we say Hello to 2021! I think this page is simple and sophisticated and won’t take you long to assemble. You can substitute any stamps that you have too as you will see that I combined retired, current and BRAND NEW stamps all on this layout with a mixture of fonts and design styles.

final (57).jpg

I designed this page on Very Vanilla 12x12 because I new that I wanted to use gold accents and Very Vanilla has a warmer tone to it. I used a photo mat of Basic Black to accommodate a future 5 x 7 photo. I can anticipate my family taking a selfie so this photo orientation supports that better.

The sentiment ‘Cheers…’ is from a retired set called Cheers to That. It is a set that I will keep in my collection as I do find that sets to do with New Years do not come around very often. It is stamped in Versamark with gold embossing powder on Very Vanilla. Behind the sentiment I added some retired black twine and some new gold hued ribbon called Fine Art Ribbon. And of course I had to add the Matte Black Dots from the Love You Always suite—love! A few glittery stars and this little section is perfect.

final (56).jpg

I wanted to use a Gold Hoop as well on my page to highlight the word Hooray. I used my Stampin’ Write Basic Black marker to highlight the word Hooray from the rest of the stamp as it is a part of a phrase. This stamp is from the You Are Amazing stamp set which is the stamp set designed to complete the You Are Amazing Project Kit.

final 2.jpg

I added a gold leaf behind the hoop which is cut from Gold Foil paper and the Forever Flourishing Dies. 2021 is cut from black glitter paper using the Playful Alphabet dies and Foam Adhesive Sheets. I really like this little vignette!

Let’s Celebrate is from the Bloom & Grow stamp set in the annual catalogue. It is also modified from its original form and is embossed with gold embossing powder and cut using the largest circle from the Circle Dies. I added a little gold metallic thread behind and a couple die cut starts from the Stitched Stars dies. Gilded Gems were the perfect accent here!

I hope you and your family have a wonderful New Years however you are celebrating and can capture a memory together!


A Card a Day in December--Day #29

Hello friends! I wanted to create a New Years card that featured my favorite product suite of 2020—Playing with Patterns. I just love the color combo in the DSP and the Playful Alphabet dies basically live beside my Stampin’ Cut & Emboss machine! I use them all time on everything from cards to scrapbook pages to 3D projects.


I also wanted to design a card that was EASY and one that you could quickly make a few of to get into the mail right at the start of the year.

I used one small strip of the Playing with Patterns DSP as this allowed me to introduce all of the colors in the collection.

I went with a base of Purple Posy as I just love this color. I added a half panel of the same color to build my card on.

Happy New Year is cut from Misty Moonlight card stock, the Playful Alphabet dies and Foam Adhesive Sheets (a MUST HAVE combo)!

final (49).jpg
final (48).jpg

I wanted this card to be fun and whimsy (which I am hoping can be my theme for 2021) so I borrowed a couple of stamps from the new Hey Birthday Chick stamp set. The font in the Let’s Celebrate and Hello matched that fun feel that I was going for.

I added a few embellishments from the Playing with Patterns suite and the All the Trimmings (retiring soon!).

I hope you have enjoyed my 29th project in my A Card a Day in December series!

final (50).jpg