Around the World on Wednesday--Tag Team!

91442295_10216484369808661_2887014979863576576_n.jpg

Hello Friends! Welcome to another Around the World On Wednesday, we are so happy to have you hopping along with us as we explore TAG TEAM projects! I immediately knew that I could take a card design and great some other projects with similar elements.

I have been doing some Mystery Card designs with my team lately as a way for us to create together even though we can’t be together! So this was a design I came up with for our last team meeting.

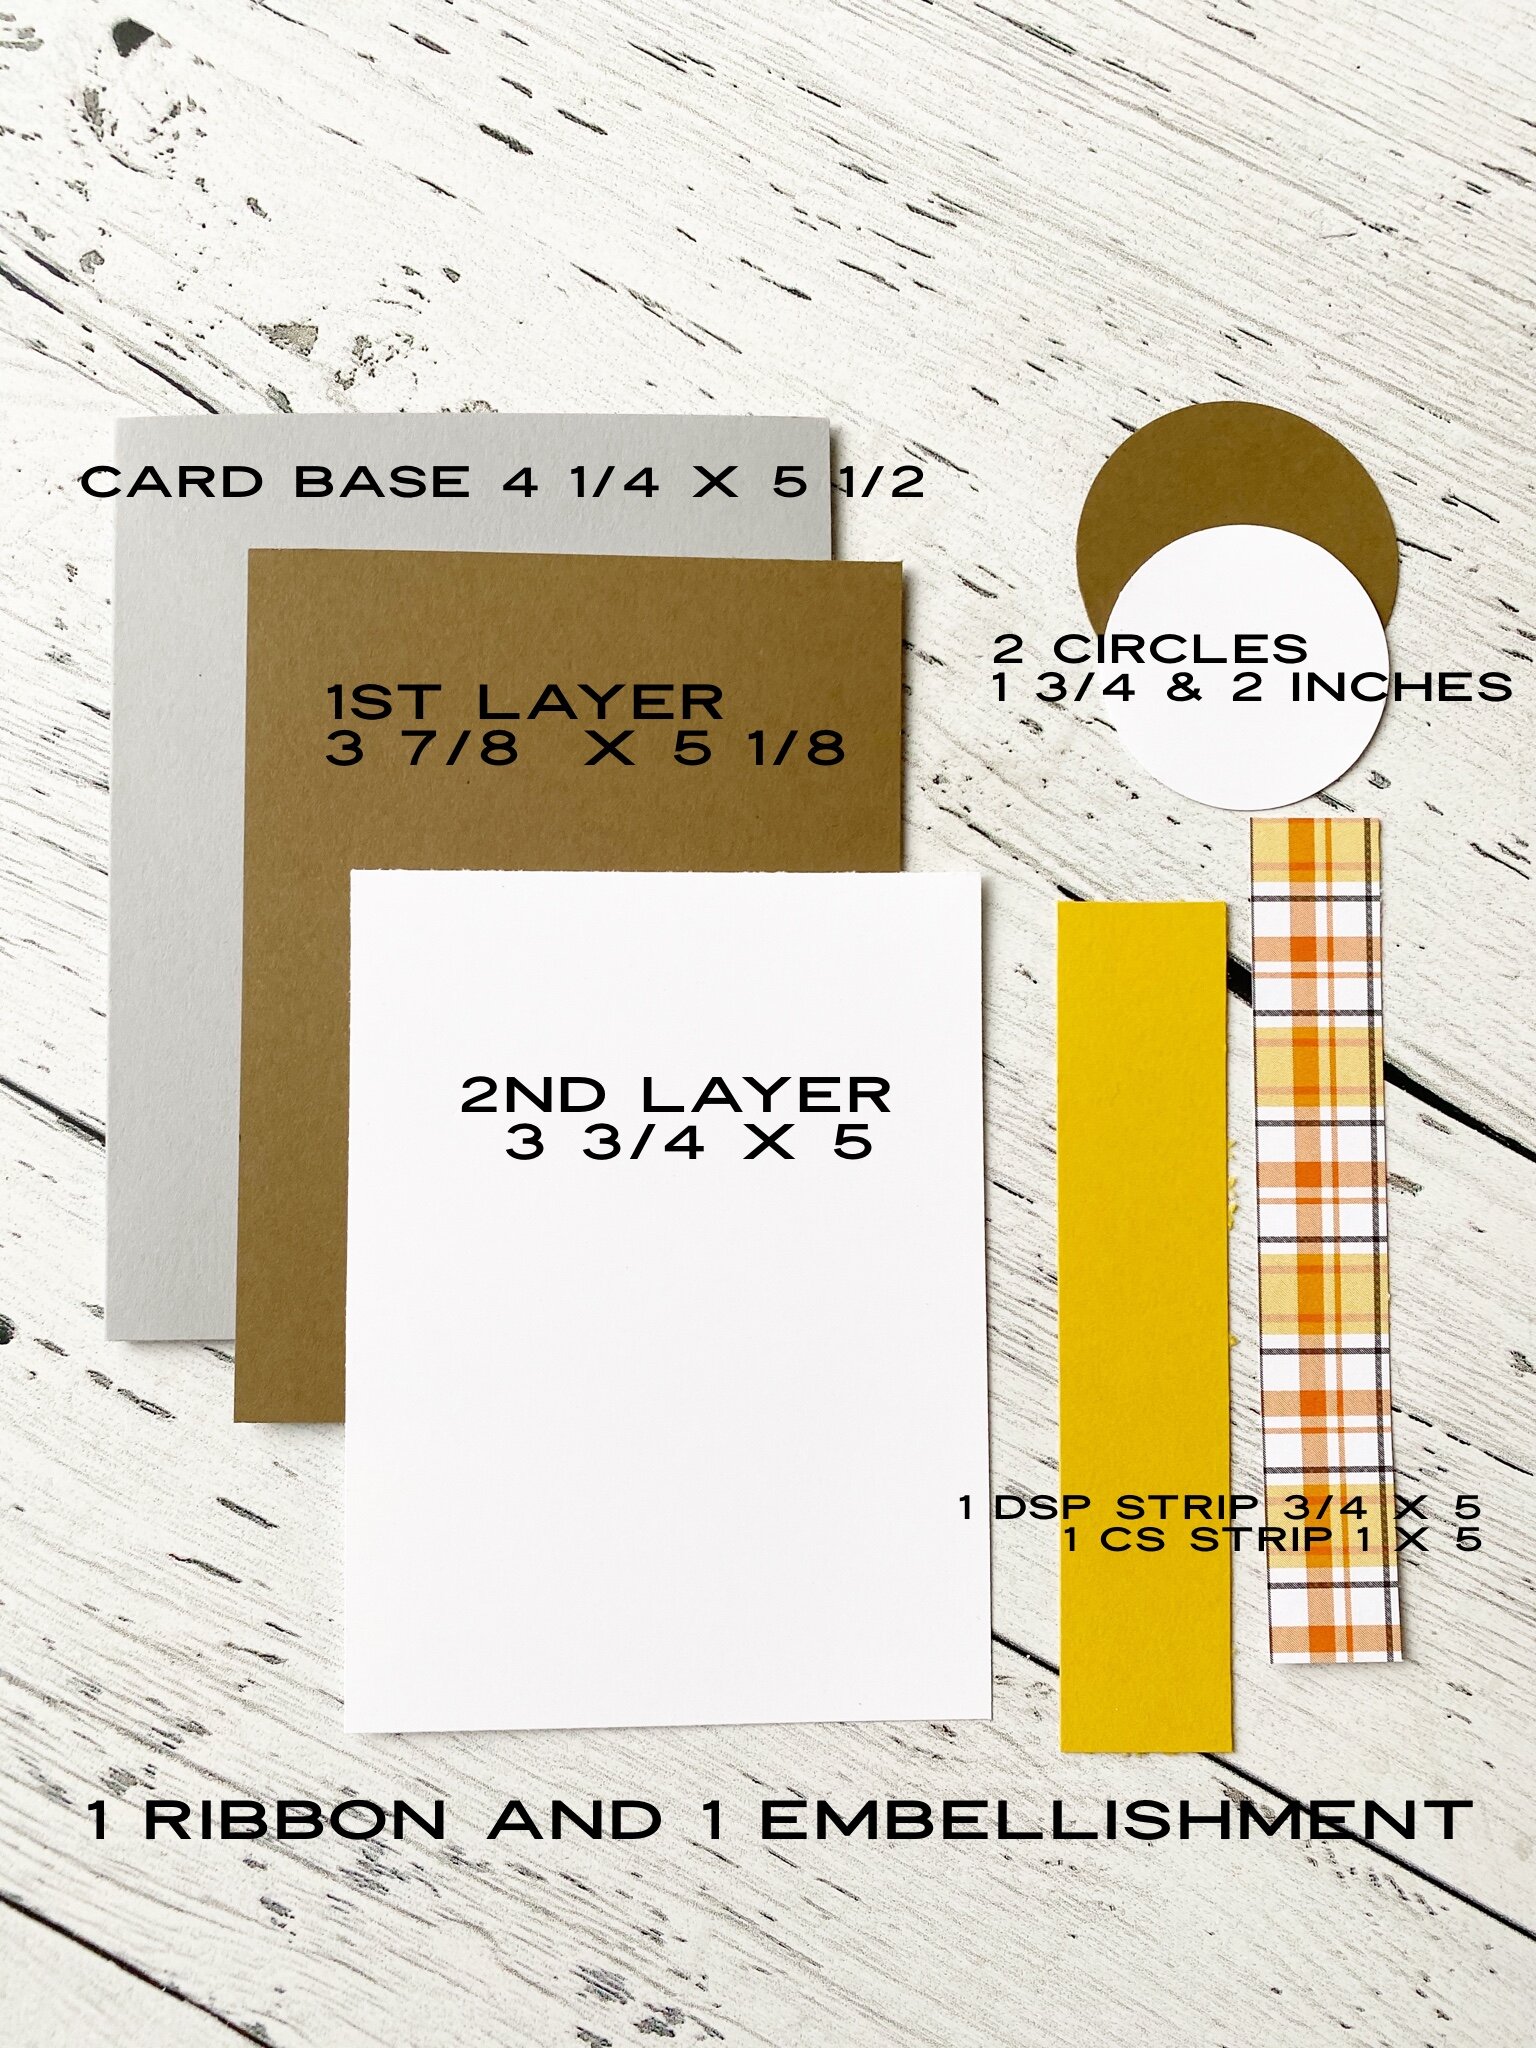
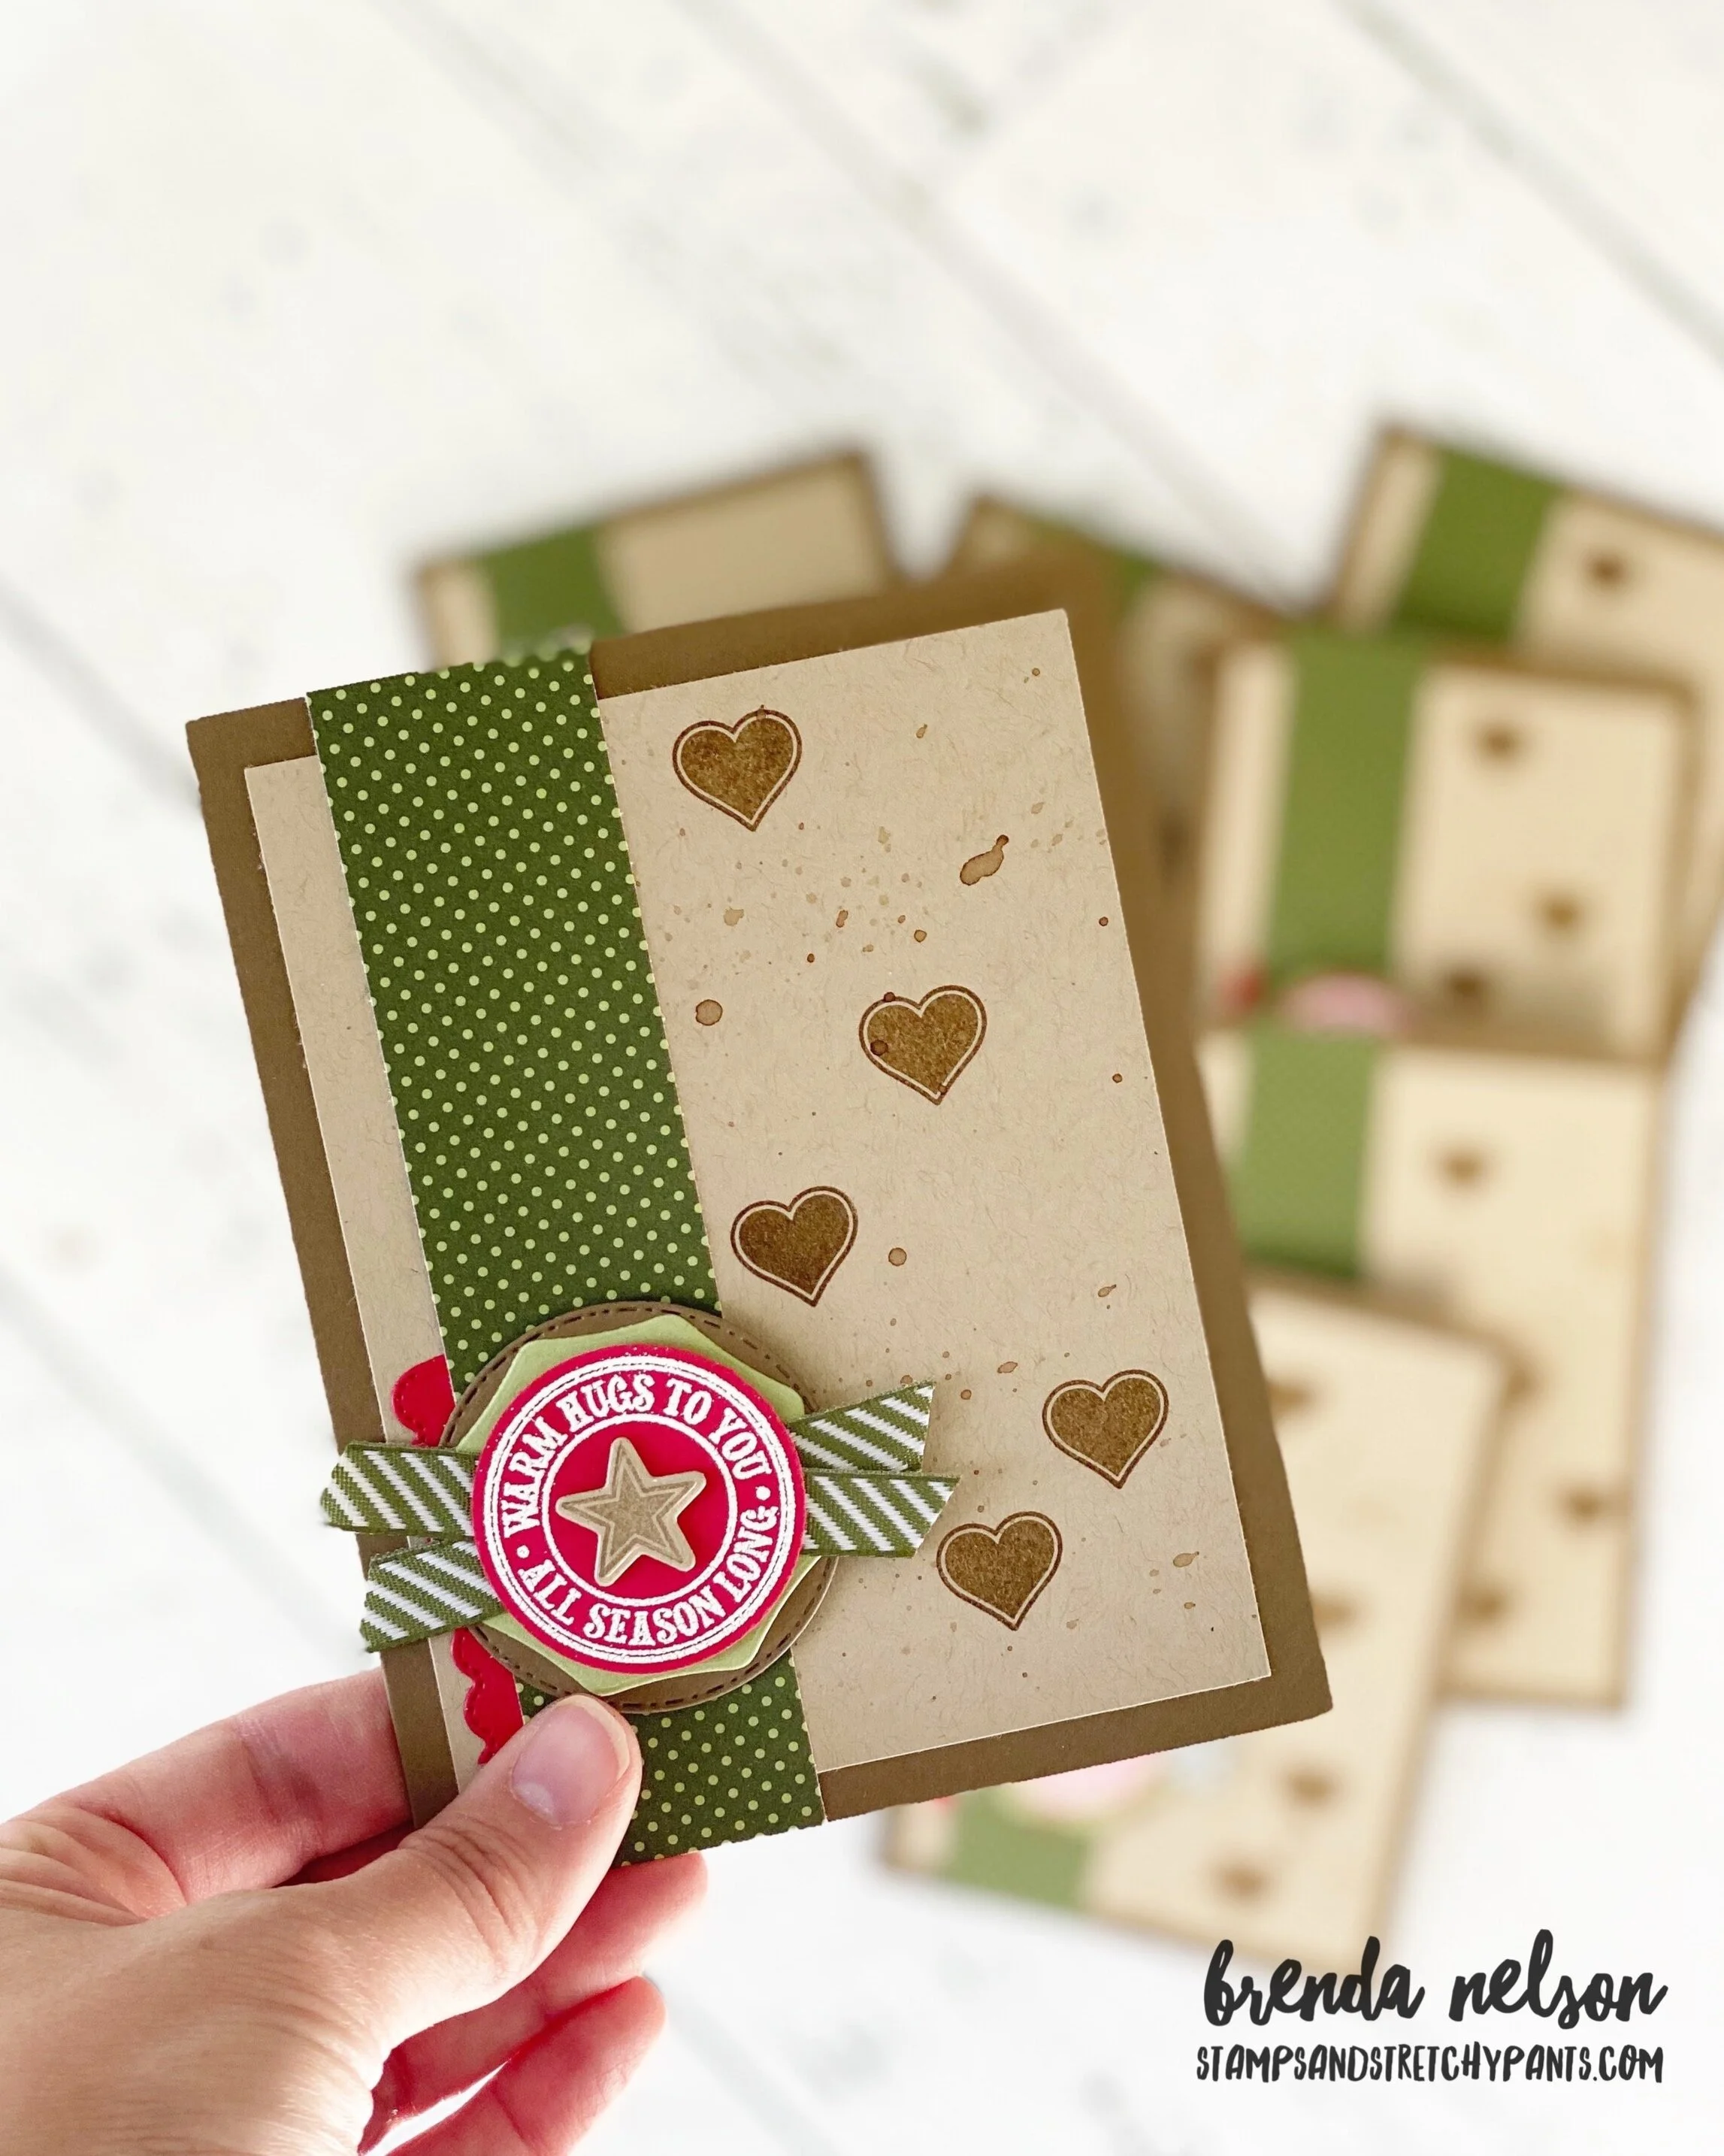
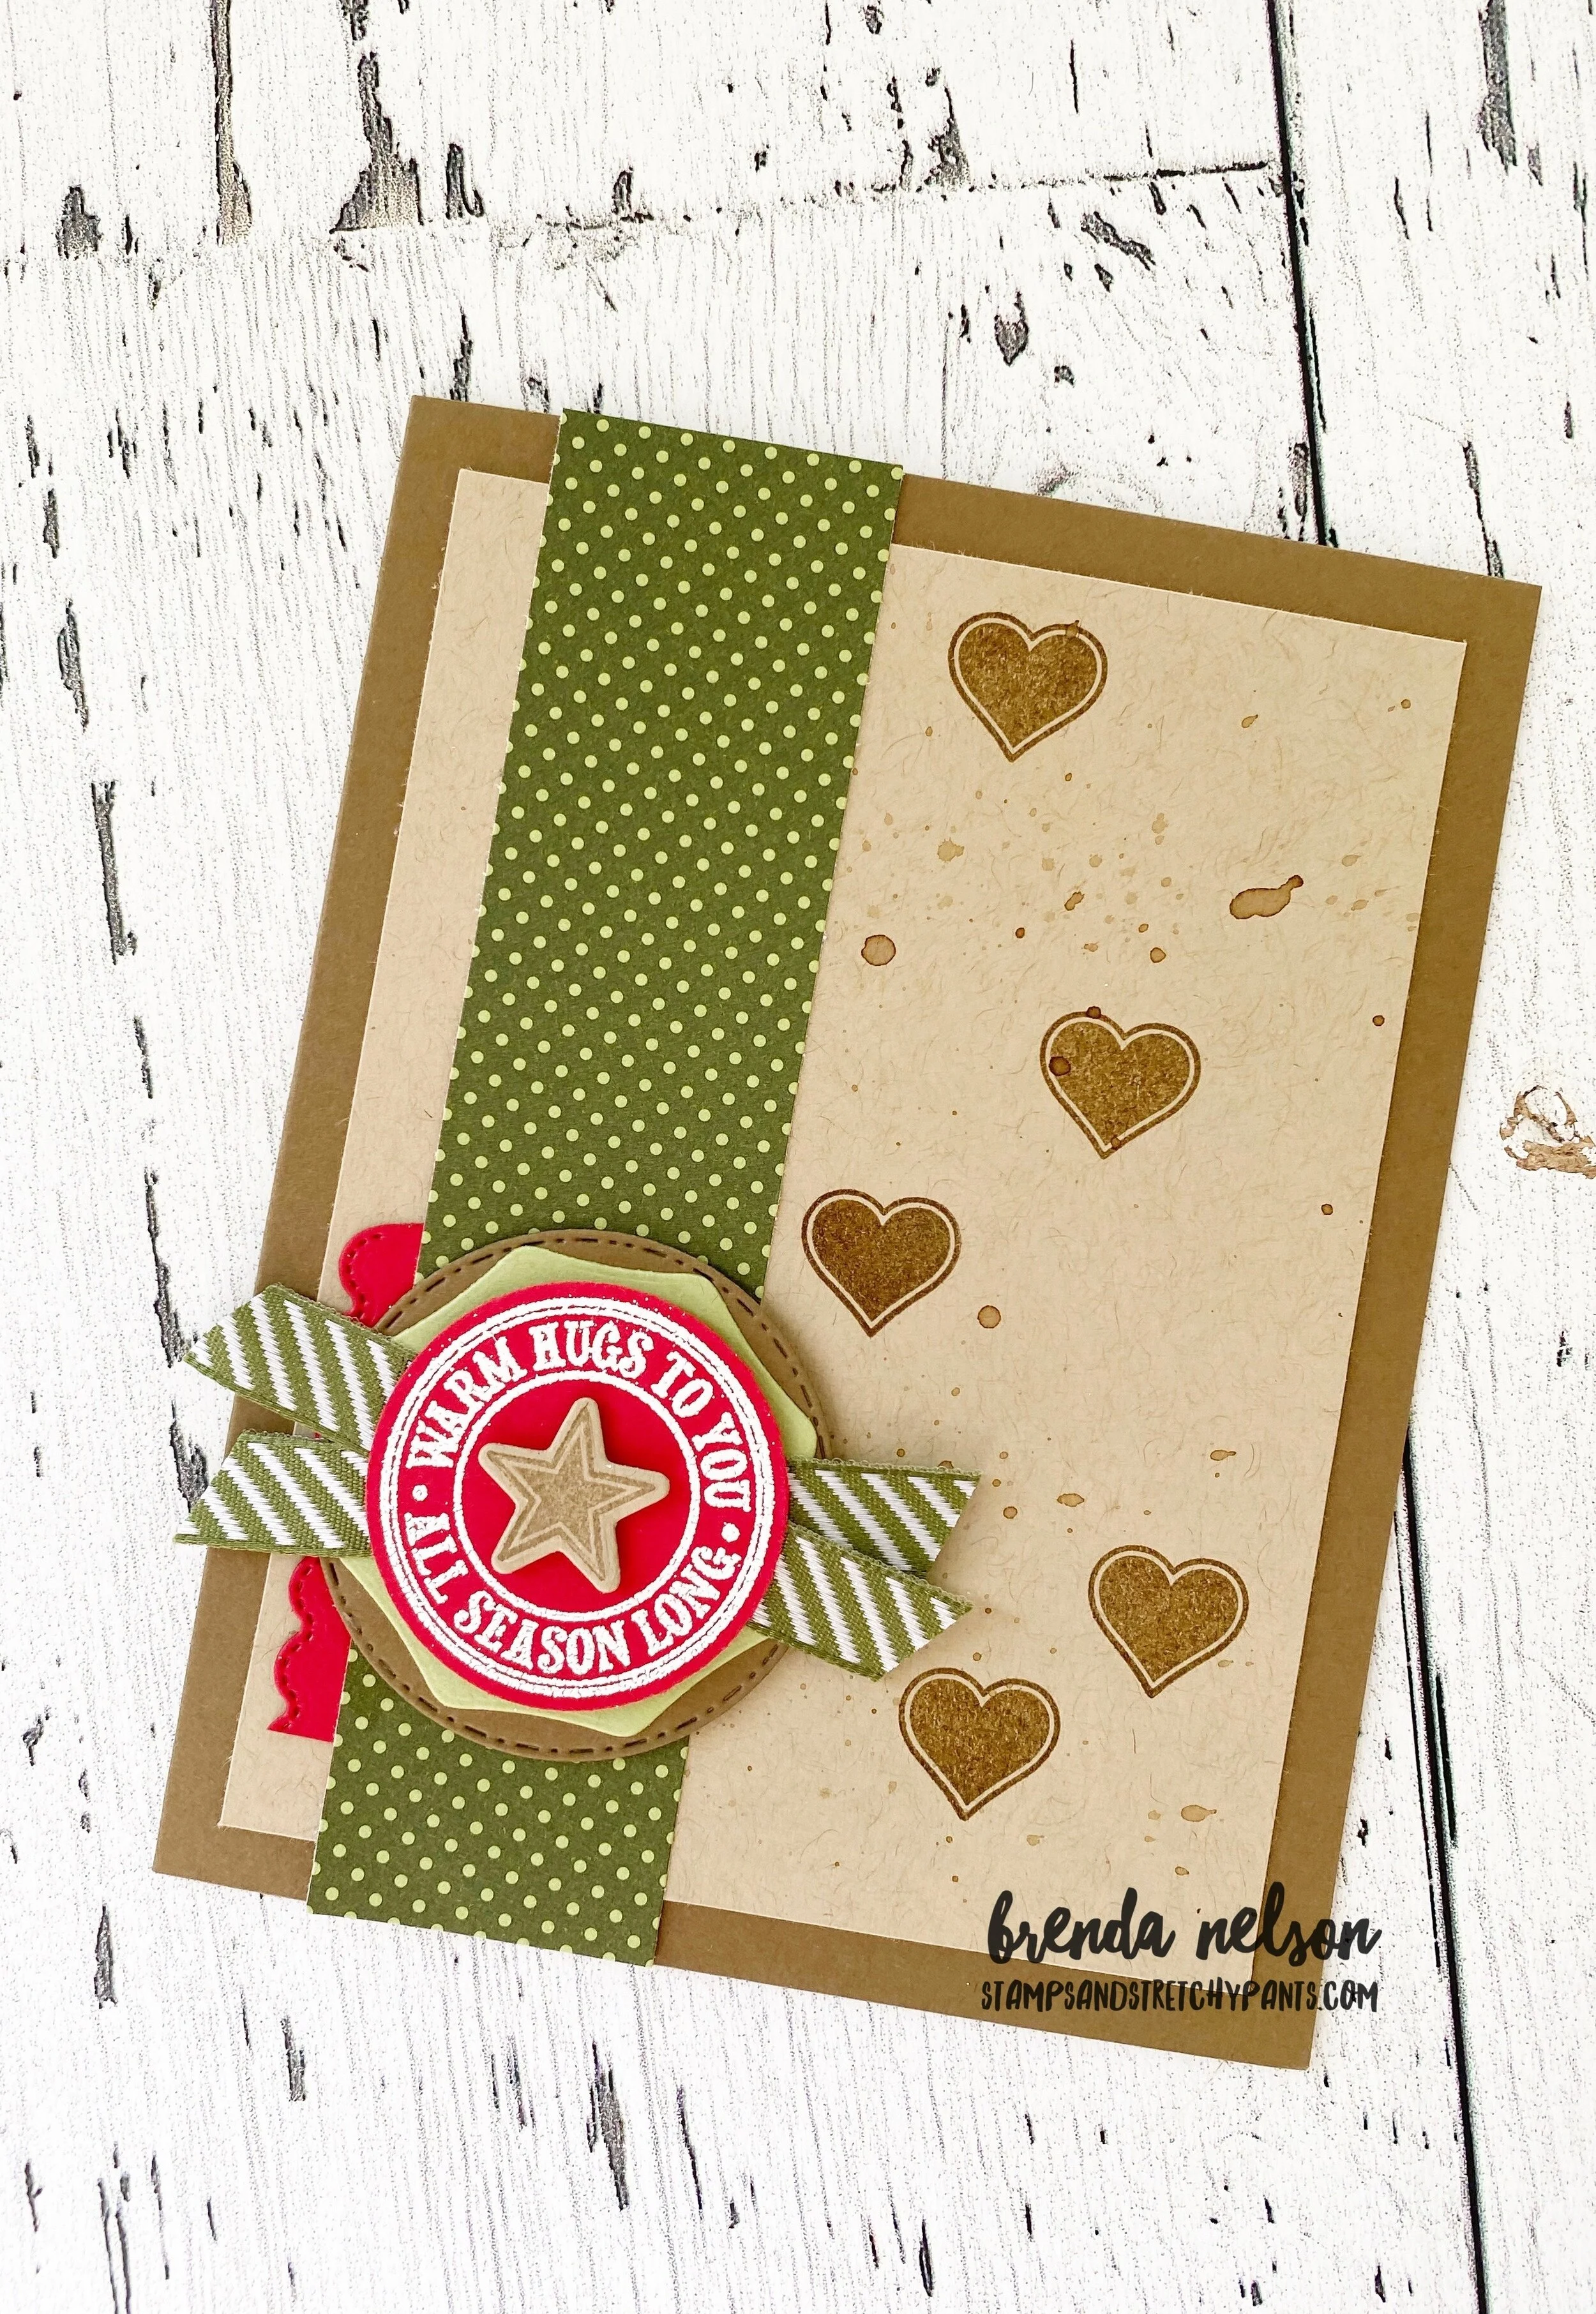
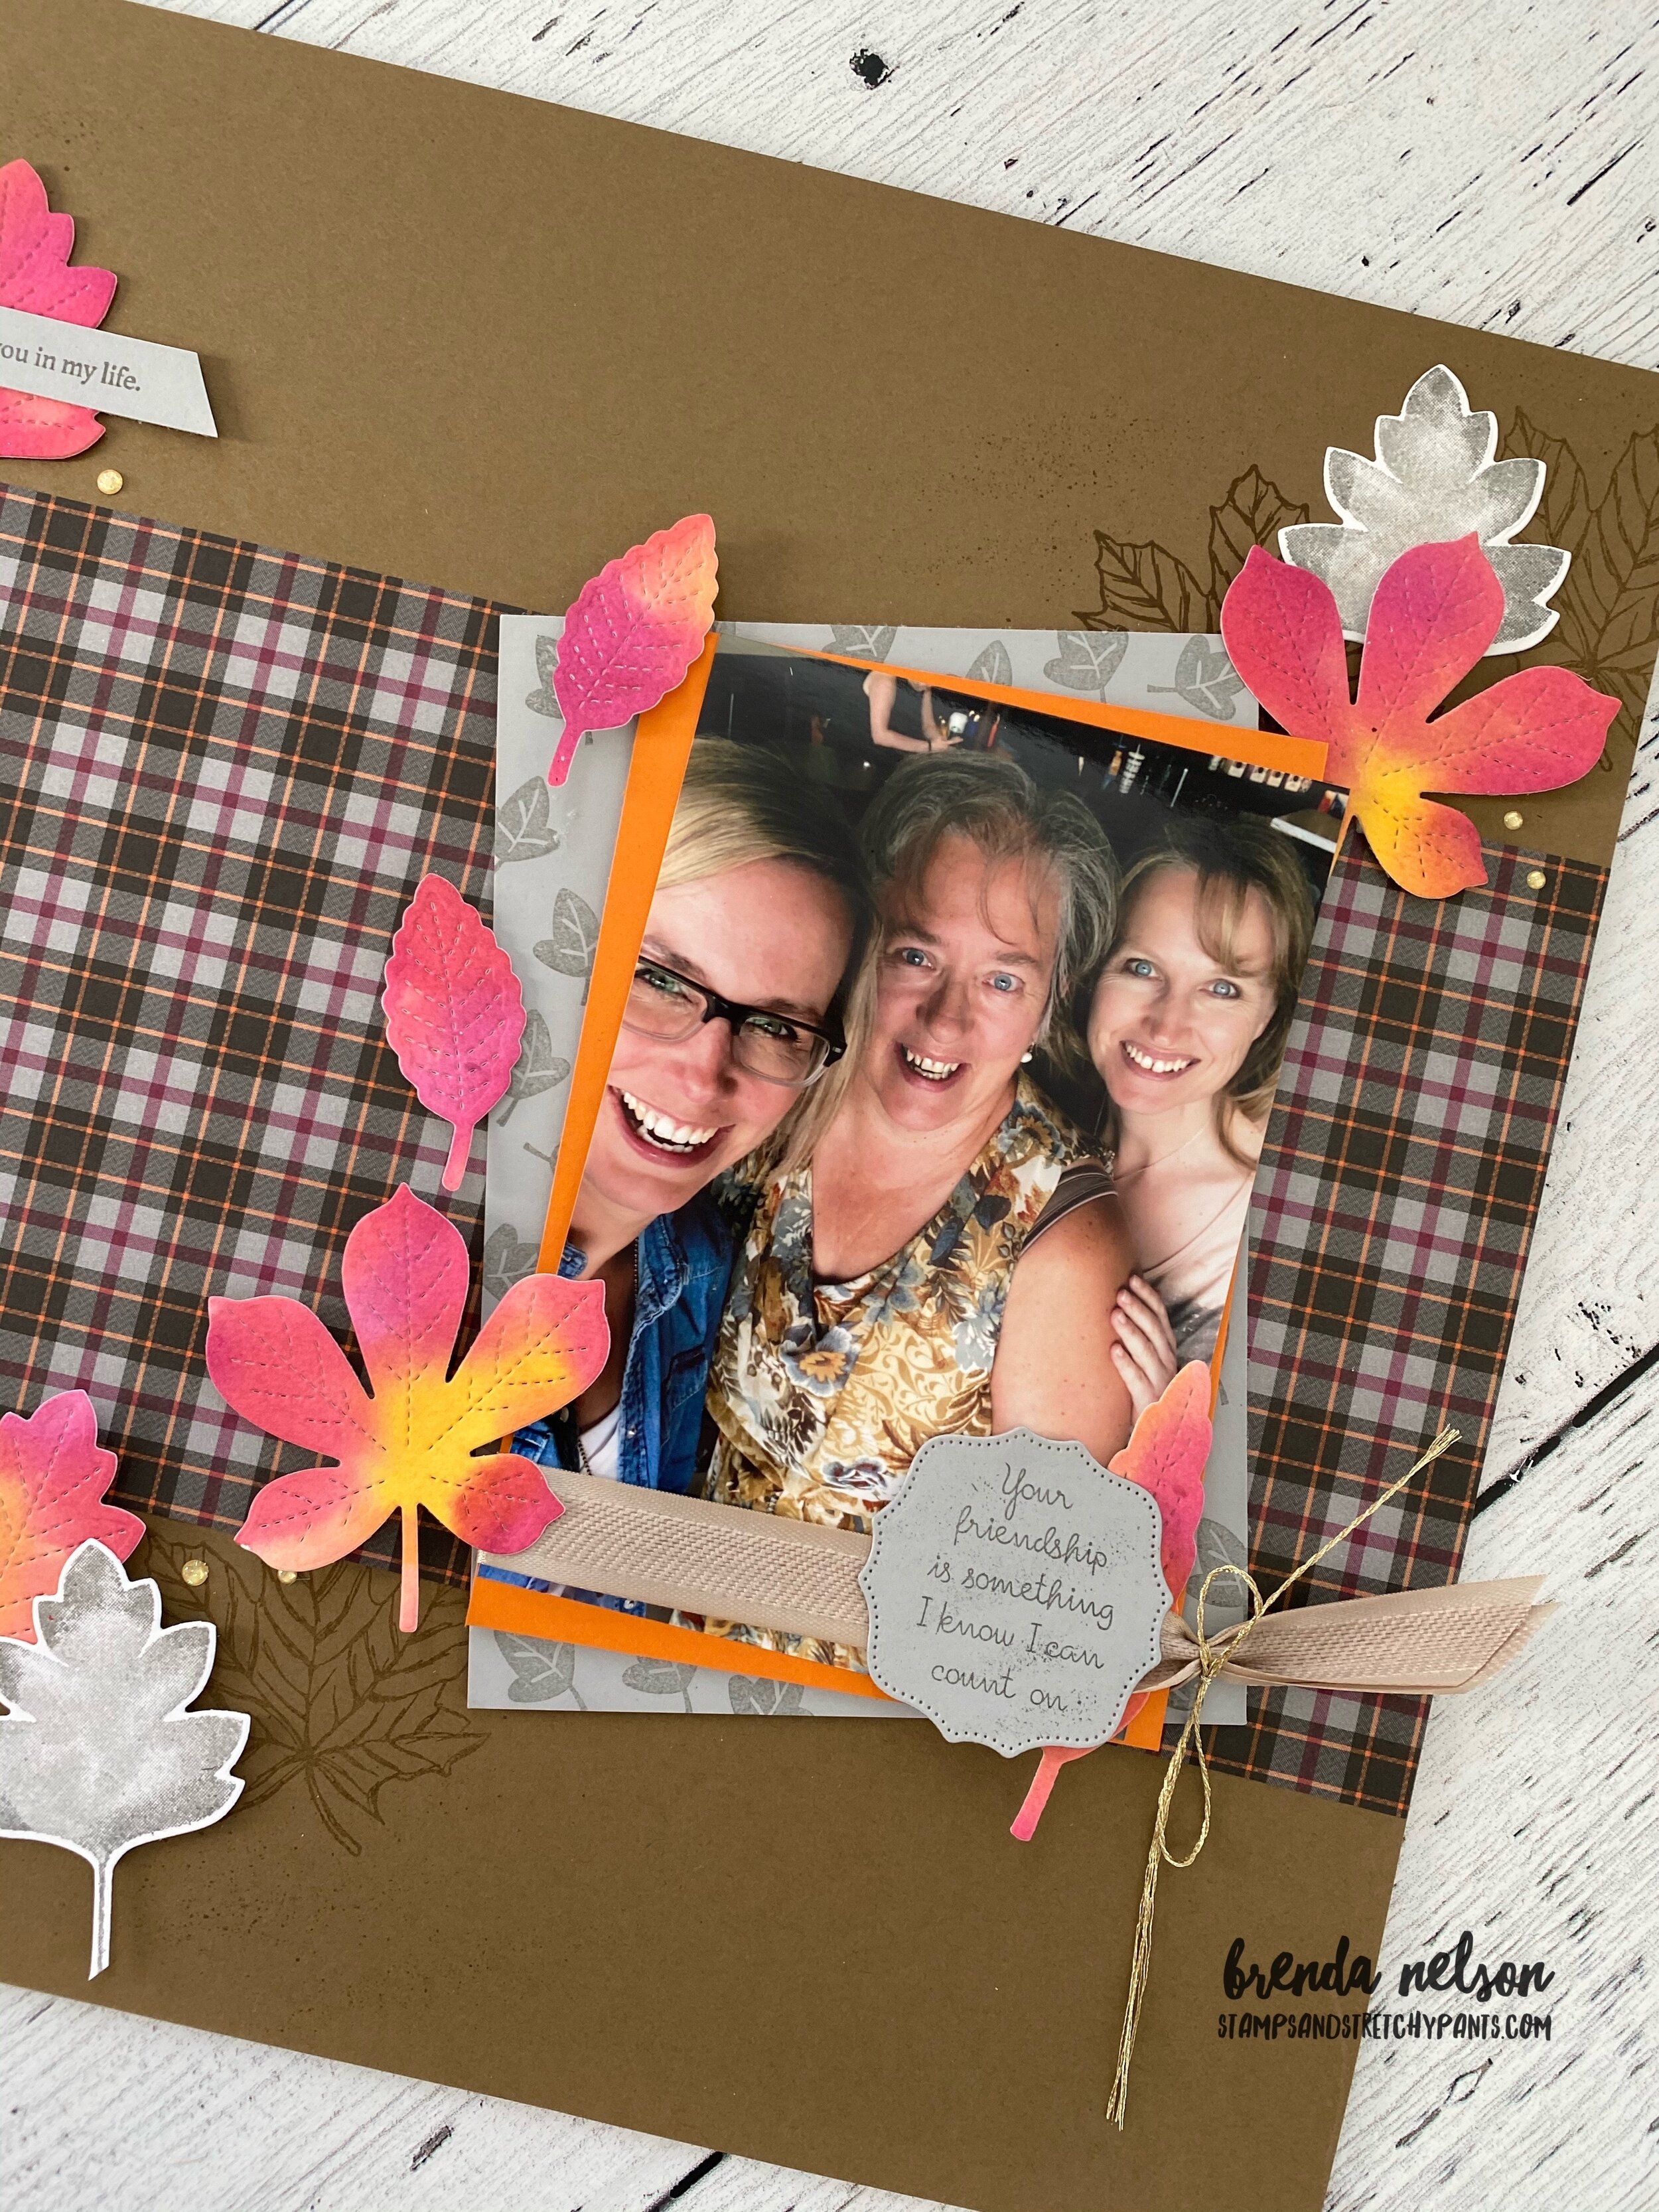
The strip of DSP is from the Plaid Tidings collection and my card stock colors are Smokey Slate, Soft Suede, Whisper White and Crushed Curry.

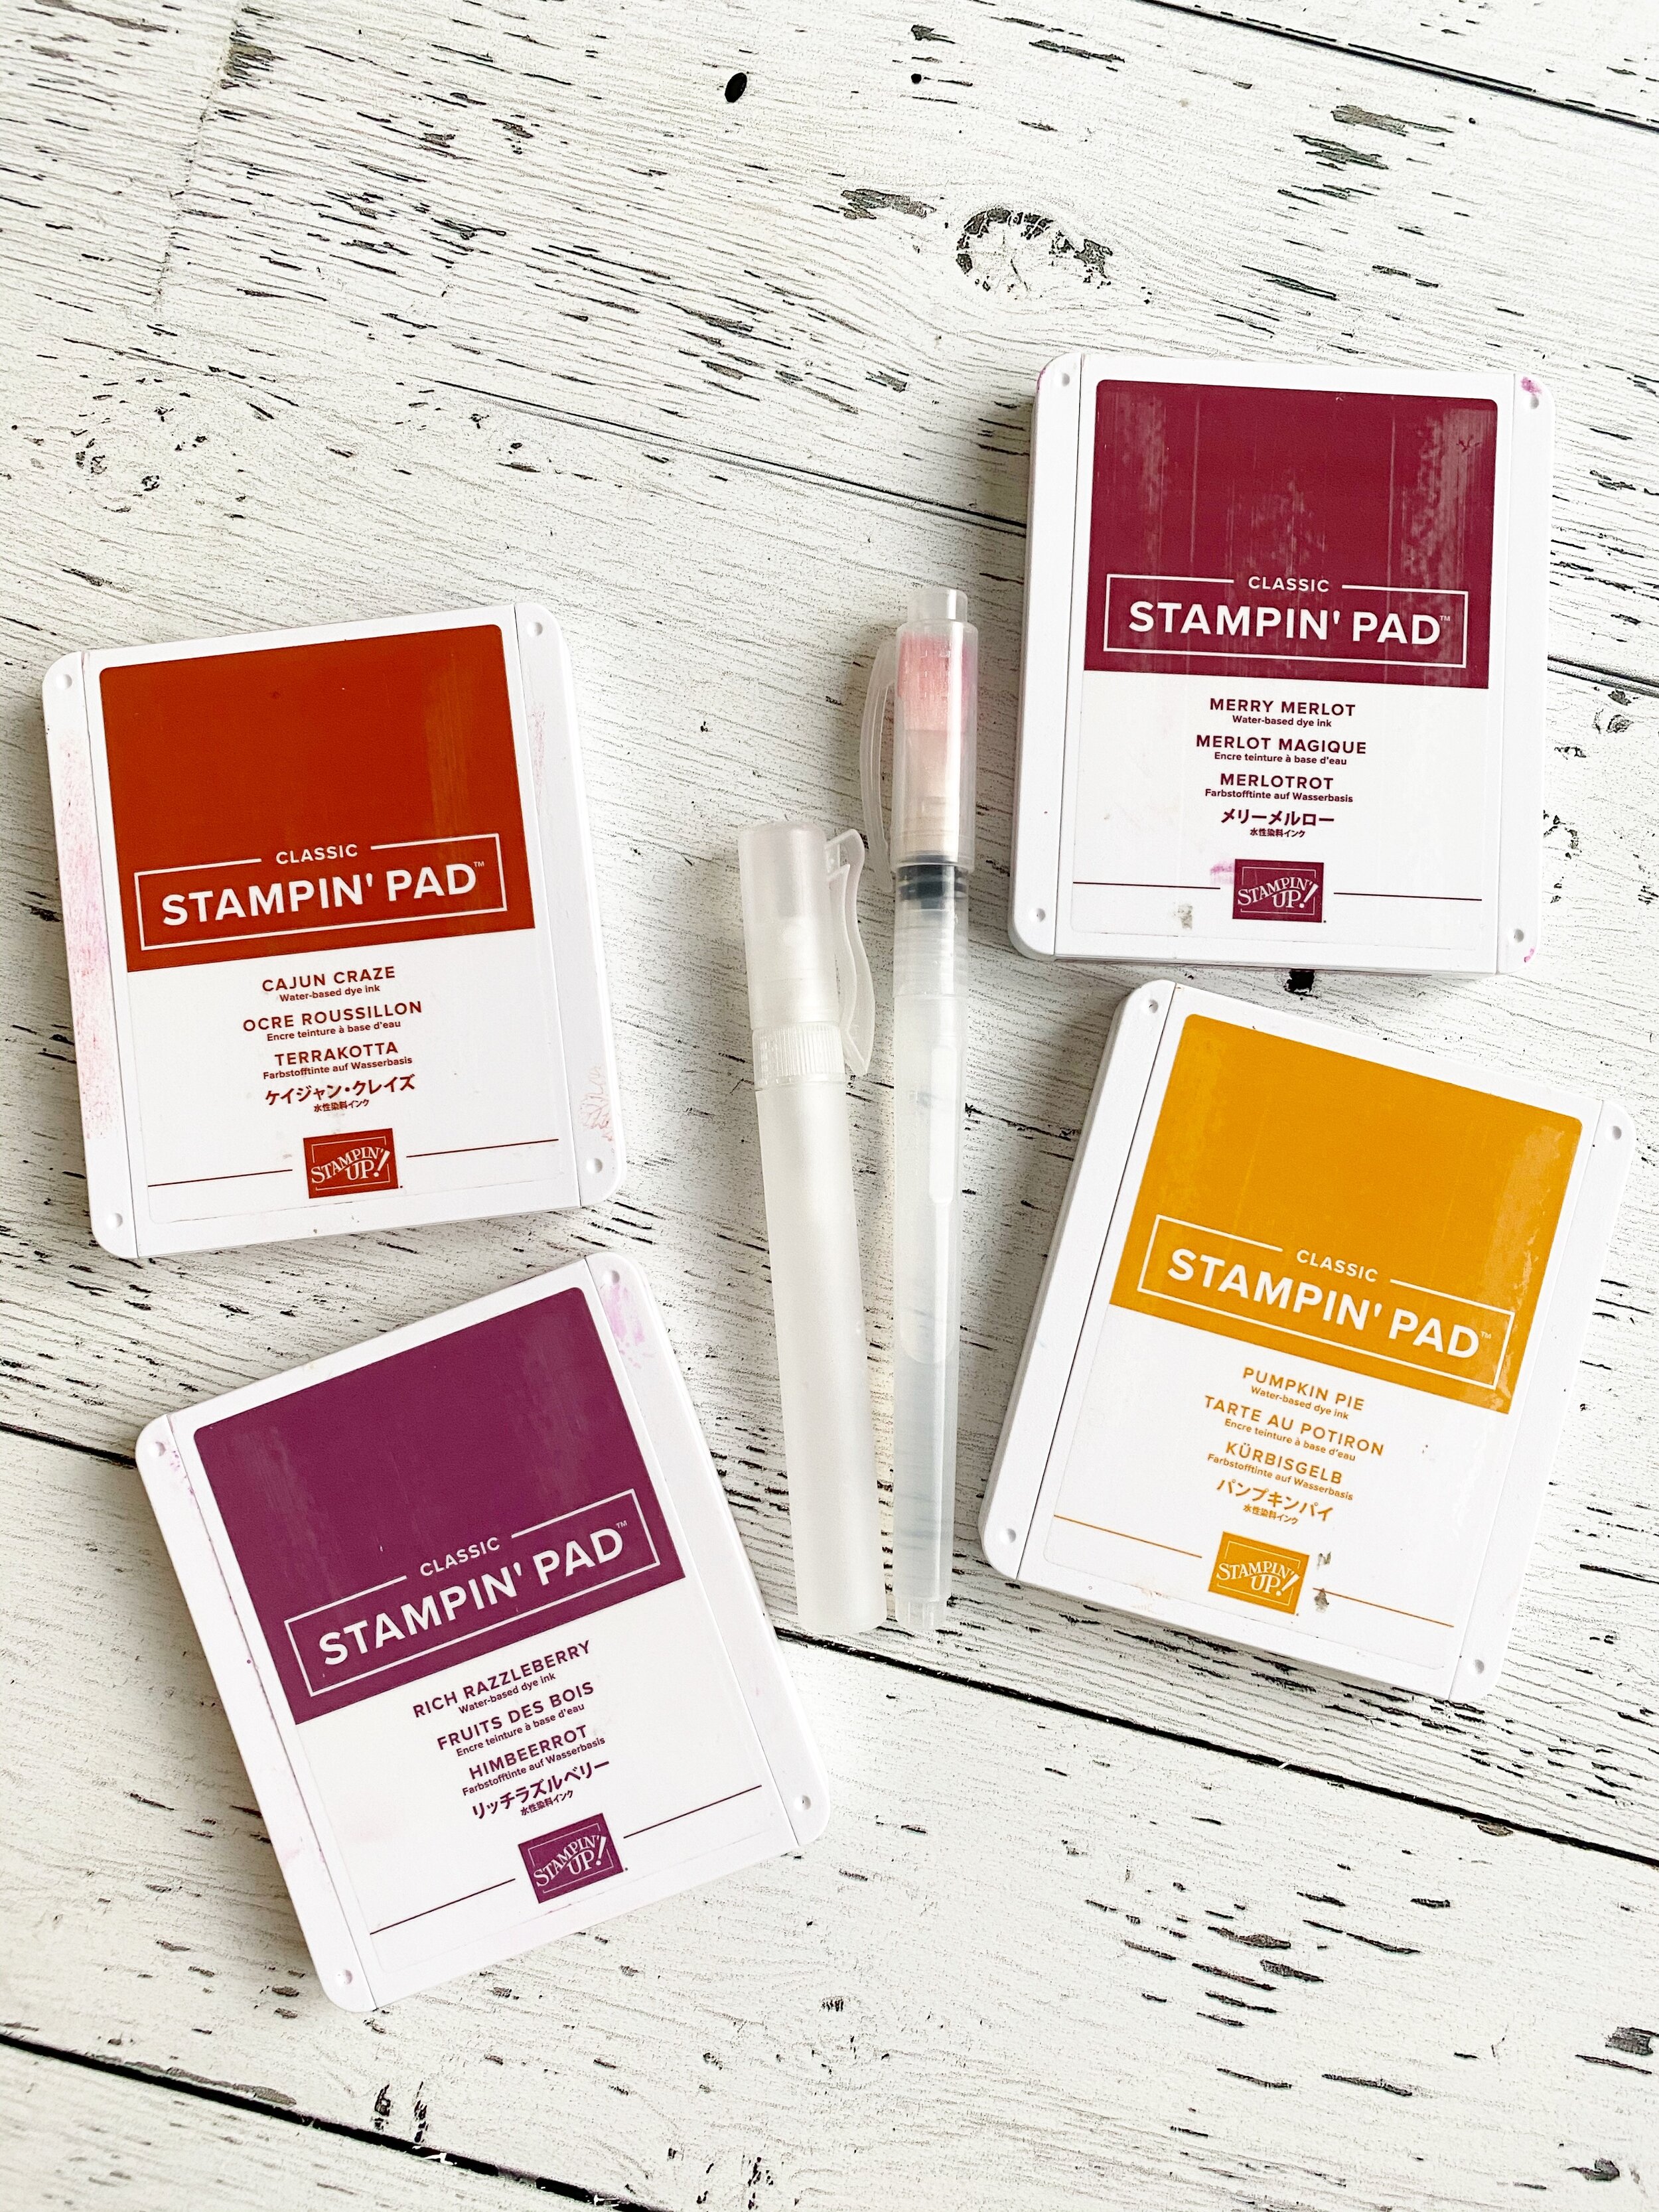
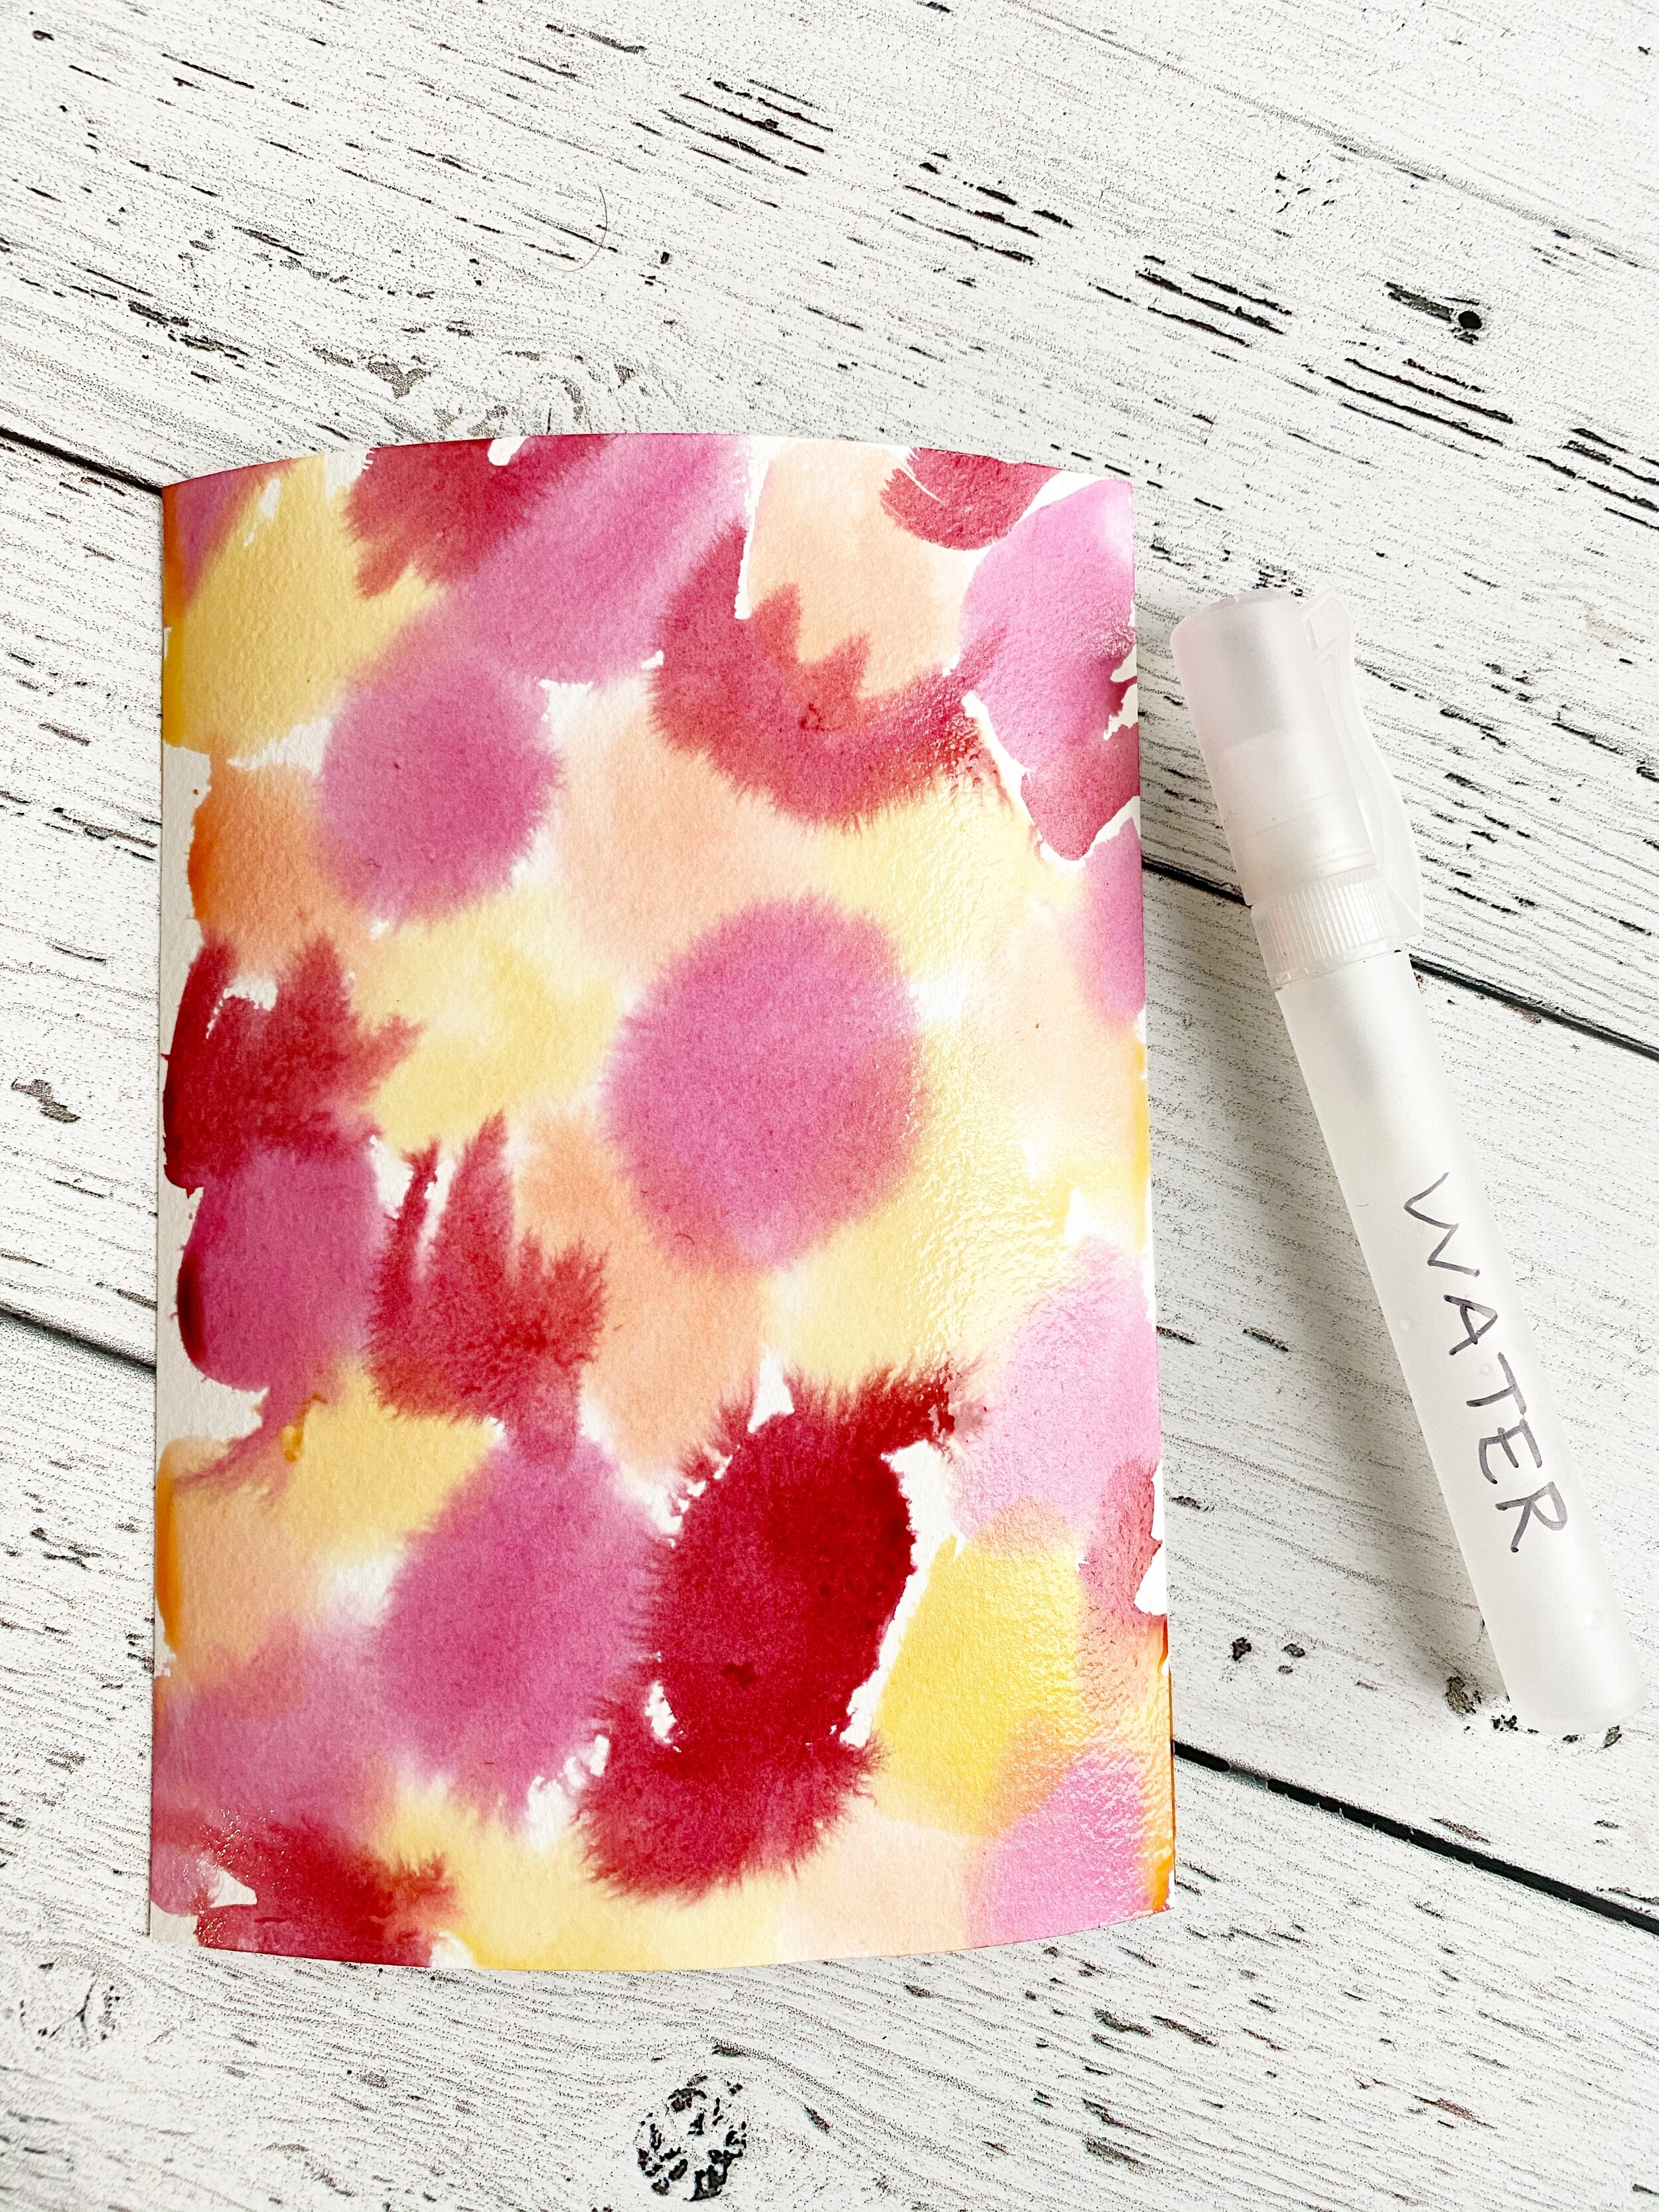
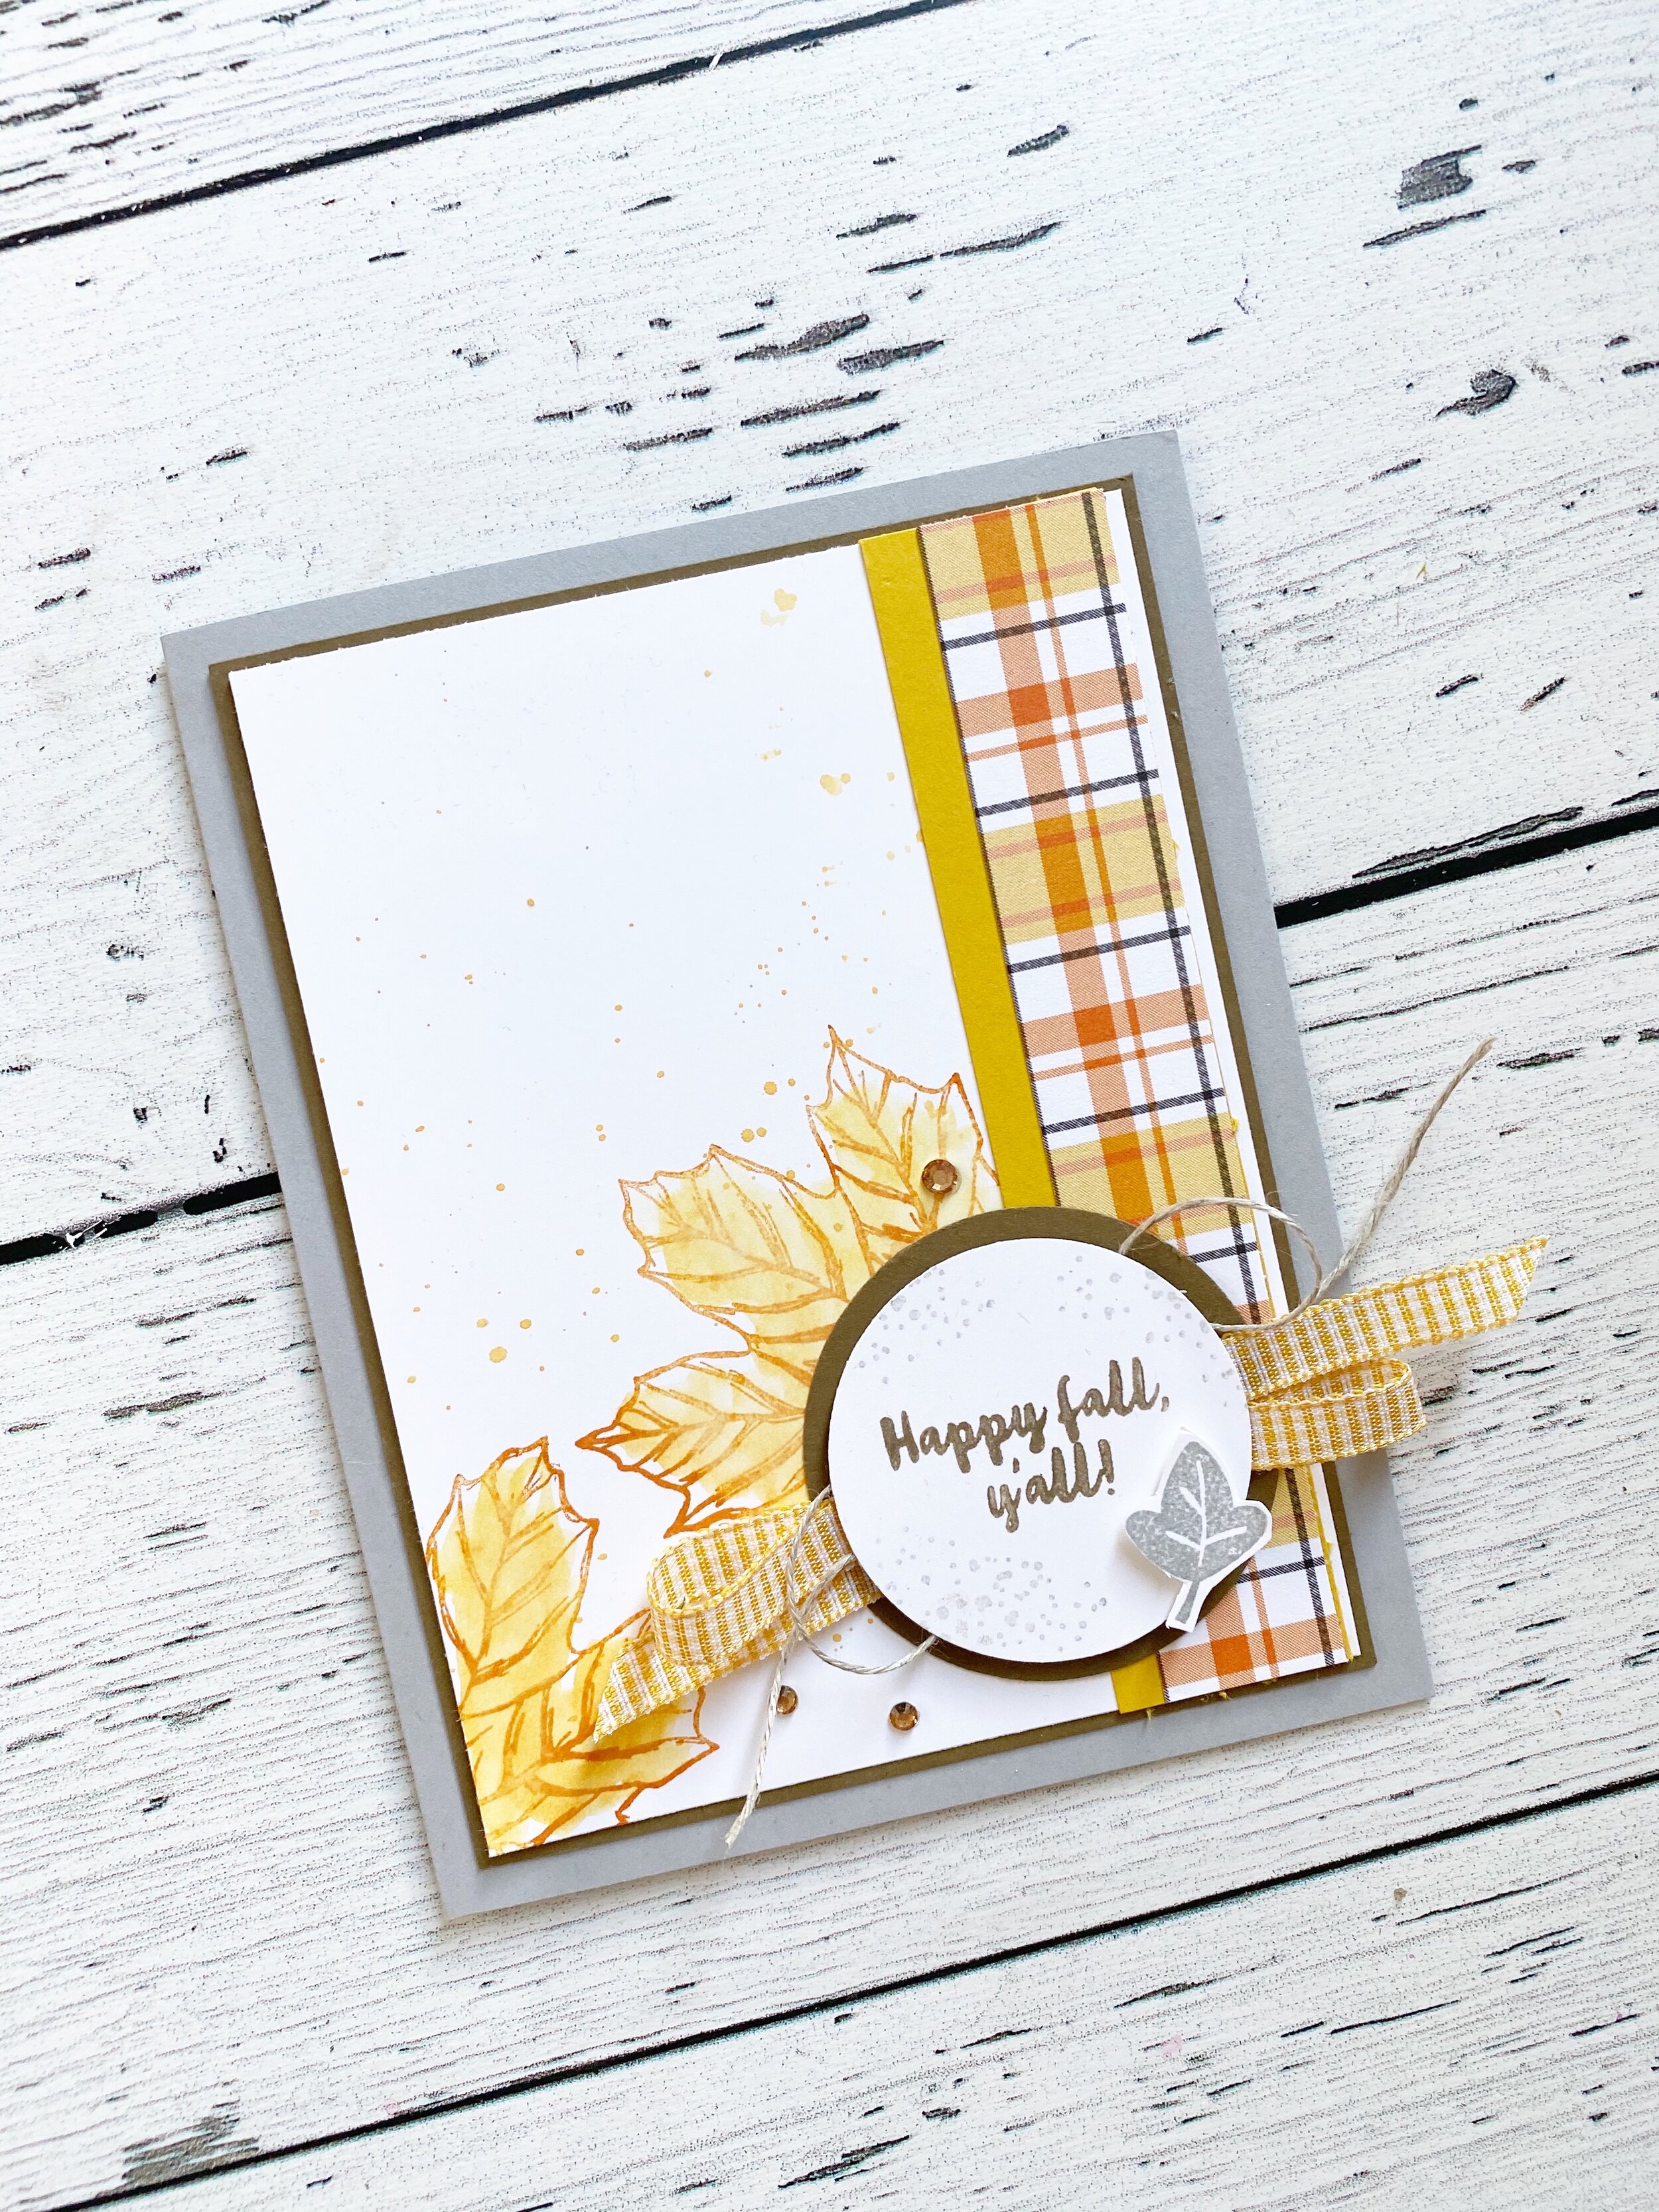
The large maple leaf is stamped in Pumpkin Pie and then I took my Water Painter and brought the ink from the edges inside for some easy breezy colouring. You can find this image in the Gather Together which is a returning favorite in the Handmade for You catty. You will need to do this step immediately after stamping. Since I had ink on the brush I flicked it across the back ground for a little spray of color.

Happy Fall Y’all is from the stamp set Banner Year along with the little tiny leaf. I added in some Linen Thread, Bubble Bee Gingham ribbon and the Champagne Rhinestones.

So this card was the first element of my ‘Tag Team’ idea…sometime cards are the best jumping off point!

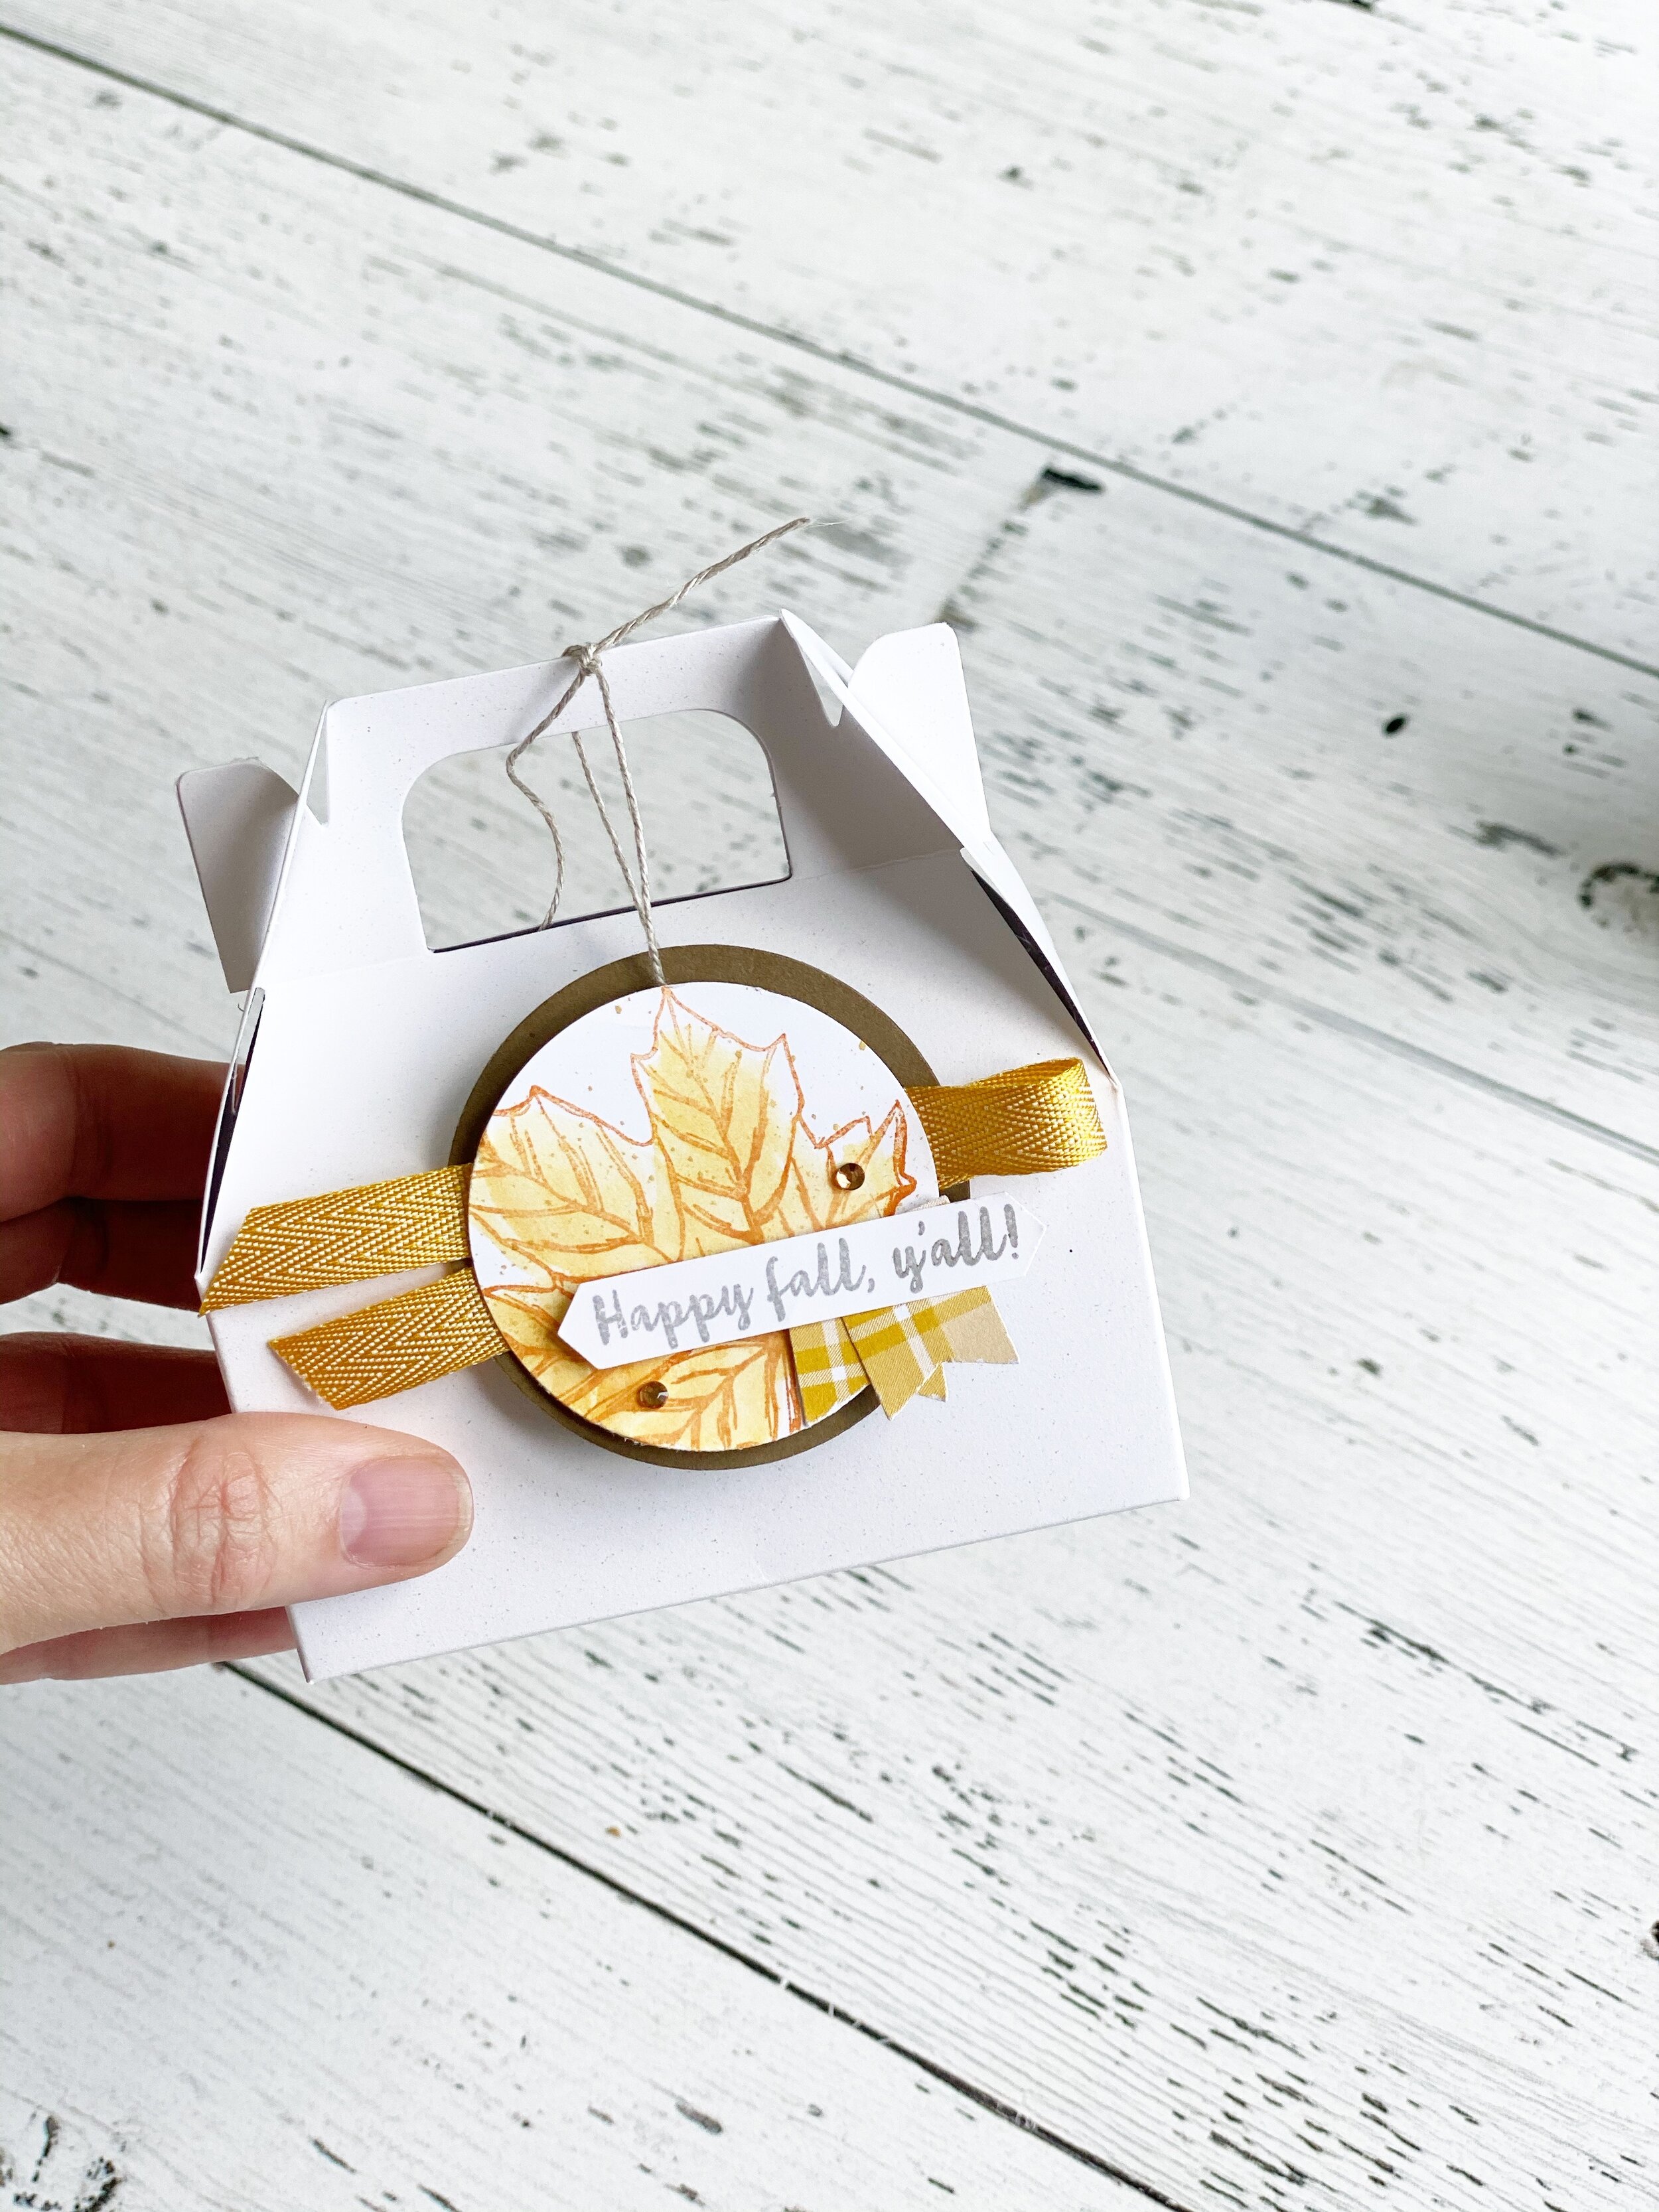
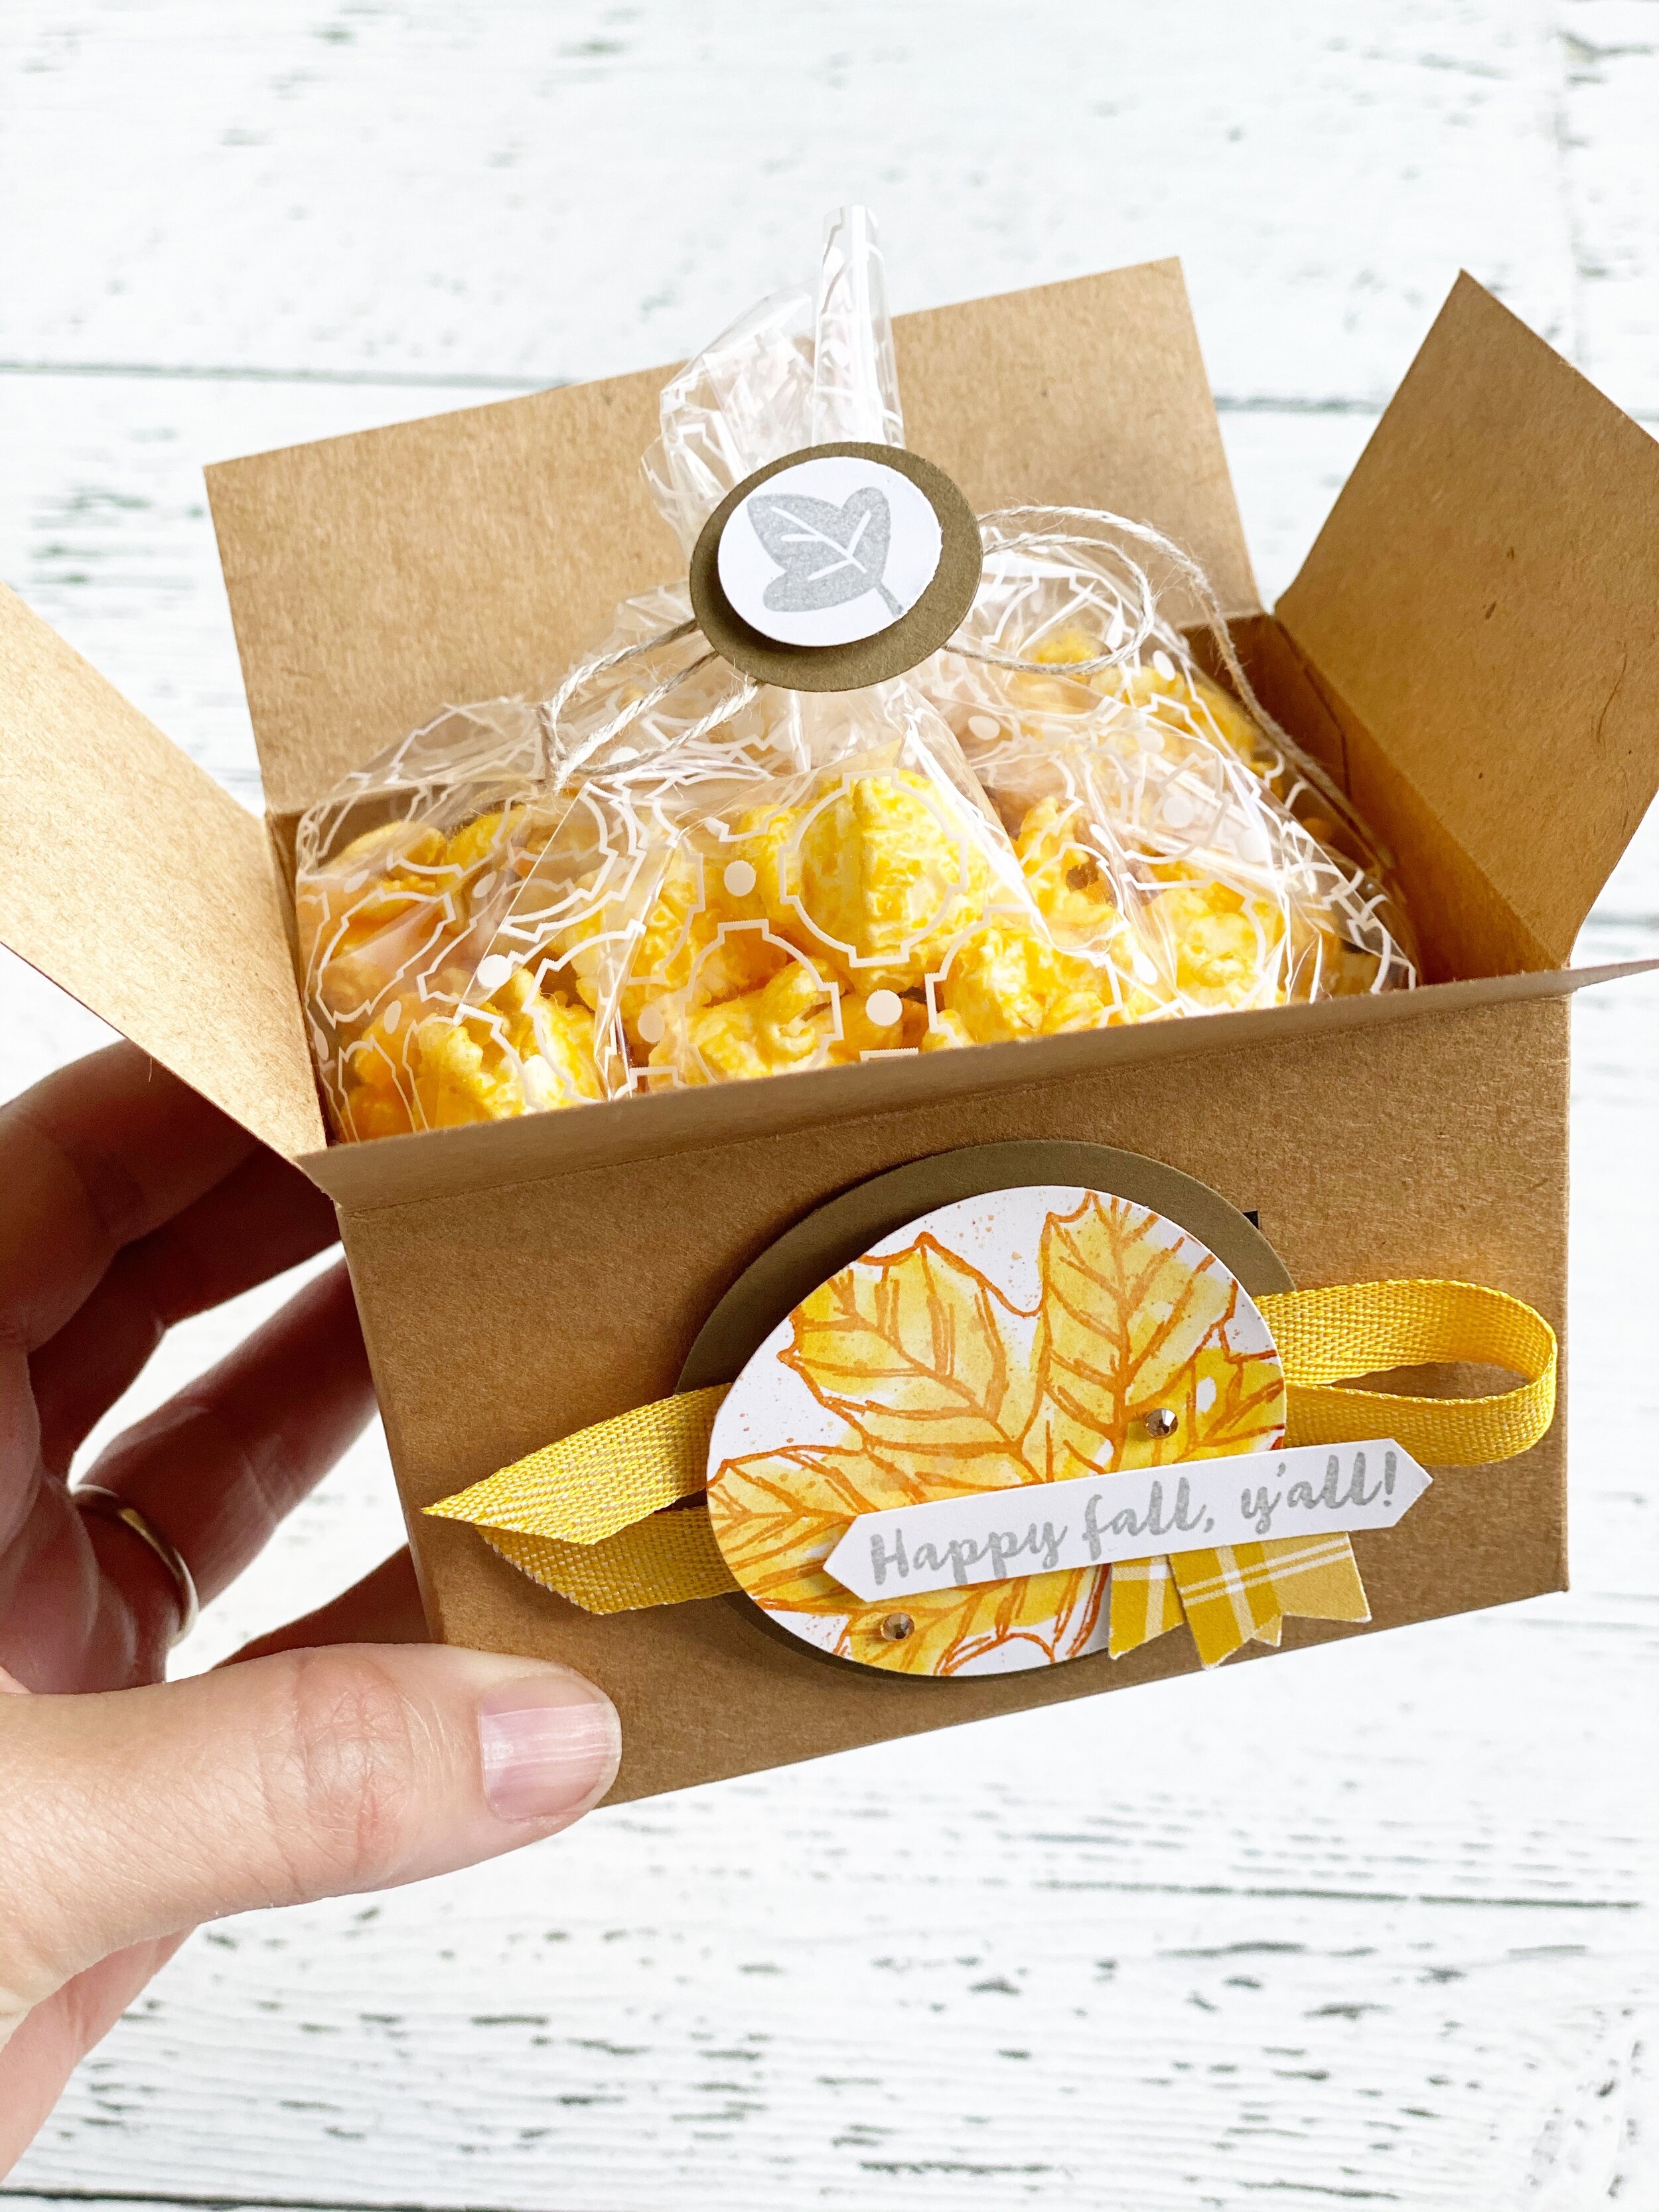
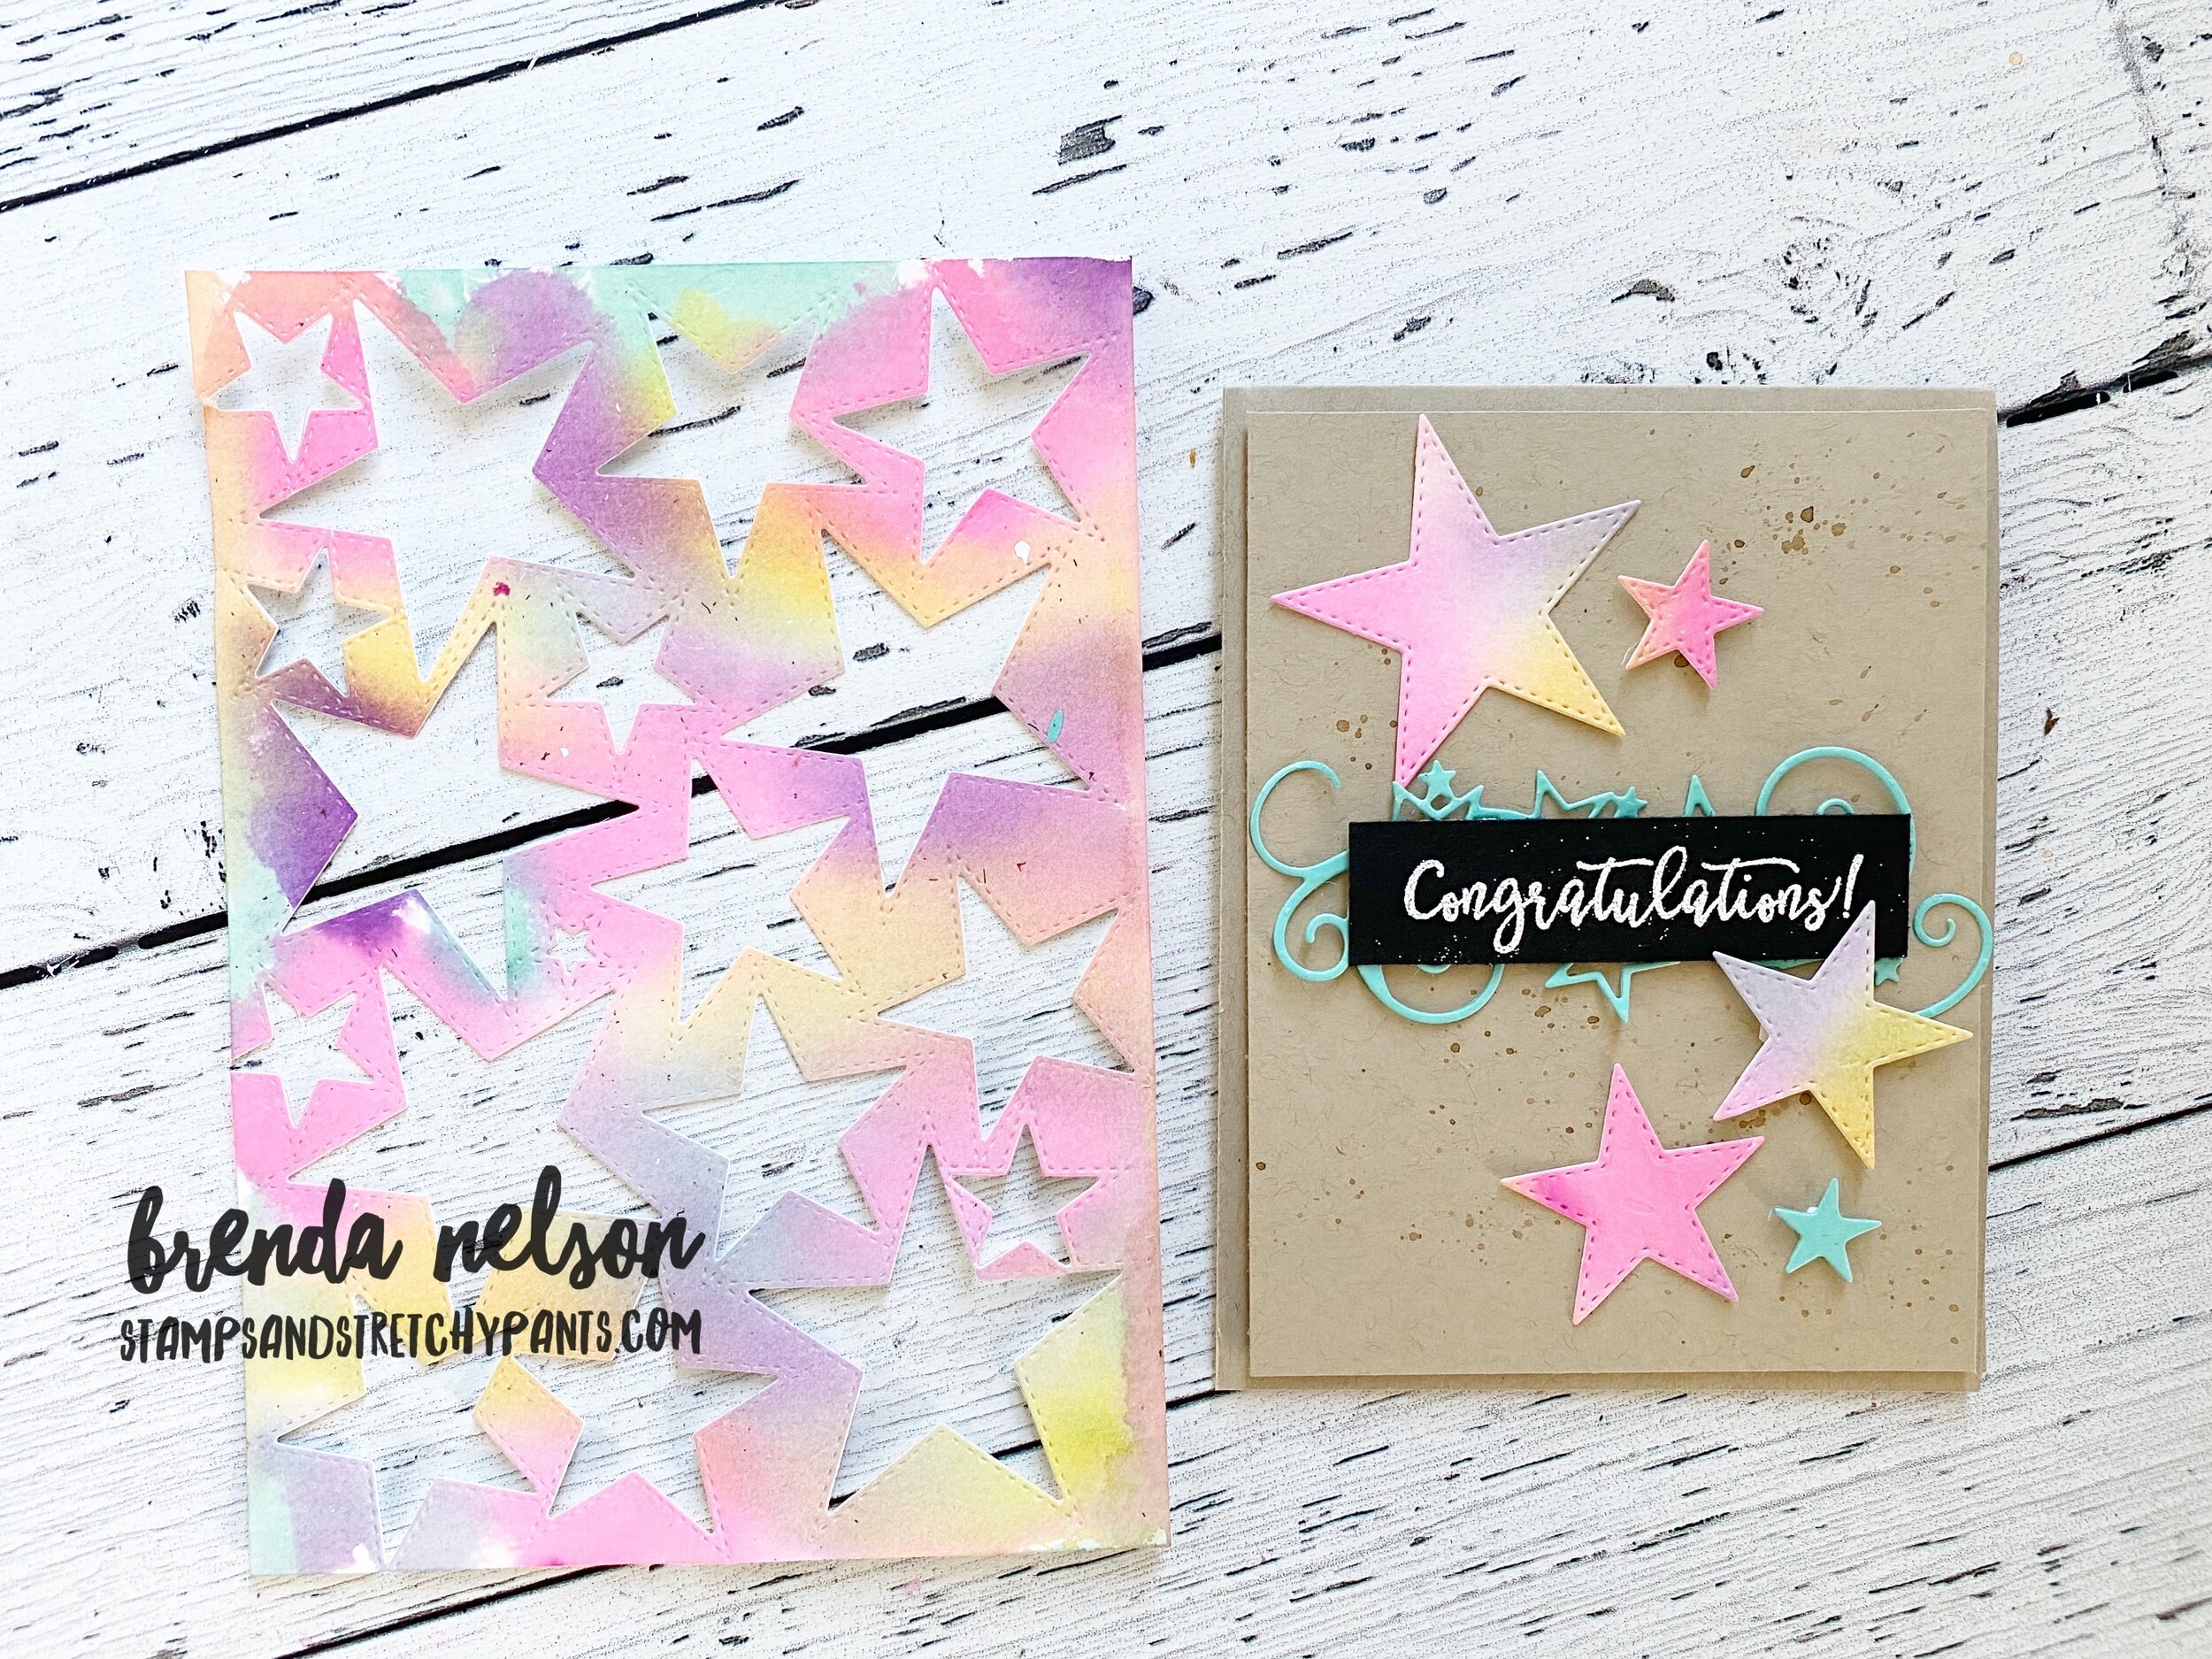
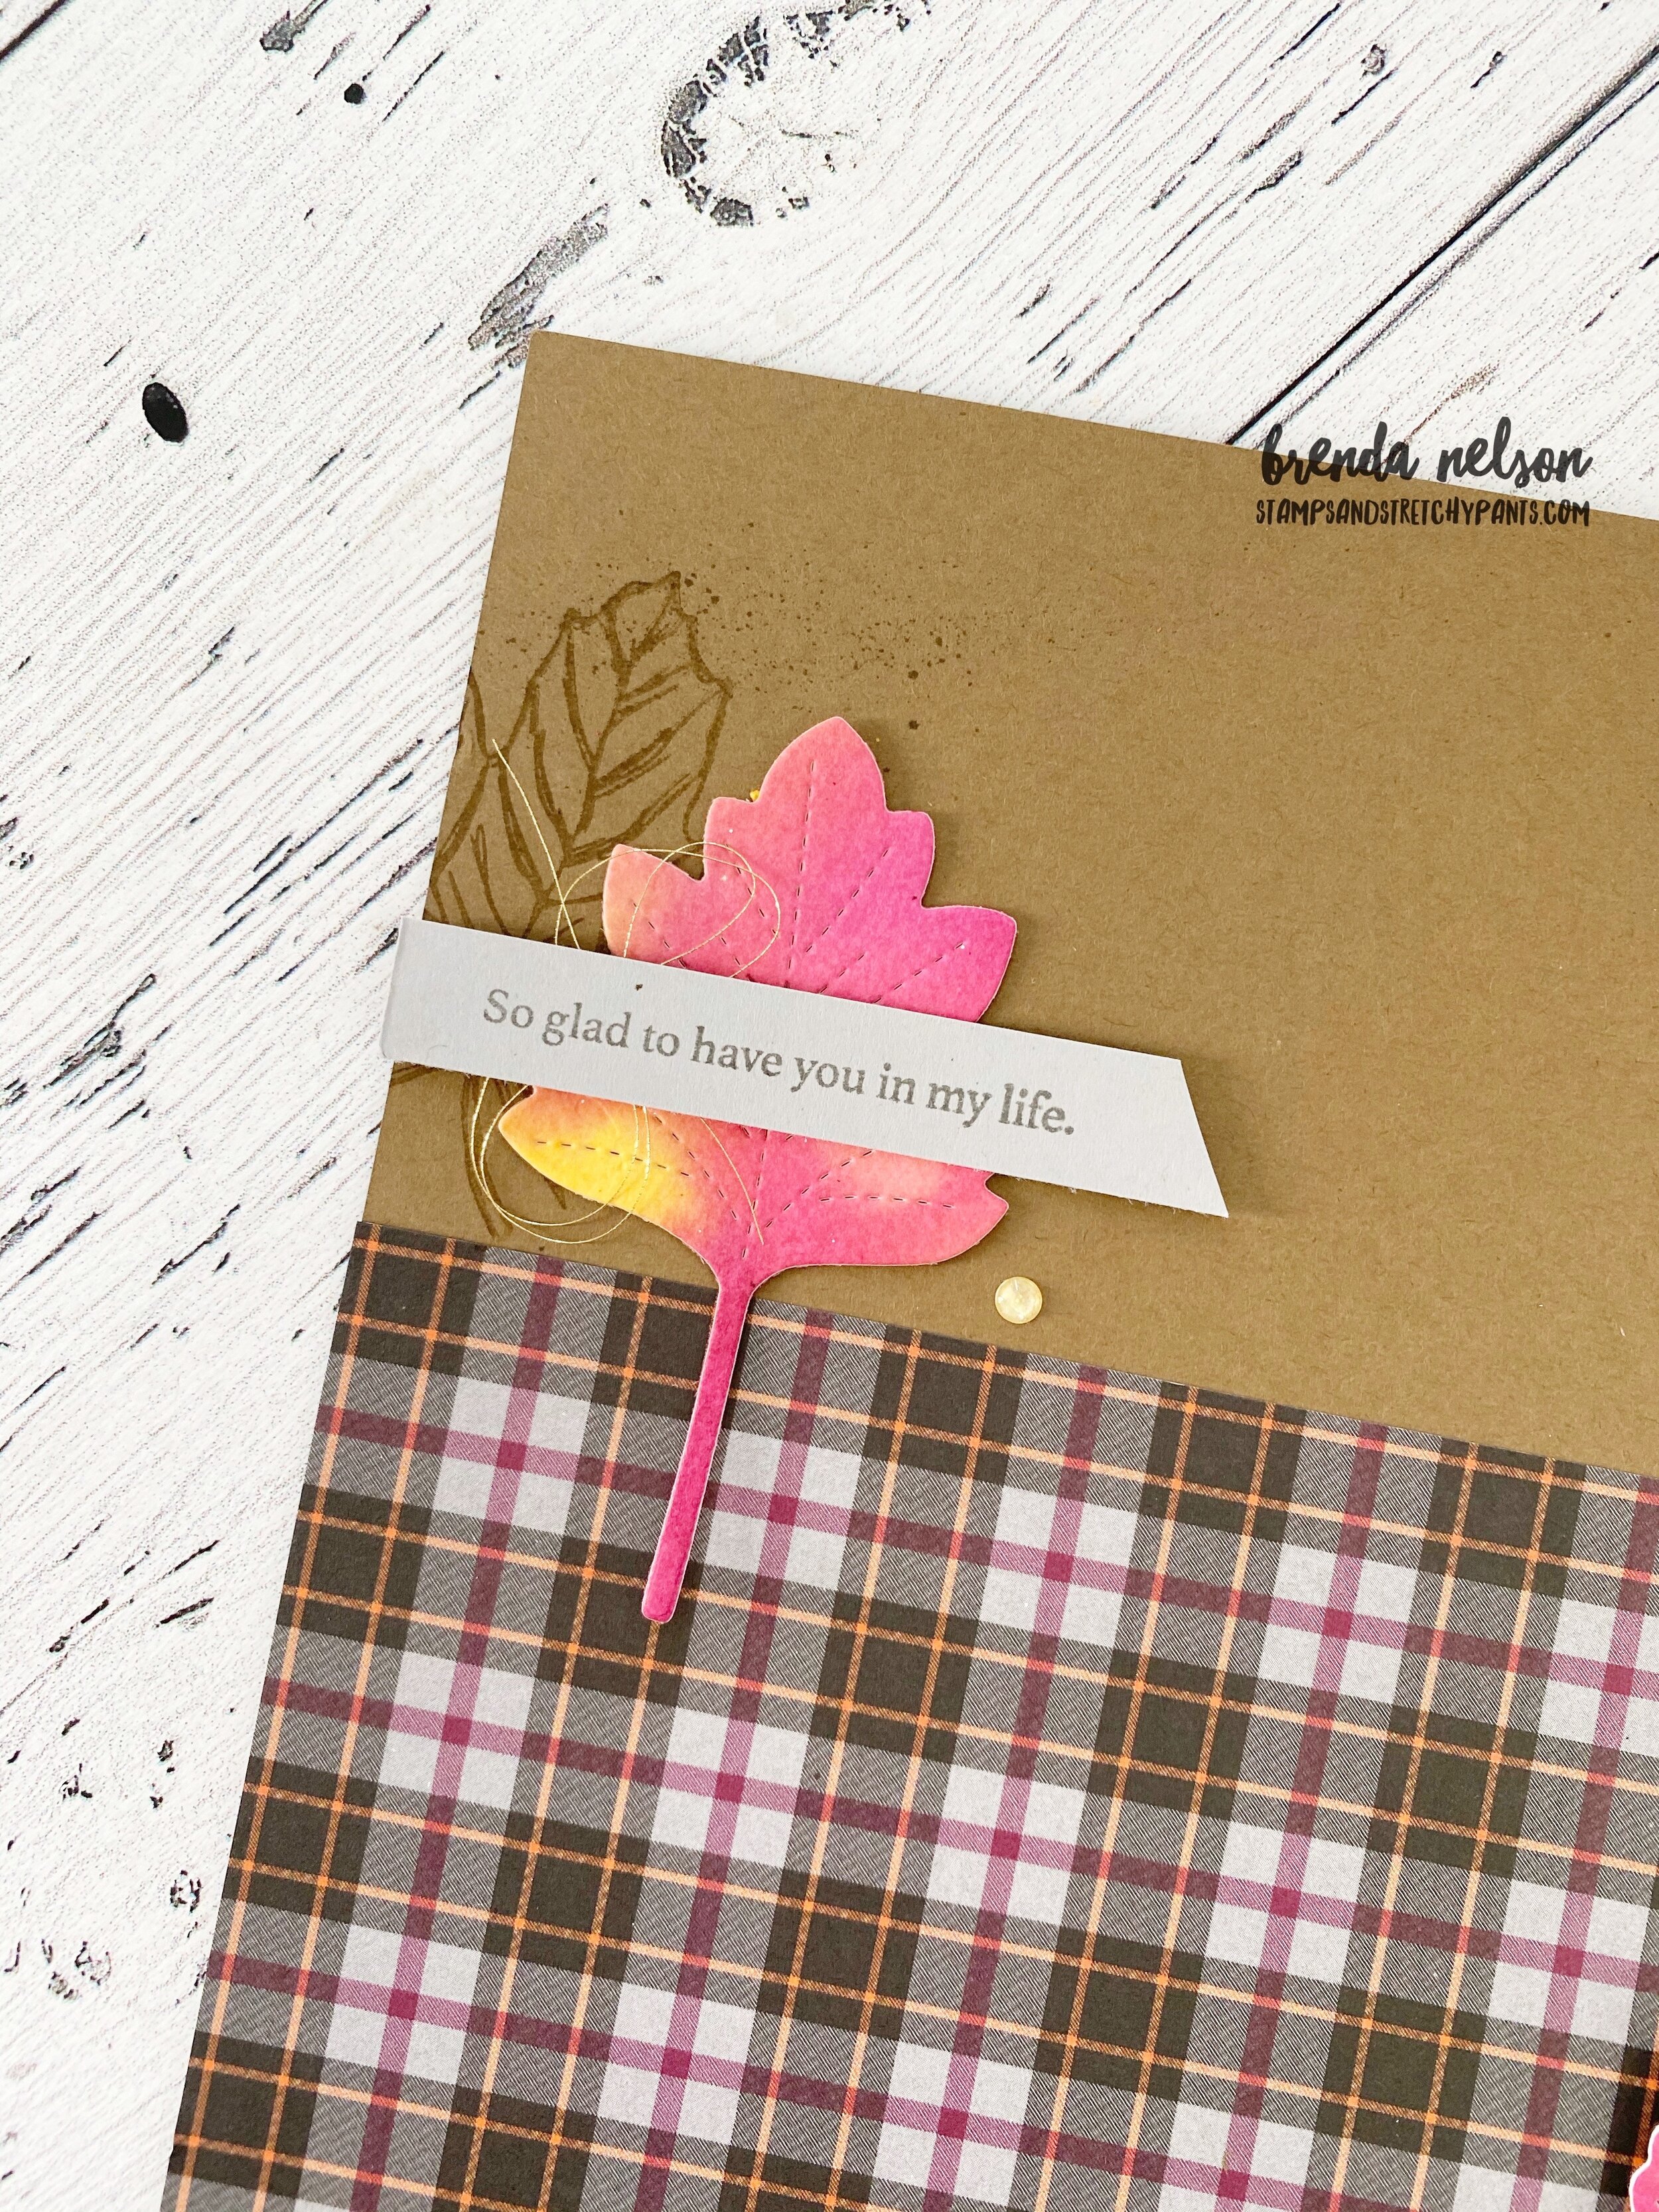
I knew that I could take the card elements and create some tags to use on some treats that I wanted to give away! I stamped the leaf in same way, colouring in the image so it felt a little more solid. I kept the sentiment in its original form, on my card I broke it into two lines using the Soft Suede marker, and I punched it out with the Classic Label punch.

I used a different ribbon as I am really embracing the USE IT UP mantra! I kept the Champagne Rhinestones and a couple banners from the Plaid Tidings DSP.

I really hope you enjoyed my take on TAG TEAM, I can’t to see what the rest of the team has came up with. You can hop forward to see what Tricia Butt’s has created for us!


Stampin' For Christmas--Blog Hop!

Stampin' For Christmas .jpg

I am so excited to be participating in this Stampin’ For Christmas monthly blog hop, celebrating Christmas ALL YEAR LONG! Isn’t that fun! When I got my copy of the Handmade for You holiday catalogue, the first things I ordered was the Heartwarming Hugs Suite. I LOVE everything in this suite so I knew I wanted to use it to create a card to share with you today!

final.jpg

I started with a card base of Soft Suede and layered it with Crumb Cake. I used my Water Painter and some Soft Suede ink to create the splatter effect in the background while stamping the little hearts from the Warm Hugs stamp set. I love how the Warm Wraps dies have so many layering options and I featured one here on this card. I even trimmed the scallop boarder down a bit to nestle in beside the sentiment.

The Mossy Meadow Diagonal Stripe ribbon is also amazing as it has two looks depending on what side you use.

Look how fabulous this looks! I love the layers that you can create with this die set and how the sentiment pops being embossed in white on Real Red card stock.

Look how fabulous this looks! I love the layers that you can create with this die set and how the sentiment pops being embossed in white on Real Red card stock.

I hope my cards inspire you to create something with the Warm Hugs Bundle!I think it has so much potential and I know I will be using it a lot this holiday season! You can shop with me by using the Hostess Code or my Shop Now Button!

Next up on our Hop is Kirsty Pattrick, I can’t wait to see what she has designed! Thanks for hoping with us and hope to see you next month!

Create with Connie and Mary--Hug in a Mug

Well its officially September so we can start talking cozy sweaters, scarves and Pumpkin Spice latte’s! Who has had one already? I know I have! Our theme this week is Hug in a Mug and I immediately reached for the Press On stamp set from the Handmade for You catalogue.

fullsizeoutput_12d59.jpeg

I created this really fun card and coffee treat combo in a fun soft color pallette—it doesn't say fall AT ALL! Because even though its September I want to live in denial for another week or two! I used Soft Seafoam, Coastal Cabana and Petal Pink.

The little to go coffee cups were the perfect image to create a background. I used the coffee beans stamp on the label for the card and the front of the coordinating coffee treat pouch. And I used the big to go coffee cup image on both projects to keep project continuity.

Wouldn’t you LOVE to give this cute little gift to someone? Or receive it yourself?

Wouldn’t you LOVE to give this cute little gift to someone? Or receive it yourself?

final.jpg

Its so so easy to make this cute little coffee pouch. Cut a piece of card stock to 2 3/4 x 5 1/2 and score on the long side at 3 inches. I folded it it up and used a couple mini staples (hidden by the Pool Party ribbon) to keep it closed. Decorate the front and voila, a fun treat pouch!

The Petal Pink shape is from the Hippo & Friends die set and its been a regular in my crafting these past couple of weeks. So much so that I haven’t even put it away yet! The little strip of DSP and banners on the coffee treat holder are from th…

The Petal Pink shape is from the Hippo & Friends die set and its been a regular in my crafting these past couple of weeks. So much so that I haven’t even put it away yet!

The little strip of DSP and banners on the coffee treat holder are from the Peony Garden Designer Series paper.

Let’s see what the other gals have created this week! If you are starting here you can hop backwards to see Melissa’s creation or you can go forward to see what Connie has made. Either way I know you will be inspired! Thanks for visiting today!

Rainbow of Congrats!

Did you see the awesome watercoloring technique I shared yesterday on my blog? If you didn’t you need to go there right now and check it out as I used the same technique to create the stars for these Congrats cards I made for a group swap!

These cards are just so bright and fun and I know they will make whoever receives them feel even MORE AWESOME for their accomplishment!

final.jpg

I knew I wanted to play around with that water-colour technique again using a brighter color palette and I thought pairing it up with die cut stars would be a great match. The dies are called Stitched Stars and you can find them in our annual catalogue. Keeping the card background on neutral Crumb Cake I think really helps these stars jump off the page!

final.jpg

I was able to get enough stars to embellish 4 cards and each one is unique! I used Magenta Madness, Gorgeous Grape, Coastal Cabana and Mango Melody for my color palette. I think together they make an awesome rainbow inspired combo!

I also flicked Soft Suede over the background of my card too just to give it a little extra!

Now the Congrats font is from the A Grand Kid stamp set, do not overlook it because of its name! It has some really really terrific sentiments in it and you can find it on page 97 of the annual catalogue.

final.jpg

I also wanted to decorate the inside of this card too! So I added in a few more stars and a bit of Magenta Madness ribbon. I think its a fun surprise!

I hope you will give this fun technique a try! It is easy to do, I promise, and is a great way to incorporate watercoloring into your projects!

Create with Connie & Mary--Thinking of Fall!

I will admit, as much as I don’t want it to be so, there is a little fall chill in the evening air! I am so blessed to live in a part of the world where we experience 4 distinct seasons. I love summer so much, but the beauty of fall is just spectacular here in Alberta. I love when all the leaves start to change and that is what influenced the design of my scrapbook page for this weeks theme—Thinking of Fall!

fullsizeoutput_12d57.jpeg
I love this photo of my two friends Donna and Karina.  For the past several years we have worked together to offer 3 large group events each year called Creative Day Getaway, to local demonstrators and stampers.  We are hosting our 20th event this S…

I love this photo of my two friends Donna and Karina. For the past several years we have worked together to offer 3 large group events each year called Creative Day Getaway, to local demonstrators and stampers. We are hosting our 20th event this September so I thought featuring them on this page was perfect!

fullsizeoutput_12dbb.jpeg

I used a really fun and easy watercoloring technique to create these leaves! Something similar was shared on the Stampin’ Up! Instagram page recently as well. I love how our Stampin’ community shares and inspires each other!

I chose the colors Cajun Craze, Rich Razzleberry, Merry Merlot and Pumpkin Pie. You will need a piece of water color paper, the large Water Painter Brush (I used the same one moving from light ink to dark ink), a Stampin’ Spritzer and the Stitched Leaves Dies.

Start by spritzing the water color paper with water and starts adding in your color. It may look a little weird but after you spritzer it one more time at the end and either let dry or use your heat tool it blends all the colors together. Cut out your desired leaf shapes for your project.

fullsizeoutput_12dc2.jpeg

I also wanted to play off of the grey tone in the Plaid Tidings DSP with the photo mat and some grey leaves. The photo mat has little leaves stamped on it in Smoky Slate ink to coordinate with the paper. The stamp set I used is Banner Year, don’t overlook it at the back of the Handmade for You catalogue! pg 65! It has tons of potential!

I used the old school Rock’n Roll technique on my grey leaves. Stamp them in Smoky Slate and then ‘roll’ the edges in Basic Grey Ink.

I also pulled in the large maple leaf image from the Gather Together stamp set for some background stamping. And I love the stitched look of the leaves so I decided to use the Hippo & Friends dies to cut out the sentiment with a stitched detail.


When I am creating scrapbook pages I find the magic is all in the details. Adding in different threads, textures, embellishments, layering stamps and colors. This little corner is a perfect example!

If you are in Canada and want to recreate this page you can order all the supplies from my online store! Just click below to head right there!

Shop now


fullsizeoutput_12dbe.jpeg

Thanks for hopping along with us this week as we are wrapping up August and heading into September. You can go back to see what Melissa has made if you are just joining in here or continuing hopping forward to see what Connie has designed! See you next week!