Prized Peony Perfection
/Have you been stamping and creating with the Prized Peony Bundle? I actually love it as Peony’s are one of the few flowers I can actually keep alive from year to year, although I do wish they had a longer life span! I love how in the Peony die collection you get dies that cut out the stamped images and you get dies that cut out and layer together to create a beautiful peony flower. It is a really unique die set.
I recently created this page to share with my stampers at our monthly scrapbook group. If you live in the Edmonton area and are interested in scrapbooking, this is an example of what we make at each of our monthly meetings. Please reach out to me if you are interested. I would love to share my love of memory keeping with you!

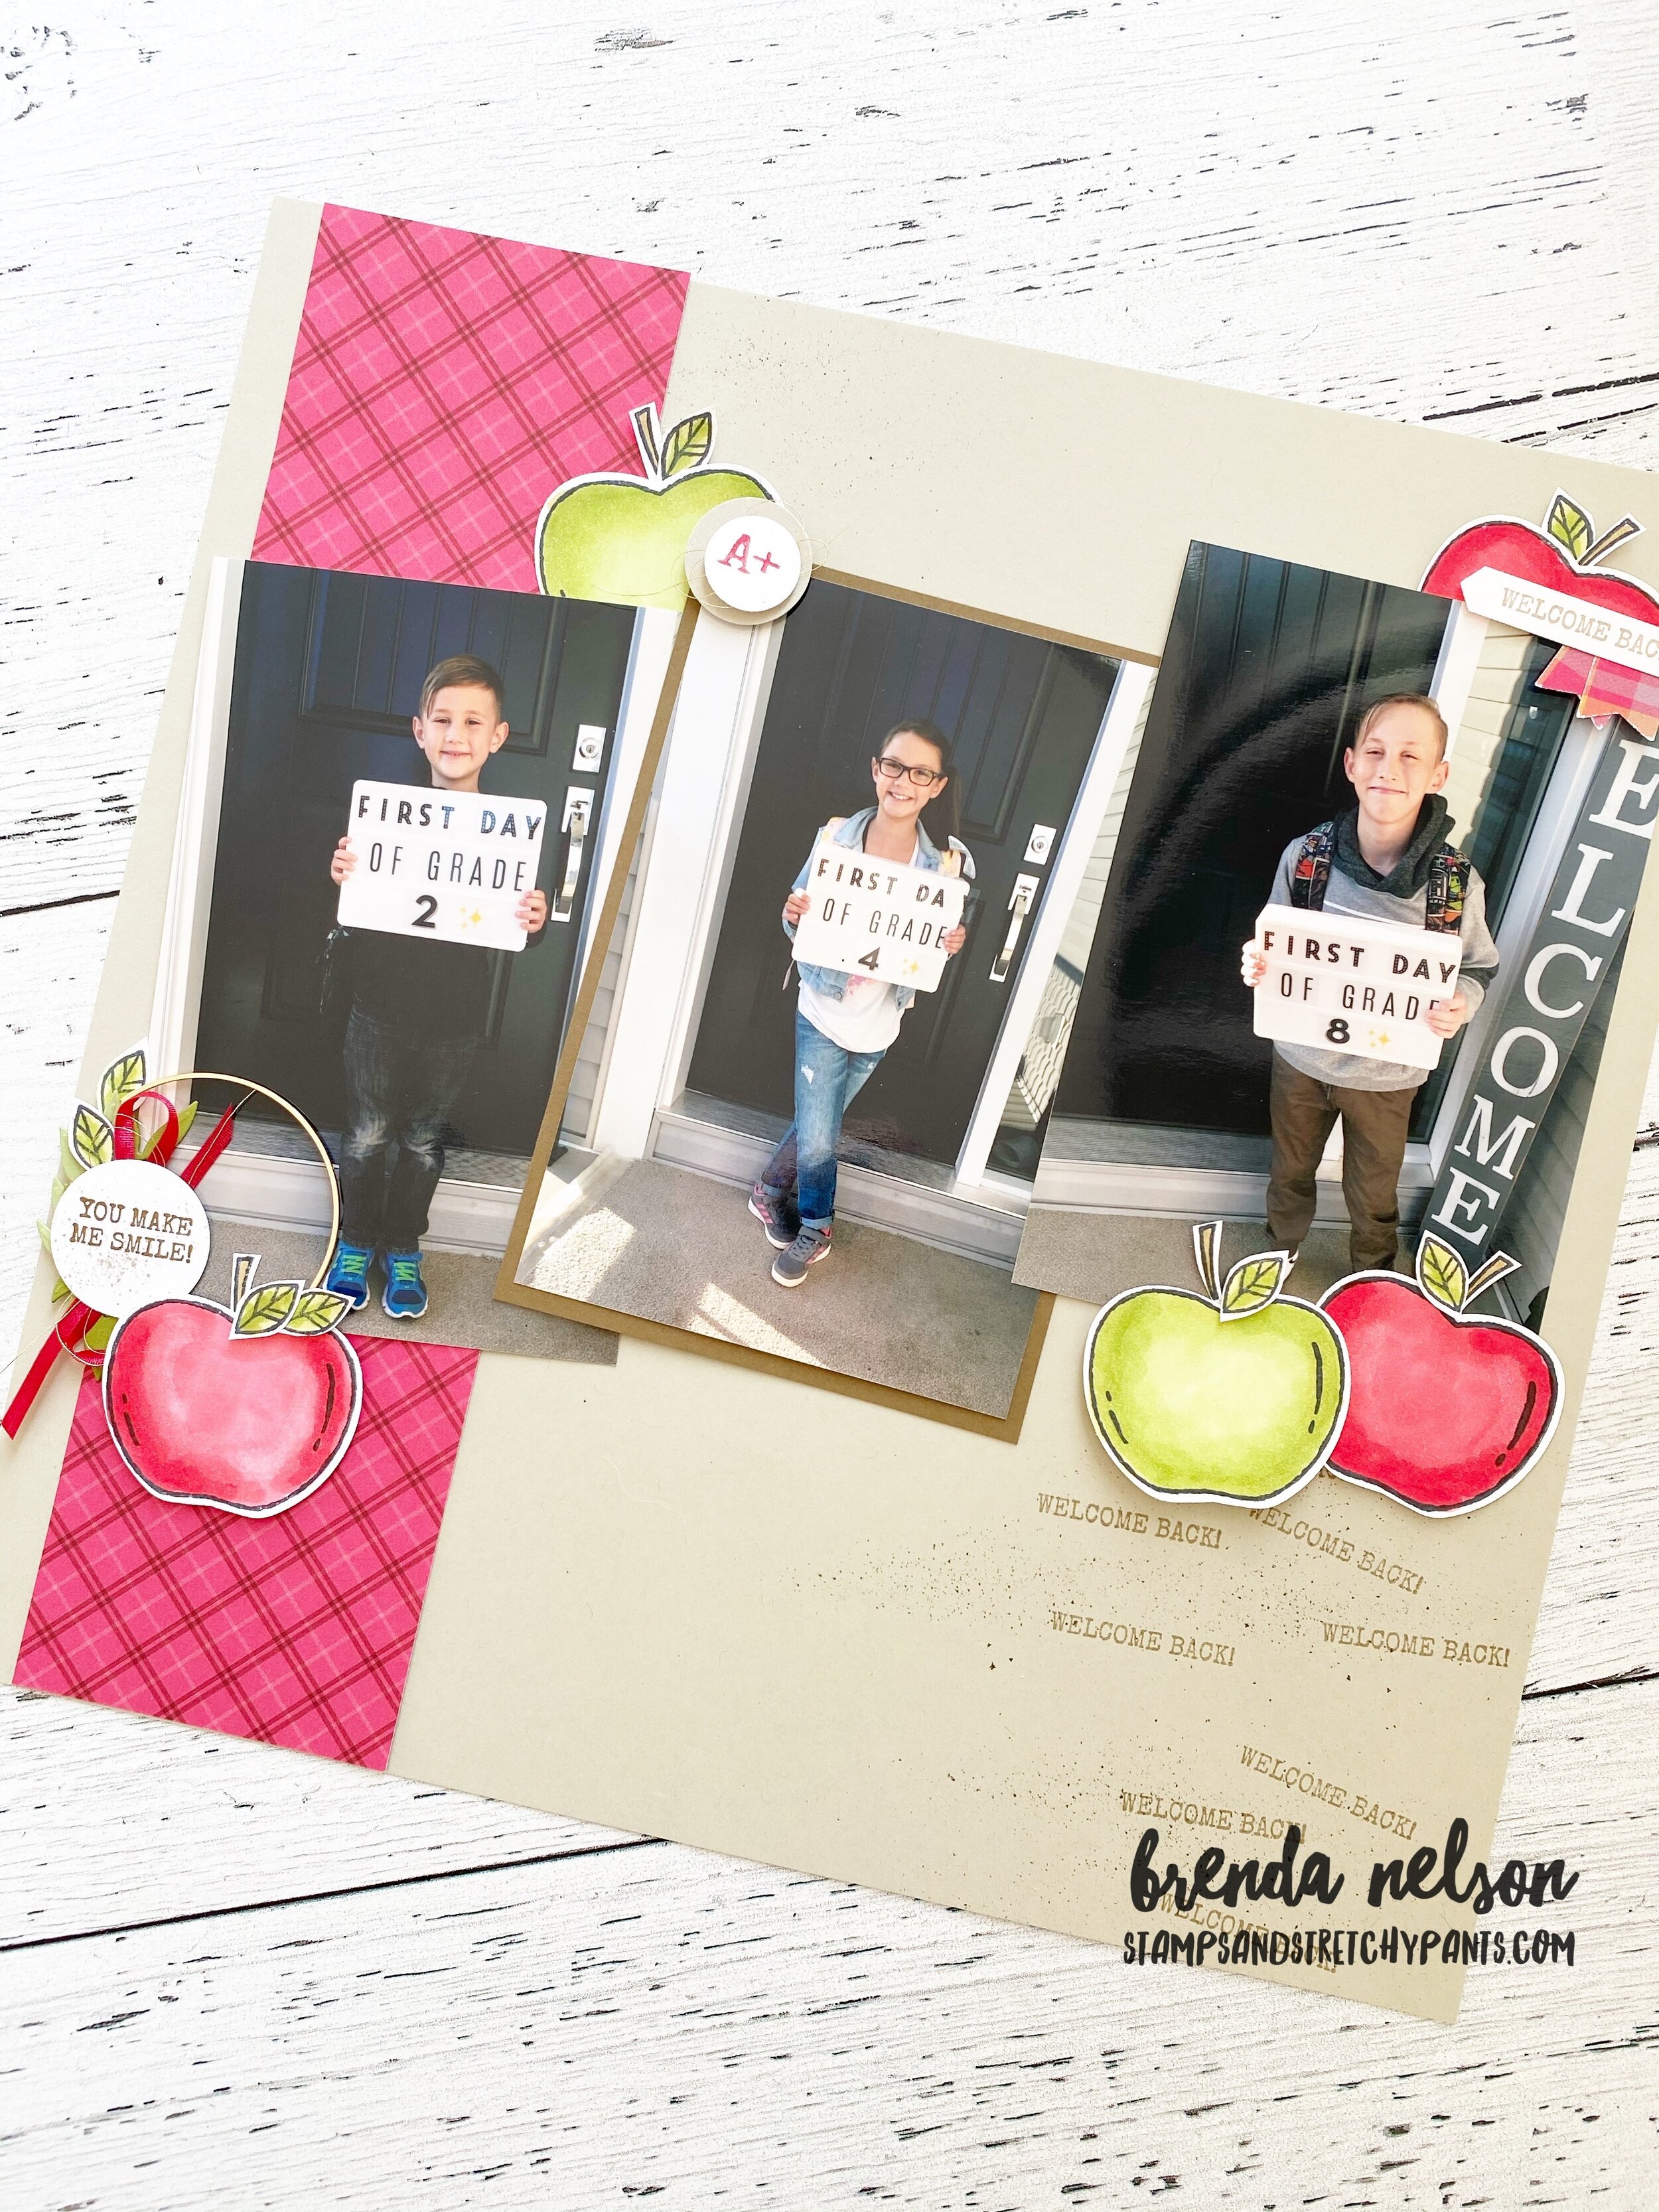
I chose the colors for this page based on the colors in my sons tee shirts! This is all apart of my creative process as I do like things to have coordination and its often helps me get my color palette figured out.
If I could have one wish granted it would be that Stampin’ Up! would offer all of our amazing colors in 12x12 sheets. However, it is not the reality, but I did feel that a crisp white background would help the peonies pop off the page. I also knew that I wanted to use embossing paste on the background as it is a fun and easy technique. It is really easy to do in a class setting. I just have all of the participants do the embossing paste step one after another and then I rinse the stencil and palette knife in warm water when they are done. So don’t be afraid to try its with a group!

I used the Basic Patterns Decorative Mask with White embossing paste too create this subtle background. You can find both items and the Palette Knives on page 146 of the Annual Catalogue. If you look close you can see I also added in some of the Elegant Faceted Gems near the top of the page.

This page has quite an elegant feel to it which is kind of funny, as my kids were at our local zoo! This page would look amazing with wedding or anniversary photos too!
The Peony images are stamped in Moments Black Ink and coloured with the Old Olive, Calypso Coral and Balmy Blue Stampin’ Blends. The sentiments are stamped in Grey Granite ink on coordinating card stock and are cut with the Tasteful Labels dies and are from the Tasteful Touches stamp set. I think this whole bundle is a must have! I added a few pieces of the Peony Garden DSP to bring in that grey tone.
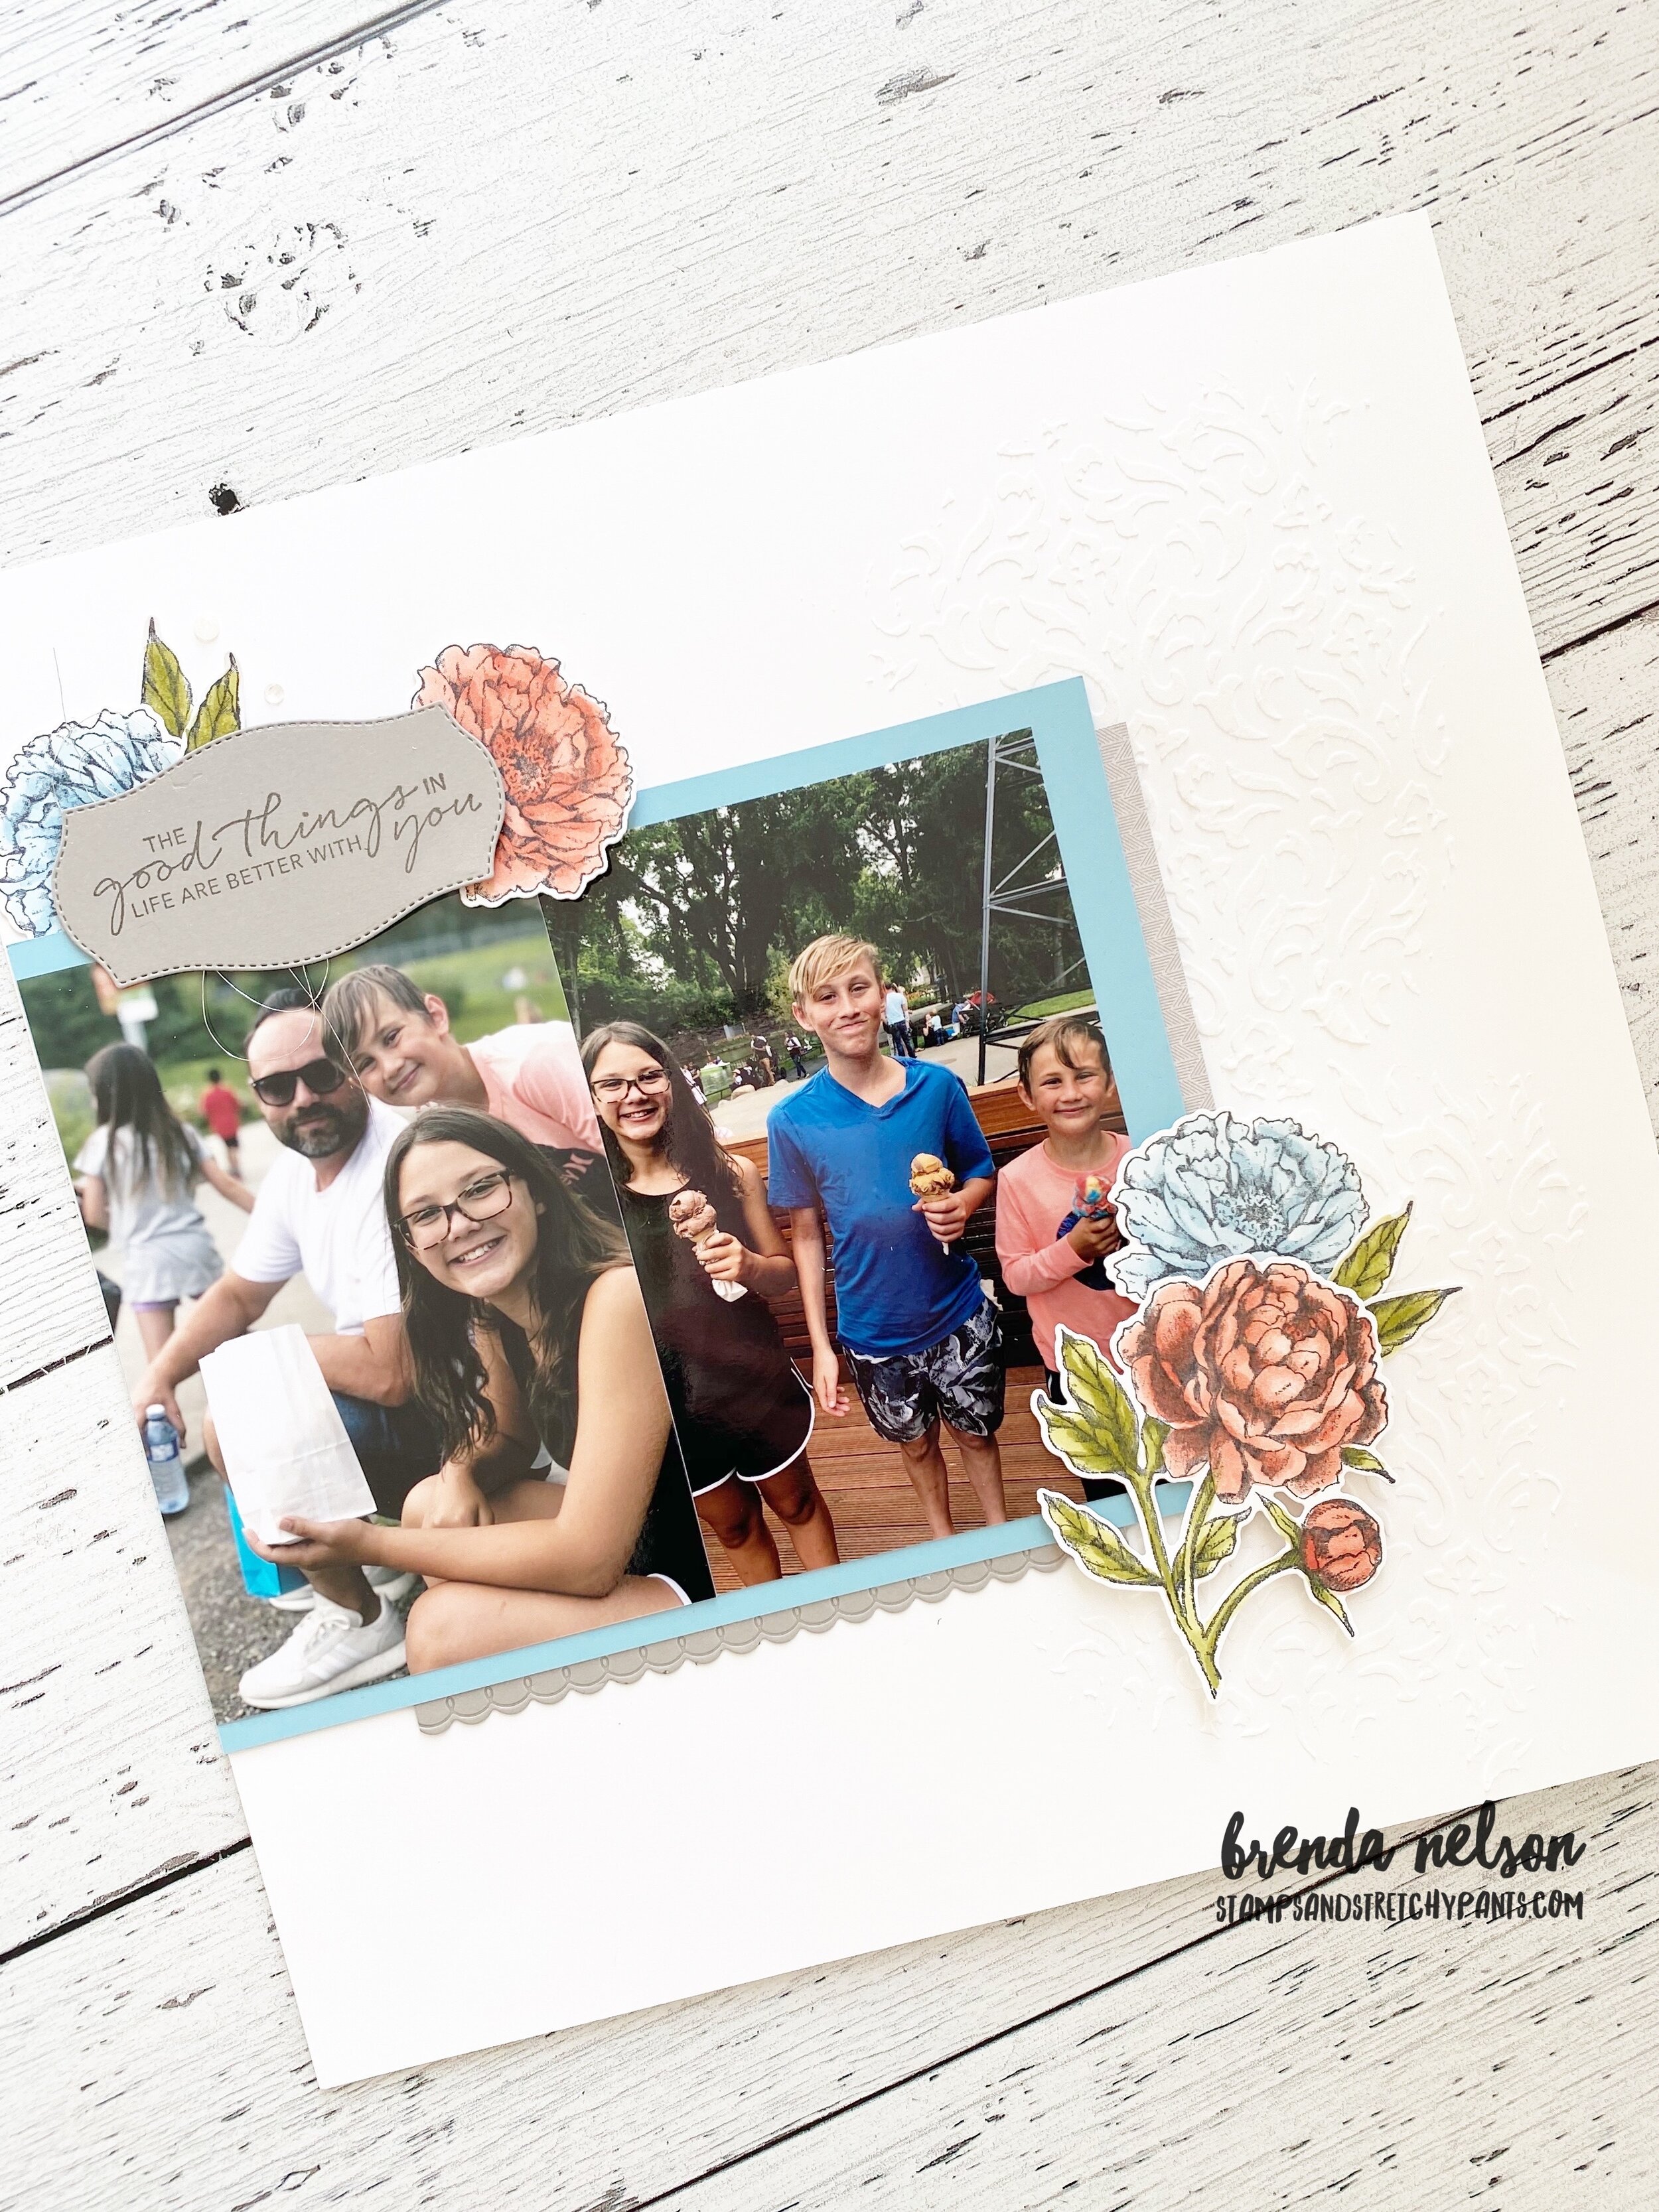
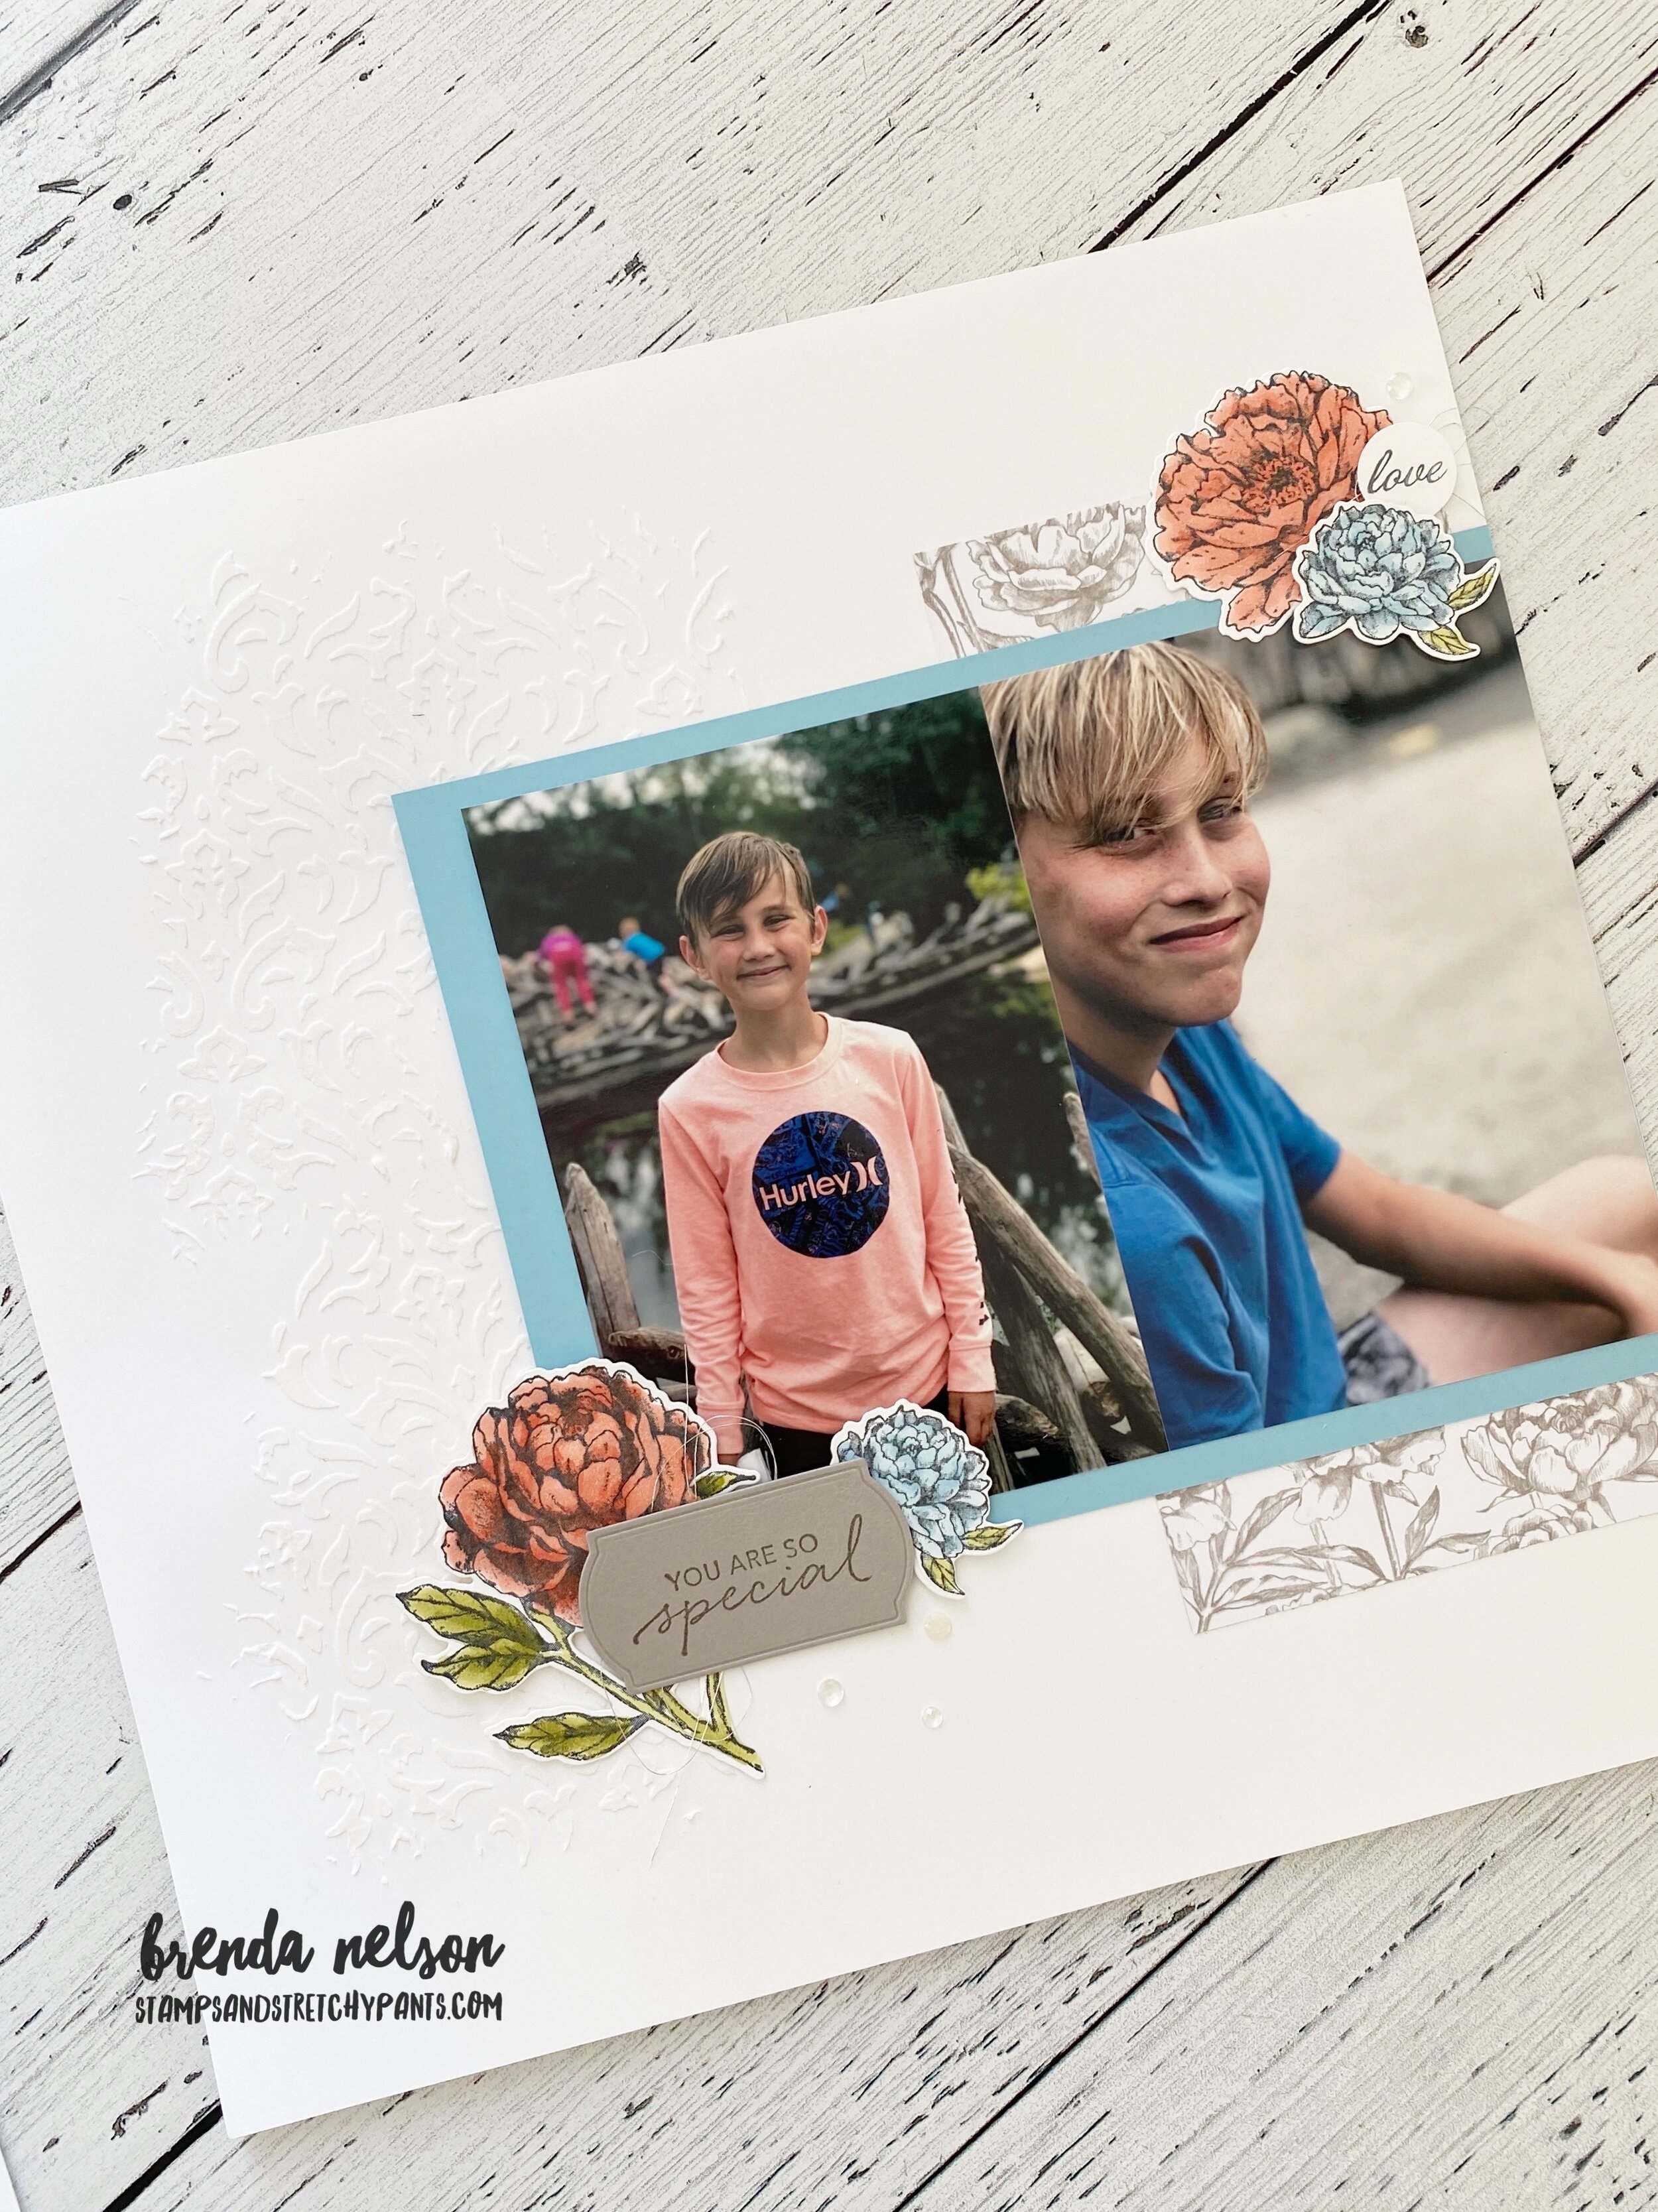
On each page I used two vertical 4x6 pictures that I butted up to each other, you could use one larger horizontal photo on the Balmy Blue photo mat as well. I like to give my group members options when selecting their photos. And my favourite die in the Peony set might be the long scallop border as its cuts and embosses and is just the perfect finishing piece.
If you would like any of the supplies to create this create this scrapbook page please click on the link below to shop with me in Canada!