Brighter Days Ahead--a Hop with Connie and Mary!
/Brighter days truly are ahead and why not send some fun and bright cards out to your friends to celebrate? That is the theme for this week and I know you are going to find some serious inspiration on this blog hop!


I was inspired to create this sunbeam technique from Michelle Zindorf. I have been such a fan of hers over the years, she really is the blending master!

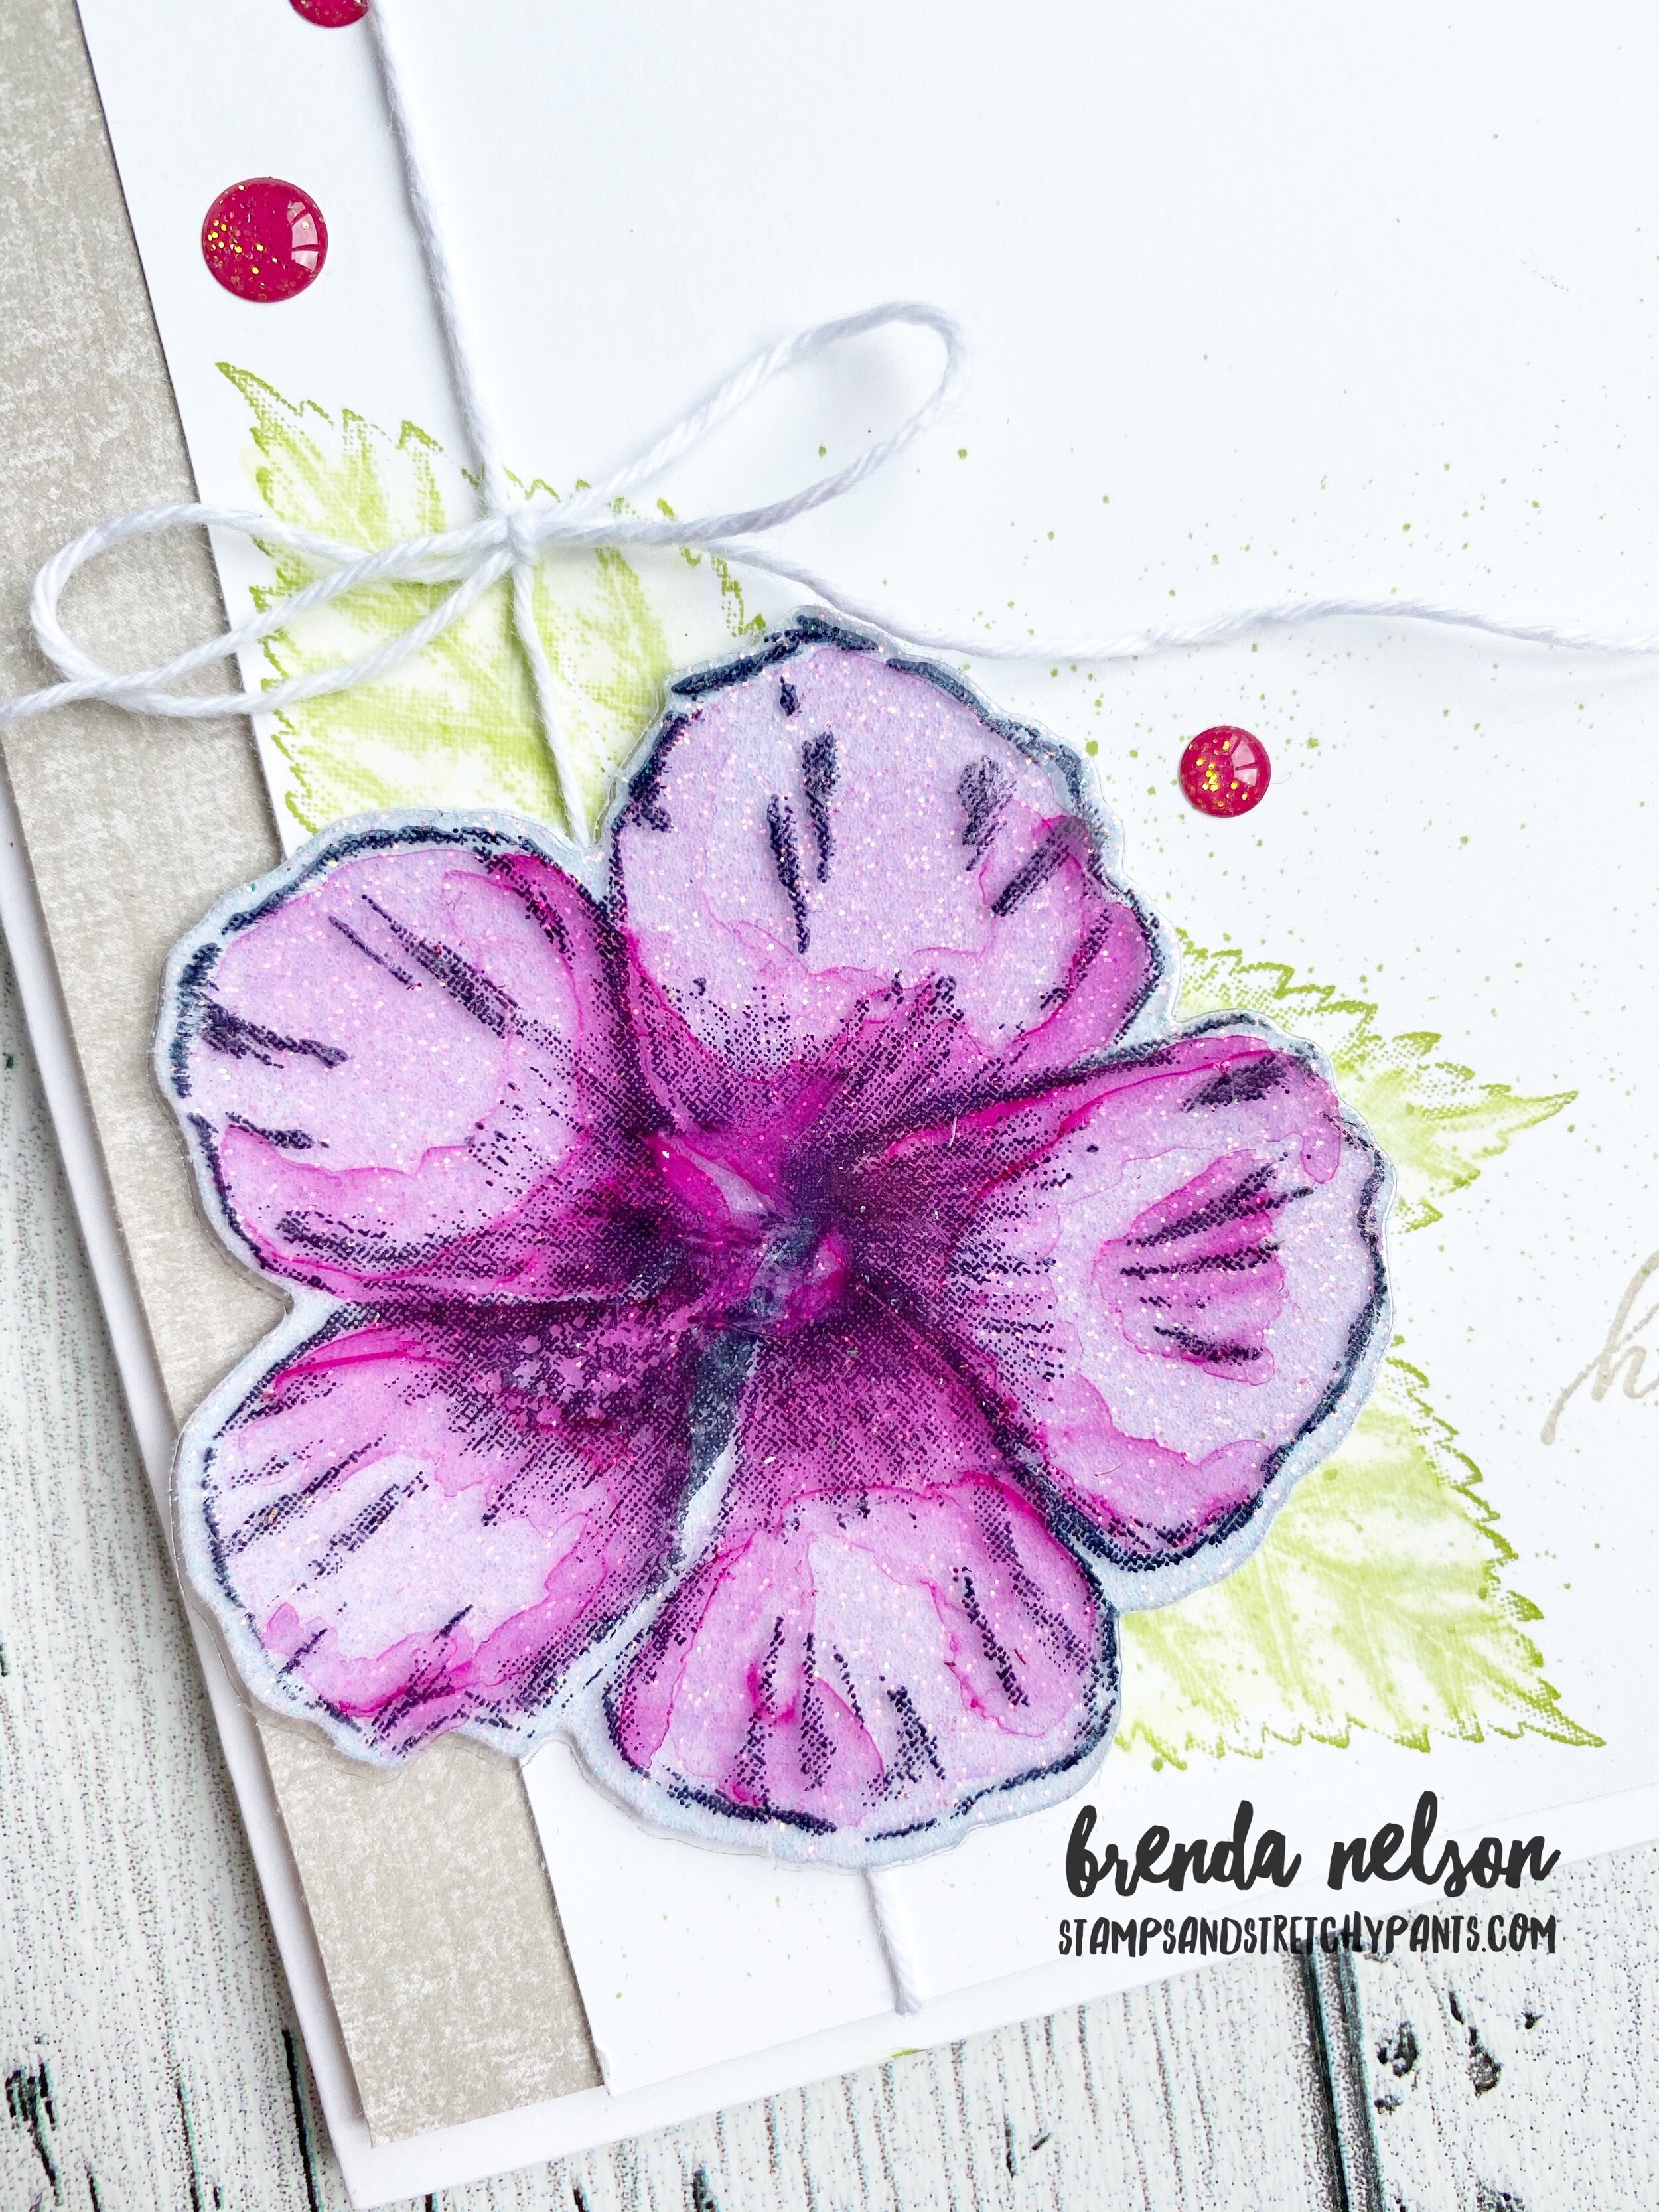
These adorable little clouds are from the stamp set Hoot Hoot Hooray which is in the Beginner Catalogue. The sentiment ‘Delivering Sunshine Your Way’ is from the You Always Deliver stamp set which is on the Last Chance list! Make sure you consider it!
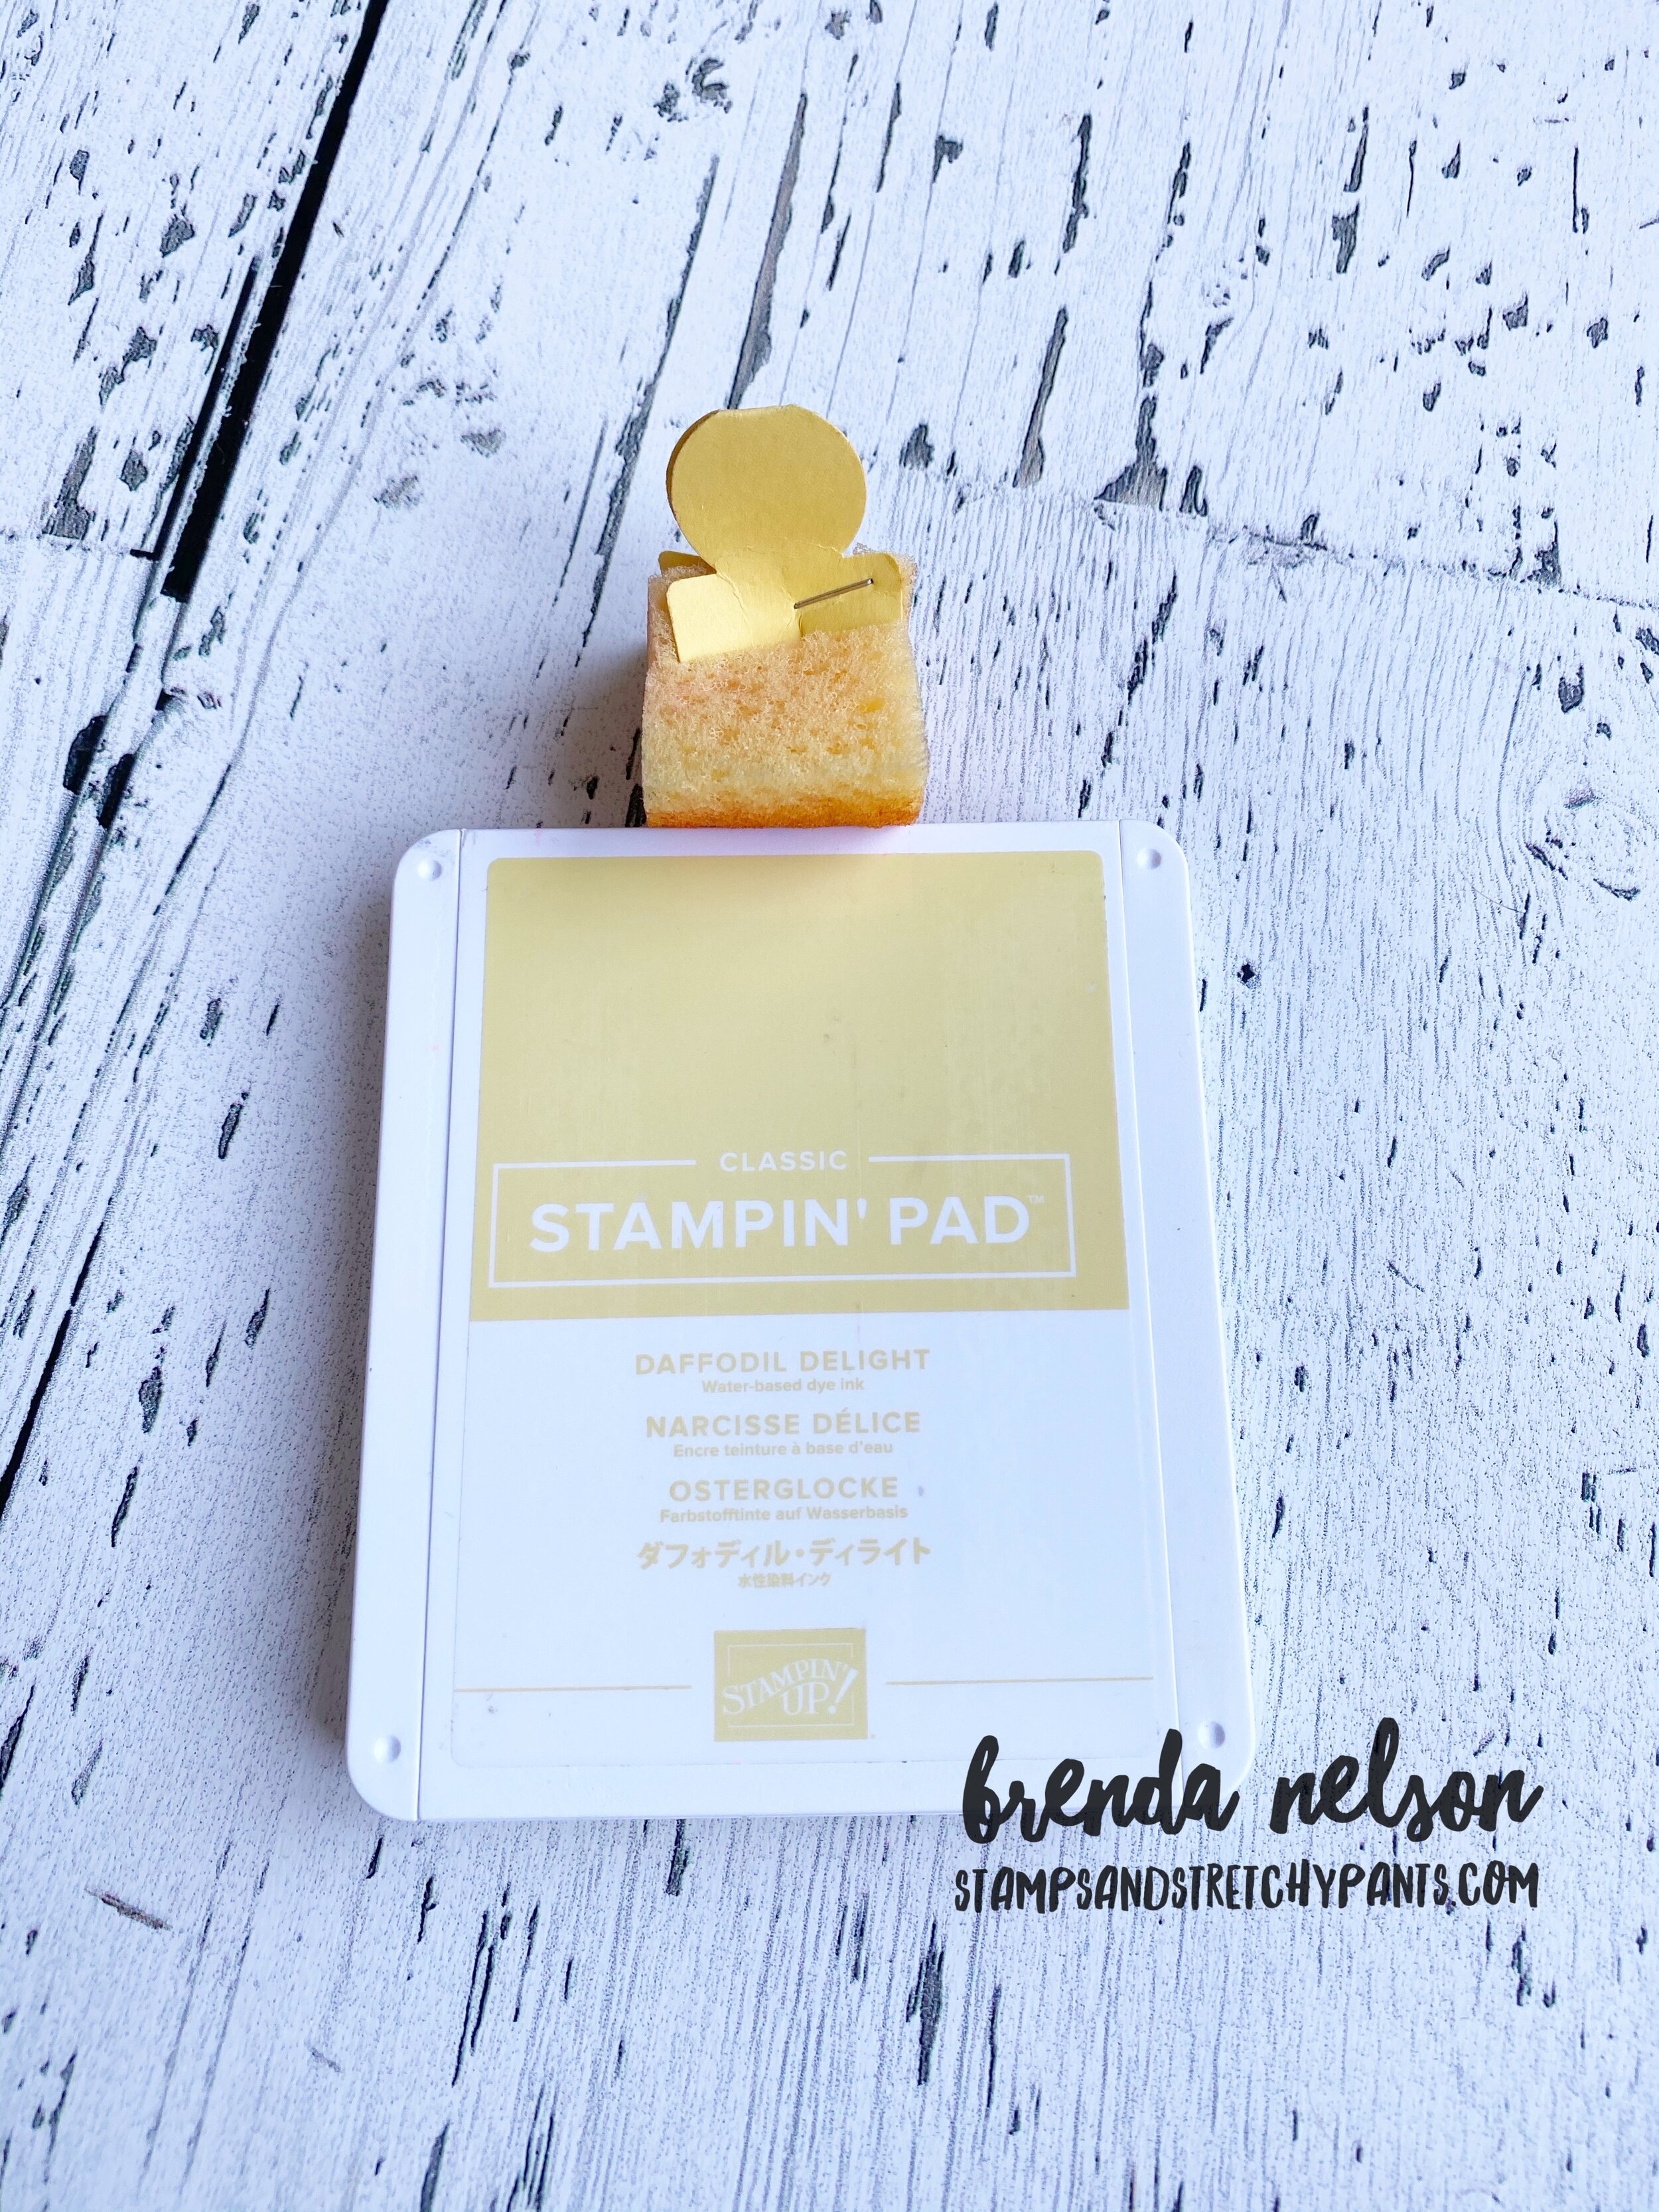
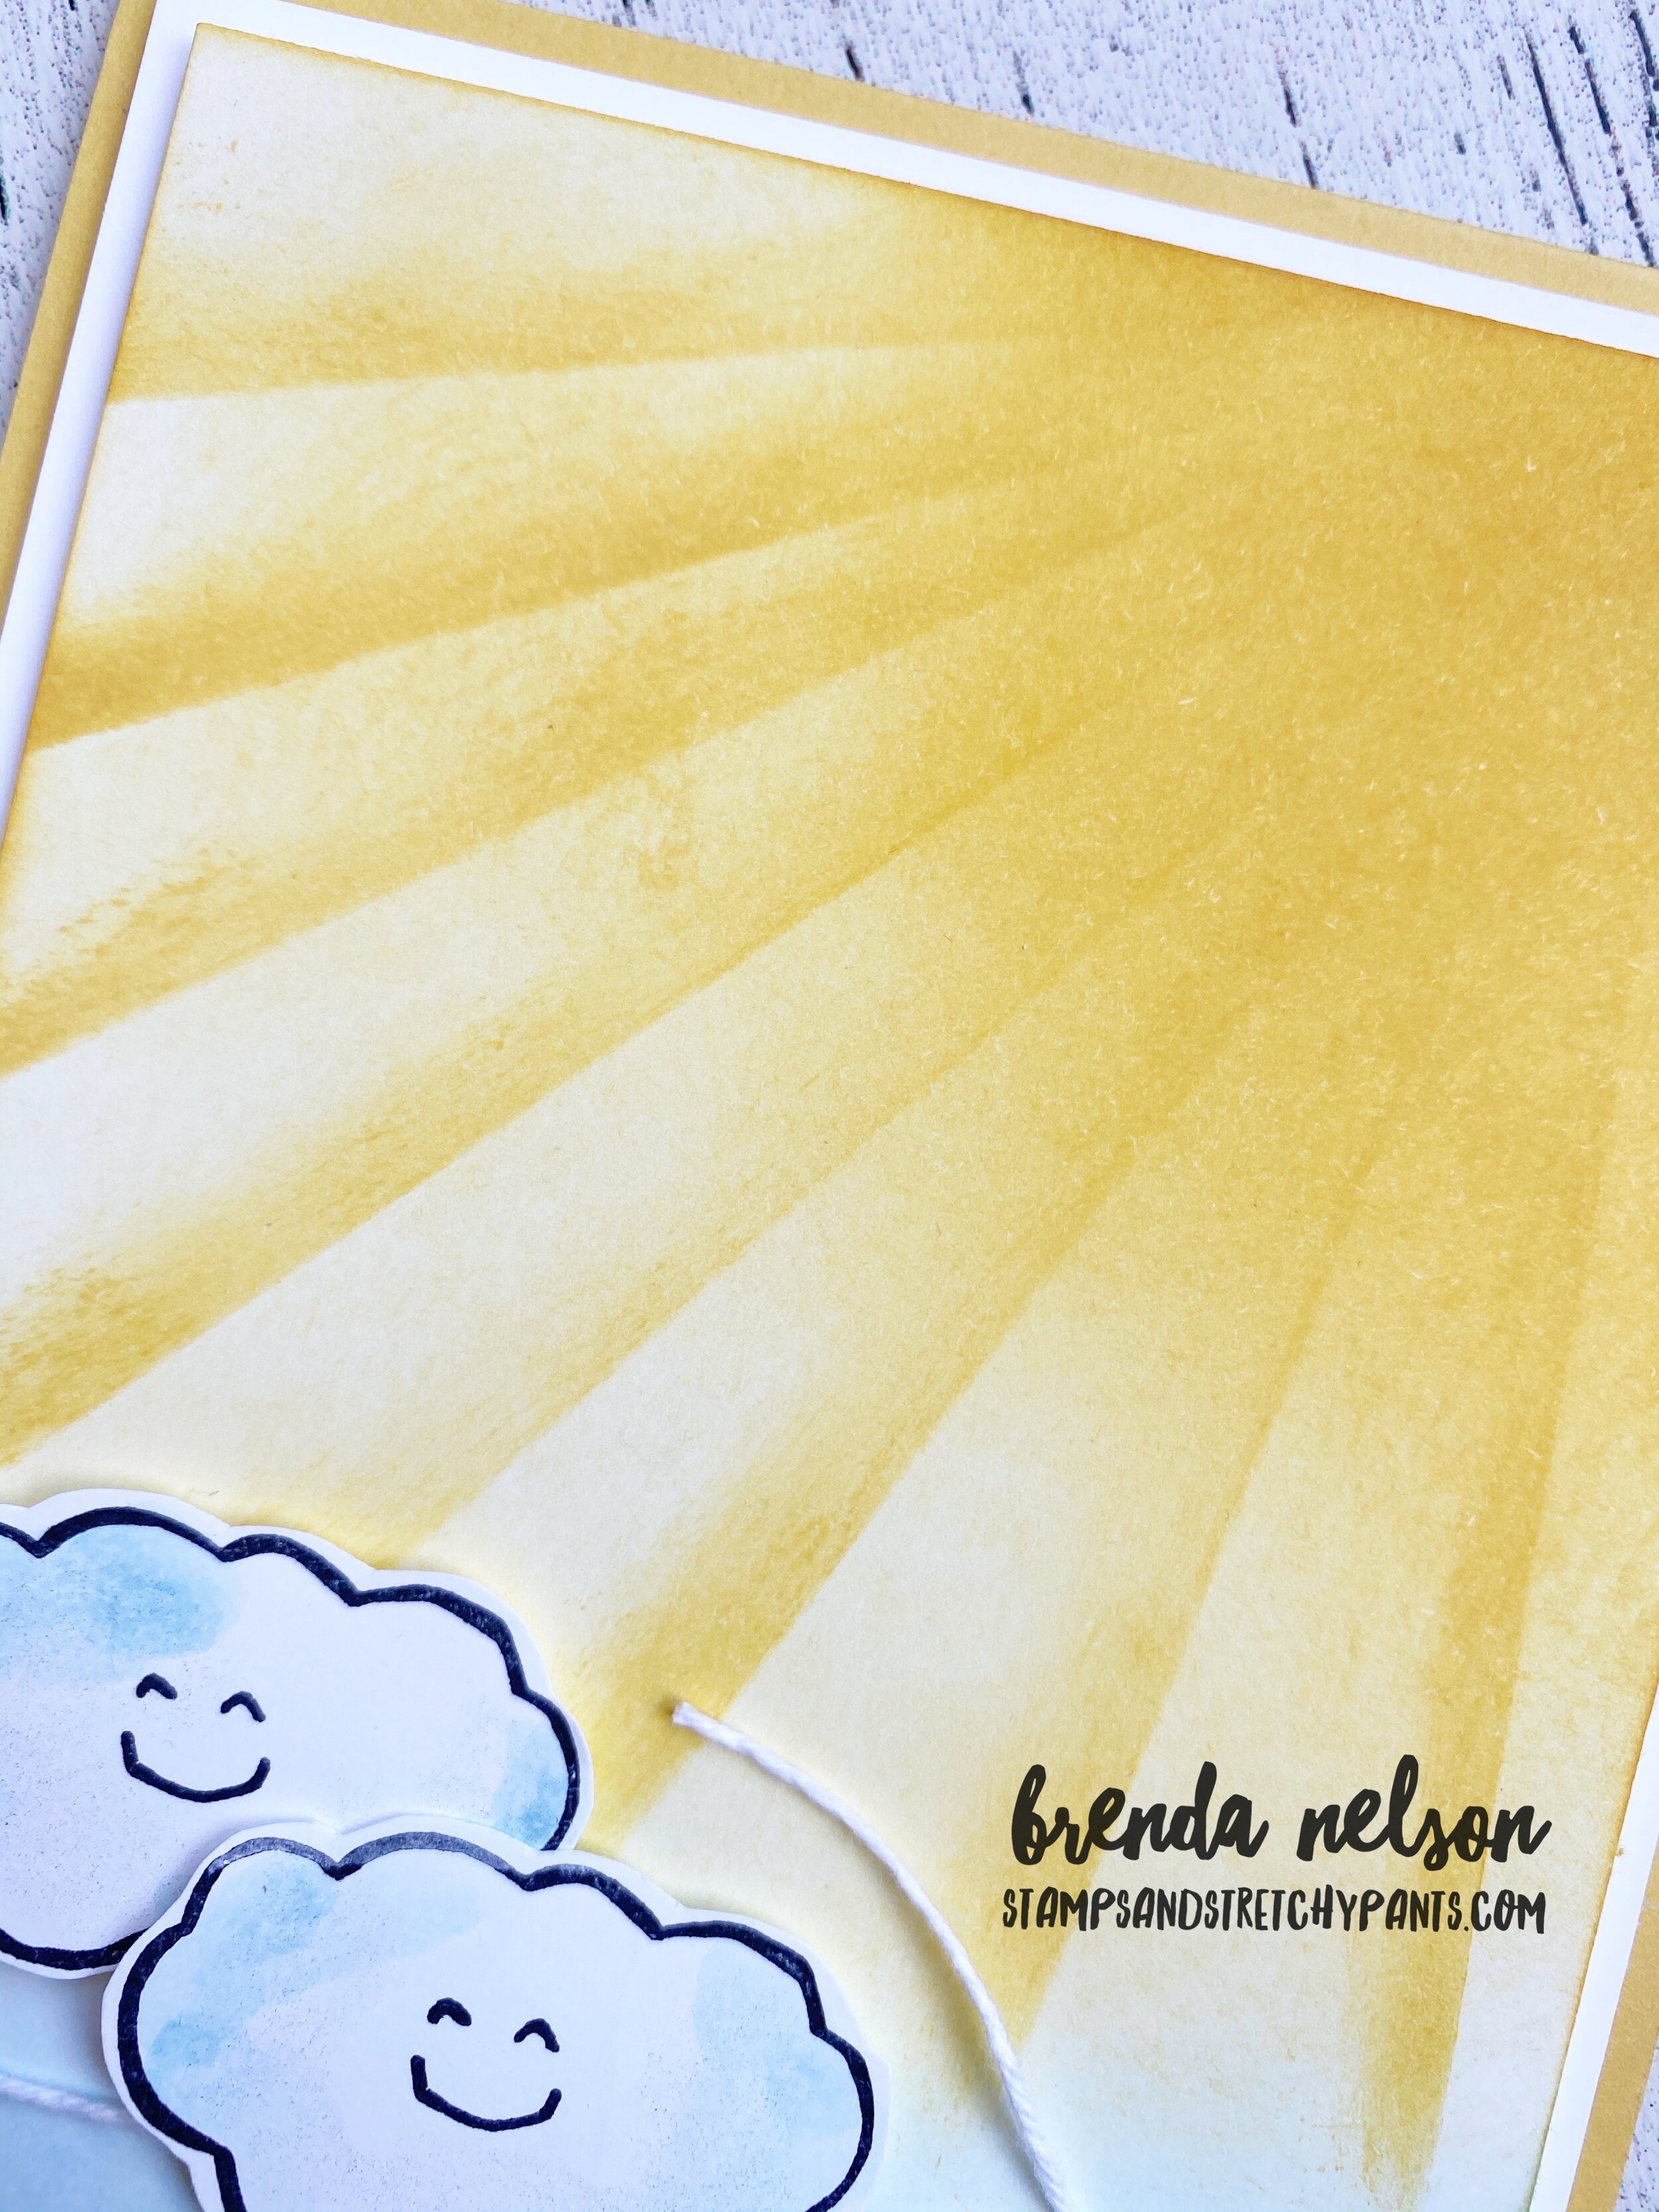
It is actually a lot easier than you might think to create this sunbeam technique. Simply start with a yellow ink of your choice. I used Daffodil Delight. I take one of our Stampin’ Sponges and I cut it into quarters.
Top Tip: punch a tab of coordinating card stock with the Circle Tab punch so you always know what color is on your sponge
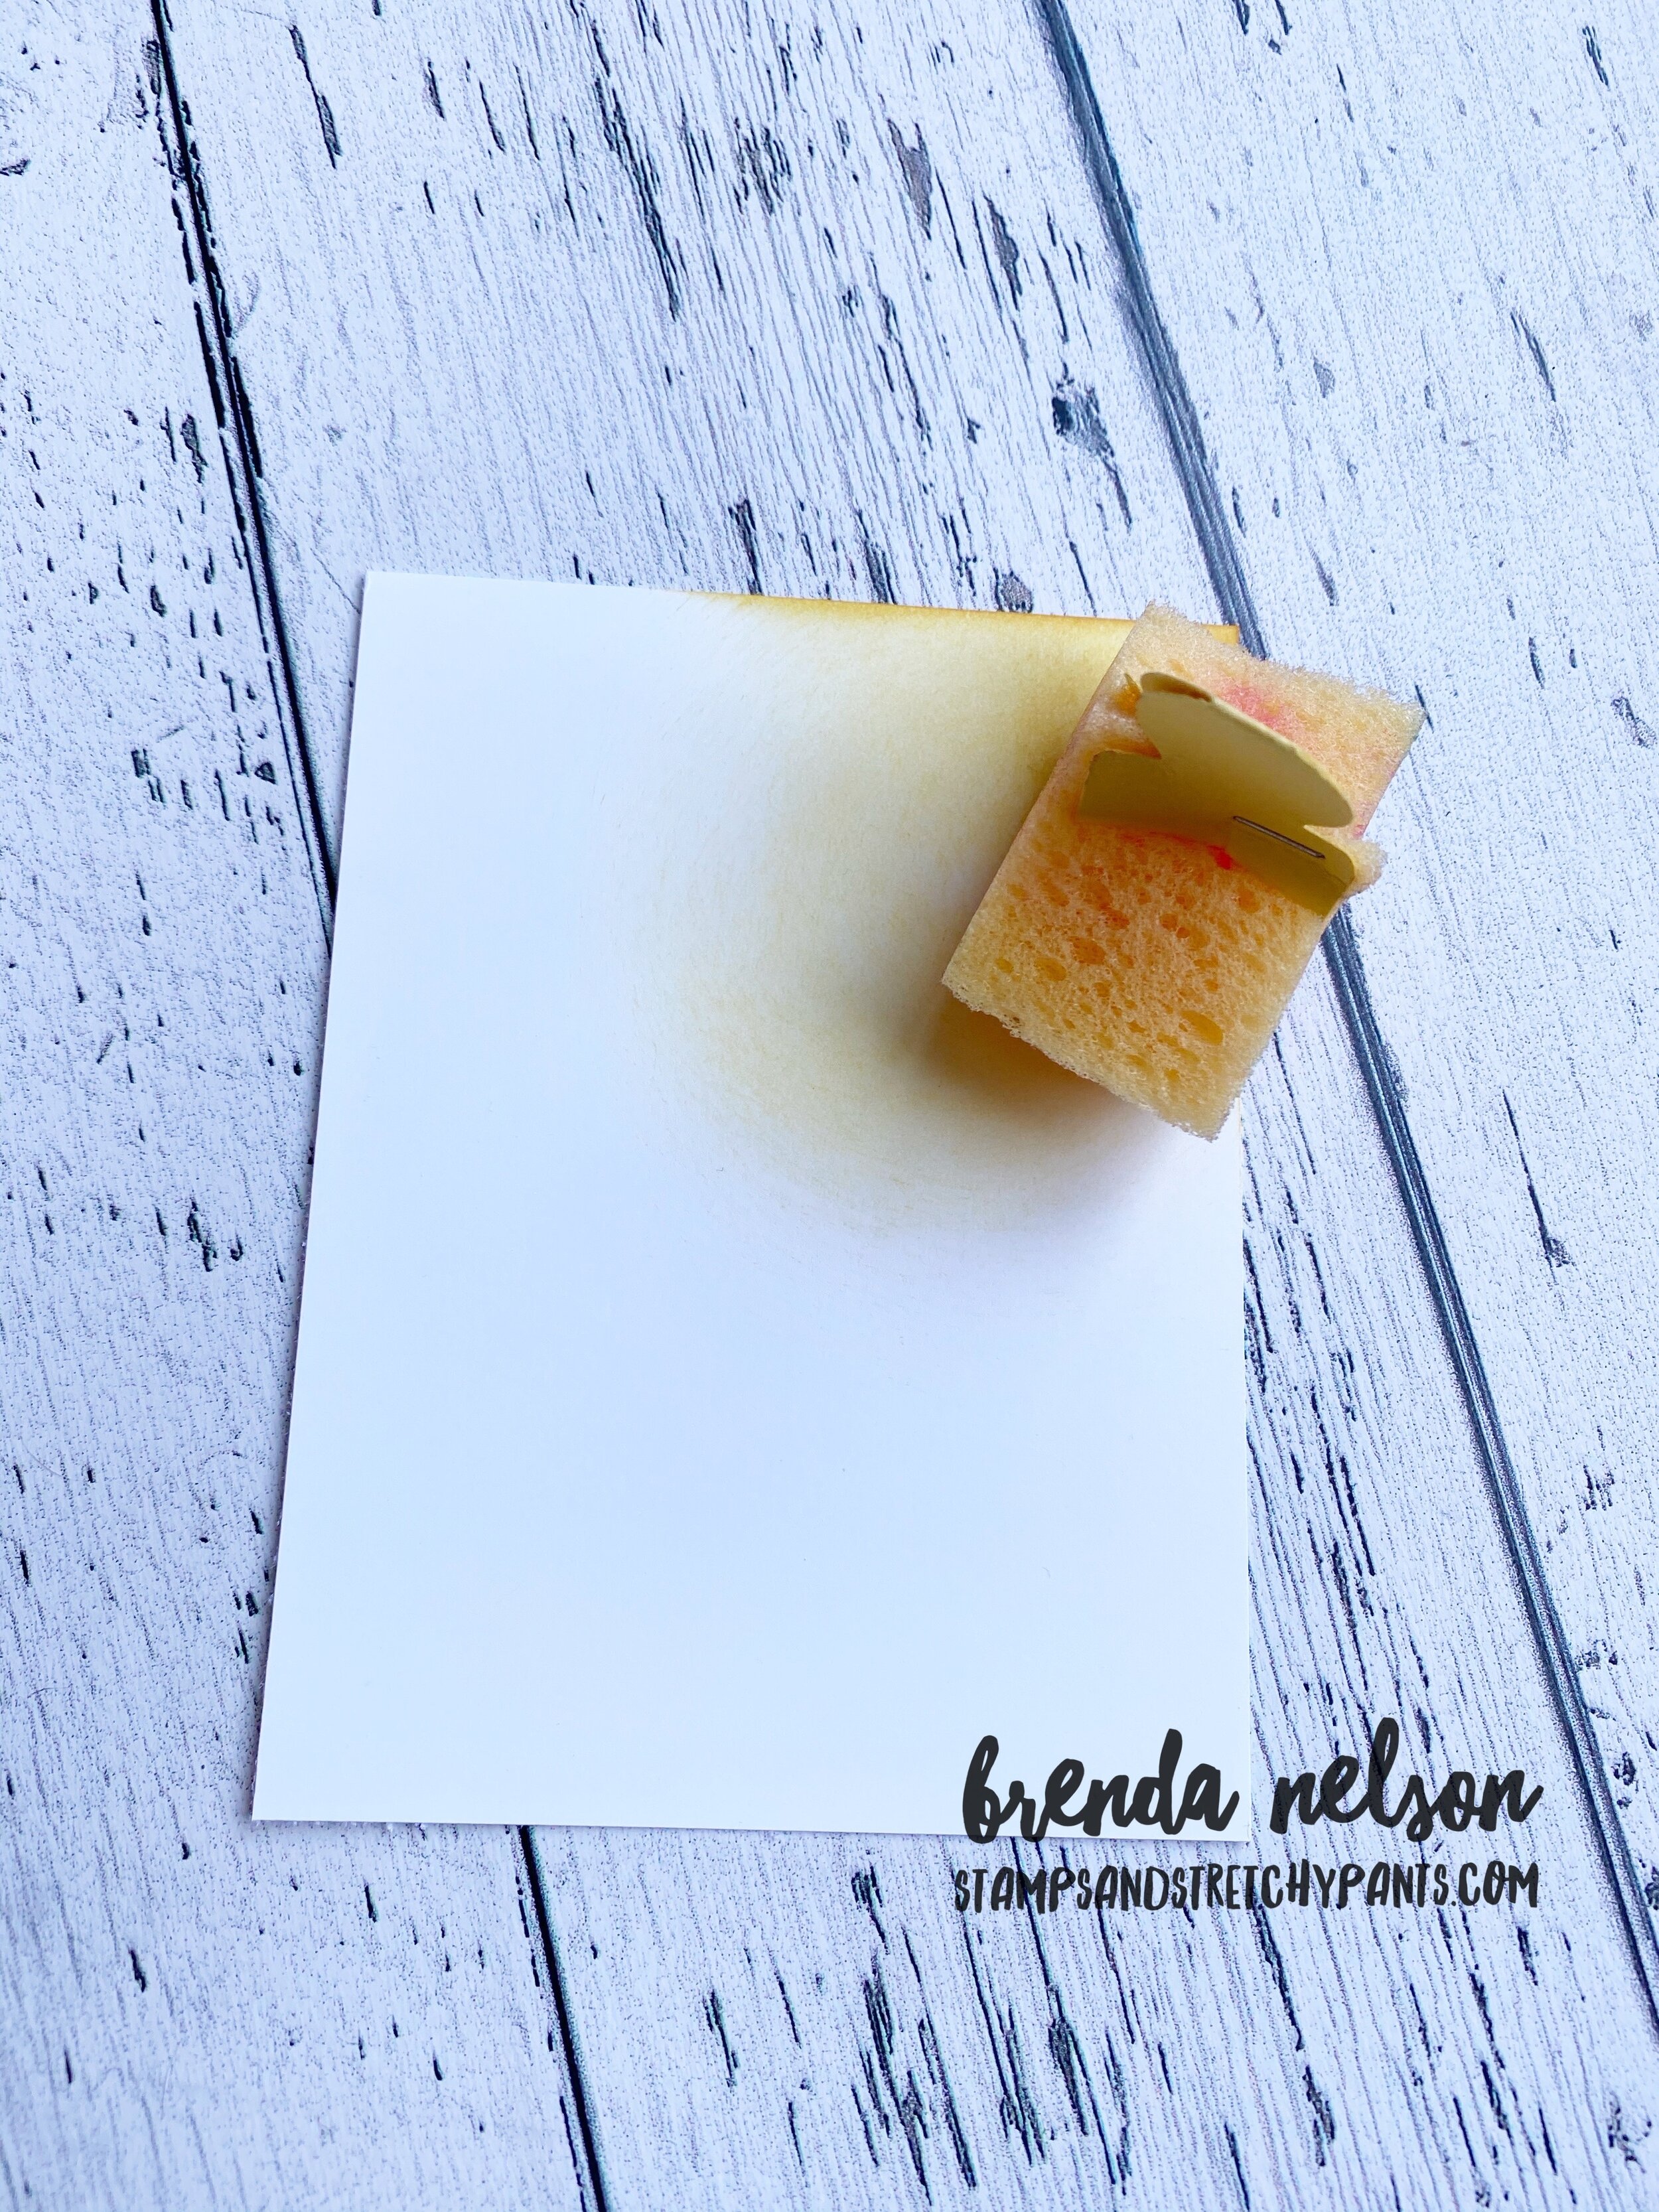
Lightly sponge background about 3/4 of the way down. You want to leave a section at the bottom to color in a light blue for the sky. I used Balmy Blue and the sentiment is stamped over top in Pacific Point.
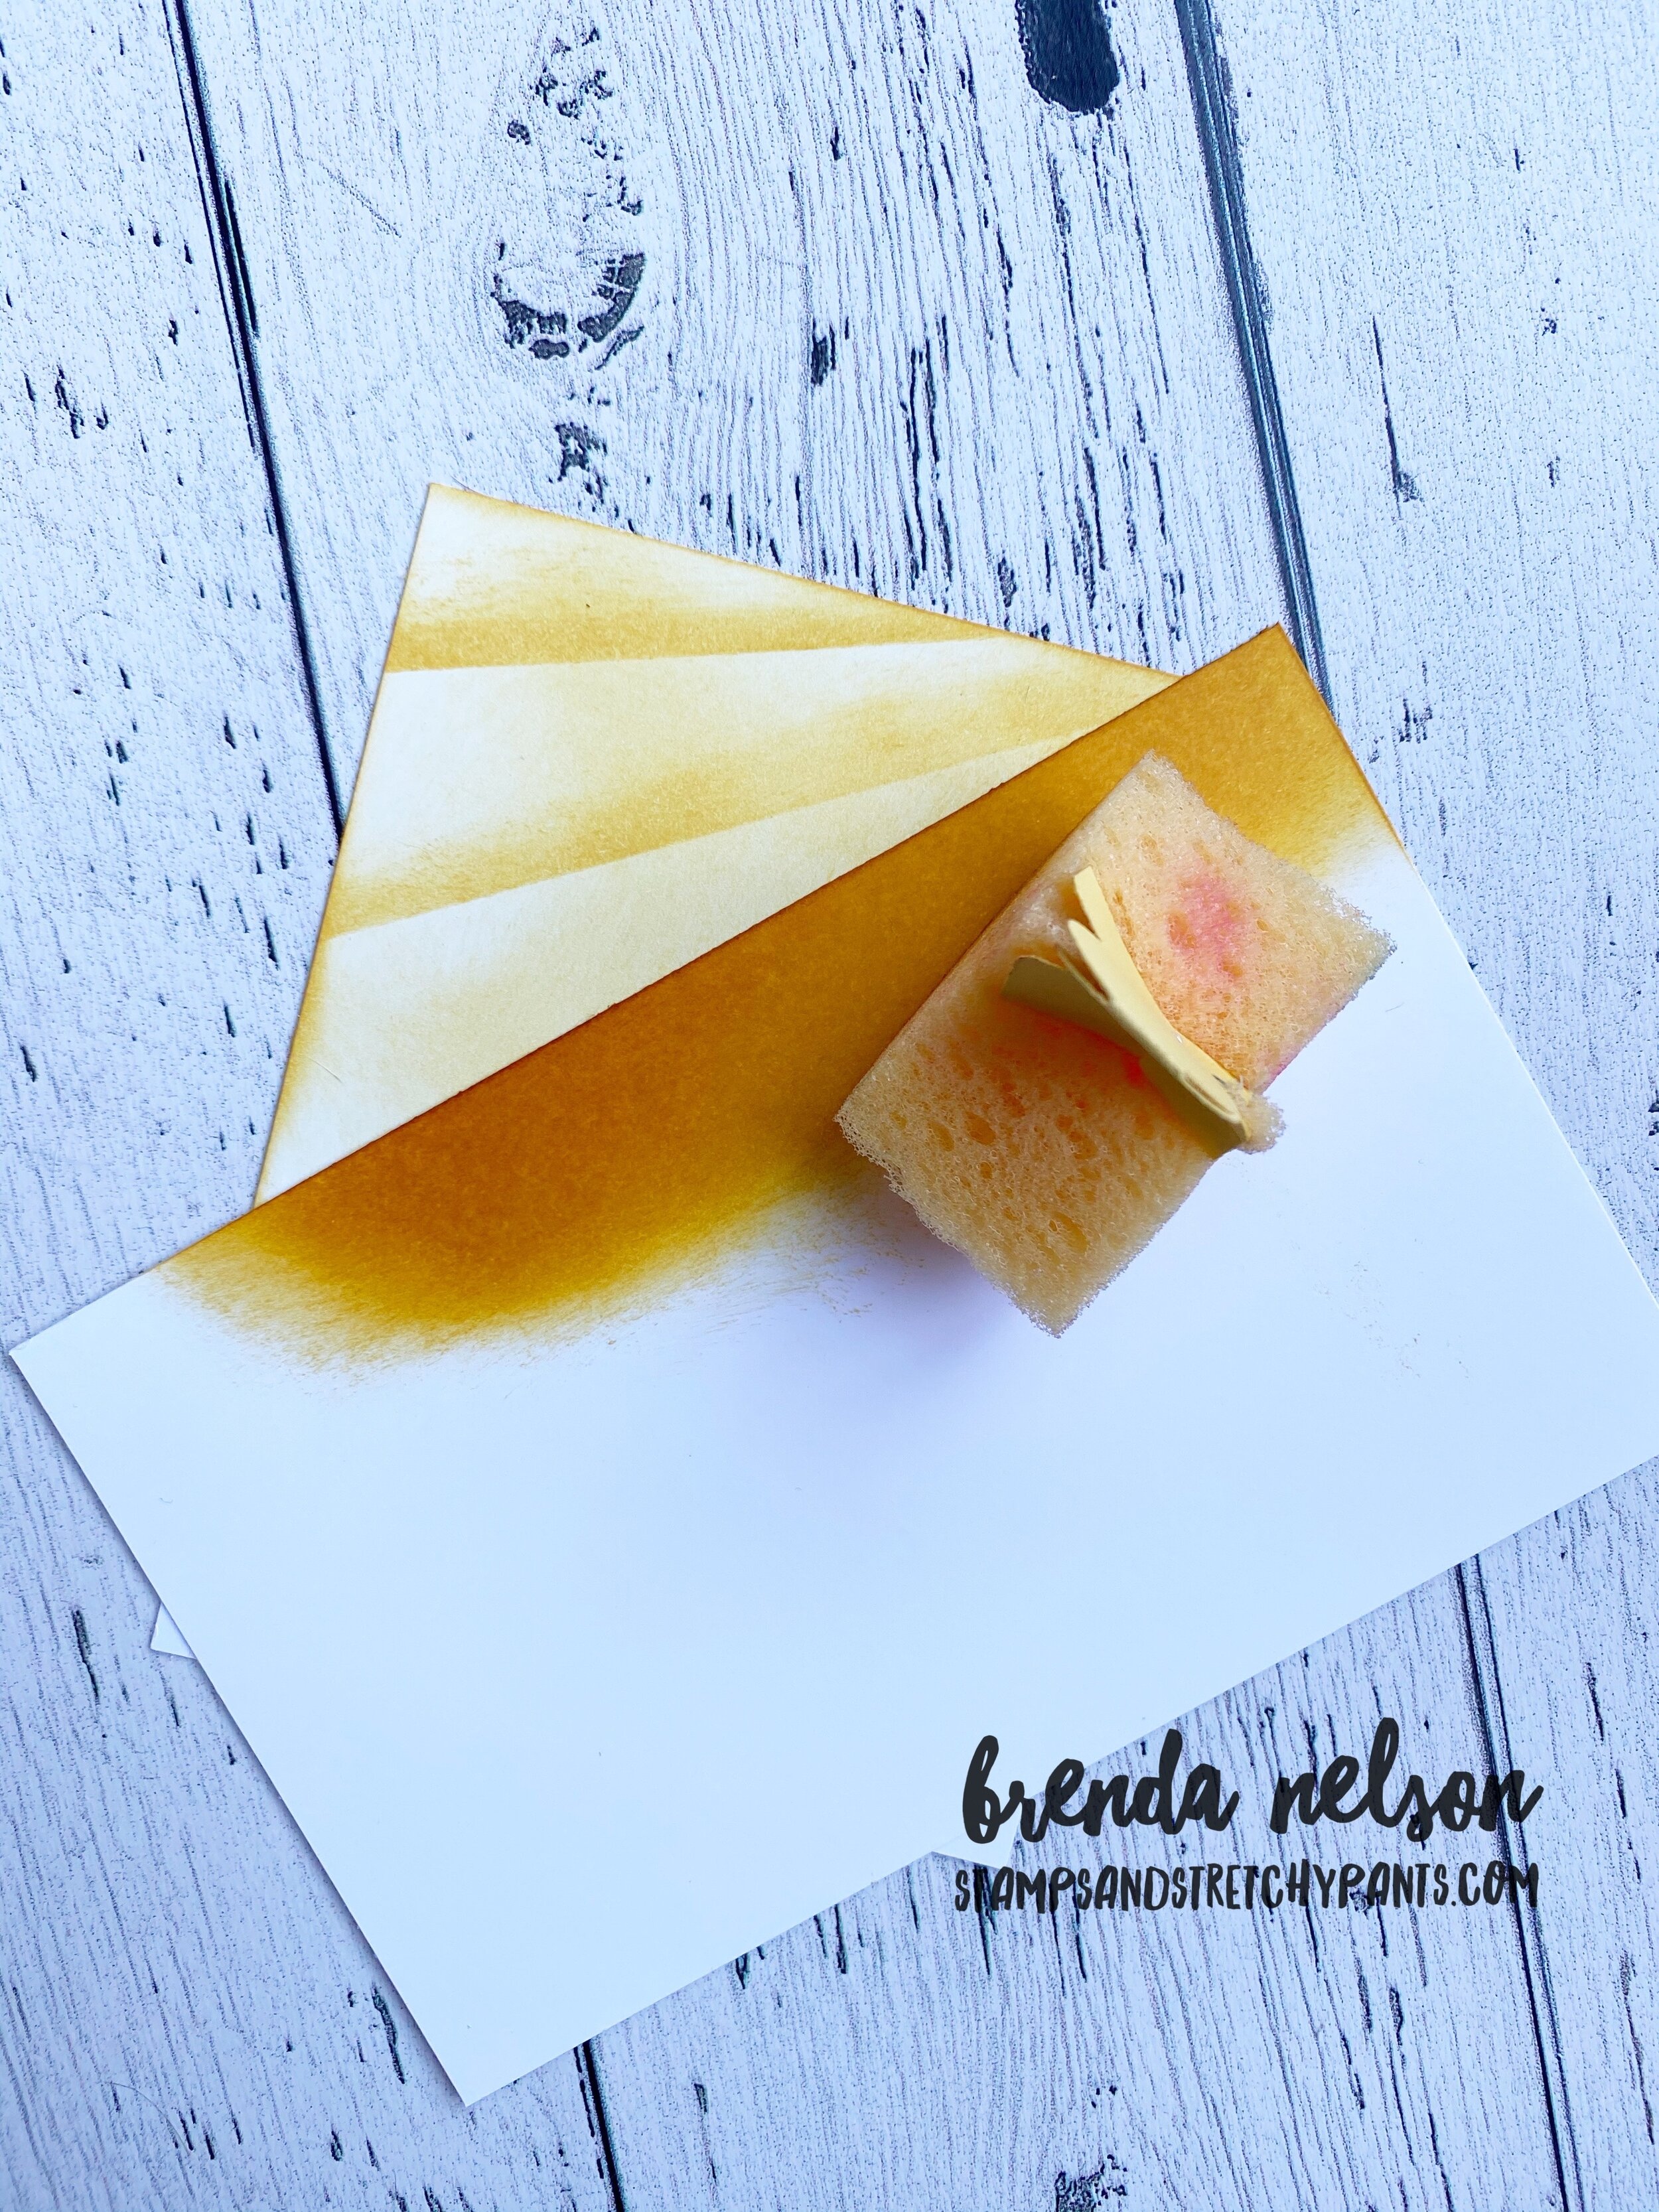
Once you have the yellow base, take a second piece of card stock that is longer than your card base to use as the masking for the beams. You can see in my third picture what I mean. You will angle this piece of card stock, starting from the right corner across the base and rub along the edge in the same ink color. This will create the beams. Work your way across your base and make sure you don’t go past where you have sponged the yellow base. I found that I also needed to keep sponging the ‘sun’ area in the top right corner. After I sponged 2-3 beams I would blend the edge of the beam out in a circular motion to create that sun effect.

The little clouds are lightly coloured with Balmy Blue and my aqua painter and of course I went over them with Wink of Stella. Glitter does make everything better!
Click BACK to visit Melissa at Rubberfunatics and NEXT to see what Connie at has designed for this week!