12 Days of Christmas--Day 8

Today I want to share a Christmas inspired scrapbook page with you. It uses a little bit of new, a little bit of old and a little bit of current! It is always my favorite things to do, mash up a bunch of products that I love and enjoy!

The base of this page is Real Red which is just classic Christmas and I paired it up with Crumb Cake, Early Espresso and Basic White elements for a really awesome holiday feel. The Gingerbread & Peppermint DSP from holiday 2021 was some of my favorite DSP and I still have a couple of packages to use on some projects for this holiday season.

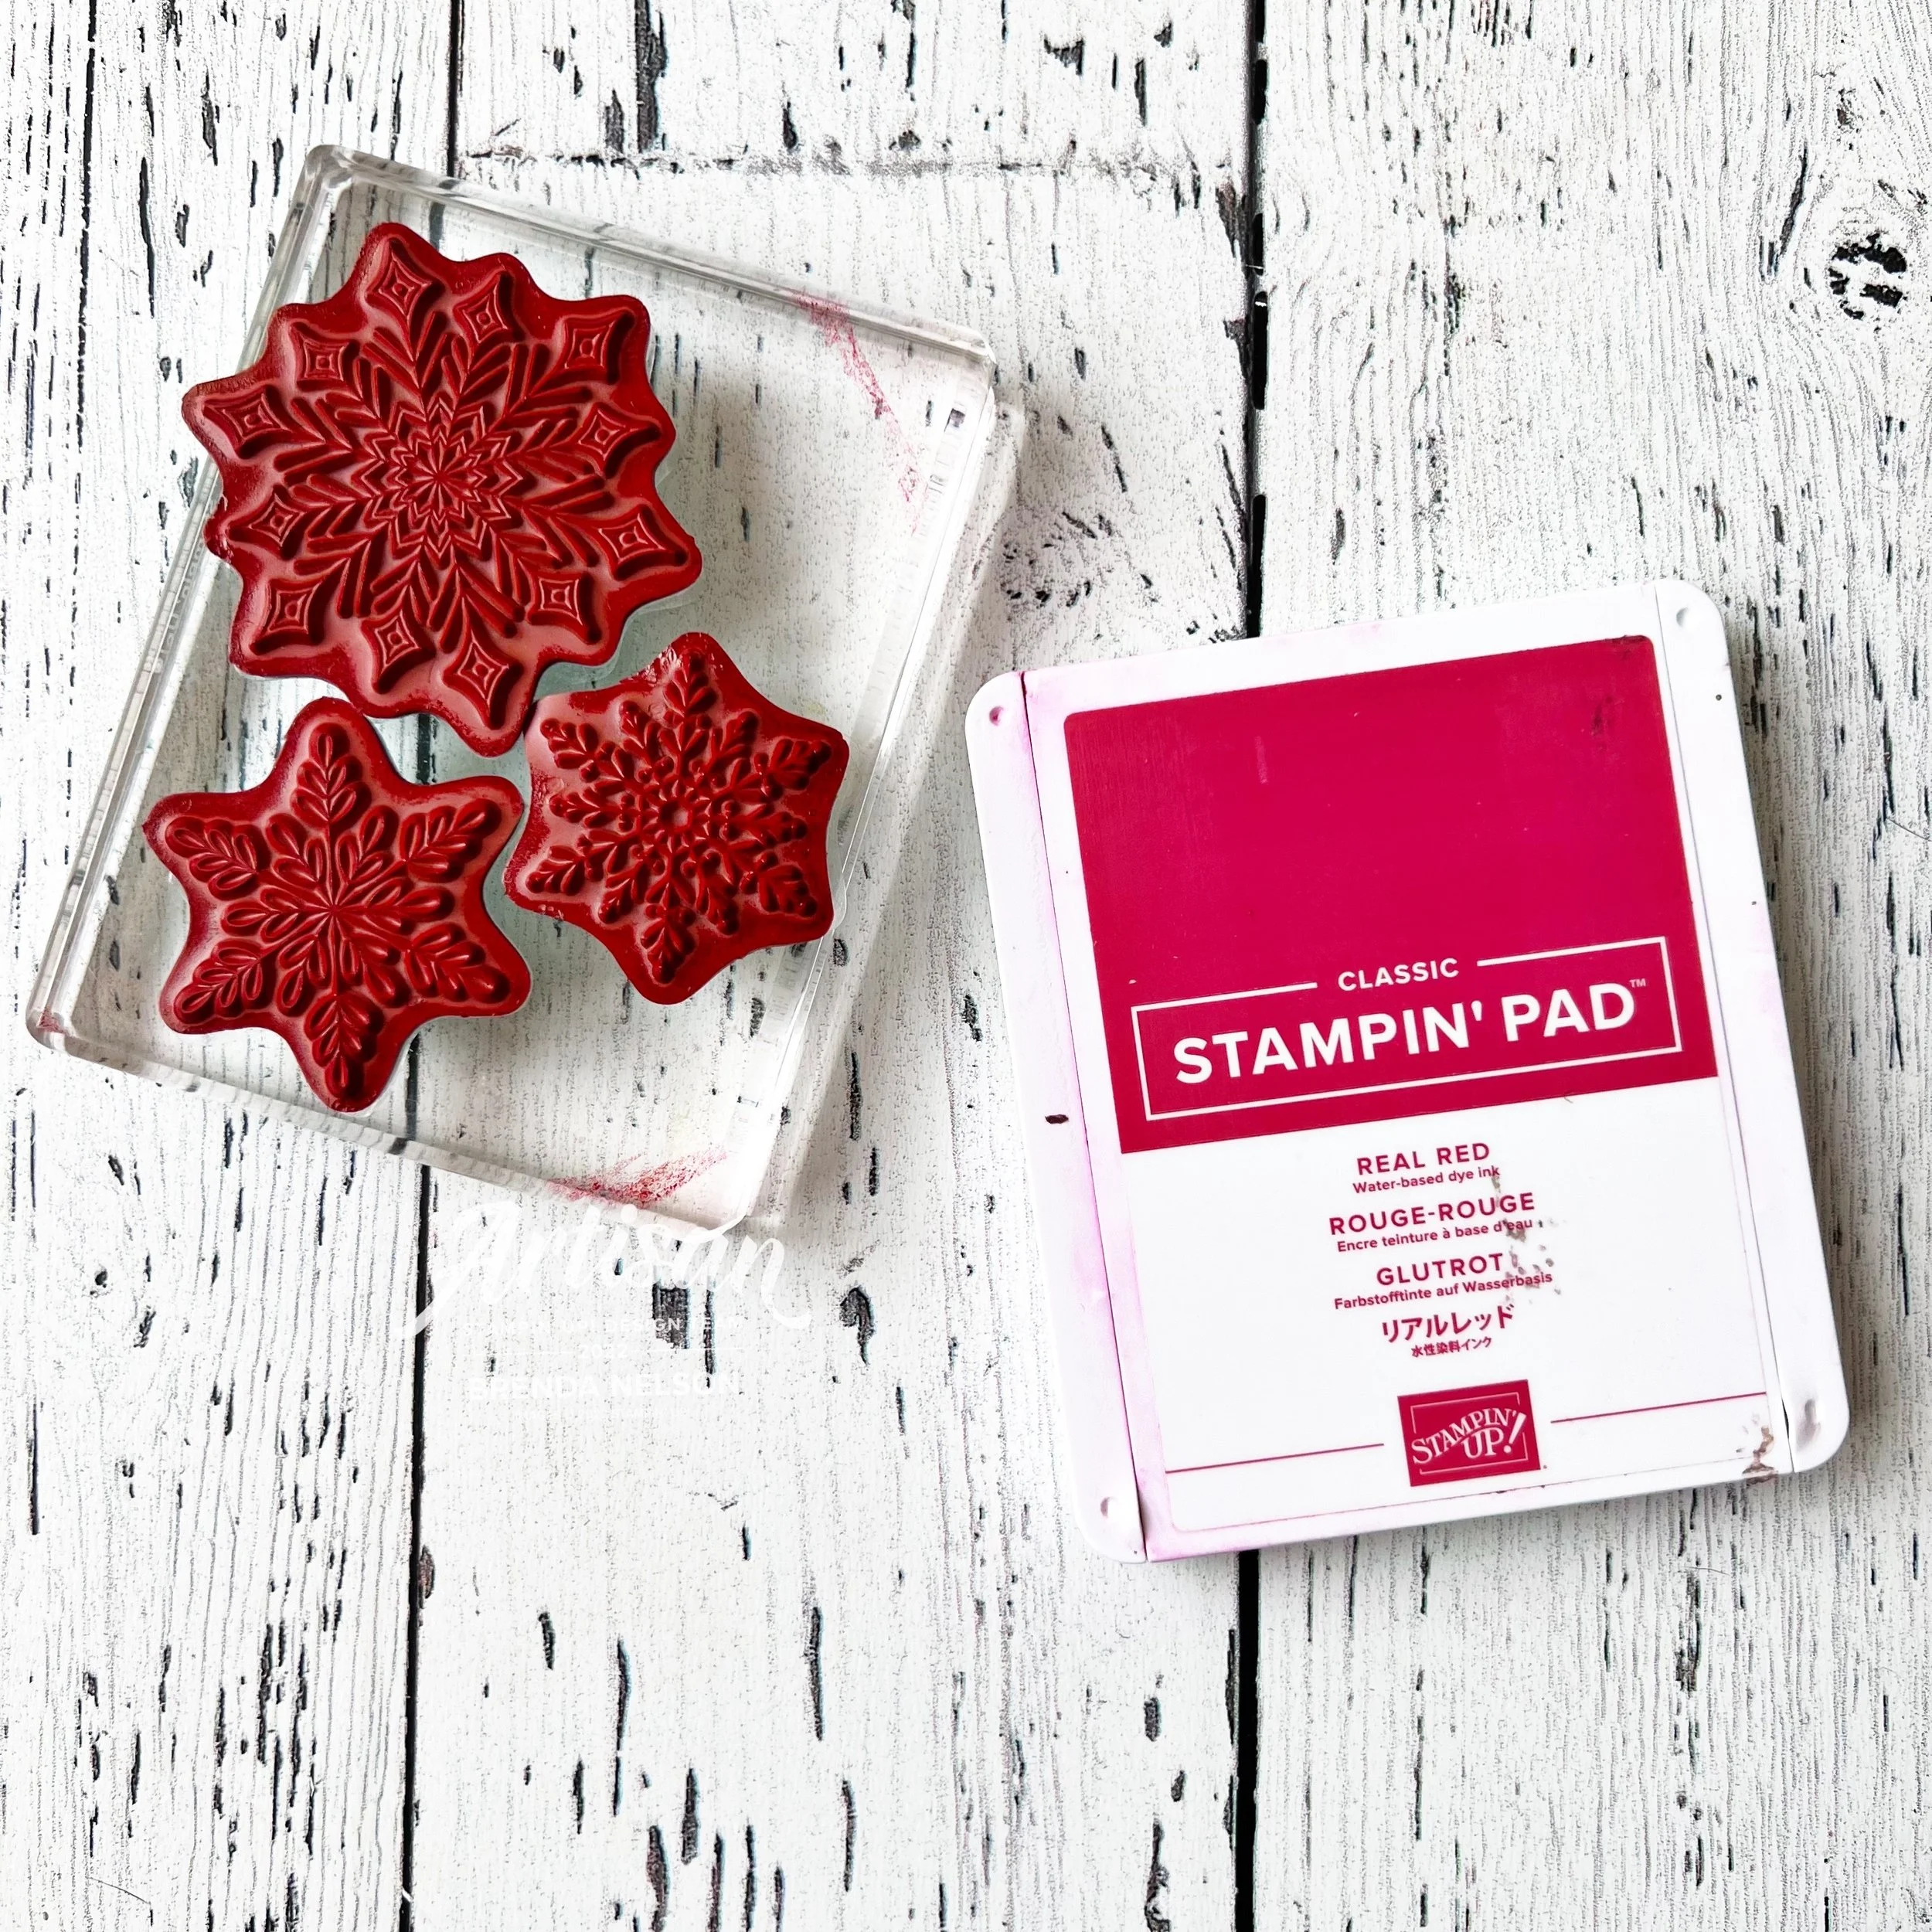
I almost always add DSP to my scrapbook pages and often that color dictates the rest of my page design. I wanted to go with a winter Christmas feel so I added some snowflakes from the Joyful Flurry stamp set to the background in Real Red ink.


Top Tip: when stamping background images, mount as many of the stamps onto a large block as you can. This way you can ink up the stamp and efficiently fill in your background!

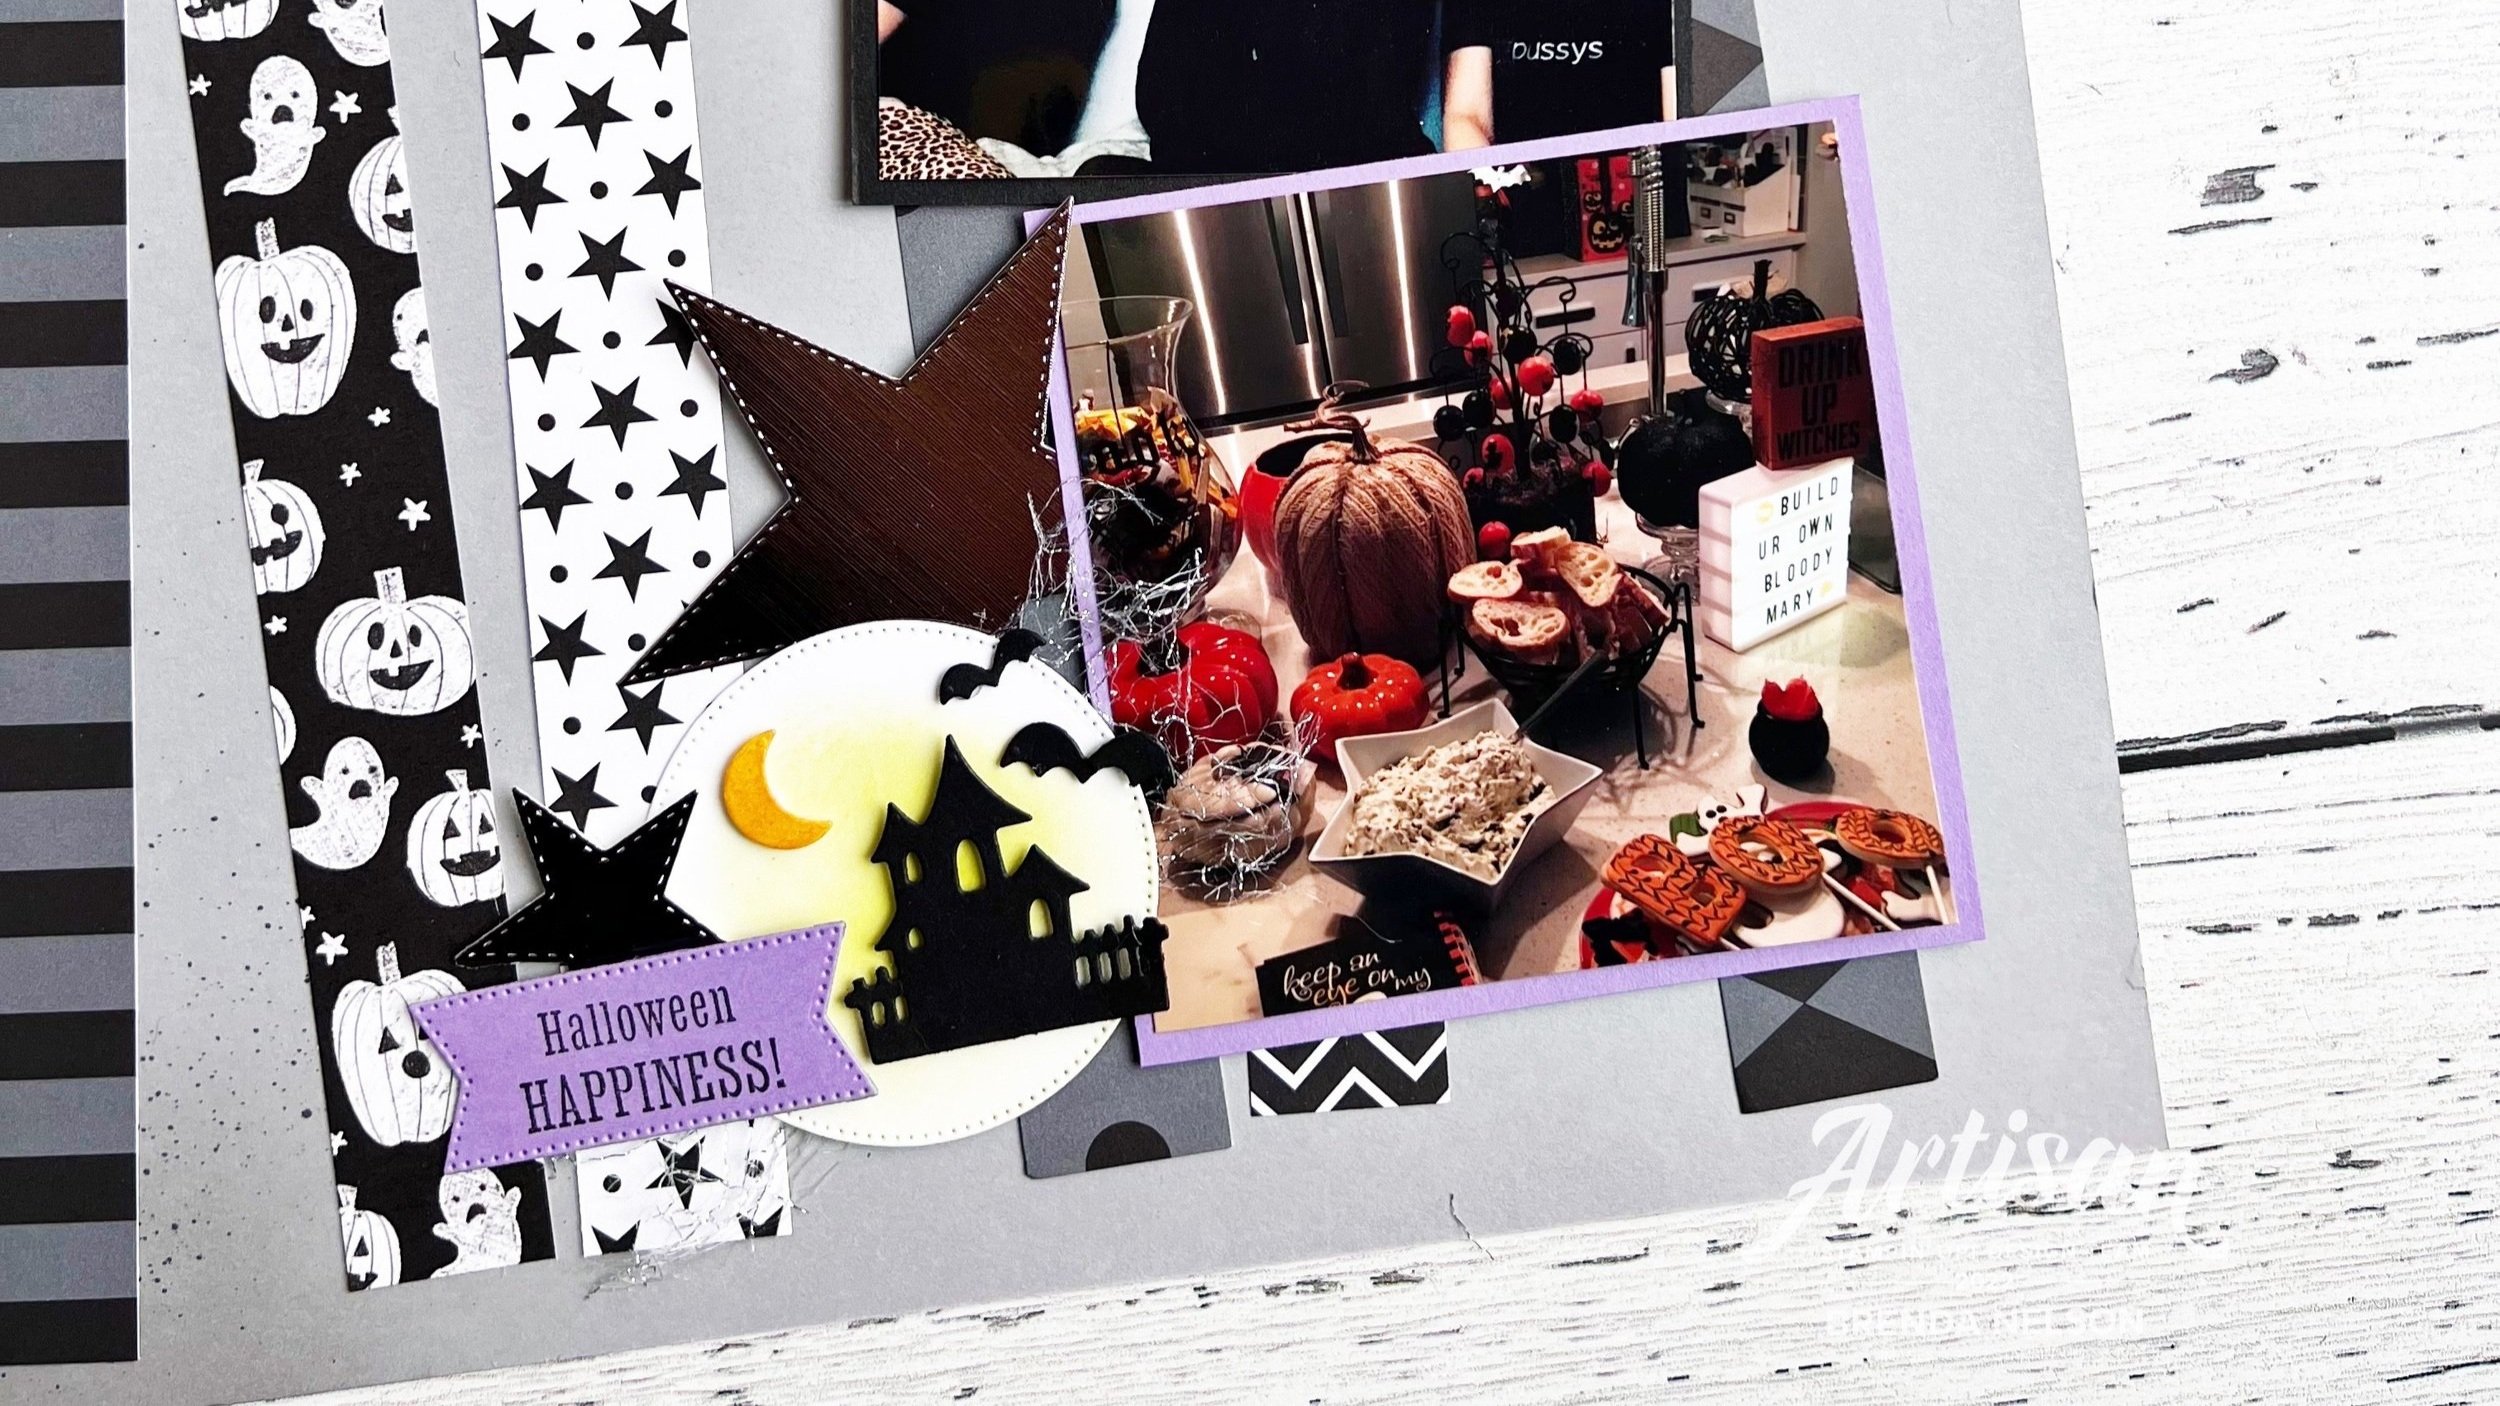
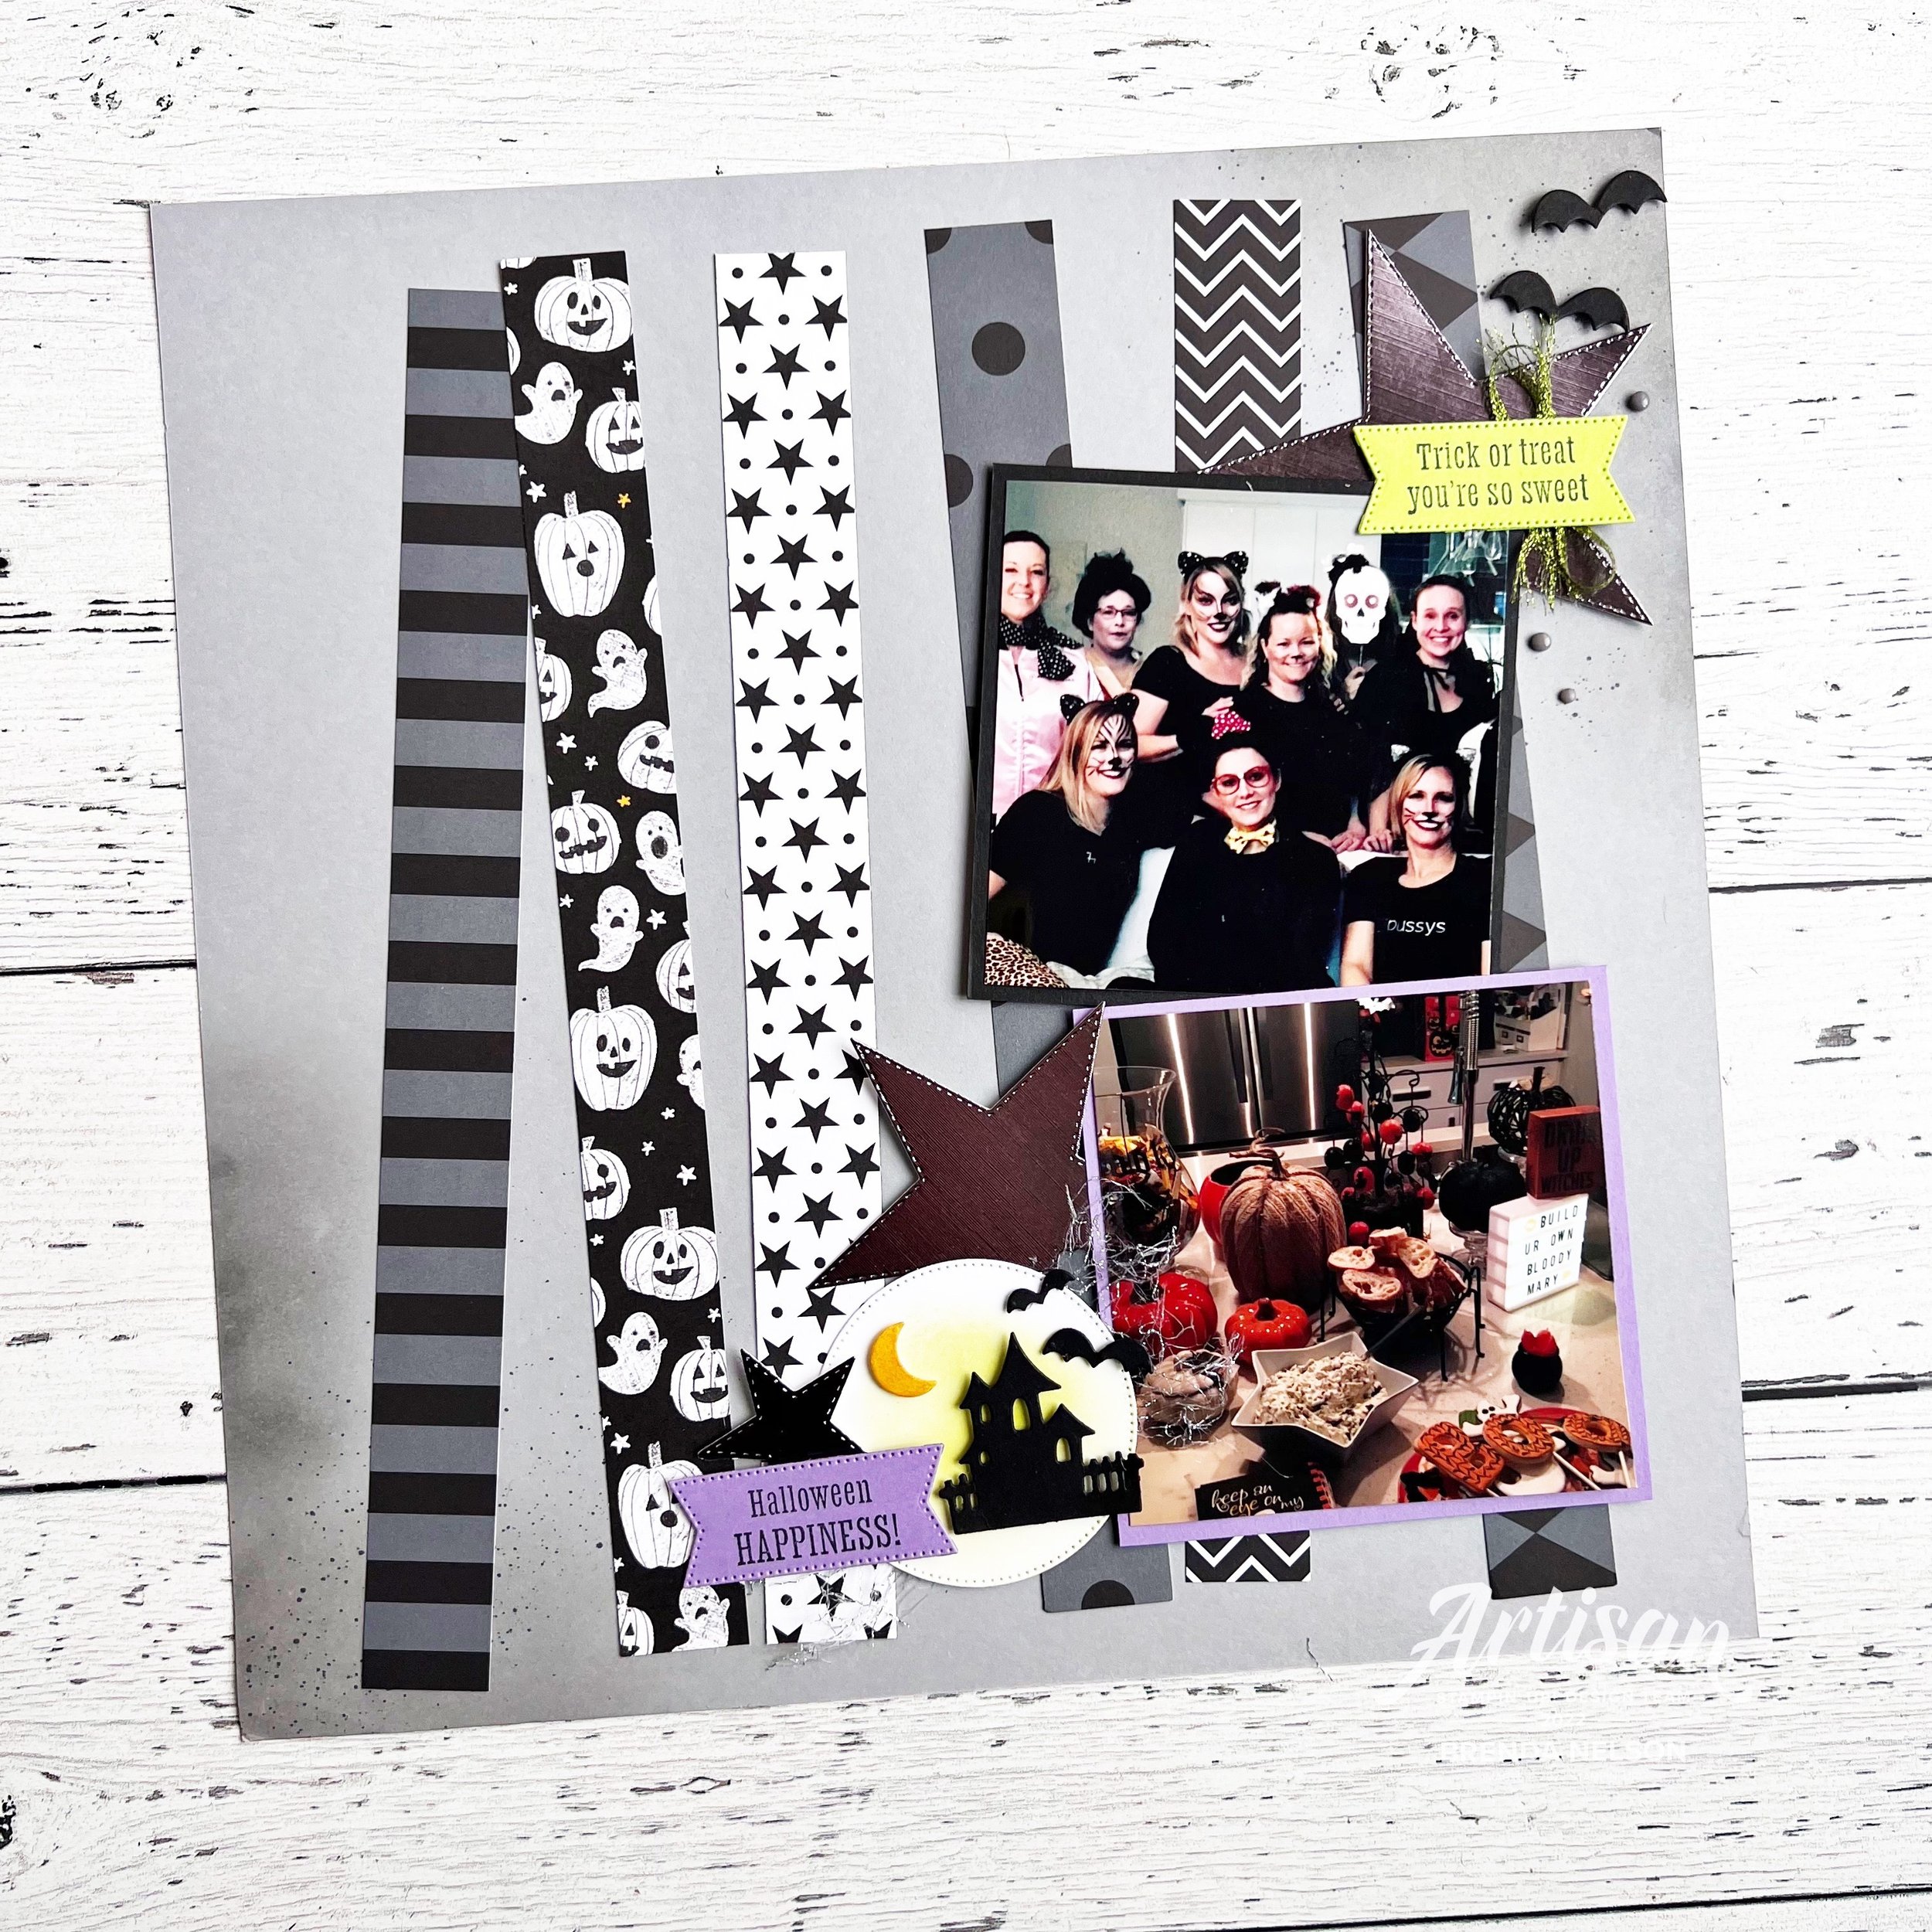
I added some of the Wonderful Snowflakes to both of my scrapbook pages. This is one of the main elements that connect these two pages to each other along with the coordinating photo mats in Early Espresso and Crumb Cake.

I used a variety of sentiments from Snowflake Flurry and Framed & Festive for my pages.

Have you been seeing sneak peeks of the Alphabet A La Mode Dies around the internet? I love love love these dies and knew that I wanted to incorporate them into my page design. The word ‘JOY’ fit perfectly on the tag from the Celebration Tags Dies.

I love these dies and have used them so many times over this holiday season! A few classic Rhinestones are the perfect bling for these pages!

The North Pole Sacks are the perfect scrapbook page accessory! I added one to my page with a little pull out that you could use to journal or tuck Christmas momento’s inside.

I really love how this page layout came out and I can’t wait to share it with my scrapbook group later this month. If you are local to YEG and are interested in scrapbooking, please let me know! I would love to share in some creativity with you in 2023.

Click on the link below to see what Melanie has shared today over on her blog!

12 Days of Christmas--Day 6

I am so excited to share this adorable mini bags with you today! I love love love to give little treats to people and after my recent Target trip I have so many fun options to give to people. I came across the template for these mini bags at sunnydaystamping.com, so I need to give her a shout out for her awesome tutorial!

I made these cute little bags at my recent team meeting and then made a bunch up to give to participants at a Christmas Card class I was hosting. They were the perfect little add on.

I decided to make these bags using the Sweetest Christmas DSP, you just need 2 pieces of 6x6 DSP. You could make these bags for any occasion and tuck a treat inside with a a gift card. In the video tutorial, sunnydaystamping.com, even added handles to the bags with some ribbon. There is so much potential with these!

I used the Handmade Christmas Bundle to decorate and embellish these cute little bags along with the Lasting Label Punch. I love to use our punches together with some Bakers Twine to create a larger sentiment label.

I used some of these retired treat bags to hold a handful of Hershey Nuggets that I wrapped with DSP. It is just an extra fun added touch. Some Garden Green ribbon around the bag was perfect and I love that it peeks out of the top of the bag.


The best part of our large DSP collection is all of the fun patterns to choose from. I love how this bag style does let you see both sides, so you might need to make sure that what you choose does work in this format.

The Handmade Wishes stamp set is the perfect set for those creative types that like to bake, make chocolates, buy chocolates, eat chocolates, give chocolates…haha! You get my drift. This label was made by combining 4 different stamps from the stamp set. I also couldn’t resist adding some of the mini hearts in the background too.

I really encourage you to try making these mini gift bags, they are quite simple and can be such a fun way to showcase our DSP for any little event that you need a cute bag!

I can’t wait to see what Melanie is sharing today! Click the image to hop over to her blog!


12 Days of Christmas--Day 3

Happy day #3! I hope you have been enjoying the past few days and what Melanie and I have been sharing. I am also posting over on my Instagram @stampwithbrenda—-I hope you are following me over there as well! I love that we not just sharing cards between the 2 of us and we didn’t discuss what the other was sharing so its a surprise for us too!

Todays project is featuring these amazing North Pole Sacks! They are a fun add on that you could get with the November Paper Pumpkin kit and can be found in my online store. They are the perfect size to turn them into a pull out card, gift card holder, mini album and more. The possibilities are endless! Today I am going to share with you a bright and cheery pull out card design. You can even add a gift card inside too!

I love the printed design on these little sacks as the neutral pallet was perfect to add a pop of color with Parakeet Party and Polished Pink. They are a little twist to your standard green and red holiday colors.

The sentiment is from the Framed & Festive stamp set which I have been using a lot these past couple of weeks. I am so glad Stampin’ Up! released this set! The foliage is all from the Christmas Season stamp set. I even cut some of the shapes from the Seasonal Labels dies from card stock. Sometimes you don’t have to stamp, you can just use the die cut shapes meant for stamping without stamping!

The candy cane is from the North Pole Paper Pumpkin Kit and the snowflake die cut (cut from the Snowy White Velvet Sheets) is from the Celebration Tags Dies. I also added a few opal rounds for a little glimmer.

On the pullout I added another sentiment from the Framed & Festive stamp set and did a bit of blending with Parakeet Party. The tab is In Color DSP with another Polished Pink snowflake. I like that you can see it poking out from the top of the bag.


I hope this project inspires you to add this North Pole Sacks to your next order! I think they have lots of potential even beyond the holiday season and can be used for so many things!

I can’t wait to see what Melanie is sharing today! Make sure to go check out what she has to share!


On Stage Vienna Presentation

Hello friends! I wanted to share some of the super fun projects that I was able to design and share in a video that was streamed in Vienna at our On Stage Conference earlier this month! I was so excited when Stampin’ Up! reached out to me as an extension of my role on the Artisan Design Team. I am just finishing my second term on the team and I was blessed to asked to return for another year in 2023. I have loved every creative challenge and opportunity that has came my way with my role as an Artisan Team Member.


It was really excited to get to create with a NEW upcoming bundle called Conversation Bubbles. It is so whimsical and fun! The dies are spectacular!

I was asked to create a variety of projects with this bundle and the new Alphabet a la Mode dies that are also coming out in the January-April Mini Catalogue!

This is my cute bestie Hawkins—where I go, he goes

My first project was a scrapbook page and this is not only because I love scrapbooking (if you follow me on Instagram @stampwithbrenda or my Artisan journey) you know I create a lot of memory pages. So this was actually the basis for my presentation—how to create a scrapbook page from a card design or vice versa!

I used a fun technique on the back ground where I cut a stencil with one of the dies from our Window Sheets. I used a Blending Brush in Pool Party ink to create some ‘thought' bubbles on my page. I then used a Pool Party Stampin’ Blend to DOODLE on top of the designs. Yes DOODLE!!! Doesn’t that take you back to sitting in class, doodling away! You can see I used a variety of stamps and dies from this bundle on this page!

This card was the result of the inspiration provided by my scrapbook page. You can see how many of the same elements carried over. This project is so fun as I love the mixing and matching of stamped images, dies and the negative die opportunity!

TOP TIP: When you #addtocart the Alphabet a la Mode Dies (as I know you all will) please make sure to add the Adhesive Sheets. They will keep your project mess and glue free as essentially you will be creating a ‘sticker’ out of the die cut letters. Trust me, you won’t be sorry to add this to your order!

My favorite project that I made for this presentation was this adorable shaker card. I love me a good shaker card and this one is relatively easy to create! Its a square card with a large circle cut and covered with a Window Sheet. I used the same stencilling technique on the base in Blushing Bride ink and this time and I added ‘YAY’ right to the top of the Window Sheet. I used some of the little hearts and stars from the dies plus a pinch of sequins for the ‘shaker’ aspect of the card.

Then I embellished the front with more stamps, dies and some Iridescent Pearls. Who wouldn’t LOVE to get this in the mail?

Who does’t love a good slimline card! this card is perfect with the little speech bubble at the bottom

Have you been noticing the ADORABLE Designer Series Paper used on my projects—spoiler alert—you can get it for FREE during Sale a bration as a Level 2 Reward. Yep, you know it! It is called the Dandy Designs 12x 12 DSP. Make note!

This slimline card is just the best to showcase how much fun you will have with the Conversation Bubbles Bundle. You can layer and mix and match the sentiments and dies to create a variety of catchy fun phrases. And I LOVE LOVE LOVE the color palette of my projects—all driven by the DSP!


And as my final project, I knew I needed to make an adorable little treat holder using the Mini Pocket Envelope Die. Clearly we need to utilize a stamp that says YUM and what is better than tucking a cute chocolate or take ou gift card inside this treat holder?

I cannot wait util this bundle is available for you to all order! I had so much fun creating with it and I know you will too! Bookmark this post so you can come back to it in January!

Make sure to visit my blog on Thursday as I am starting a 12 Days of Christmas project share with my friend @melsinkyfingers!

shop my store

Around the World on Wednesday--Just Sketch It!

Hello friends! It has been so so so long since I have been able to participate in the Around the World on Wednesday Blog Hop! I am so excited that I was able to prioritize the time to create something and participate in this fabulous blog hop!

This month the theme was a sketch—our fabulous hop organizer, Angie, gave us a few to choose from. Once I selected mine, I knew right away I wanted to use it to help design a scrapbook page!

This is the sketch that I selected. I liked the idea of using strips of paper—either card stock or Designer Series Paper.

And I interpreted the 3 shapes to represent a photo mat and supportive shapes to tell the story of my scrapbook page.


I started with a base of Smoky Slate card stock and decided to make it feel a little grungy to go with the spooky theme of Halloween. I used my Blending Brush on the edges and then flicked my Basic Black Stampin’ Blend over top.

I cut 6 strips of DSP—all except the pumpkin pattern are from the Black & White Designs collection. The pumpkins are from the Celebrate Everything hostess stack. I added the DSP strips and wonky angles as it also felt like the spirit of Halloween.

I decided to play up the stars from the DSP by added them to my design using a retired die set. Some sets though I just can’t part with as I find I do still reach for them. I cut them out using the Silver Foil Specialty Pack.

My two photo mats are cut to 4 1/4 x 4 1/4 which are perfect for adding 4x4 photos. I also wanted to get two pictures on this layout and this size works really well when you want to stack pictures. I felt that adding two pictures didn’t take away from the page design too much.

I cut a stitched circle from the Stylish Shapes Dies and then gave it a little yellow hue using my Crushed Curry ink pad and Blending Brush. The Scary Silhouette Dies were perfect for this page. I love the spooky little house, moon and bats die shapes.

Both of the sentiments on this page are from the Scary Cute stamp set and are die cut with the Stylish Shapes Dies. I added some of the Parakeet Party Ribbon and frayed the edges a bit too. A few of the Classic Matte Dots added to the design as well.

This sketch was perfect for coming up with this scrapbook page. You could switch out the elements to do a Christmas page, birthday page, a summer holiday page. There are so many options with this sketch. I hope you will give it a try!


Click the NEXT BLOG button to see what Tricia Butts from the USA has created to share with us this month. And hopefully you can go all the way around the world with us as we share creativity and inspiration from around the world!

If my project has inspired you in any way and you find yourself needing some supplies, please shop my online store by clicking any of the product images or by visiting my store!