A Card a Day in December--Day #26

I hope everyone had an amazing holiday and is enjoying all of their new gifts that Santa brought! Today I want to share a winter scrapbook page with you. I know NOT A CARD, but I figured we will all have winter photos that we want to save so hopefully this page provides you with some inspiration!

final (8).jpg

This double page layout is on a base of Pool Party 12x12 and is accentuated with colors found in the Snowflake Splendour Suite. I LOVE this designer series paper and how many different tones of blue and purple there are to work with.

I added two different 3 x 12 strips of the DSP to each page to bring in some of these colors so that I could in embellishments in a variety of colors.

I used the So Many Snowflake, Peony and Beautiful Bows dies on these two pages.

Winter and Wishes are cut using the Playful Alphabet dies with the Foam Adhesive sheets and the Well Written dies.

Winter and Wishes are cut using the Playful Alphabet dies with the Foam Adhesive sheets and the Well Written dies.

“In the Coldest Moments…” is stamped in Pacific Point ink on Whisper White and is punched with a 2 1/2 circle punch. The Stitched Circles were perfect to cut a layering piece out of another selection of DSP. In between I added some In Color ribbon and Playing with Patterns ribbon.

Adding some Highland Heather snowflakes along with boughs cut in Whisper White were perfect.

You will notice there are a bunch of snowflakes stamped in the backround.

Here is fun tip: Place all of your desired stamps onto one of our larger blocks. I used the E block for this. Then you can stamp a bunch of images at one time and slightly rotate the block each time so they look different.

final.jpg
 

The second page of my layout has many of the same elements but in a vertical presentation instead. Not only does this allow for a photo going in a different direction (consider that most selfies are this orientation) it allows for a different look while feeling unified.

The sentiment on this page is from the Snowman Season stamp set. A returning favorite from last holiday! It is cut with a Stitched Circle and the DSP behind it is cut with a punch. A reversal from what you found on the other page.

Once again I added in Highland Heather snowflakes and a border with the Peony die in Misty Moonlight.

final (7).jpg
final (2).jpg

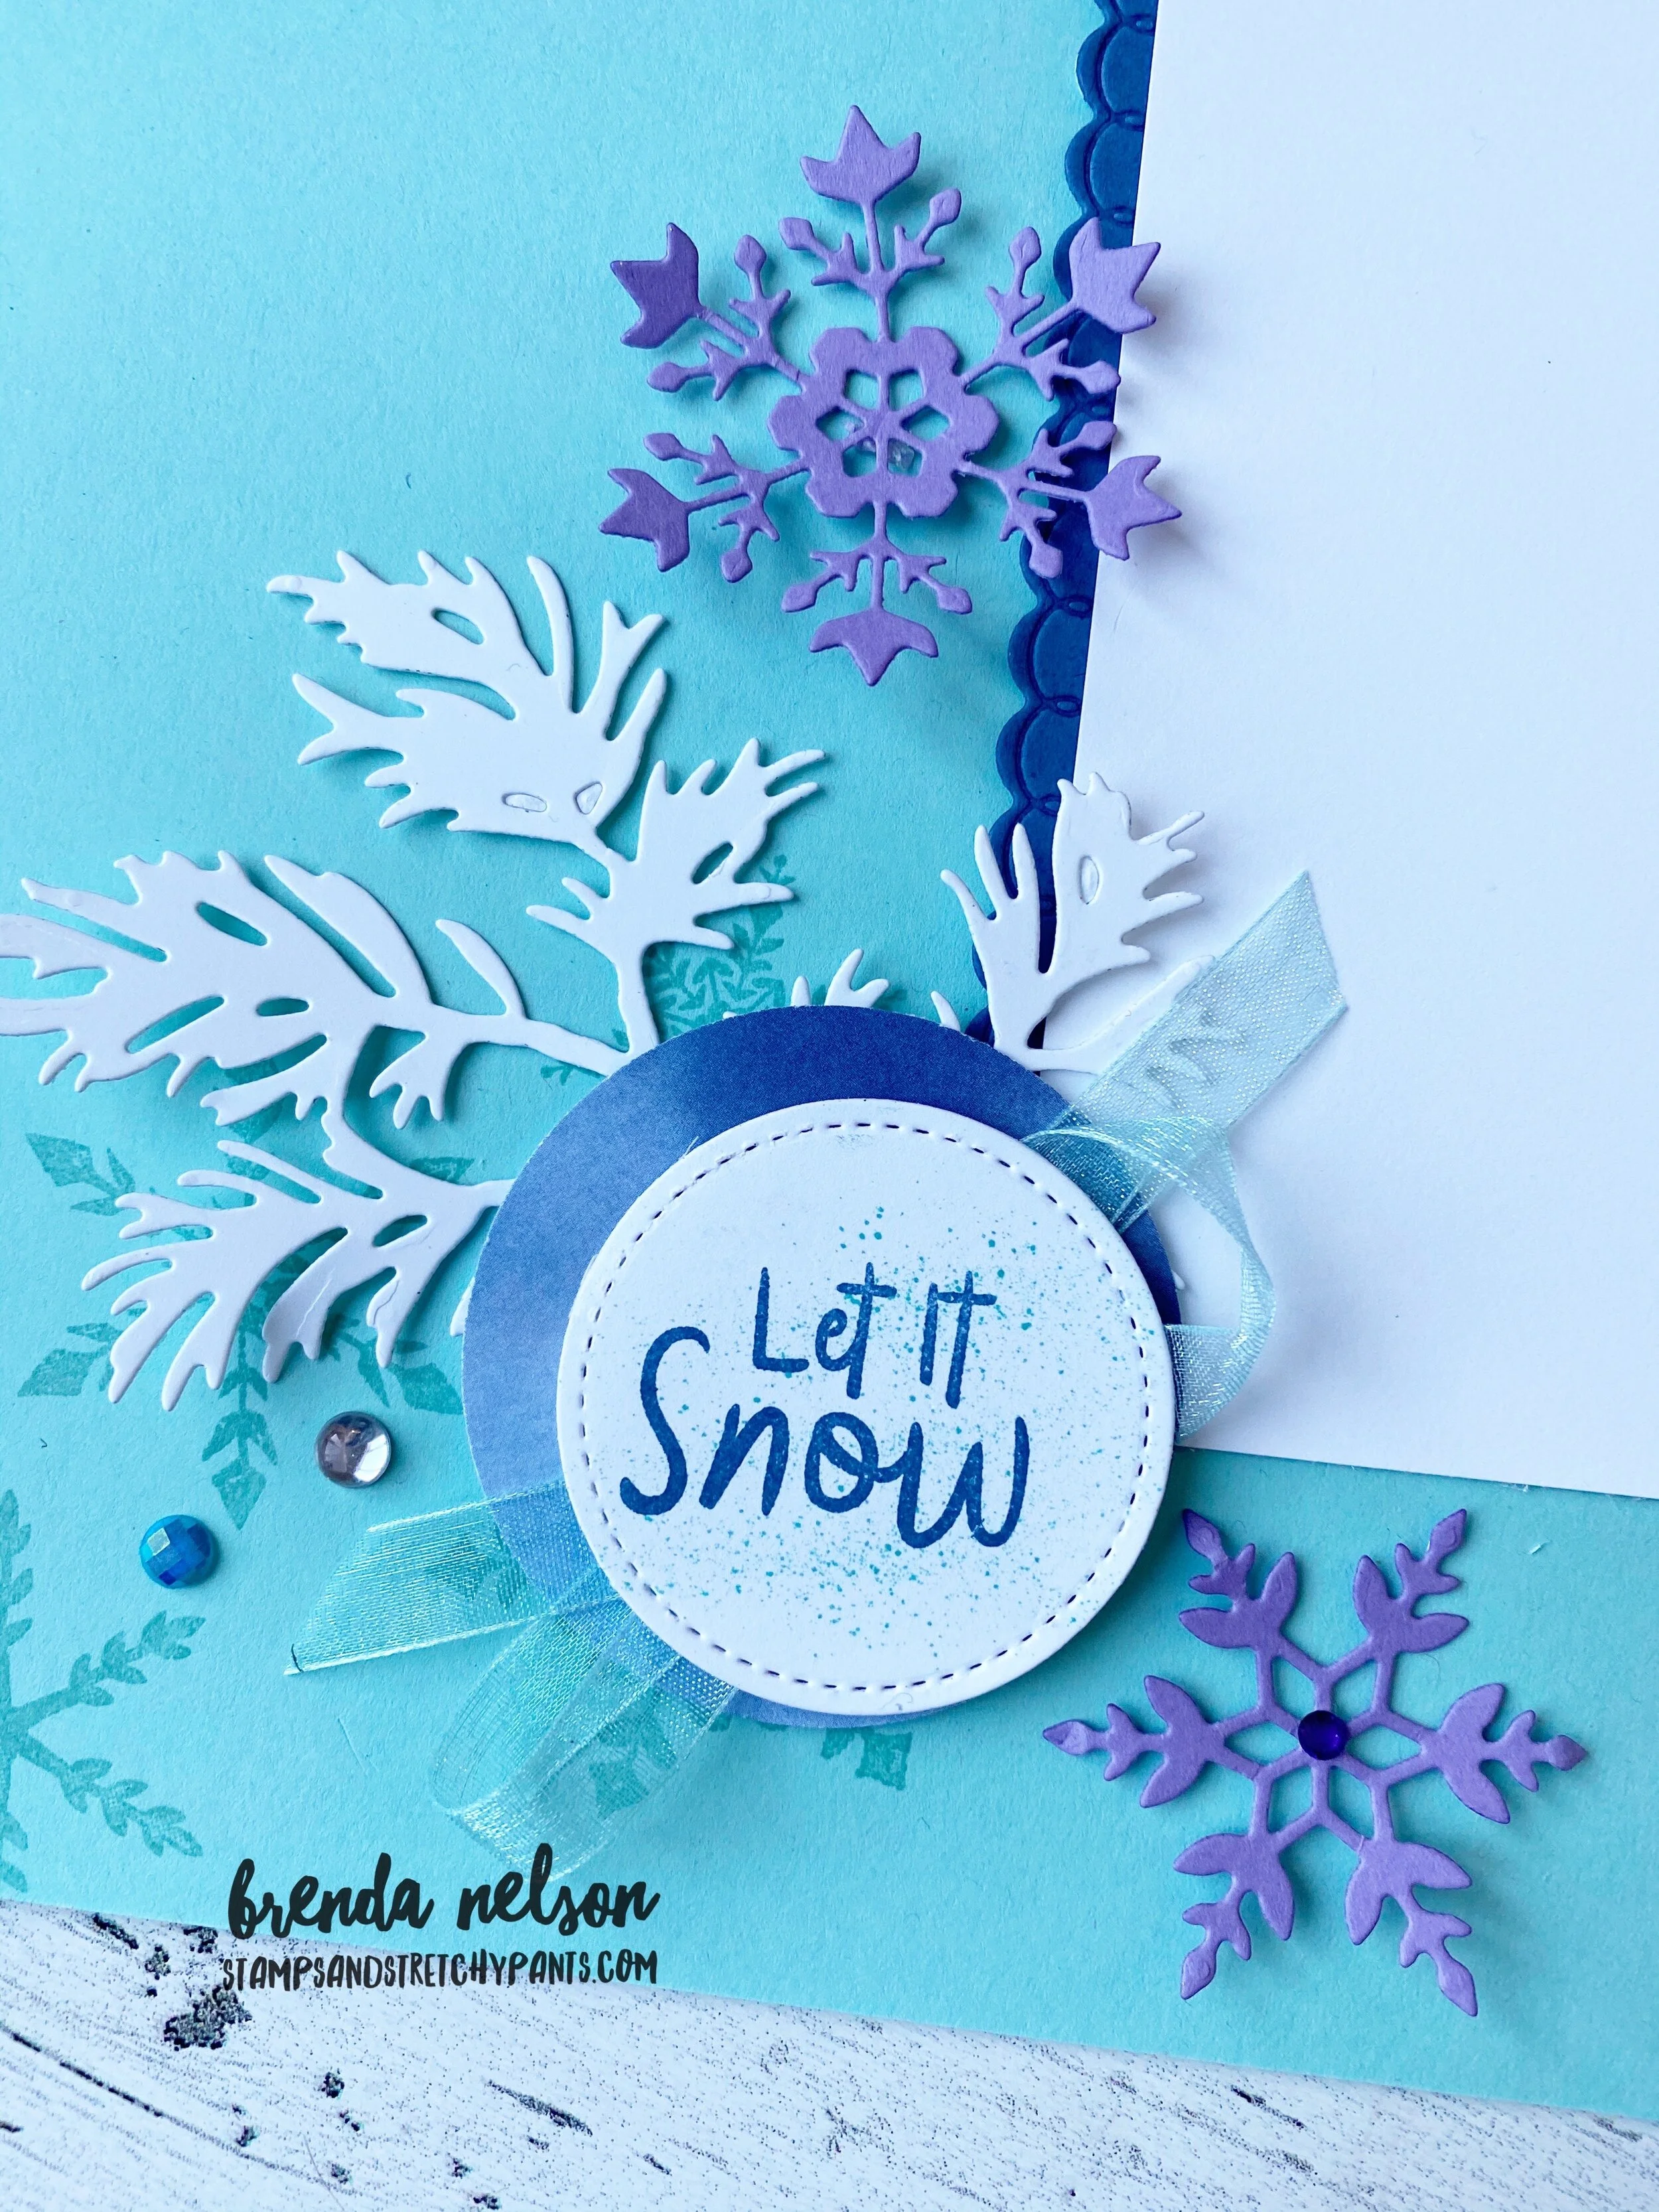
Both pages have some Blue Backed Gems and Rhinestones. The sentiment on this page also has some Pool Party Sheer ribbon behind it to mimic the other page.

I really love how these two pages turned out. I hope you will try your hand at some memory keeping if it is not something you already do! If you live in Canada please feel free to SHOP by online store direct to Stampin’ Up! Thank you in advance!

shop with me


A Card a Day in December--Merry Christmas!

Merry Christmas everyone! May your heart be full and full of gratitude for all that you have. I hope you all have a lovely holiday.

Now that my kids are getting a bit older I am taking some joy in creating a fancier Christmas table. This year I was inspired to make some personalized boxes for each person’s place setting. I am hoping to use these for a few years to come and will include a special gift inside each year.

final+%2824%29.jpg

I used the mini pizza boxes and created a wrap using the Heartwarming Hugs Designer Series paper. It is snug enough to stay on but easy enough to slip off and on.

I used the Wreath Builder dies in Mossy Meadow and Old Olive for the wreath and then added a banner in Real Red card stock. I cut everyone’s names with the Playful Alphabet dies and Foam Adhesive sheets. I added some sparkle with my Wink of Stella pen on top.

final (19).jpg

I wanted the mini pizza boxes to double as a gift card holder. We have entered that season of parenting when our kids have moved beyond toys and are happy to get clothes and gift cards. So each person will get a final gift card when we enjoy our family meal.

It easily attached the gift card with a glue dot and can reuse the lid again and again to add a gift card.


I am hoping this will become a new family tradition. I told my hubby to buy me a gift card and then had Summer sneak it inside so it will even be a bit of a surprise for me too!

I love personalized gifts and I think my kids will be excited to see their names on something!

I hope you are inspired! These could make cute place settings for any holiday occasion!

final (25).jpg
final (23).jpg

A Card a Day in December--Christmas Eve

Can you believe it is finally here? I really love Christmas and even though this year does look different we are able to still continue some holiday traditions. Of course, sending cards is a big part of the holidays for me, and I took extra care to send out holiday cards to as many people as I could this year and also collected and donated over 360 cards to Meals on Wheels in Edmonton. My card stash is thoroughly depleted which makes my heart so happy!

My 24th card this month to share with you is one I actually made way back in the summer during the pre-order period. One of my favorite things about being a demonstrator is early access to products!

final (7) 6.jpg

This card features the Flower for Every Season 6x6 DSP stack from the Annual Catalogue. Like the name suggests it has a bunch of different flower prints including this beautiful poinsettia one.

The base of the card is Poppy Parade and I accented the DSP with a Whisper White border.

The poinsettia is stamped and cut with Poppy Parade ink and cardstock using the Poinsettia Petals Bundle. The flower is really brought to life with the Wink of Stella that is flicked over top and the Beaded Pearl in the center.

Happy Holidays is stamped on Blushing Bride card stock in Poppy Parade ink and is from the Poinsettia Petals stamp set. The leaves are on Mint Macaron card stock with Just Jade detailing. I love this gorgeous color combo.

This card is beautiful in person and as much as I wanted to keep it, I did give it away after enjoying it on display in my craft room for a few months. I know who receives it will truly appreciate it too.

Even though tomorrow is the BIG DAY I do have a special project to share with you so I hope you are able to check in. Merry Christmas my friends, near and far!

A Card a Day in December--Day #23

Can you believe we are only 2 days away from Christmas? I do feel like this month went by quickly! And if you are a mom you know that Christmas is like planning a big wedding once a year :)

For my card project today I am sharing a pretty traditional card in the sense of the color scheme. In fact red, white and a bit of green are the holiday colors I use to decorate my house for the holidays.


This card is on a Real Red card stock base and on the first layer I stamped the little mini Christmas trees from the Warm Hugs stamp set and then flicked my Real Red marker over the background. This fills the top of the card base.

The bottom section is embossed with the Wrapped in Texture folder.

I added a strip of Heartwarming Hugs Designer Series paper over top and cut a cute scallop border with the Festive Felt and the Peony Dies.

final (7) 13.jpg

I stamped the sentiment in Old Olive ink on Pear Pizzaz card stock and layered it with a die from the Warm Wraps dies. The fun touch is the Glittered Star Ornament. I cut off the string and tucked the top part in between the layers so it looks more like an embellishment than a hanging ornament. It was easy to keep attached with the use of a few Glue Dots.

This card is pretty simple which I like because the design of the card can easily be recreated with birthday stamps or Valentine’s Day.

final (17).jpg

So if you need to make a couple of last minute holiday cards this one will not take you much but has alot of charm to it! I hope you have been inspired this whole month!

A Card a Day in December-Day #22

Today I wanted to share a fabulous scrapbook page that I created based on the card I shared yesterday! Did you miss it? It is ok, you can go back to get the specific details but I did include a picture of it with today’s share too—-22 projects so far!

final (10).jpg

I used the Hostess stamp set, A Merry Hello, from the Handmade for You catalogue to create this fun and whimsical scrapbook page. I love this color combo—Just Jade, Poppy Parade and Flirty Flamingo. It has your traditional red and green feel but in a brighter more modern version! And the pop of pink on Whisper White just helps it feel fresh!

I started with a 12x12 base of Just Jade and layered it with Whisper White. I chose to feature one photo on a mat of Poppy Parade. I pulled in designer series papers from the Tis’ the Season and In Color 6x6 paper stacks.

final (12).jpg
 

I love this section of the page with all of the stockings. They are colored with Stampin’ Blends in Just Jade, Flirty Flamingo and Poppy Parade. The area is accented with glittery gold stars and the sentiment Heartfelt Christmas is embossed in gold.

The flirty flamingo circle was run through the Wrapped in Texture Embossing folder.

final (11).jpg

Here is a photo that has the card that inspired this scrapbook page! I do this a lot my friends, I make a card and love it and think, I can turn that into a scrapbook page OR I make a page and think this can be a great card! This is a great strategy to help you get started in creating and designing your own scrapbook pages.

Thank you for checking this out today!