Stampin' For Christmas--Blog Hop!
/
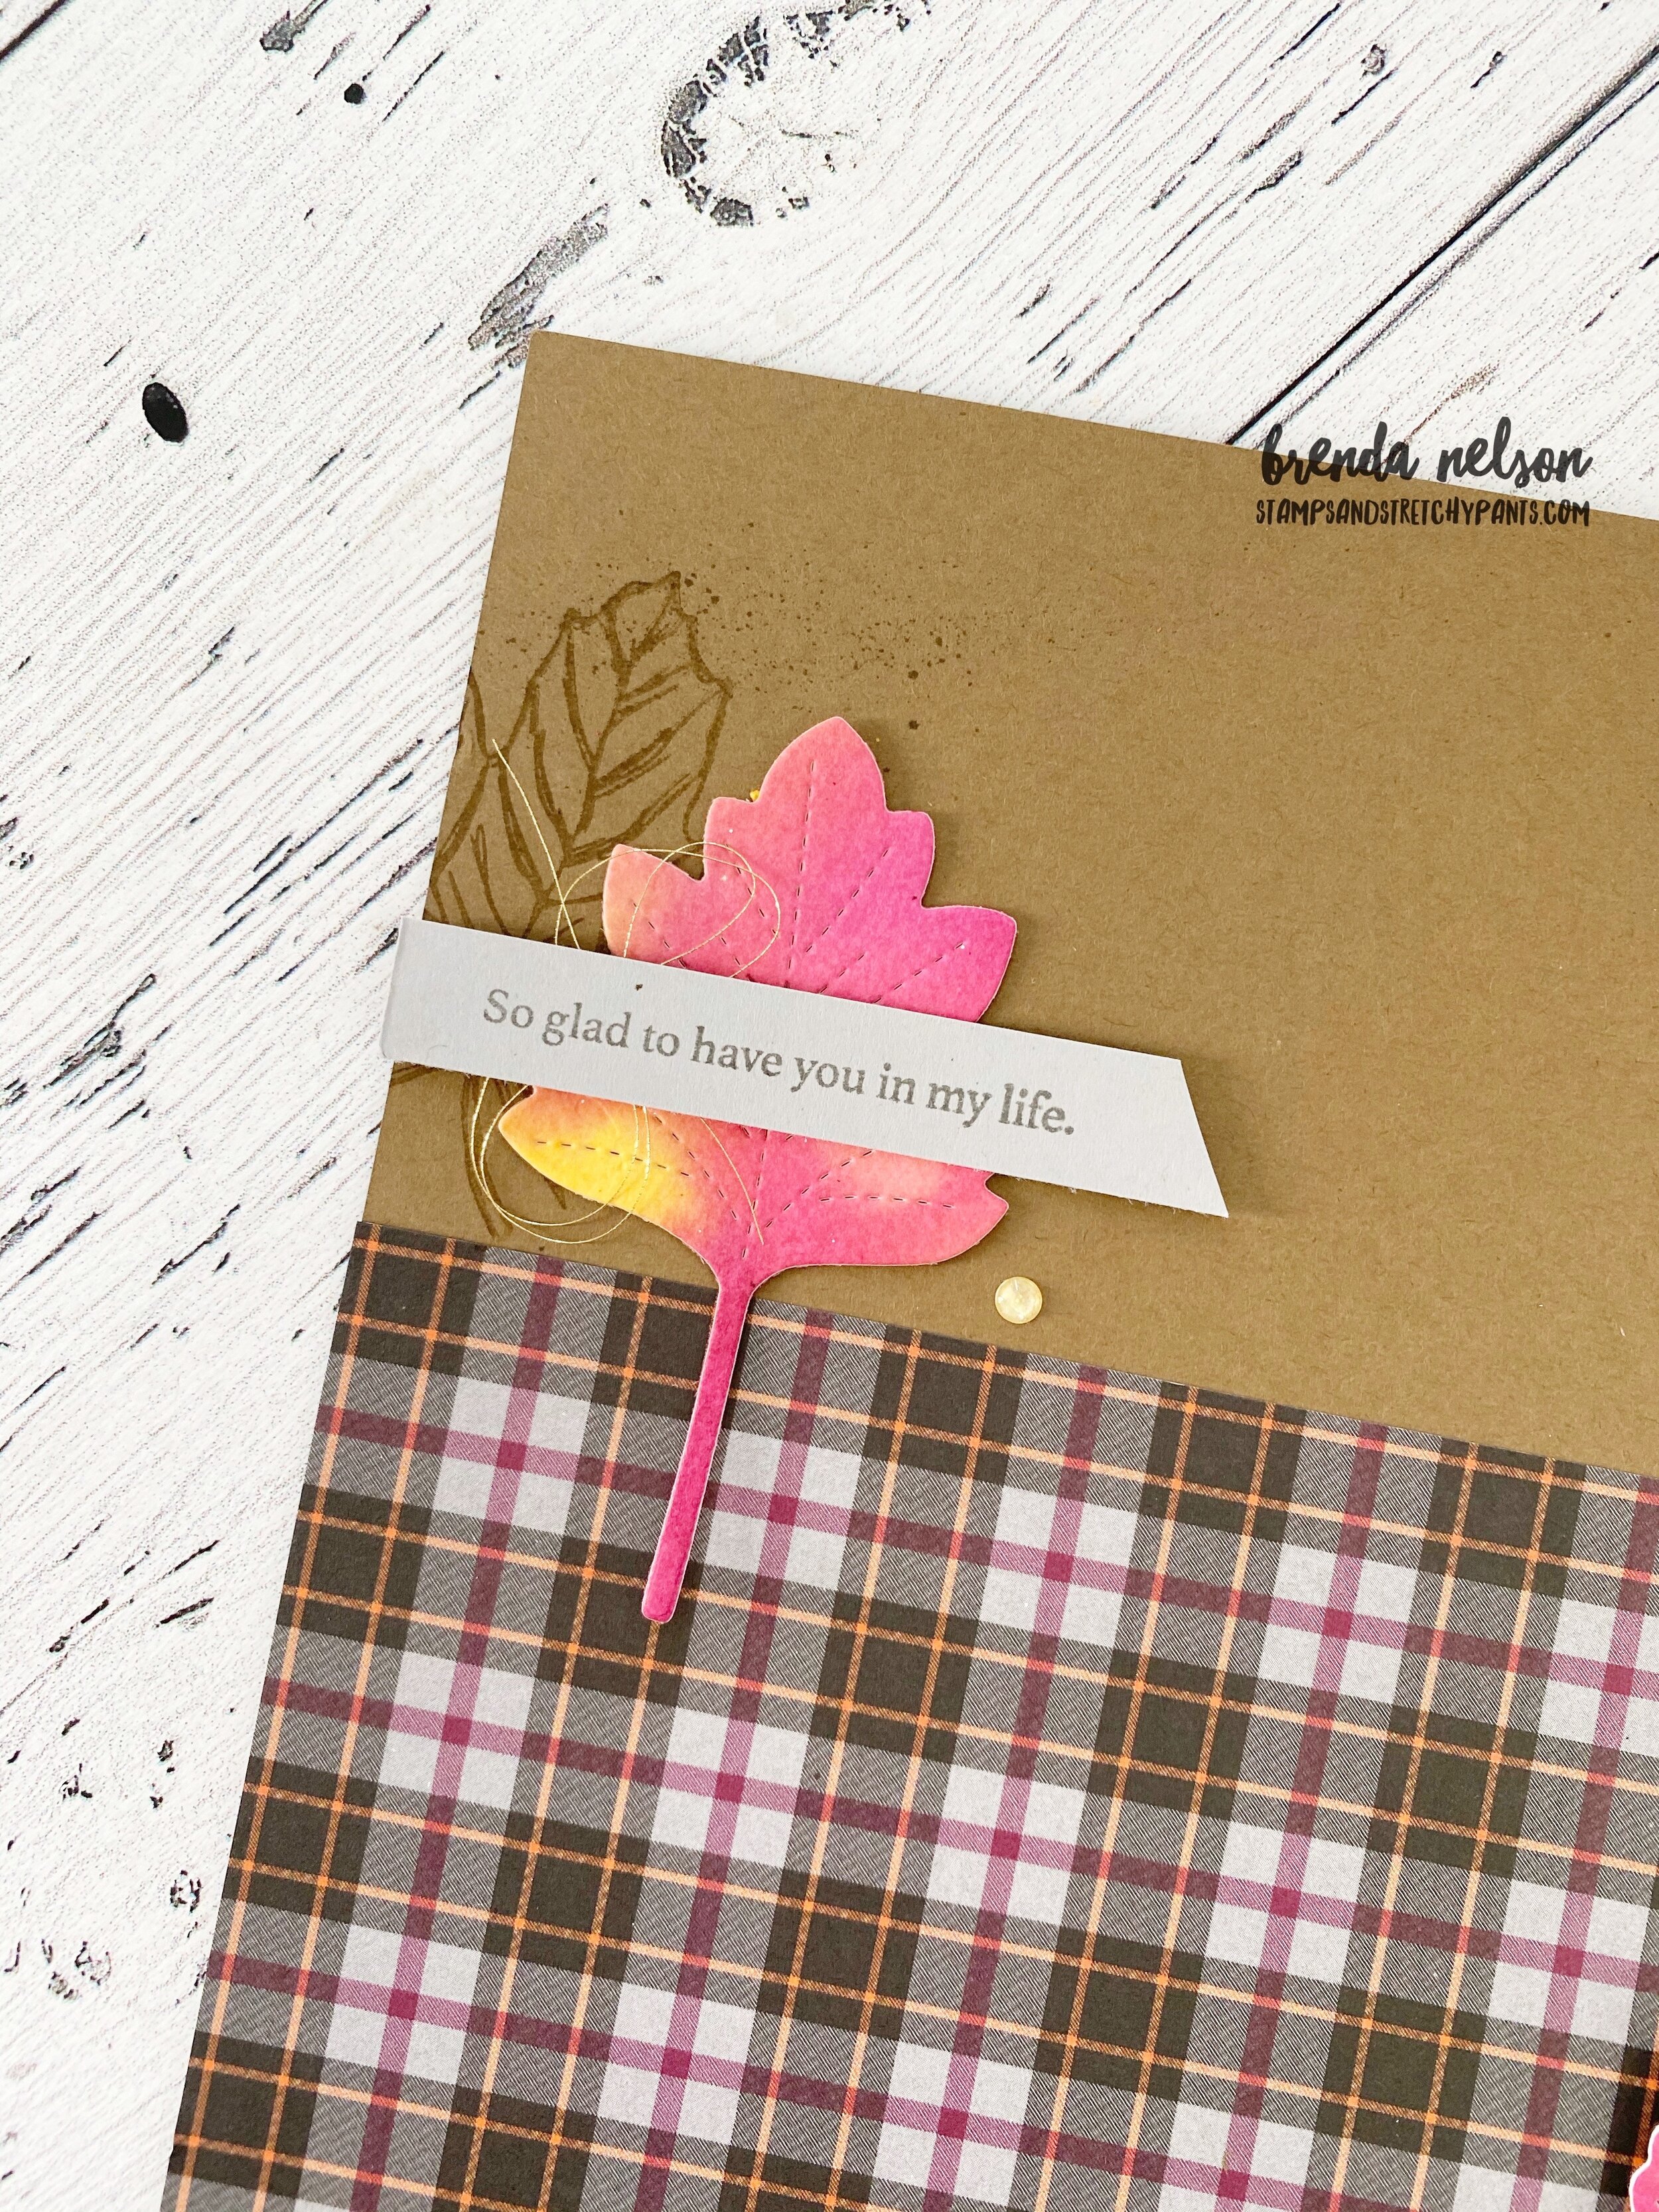
I am so excited to be participating in this Stampin’ For Christmas monthly blog hop, celebrating Christmas ALL YEAR LONG! Isn’t that fun! When I got my copy of the Handmade for You holiday catalogue, the first things I ordered was the Heartwarming Hugs Suite. I LOVE everything in this suite so I knew I wanted to use it to create a card to share with you today!
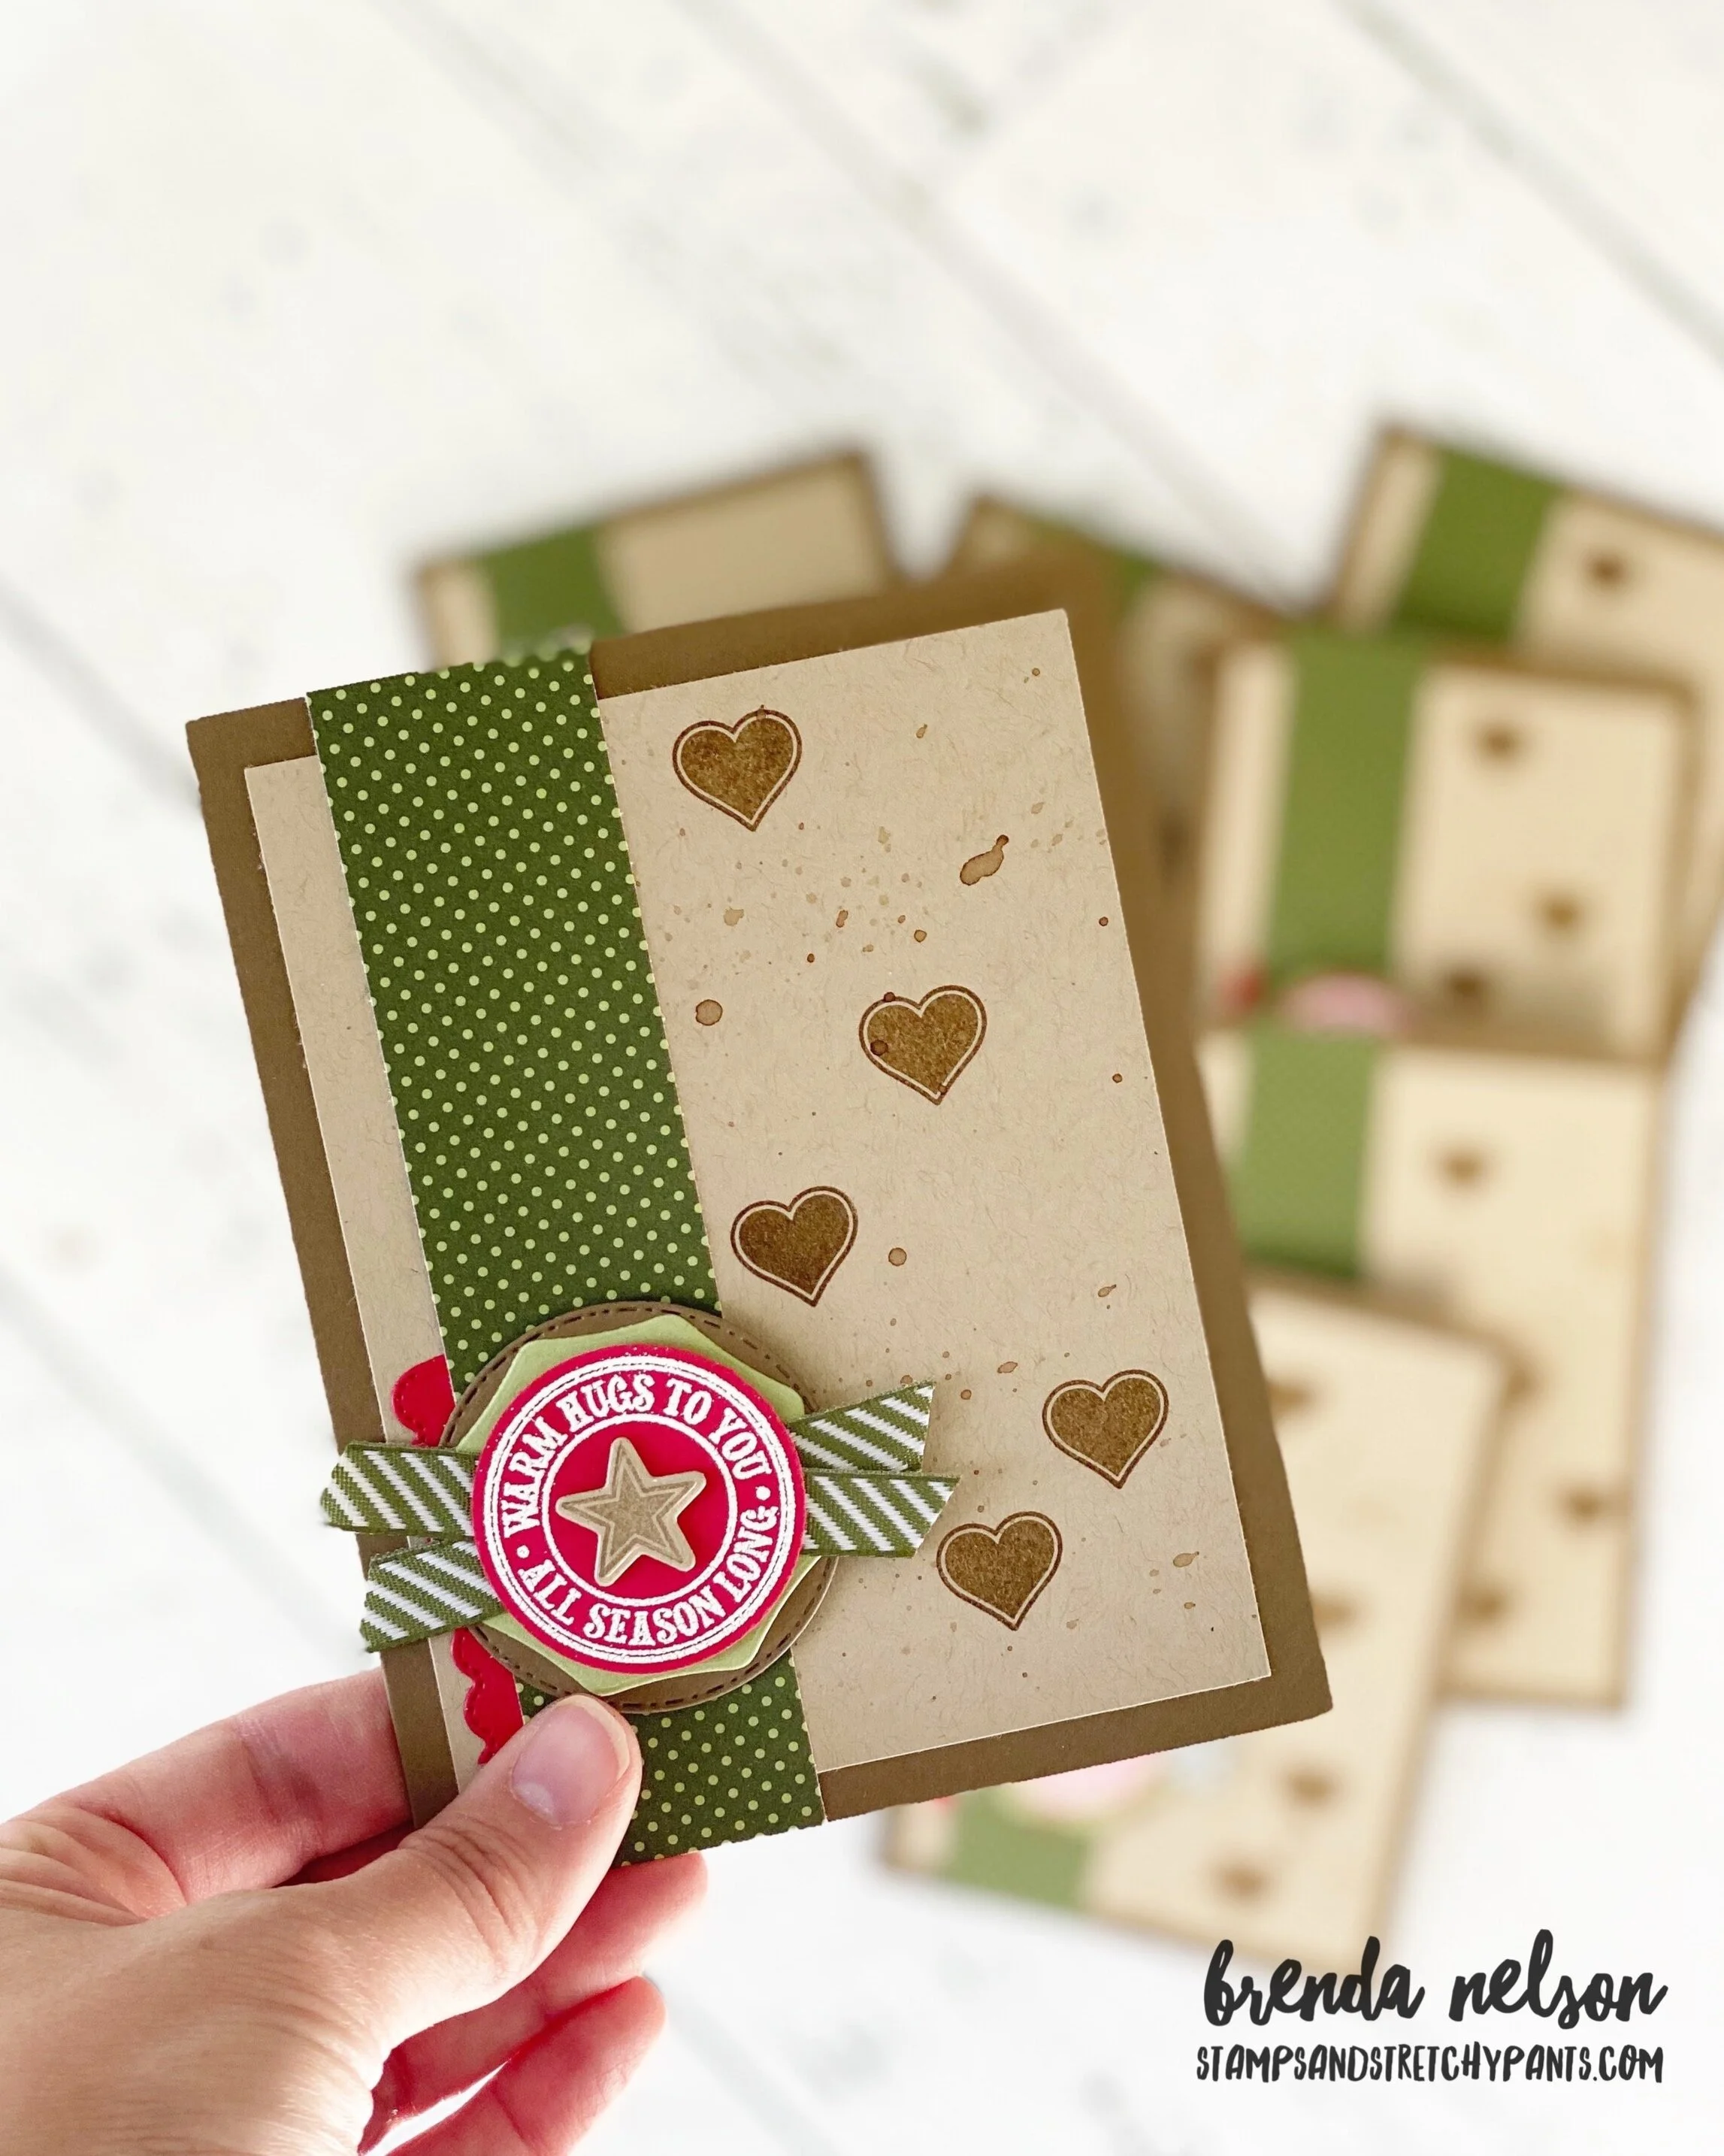
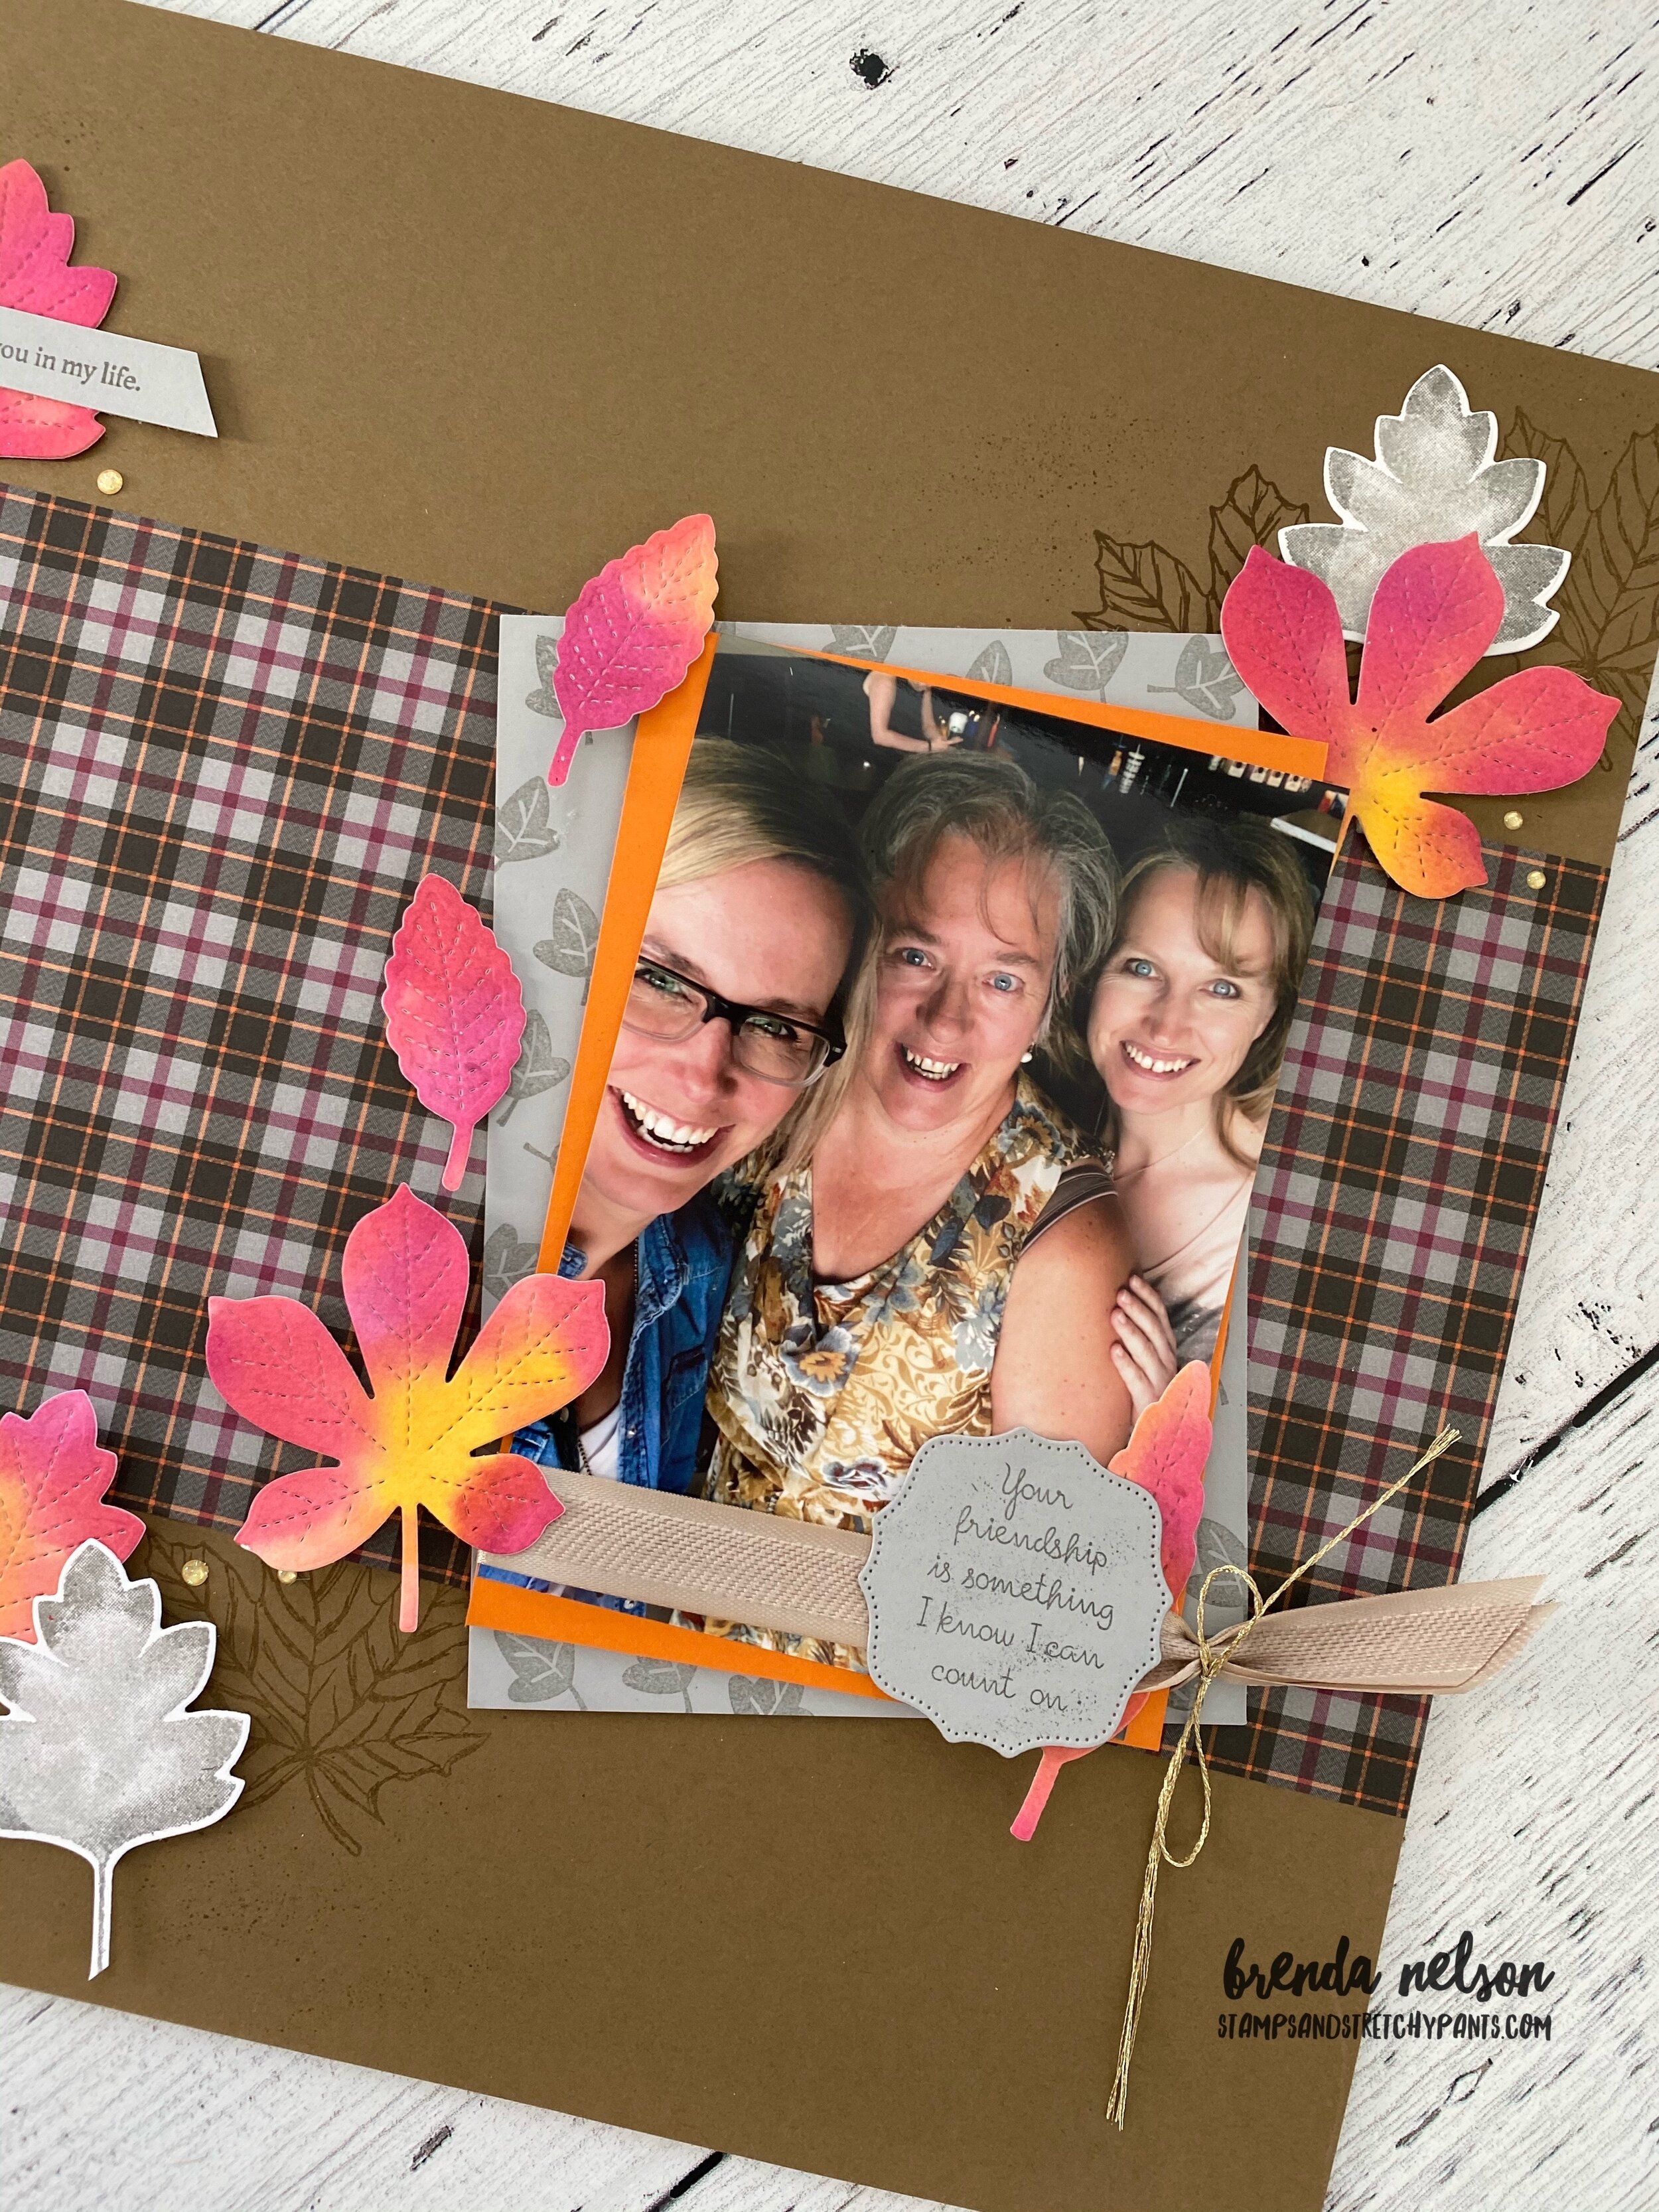
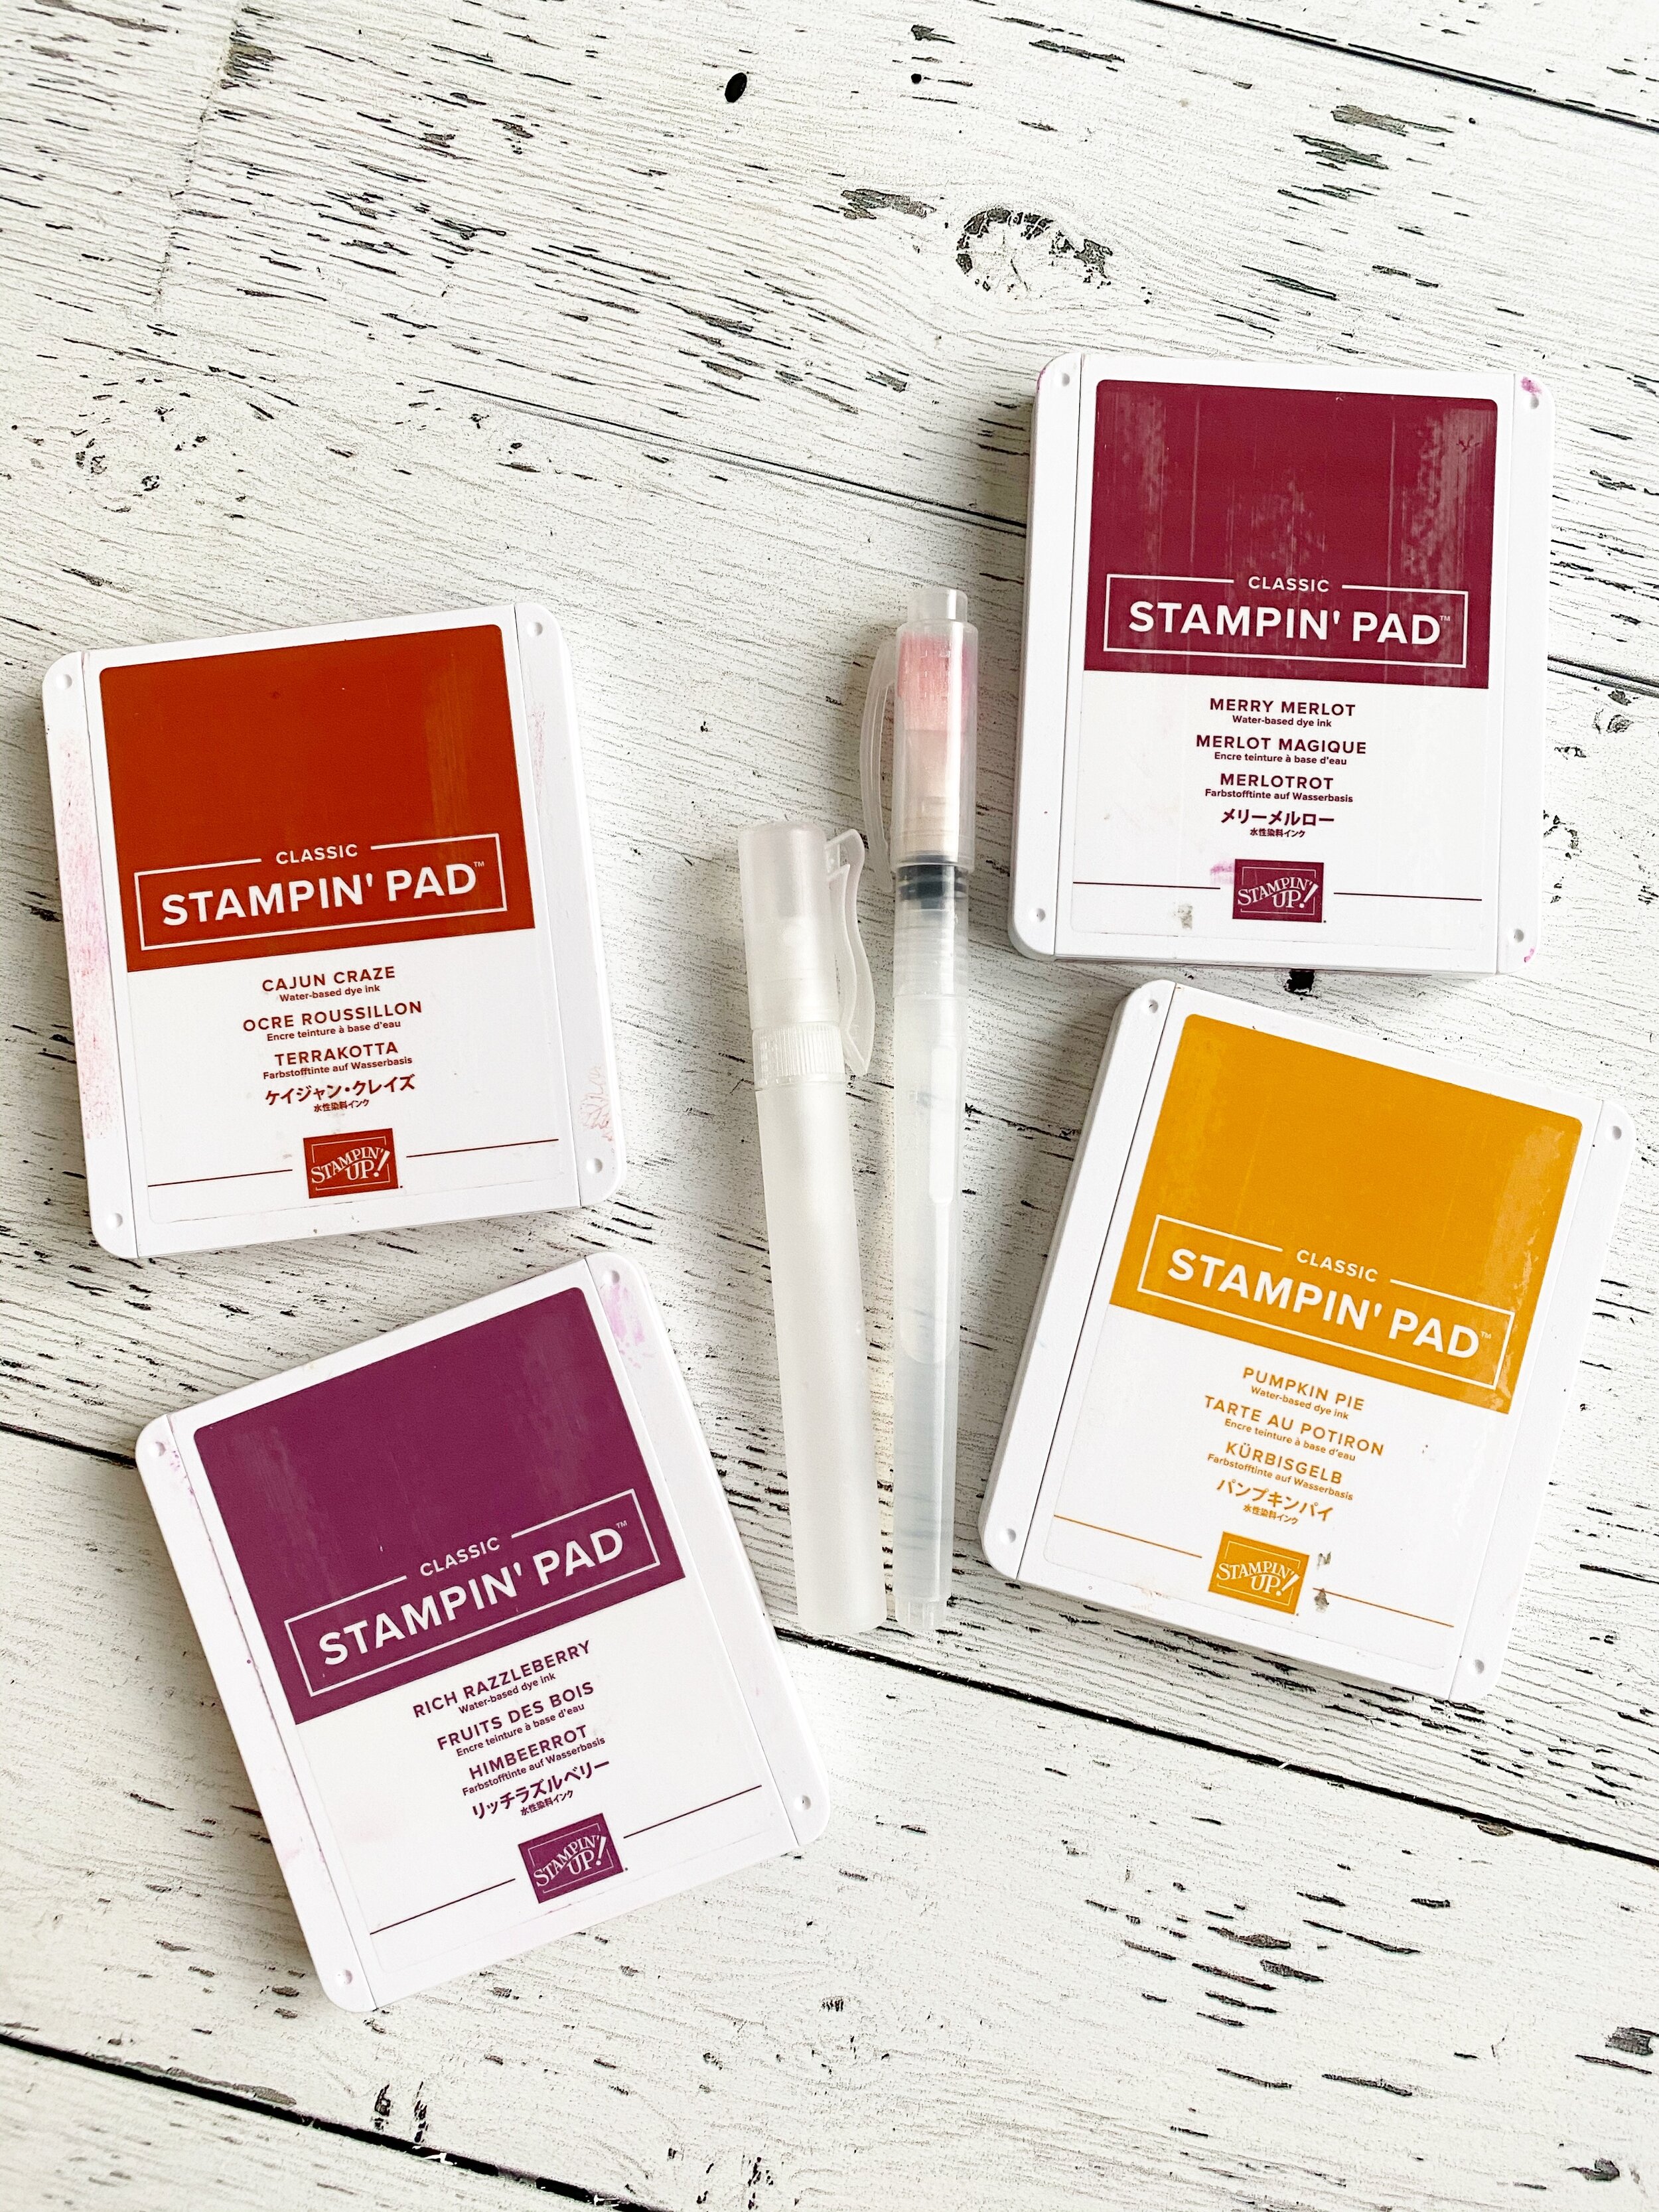
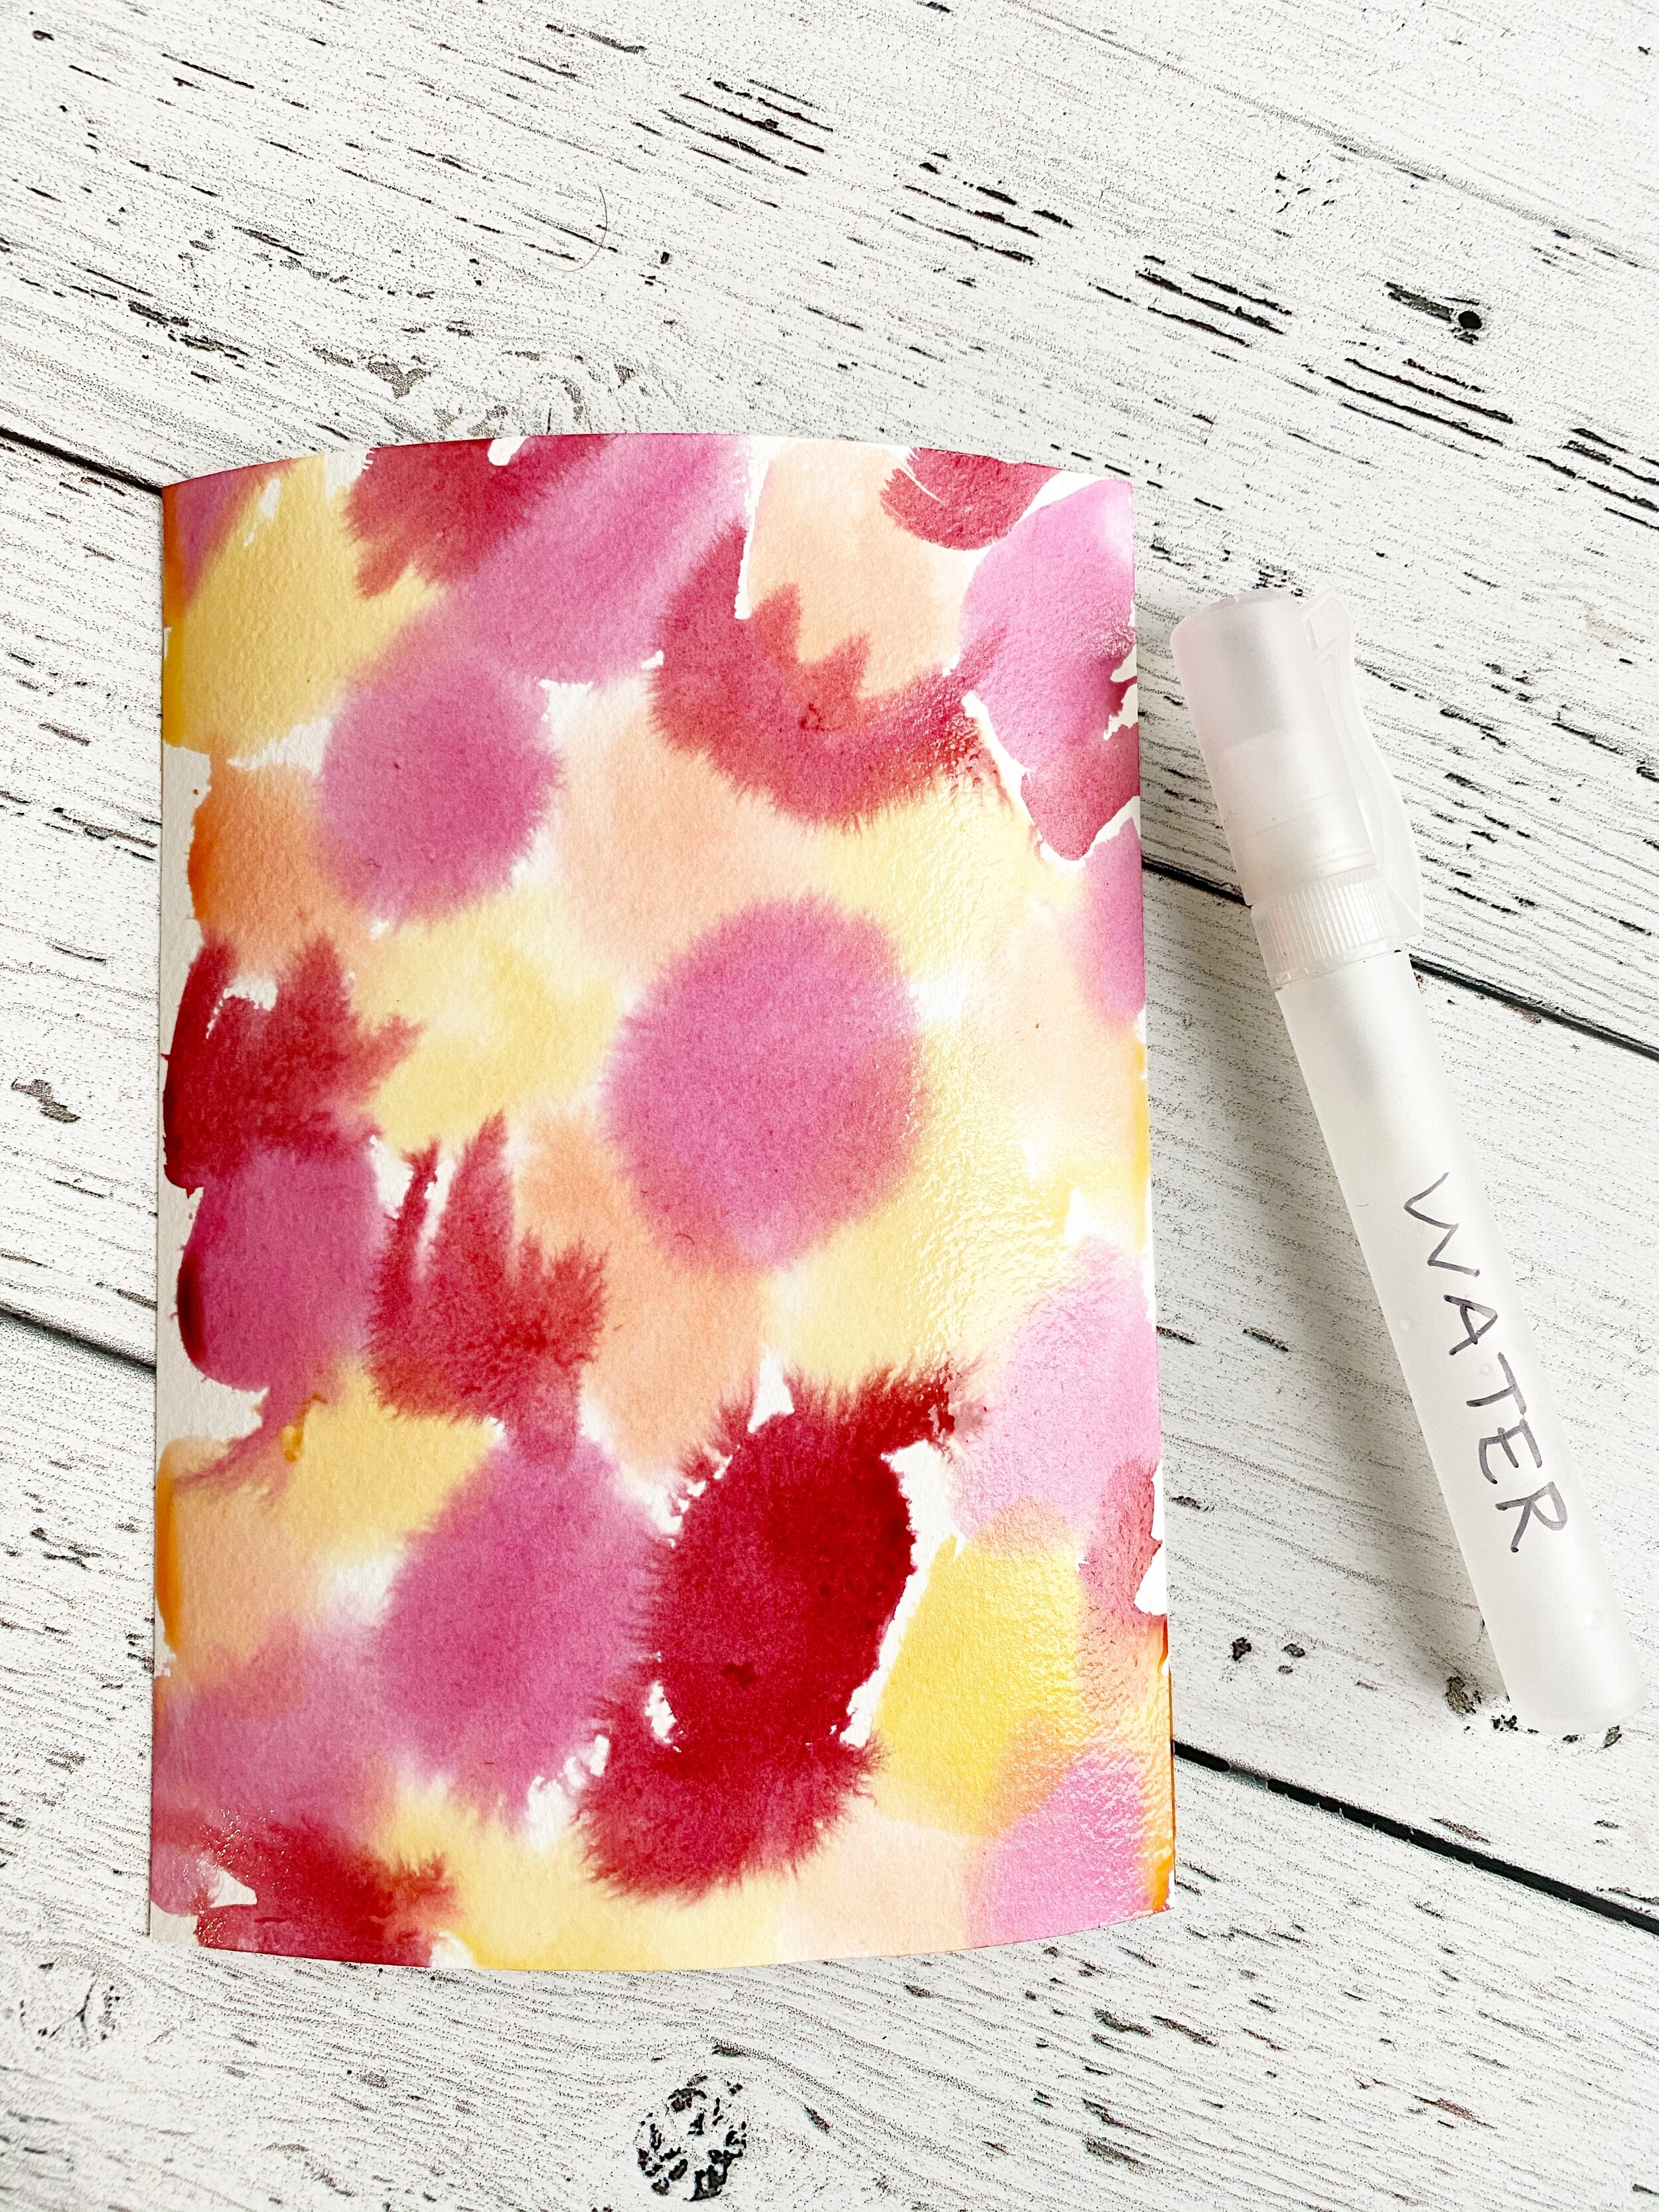
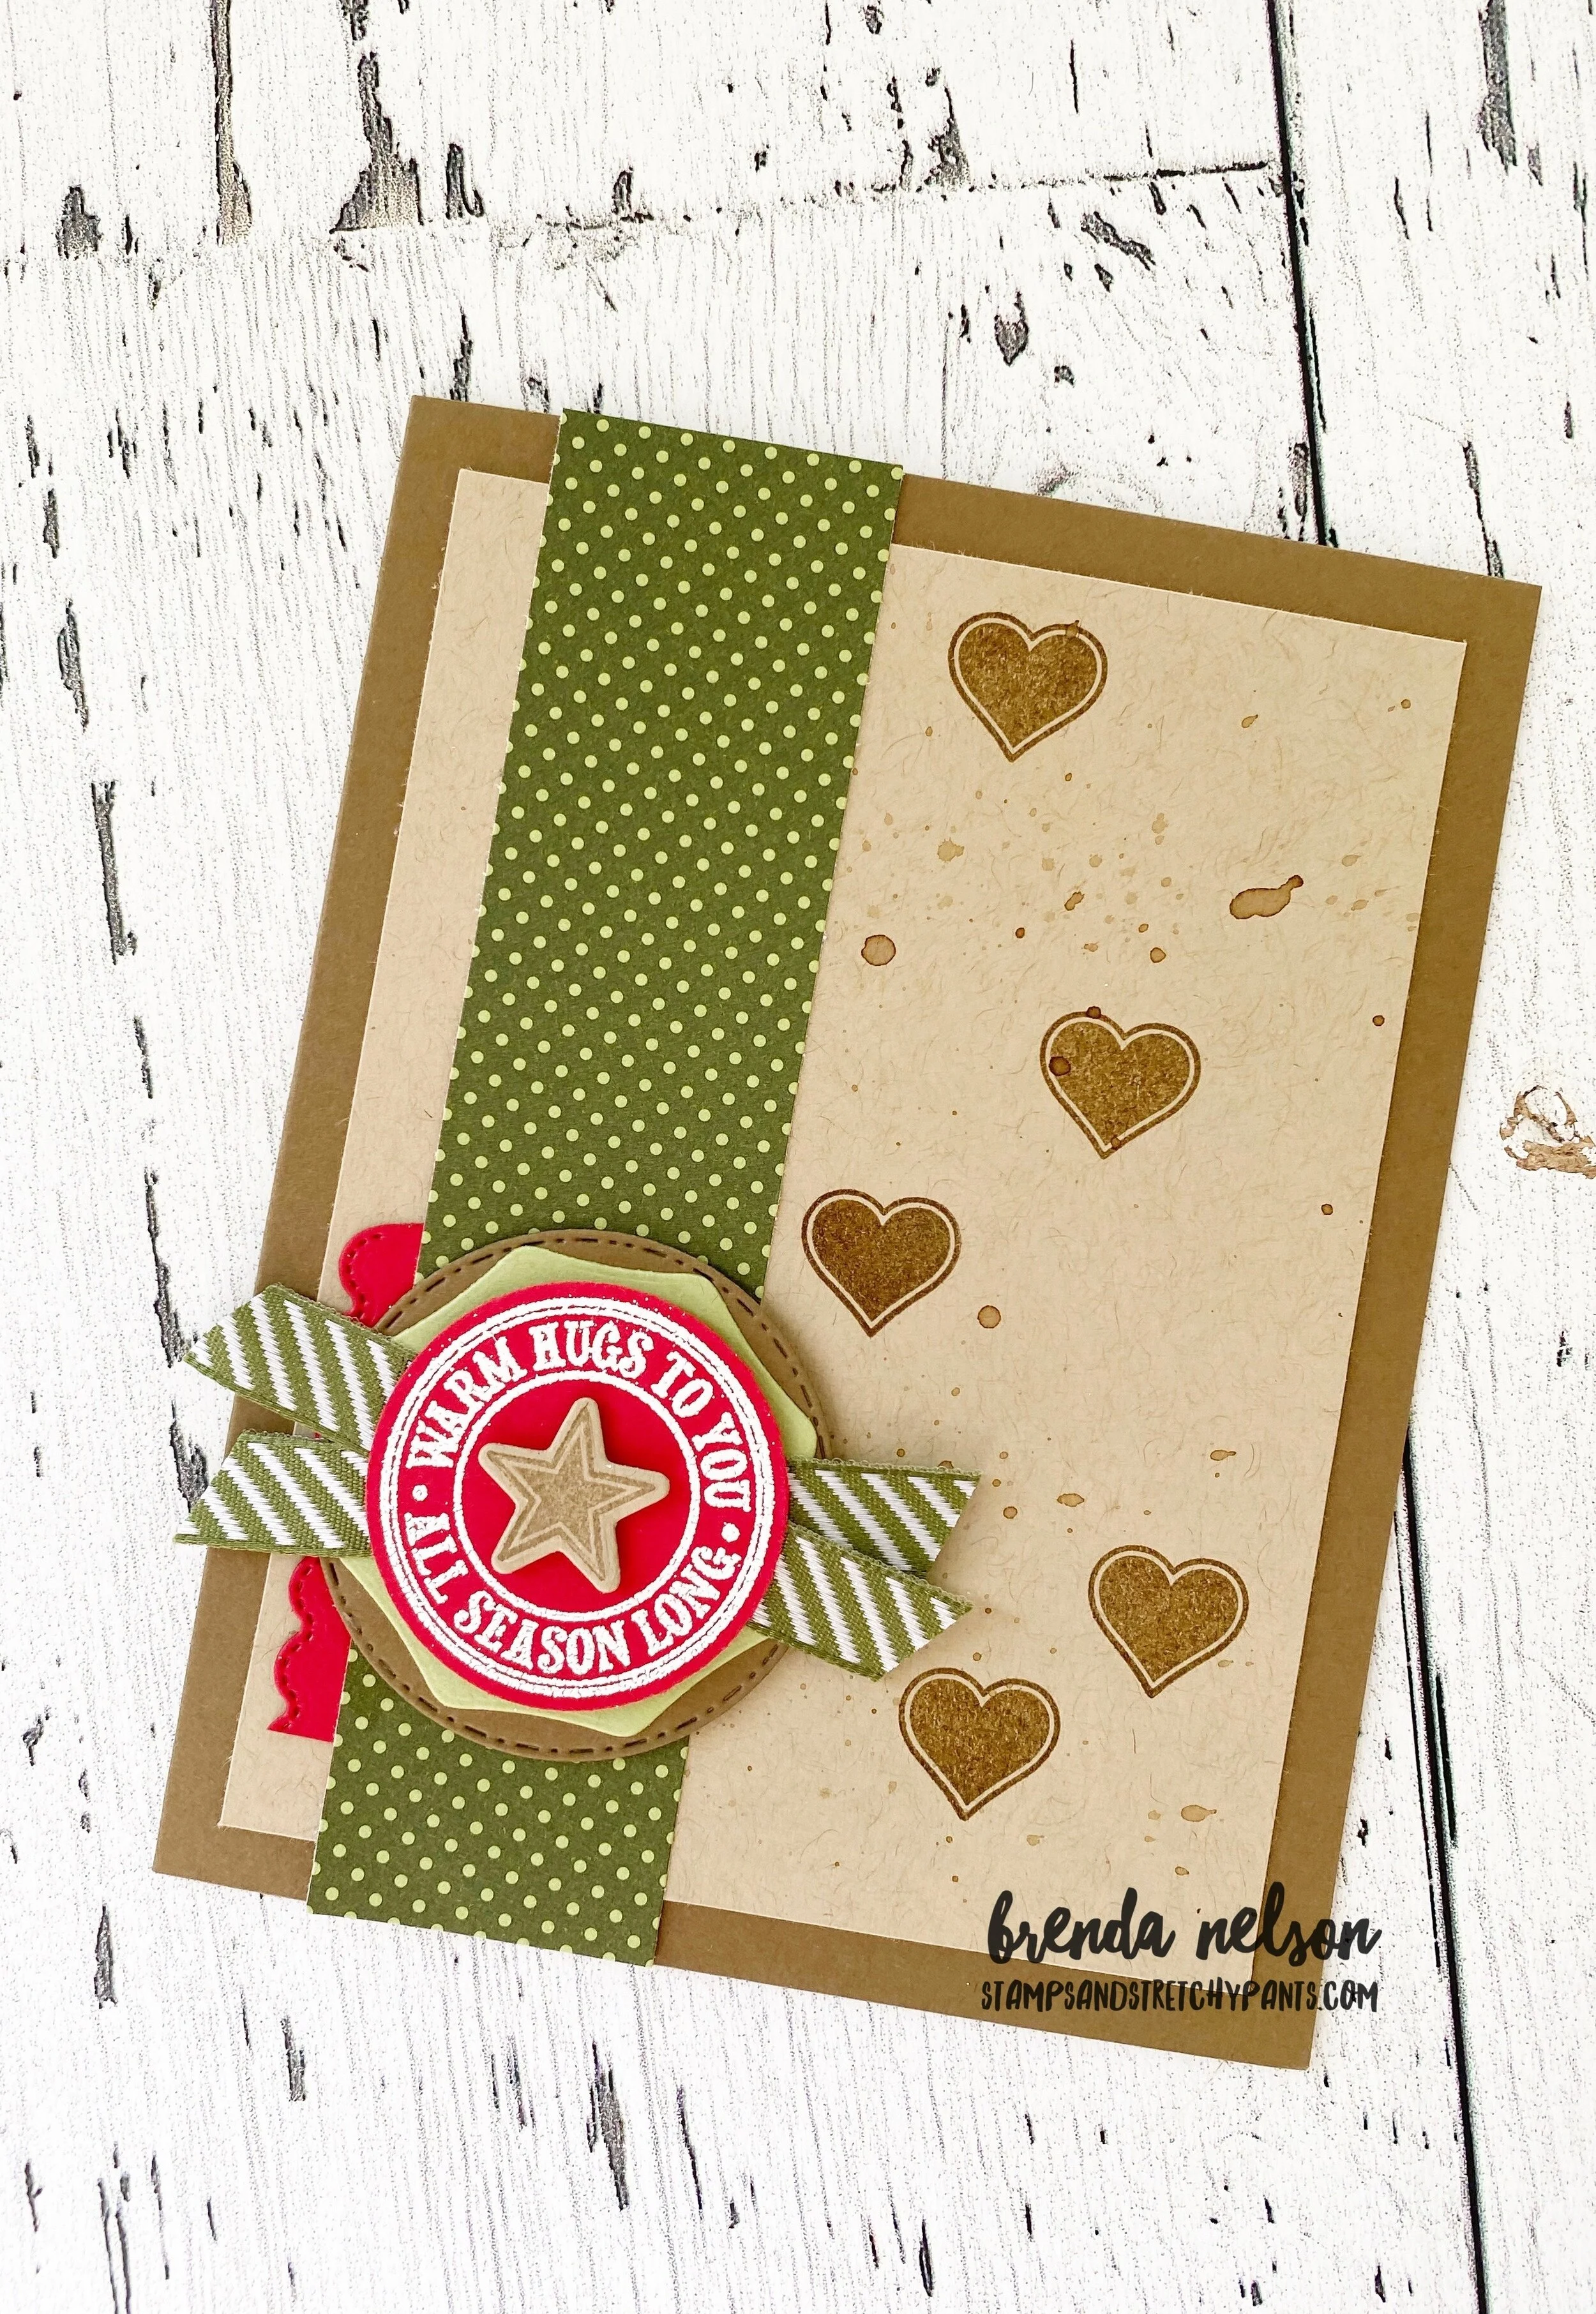
I started with a card base of Soft Suede and layered it with Crumb Cake. I used my Water Painter and some Soft Suede ink to create the splatter effect in the background while stamping the little hearts from the Warm Hugs stamp set. I love how the Warm Wraps dies have so many layering options and I featured one here on this card. I even trimmed the scallop boarder down a bit to nestle in beside the sentiment.
The Mossy Meadow Diagonal Stripe ribbon is also amazing as it has two looks depending on what side you use.

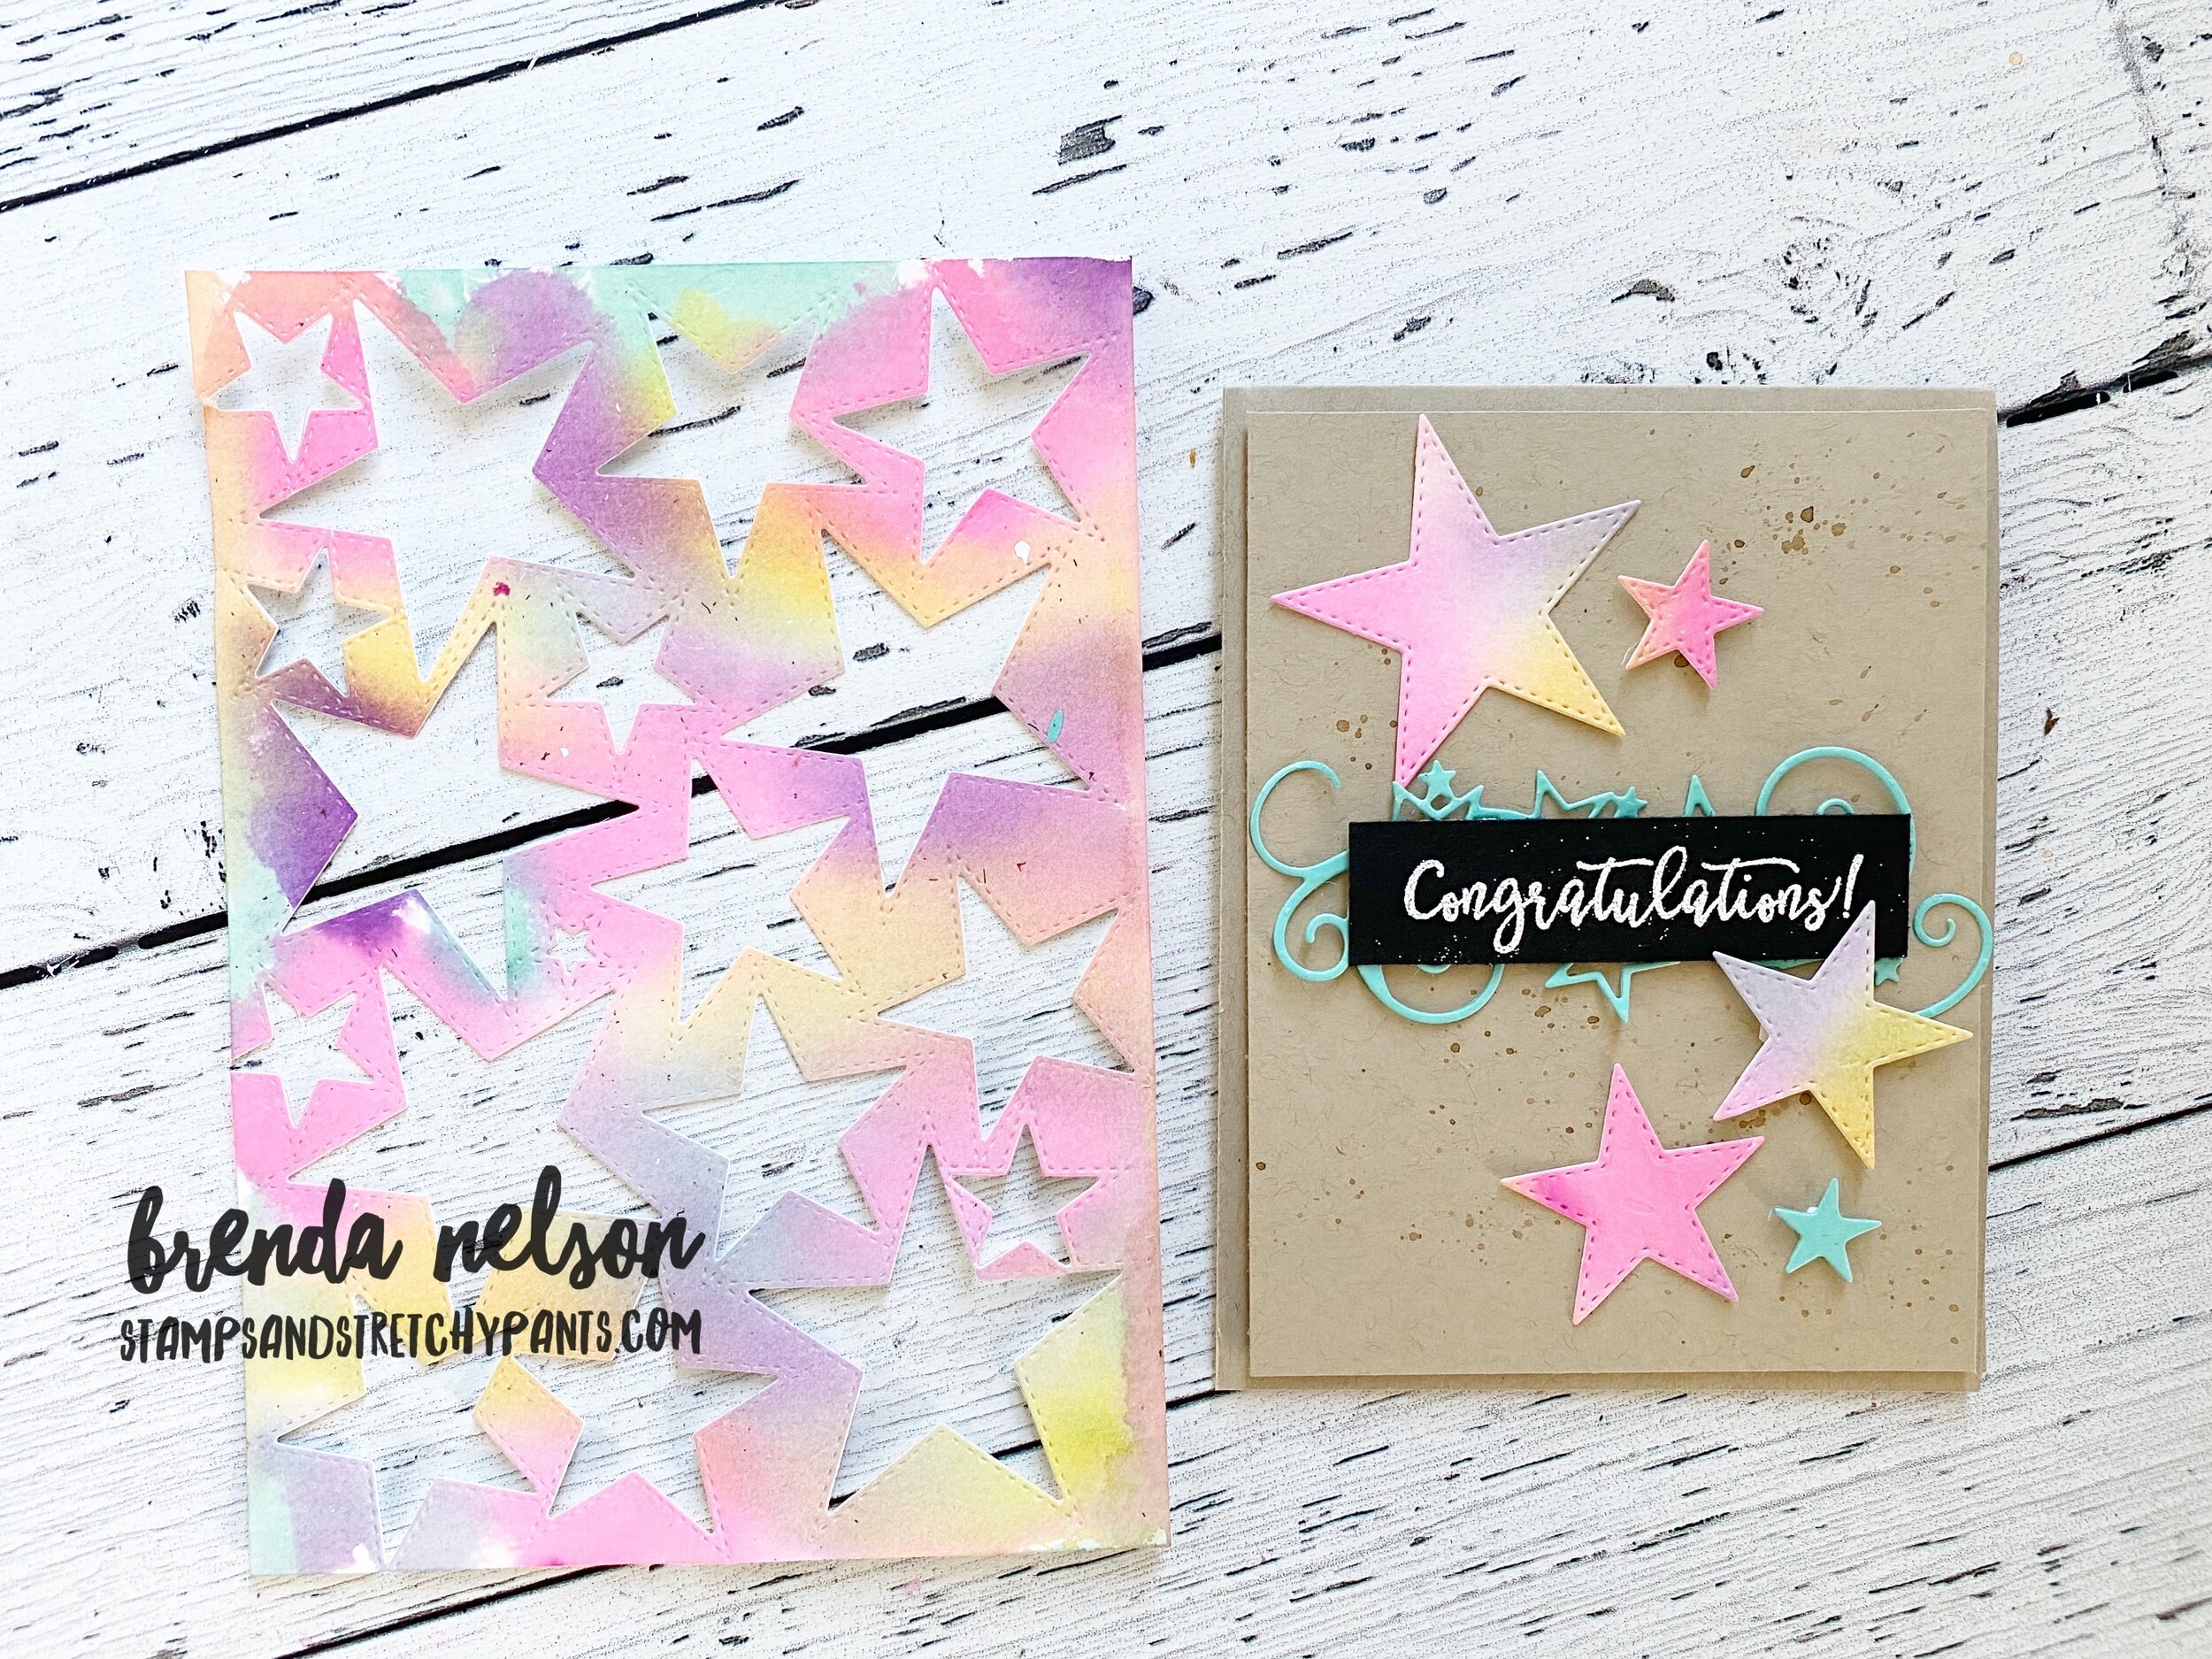
Look how fabulous this looks! I love the layers that you can create with this die set and how the sentiment pops being embossed in white on Real Red card stock.

I hope my cards inspire you to create something with the Warm Hugs Bundle!I think it has so much potential and I know I will be using it a lot this holiday season! You can shop with me by using the Hostess Code or my Shop Now Button!
Next up on our Hop is Kirsty Pattrick, I can’t wait to see what she has designed! Thanks for hoping with us and hope to see you next month!