Awesome April Card Mailing Challenge

At the start of April I posted on my private group stampin’ page a request for those who wanted to participate in a card mailing challenge for the month of April. I set up an exclusive page for us (12 members in total) and each day our goal was to post a mailbox selfie of us sending out a card. Let me tell you, these ladies rose to the challenge typically sending more than one card a day for the ENTIRE month. One of the members sent 150 cards prior to Easter to her church family! The best part of this challenge was it gave many of us a purpose during this challenging time. It forced us to leave our homes every day to post a picture at our mailbox or post office and I looked forward to seeing everyone with their pets or their kids assisting in sending out these cards. Think of how many happy smiles were on the other end of those cards. I have been known to say that a card is a “happiness with a fold in the middle”!

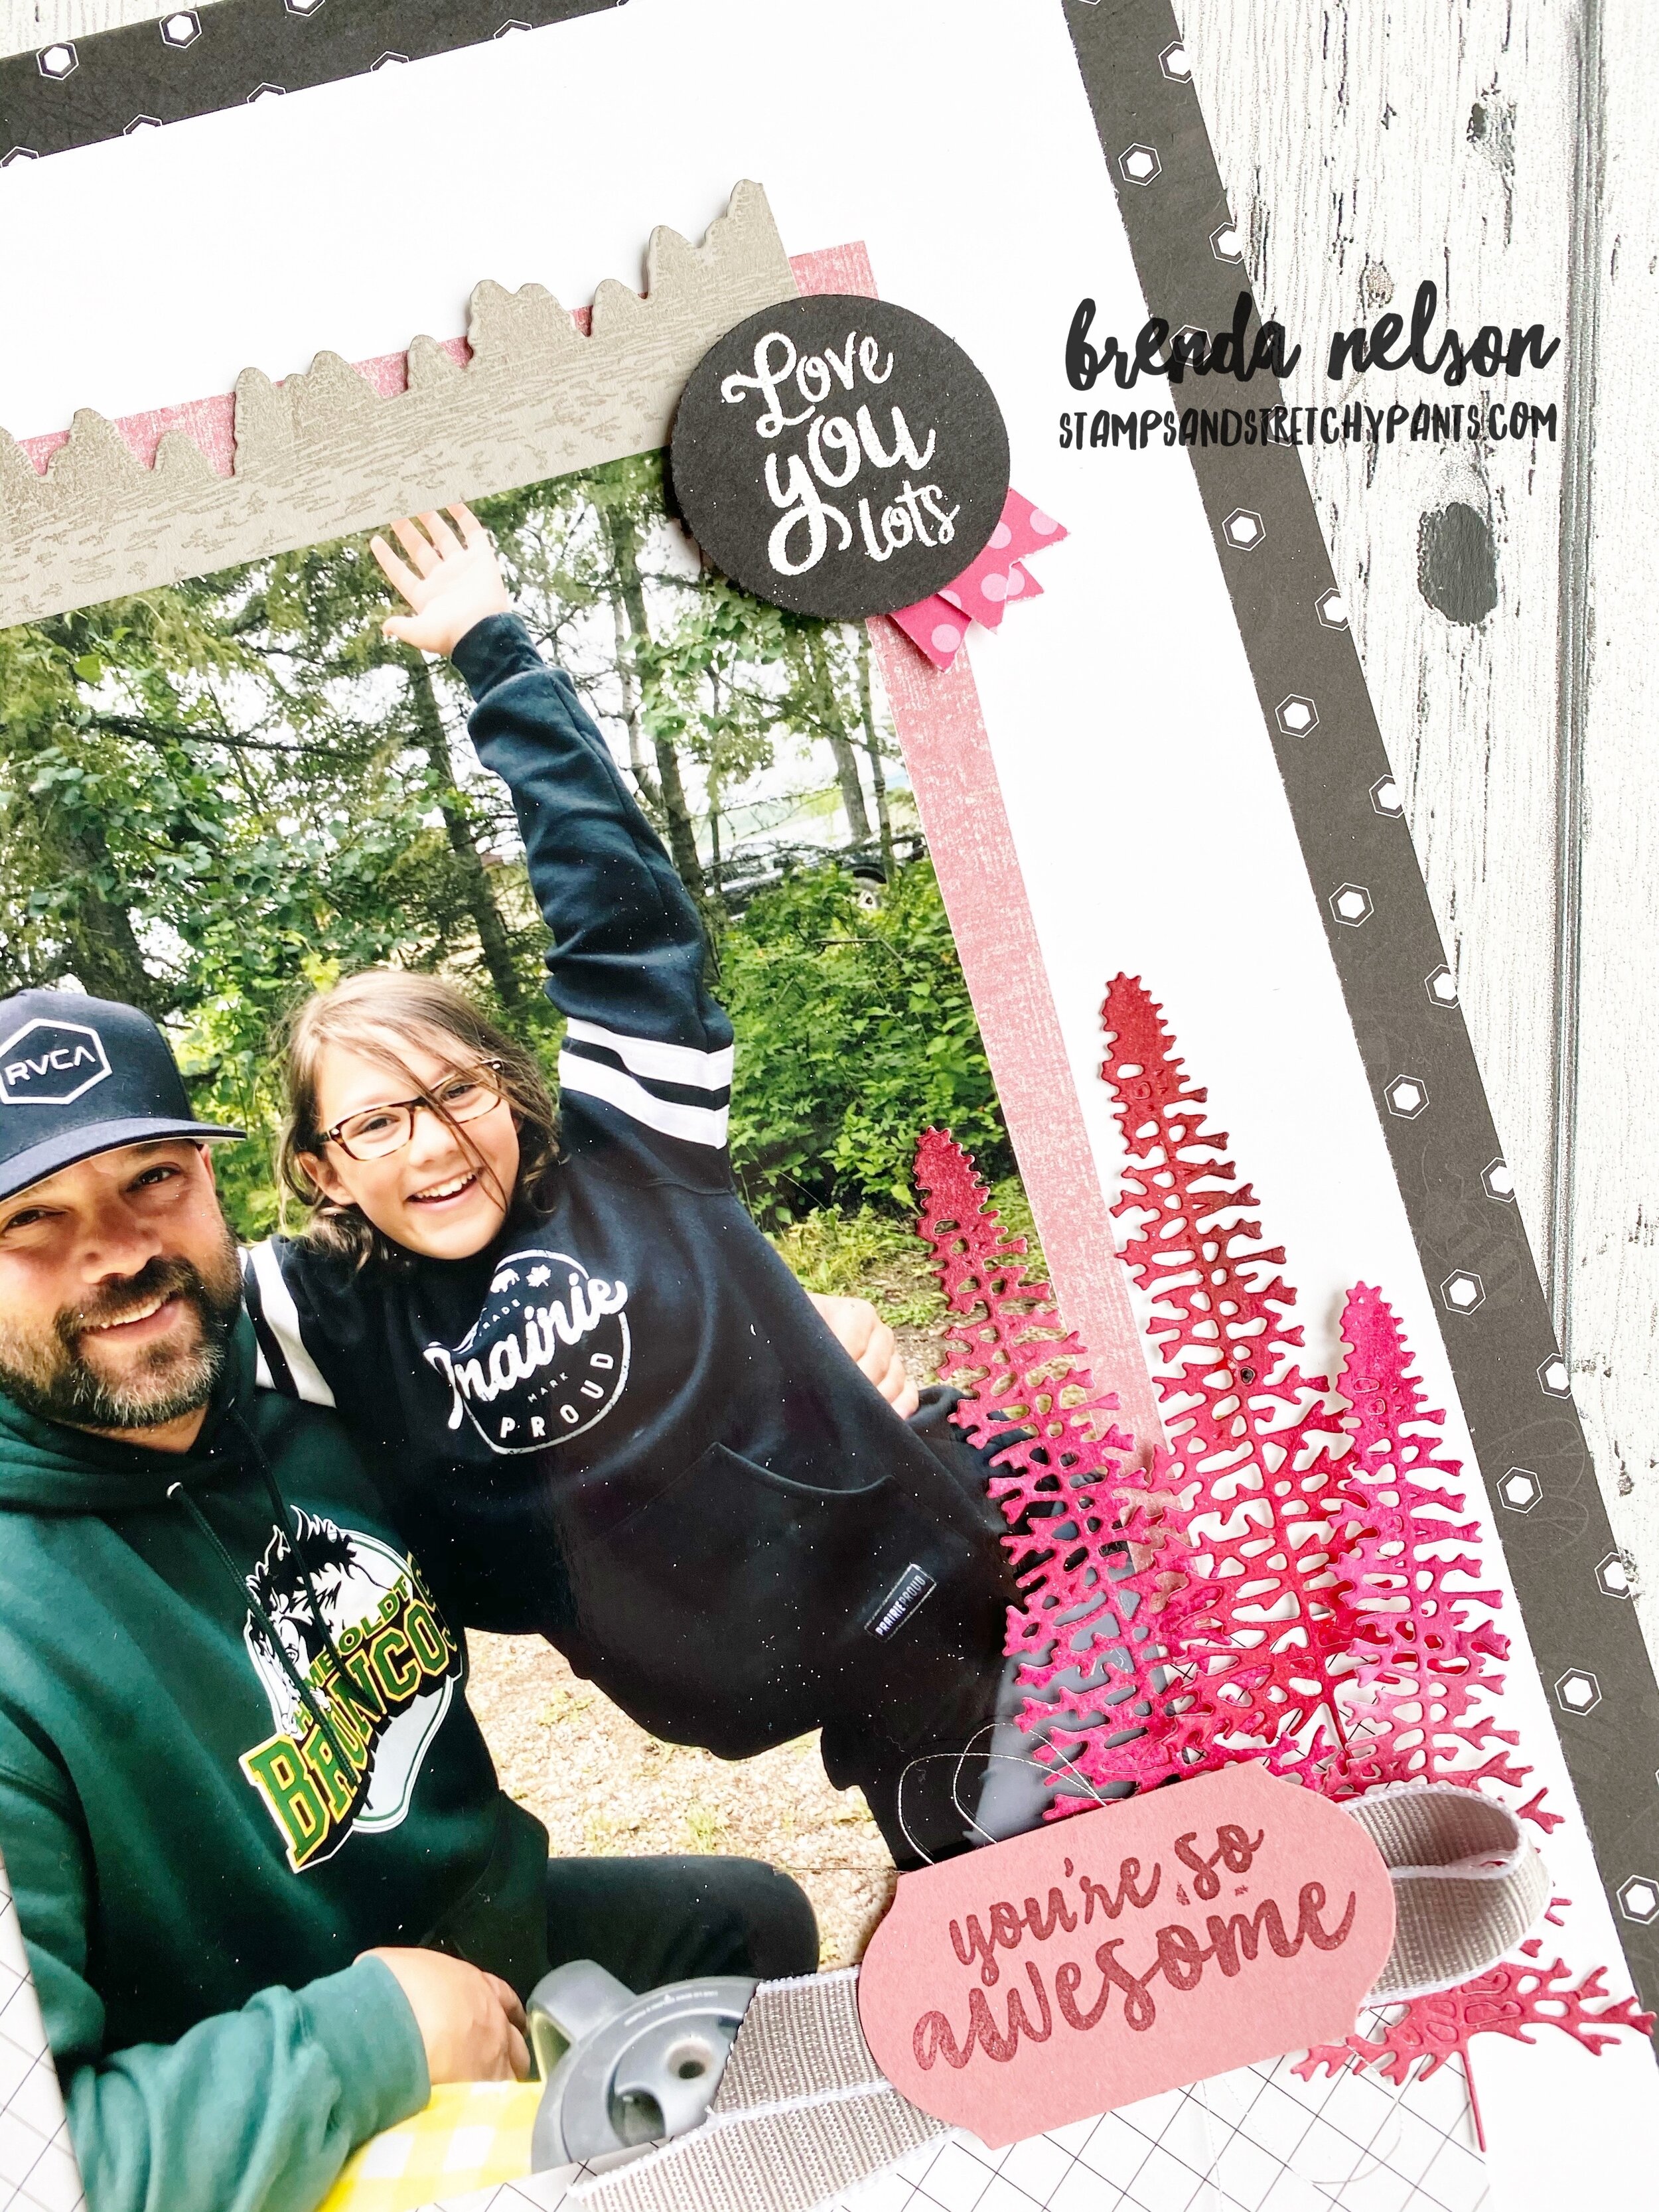
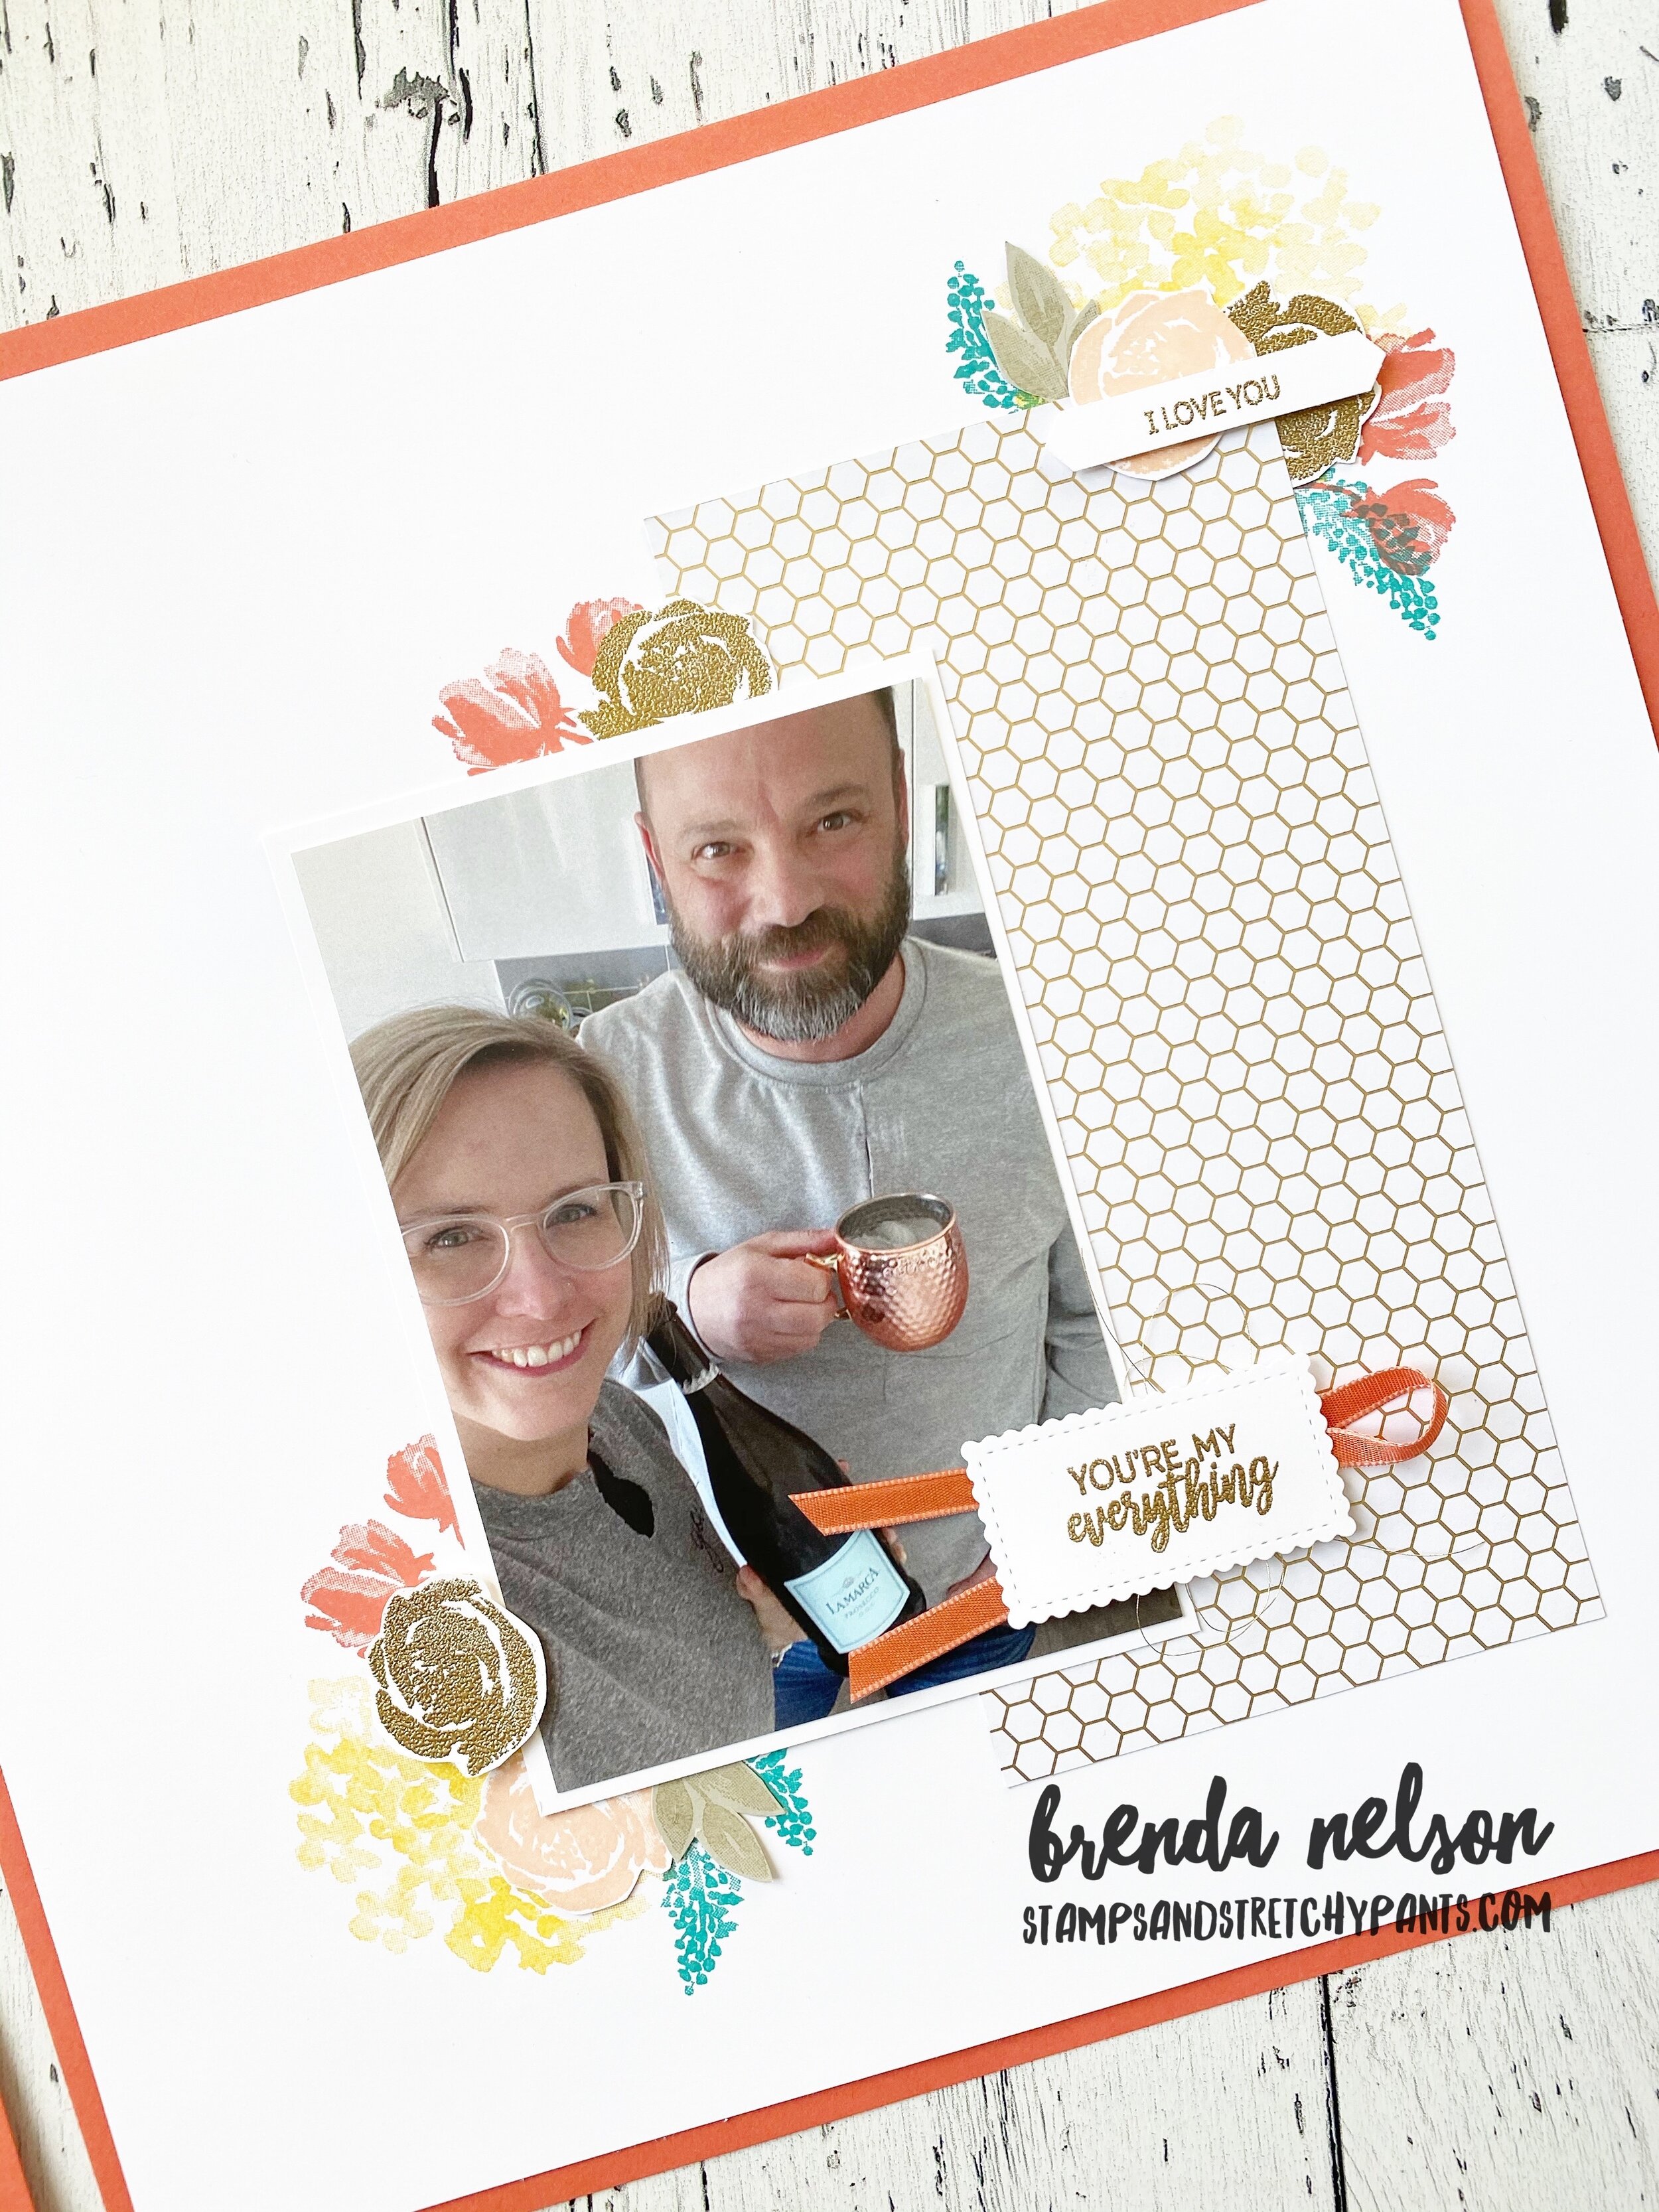
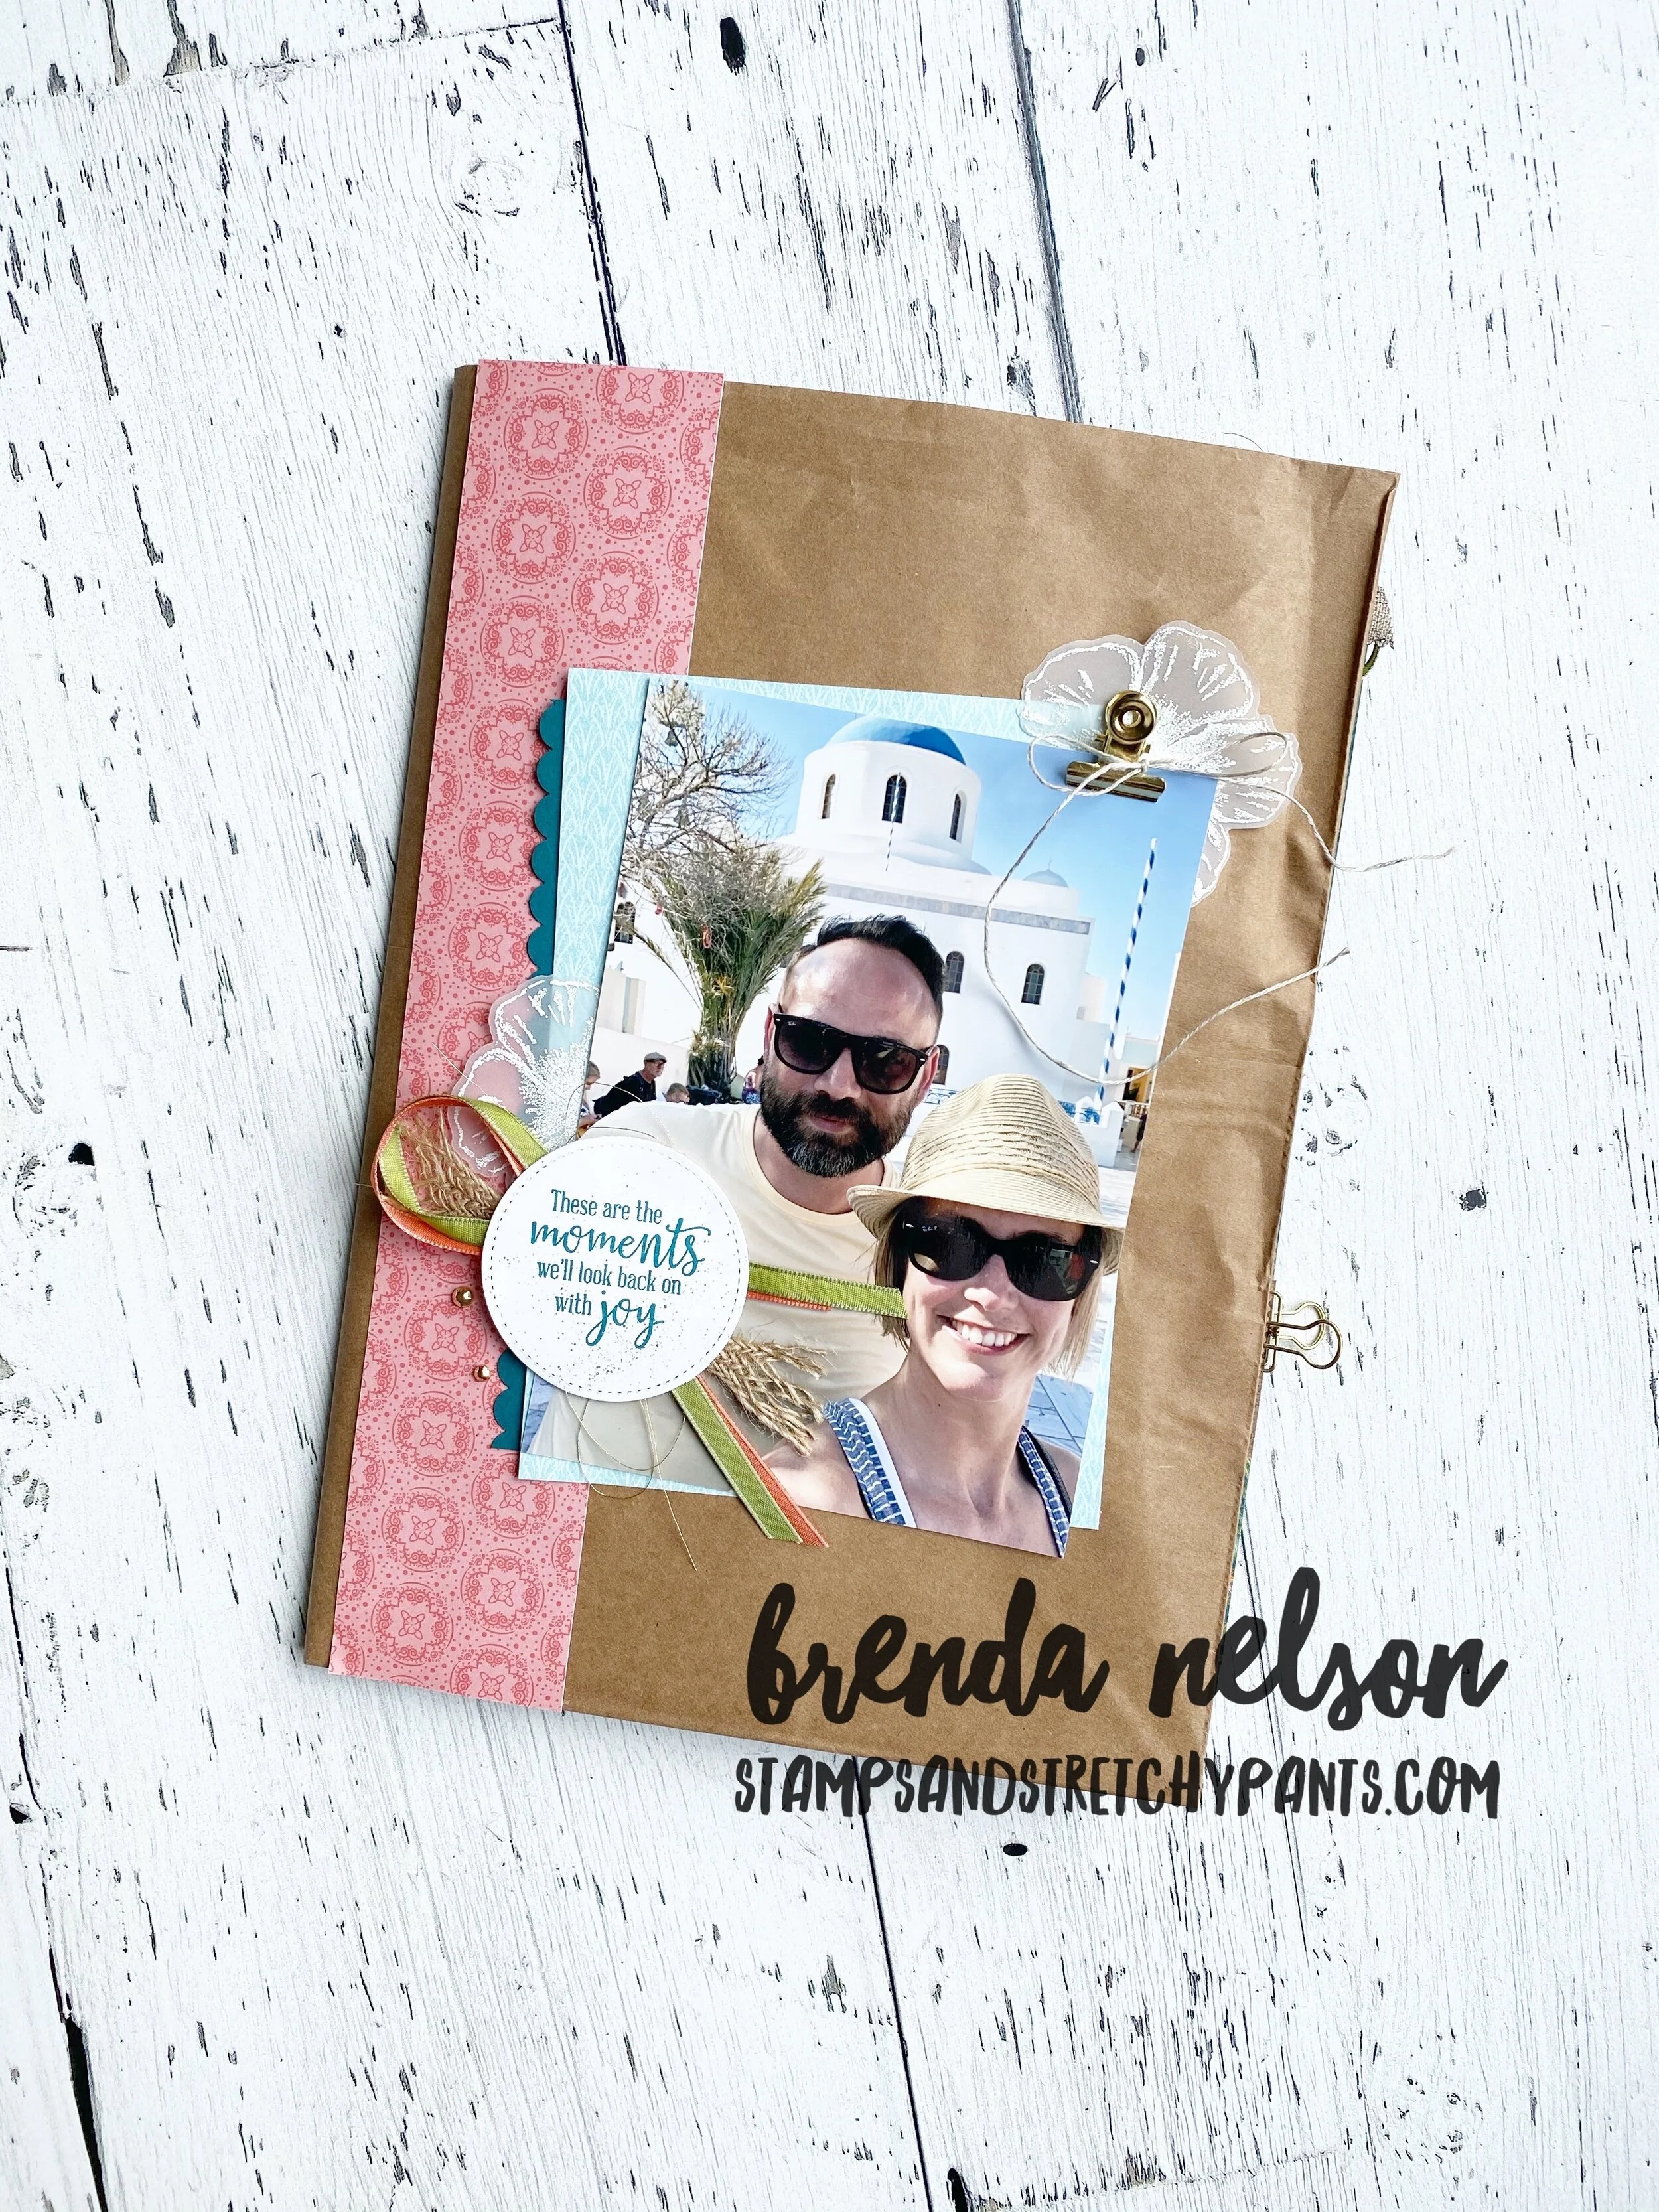
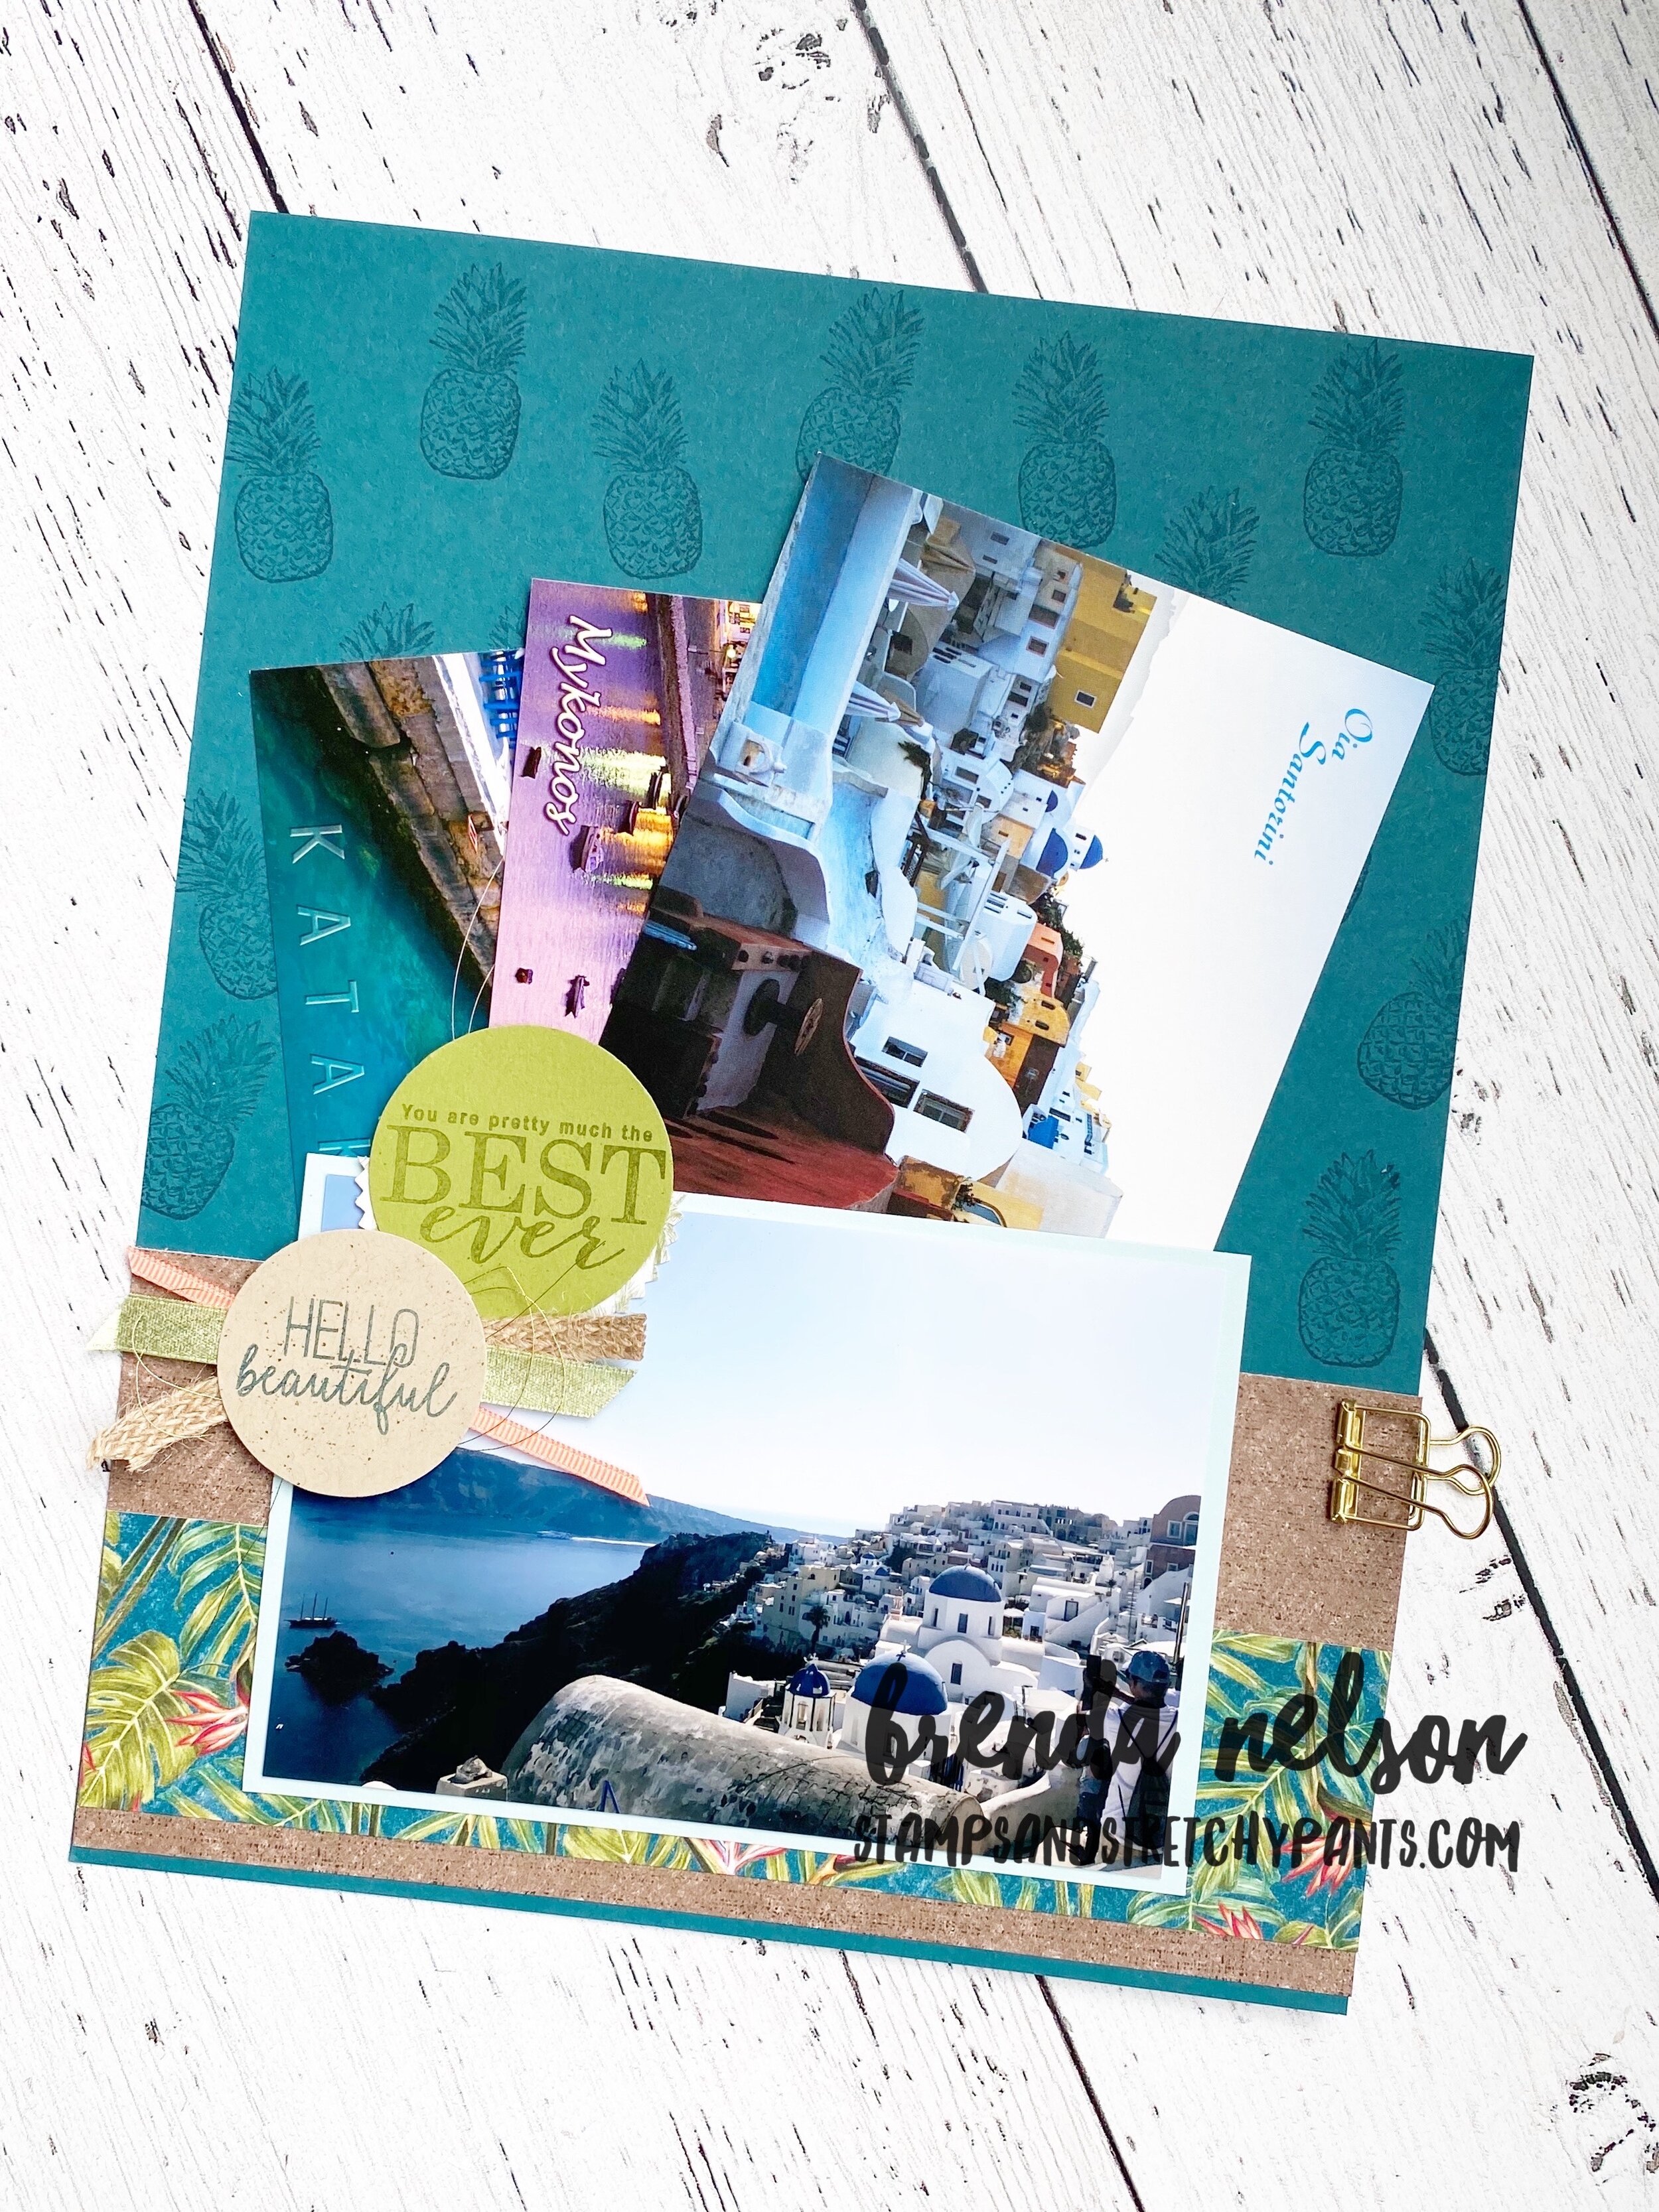
I wanted to share one of the cards that I made in bulk to send out over the course of this month. Many of these cards also had pictures inside of me and the recipient as well as I am someone who regularly prints photos and I wanted to share some happy memories with them!

This card features products from the new Ornate Garden suite and Designer Series paper from the Peaceful Poppies Suite.

The sentiment is from the Sale-a-bration stamp set Rise and Shine

The sentiment is from the Sale-a-bration stamp set Rise and Shine

Scrappy Strip Technique

Well it is true that Bruno Bertucci’s Scrappy Strip technique is taking the world by storm! It is a really easy technique and a great one to share virtually in a team meeting or class. I recently shared the technique with my team and then went on to make a whole bunch of these cards for Mother’s Day. This technique is a great way to use up scraps and showcase our wonderful DSP.

After creating a card with this technique I decided to apply the technique to a scrapbook page, and I absolutely LOVE how it turned out!

final.jpg

My Scrappy Strip card features the Best Dressed DSP which is in the current Occasions Catalogue. The flower is from the Healing Hugs stamp set and is stamped in Highland Heather. The Textile Ribbon in Mint Macaron is perfect for this card. You can find the Happy Mother’s Day sentiment in the Itty Bitty Greetings stamp set. Both stamp sets are in the Idea Book & Catalogue.

final.jpg

On my scrapbook page, I cut the base white strip to 3 1/5 x 8 and then cut three 4x4 squares that I applied the Scrappy Strip technique to. I used the new Ornate Gardens Specialty DSP. I think this is a fantastic page that showcases many elements from this suite well. The Under my Umbrella bundle felt like a create option to pair with this spring photo taken earlier in March.

From This to That!

The benefit of having some extra time on my hands is I have been going through my craft room and discovering things, like this layout from several years ago. It gave me the inspiration for another “From This to That”!

final.jpg
final.jpg

On my updated version I used the Honey Bee Specialty DSP from Sale-a-bration as the base and layered a piece of Whisper White card stock over top, I sponged some Soft Seafood in the background under the word ‘cousins’ which were cut with the Hand Lettered Prose dies. I used the Seriously The Best stamp set for the other sentiments paired with the Mountain Air stamp set (which is carrying over to the new annual catalogue!). The best part of this whole layout are the trees along the side!

Supplies you will need:

-cello bag

-two contrasting ink colors but of the same color family (I used Granny Apple Green and Call Me Clover)

-a Spritzer filled with water

-a piece of water-colour or Shimmery White paper

-a die of your choice (I used the two large trees from the Majestic Mountain dies)

How To:

Stamp your two ink pads straight onto your cello bag. Lightly spritz with water and place your paper on top making sure to get both ink colors on the paper. Remove, let dry and cut with your die of choice.

I just love the detail of these trees! I rotated the die on the paper so one tree is bright on top and the other on the bottom!

I just love the detail of these trees! I rotated the die on the paper so one tree is bright on top and the other on the bottom!

And because I was feeling super inspired, I recreated this layout with a completely different color pallet, keeping the elements the same. For these trees I used Merry Merlot and Melon Mambo!

final.jpg
I also discovered how awesome Merry Merlot looks stamped on Rocco Rose!

I also discovered how awesome Merry Merlot looks stamped on Rocco Rose!

Color Coach Combo

Do you ever reach for the Color Coach cards that Stampin’ Up! created? I do find myself looking at them for inspiration when I feel stuck, or want to add a pop of color but not sure what! You can see how I used one of the Calypso Coral cards to influence the color pallet for this scrapbook page. I wanted to create a page that was bright and floral but could be used with a picture from any moment of your life. The pictures I actually used on these pages are from quarantine. I think it is important to document this experience in our lives too, and it is important to me that these paper memories are positive and bright.

final.jpg
Fun fact: I drank the whole bottle that day!

Fun fact: I drank the whole bottle that day!

The colors used on this page are Calypso Coral, Daffodil Delight, Petal Pink, Sahara Sand and Bermuda Bay with a hint of gold accents. I used the Golden Honey Specialty DSP which was the NUMBER ONE item redeemed during Sale-a-bration! The stamp sets used are Beautiful Friendship, Beautiful Promenade, Capture the Good and Well Said.

The ribbon on my selfie is the Whisper White Crinkled Seam Binding Ribbon that I coloured with the dark Petal Pink Blend marker.  If you take the ribbon and lay it on an acrylic block, you can pull it underneath the marker— It is so fast and easy to…

The ribbon on my selfie is the Whisper White Crinkled Seam Binding Ribbon that I coloured with the dark Petal Pink Blend marker. If you take the ribbon and lay it on an acrylic block, you can pull it underneath the marker— It is so fast and easy to do and drives immediately.

Paper Bag Scrapbook Album

Hello my friends! I am so excited to share this project with you as it is another throwback to an album I used to make about 8 years ago! Way back when It was easier to find large or oversized paper bags and then our society went to full on plastic bags and I couldn’t find these paper bags anymore. Well, its a new time and we are all about paper bags again! I got this at my grocery store and asked for a few extras to craft with! I decided to create a Paper Bag Travel Album to hold mementos and postcards from our recent SU Incentive Trip to Greece (my favourite out of all the places I have been blessed to travel to with Stampin’ Up!). I am a collector, so when I do go on trips I always buy postcards, and keep tickets and receipts and stuff so all of this was perfect to add into this album!

I used the Tropical Oasis and Ornate Gardens DSP as they have complimentary tones and colors as the basis for my album. And then I blended in embellishments from both suites. Some of the stamps are old favorites and some are new additions to the SU lineup.

This album came together pretty easily, as you can tell its not that complicated! I think they would also make great school memory albums (which was what I was making them into 8 years ago!), or gifts of friendship or family memories! The storage pockets are a great way to add in memorabilia without needing a lot of 'pages’.

This is one of my favourite pictures of us in Santorini

This is one of my favourite pictures of us in Santorini

You will have to use Tear and Tape or Tombow to glue the bottom of the bag flat as seen on the left side page. I then created a pocket to store memorabilia such as train tickets, a few pictures, a bag with a postcard in it etc. I added in a book mar…

You will have to use Tear and Tape or Tombow to glue the bottom of the bag flat as seen on the left side page. I then created a pocket to store memorabilia such as train tickets, a few pictures, a bag with a postcard in it etc. I added in a book mark I had picked up along the front of the pocket too! The right side features some fun pictures of us.

Because this is an oversized paper bag it has an option for a pull out page (or more!) as you can see here with the Pretty Peacock pull out page poking out. Say that six times, hahaha!

Because this is an oversized paper bag it has an option for a pull out page (or more!) as you can see here with the Pretty Peacock pull out page poking out. Say that six times, hahaha!

I decided to add another pocket at the bottom of this pull out page for more storage. I included one of my favourite pictures I took on this trip of the iconic blue roofs of Santorini, I still have to pinch myself that I was actually there! The stor…

I decided to add another pocket at the bottom of this pull out page for more storage. I included one of my favourite pictures I took on this trip of the iconic blue roofs of Santorini, I still have to pinch myself that I was actually there! The storage pocket allows me to add more postcards collected on this trip.

final 10.JPG