From this...to that!
/Sometimes it takes a lot of mental energy to come up with a brand new, fresh, scrapbook page layout. Well today I decided to created a layout based on another layout I had previously designed. I thought by sharing this with you, you might be inspired to look back at some of your own creations and recreate the page using updated and fresh products and embellishments.
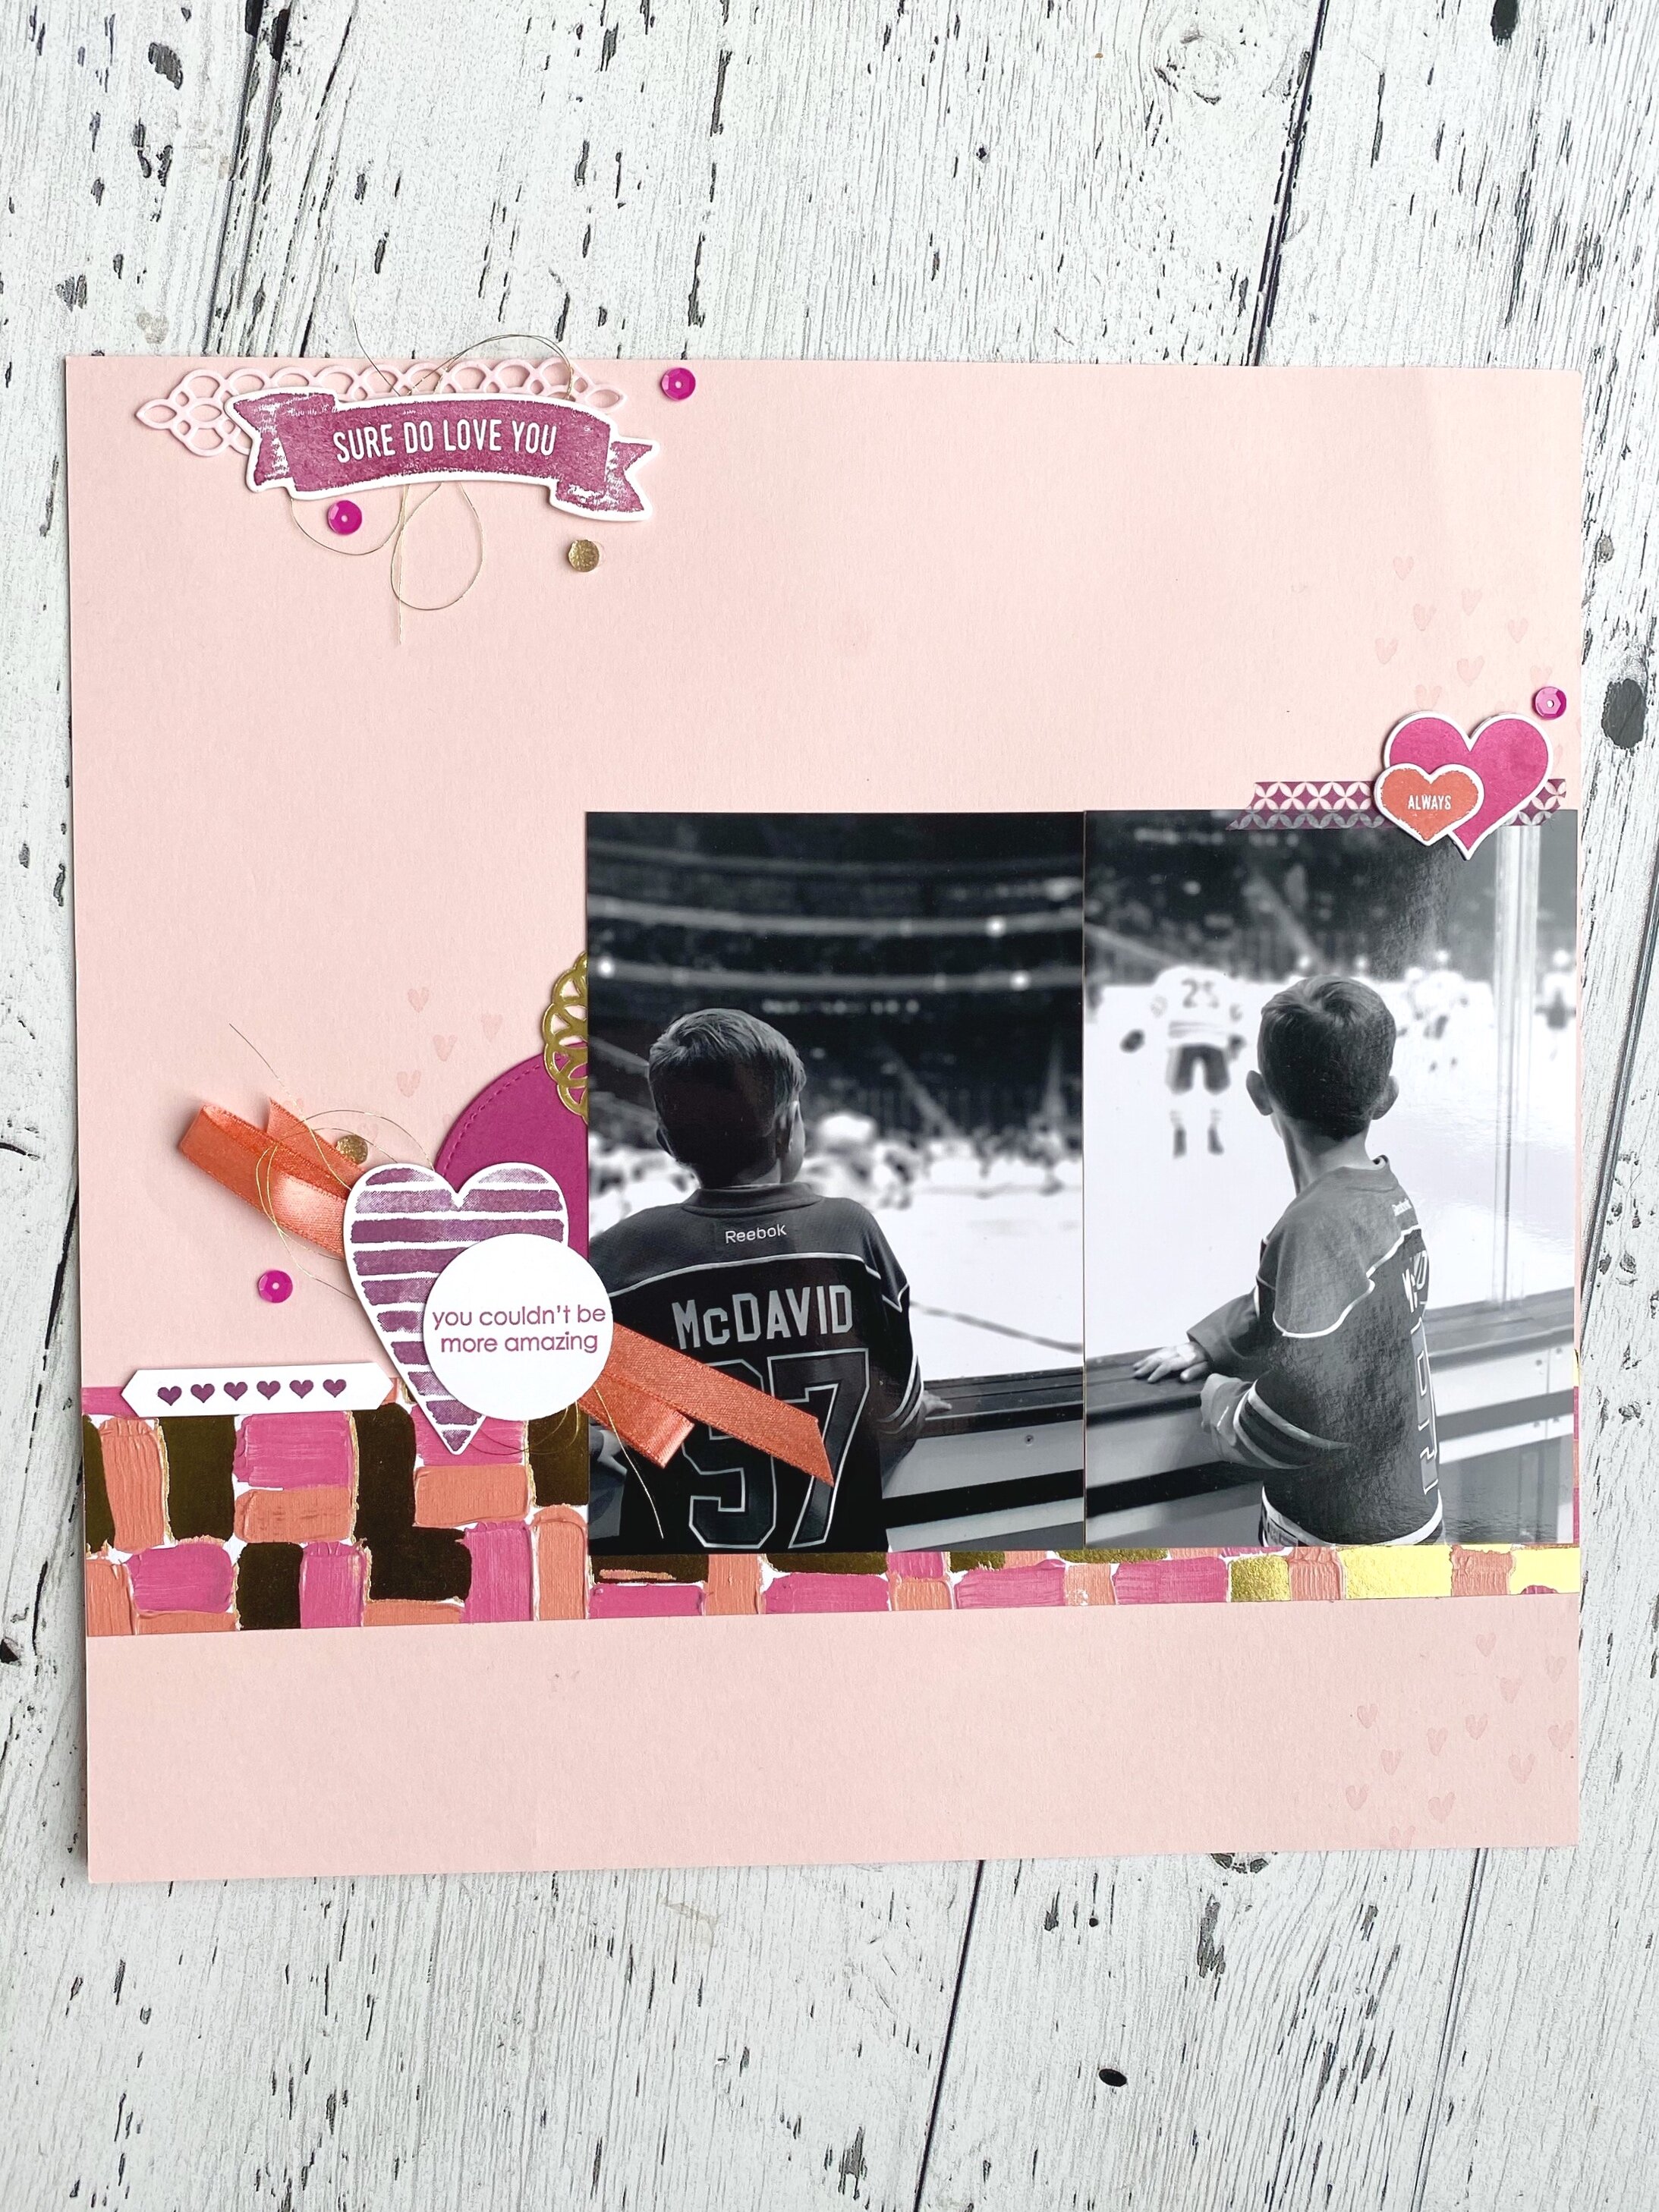
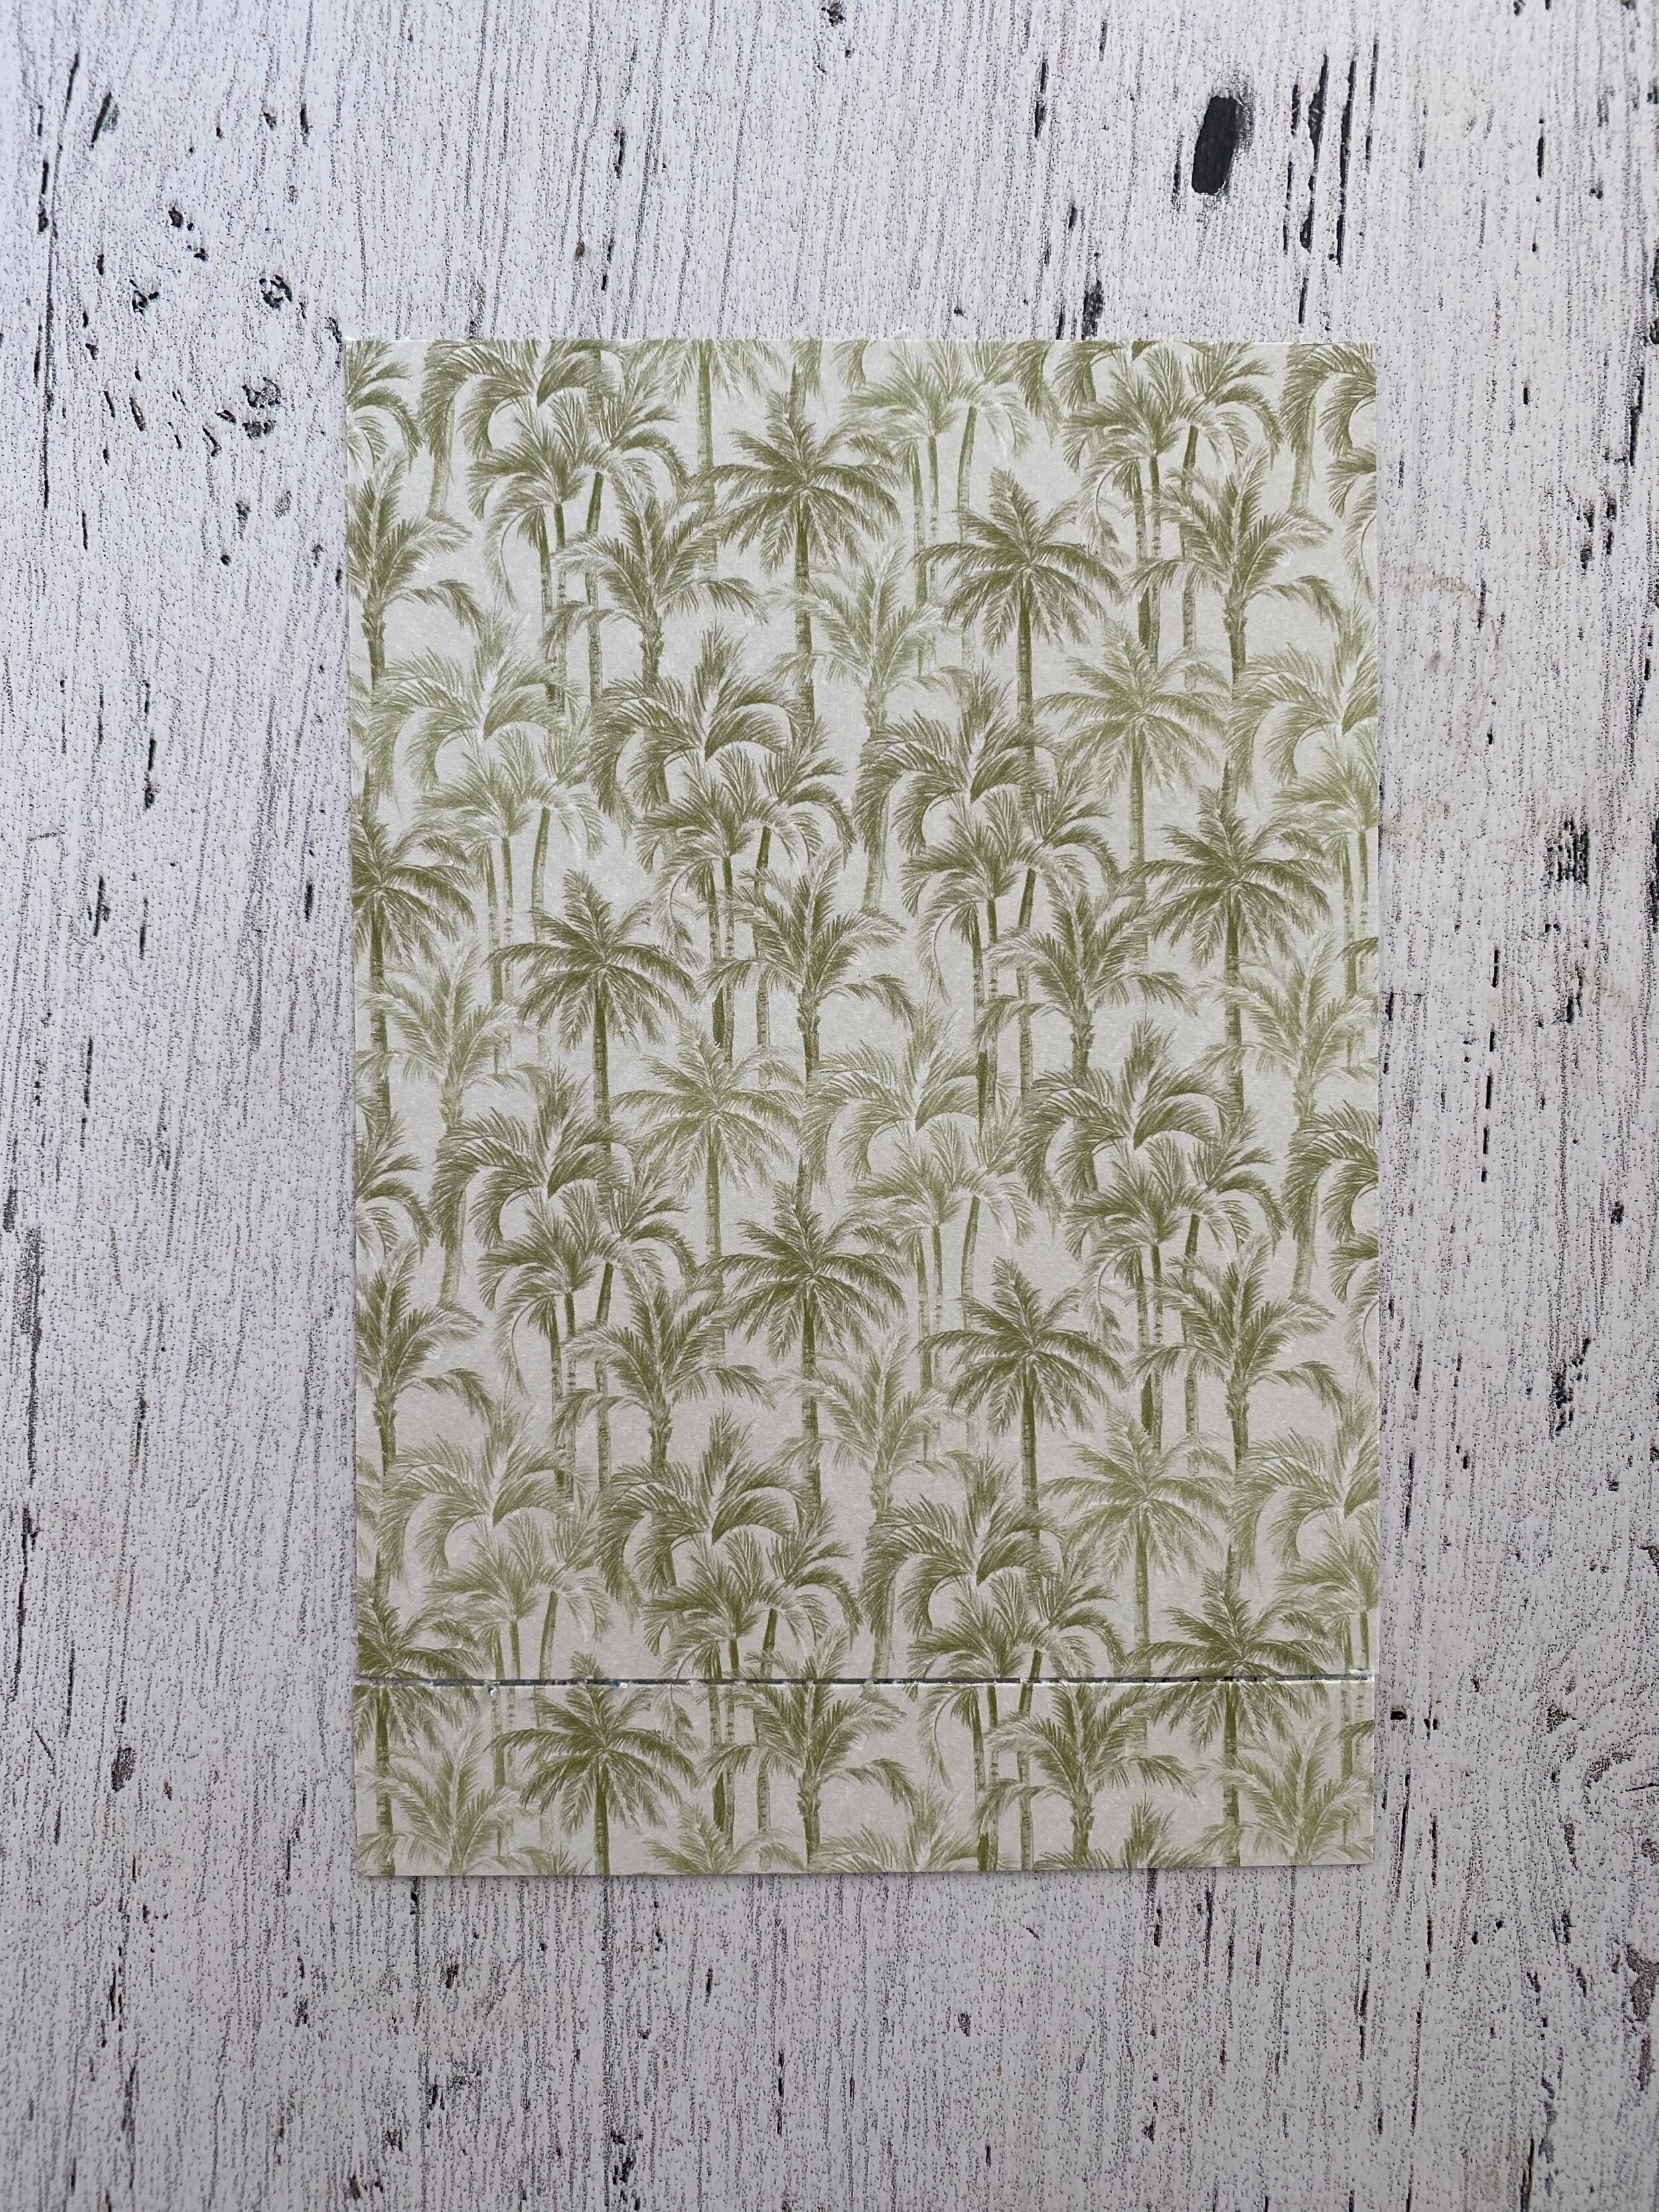
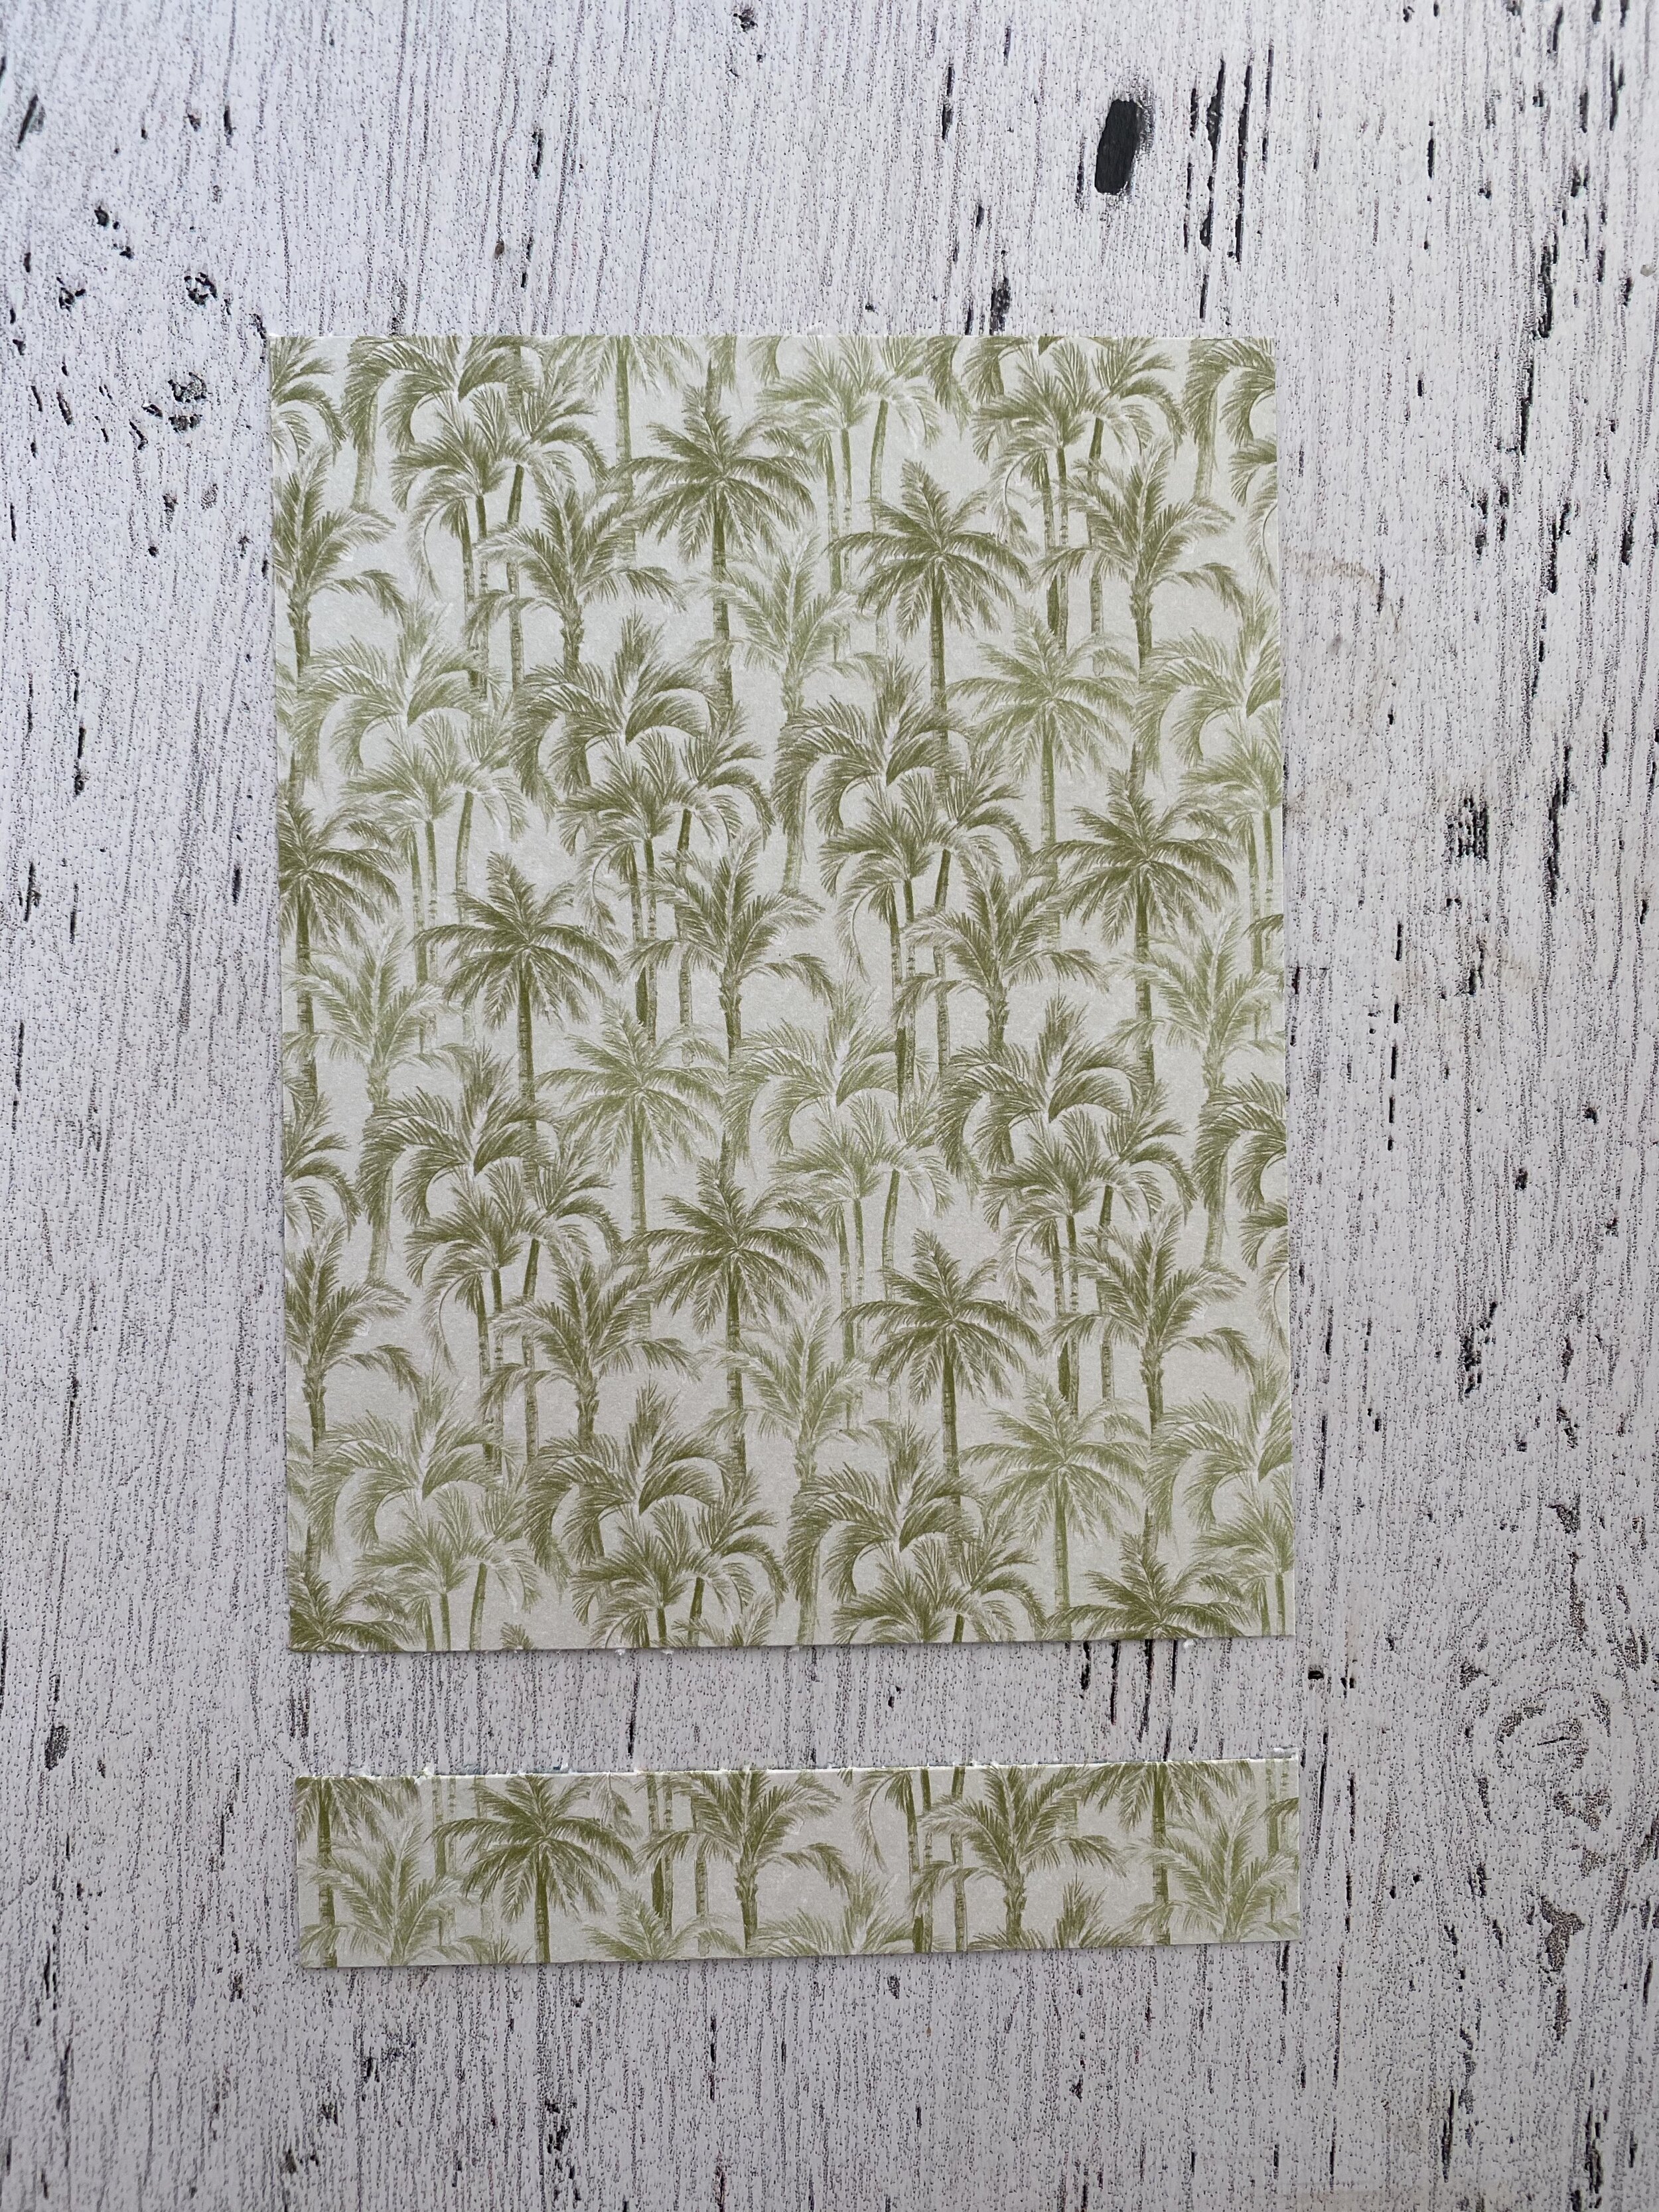
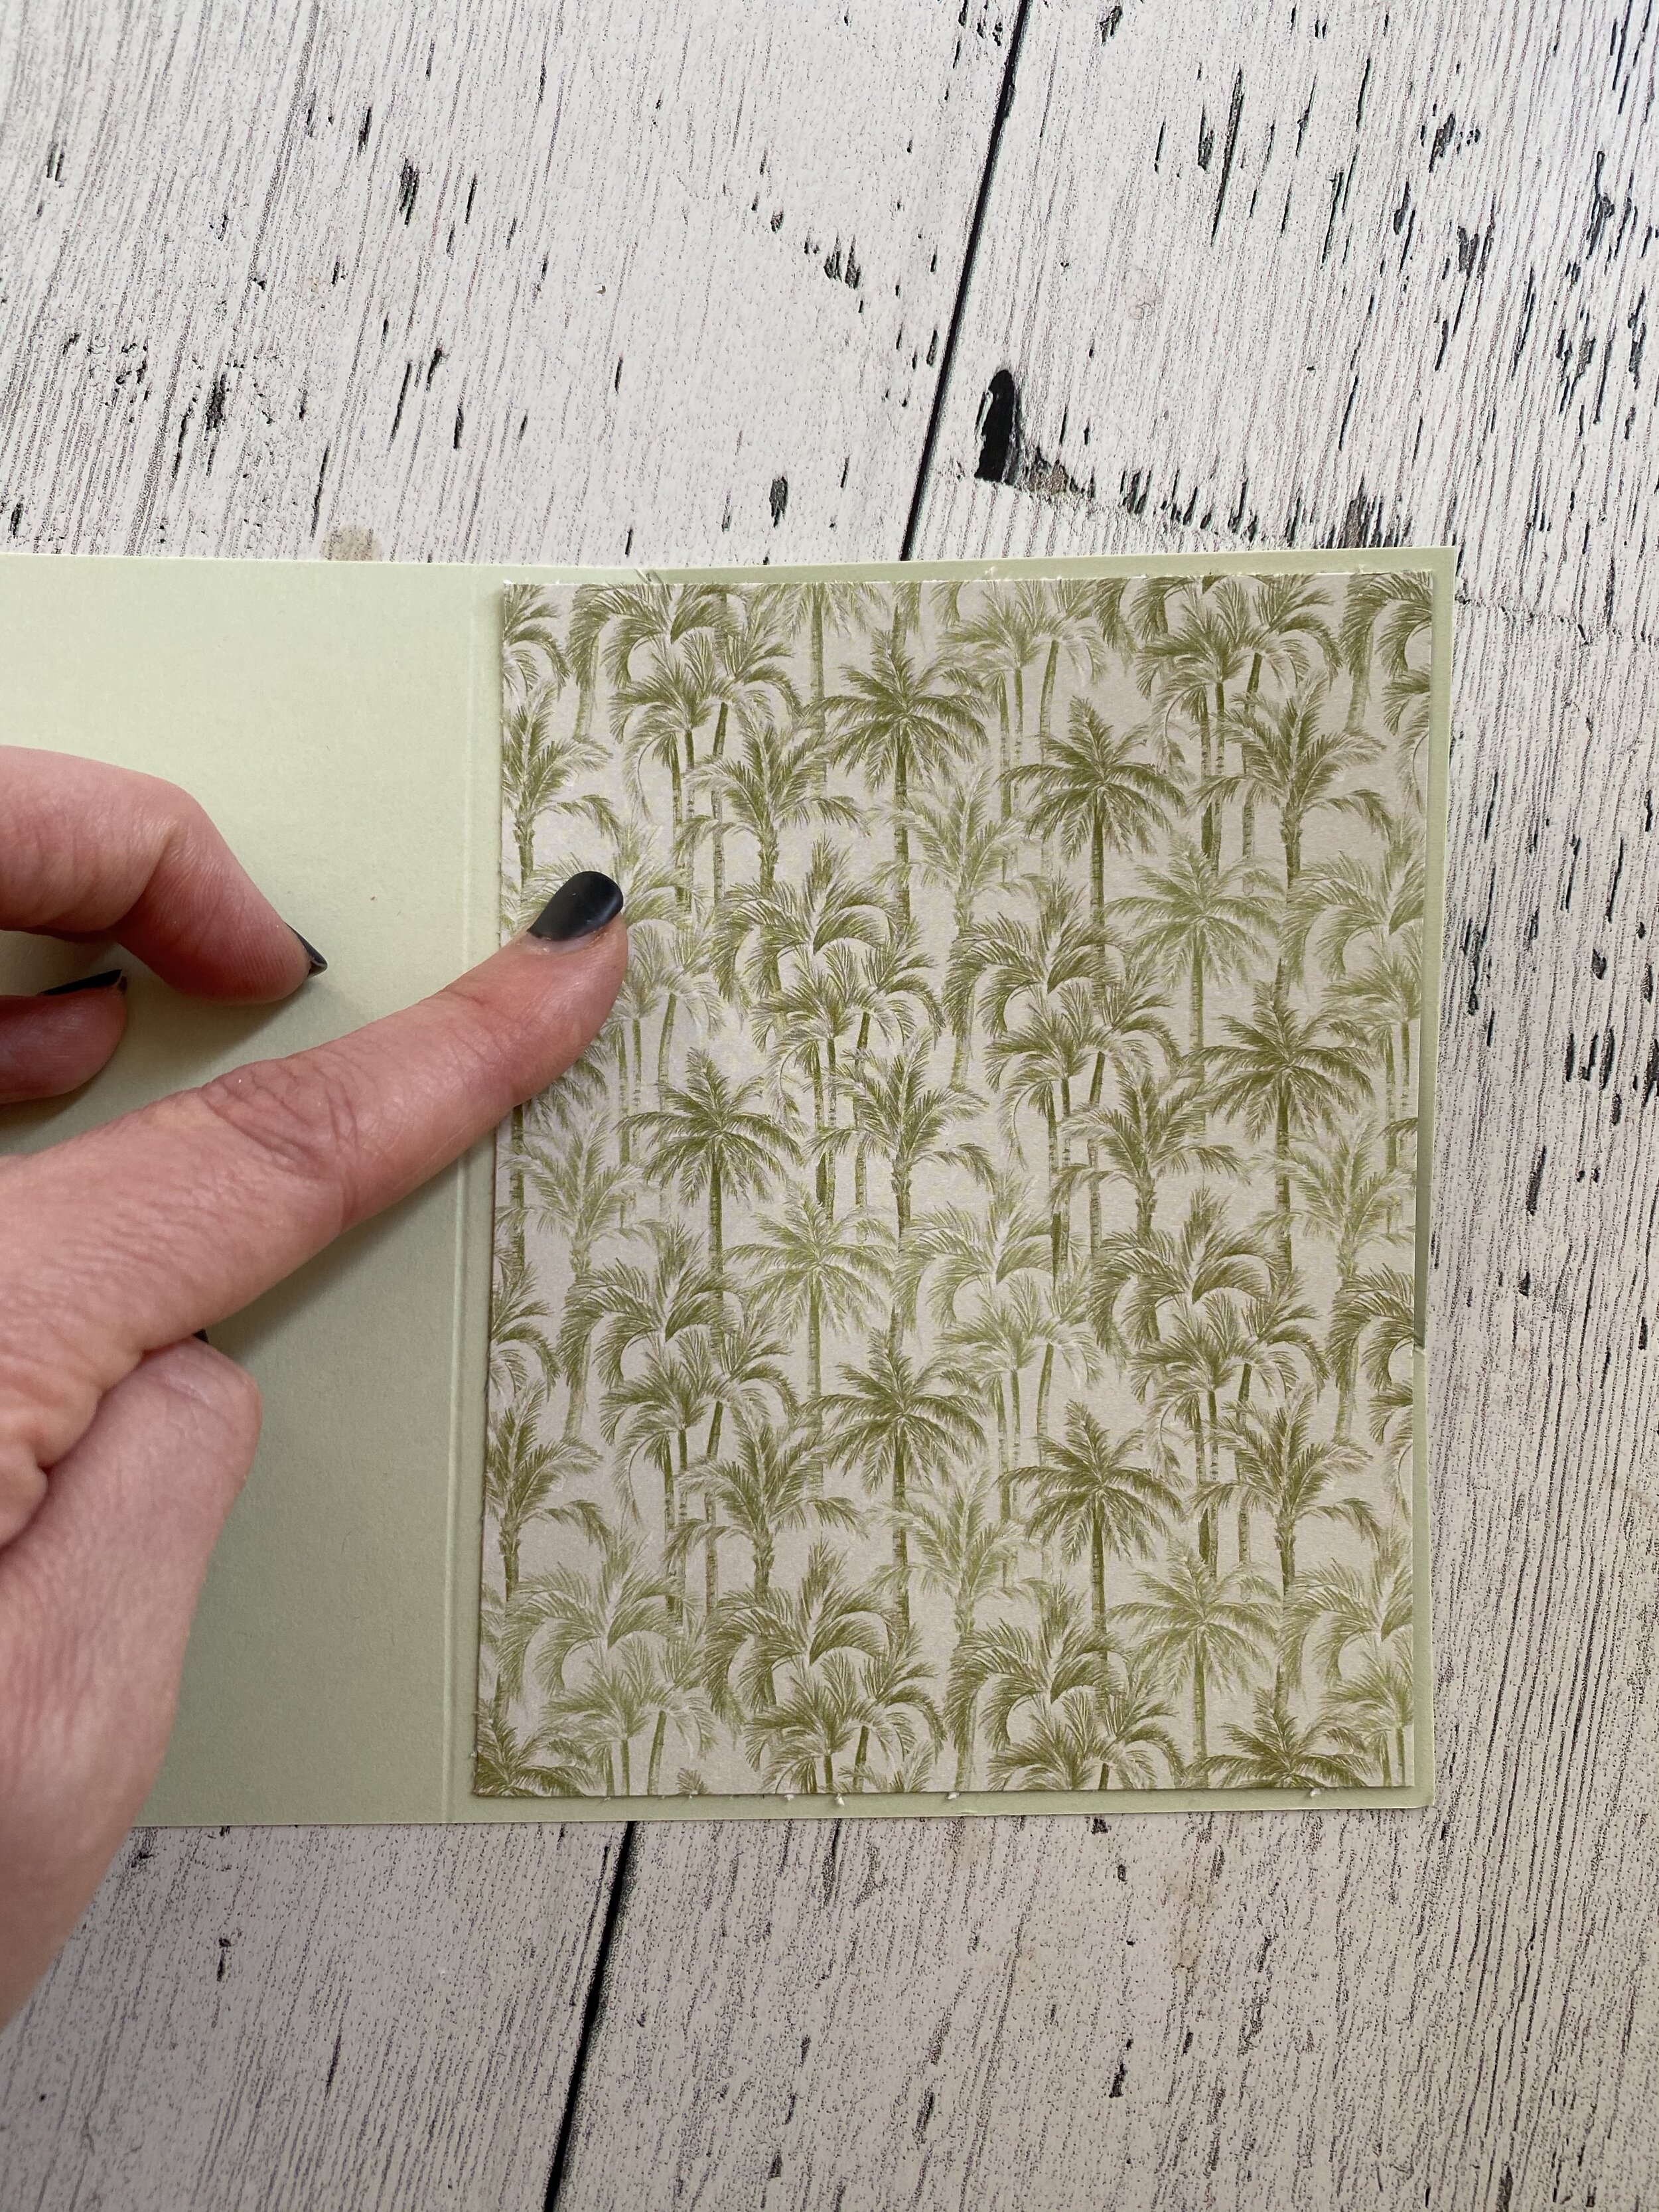
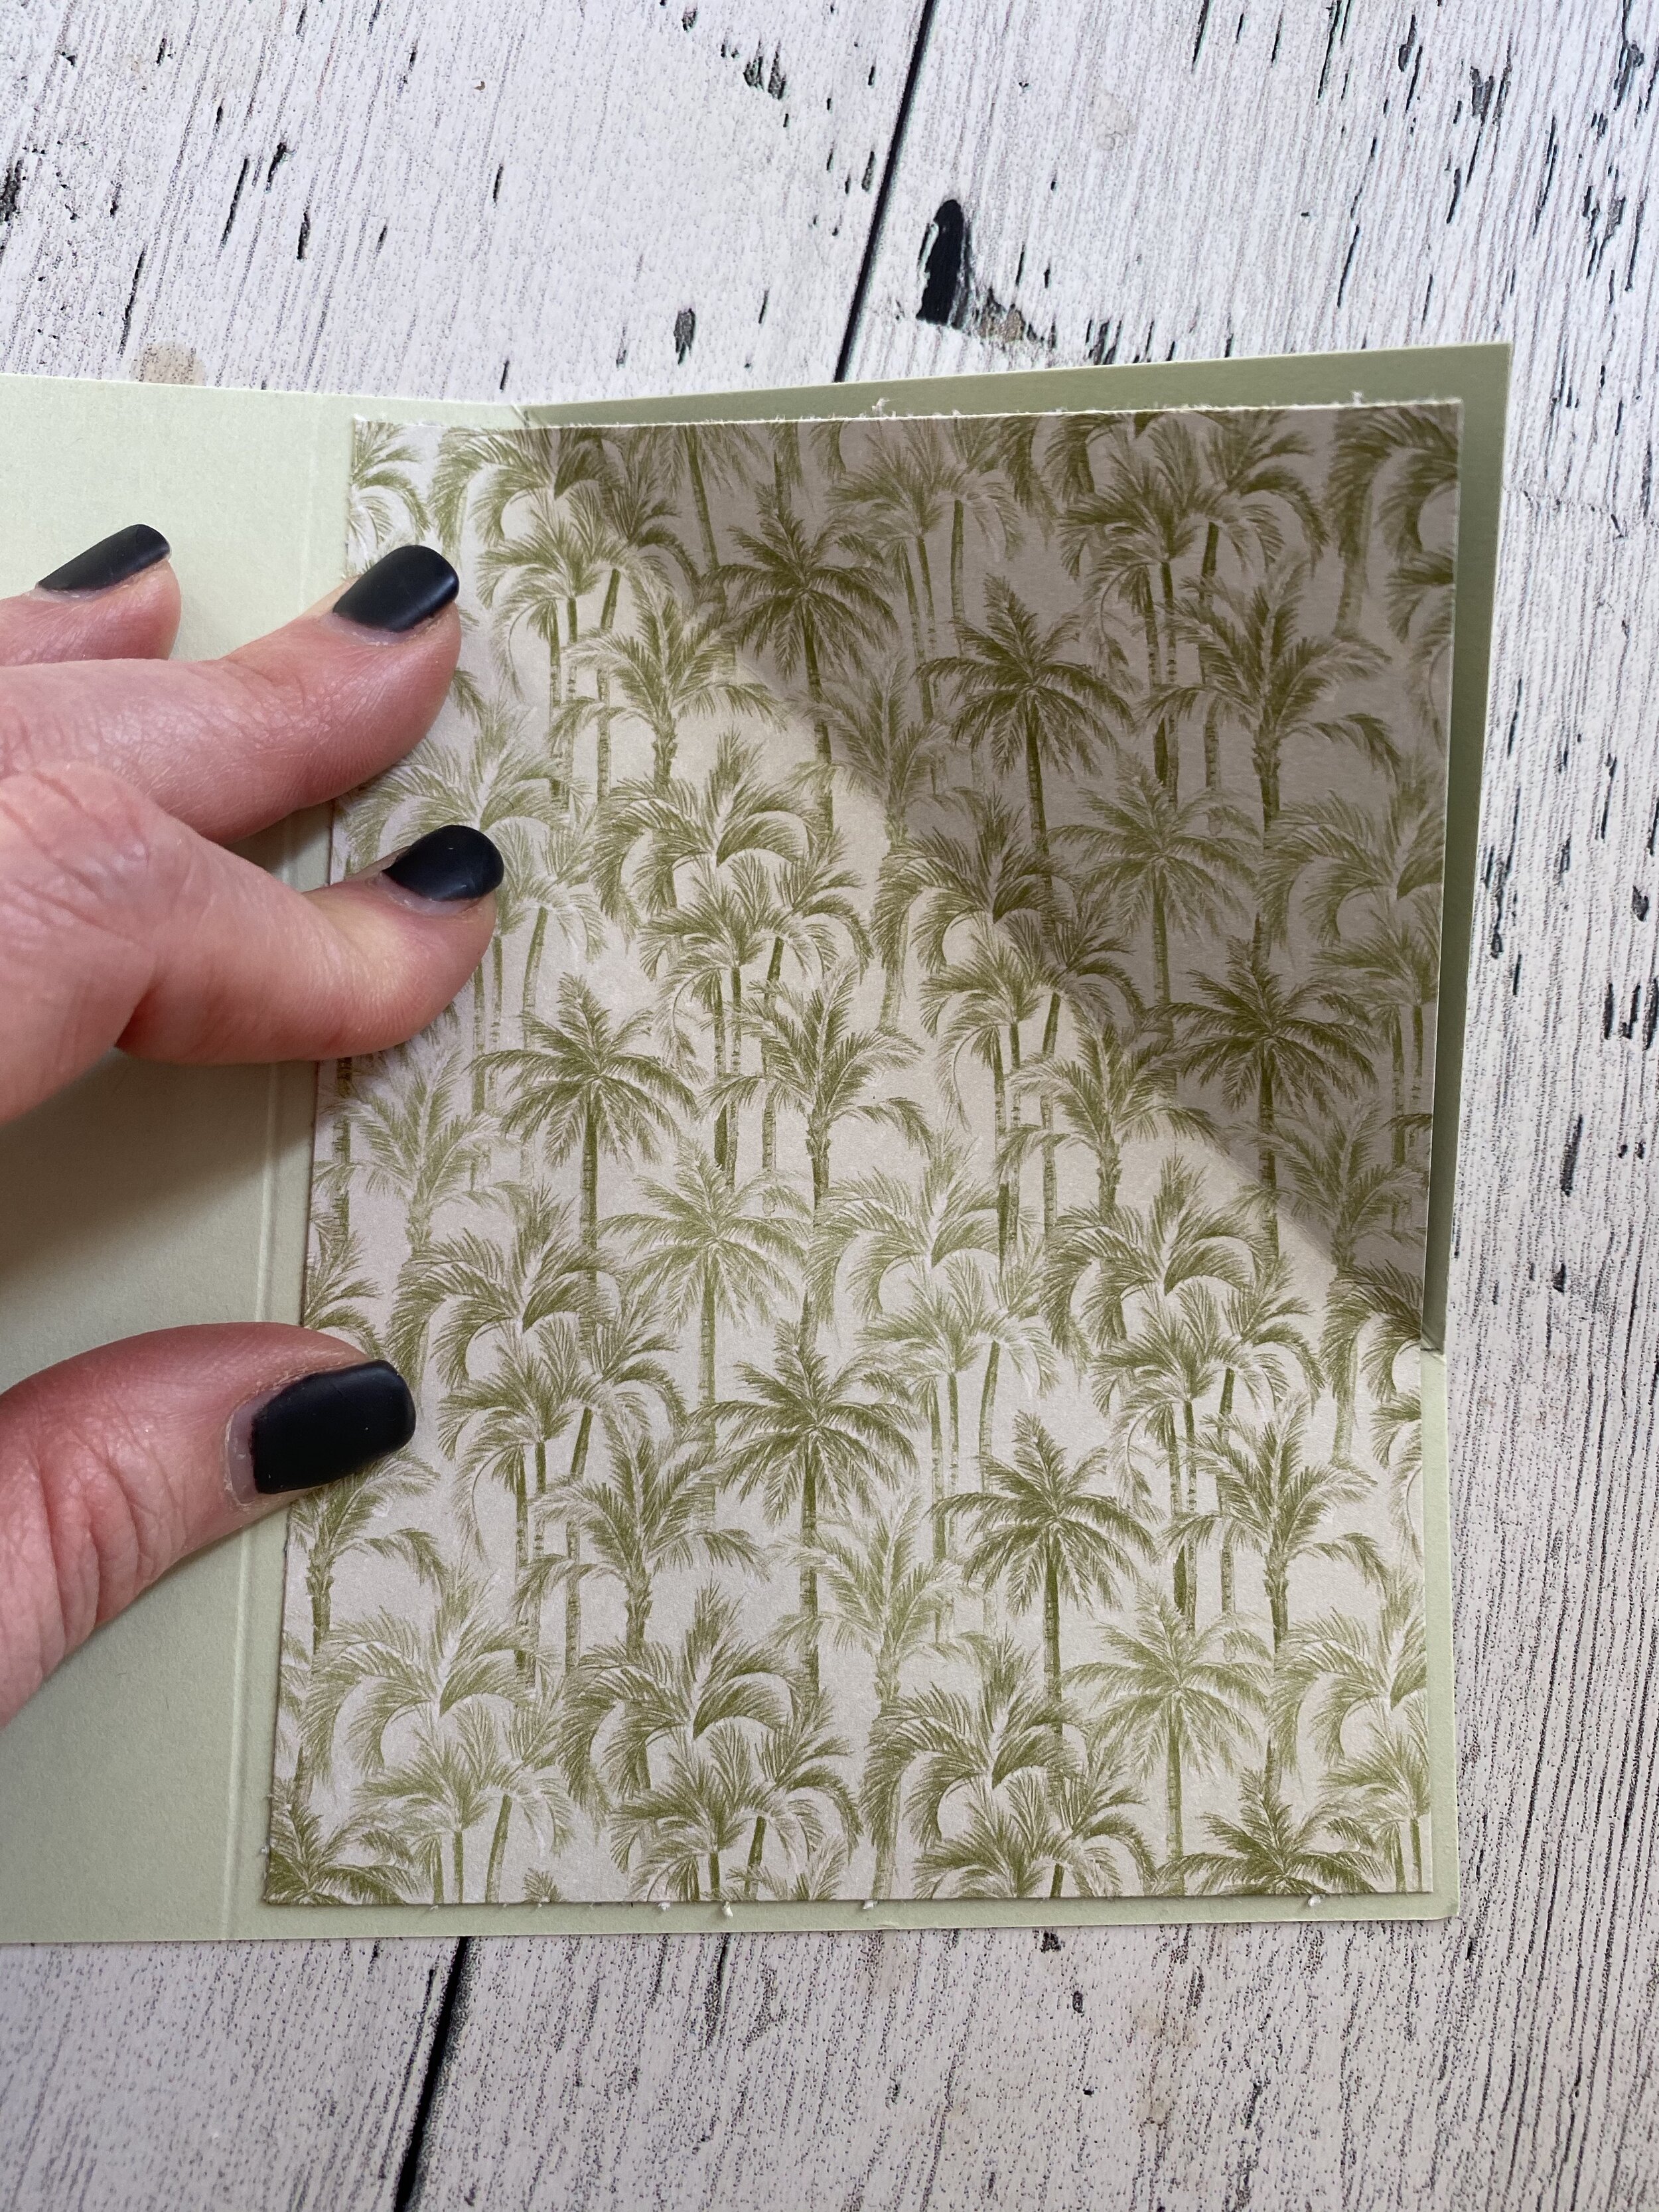
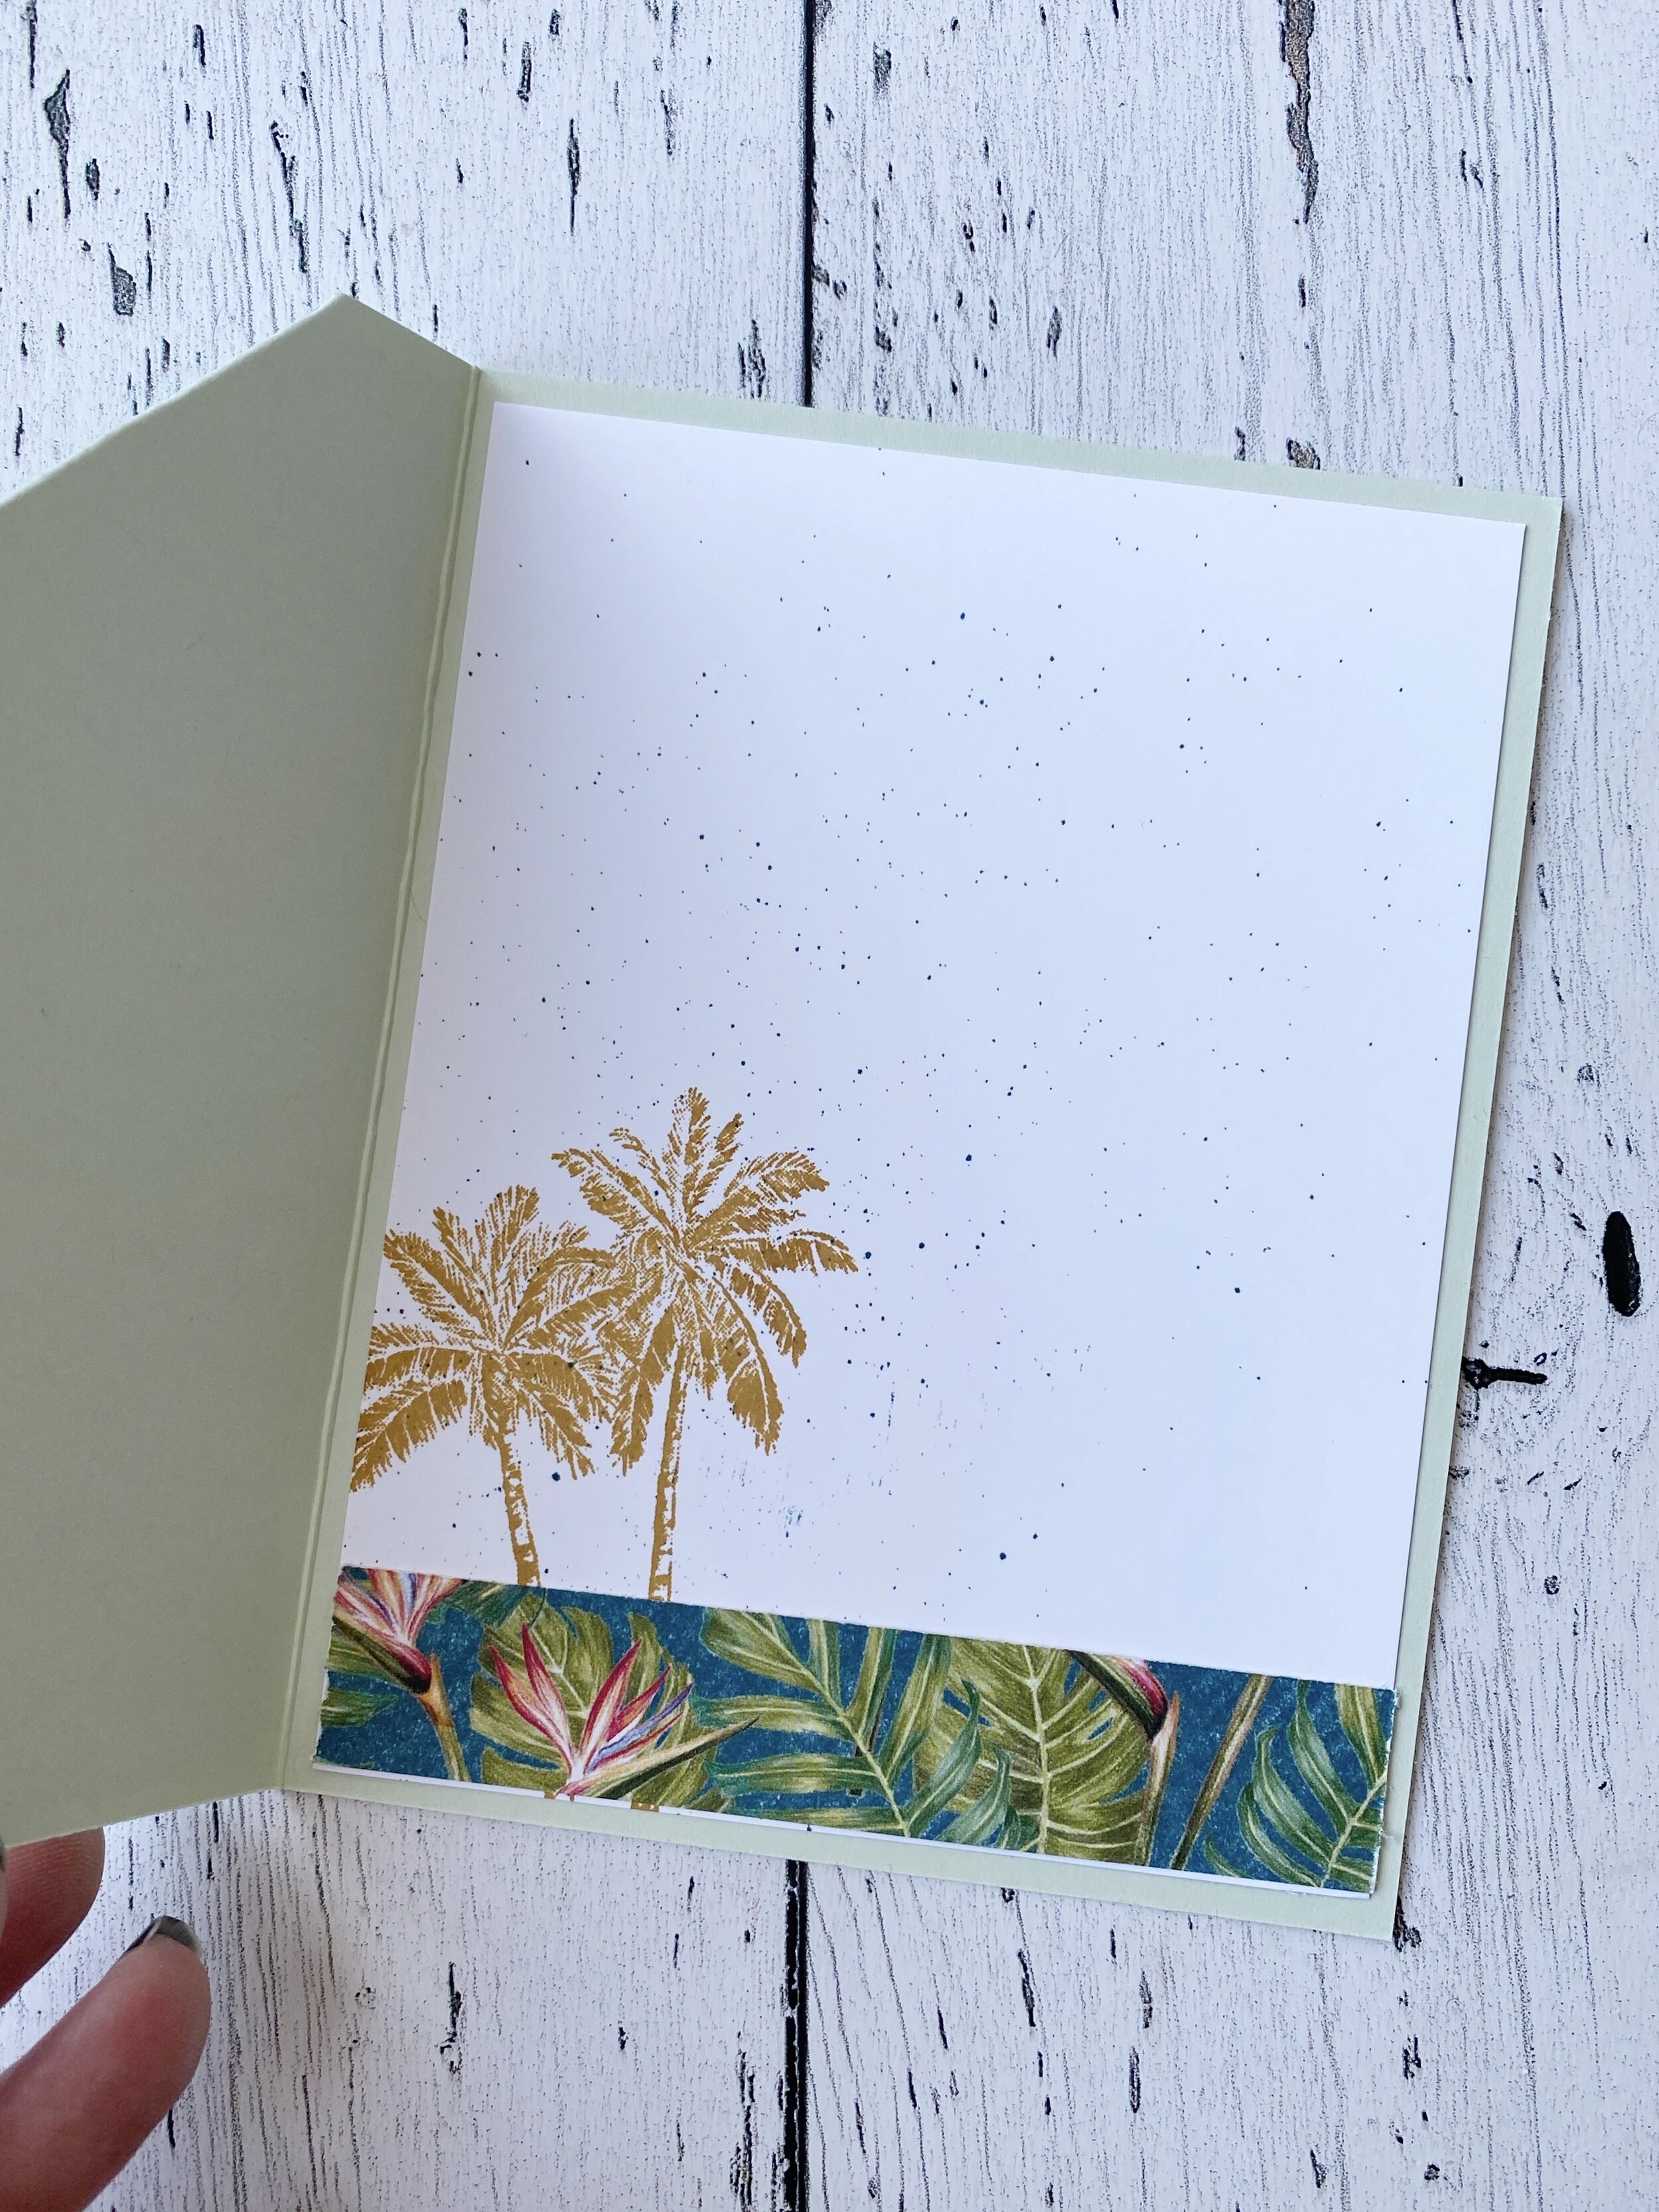
I used Pool Party as my page layout base and I found a strip of the Perennial Essence DSP in my scrap pin. I added a strip of the So Very Vellum Specialty Paper (which was a free Sale-a-bration reward) at the bottom as it added some unique texture. I used the DSP to dictate the rest of the color pallet and decided to pull out the Highland Heather and Pretty Peacock accents.
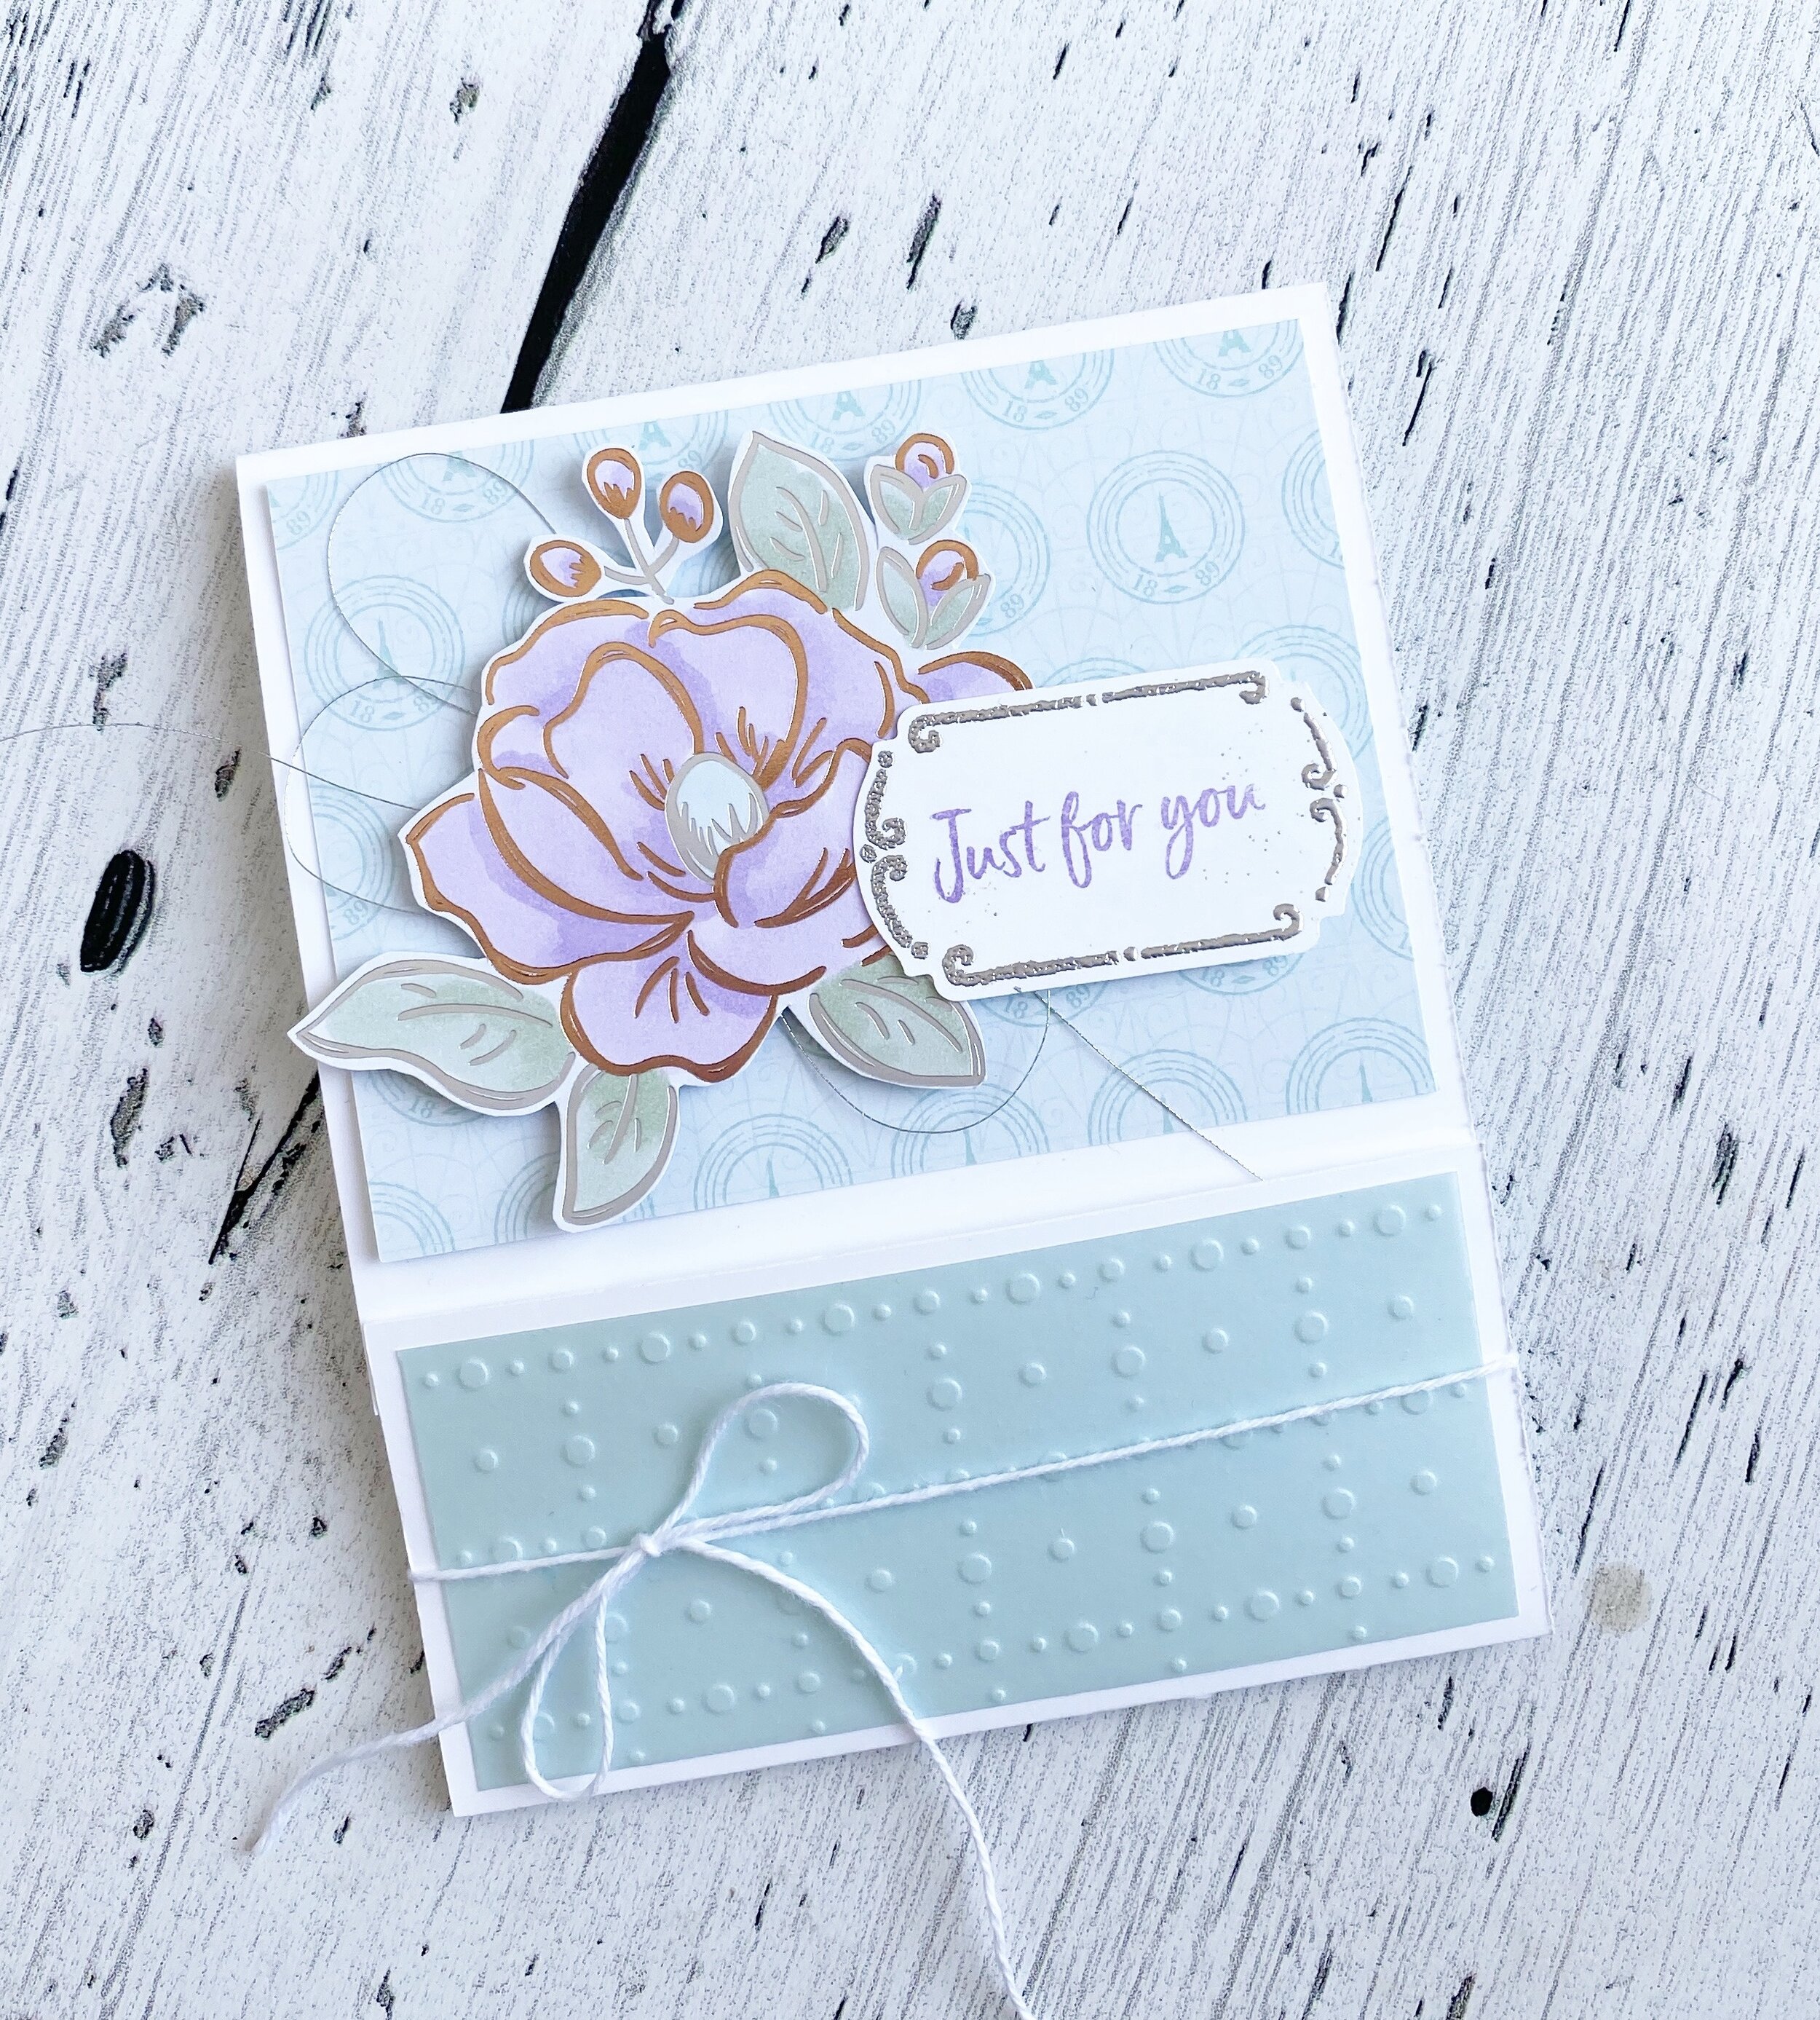
The border at the top is from the Wild Rose dies and layered behind in Pretty Peacock is the Label Me Lovely Punch. I decided to keep the florals ‘light’ by stamping and embossing them in white onto some vellum. Both of the florals are from the Timeless Tropical stamp set. Hello Sunshine is from the Under My Umbrella stamp set. You will find Enjoy the Little Things from the Friend Like You stamp set and Time for a New Adventure from Well Said stamp set, which can both be found in the Idea Book & Catalogue. I do believe it is important to design projects that feature at least one item from the Idea Book & Catalogue as we do always want our stampers going back to our main stampin’ resource.
There are a few retired items on this page too—-can you spot them? And the little strip of DSP under the largest flower is from the Best Dressed DSP.

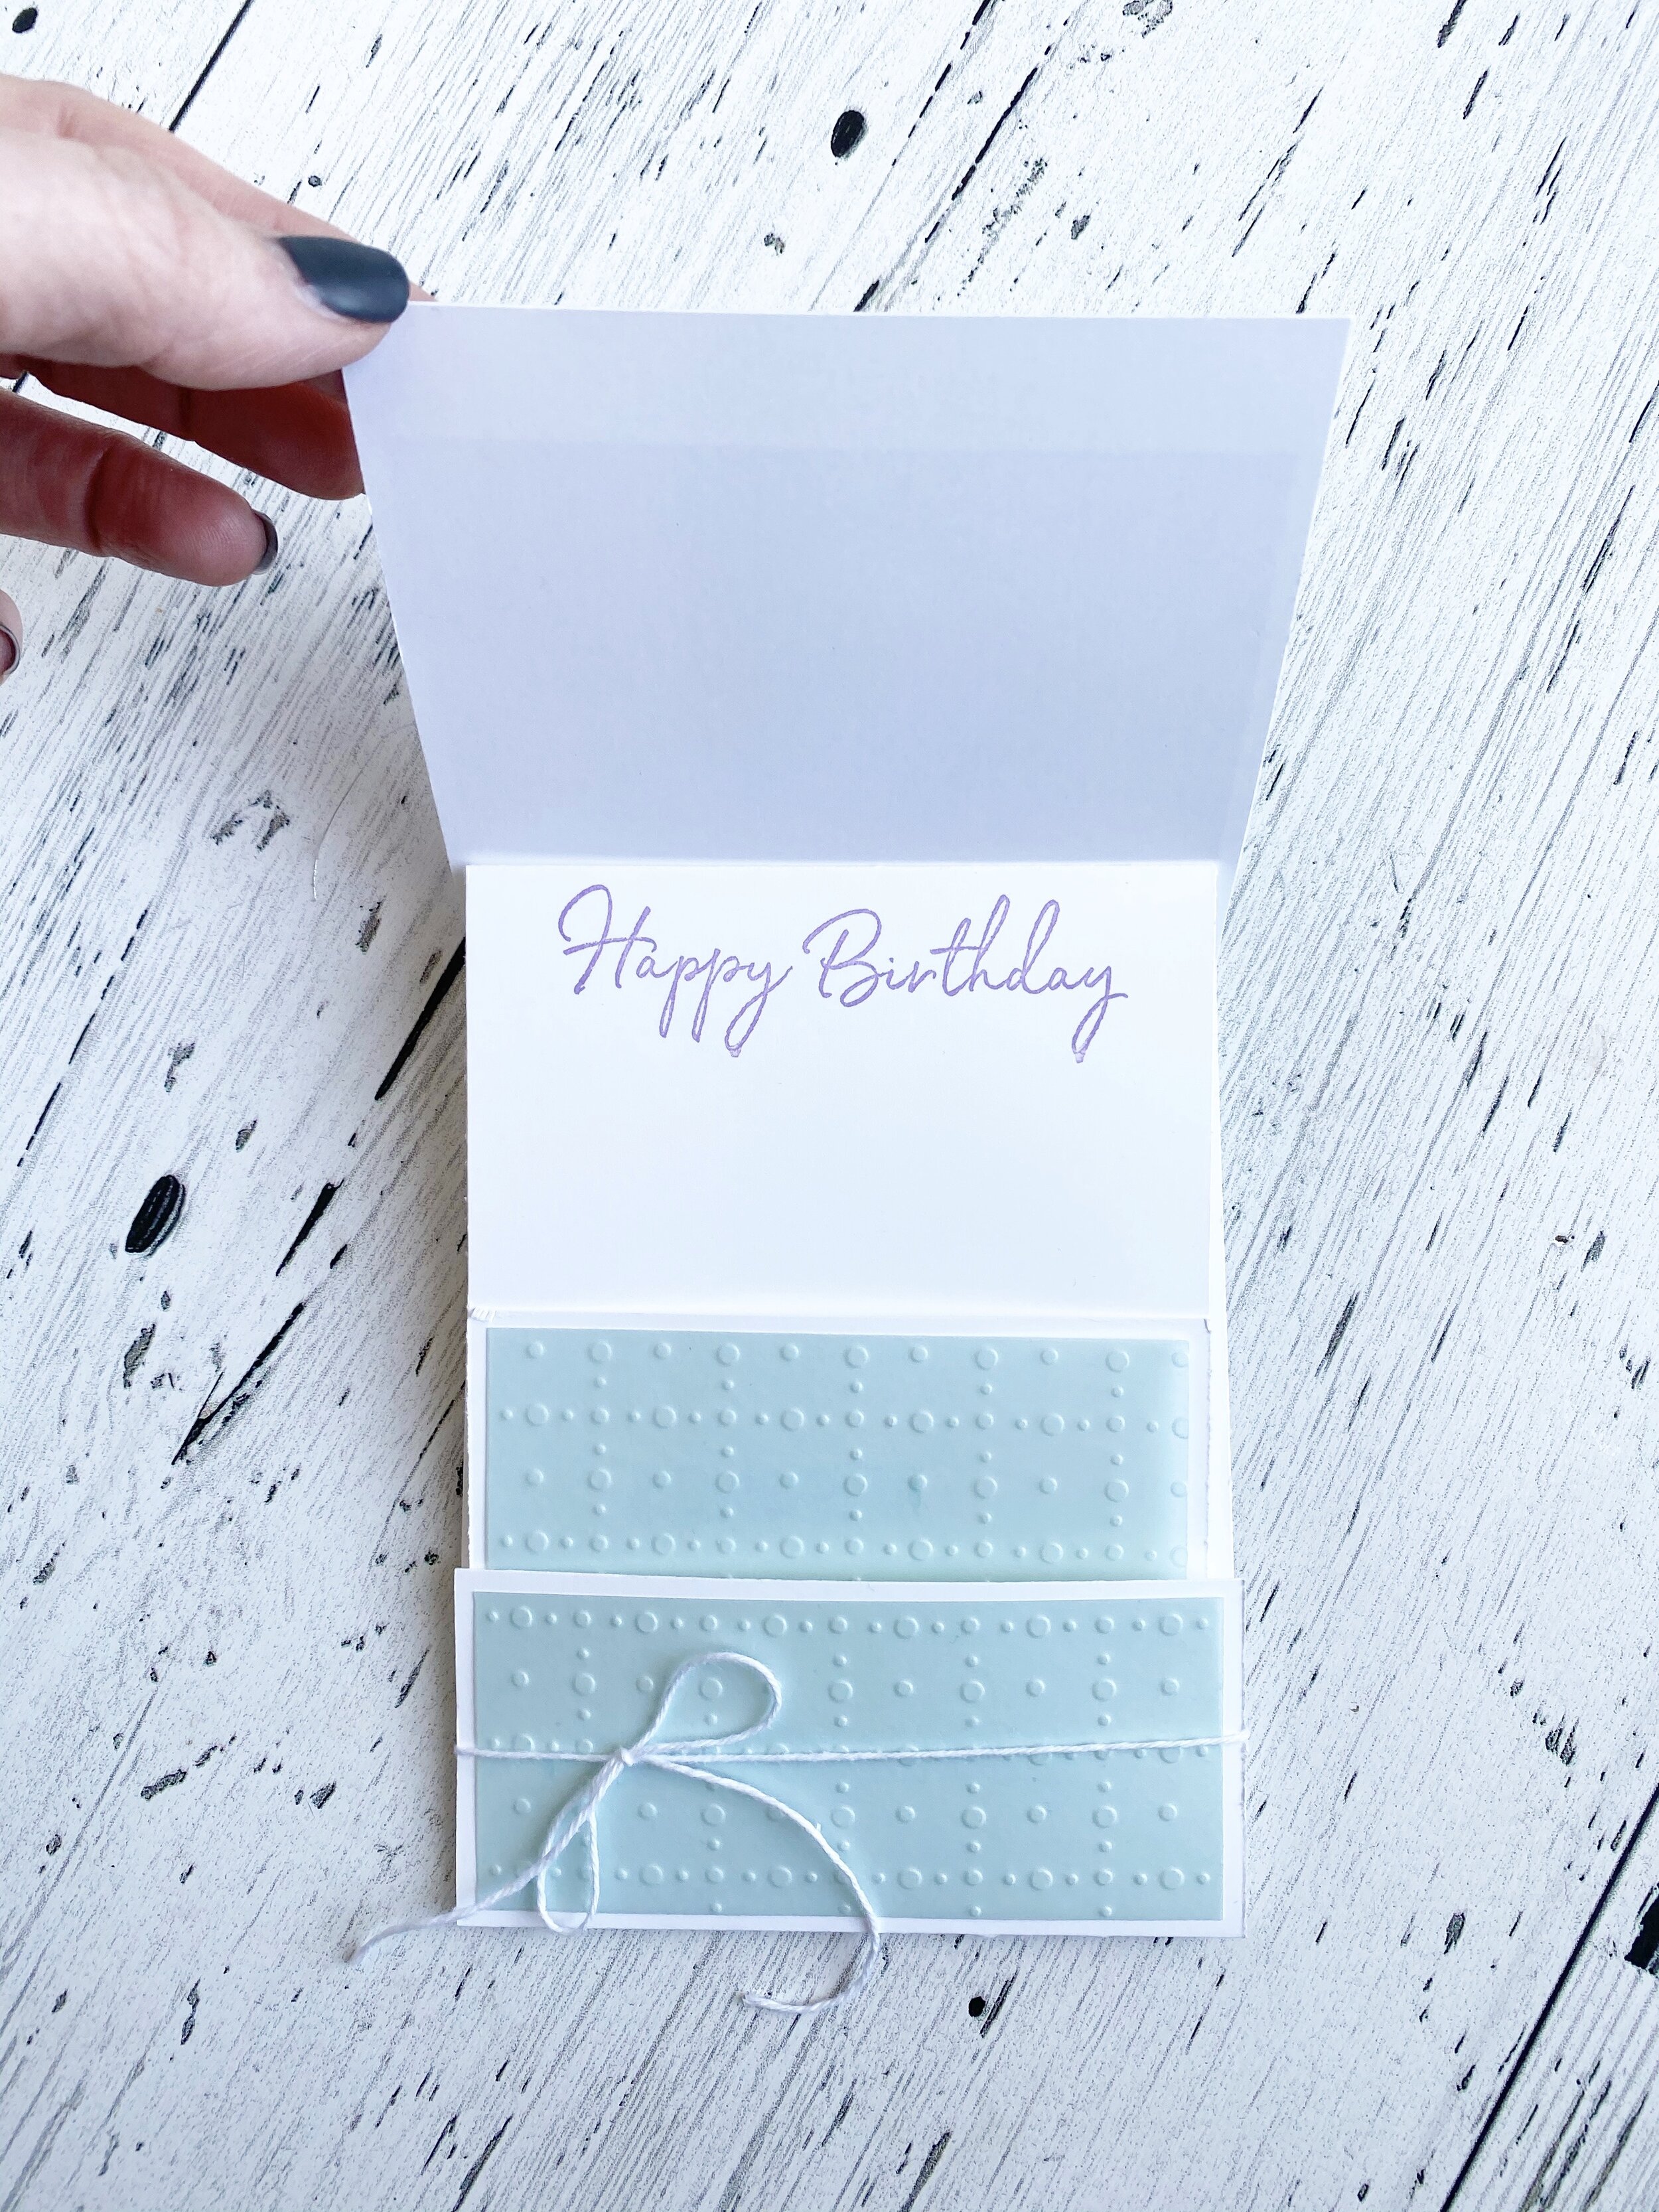
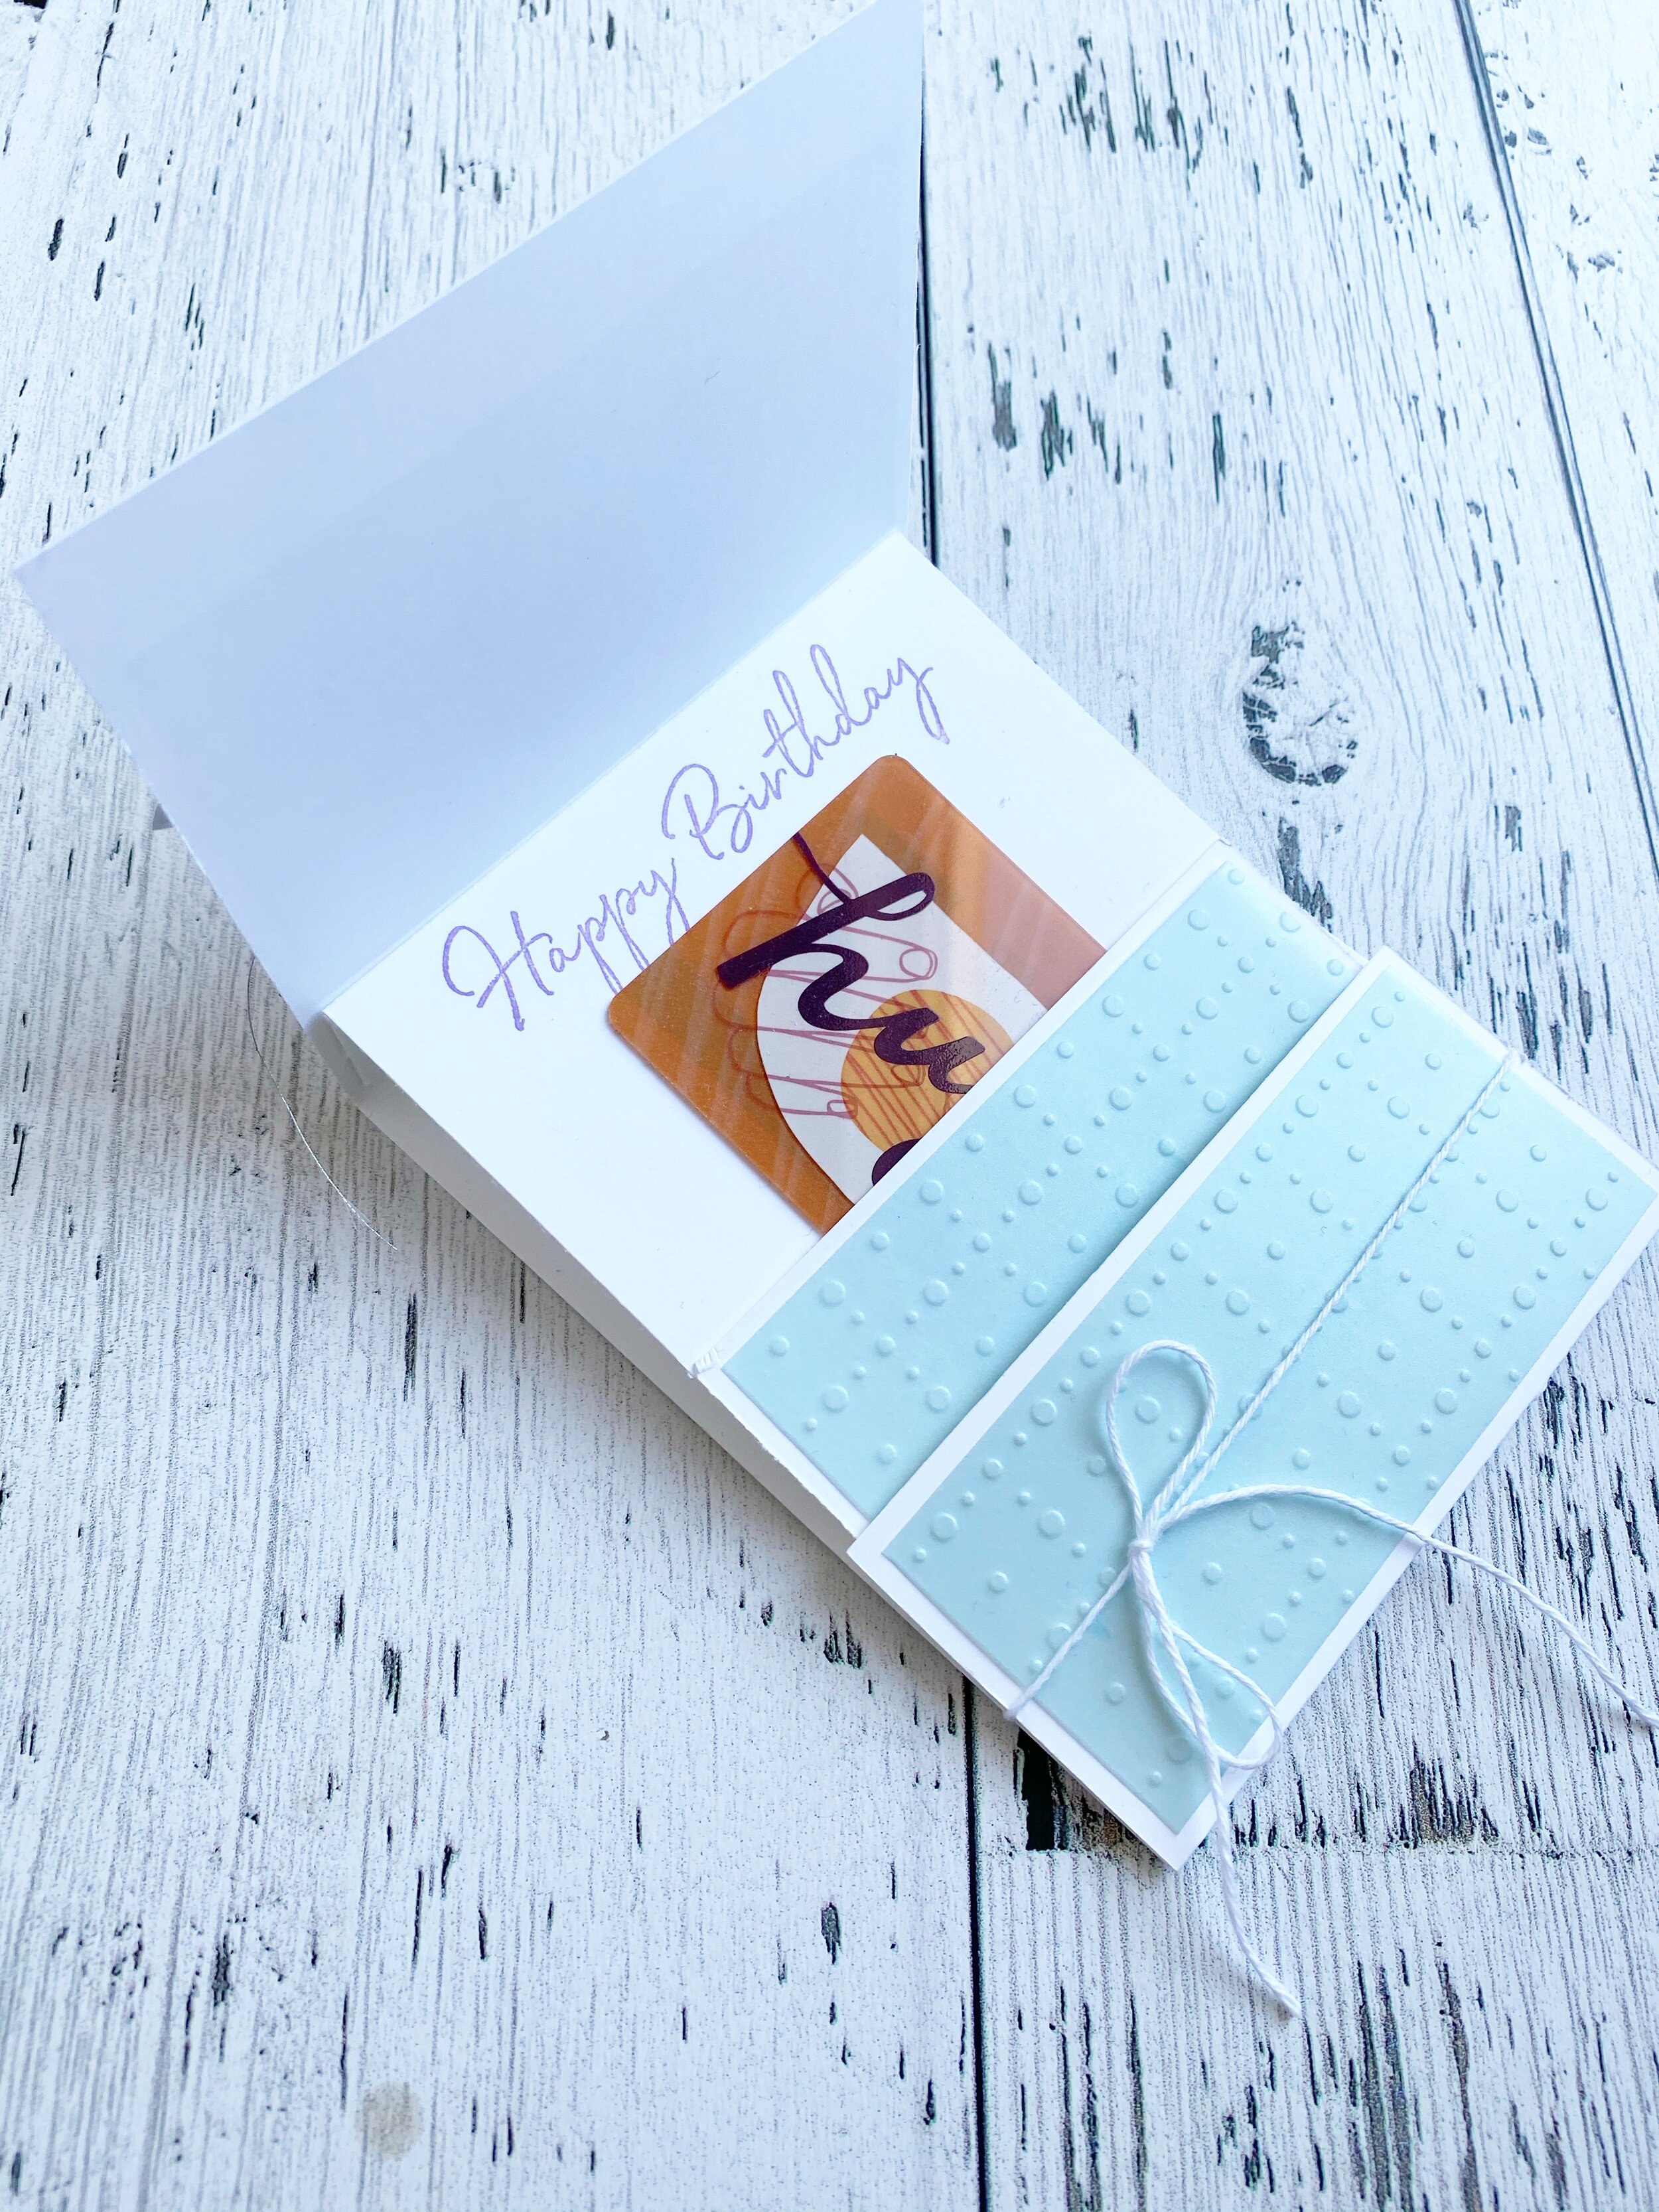
I absolutely love how the page turned out! I kept the layout the same and just freshened it up with new products from the 2019/2020 Idea Book & Catalogue and the Occasions Catalogue!