Let is Snow--Metallics!

Back in September I co-hosted an event called Creative Day Getaway. I offer this event 3 times a year with two other demonstrators and each time we host this event I have to create a 15 minute demo. At our last event I took on the challenge of getting creative with the Delicate Metallic Inks. Sadly they are not being carried forward with Stampin’ Up!. However, I did really enjoying playing with them. I used water-colour paper, a spritzer, aqua painter and the Silver Delicate Ink Refill to create this background. Because this refill is so thick, I needed to put a good layer of water down on the paper and then I added 2-3 drops of re-inker and used the aqua painted to move it around. I used my heat tool to set it and I was really happy with how this metallic wash turned out. I stamped ‘Let it Snow’ in the metallic ink to finish off the background.

The snowflakes are cut with the Frosted Frames dies!

IMG_3473.JPG

Occasions Catty--Sneak Peek Project!

Now that On Stage is finally over I can reveal that I was asked to present the Parisian Blossoms suite! It was so amazing to work with!I created over a dozen cards and 5 scrapbook pages with it. Here is one of my favourite creations…I thought I would share it even though its not a Christmas card. It could be though…just change up the color scheme! Think outside the box!

You will have to check back to see all the details on December 1st. My holiday gift to you will be showcasing all of my creations in daily posts!

IMG_3877.JPG

To Be Jolly!

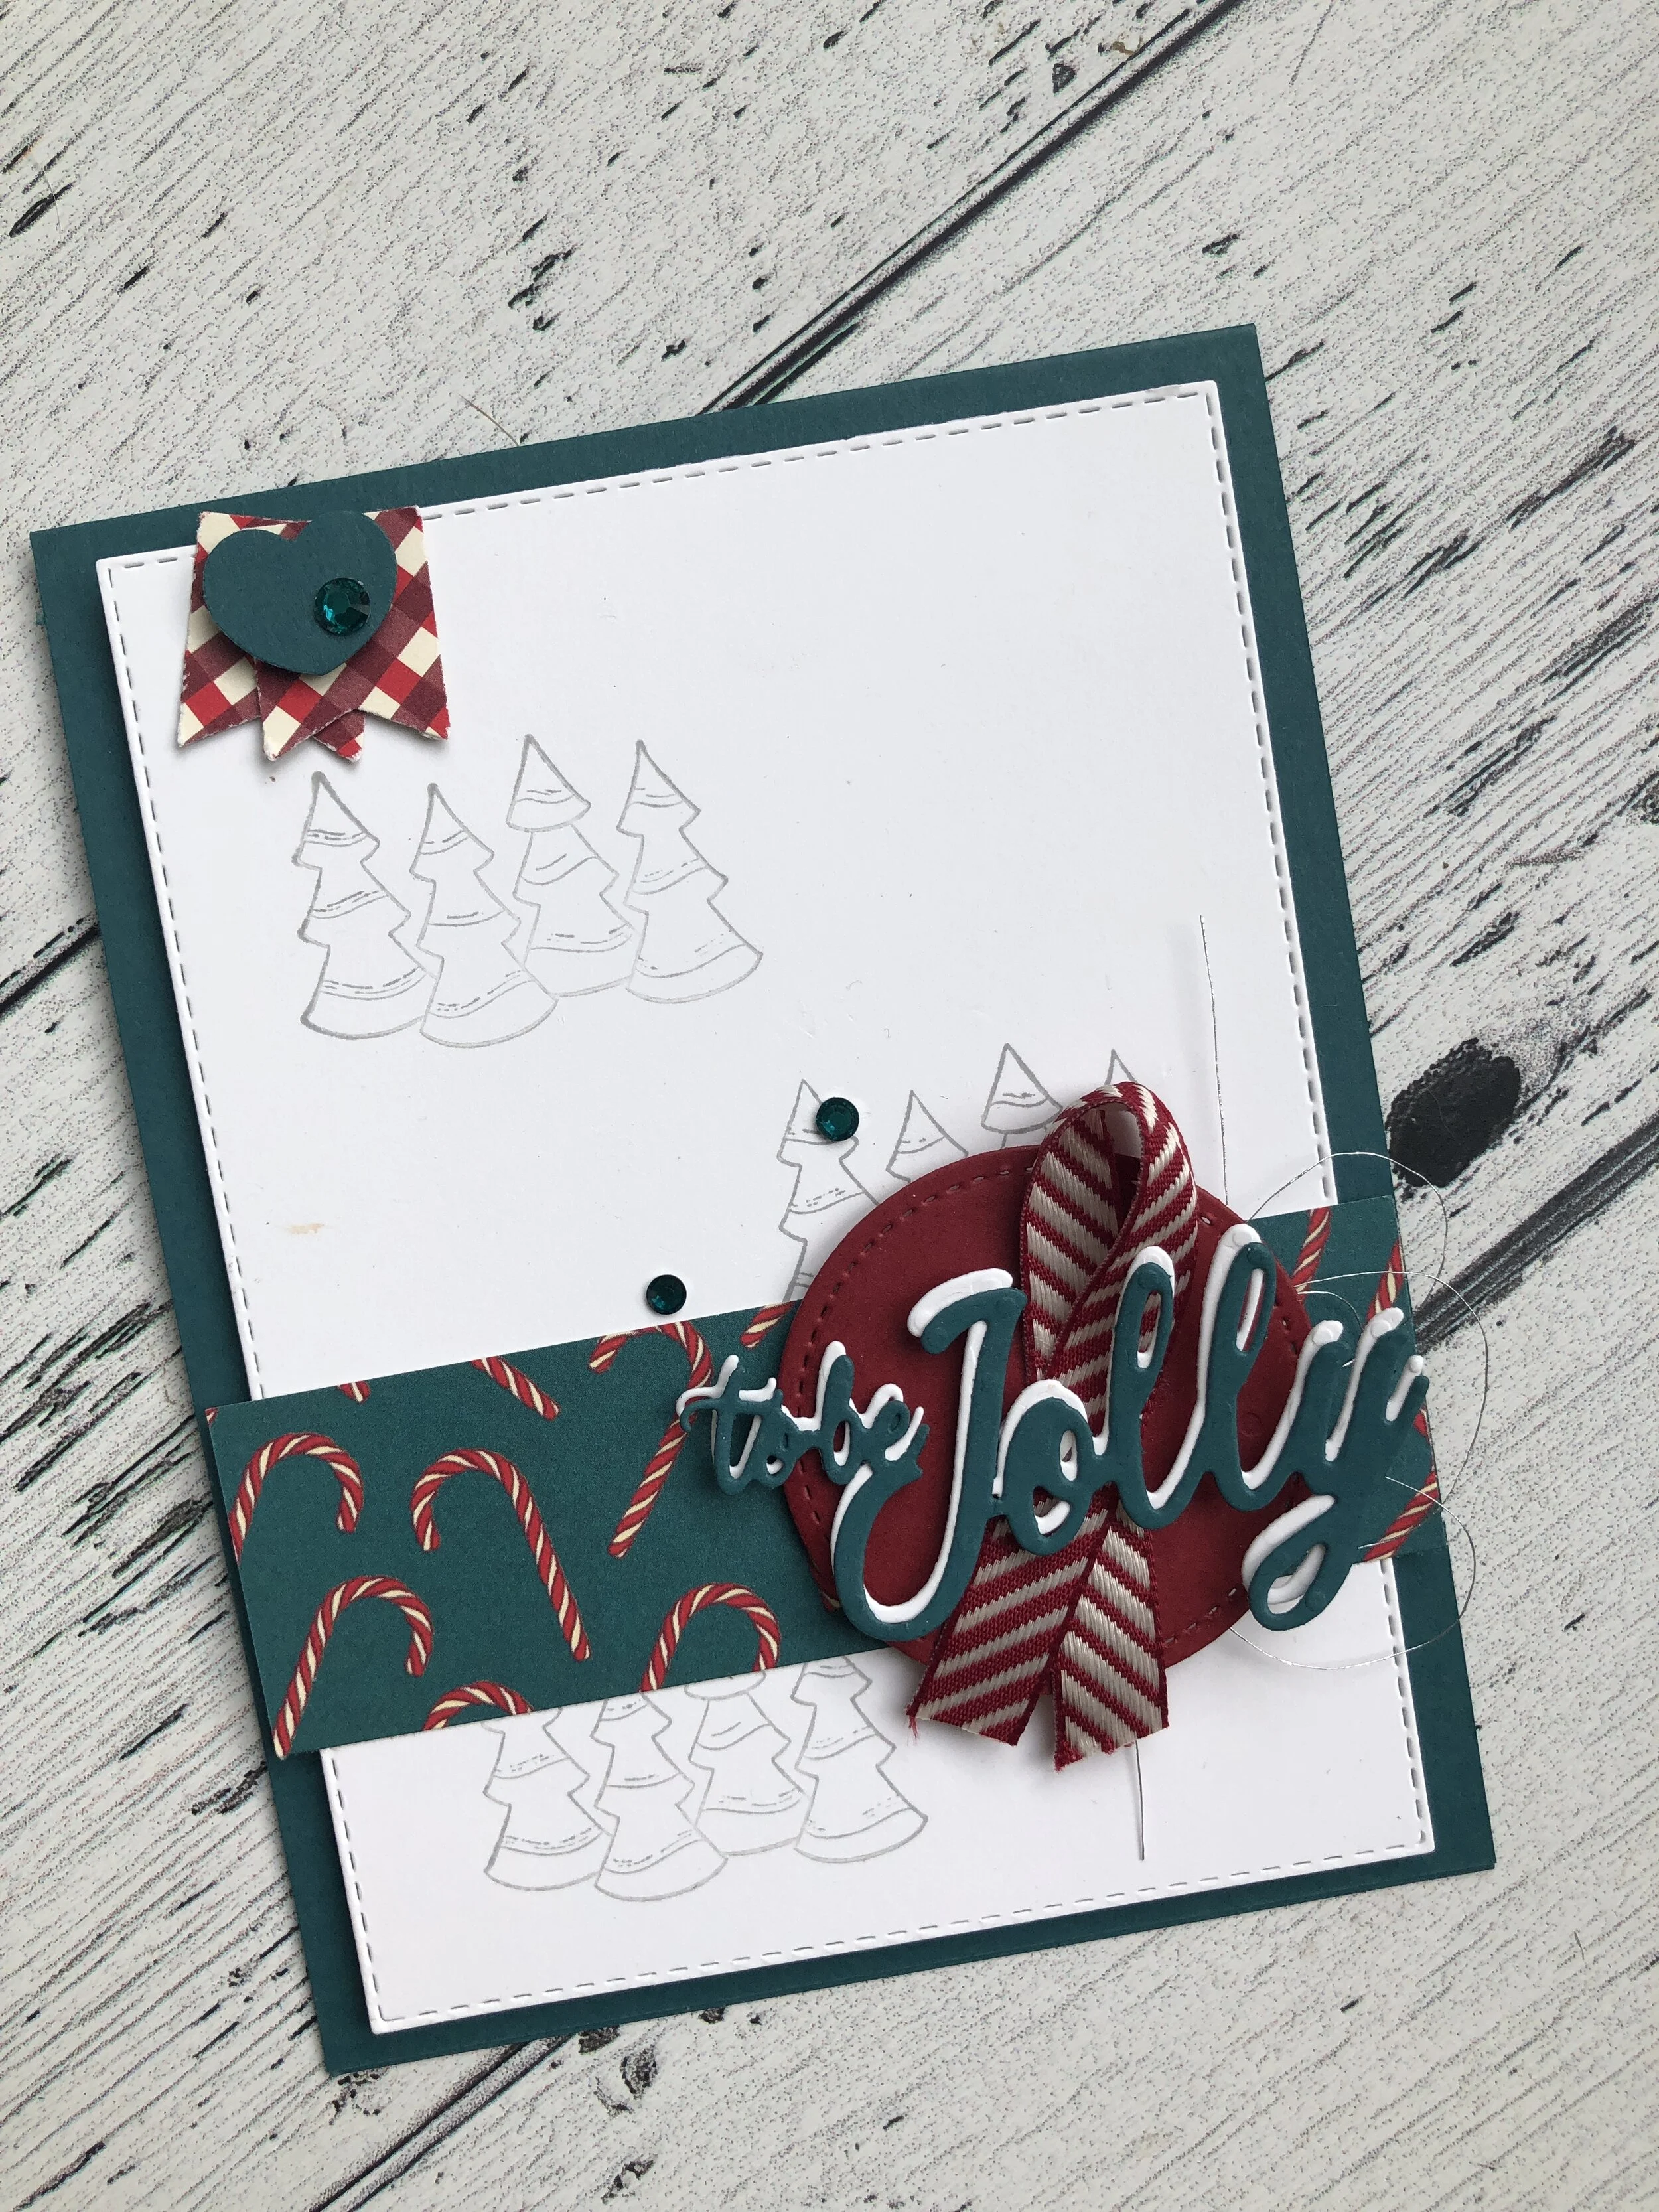
Day #16! Enjoy this card today as I know I am enjoying my time at On Stage in Edmonton! The card was created using the Holly Jolly Christmas bundle (pg 25) of the Holiday Catalogue. It is a part of the Night Before Christmas suite. I used the DSP color palette to dictate the colors of my card. I think Pretty Peacock is an usual color when we think of ‘Christmas’. I added in the candy cane and gingham designs from the Night Before Christmas DSP. I love the Cherry Cobbler Diagonal Stripe ribbon and I was struggling to get the To Be Jolly to stand out. So I cut it out in Pretty Peacock and Whisper White and layered them to help the phrase pop so it didn’t get lost amongst the ribbon. A few trees stamped in Smoky Slate and some rhinestones from the Noble Peacock set competes the card!

IMG_3869.JPG

Santa's Back...

I absolutely love this vintage Santa! He is reminiscent of the Santa imagery of my childhood. Warm happy feelings! I loved colouring him with our Stampin’ Blends. The Jolly Season Dies (pg 25) include the Tis The Season phrase which I cut in Granny Apple Green. It was fun to pair a brighter green with the traditional Cherry Cobbler red.

Top Tip: To make the pattern of your embossing folders stand out, use a finger dauber (here I used Smoky Slate ink) on the sections of the folder to enhance the design.

IMG_3867.JPG

Happy Christmas!

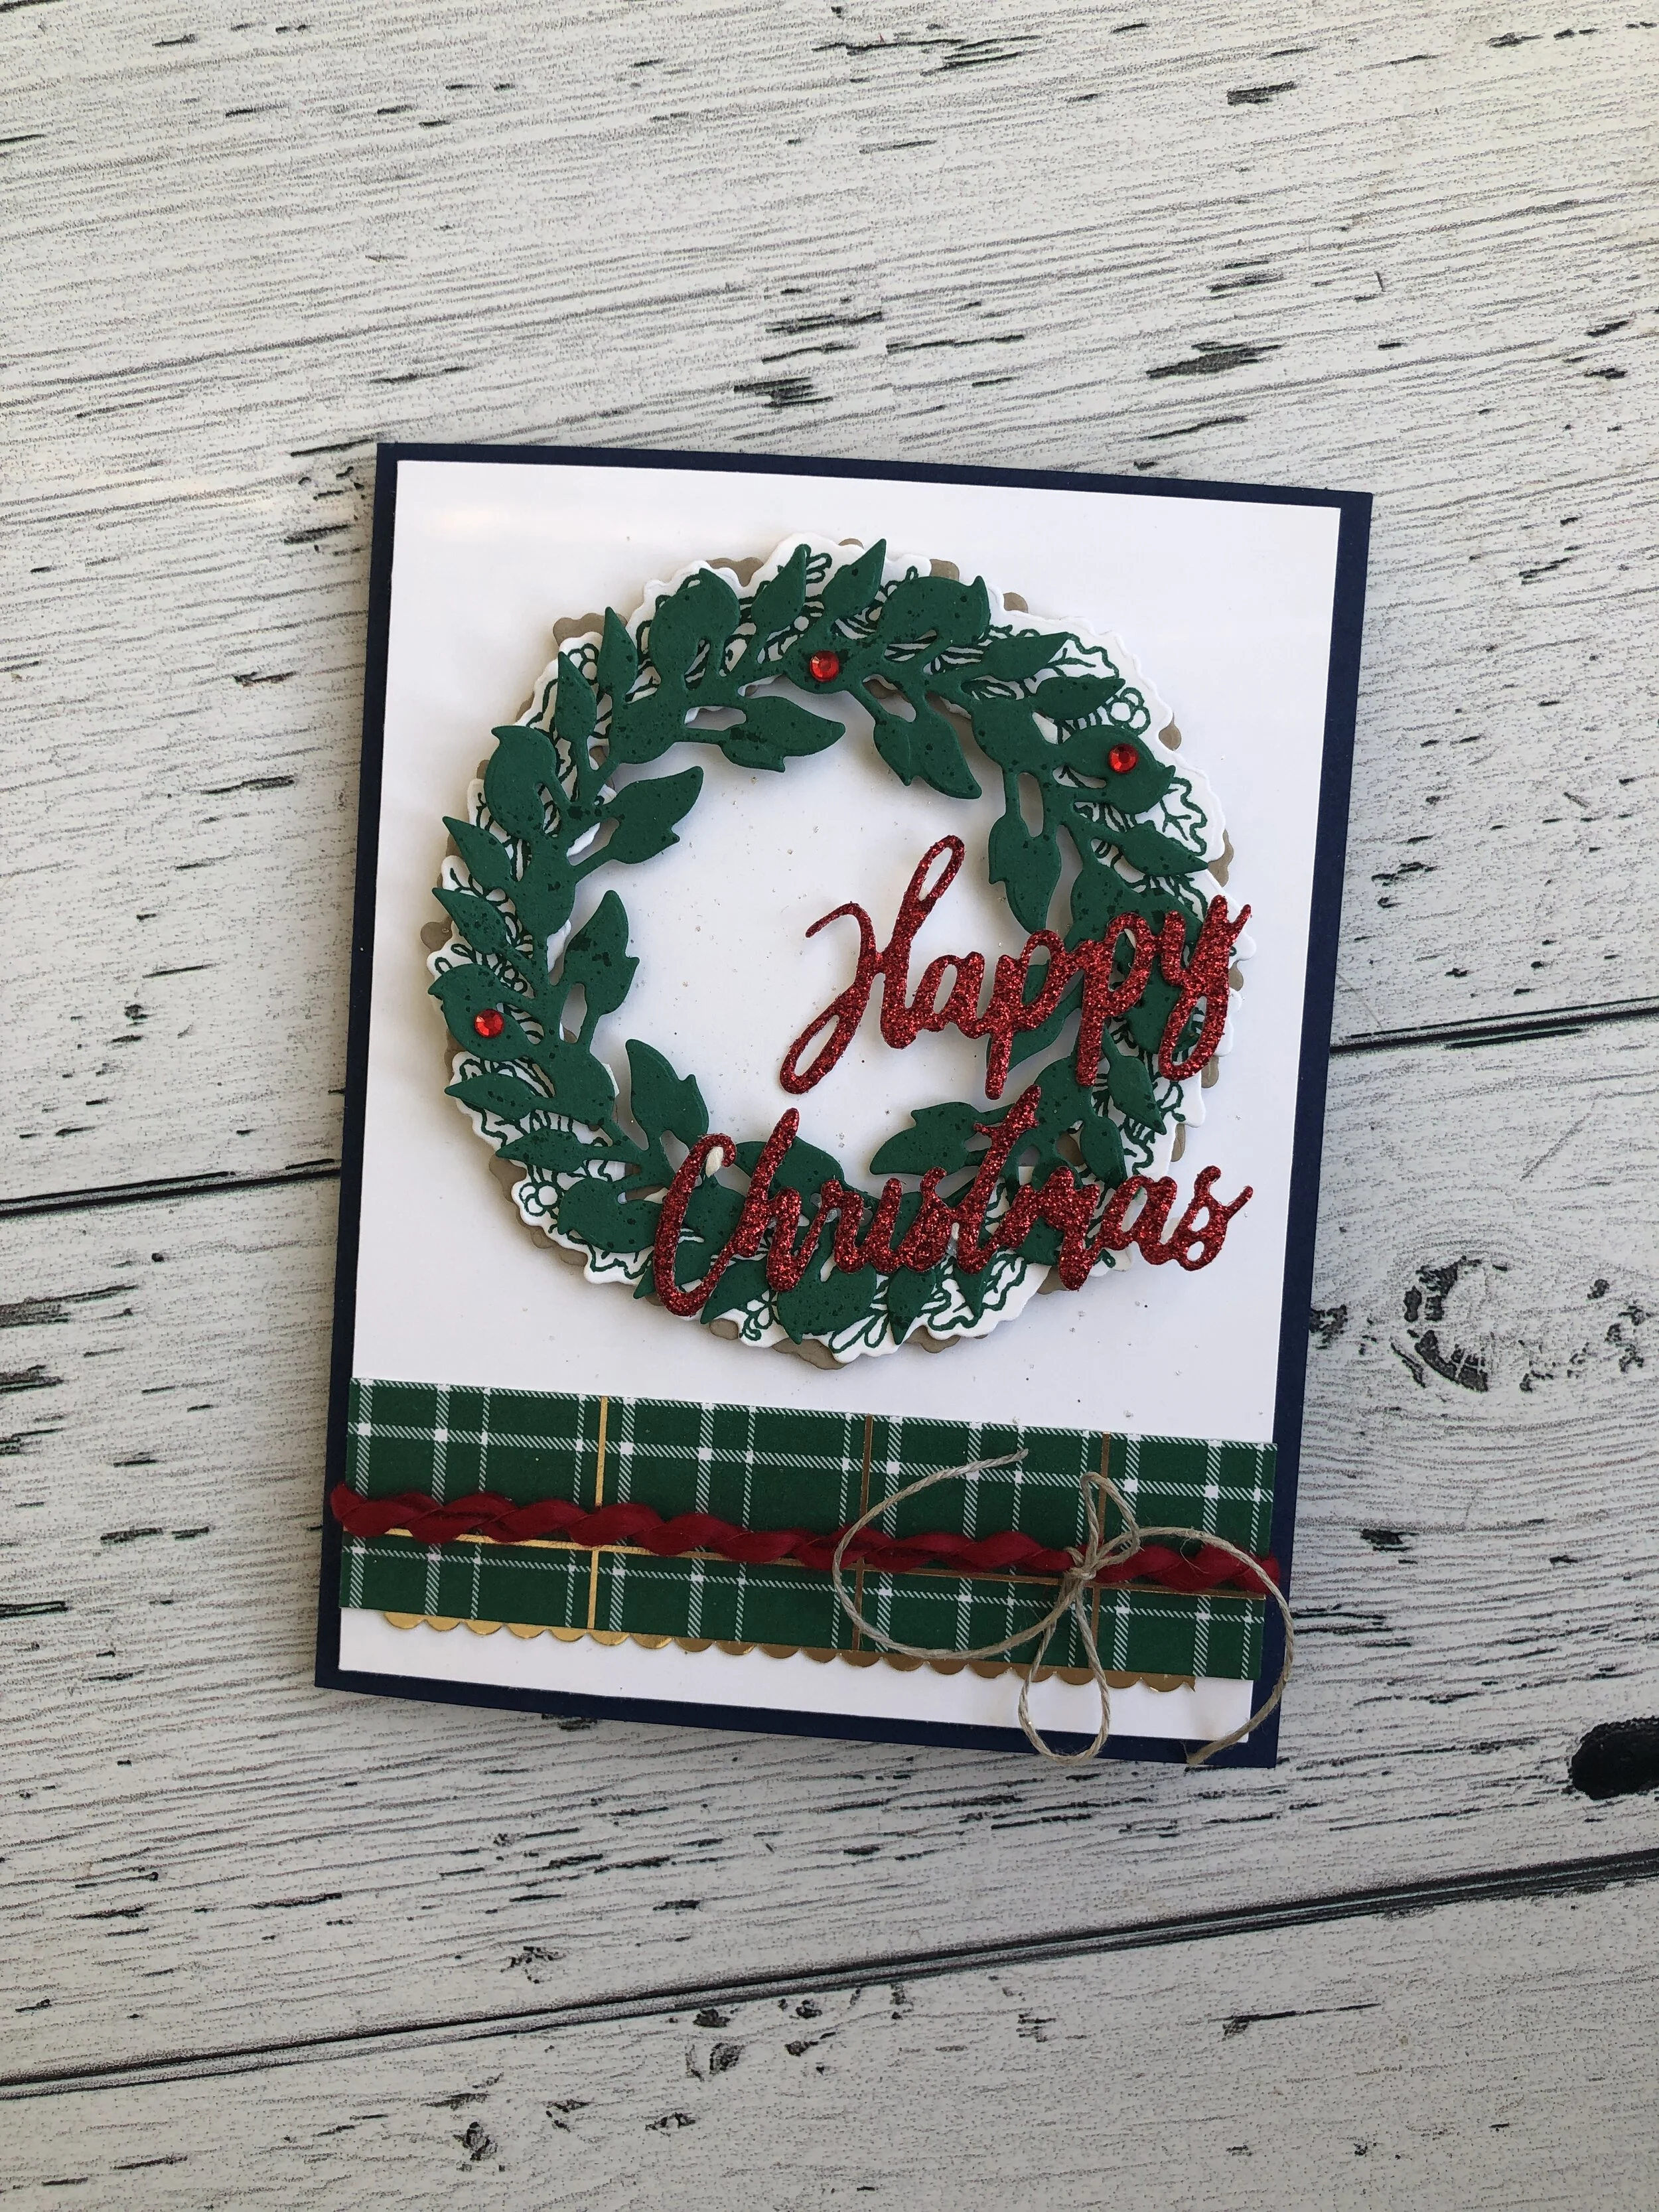
I am almost halfway through my Christmas Card a Day challenge for November! This has been such a great way to extend my creative muscle by designing and creating 30 different cards this month! Sometimes I am a few days ahead and sometimes I am scrambling last minute! Sounds like every aspect of my life! I used the Seasonal Wreaths stamp set again to create today’s (Day #14) card and the color palette was dictated by the Wrapped in Plaid DSP. I added on some Real Red Rhinestones from the Annual Catalogue plus added a section of the Real Red Curly Ribbon from the Let it Snow Suite.

I used the All-Around Wreath Dies (pg 7) to cut out the three wreath layers. The Shaded Spruce layer was flicked with the Shaded Spruce marker to give it a little more detail. And the Whisper White background was flicked with the Wink of Stella pen to accent the gold stripe in the DSP.


Happy Stampin’!

IMG_3887.JPG