Create with Connie and Mary--Spring Flowers!

Well this week we are focusing our design efforts on Spring Flowers! There is still snow on the ground where I live so I don’t think I will be seeing any actual flowers for a while, nonetheless I was still excited to create a scrapbook page of a photo I did take last spring!

21DesignTeamBadge.png

I wanted to use a bundle that I knew was carrying forward into our new catalogue being released in May. This is a set I was happy to see return as I have not had as much time to play with it as I was hoping, so I am glad I will have another catalogue run to be creative with it!

There are a couple things on this page that are retiring…have you seen the list? Can you spot them?

There are a couple things on this page that are retiring…have you seen the list? Can you spot them?

The base of my page is classic Basic White. Because this was a spring layout, I wanted a crisp background to start with. I began by blending some Balmy Blue into the background and I stamped the large from image from the Blossoms in Bloom stamp set in the same ink color. This created a bit of tone on tone imagery.

What I love about this die set is you get TWO large dies that match the stamped image. I used the more solid one up top, cutting it from Basic White card stock. The second more delicate one is die cut from Balmy Blue card stock. When you lay both of these over top of the stamped image you just get a peek a boo look at the stamping and blending beneath. LOVE!!

final (1) 3.jpg

The small stamped flowers are hand cut as there is not a die that just cuts the perimeter out in the Many Layered Blossoms Dies. I used Bumblebee, Highland Heather (on Purple Posy card stock) and Petal Pink as to me these feel like spring colors. I love the soft pastel tones of this season.

I added small die cut flowers in Basic White to contribute to the crisp feel of this page.


I created two focal points on this page, the top right corner where I added in Happy (which is hand trimmed from the entire phrase of Happy Birthday). I used Flirty Flamingo ink on Petal Pink card stock so the sentiment would be a little more vibrant.

Opal rounds were the perfect embellishment for this page as they add texture without being distracting.

The Pinewood Planks 3D folder also add alot of natural texture to the photo mat.

final (1) 5.jpg
final 2.jpg

This bottom second focal point highlights one of my favorite ribbons, the Bumblebee Gingham ribbon! I have gone through several rolls of this ribbon!

I thought the sentiment “I like you a lot” was perfect for this page and I am happy that this whole design used a single bundle! This is not something that I can say happens for me very often.

I love how this page turned out, especially because I was able to piece it together in less than 30 minutes! By focusing on a single stamp set or bundle it can make your designs come together a lot faster than trying to mix and match and incorporate…

I love how this page turned out, especially because I was able to piece it together in less than 30 minutes! By focusing on a single stamp set or bundle it can make your designs come together a lot faster than trying to mix and match and incorporate other stamps . This bundle is definitely a winner for me!

I can’t wait to see what the rest of the team has designed with the theme SPRING FLOWERS! There are so many great stamp sets to choose from that the possibilities are endless. You can go BACK to see Melissa’s project or you can go NEXT to see what Connie has created this week for us. Either way, visit the whole hop and please feel free to leave me a comment. I really enjoy reading them.

So Happy...

Today I committed to making a project that was just for myself—this might sound crazy but with all of my Artisan commitments and the various classes and groups I offer, most of my creative time is designated to that. So it was refreshing to make a scrapbook page, my favorite thing, for just me and to display in my crafty space!

IMG_4767.jpg

This is a picture from a family photo shoot 2 years ago already! Sometimes, moms can relate, I just can’t wrap my head around the passage of time. The days can be long but the years go fast, is such a perfect way to describe ‘time’ and this motherhood journey!

I started with a base of Basic White because I really wanted to use the So Happy bundle. I have had it sitting on my craft table for the last month and was itching to create a stencil of sorts to create some clouds. I also wanted to use this set in a non-traditional way as at first glance it looks like a birthday set. With a little creative design I think I did create a page that has nothing to do with birthdays!

I used Pool Party and the new Blending Brush to create the clouds. You could use any of our amazing blues, but I find Pool Party and Pretty Peacock look amazing together. I will be sad to say goodbye to Pretty Peacock next month but I am also excited to see the new In Colors that will be released.

I cut a ‘stencil’ using the cloud die from the Happy Die Set and then used its edge repeatedly create a cloud like look on my page.

I cut a ‘stencil’ using the cloud die from the Happy Die Set and then used its edge repeatedly create a cloud like look on my page.

I blended the clouds about half way up my page and added two feature areas to the page. The top left little area is where I was able to introduce Calypso Coral and Petal Pink—two other colors that I find look amazing together. The half 2 inch circles are from the new and exclusive Butterfly BIjou DSP and had a similar shape to the clouds which I liked.

Using the dies I was able to cut out the little banner in the Natural Touch Specialty Paper. I sniped it apart so it looks longer than it is in reality. “Happy” is stamped in Pretty Peacock and then cut with a Stitched Rectangular die.

I love to add texture and interest to my sentiments by combining different ribbons. Here i used the Polkadot Tulle ribbon and the gold thread from the Forever Greenery Trim Combo Pack.  The Gilded Gem and itty bitty gold star (from the dies) just ad…

I love to add texture and interest to my sentiments by combining different ribbons. Here i used the Polkadot Tulle ribbon and the gold thread from the Forever Greenery Trim Combo Pack. The Gilded Gem and itty bitty gold star (from the dies) just add a fun element!

What I also love about this bundle is how the different phrases build off of the word HAPPY. I was able to cut the die down a bit from its initial form to change its appearance a bit too. I cut the ‘Happy’ out of the Natural Touch Specialty Paper as well. This helps tie the two feature areas together.

I also modified how the ‘Happy’ looked by trimming the top edge off of the die and shortening the edges.

I stamped ‘to have you in my life’ on Petal Pink Card stock and stamped the stars in the same color. I used Calypso Coral for the actual sentiment. The stars are stamped using the four colors that make up this page and also serve to create continuity across the page.

IMG_4768.jpg
 

Making this page just filled my cup today! I am so blessed that my hobby is something I love so passionately and has become a business that has allowed me to stay close to home to raise my kids.

If you are inspired by this page and want any of the project supplies I used, please feel free to shop my store or use my Hostess Code!

IMG_4770.jpg

Artisan Design Team February Share!

Hello friends! I am so excited to share a few more details on my Artisan Design Team projects for February! My focus was on the A Touch of Ink stamp set and the Golden Garden Acetate Specialty Paper. I knew right away that I wanted to use this acetate paper on a scrapbook page and share an easy tip for coloring it.

The design is printed on a thick window sheet or acetate and is gold on one side and silver on the other! You can feature either side by just coloring on the opposite or backside of what you want to feature.

The design is printed on a thick window sheet or acetate and is gold on one side and silver on the other! You can feature either side by just coloring on the opposite or backside of what you want to feature.

The easiest way to color our acetate sheets is to use our alcohol based Stampin’ Blends markers in the DARK option. Some of the alcohol inks depth is lost on the window sheet so I found I had better success using the dark option and then you can layer on a bit of color by adding in a different shade on top like I did on some of the leaves with Old Olive and Mossy Meadow.


You also want to make sure that you peel off the protective layer that is on the silver side of the acetate sheet.

Once you have done this you can start coloring with your Stampin’ Blends.

I also decided to hand trim around the flowers of the 12x12 sheet.

final (14).jpg
closeup.jpg
You can use this easy coloring technique embellish a scrapbook page or a card!

You can use this easy coloring technique embellish a scrapbook page or a card!

IMG_2442.jpg

I used Basic White Note Cards for the two cards that I designed. I added a bit of the Gilded Leafing to both my butterfly on the note card and the hummingbird on my scrapbook page. I also stamped with the Gilded Leafing on the butterfly card and hand trimmed some of the florals from the Fine Art Floral DSP.

On the second note card I colored a strip of the acetate that I had left over from my scrapbook page and added it to a piece of the Fine Art Floral Designer Series Paper.

I hope you are inspired to try coloring the Golden Garden Acetate paper and adding into onto one of your crafty projects! Make sure to check out the whole Artisan Design Teams creations on Stampin’ Up!’s Facebook and Instagram accounts!

IMG_2439.jpg

Create with Connie and Mary--Favorite Designer Series Paper!

My favorite Suite in the catalogue also includes my favorite Designer Series paper and that is what our hop is all about this week! We have quite a few fantastic papers in the January to June Catalogue but this one is my favorite because of the soft colors and the feelings the papers involk in me.

Design Team.jpg
final (1) 15.jpg

I wanted to make a scrapbook page to show how I can accentuate my pages with the Sand & Sea Designer Series paper and how you can even stamp on the paper because it has a nice soft feel to it. I loved this paper immediately because I felt it was quite different than papers we have had. I love the beach imagery and how some of the designs look like water flowing and beachy sand.

final (2) 7.jpg

I chose this pattern to stamp my sentiment. I just love all the texture in this particular pattern the amazing hues of blue that get. I stamped the sentiment with Versamark and Silver Embossing powder. The sentiment is from the Friends are Like Seashells stamp set which is a part of the Sand & Sea Suite.

final 36.jpg

I love adding in Designer Paper to a layout can help add interest and dimension to things. It is also a great way to add in different colors and patterns into your design.

I can’t wait to see what Melissa (BACK) and Connie (NEXT) have selected as their favorite DSP in this new catty!

Butterfly Bouquet

Hello crafty friends! I am so excited about this brand NEW Butterfly Bouquet bundle that is just being released by Stampin’ Up! This is a limited time promotion available to Demonstrators today (another awesome reason to join my Glitter Girls Team—early access!) and customers on March 2, 2021.

As a member of the Artisan Design Team (dream come true) we were able to work with these fantastic products early so we can surprise and delight you with some fantastic samples!

final 21.jpg

I knew as soon as I saw this product offering that I wanted to create a scrapbook page. Its so easy too when your subject matter is so adorable—this photo is of my son and dog, often referred to as my Number One and my Number Two favorites…can you guess which is which? This is a hilarious inside family joke as I actually have two other kids! hahaha!

02.02.21_SHAREABLE_OOP_Q1_NA.jpg

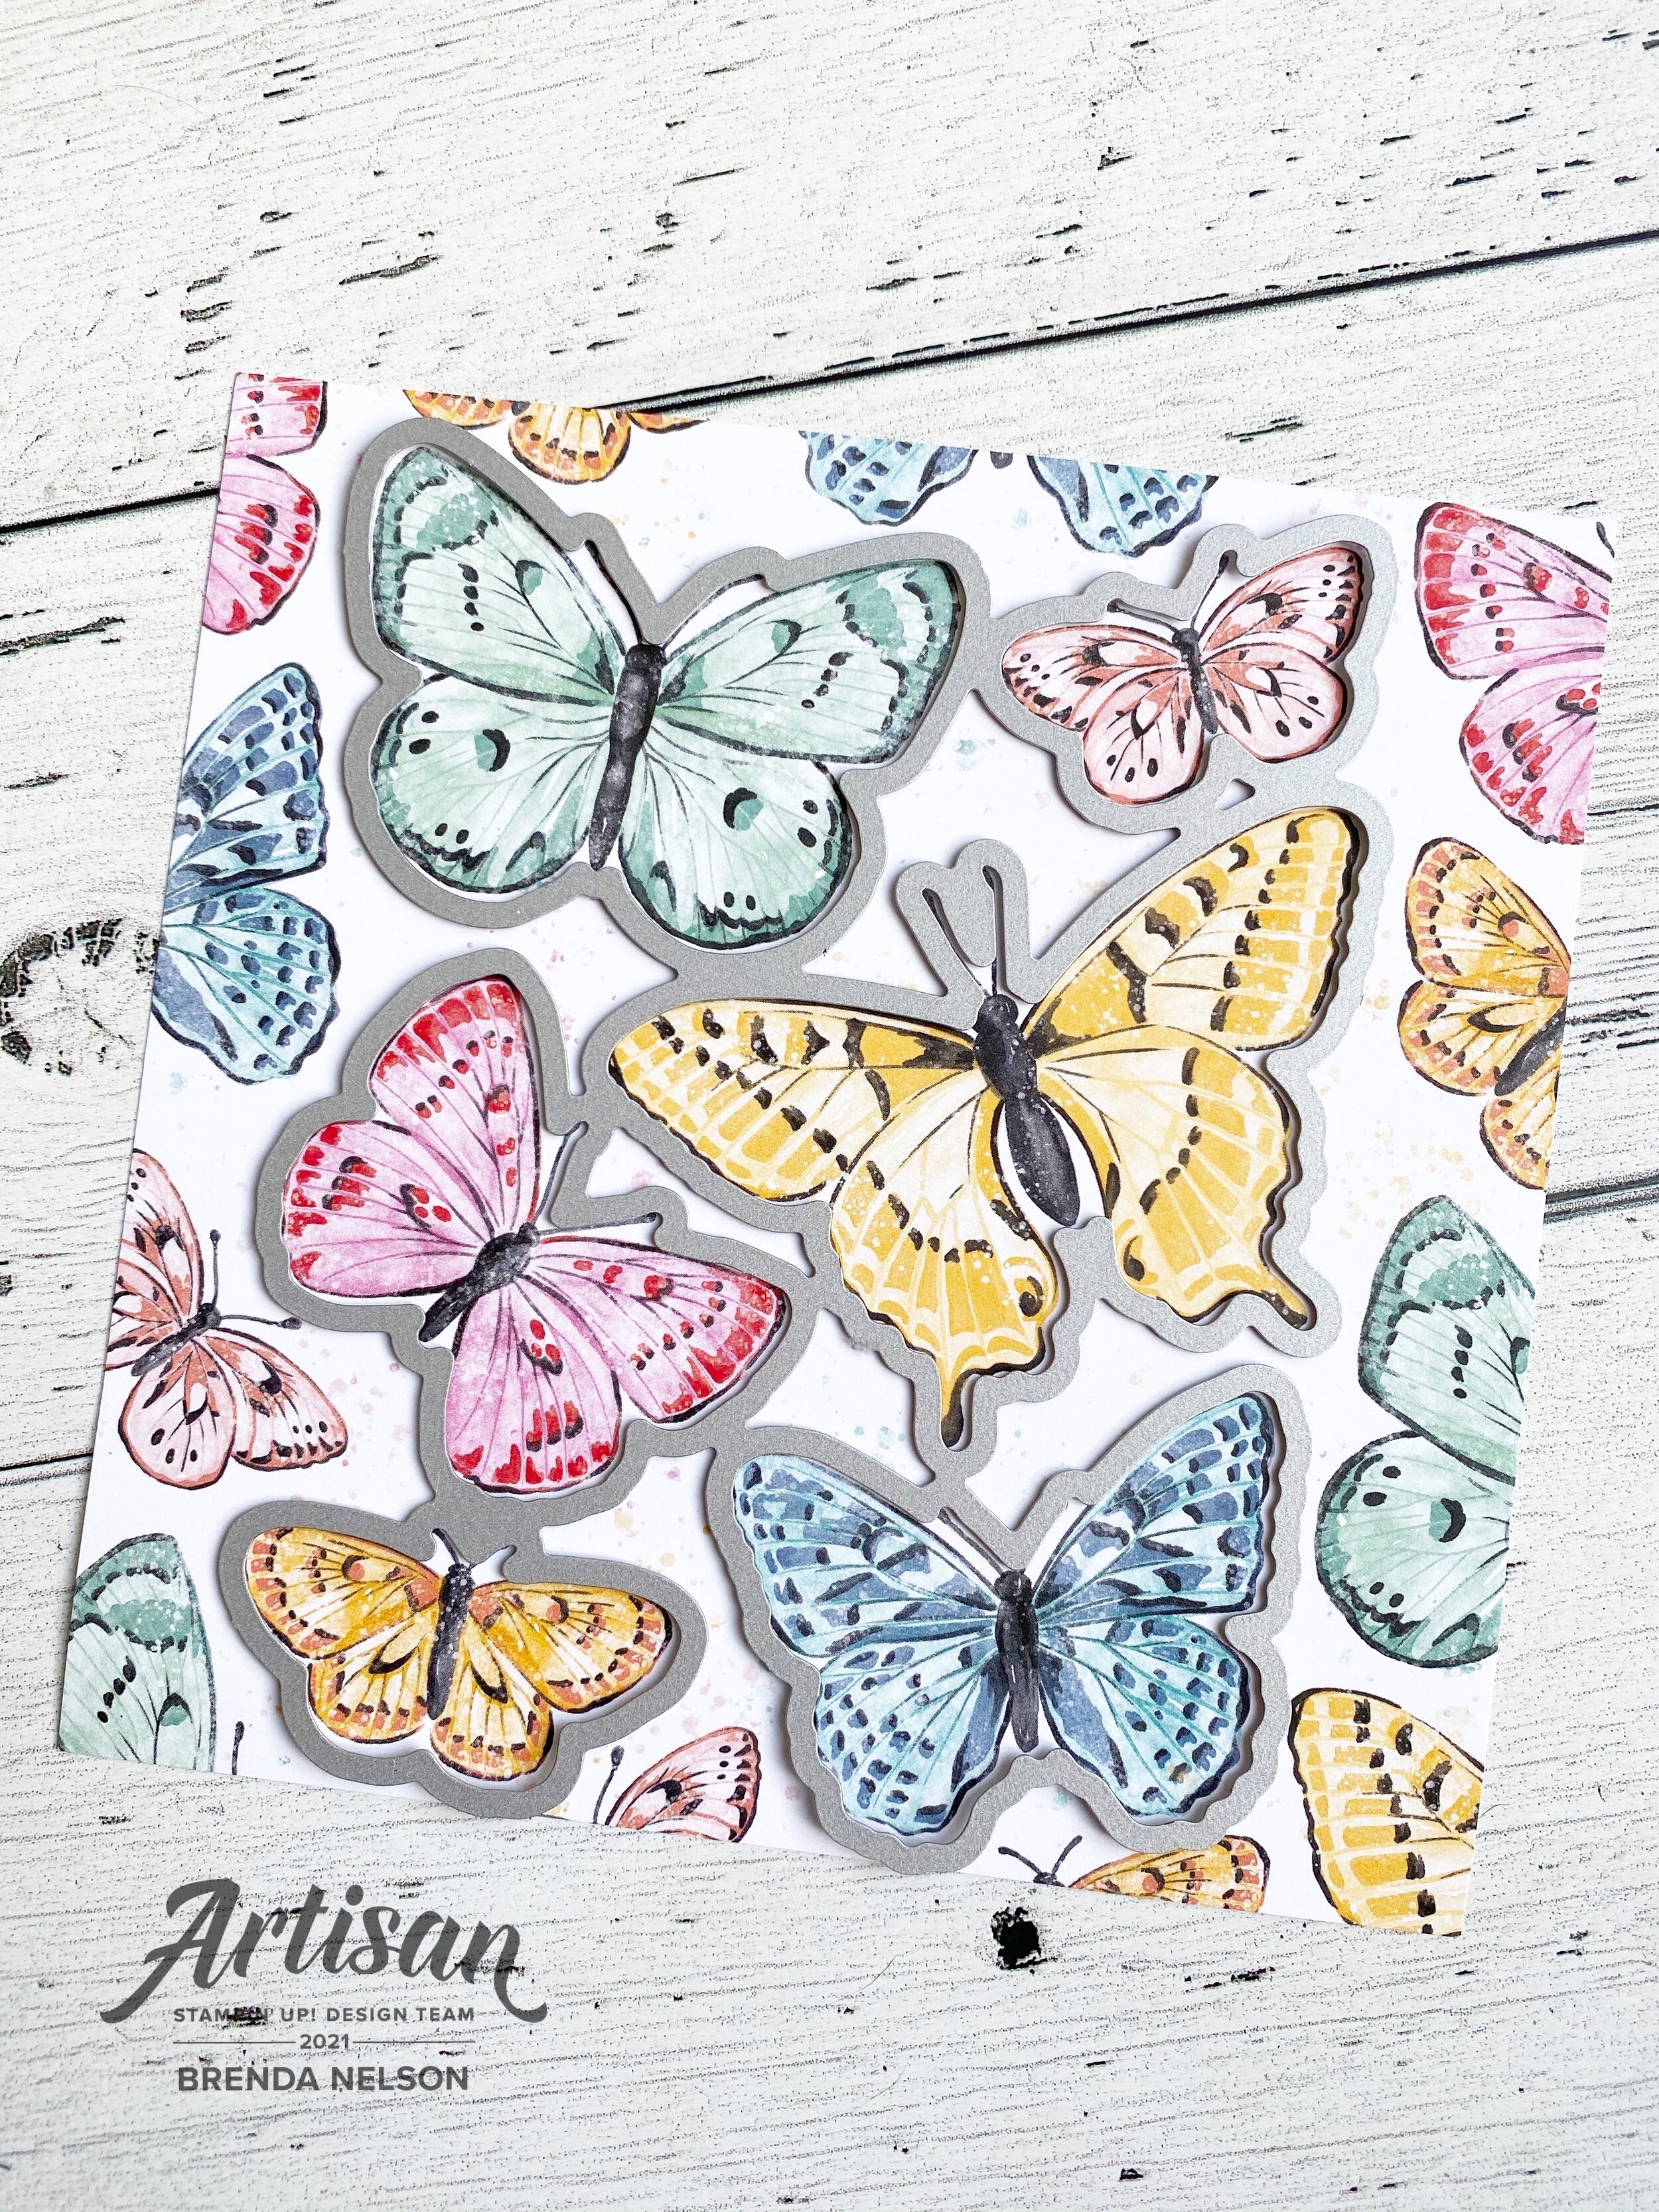
This new product offering includes the Butterfly Brilliance Cling stamp set, the Brilliant Wings Dies, the Butterfly Bijou 6x6 Designer Series Paper stack and the Natural Touch Specialty Paper—you can order everything individually, as a bundle and as a collection. My understanding is that the two papers are also limited edition, meaning they will not be available like the stamp set and dies in the upcoming Annual Catalogue!


What I love about this new DSP is that the dies will cut out the butterflies from the paper! I used this tip on my page and embellished the butterflies by adding Fine Tip Glue on select areas of their wings. It is hard to capture in a photo but the glue dries shiny so it gives the wings a bit more depth and interest.

BrendaNelsonOOPJan2021.jpg
final (1) 10.jpg

I wanted to use a little bit of everything that was available in this collection. I stamped the butterflies in Whisper White Craft Ink on the background and embossed them with white embossing powder. I used the dies as I mentioned above to cut the butterflies from the DSP and I used the dies to cut out some white butterflies. I really wanted the colorful DSP butterflies to be the showcase of my page.

final 19.jpg
 

I just love the coordination of the dies cutting out the butterflies, I think this is fantastic selling featuring!

The colors in the Butterfly Bijou paper are Bermuda Bay, Blushing Bride, Calypso Coral, Just Jade, Magenta Madness, Mango Melody, Mint Macaron, Misty Moonlight, Poppy Parade and So Saffron! Isn’t that quite the list?

final 21.jpg

I layered a strip of the Natural Touch Specialty paper (it feels like a very thin wood veneer) onto my page followed by a Just Jade card stock photo mat, and two other pieces of DSP from the collection, offsetting them at different angles.

The stamp set itself does not have any sentiments, so I borrowed You are Amazing from the stamp set of the same name and You Mean so Much to Me from the In Bloom stamp set, both in the current January to June catalogue!

I hope this page has inspired you to consider this new product release. If you are not a current Demonstrator I would love to have your join my team if you live in Canada! You can do it with an easy click below or send me a message, I would love to chat with you about the opportunity!