Happy Anniversary to Me!

ONE year ago today I started my blog process. I knew next to nothing and could not have gotten here 365 days later without the help of Pam Kriangum who took my amazing branding photos and helped me create my vision. Angie Mackenzie, bless your patience as you guided me along with all the behind the scenes aspects of creating blog hop posts!

Many of you have supported me along the way helping with proofreading (auto correct can really sneak things past you sometimes!) and giving me awesome content ideas, leaving comments and sending me personal messages. I feel a lot more confident now than I did in the beginning and I am so proud of myself for making the decision to step out of my comfort zone and expand my technological horizons! I am swearing and sweating a lot less than I was last June! Hahahaha!

I hope you have enjoyed the projects that I have shared over this past year! Not only do I share scrapbooking and card projects but the Lifestyle component of my blog has recipes, musings and family photos. This is a collective form of memory keeping for me and my kids. One day they will be able to go back through all of my posts and hopefully have a few laughs and gain a better understanding of their mom as a person. ‘Moms’ are often just that, MOM, until our kids mature and realize, my mom is also a woman, a friend, a spouse, a superpower, an influencer and the list goes on and on!

So thank you for being on this journey with me! Some of you have been following along since the beginning and some of you are new! I hope you keep checking back every so often and always feel welcome to leave a comment!

Happy Anniversary to ME!

 
Out of all the photos Pam took of me in my happy place, this one is my absolute favourite.  I felt like I was in a crafting magazine! I love everything about this photo!

Out of all the photos Pam took of me in my happy place, this one is my absolute favourite. I felt like I was in a crafting magazine! I love everything about this photo!

This page is mix of old, current and new supplies! The new would be the Just Jade DSP in the woodgrain option from the new DSP stack. Goal Crush is stamped with the Lined Alphabet stamp set and the # is from the Hand Lettered Prose dies. I added in …

This page is mix of old, current and new supplies! The new would be the Just Jade DSP in the woodgrain option from the new DSP stack. Goal Crush is stamped with the Lined Alphabet stamp set and the # is from the Hand Lettered Prose dies. I added in the Detailed Hearts dies as my heart is so full and happy!

Wildly Grateful is the perfect sentiment to how I feel and I realize how blessed I am to LOVE what I do and SHARE what I love! You can find it in the new Lovely You Stamp set.

Wildly Grateful is the perfect sentiment to how I feel and I realize how blessed I am to LOVE what I do and SHARE what I love! You can find it in the new Lovely You Stamp set.


Capture the Good--Create With Connie and Mary!

Hello my friends! I am so so excited to be a part of the Create with Connie and Mary Blog Hop! These two ladies have been pioneers in blogging and I can’t even express how honoured I am to be joining their weekly Saturday blog hop! It will keep me on my toes for sure! This is also my second card for “A Card a Day in May”.

You should have just been at Melissa Davies blog, I cannot say enough amazing things about her talent!

For my first venture into this challenge, we are using our favourite retiring stamp set. I finally settled on Capture the Good which is a million dollar achiever set designed by Tami White. I am so sad to see it retiring but I also know it will remain in my stamp collection as I absolutely love the camera image. I decided to make the camera image the focus of my card while stamping and embossing it with Whisper White on vellum. Smile is also embossed but in gold and I used my favourite color combo: Petal Pink, Daffodil Delight, and Call Me Clover with gold accents.

Image 2020-04-27 at 6.31 PM (1).jpg
This card also features my favourite retiring DSP, Bird Ballad, and my favourite retiring In Colour, Call Me Clover. I figured I might as well get as many retiring things onto one card as I possibly could!

This card also features my favourite retiring DSP, Bird Ballad, and my favourite retiring In Colour, Call Me Clover. I figured I might as well get as many retiring things onto one card as I possibly could!

I also love the Perennial Essence Flower Centres too! I used them on so many projects!

I also love the Perennial Essence Flower Centres too! I used them on so many projects!

When I create a card I really love I find it also inspires me to make a scrapbook page, as really a scrapbook page is just a larger canvas! So I repeated some of the imagery from this card onto a 12x12 page.

The larger canvass did allow me to add in a few more flowers, ribbon and a heart all while keeping the same elements as the card. I am pretty happy with how it turned out!

The larger canvass did allow me to add in a few more flowers, ribbon and a heart all while keeping the same elements as the card. I am pretty happy with how it turned out!

Next on this Saturday morning blog hop you will be visiting Connie Babert, the creative mastermind along with Mary of this hop! I can’t wait to see how she inspires us this week!

 
Click here to return to Melissa Davies

Click here to return to Melissa Davies

Click here to visit the amazing Connie Babbert

Click here to visit the amazing Connie Babbert

Scrappy Strip Technique

Well it is true that Bruno Bertucci’s Scrappy Strip technique is taking the world by storm! It is a really easy technique and a great one to share virtually in a team meeting or class. I recently shared the technique with my team and then went on to make a whole bunch of these cards for Mother’s Day. This technique is a great way to use up scraps and showcase our wonderful DSP.

After creating a card with this technique I decided to apply the technique to a scrapbook page, and I absolutely LOVE how it turned out!

final.jpg

My Scrappy Strip card features the Best Dressed DSP which is in the current Occasions Catalogue. The flower is from the Healing Hugs stamp set and is stamped in Highland Heather. The Textile Ribbon in Mint Macaron is perfect for this card. You can find the Happy Mother’s Day sentiment in the Itty Bitty Greetings stamp set. Both stamp sets are in the Idea Book & Catalogue.
final.jpg

On my scrapbook page, I cut the base white strip to 3 1/5 x 8 and then cut three 4x4 squares that I applied the Scrappy Strip technique to. I used the new Ornate Gardens Specialty DSP. I think this is a fantastic page that showcases many elements from this suite well. The Under my Umbrella bundle felt like a create option to pair with this spring photo taken earlier in March.

From This to That!

The benefit of having some extra time on my hands is I have been going through my craft room and discovering things, like this layout from several years ago. It gave me the inspiration for another “From This to That”!

final.jpg
final.jpg

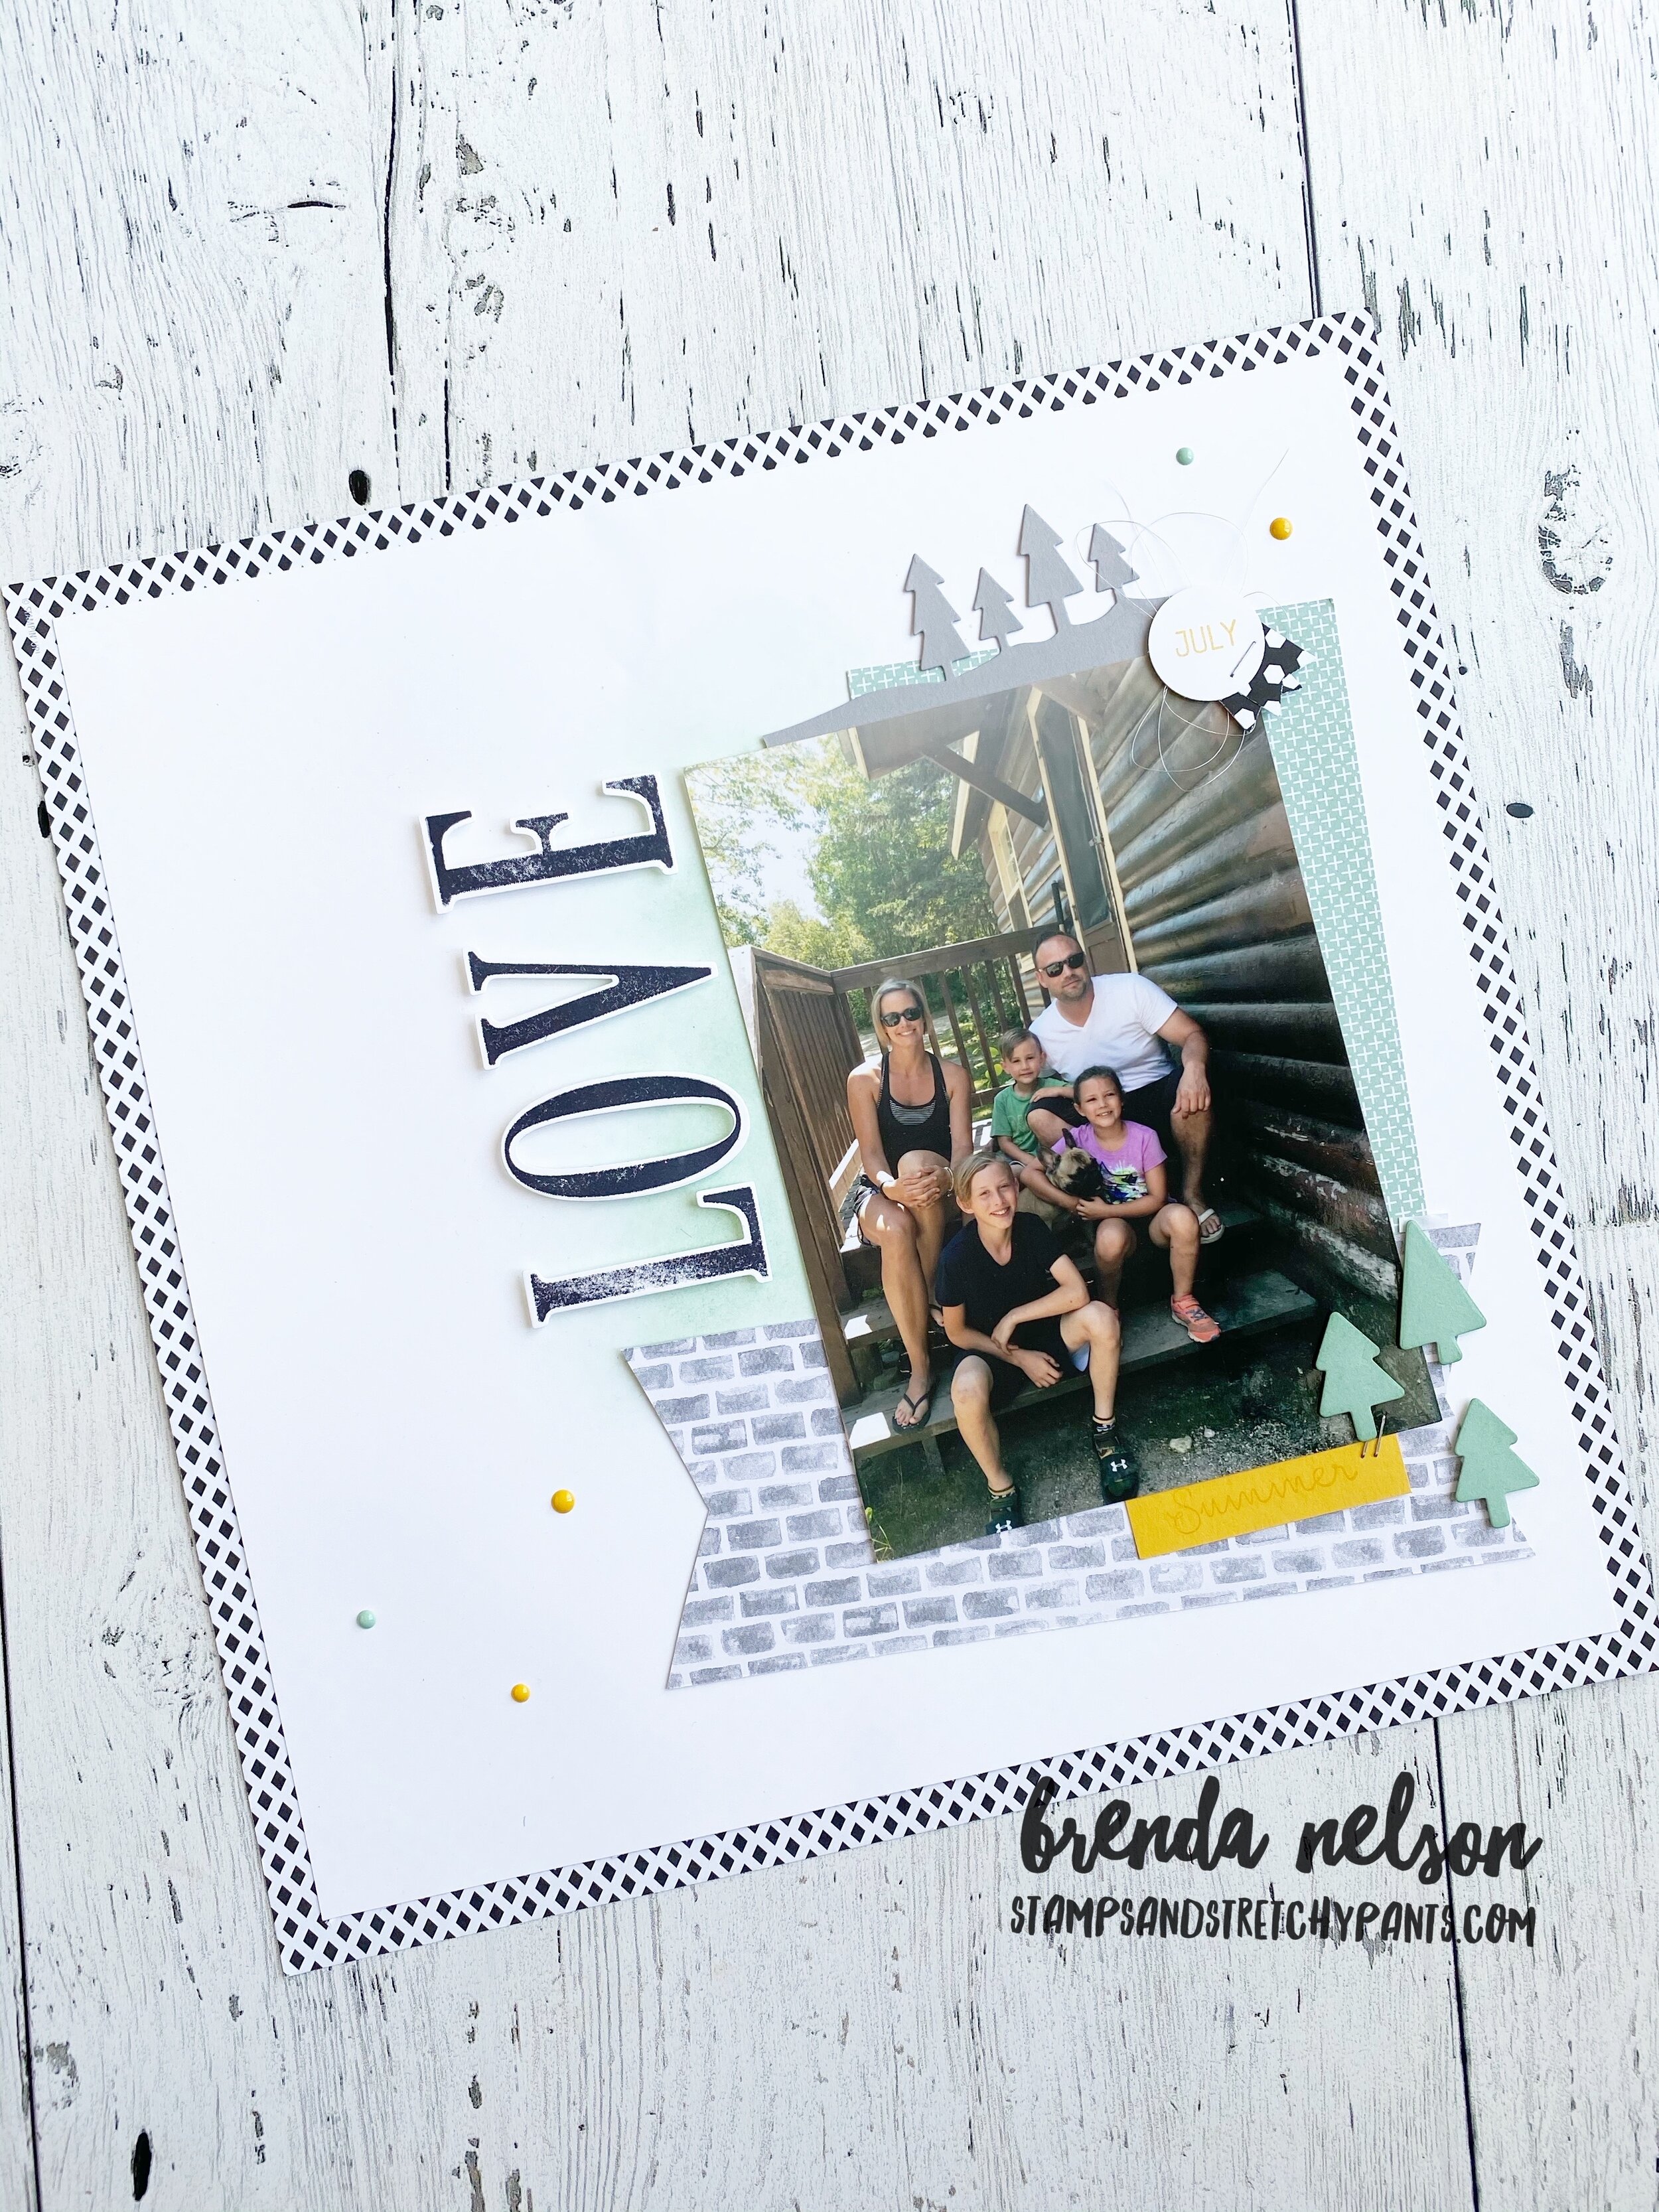
On my updated version I used the Honey Bee Specialty DSP from Sale-a-bration as the base and layered a piece of Whisper White card stock over top, I sponged some Soft Seafood in the background under the word ‘cousins’ which were cut with the Hand Lettered Prose dies. I used the Seriously The Best stamp set for the other sentiments paired with the Mountain Air stamp set (which is carrying over to the new annual catalogue!). The best part of this whole layout are the trees along the side!

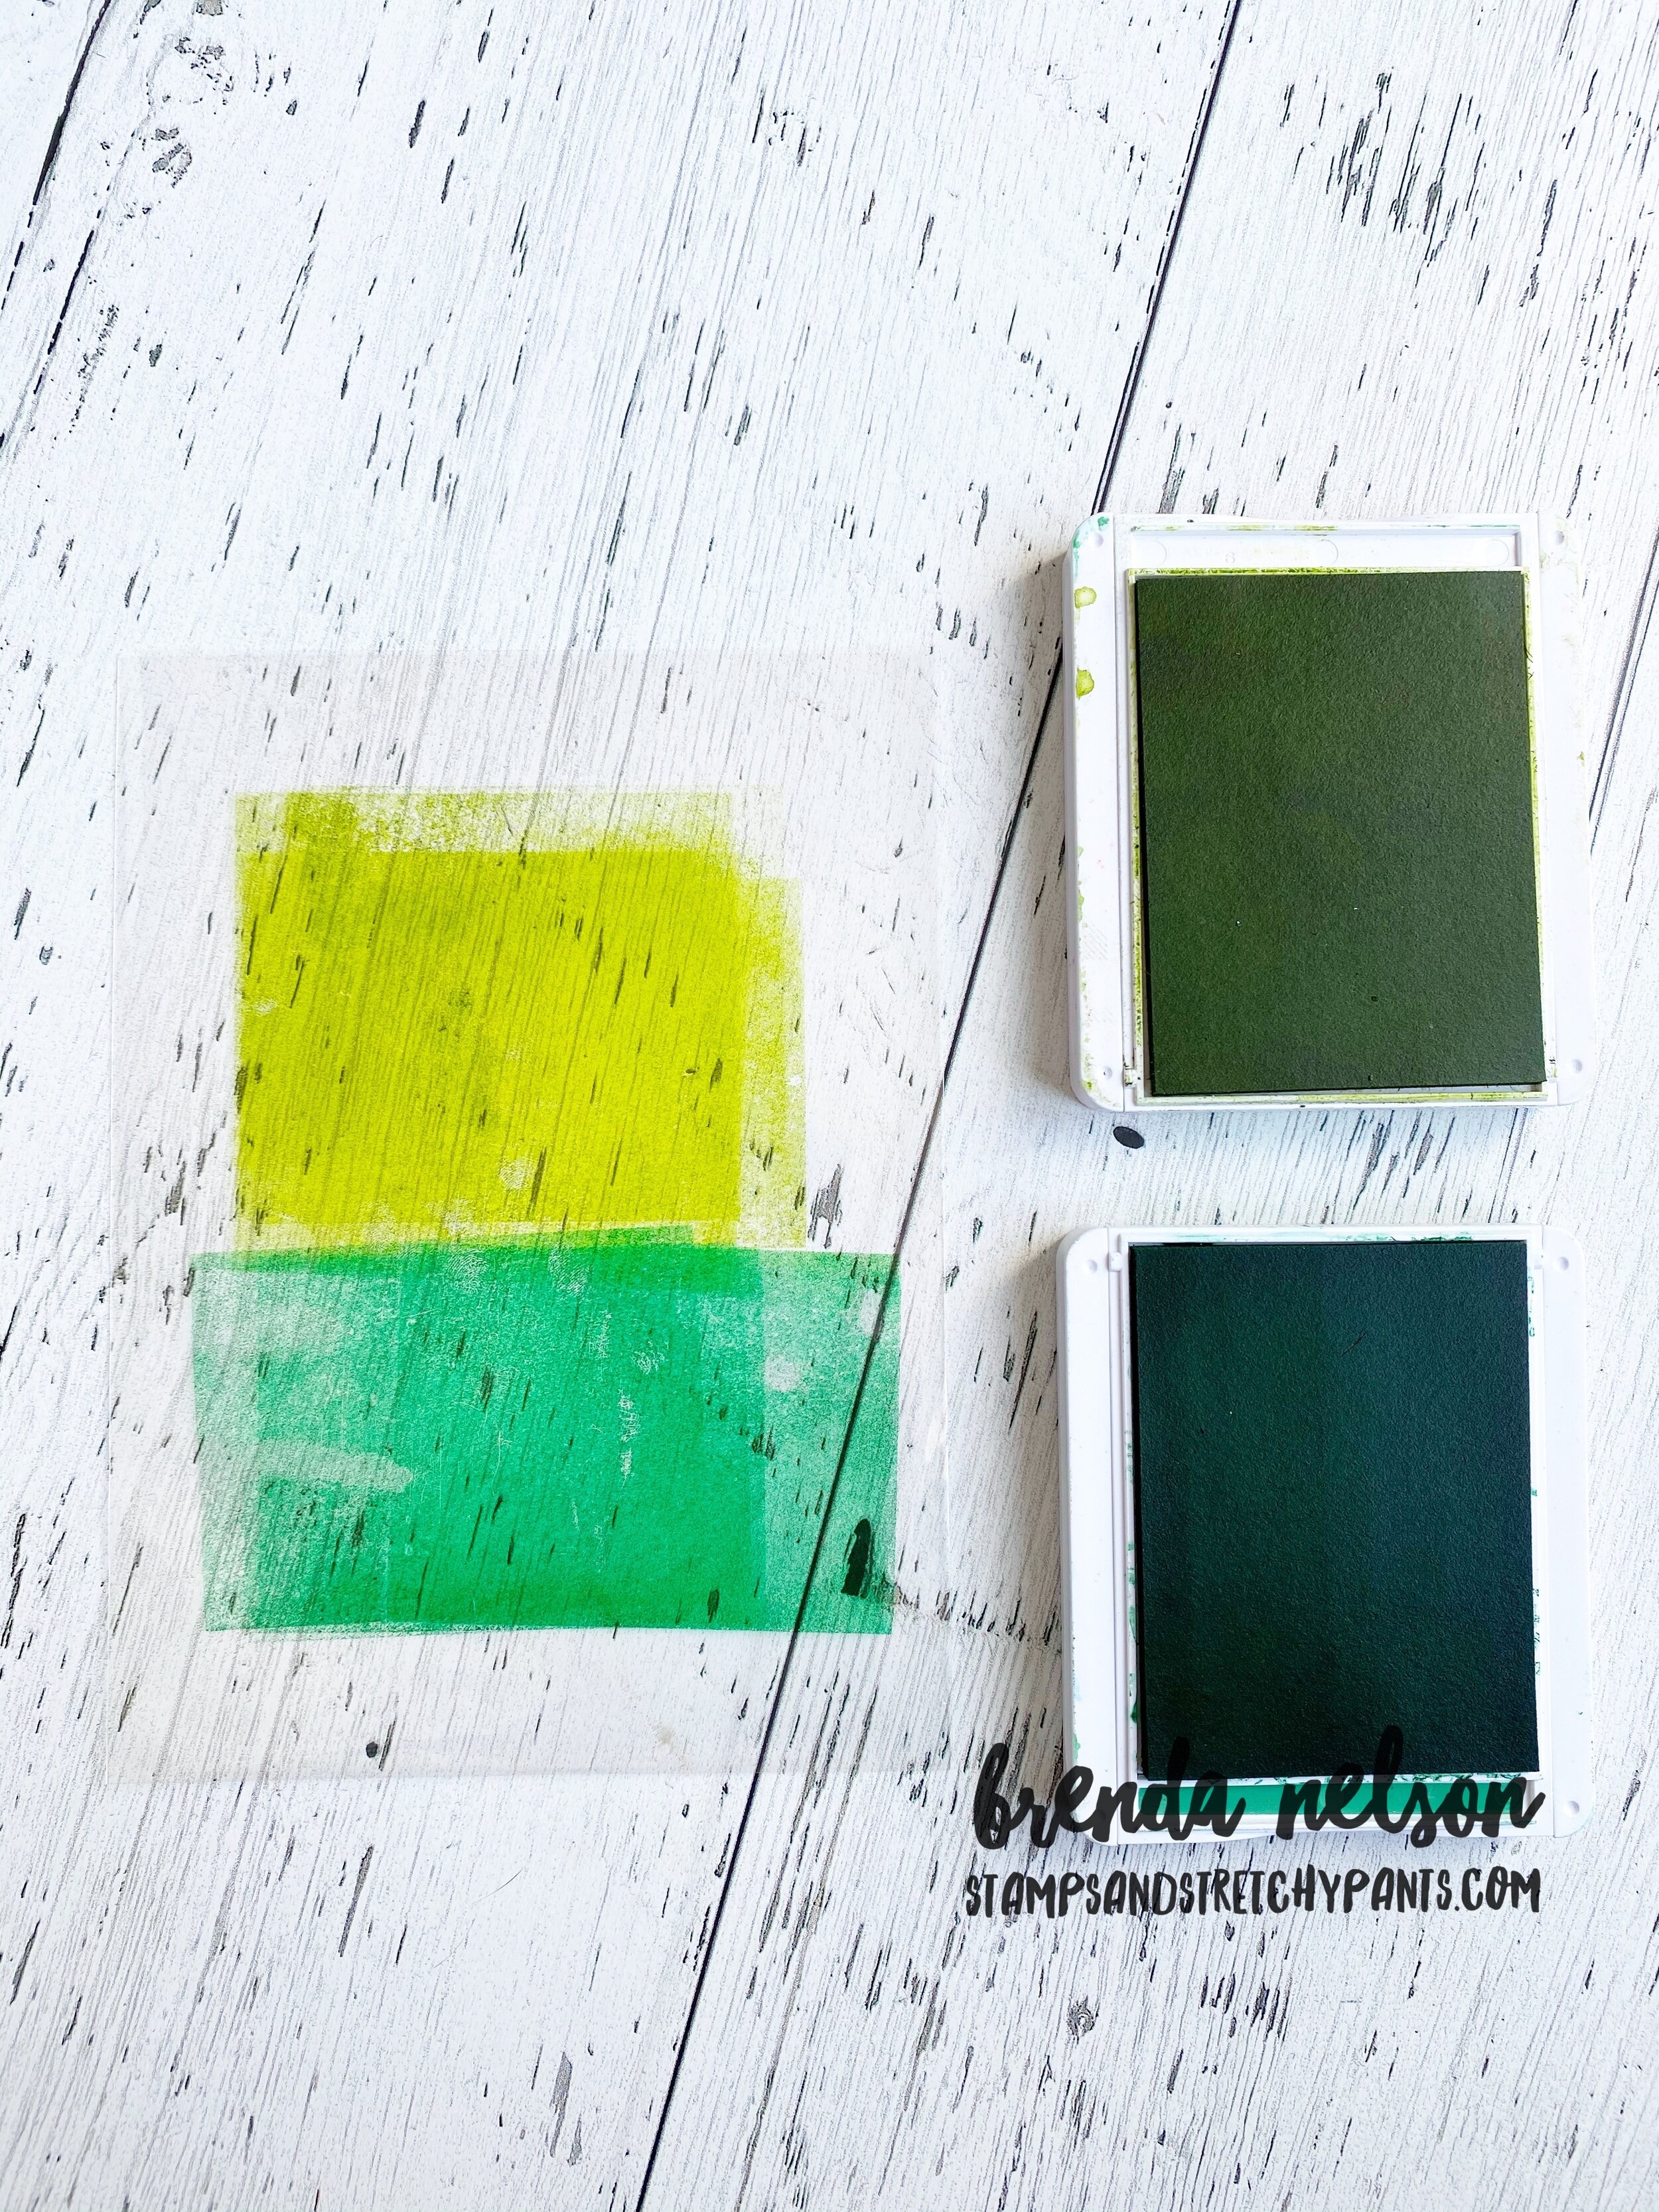
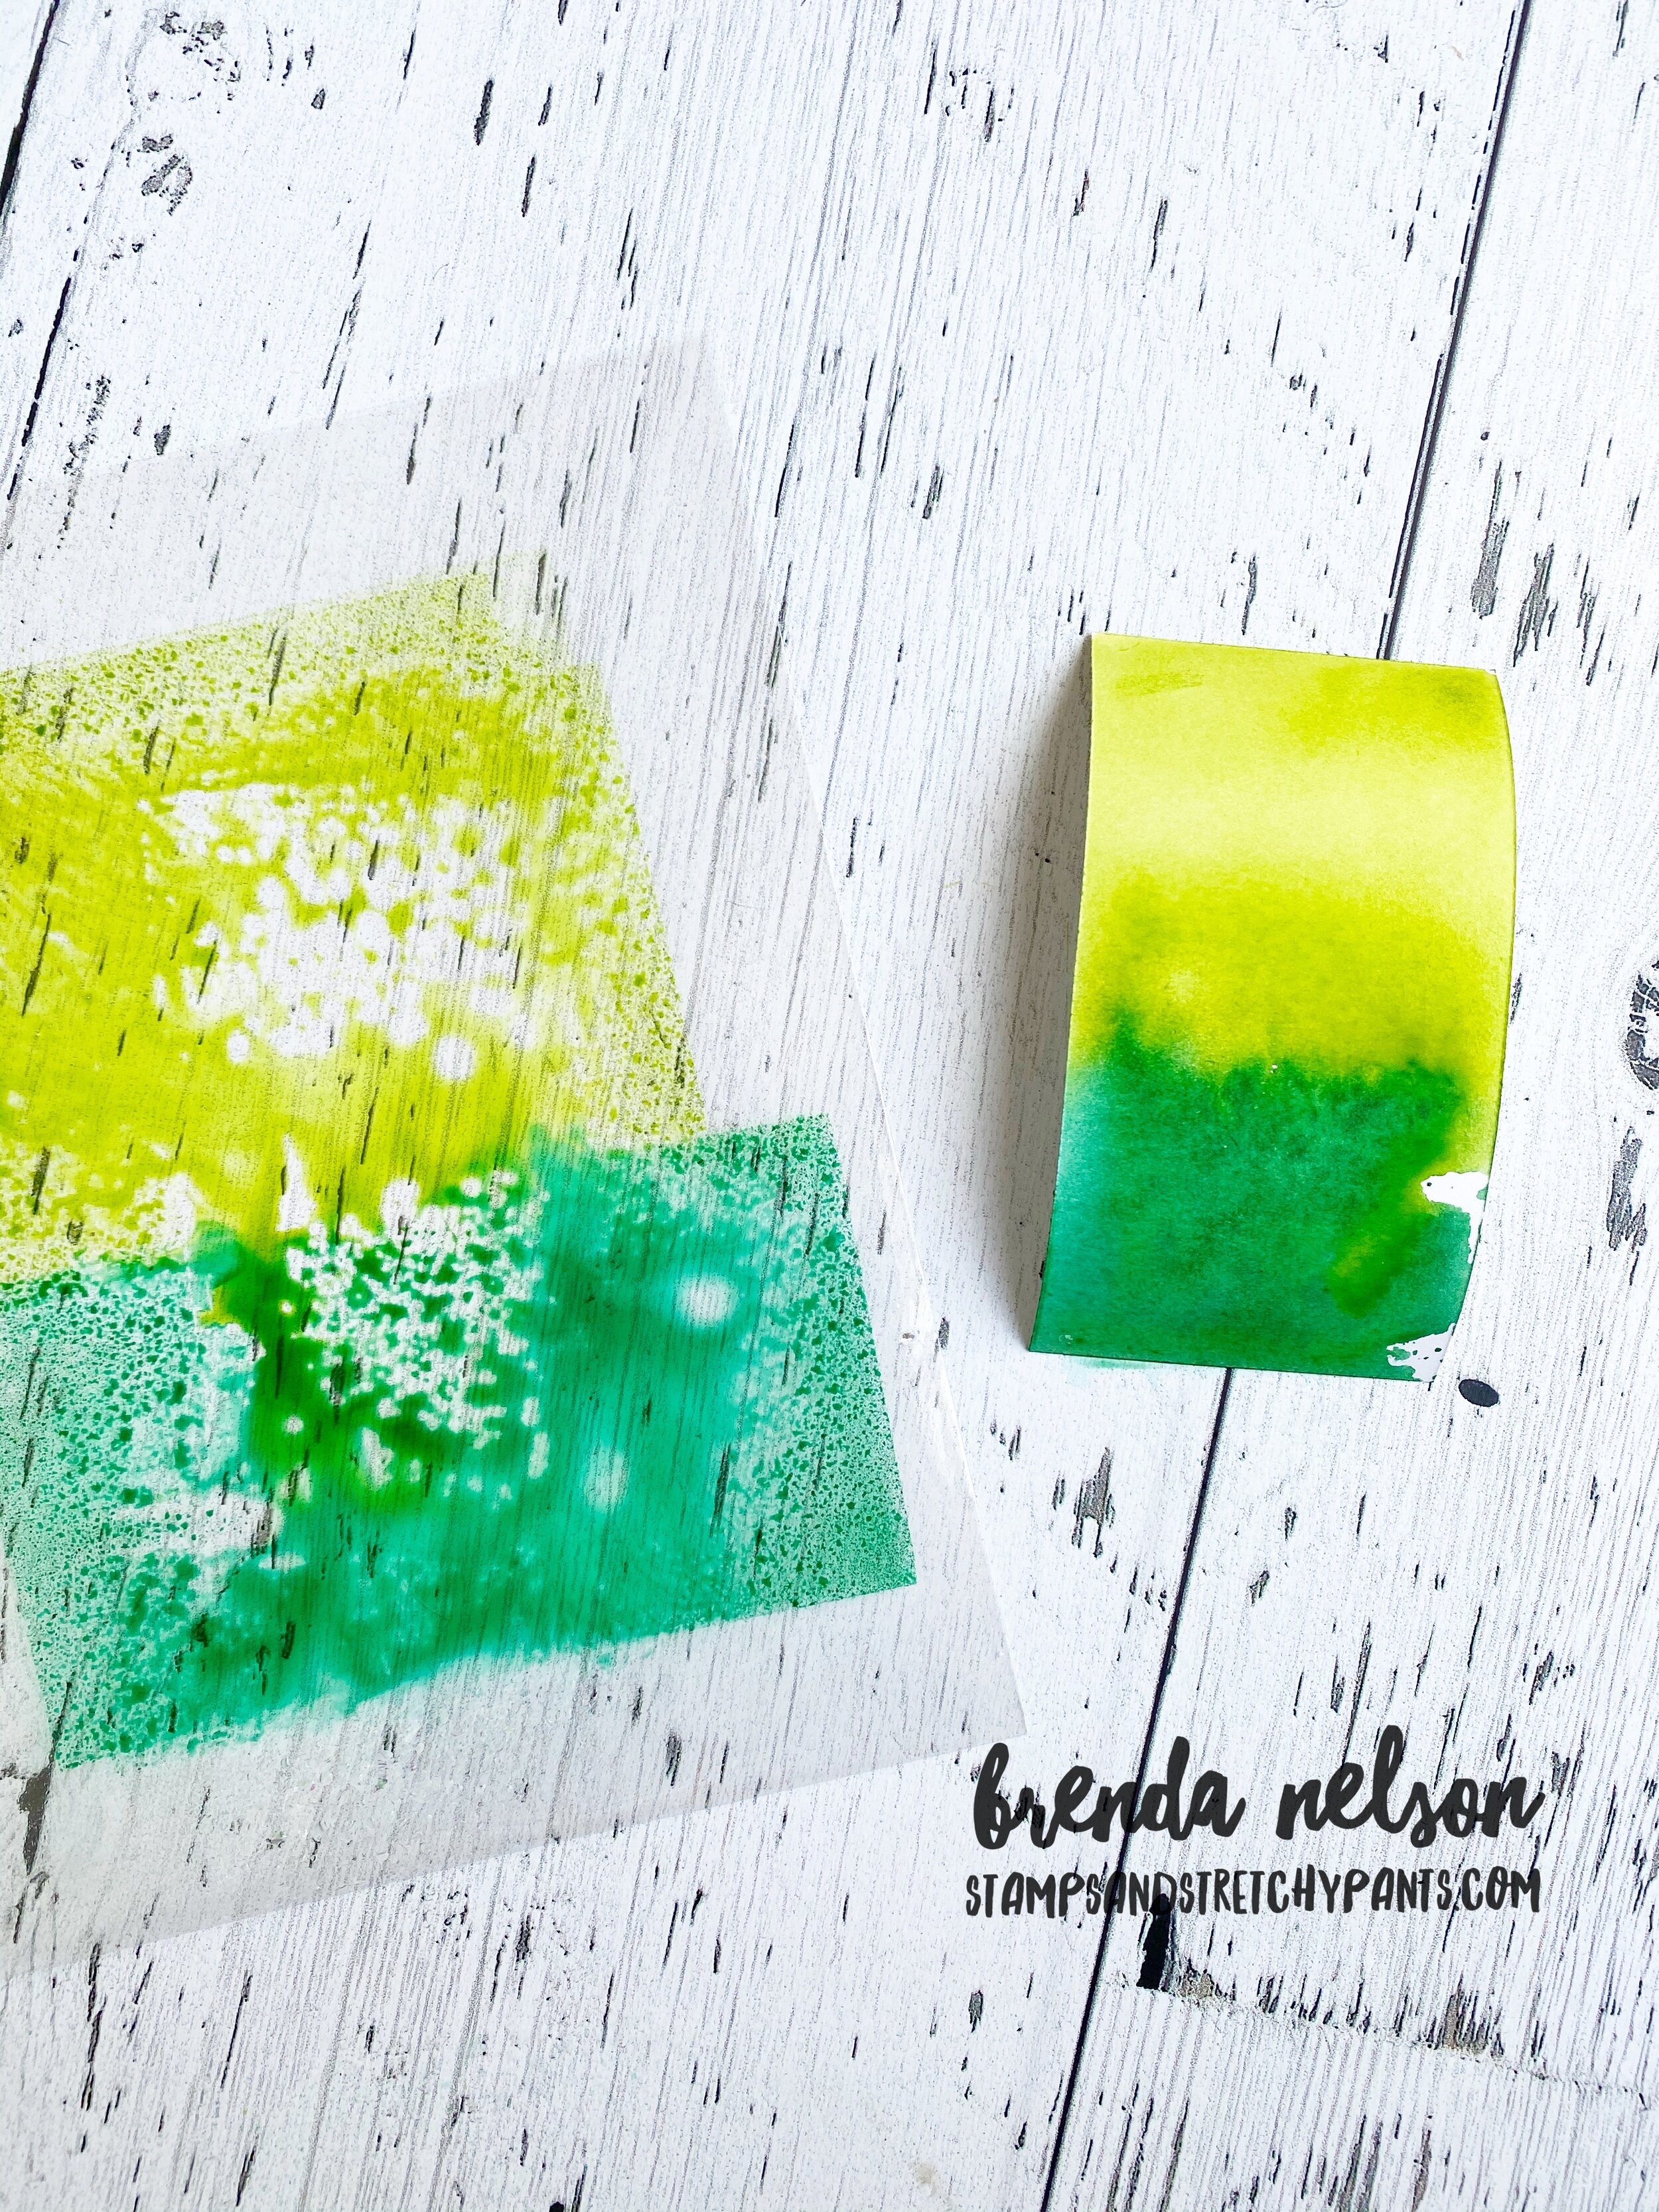
Supplies you will need:

-cello bag

-two contrasting ink colors but of the same color family (I used Granny Apple Green and Call Me Clover)

-a Spritzer filled with water

-a piece of water-colour or Shimmery White paper

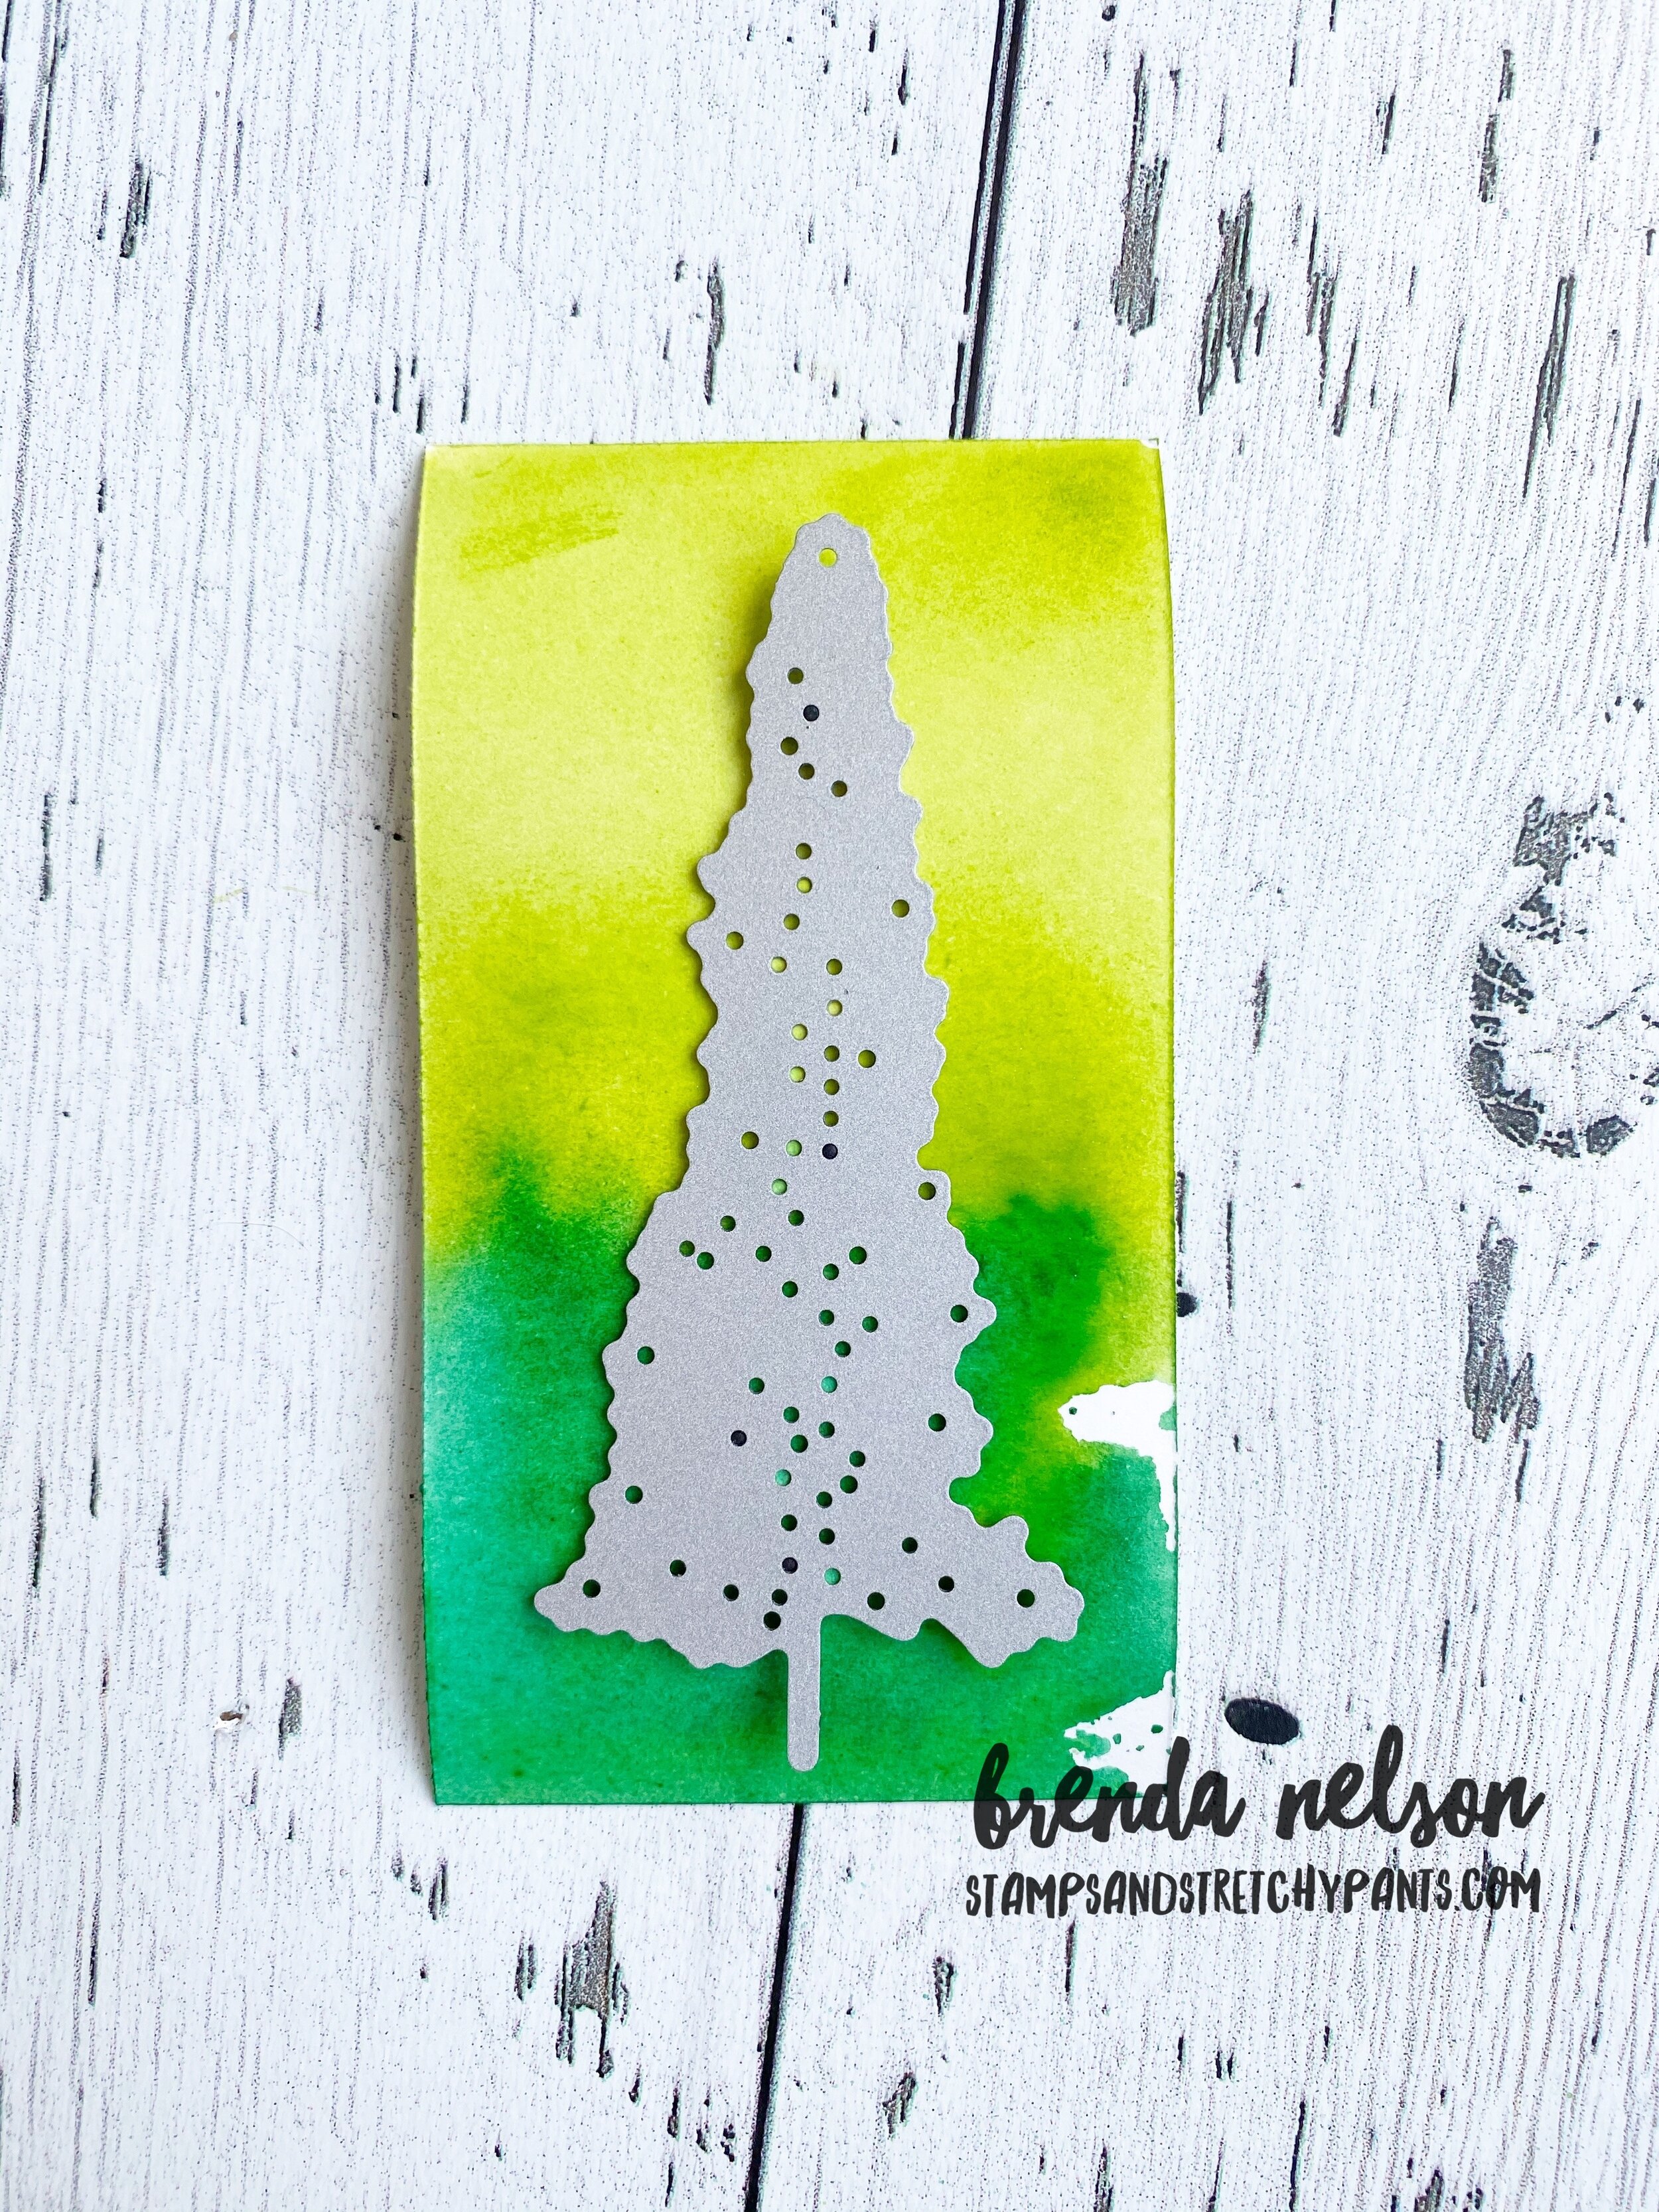
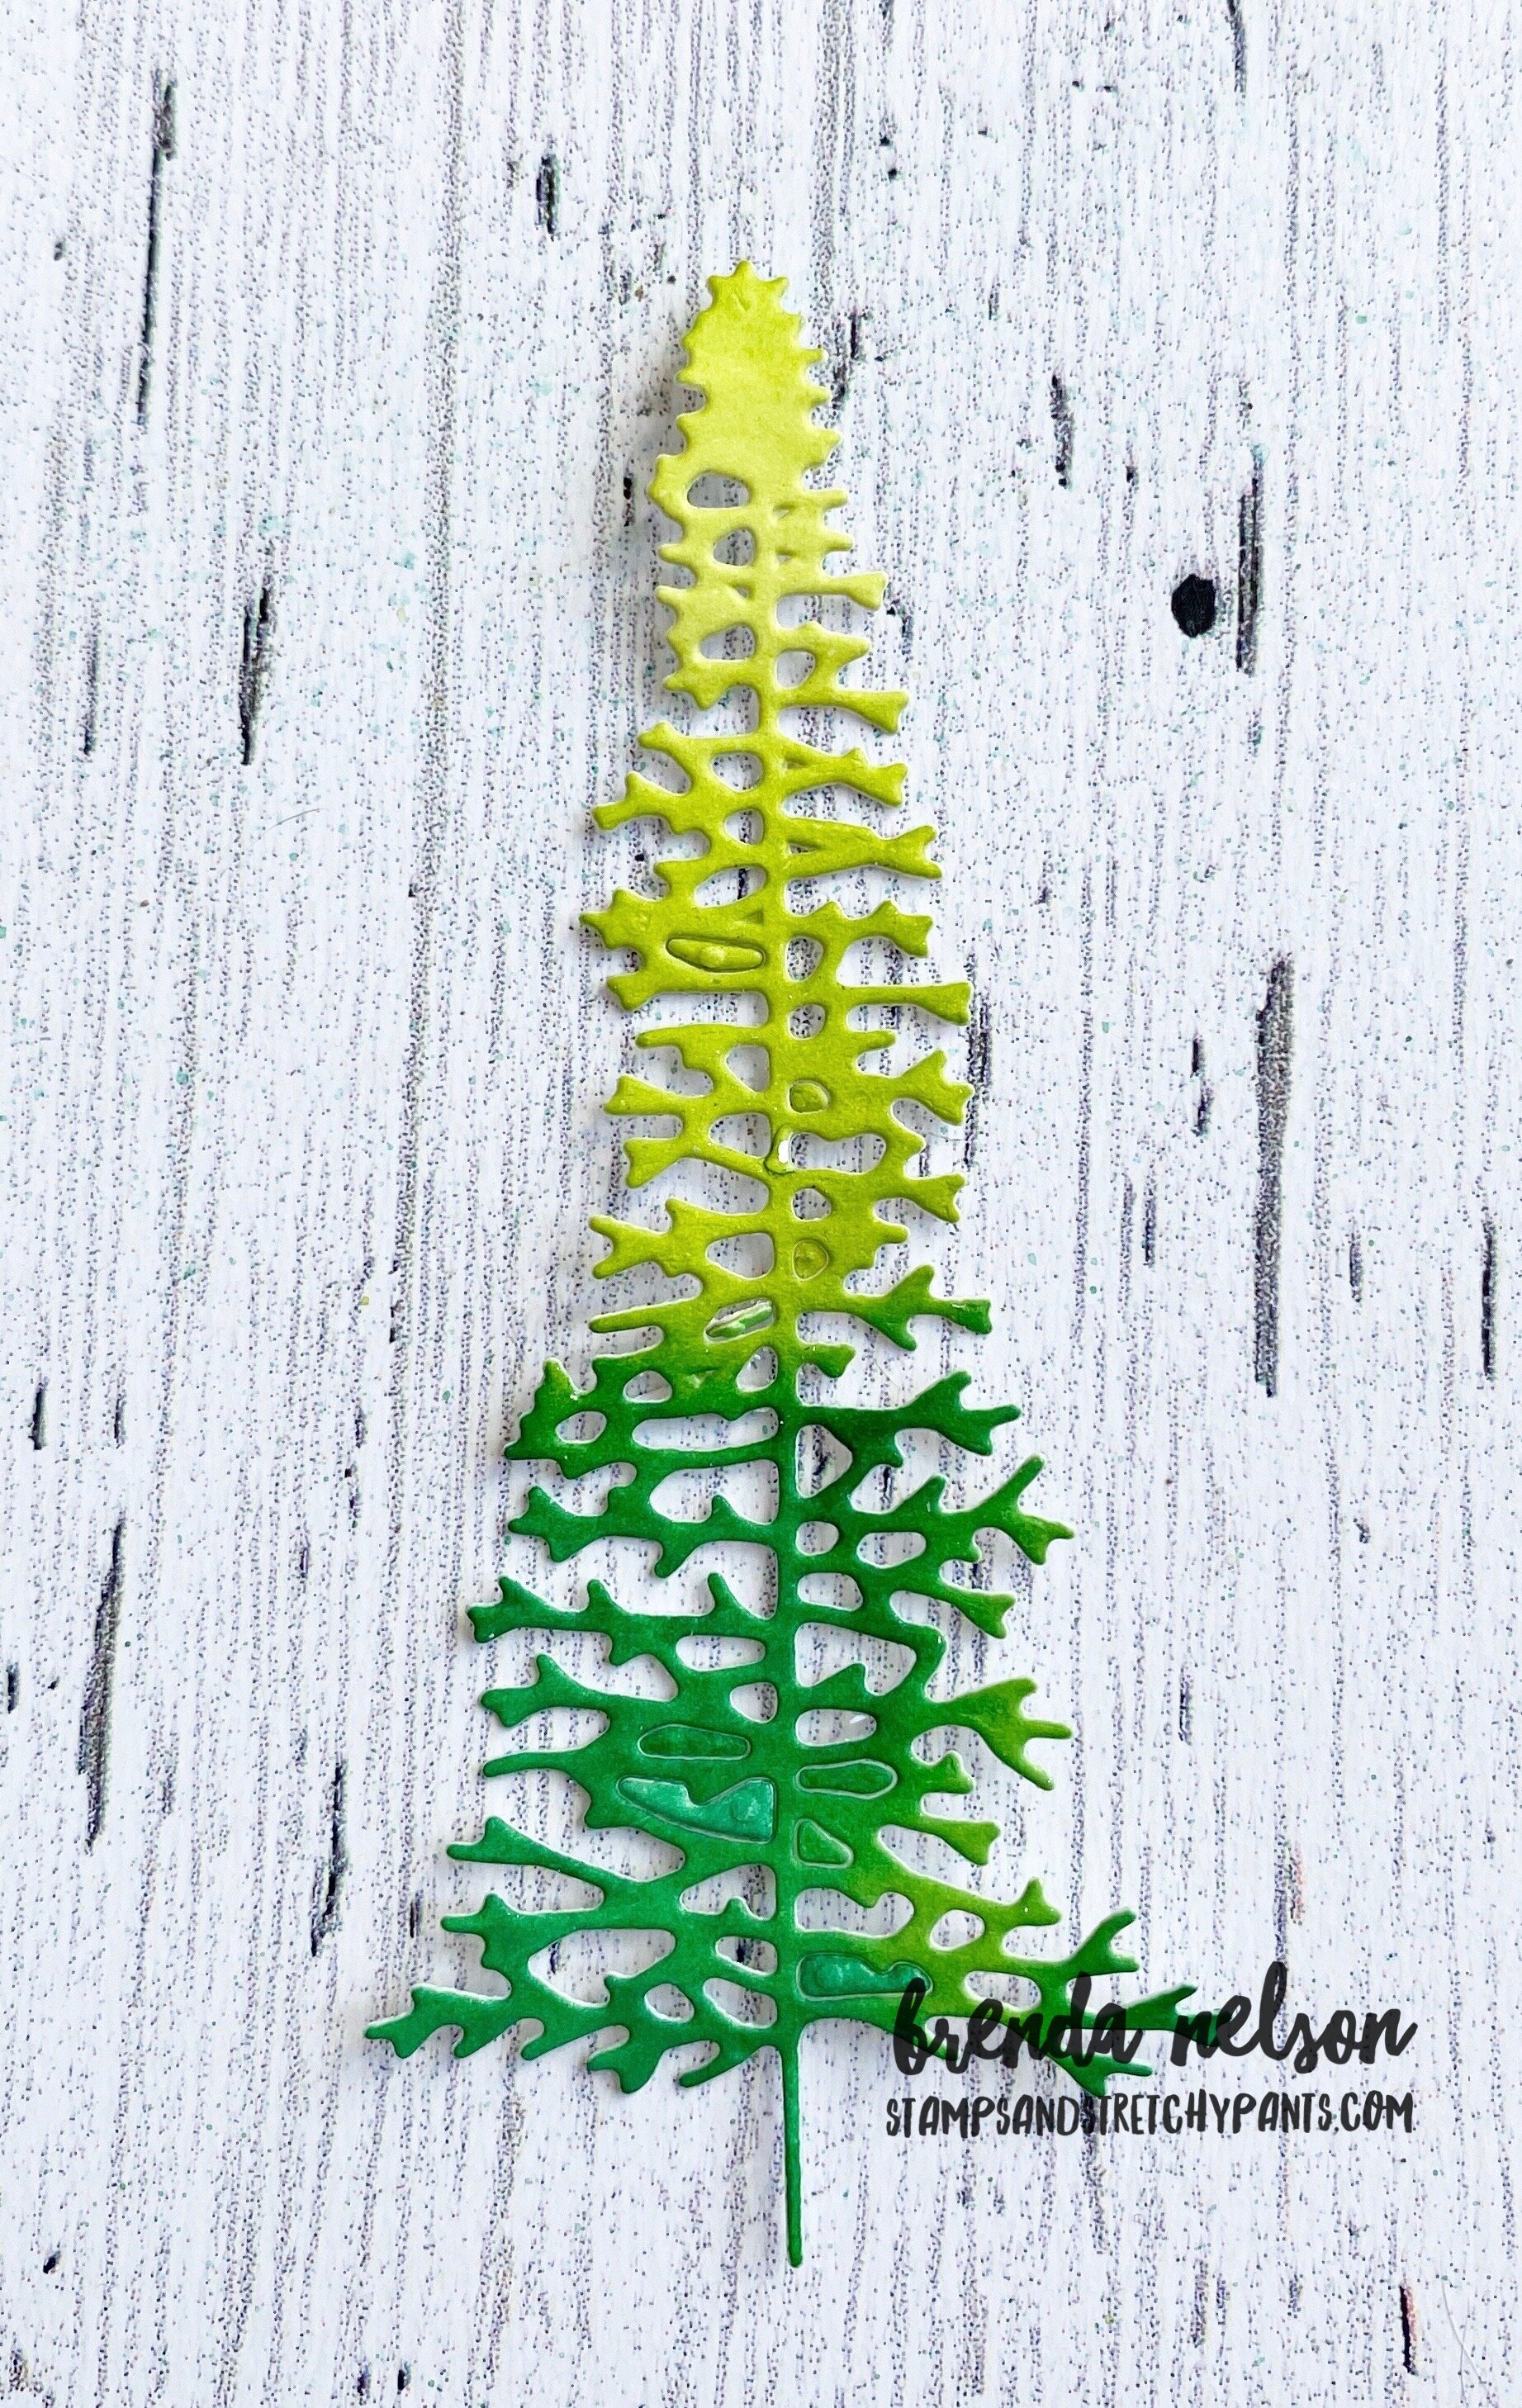
-a die of your choice (I used the two large trees from the Majestic Mountain dies)

How To:

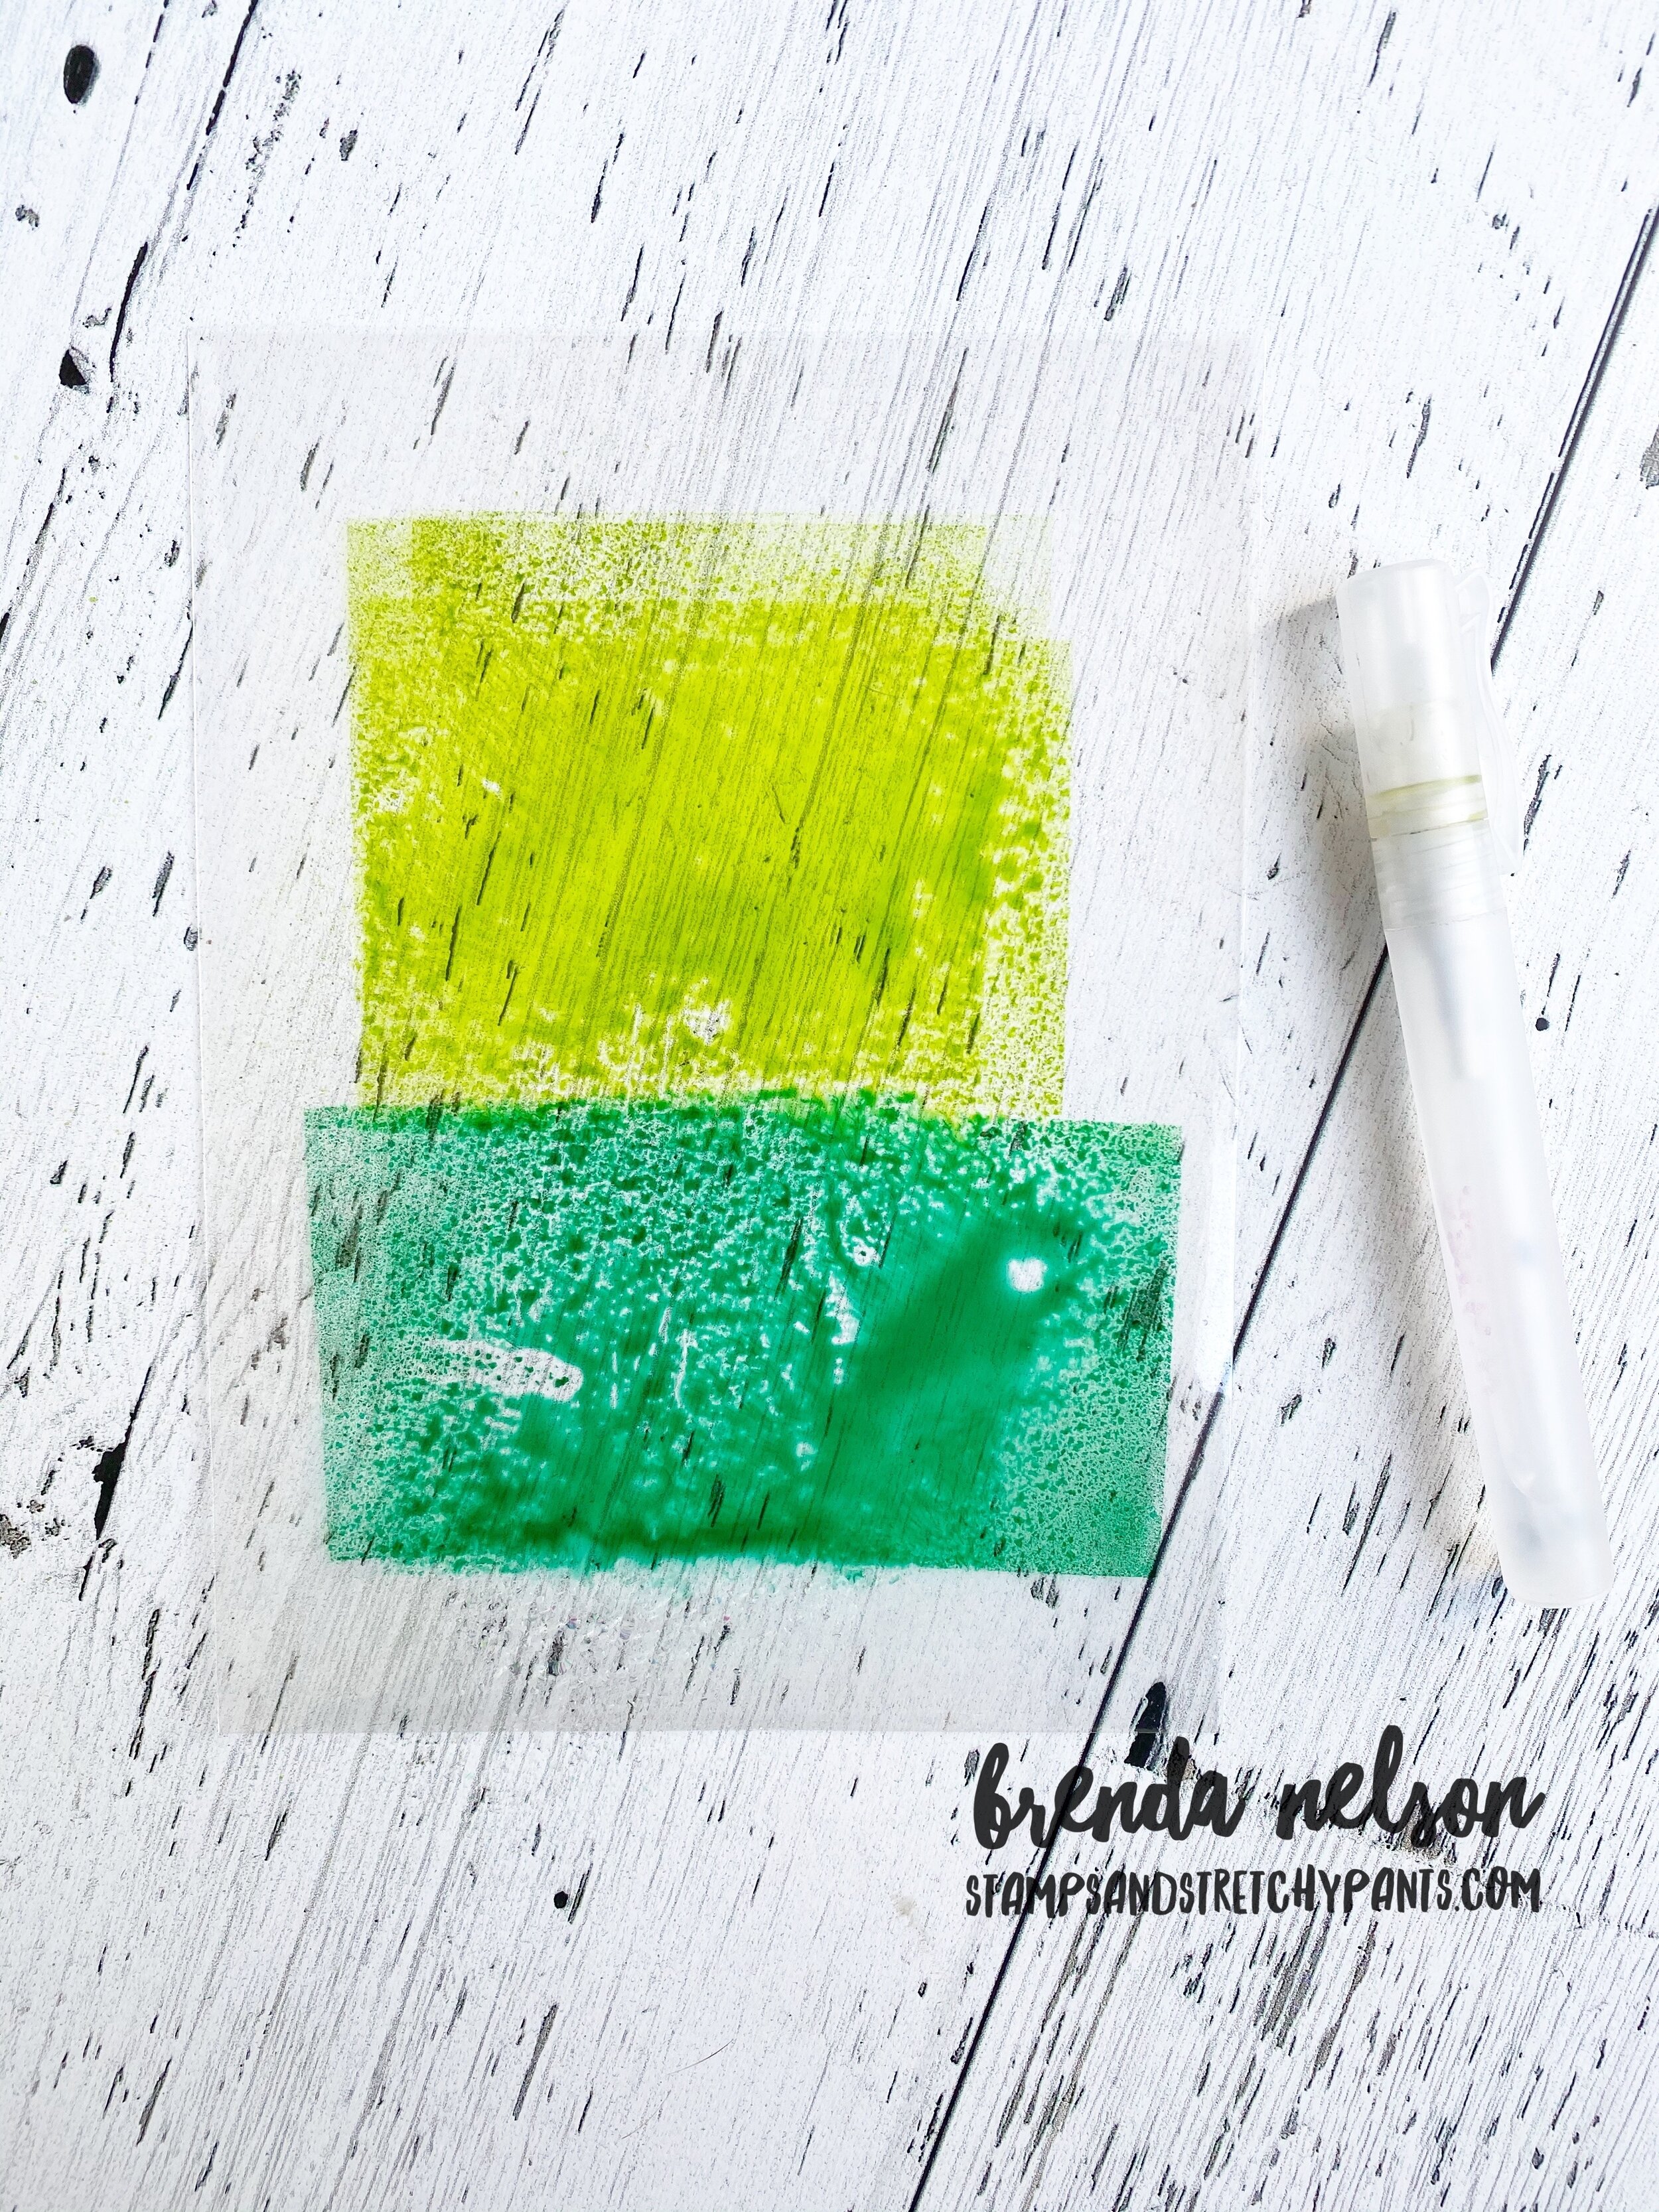
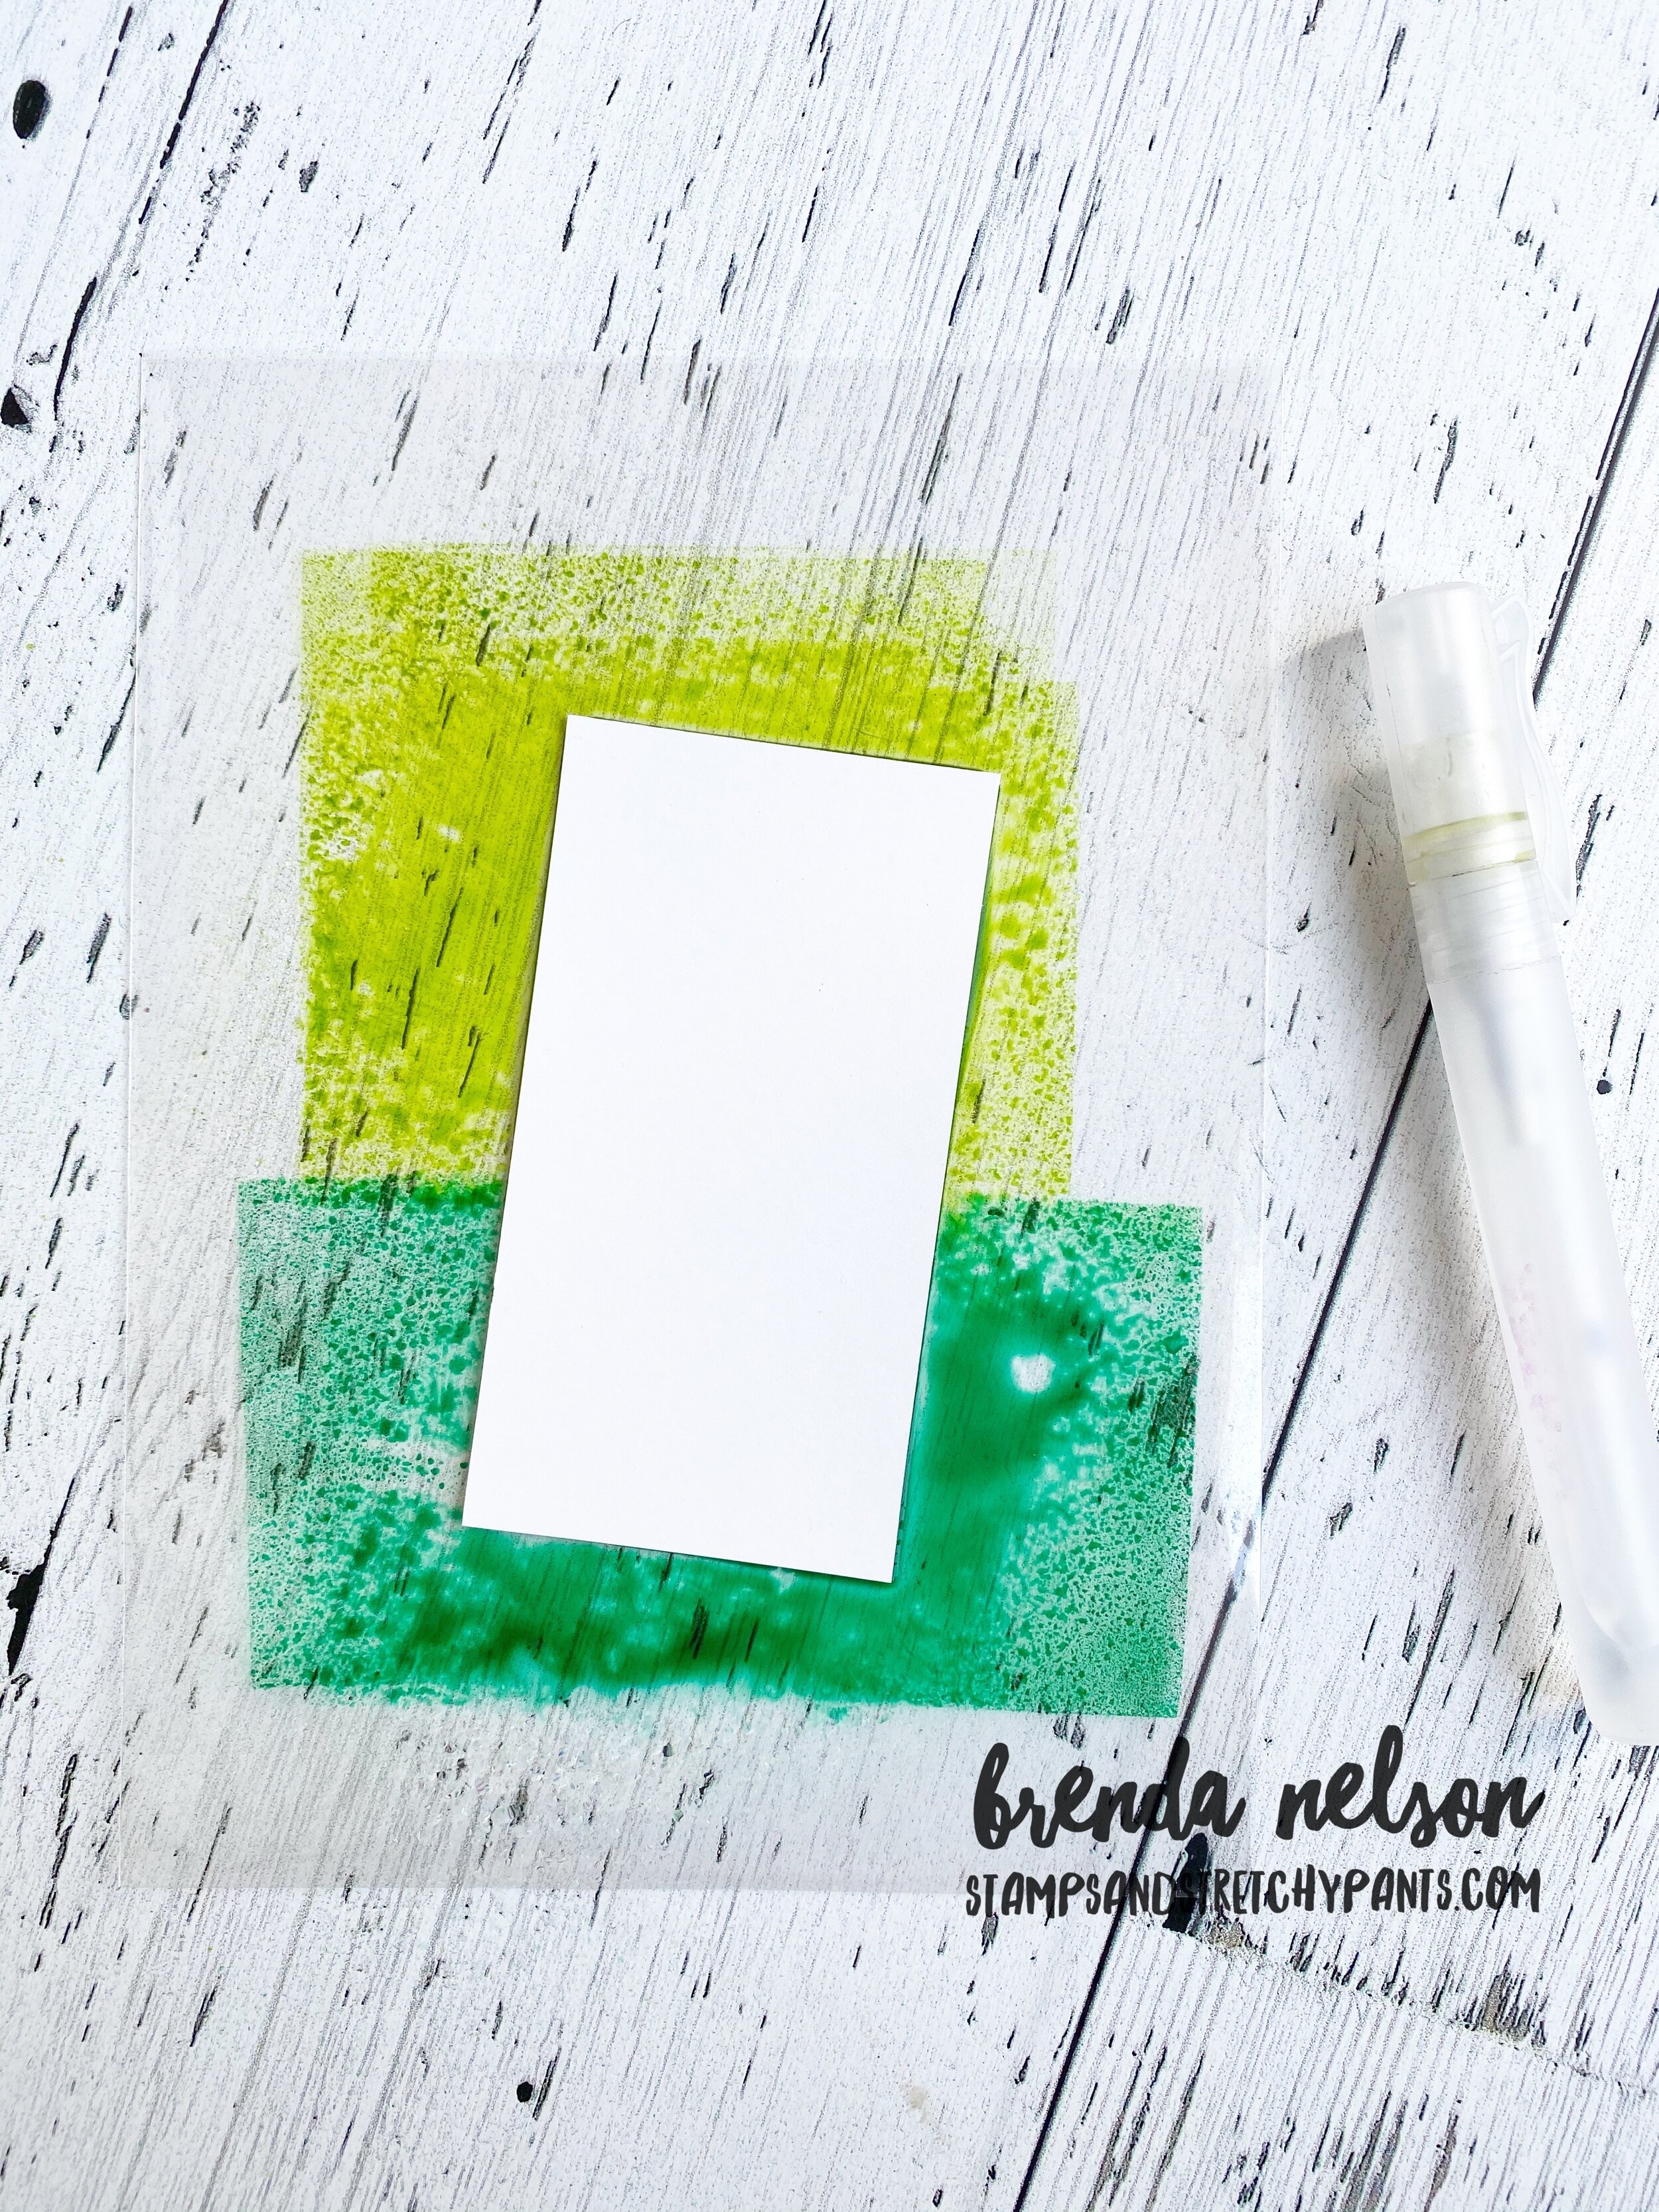
Stamp your two ink pads straight onto your cello bag. Lightly spritz with water and place your paper on top making sure to get both ink colors on the paper. Remove, let dry and cut with your die of choice.

I just love the detail of these trees! I rotated the die on the paper so one tree is bright on top and the other on the bottom!

I just love the detail of these trees! I rotated the die on the paper so one tree is bright on top and the other on the bottom!

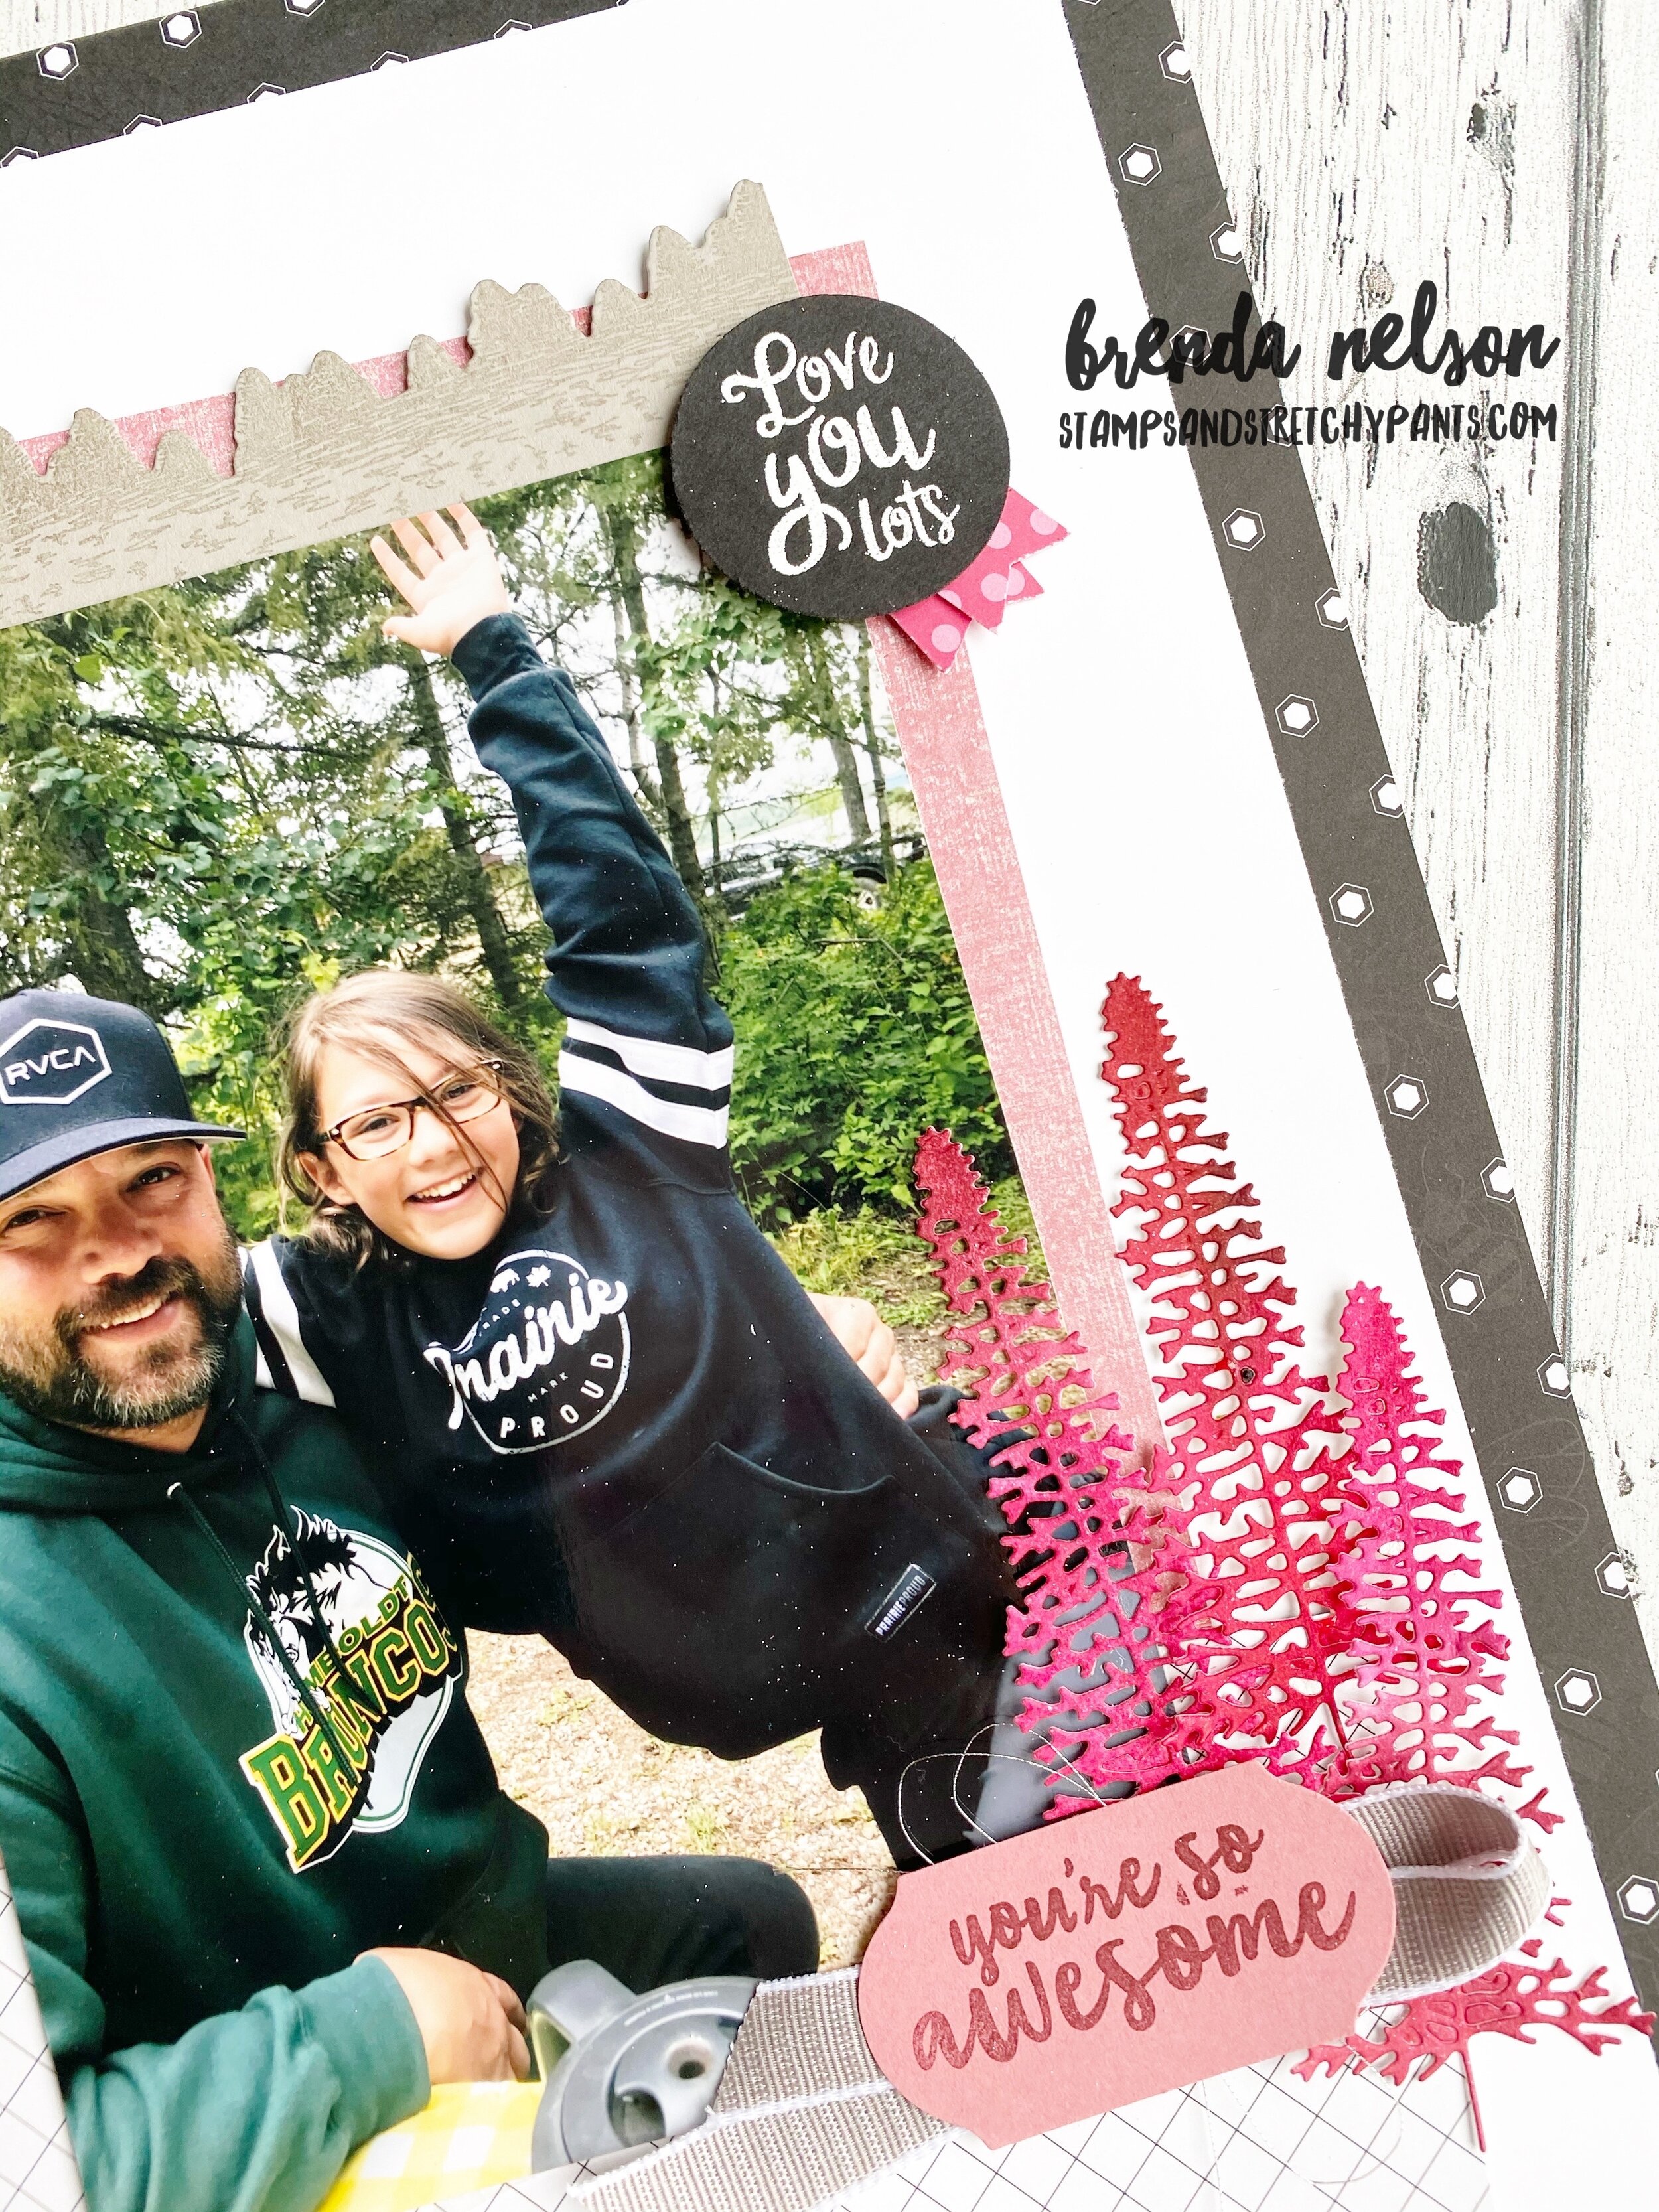
And because I was feeling super inspired, I recreated this layout with a completely different color pallet, keeping the elements the same. For these trees I used Merry Merlot and Melon Mambo!

final.jpg
I also discovered how awesome Merry Merlot looks stamped on Rocco Rose!

I also discovered how awesome Merry Merlot looks stamped on Rocco Rose!

Color Coach Combo

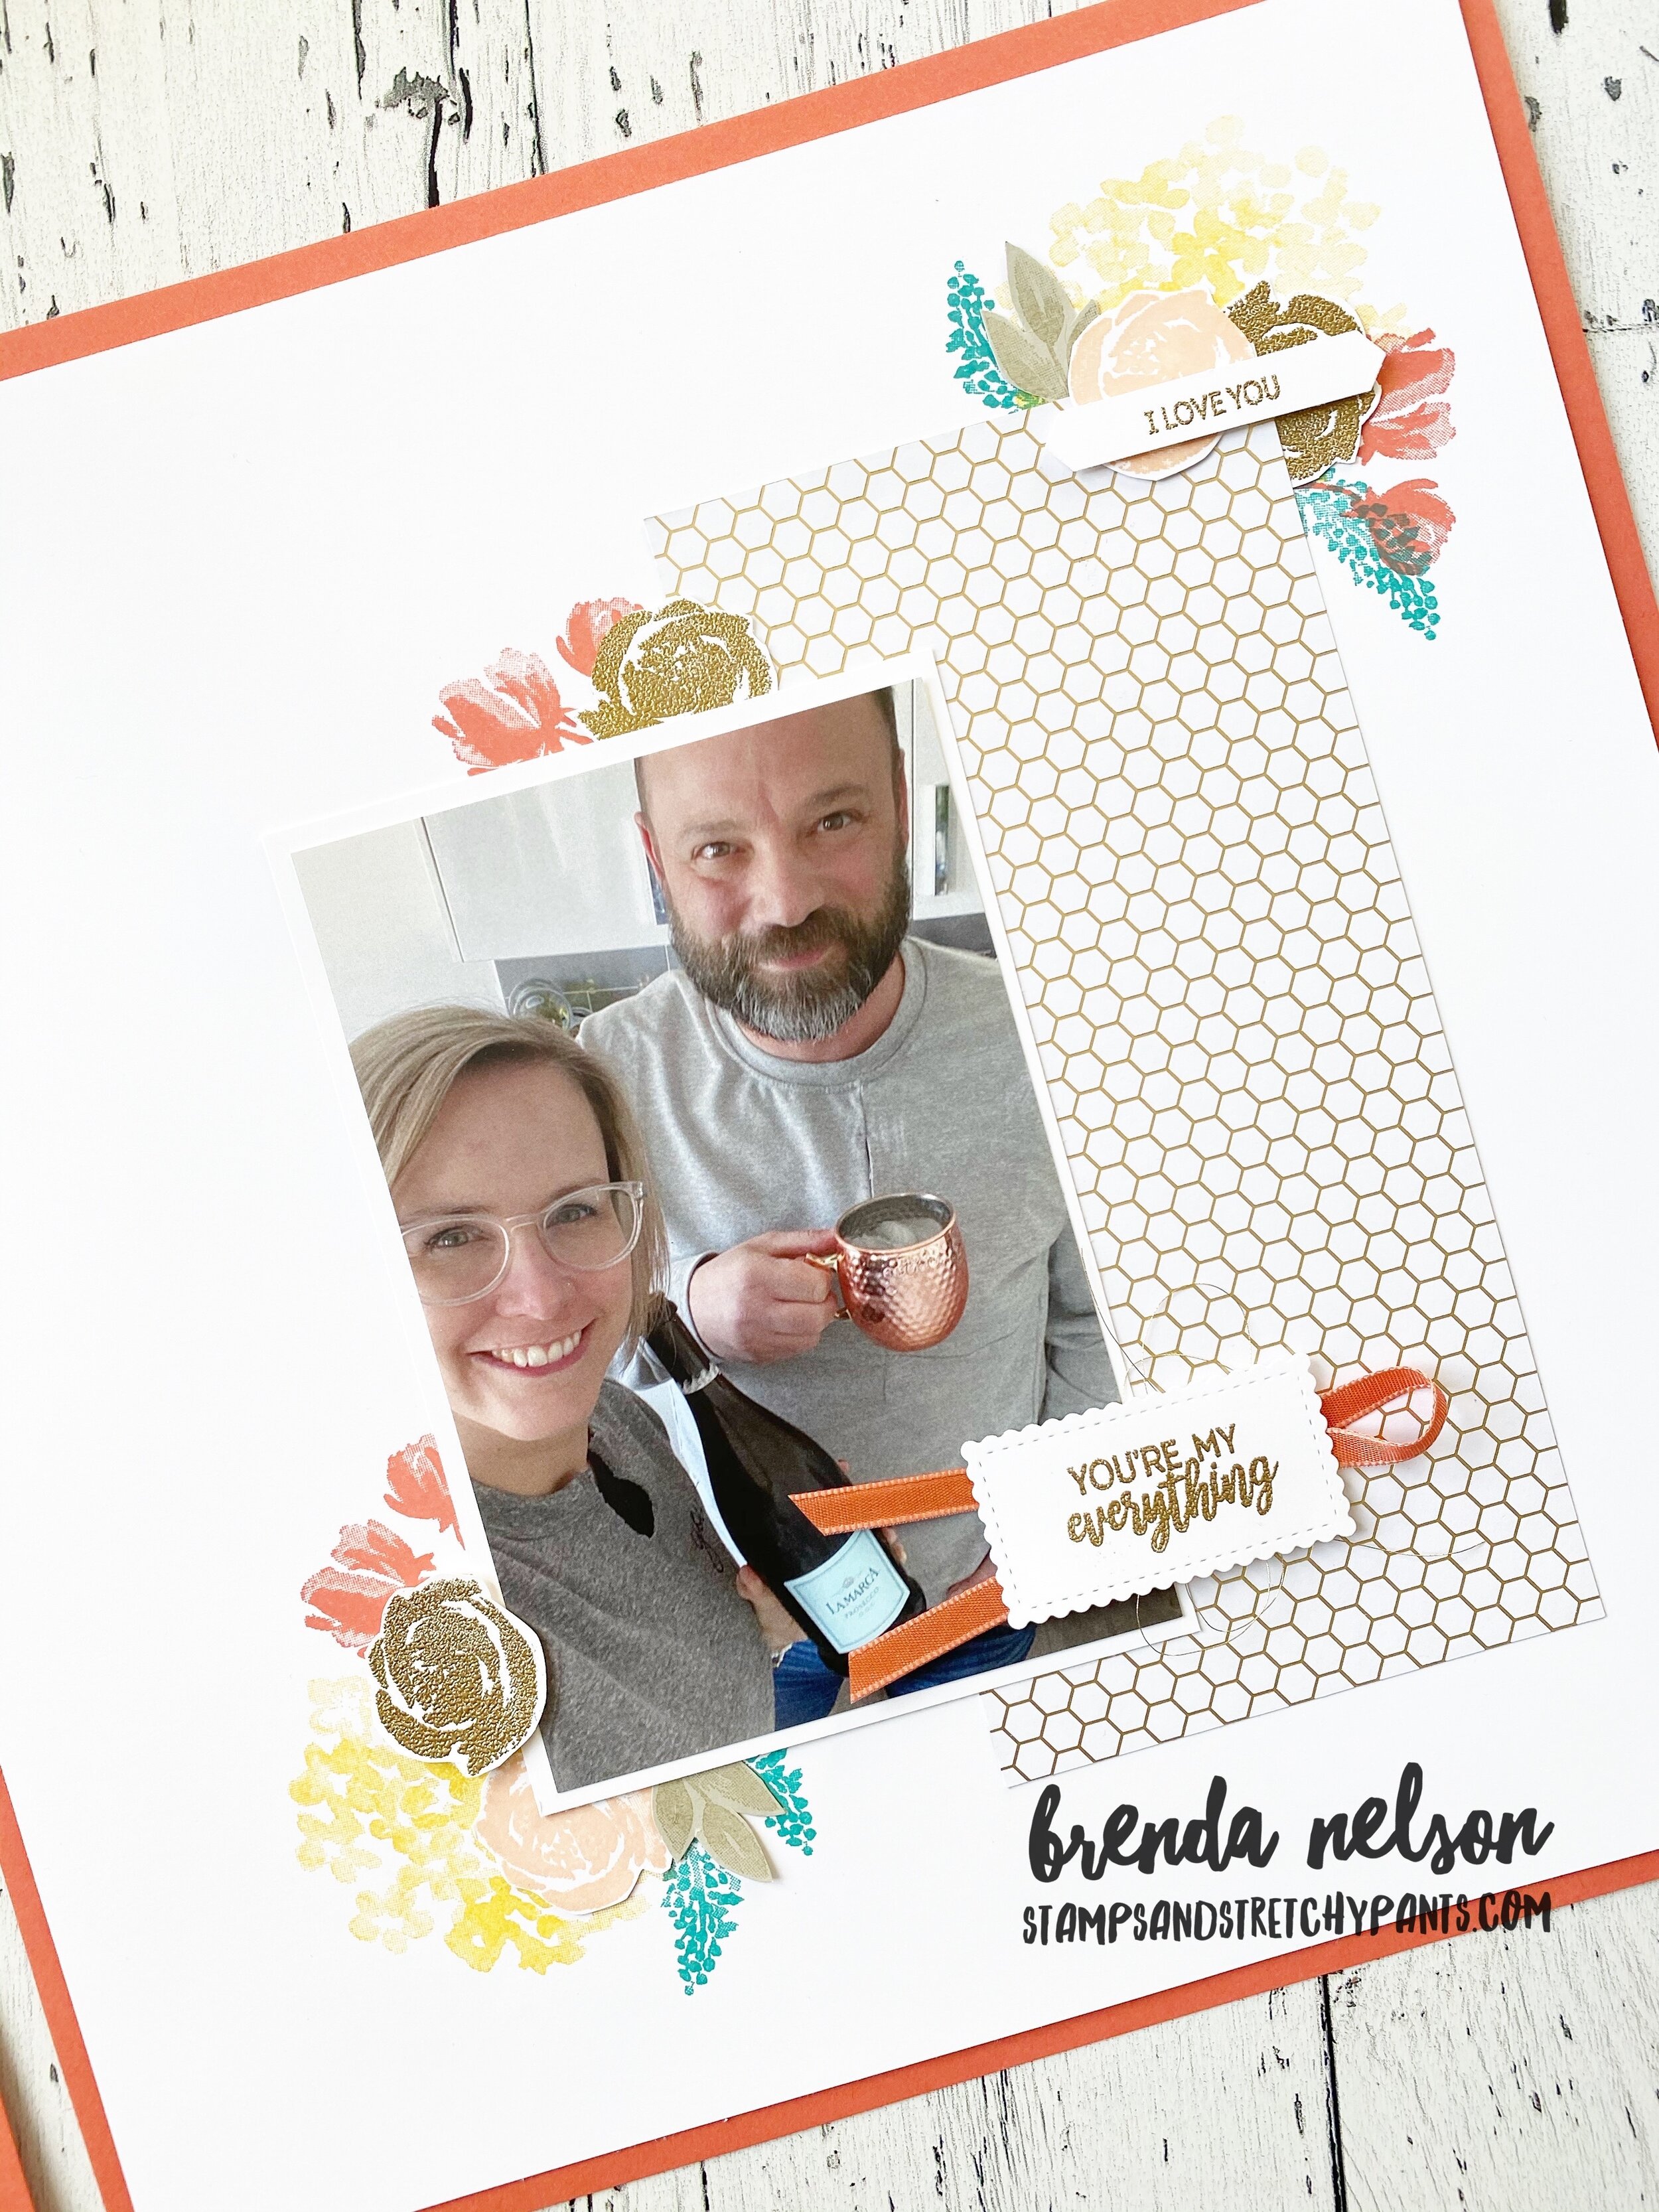
Do you ever reach for the Color Coach cards that Stampin’ Up! created? I do find myself looking at them for inspiration when I feel stuck, or want to add a pop of color but not sure what! You can see how I used one of the Calypso Coral cards to influence the color pallet for this scrapbook page. I wanted to create a page that was bright and floral but could be used with a picture from any moment of your life. The pictures I actually used on these pages are from quarantine. I think it is important to document this experience in our lives too, and it is important to me that these paper memories are positive and bright.

final.jpg
Fun fact: I drank the whole bottle that day!

Fun fact: I drank the whole bottle that day!

The colors used on this page are Calypso Coral, Daffodil Delight, Petal Pink, Sahara Sand and Bermuda Bay with a hint of gold accents. I used the Golden Honey Specialty DSP which was the NUMBER ONE item redeemed during Sale-a-bration! The stamp sets used are Beautiful Friendship, Beautiful Promenade, Capture the Good and Well Said.

The ribbon on my selfie is the Whisper White Crinkled Seam Binding Ribbon that I coloured with the dark Petal Pink Blend marker.  If you take the ribbon and lay it on an acrylic block, you can pull it underneath the marker— It is so fast and easy to…

The ribbon on my selfie is the Whisper White Crinkled Seam Binding Ribbon that I coloured with the dark Petal Pink Blend marker. If you take the ribbon and lay it on an acrylic block, you can pull it underneath the marker— It is so fast and easy to do and drives immediately.