From This to That!
/The benefit of having some extra time on my hands is I have been going through my craft room and discovering things, like this layout from several years ago. It gave me the inspiration for another “From This to That”!

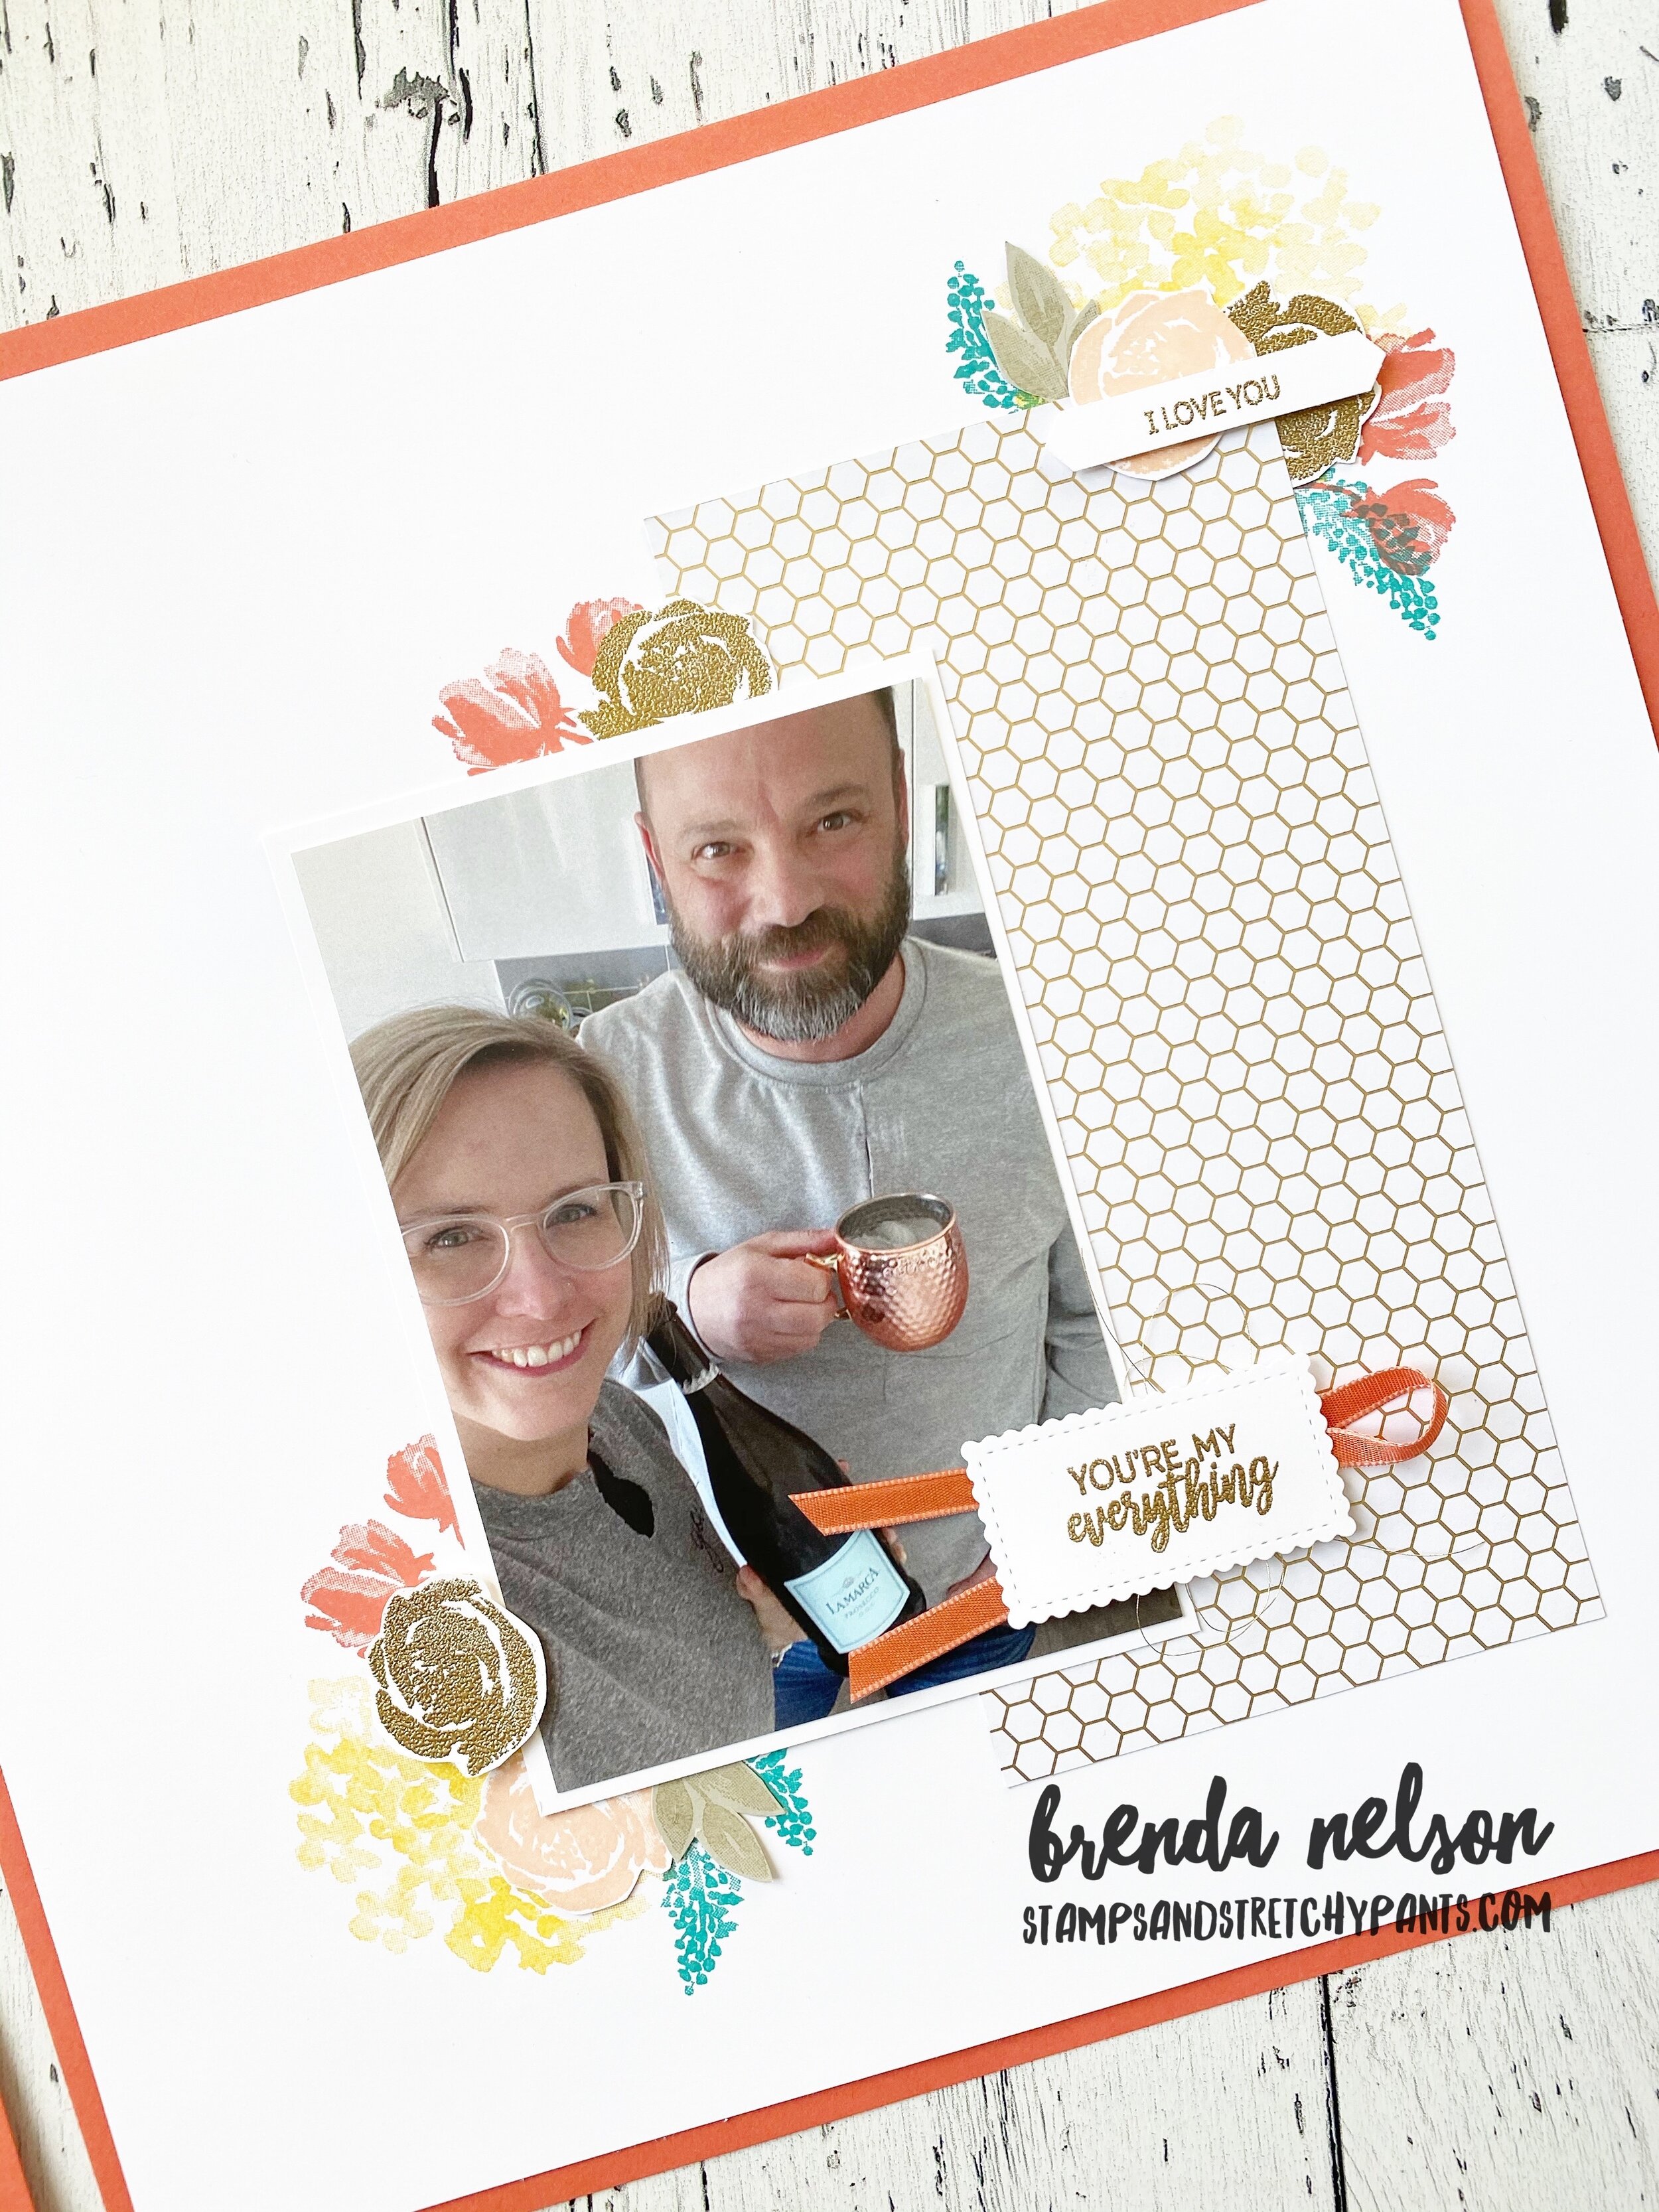
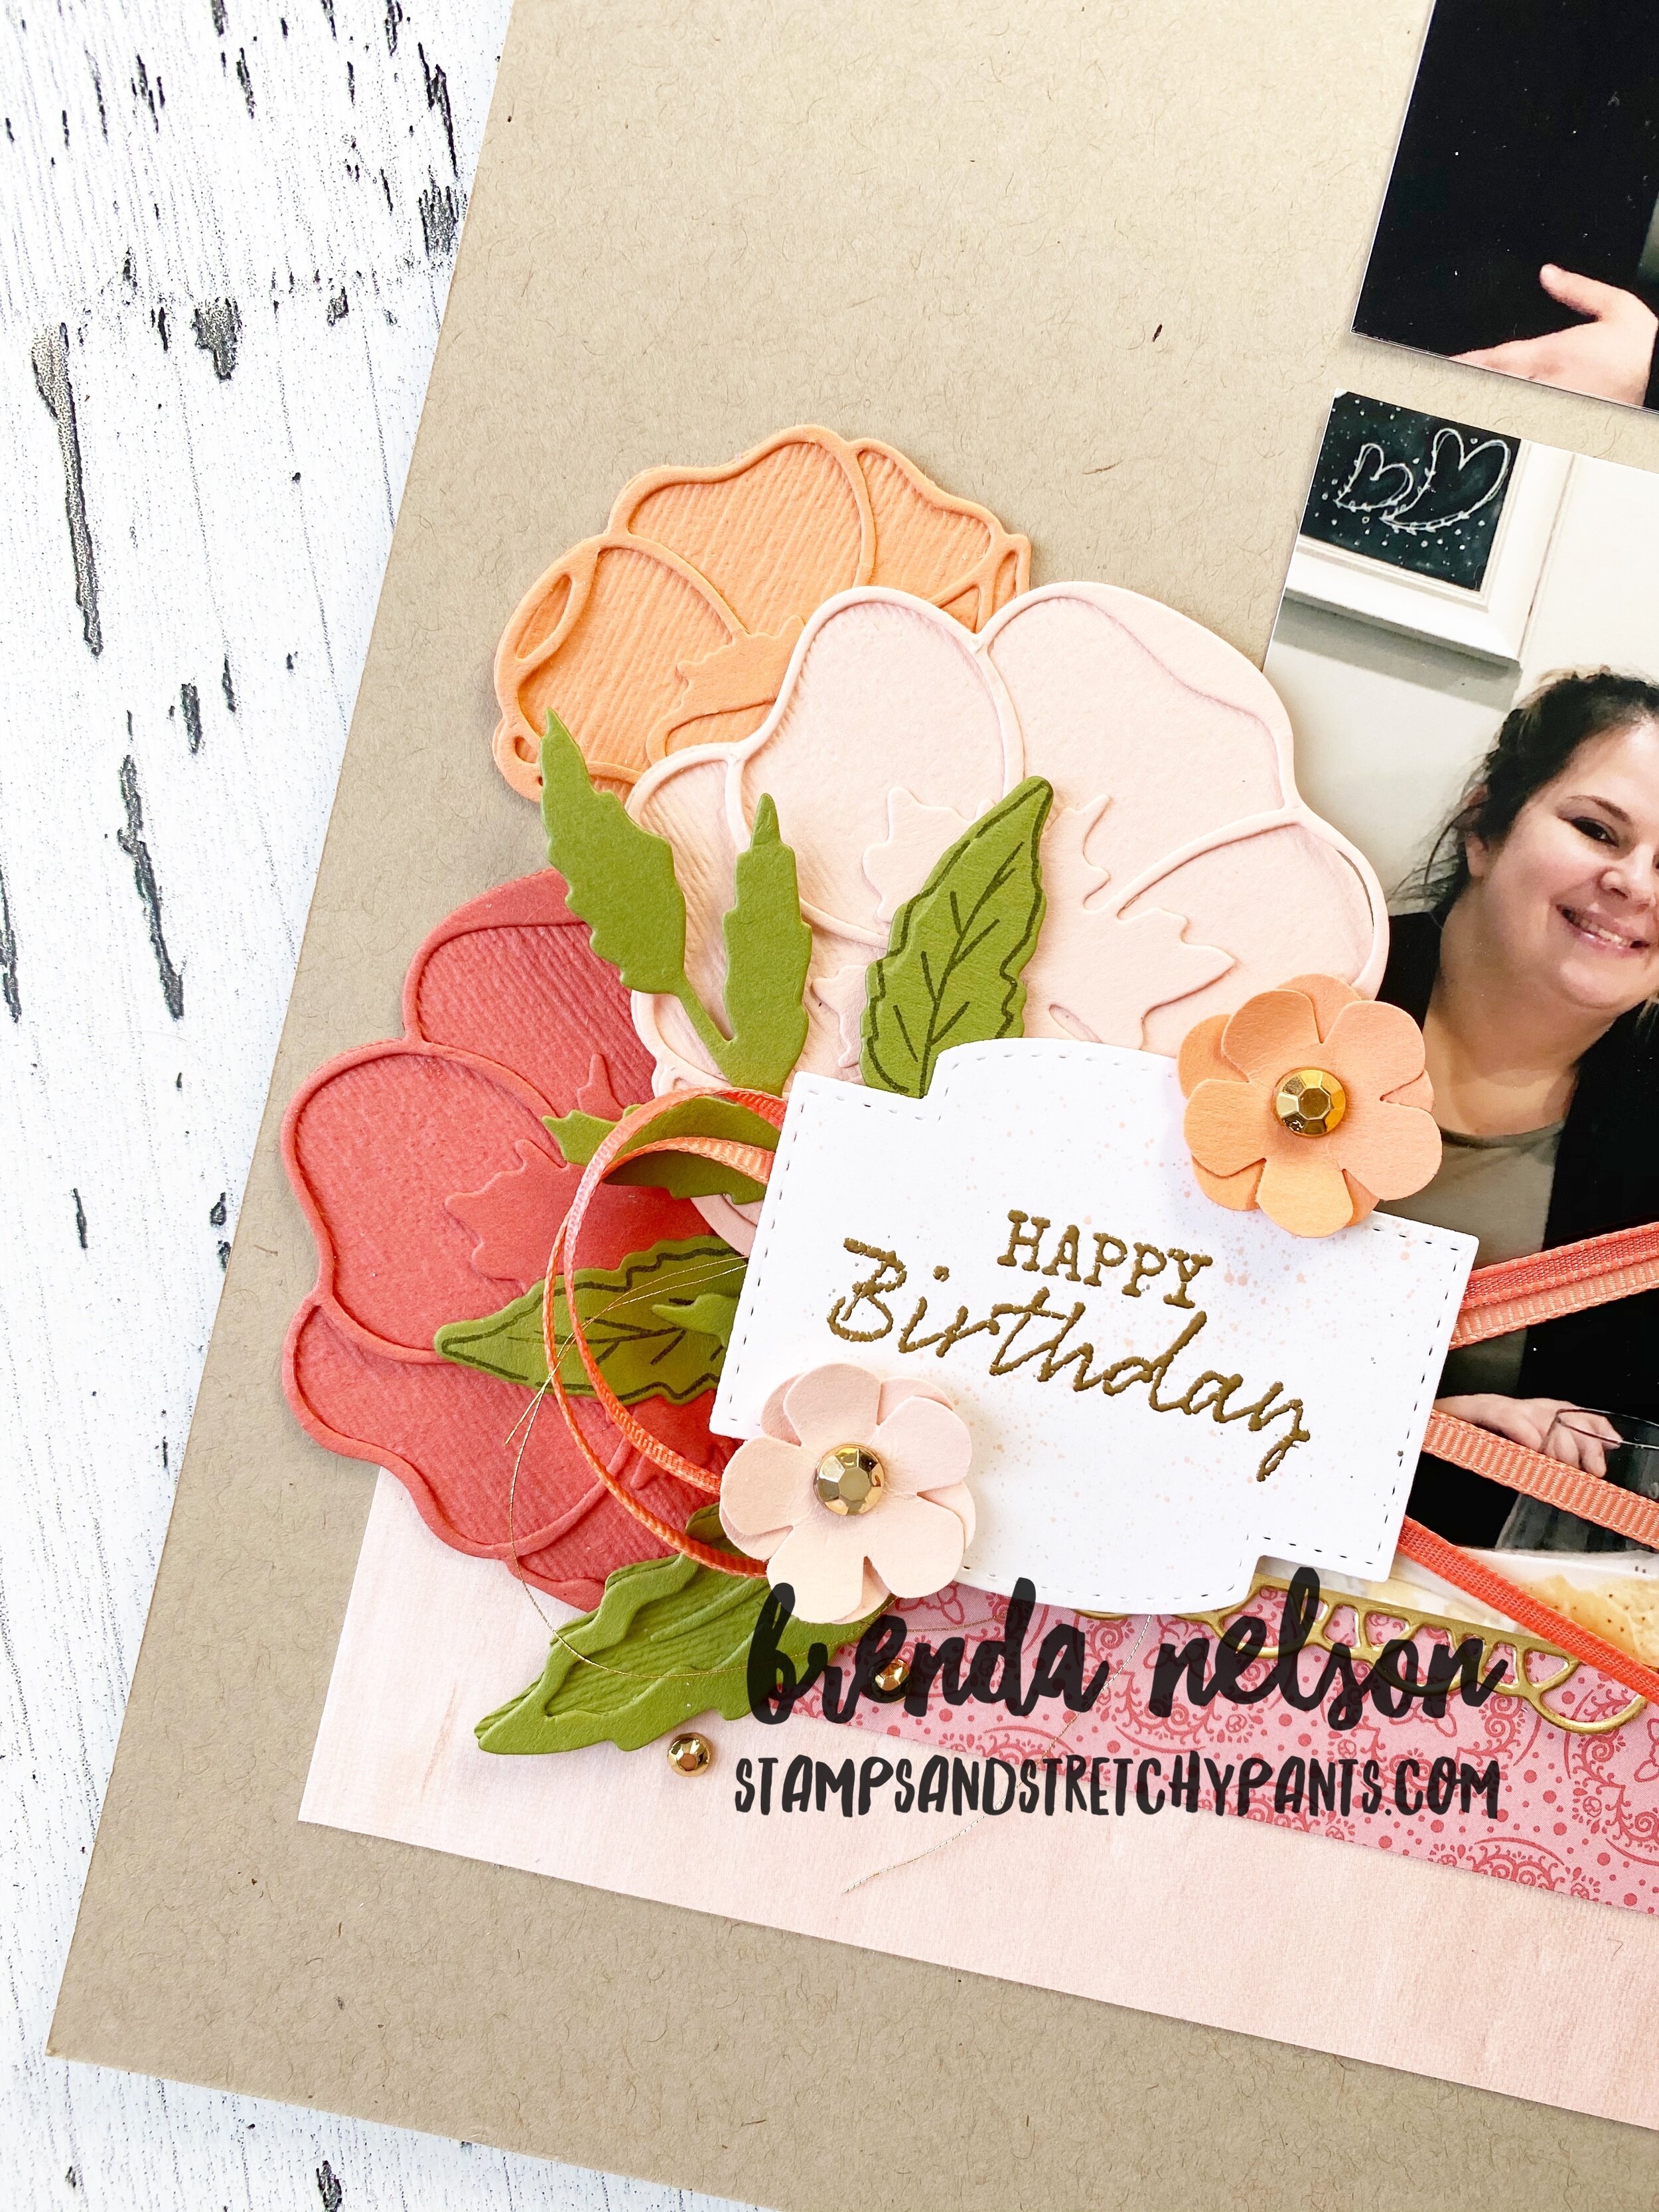
On my updated version I used the Honey Bee Specialty DSP from Sale-a-bration as the base and layered a piece of Whisper White card stock over top, I sponged some Soft Seafood in the background under the word ‘cousins’ which were cut with the Hand Lettered Prose dies. I used the Seriously The Best stamp set for the other sentiments paired with the Mountain Air stamp set (which is carrying over to the new annual catalogue!). The best part of this whole layout are the trees along the side!
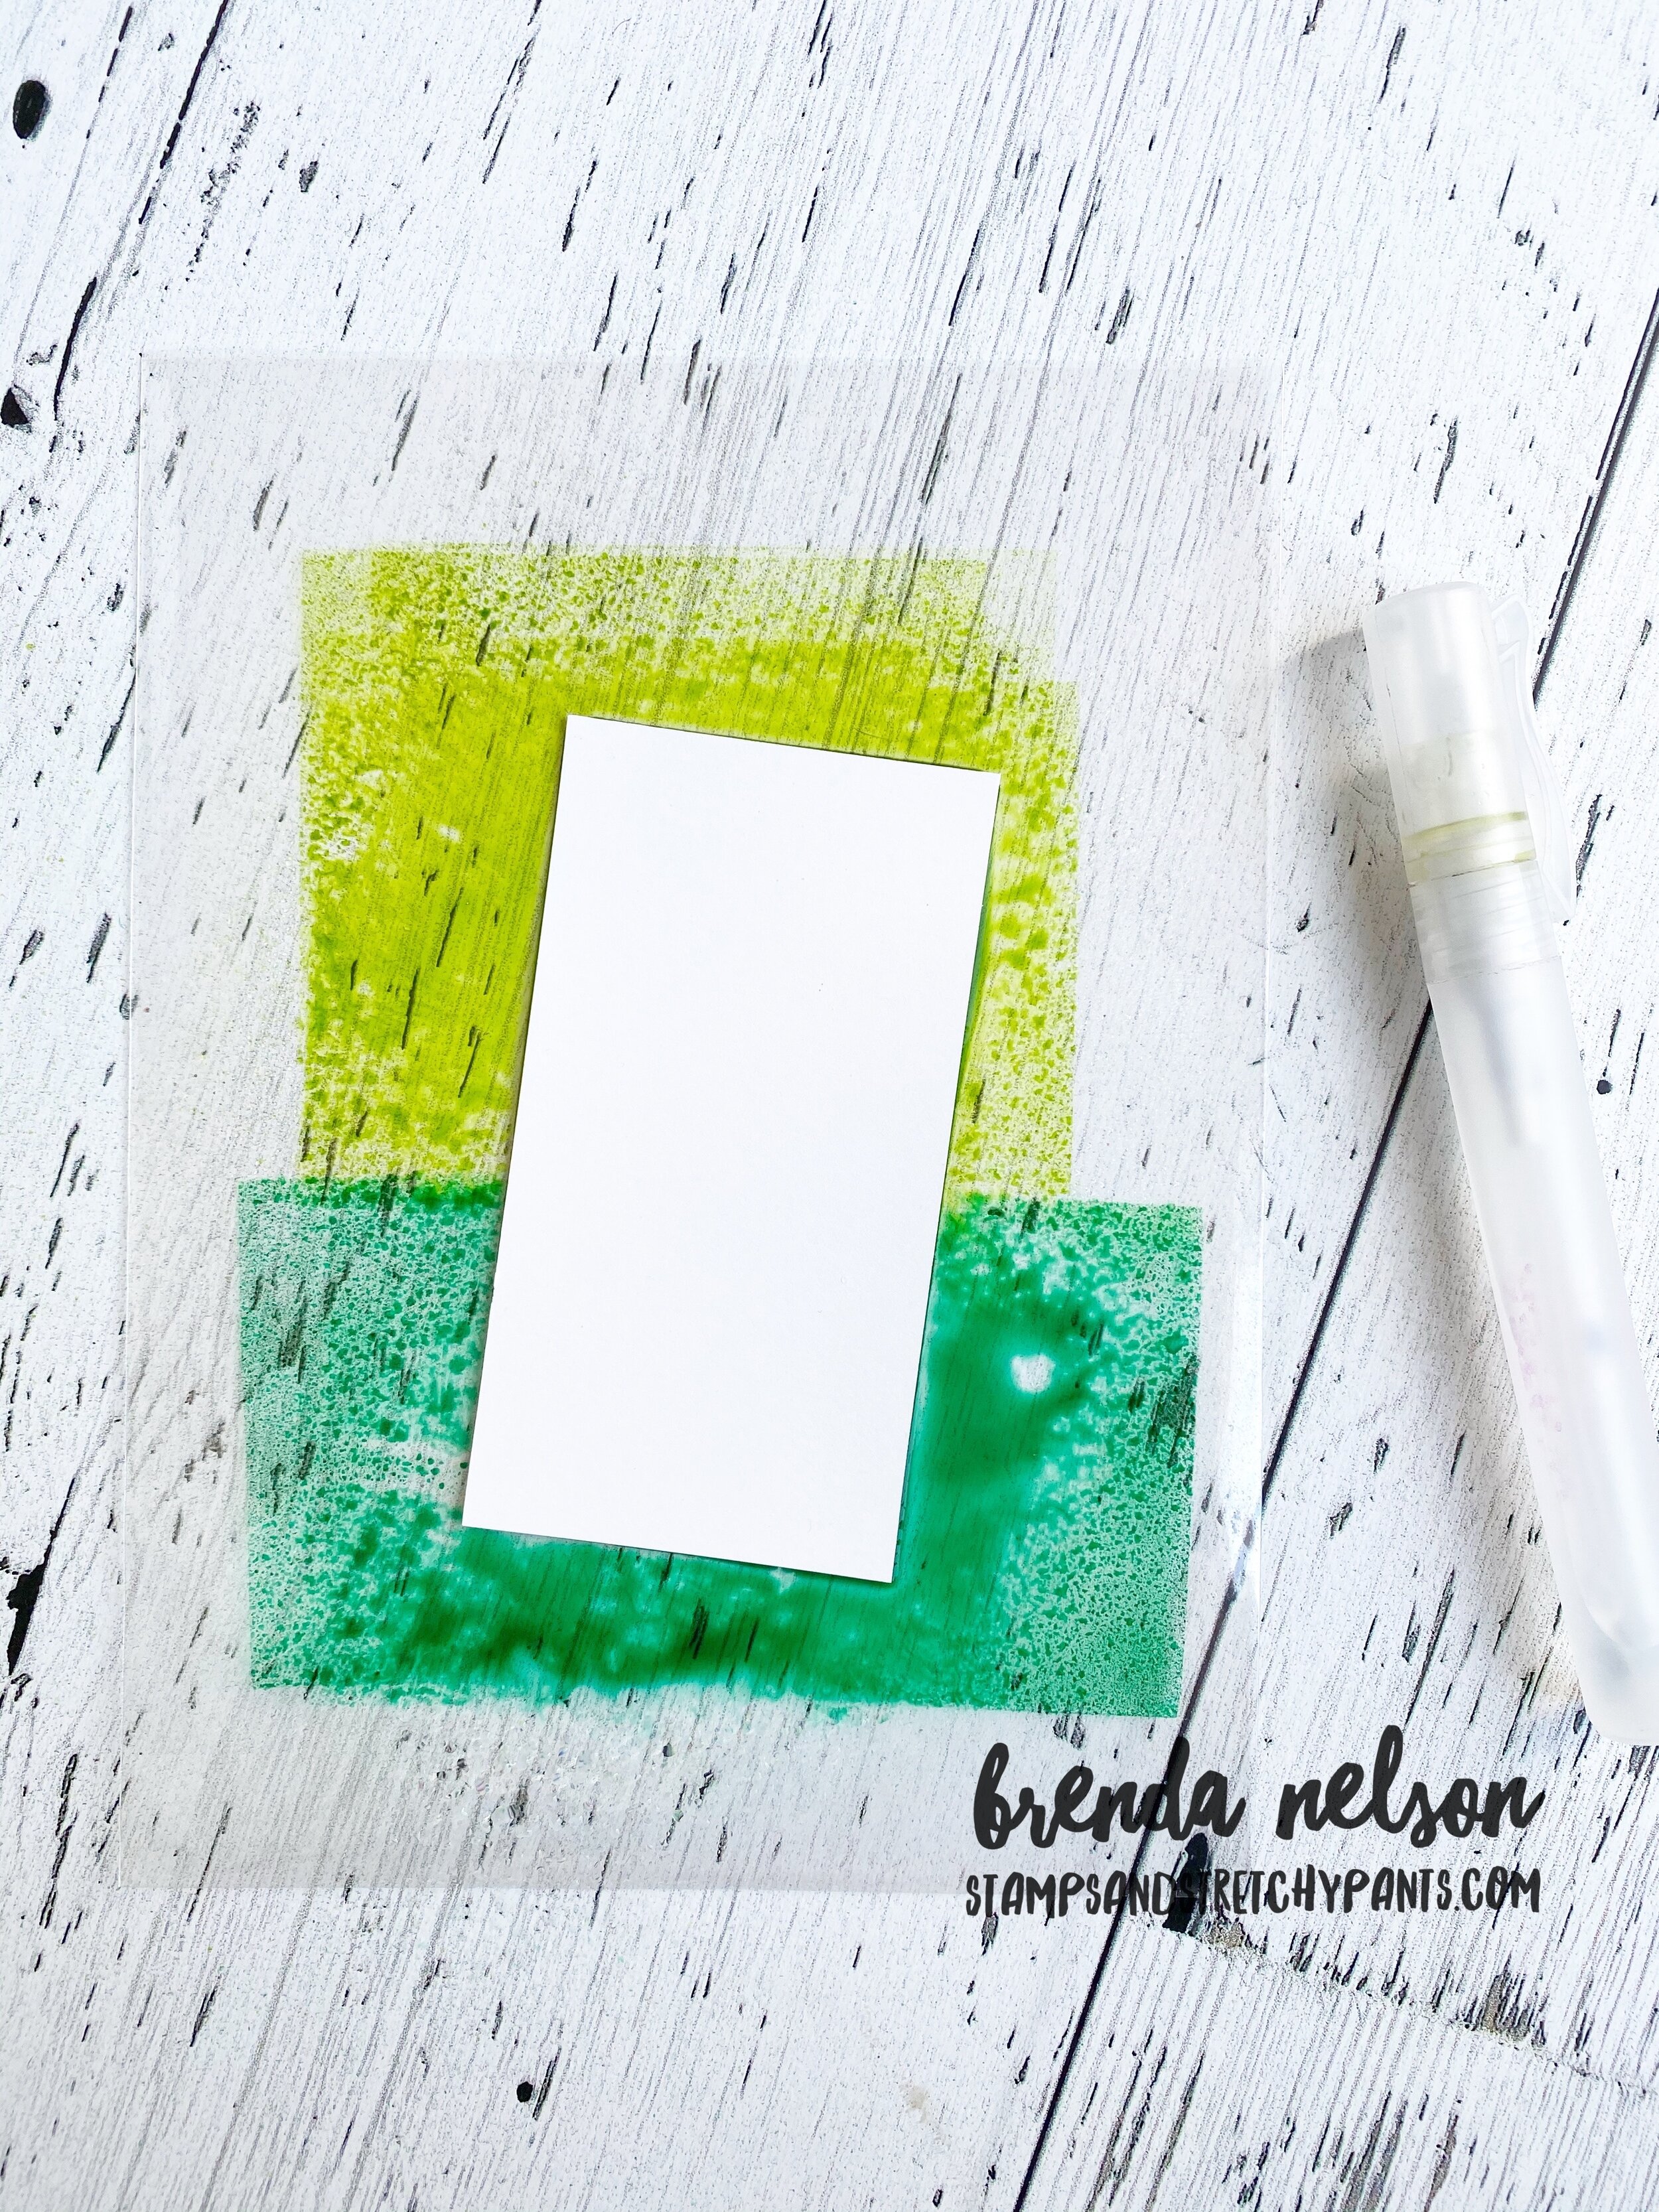
Supplies you will need:
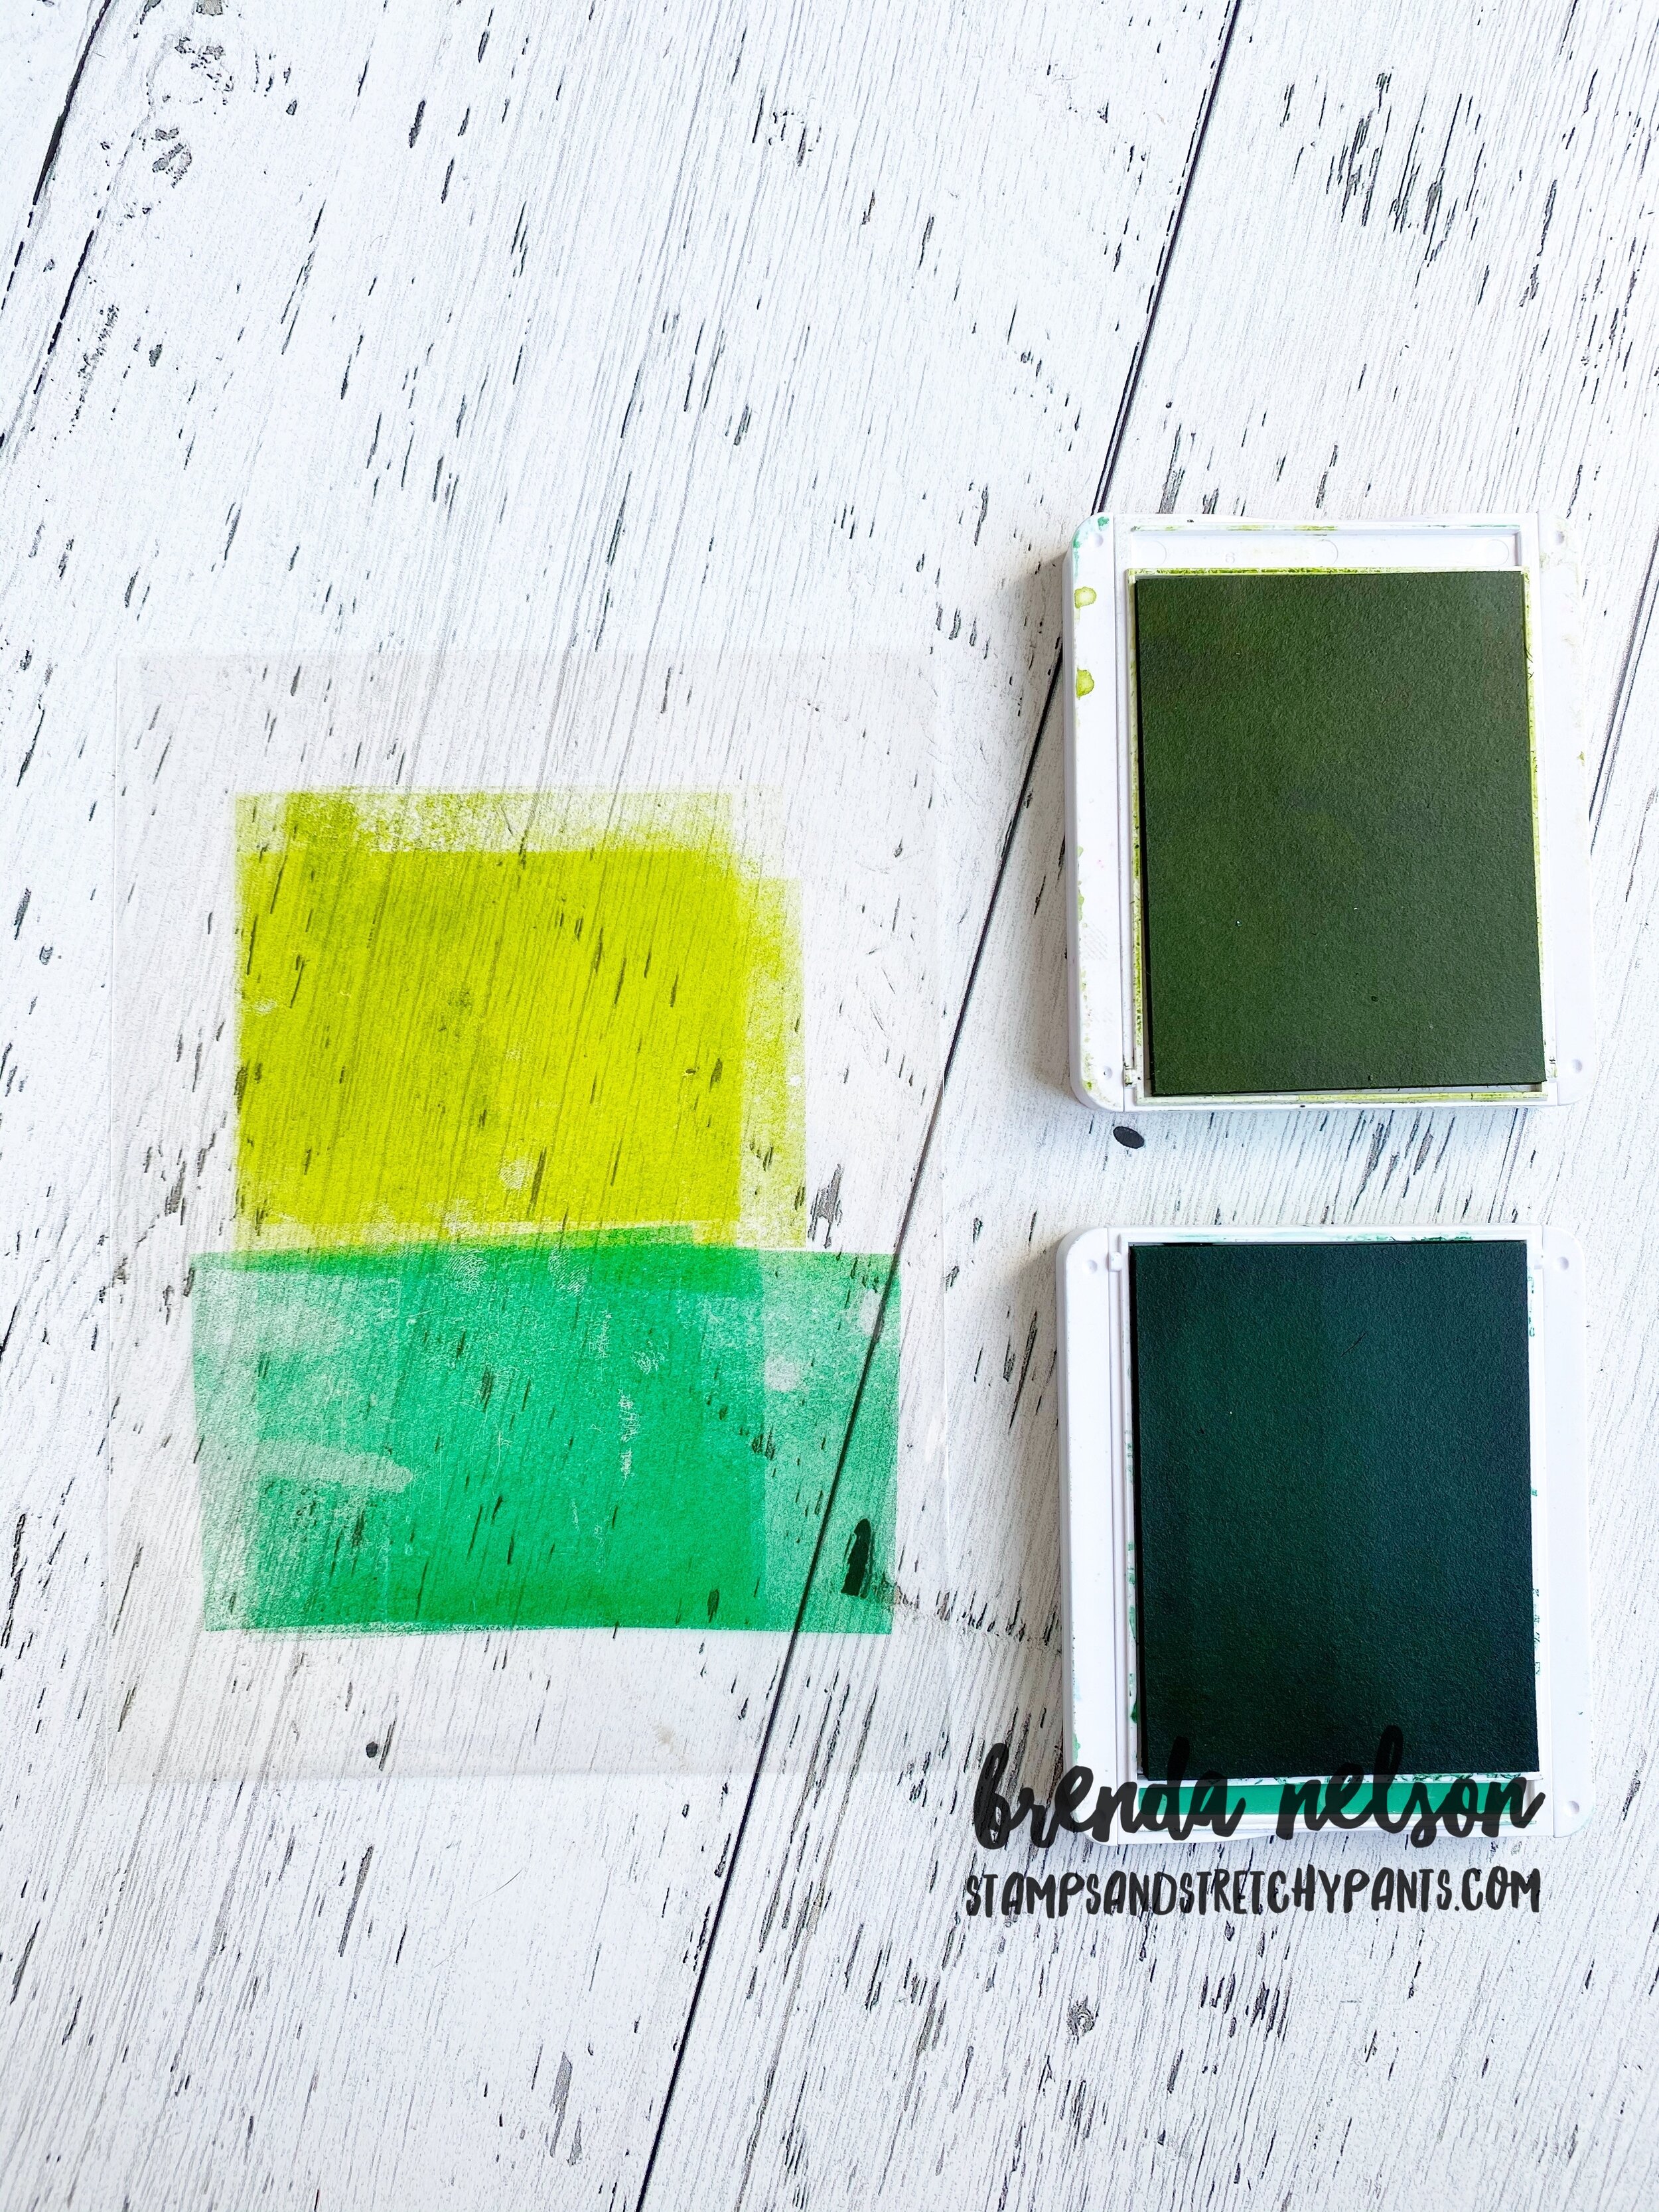
-cello bag
-two contrasting ink colors but of the same color family (I used Granny Apple Green and Call Me Clover)
-a Spritzer filled with water
-a piece of water-colour or Shimmery White paper
-a die of your choice (I used the two large trees from the Majestic Mountain dies)
How To:
Stamp your two ink pads straight onto your cello bag. Lightly spritz with water and place your paper on top making sure to get both ink colors on the paper. Remove, let dry and cut with your die of choice.
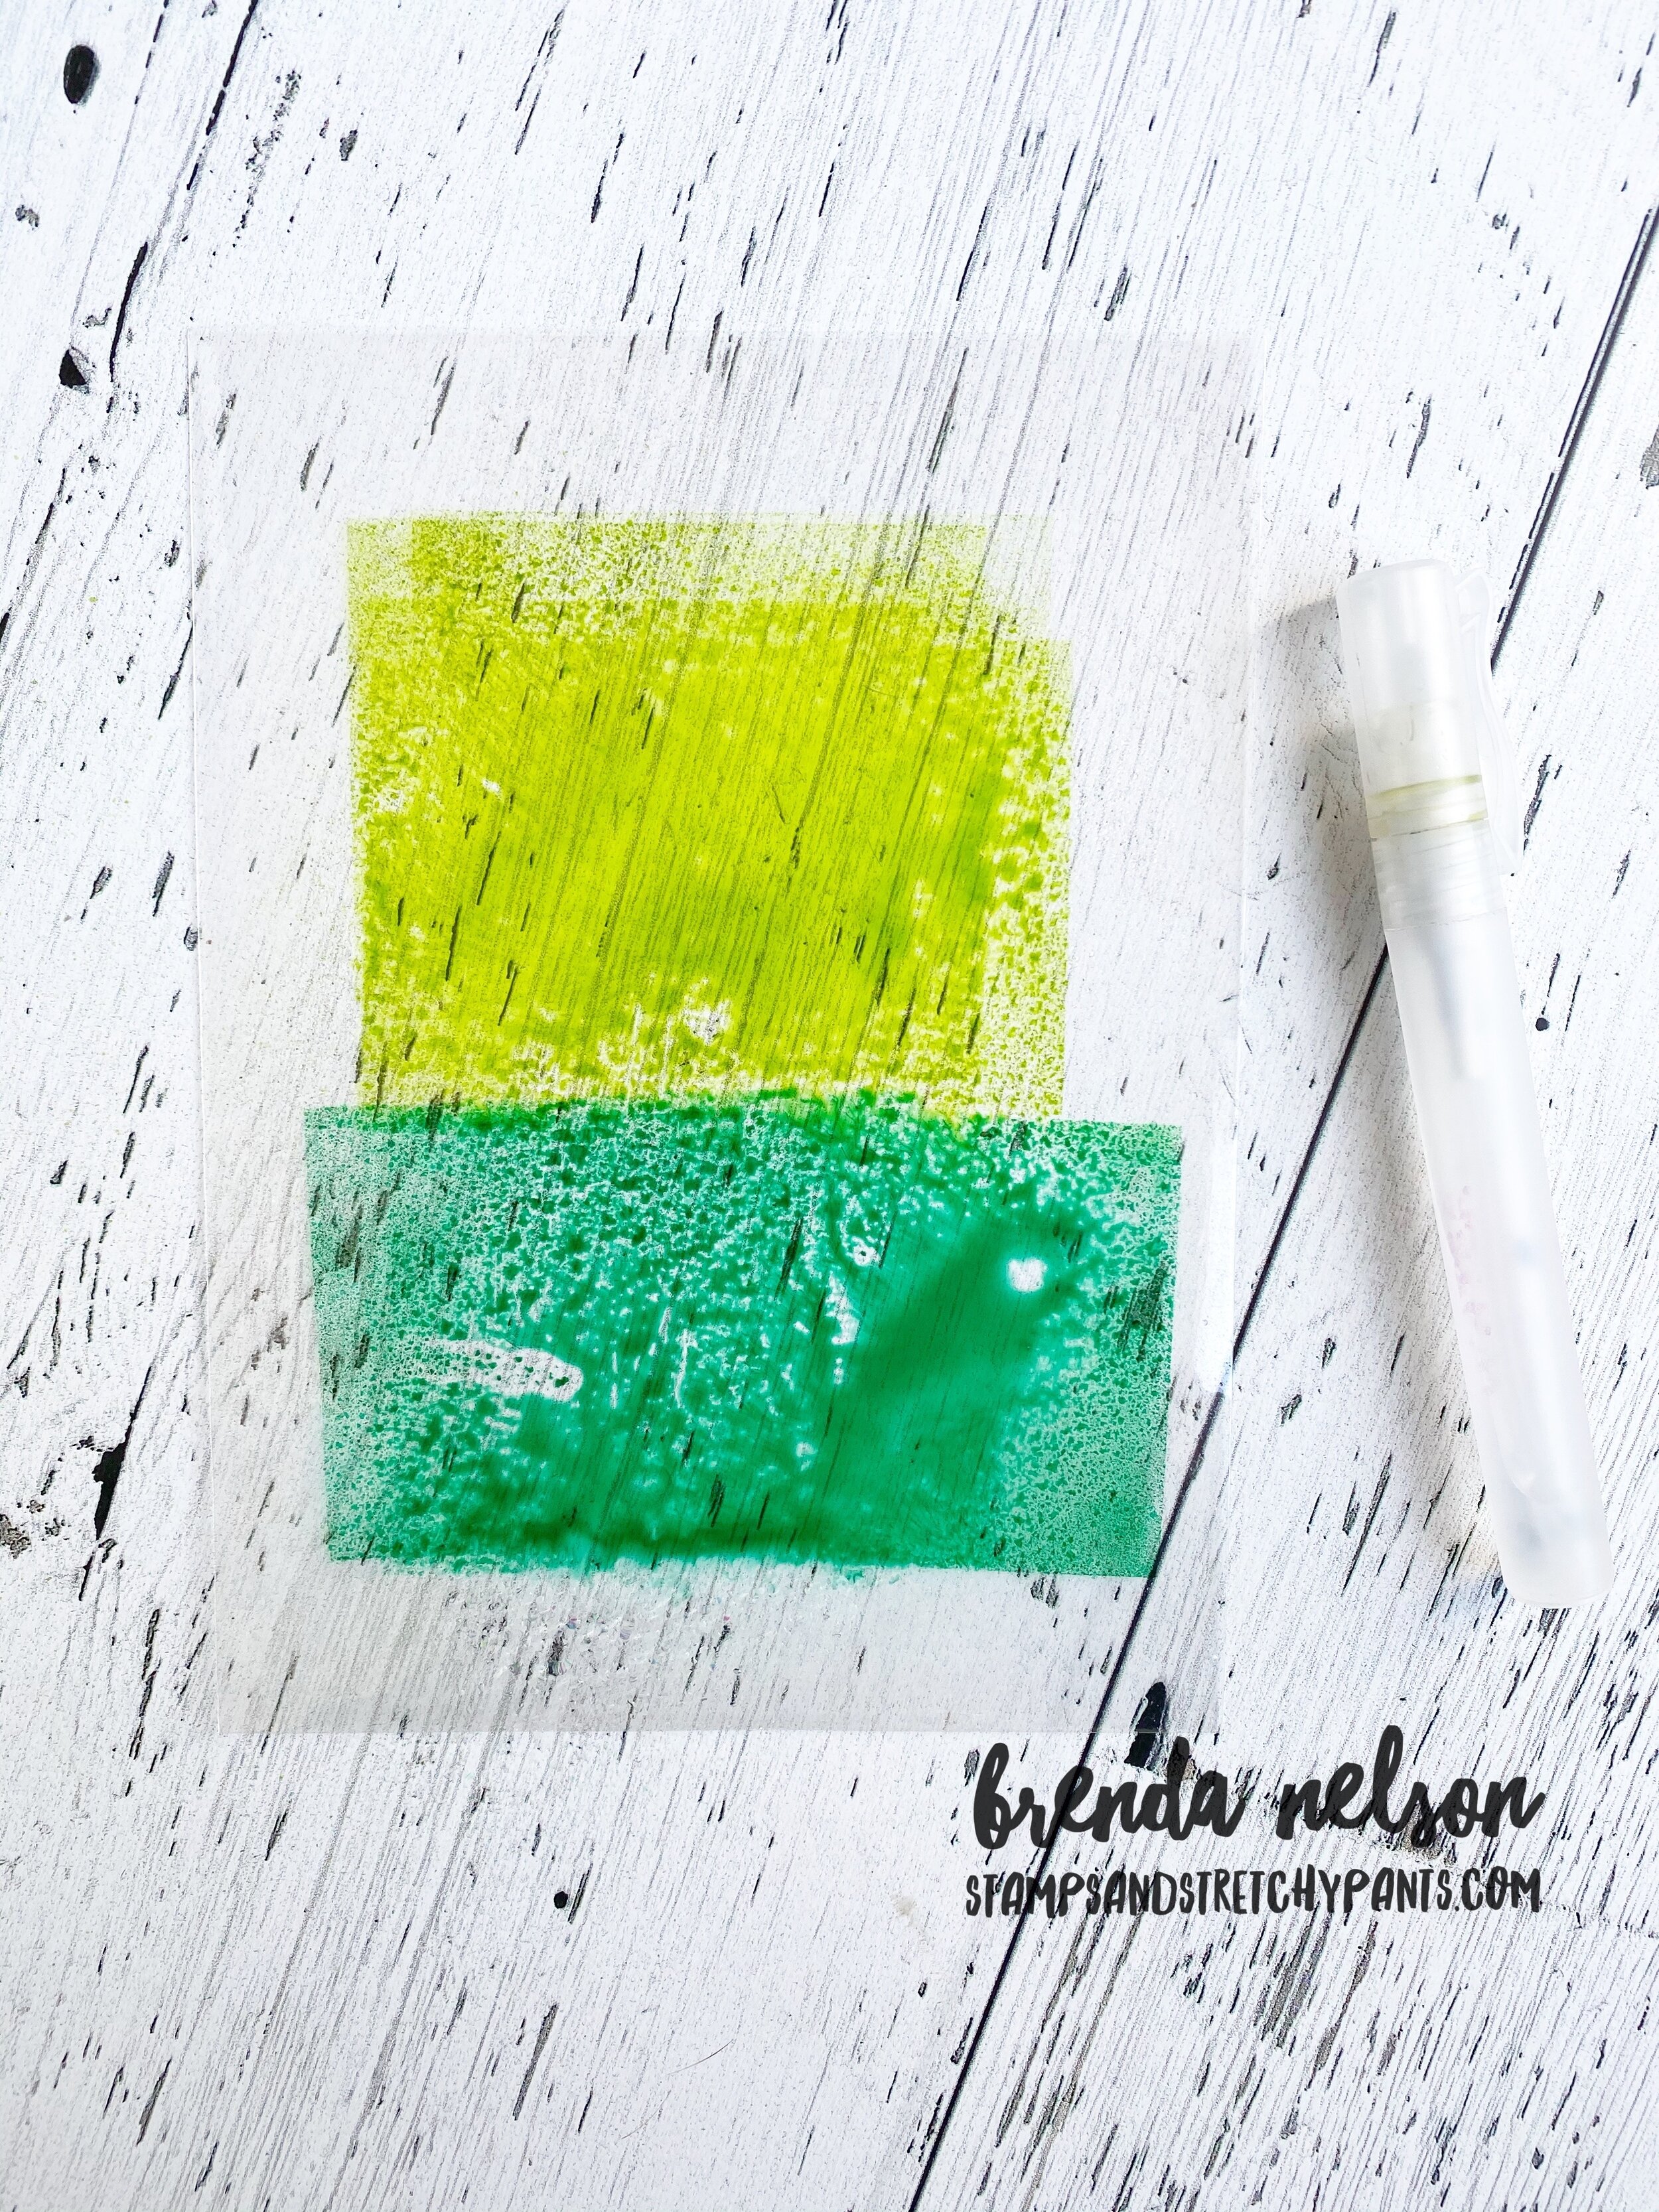
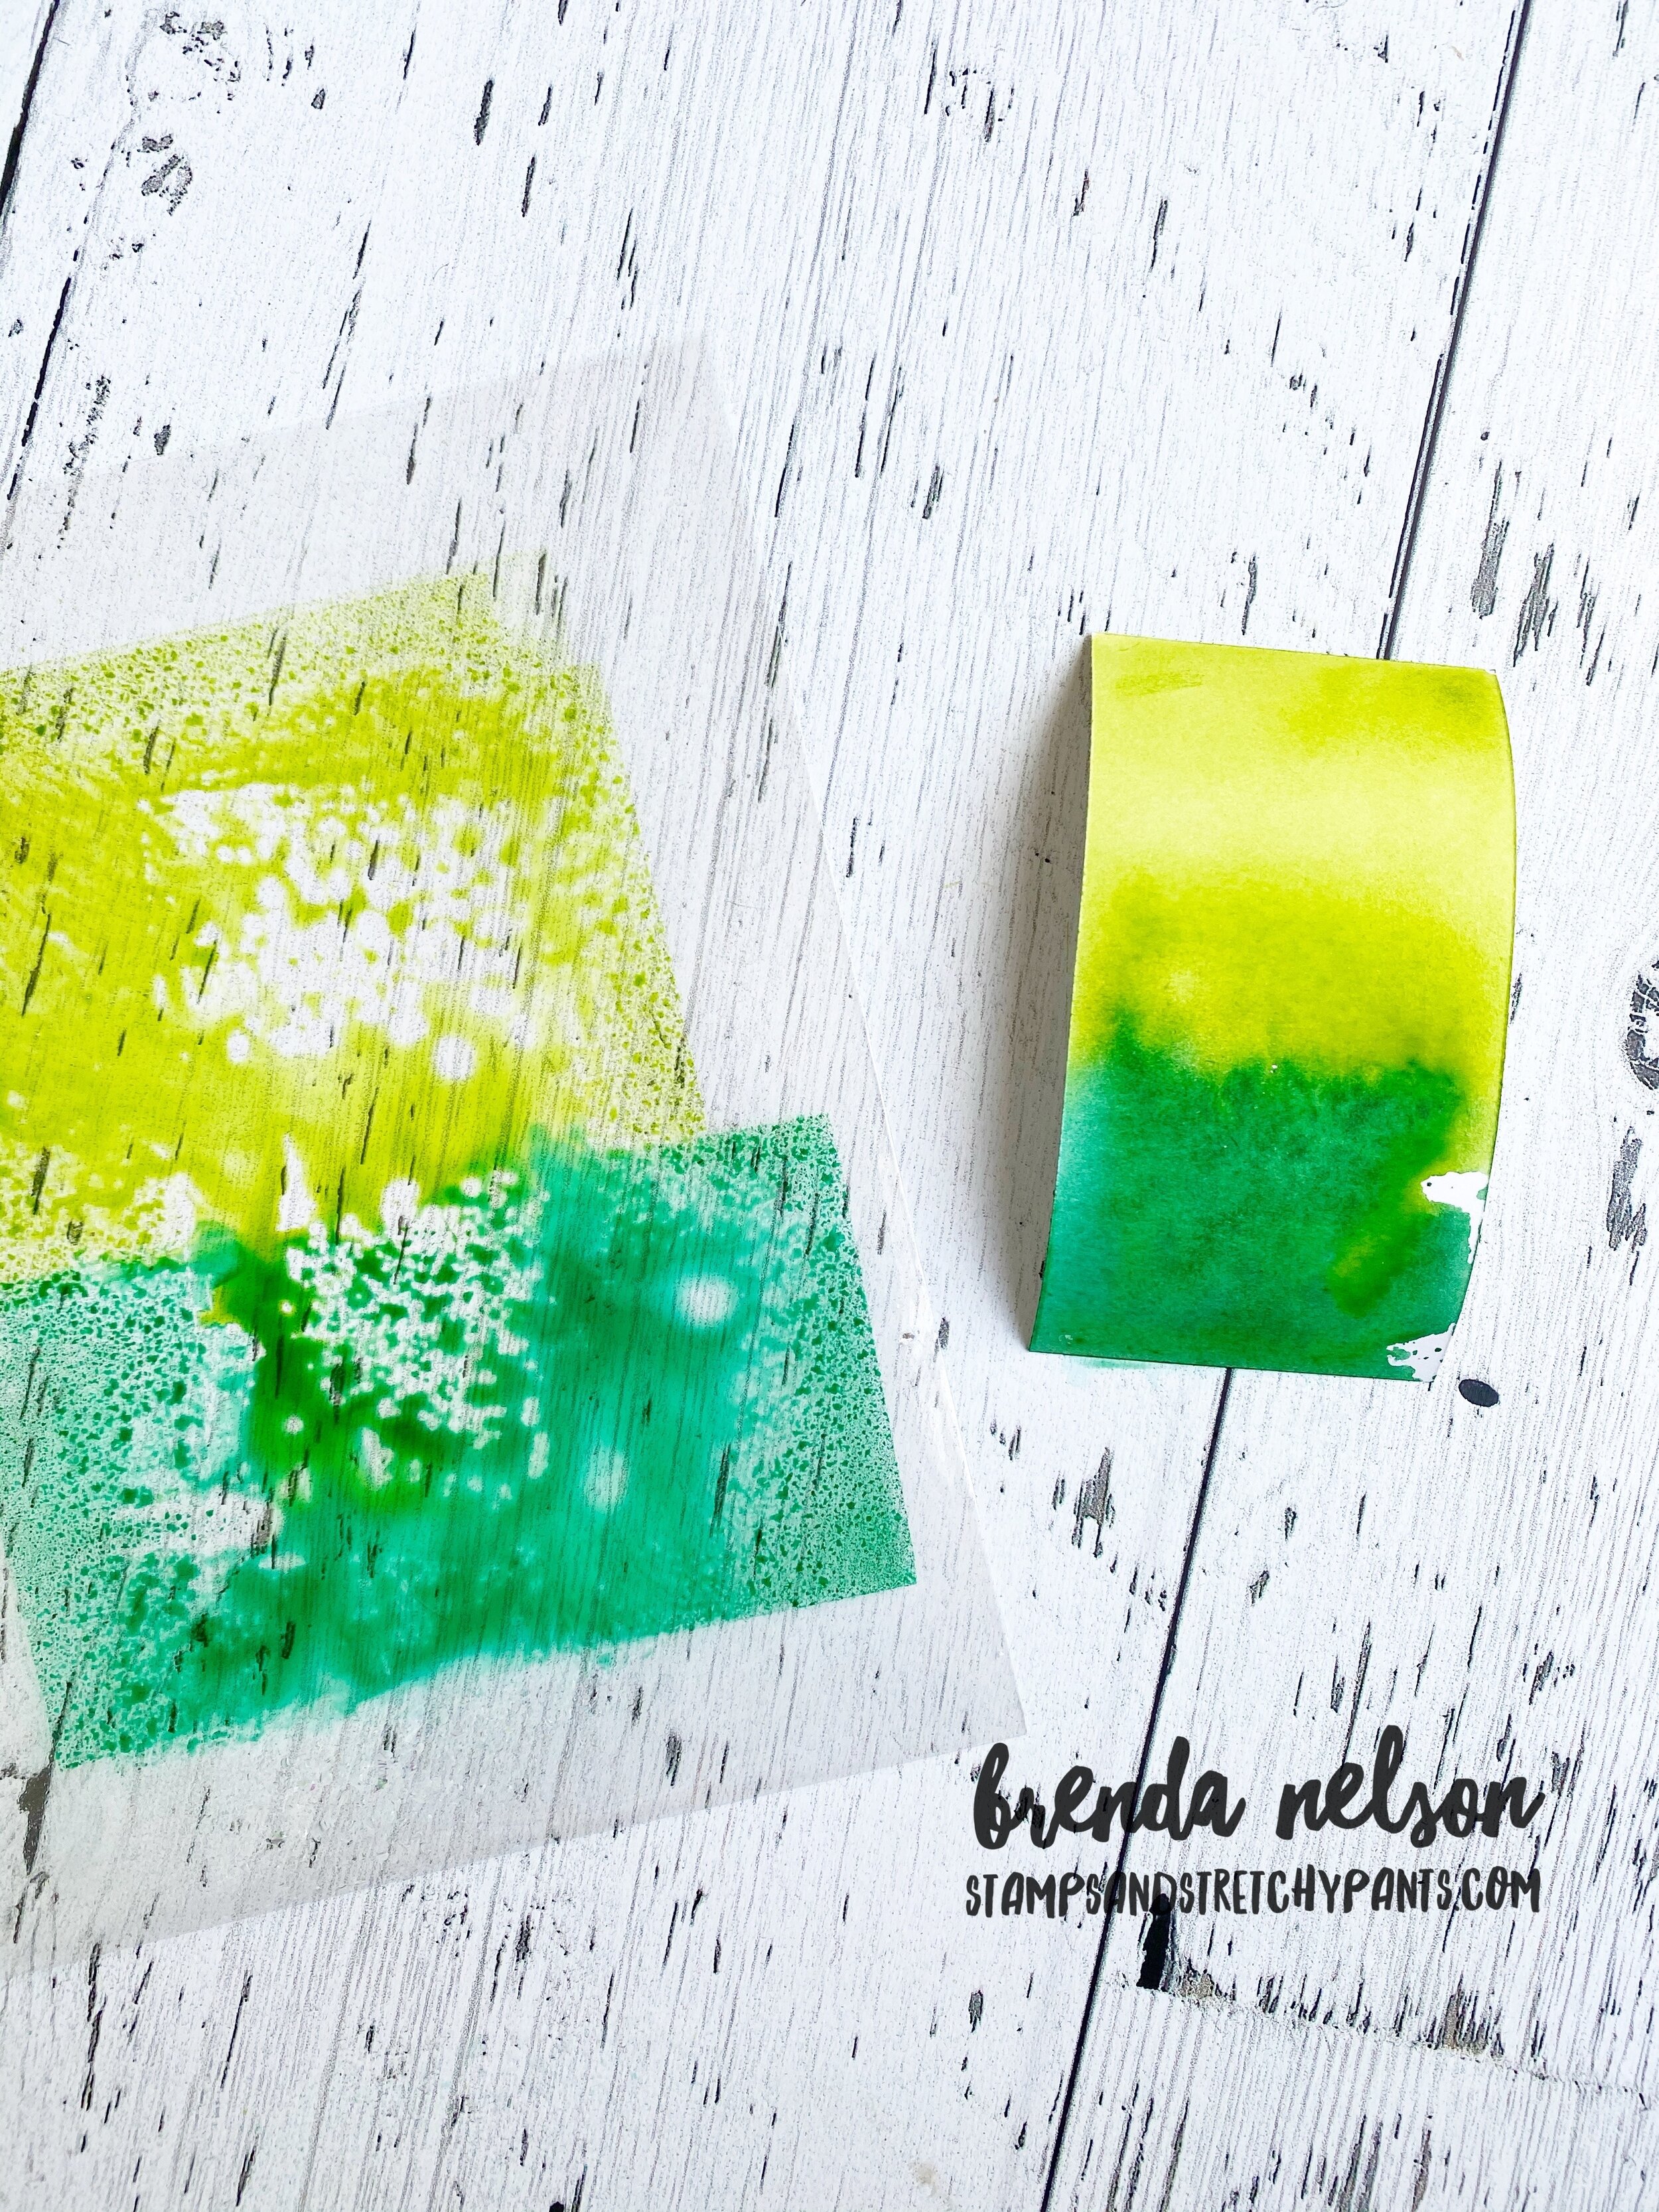
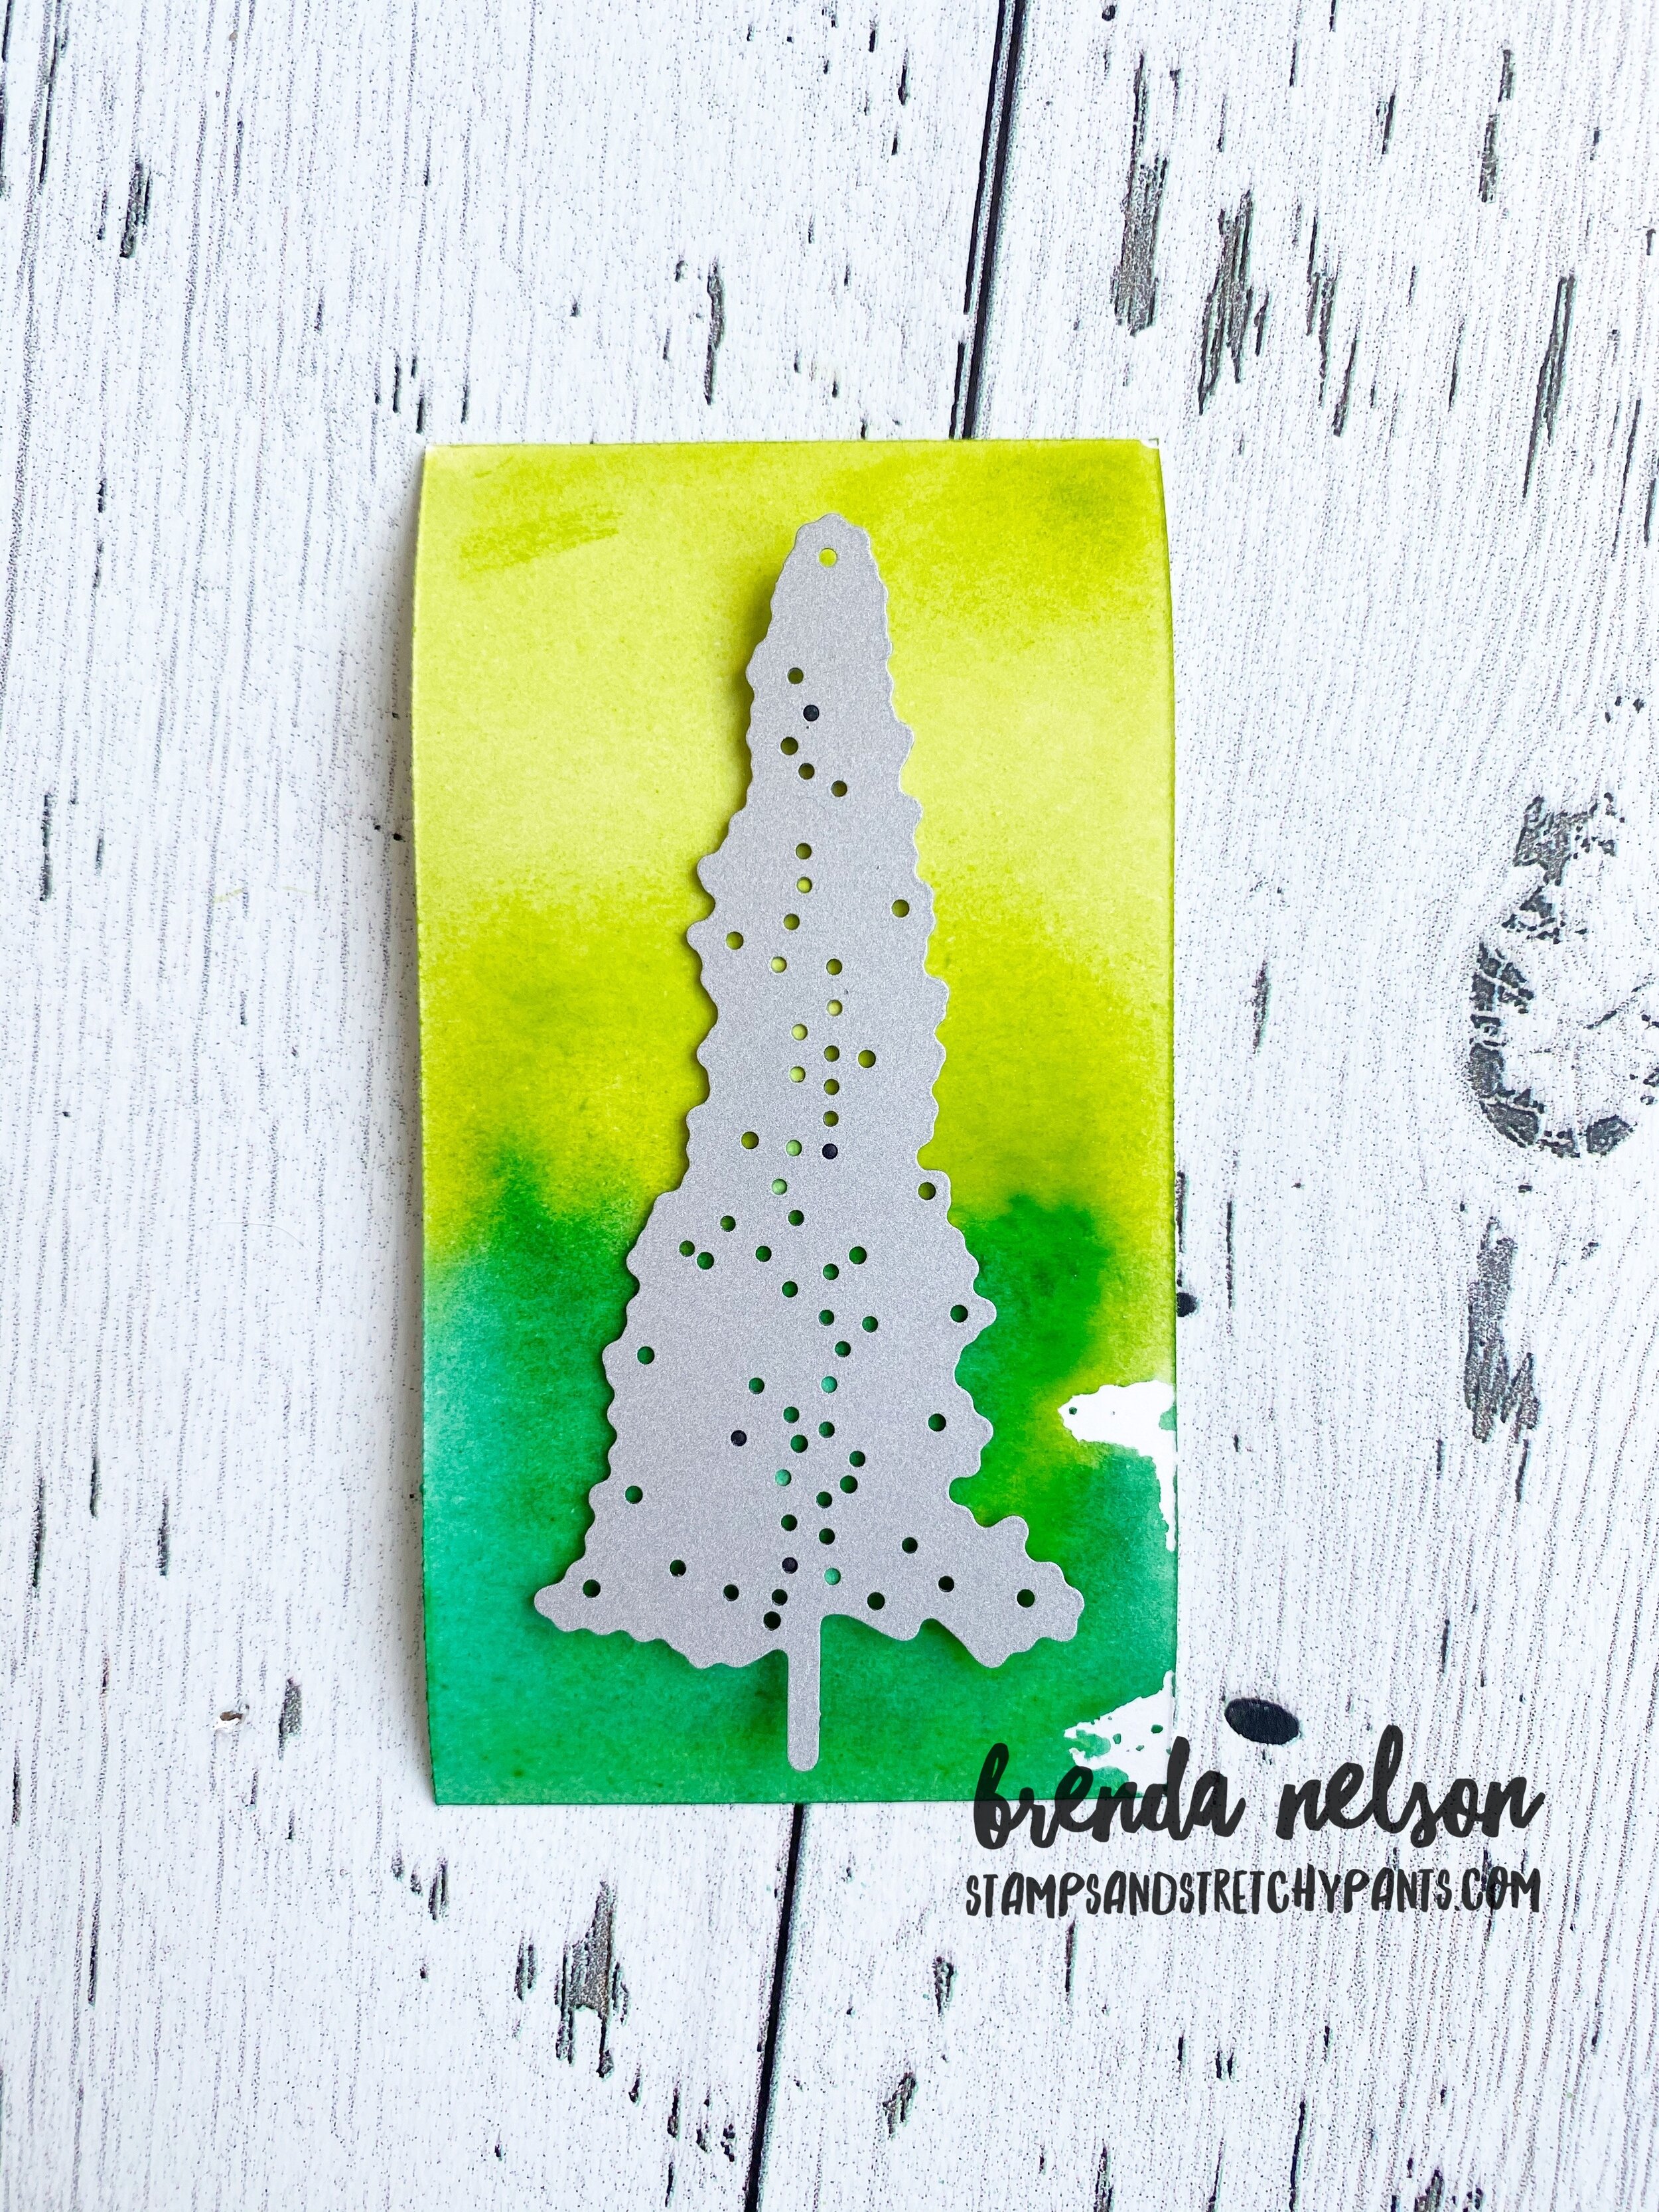
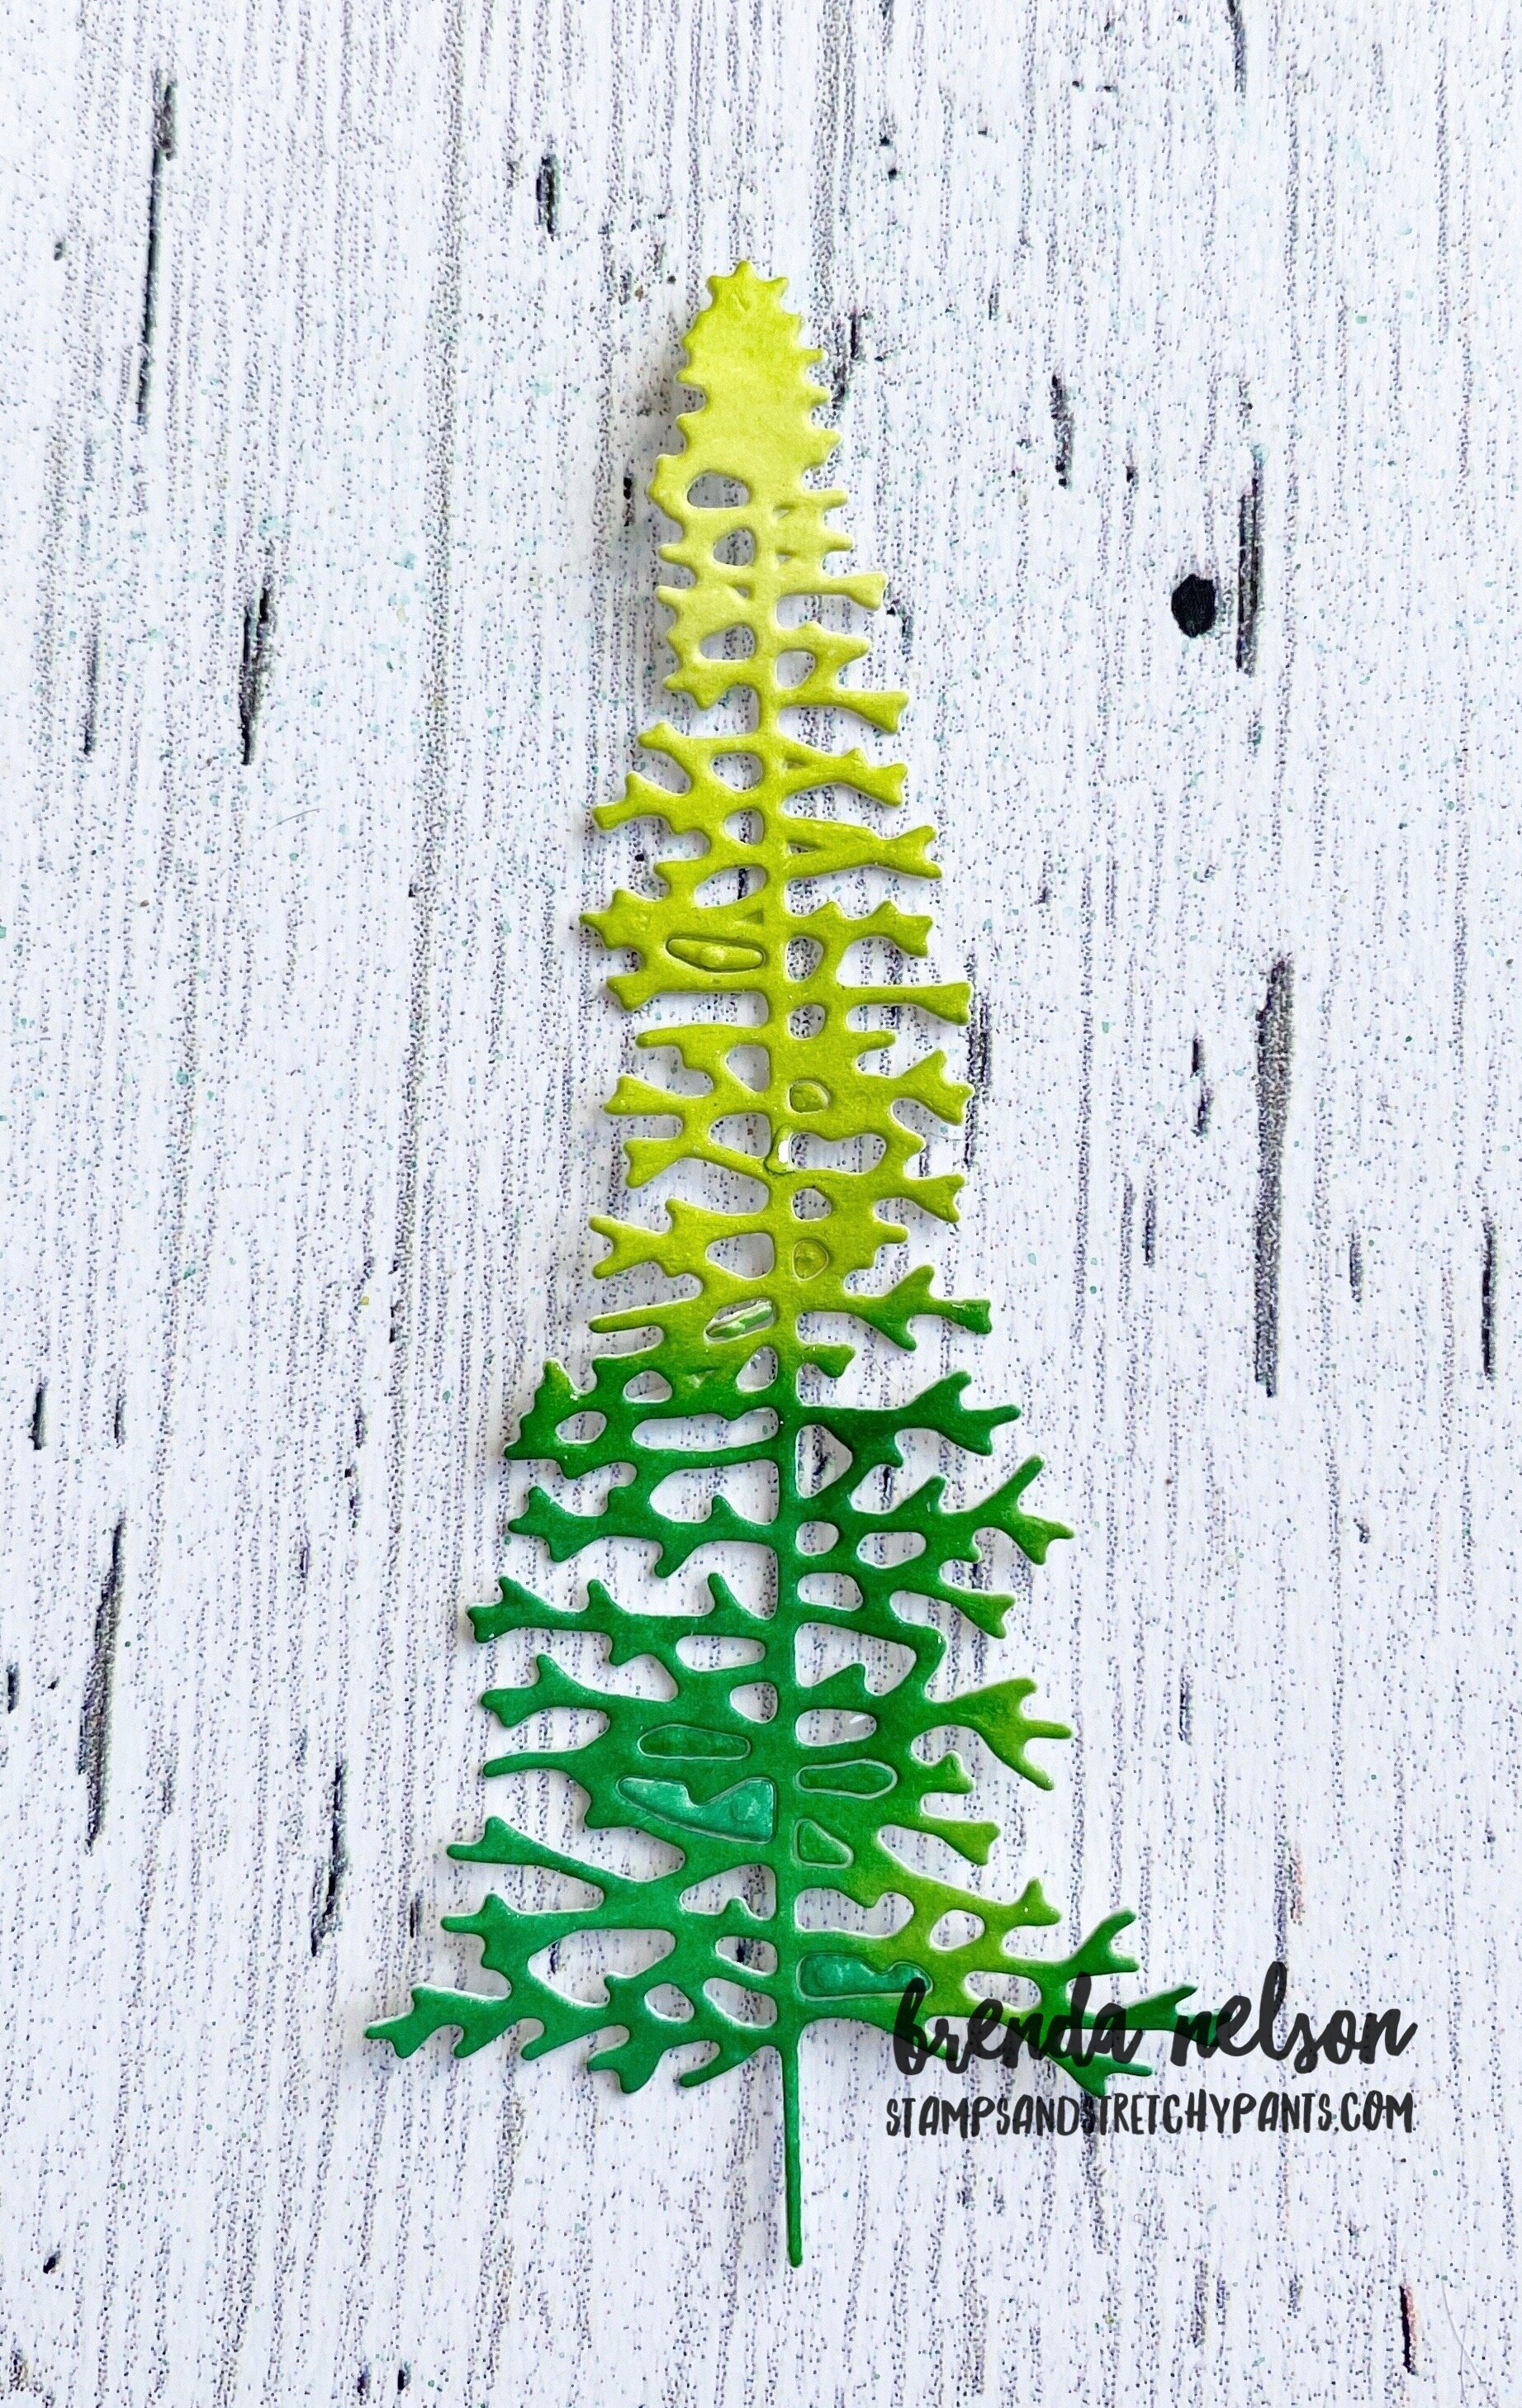

I just love the detail of these trees! I rotated the die on the paper so one tree is bright on top and the other on the bottom!
And because I was feeling super inspired, I recreated this layout with a completely different color pallet, keeping the elements the same. For these trees I used Merry Merlot and Melon Mambo!

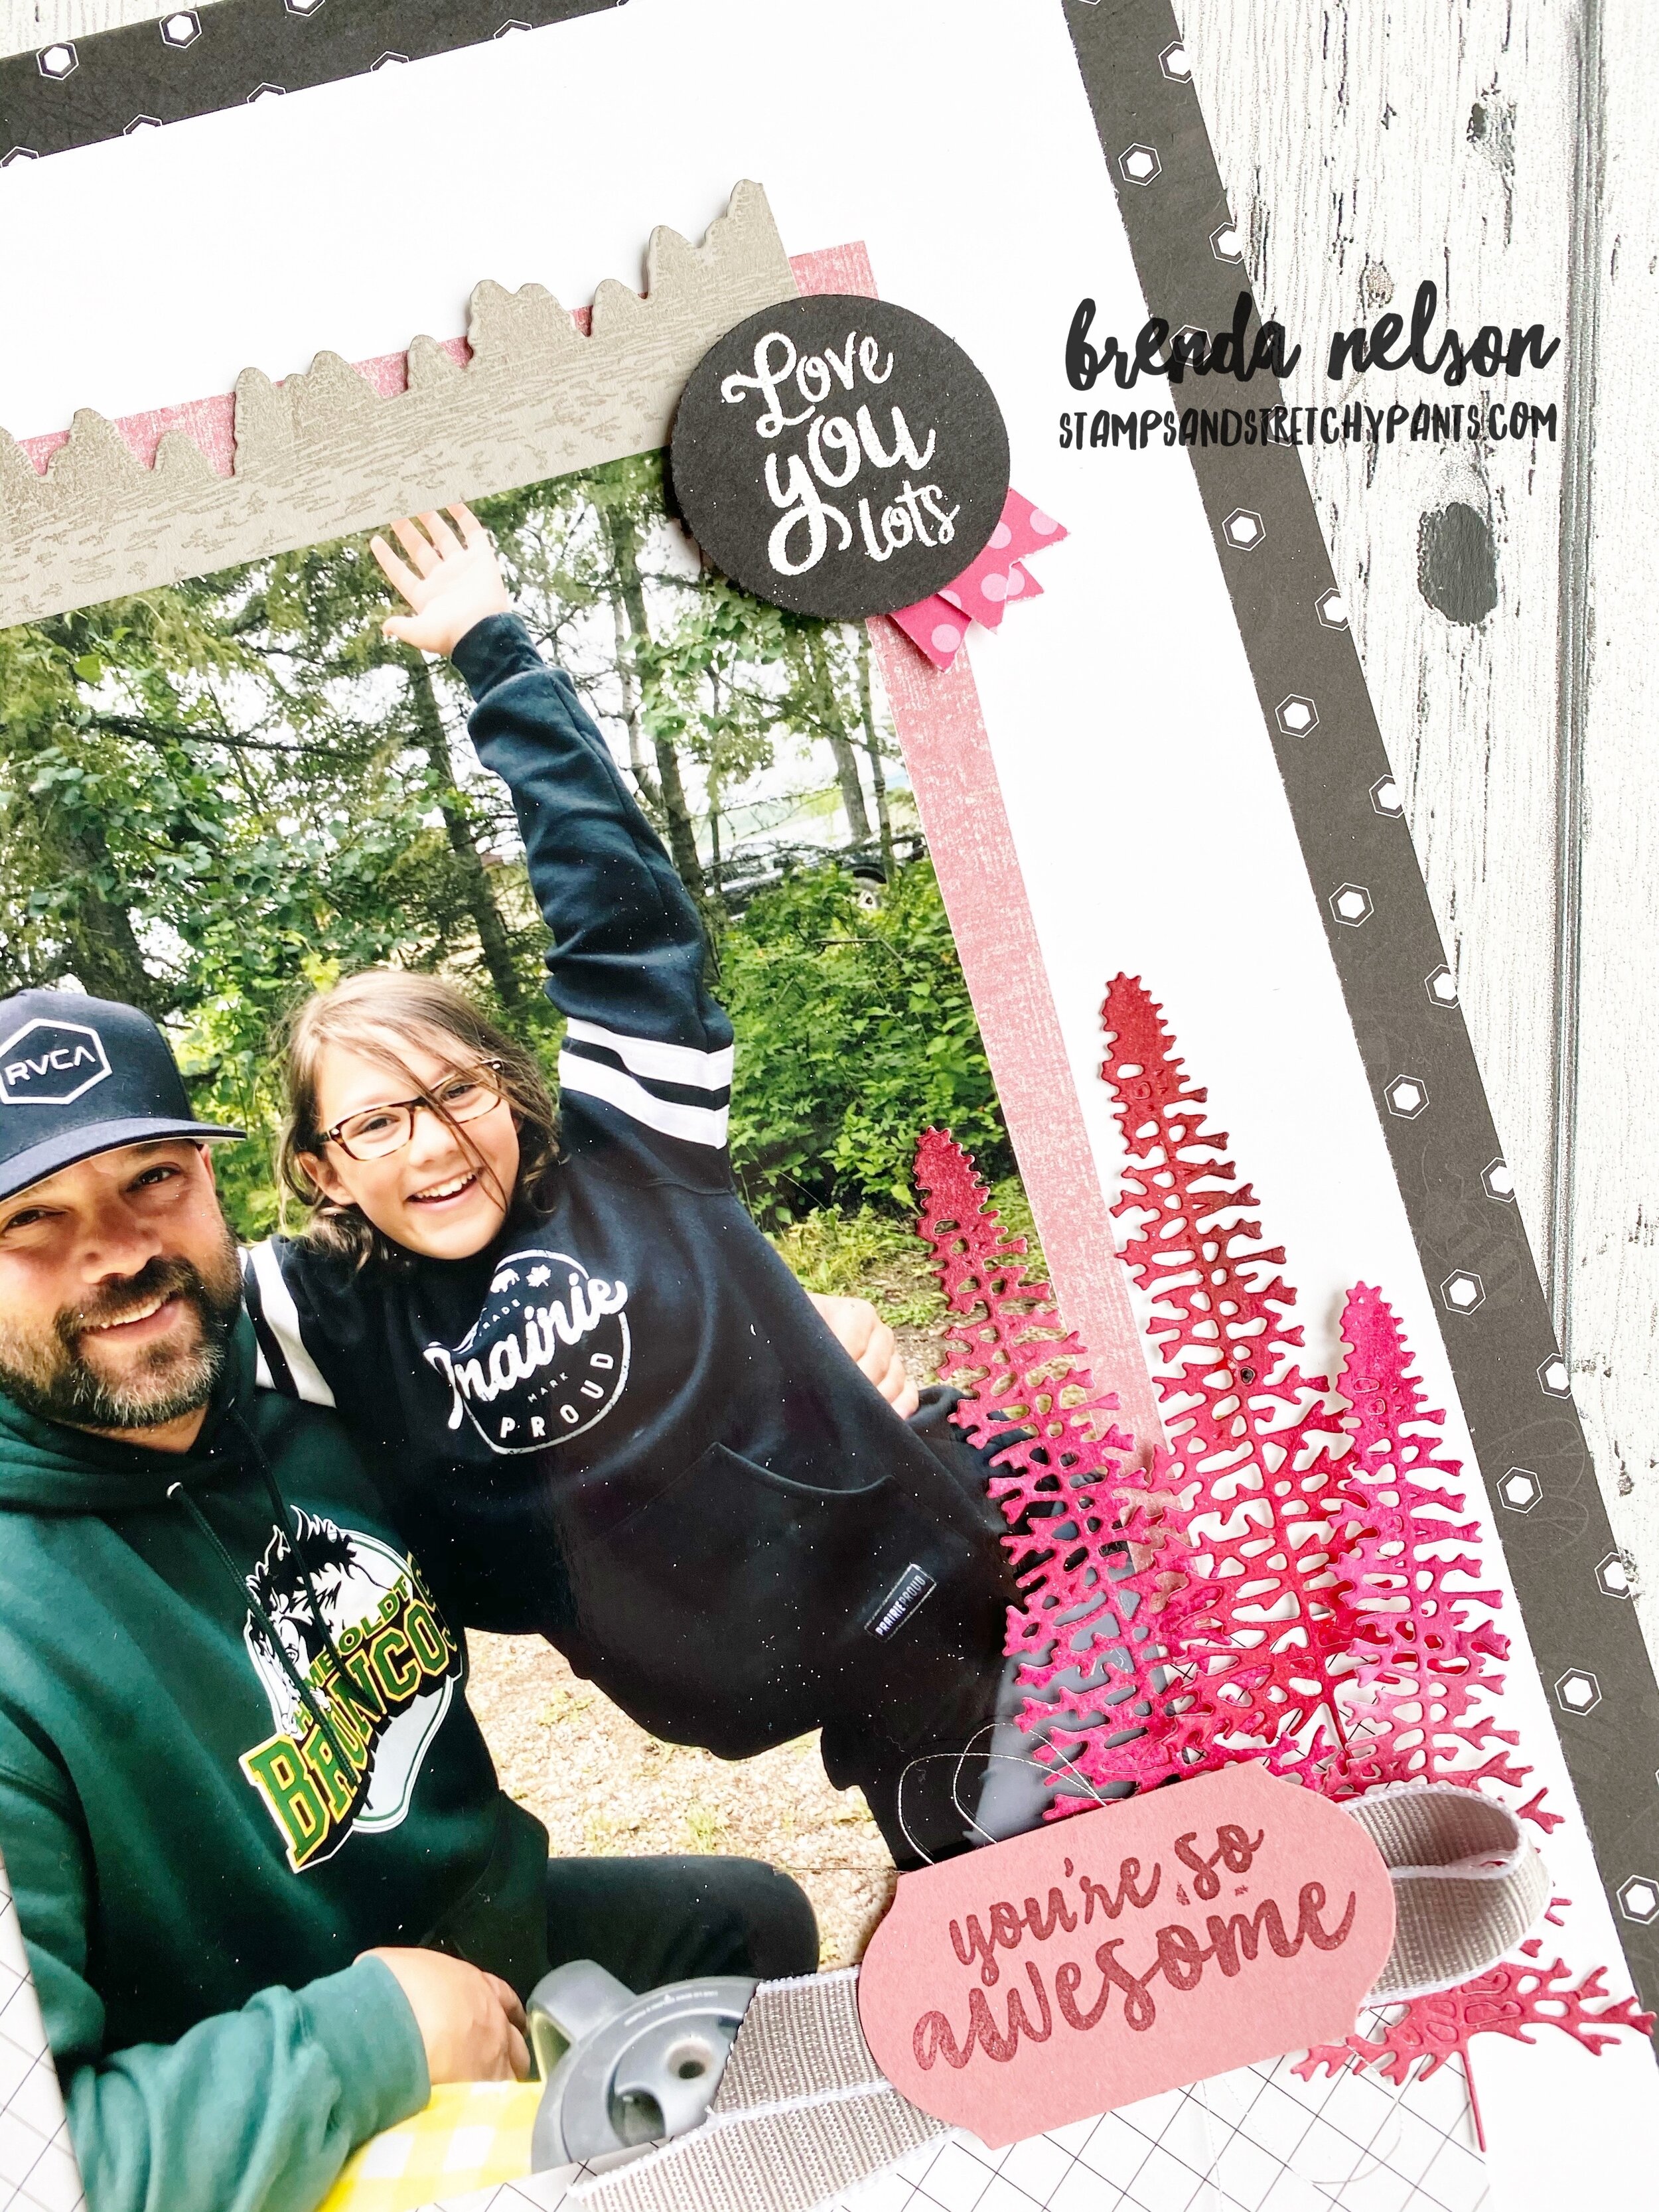
I also discovered how awesome Merry Merlot looks stamped on Rocco Rose!