Spring Flowers Scrapbook Page

I was going through some old photos the other day, you know because we have THE TIME, and I came across this one of me, Reese and Summer. Reese would have been around 4 and Summer under 1. I used her cute hat (I loved hats with big flowers on them because she was bald!) and tutu as the color palette for this scrapbook page. I would also say that Petal Pink might be my favourite color at the moment. I am so happy Stampin’ Up! added it to their color lineup when they did the Color Refresh!

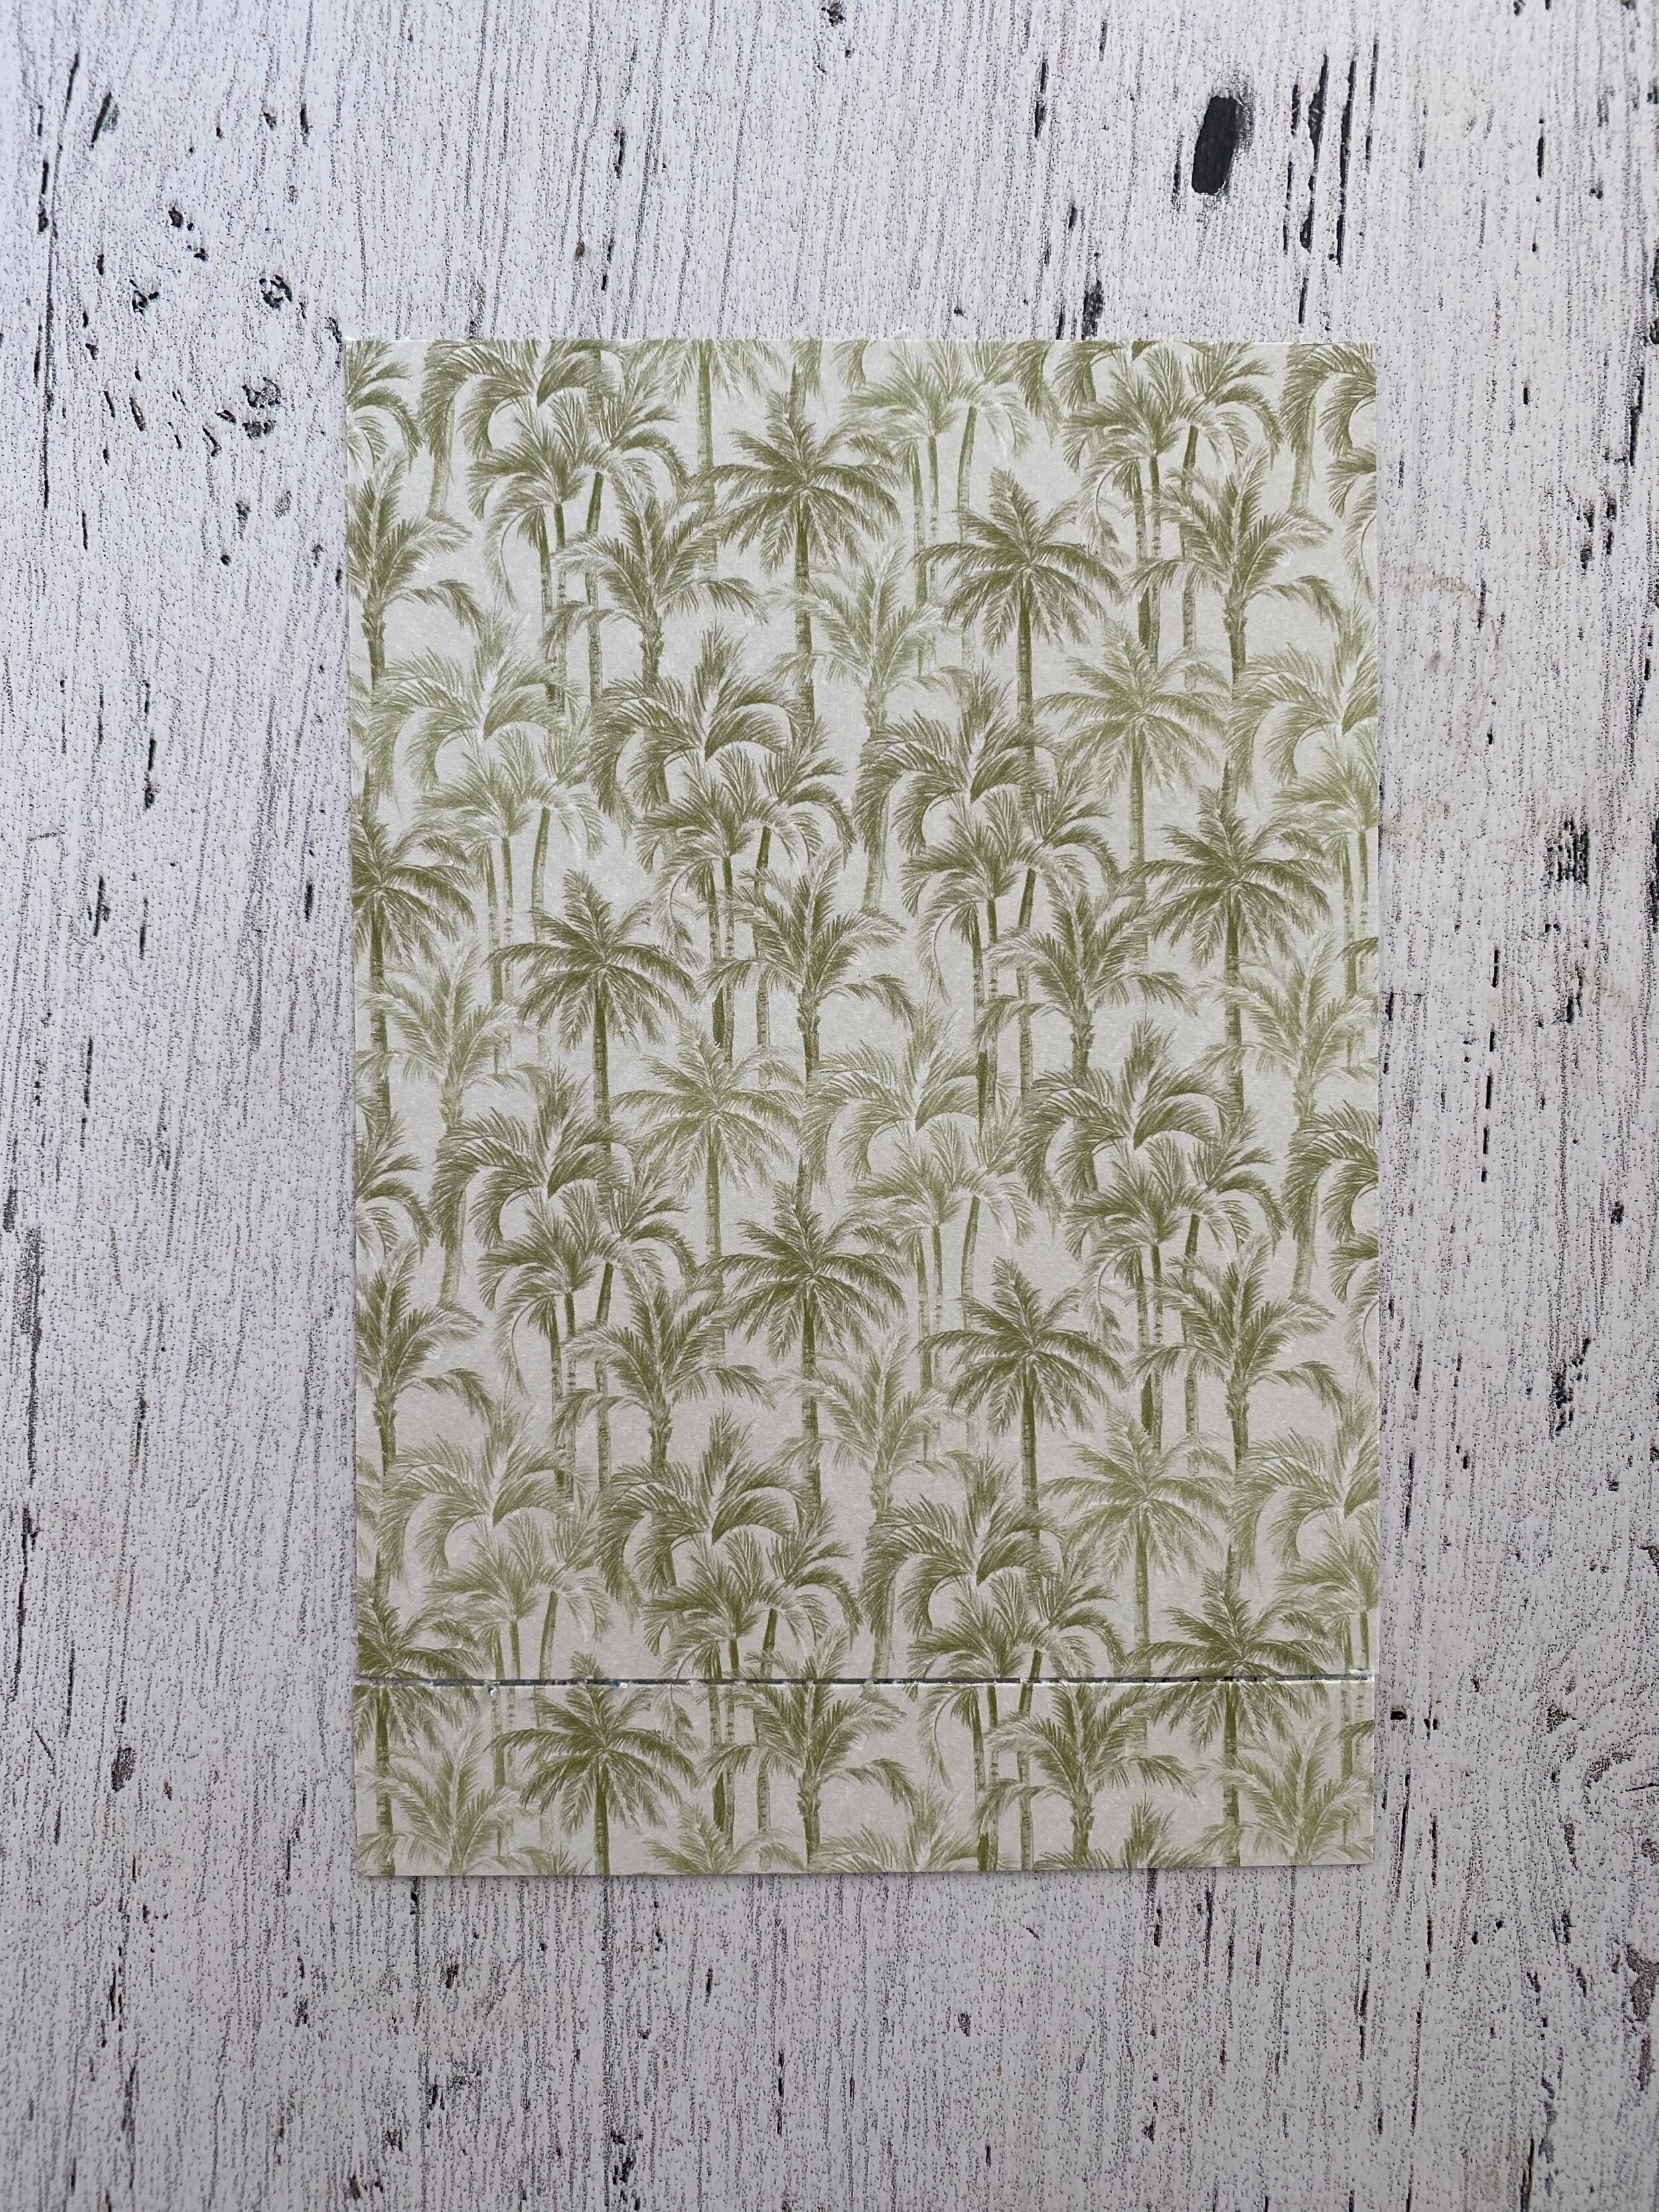
I did a simple color wash with my Aqua Painter in the background with Petal Pink and then I layered some Calypso Coral on top and did a bit of flicking with the Aqua Painter. And then I just started digging out flower stamp sets and dies from my collection. I used the Forever Blossoms stamp set and Cherry Blossoms dies, To a Wild Rose stamp set (I used Calypso coral as the outline, the solid fill in stamp is in Petal Pink and third detailed layer is in Grapefruit Grove) and Wild Rose dies, Magnolia Memories Dies, and the Frosted Bouquet dies. The Your Amazing sentiment is from the new Ornate Thanks stamp set coming out in the new Idea Book & Catalogue. The grey accent is Grey Granite as it had the same undertone to it and worked well with this color palette.

I love everything about this page, the softness of the colors, the simple phrases on the page and of course the two little people in the photo with me

I love everything about this page, the softness of the colors, the simple phrases on the page and of course the two little people in the photo with me

IMG_1074.jpg
IMG_1076.jpg
This is a terrific ink color combo for spring!

This is a terrific ink color combo for spring!

 
IMG_1075.jpg

Corner Flip Card

My team participated in a Fun Fold swap this month and I decided to try the Corner Flip card! It is actually so so easy! I am really into the Tropical Oasis Suite at the moment so I used elements from the suite to embellish my card. A fun twist is to stamp the flower images on vellum with Whisper White and emboss! I hope you can make sense of my directions, if you are unsure please feel free to send me a message!

fullsizeoutput_1141b.jpeg

I tried to capture in photos how to make this Corner Flip card. There are a lot of Youtube videos you can search if you can’t quite figure it out. Even though I have oodles of time, I just don’t think videos will be my jam! Anyway, start with a regular card base. Measure along the top (outside in) 3.5 inches and make a little tick (picture #1). Measure down from the top (picture #2) 3.5 inches and make a tick. Then using your trimmer SCORE a line between these two ticks and fold over. Picture #3 shows you how it folds. Easy! You will then need a 4 x 6 piece of DSP. Make sure you look at both sides as you will be seeing both on the card. Take that piece of DSP and cut off 3/4 of an inch (picture #5). Set aside (it is used on the inside of the card, see below). Take the bigger DSP piece and lay it on top of the card and using the fold, crease it over the DSP (picture #7) . You will then trim along the fold line (I found my mini guillotine trimmer was awesome for this!). Fold the card base flap down and adhere. The remaining DSP triangle is then glue to this (last photo).

fullsizeoutput_11417.jpeg

Birthday Gift Card Holder

I recently participated in a card swap that my upline coordinated. The theme was a birthday gift card holder. I had came across another swap I had made that was laying on my desk and it gave me the inspiration for this one, updated with new stamps and products of course! I think this style of card is called a Matchbook, I could be wrong but that is what I think of at least!

I used two of the new Sale-a-bration second release products, the So Very Vellum and Flowering Foils DSP. I actually really loved colouring the flower with my Blends. I used Purple Posey, Highland Heather (light), Soft Seafood and Pool Party (light) for the flowers. The stamp is from the Tags in Bloom Sale-a-bration stamp set that coordinates with both the Label Me Fancy and the Label Me Lovely punches.

IMG_0785.PNG

I hope these visual instructions help you in recreating this project. It is not as complicated as it seems and is a great way to use up DSP!

final.jpg

Tropical Retreat Weekend

Today was supposed to be the first day of my three day Tropical Themed retreat. I was scheduled to host a weekend of stampin’ with 15 of my favourite people, but the universe has had other plans. We have rescheduled but I wanted to share some of the fun projects I had created for them. It makes me a little less sad about the turn of events.

I created a cute pocket pouch that holds some class passes to some of my favourite workout studios in Edmonton and a voucher for some Davids Tea. I recently shared another project with this pouch style card, I hope you were inspired by it too! The flowers, DSP and color pallet are all inspired but the Tropical Oasis suite in the Occasions catalogue.

Fun tip: Sometimes a stamped image just needs a little something, I find a flick or spray of a Stampin’ Write marker ink is the perfect touch as you can tell on the large flower.

The attendees at my retreat received this cute pouch that had gift cards to my favourite local fitness studios and Davids Tea

The attendees at my retreat received this cute pouch that had gift cards to my favourite local fitness studios and Davids Tea

I found these cute bags on my recent Target trip and they were perfect for some of the little gifts I had for everyone. A fun stamped tag was the perfect touch!

I found these cute bags on my recent Target trip and they were perfect for some of the little gifts I had for everyone. A fun stamped tag was the perfect touch!

fullsizeoutput_1139b.jpeg

This was a last minute project! I had already done a lot of the food prep including making my Oreo Popcorn. Here is the link, it is posted on my Lifestyle Tab under Favourite Recipes :

www.stampsandstretchypants.com/oreo-popcorn

Once I decided the retreat wasn’t going ahead I packaged up a bunch of popcorn using the 3x9 Printed Gusseted Cellophane Bags from the Birthday Bonanza collection. The pineapple tag was created using the yellow pigment sprinkles on Daffodil Delight card stock. The top of the pineapple is from the SAB Lilypad DSP. The Let’s Hang Out Soon sentiment seemed appropriate and is from the SAB second release called Rise and Shine. I hope they do brighten up everyone’s day a little bit!

We will weather this together...

Today I was inspired to make a card to send out to some of my tribe. In light of everything, it is our relationships with each other and this amazing Stampin’ community that will see us through these trying times. I am so thankful for this amazing hobby that I love so much!

I don’t know if I would call this card a ‘fun fold’ but it is a bit of a pocket card. A style I have been leaning on a lot lately! You basically score your 4 1/4 x 5 1/2 piece of card stock in half and then score again on one side 1 1/4 inches. That becomes the little flap. I like to round the edges too! I do use an adhesive to keep the flap down so the Bakers Twine around it just helps to keep the pocket card closed.

I used the Under My Umbrella Bundle (found on page 42 of the Occasions Catalogue) to decorate this card. The card base is Balmy Blue, a color I haven’t pulled off my shelf lately and the little strip of raindrop DSP is from the limited edition Pleased as Punch DSP. The Stampin’ Blends in Highland Heather, Daffodil Delight and Flirty Flamingo made colouring the umbrella and little flowers so easy. I did add some Wink of Stella to the umbrella and flowers as well.

This is for all of friends far and wide, thinking of you and knowing we are in this together!

This is for all of friends far and wide, thinking of you and knowing we are in this together!

Quick Tip: I wanted to share a quick tip on how to align your stamps so they coordinate perfectly with the Umbrella Builder Punch. I start by punching a template (do you like my finger print smudge? haha, I kept it there to keep things real :), and then take the template and line up on a block. I align the stamps I need under the template (you can see in picture two how they are underneath) and then when you stamp them out they will punch out perfectly.