Around The World Blog Hop--April
/I am so excited to be participating in this BRAND NEW international blog hop started by the amazing Angie McKenzie. Her faith in my technical skills is beyond admiration! You may also see this new blog hop being referred to as ‘aWOW Blog Hop’. We will be posting monthly on the second Wednesday of each month!
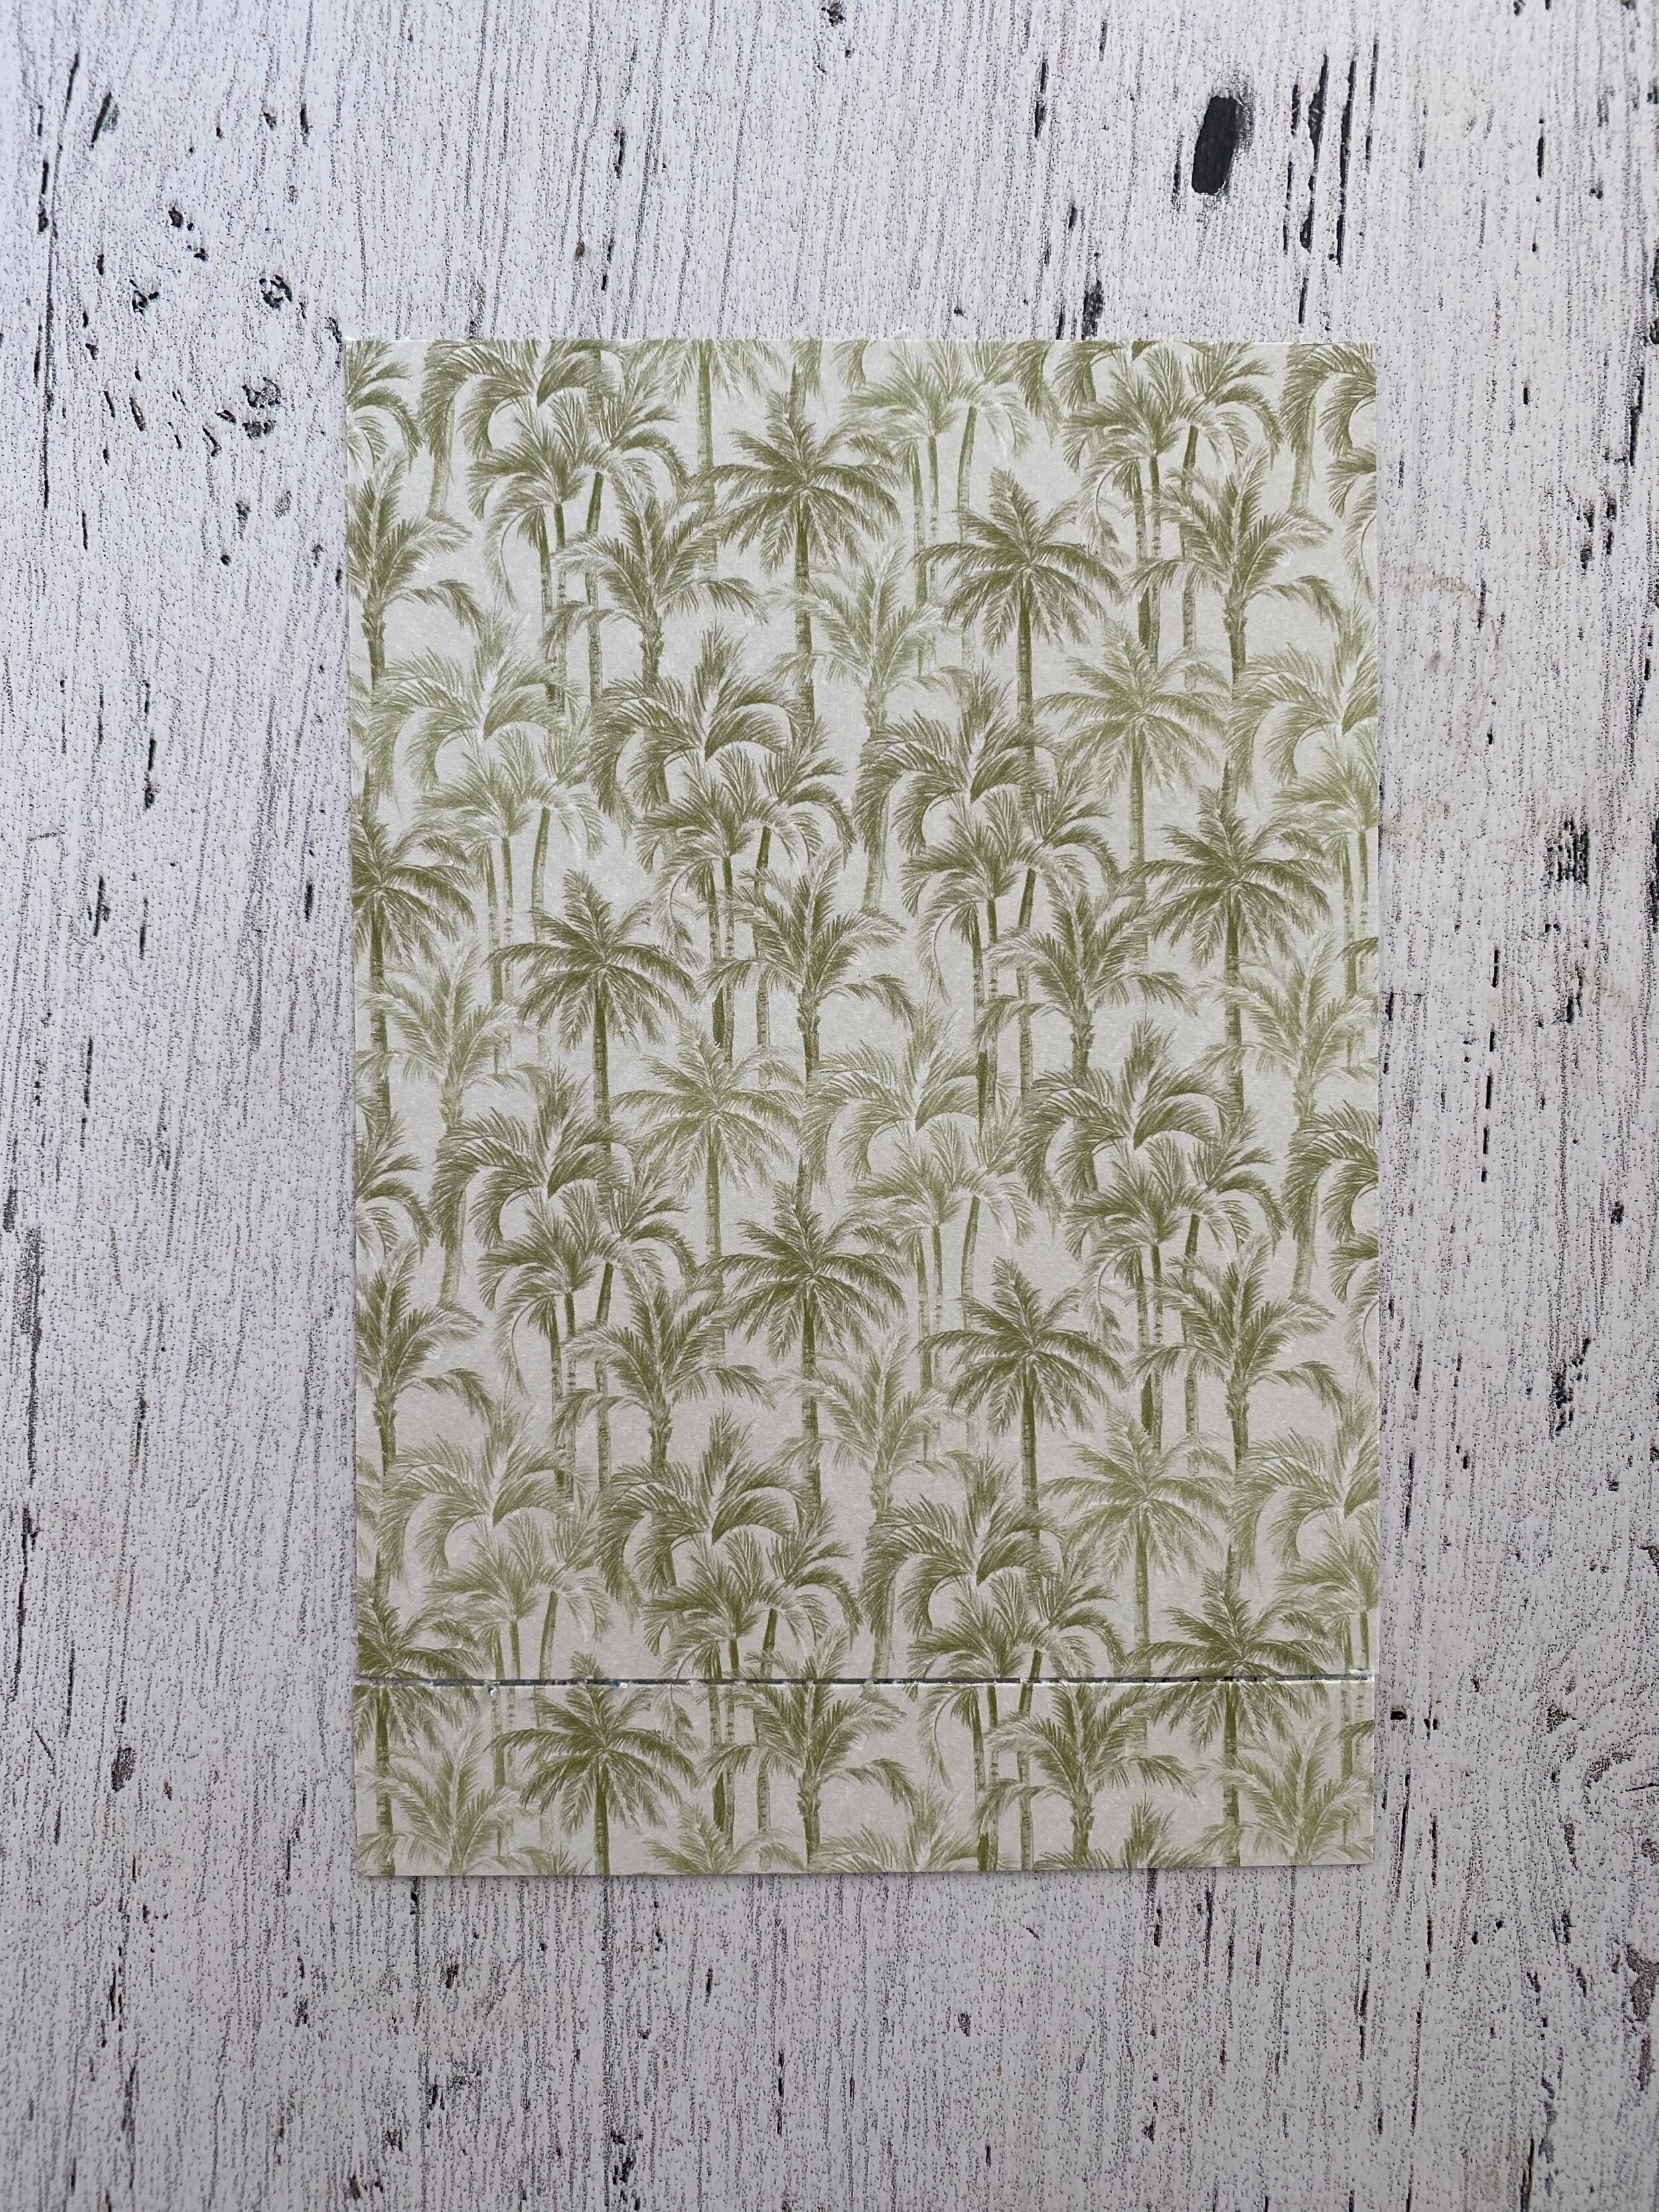
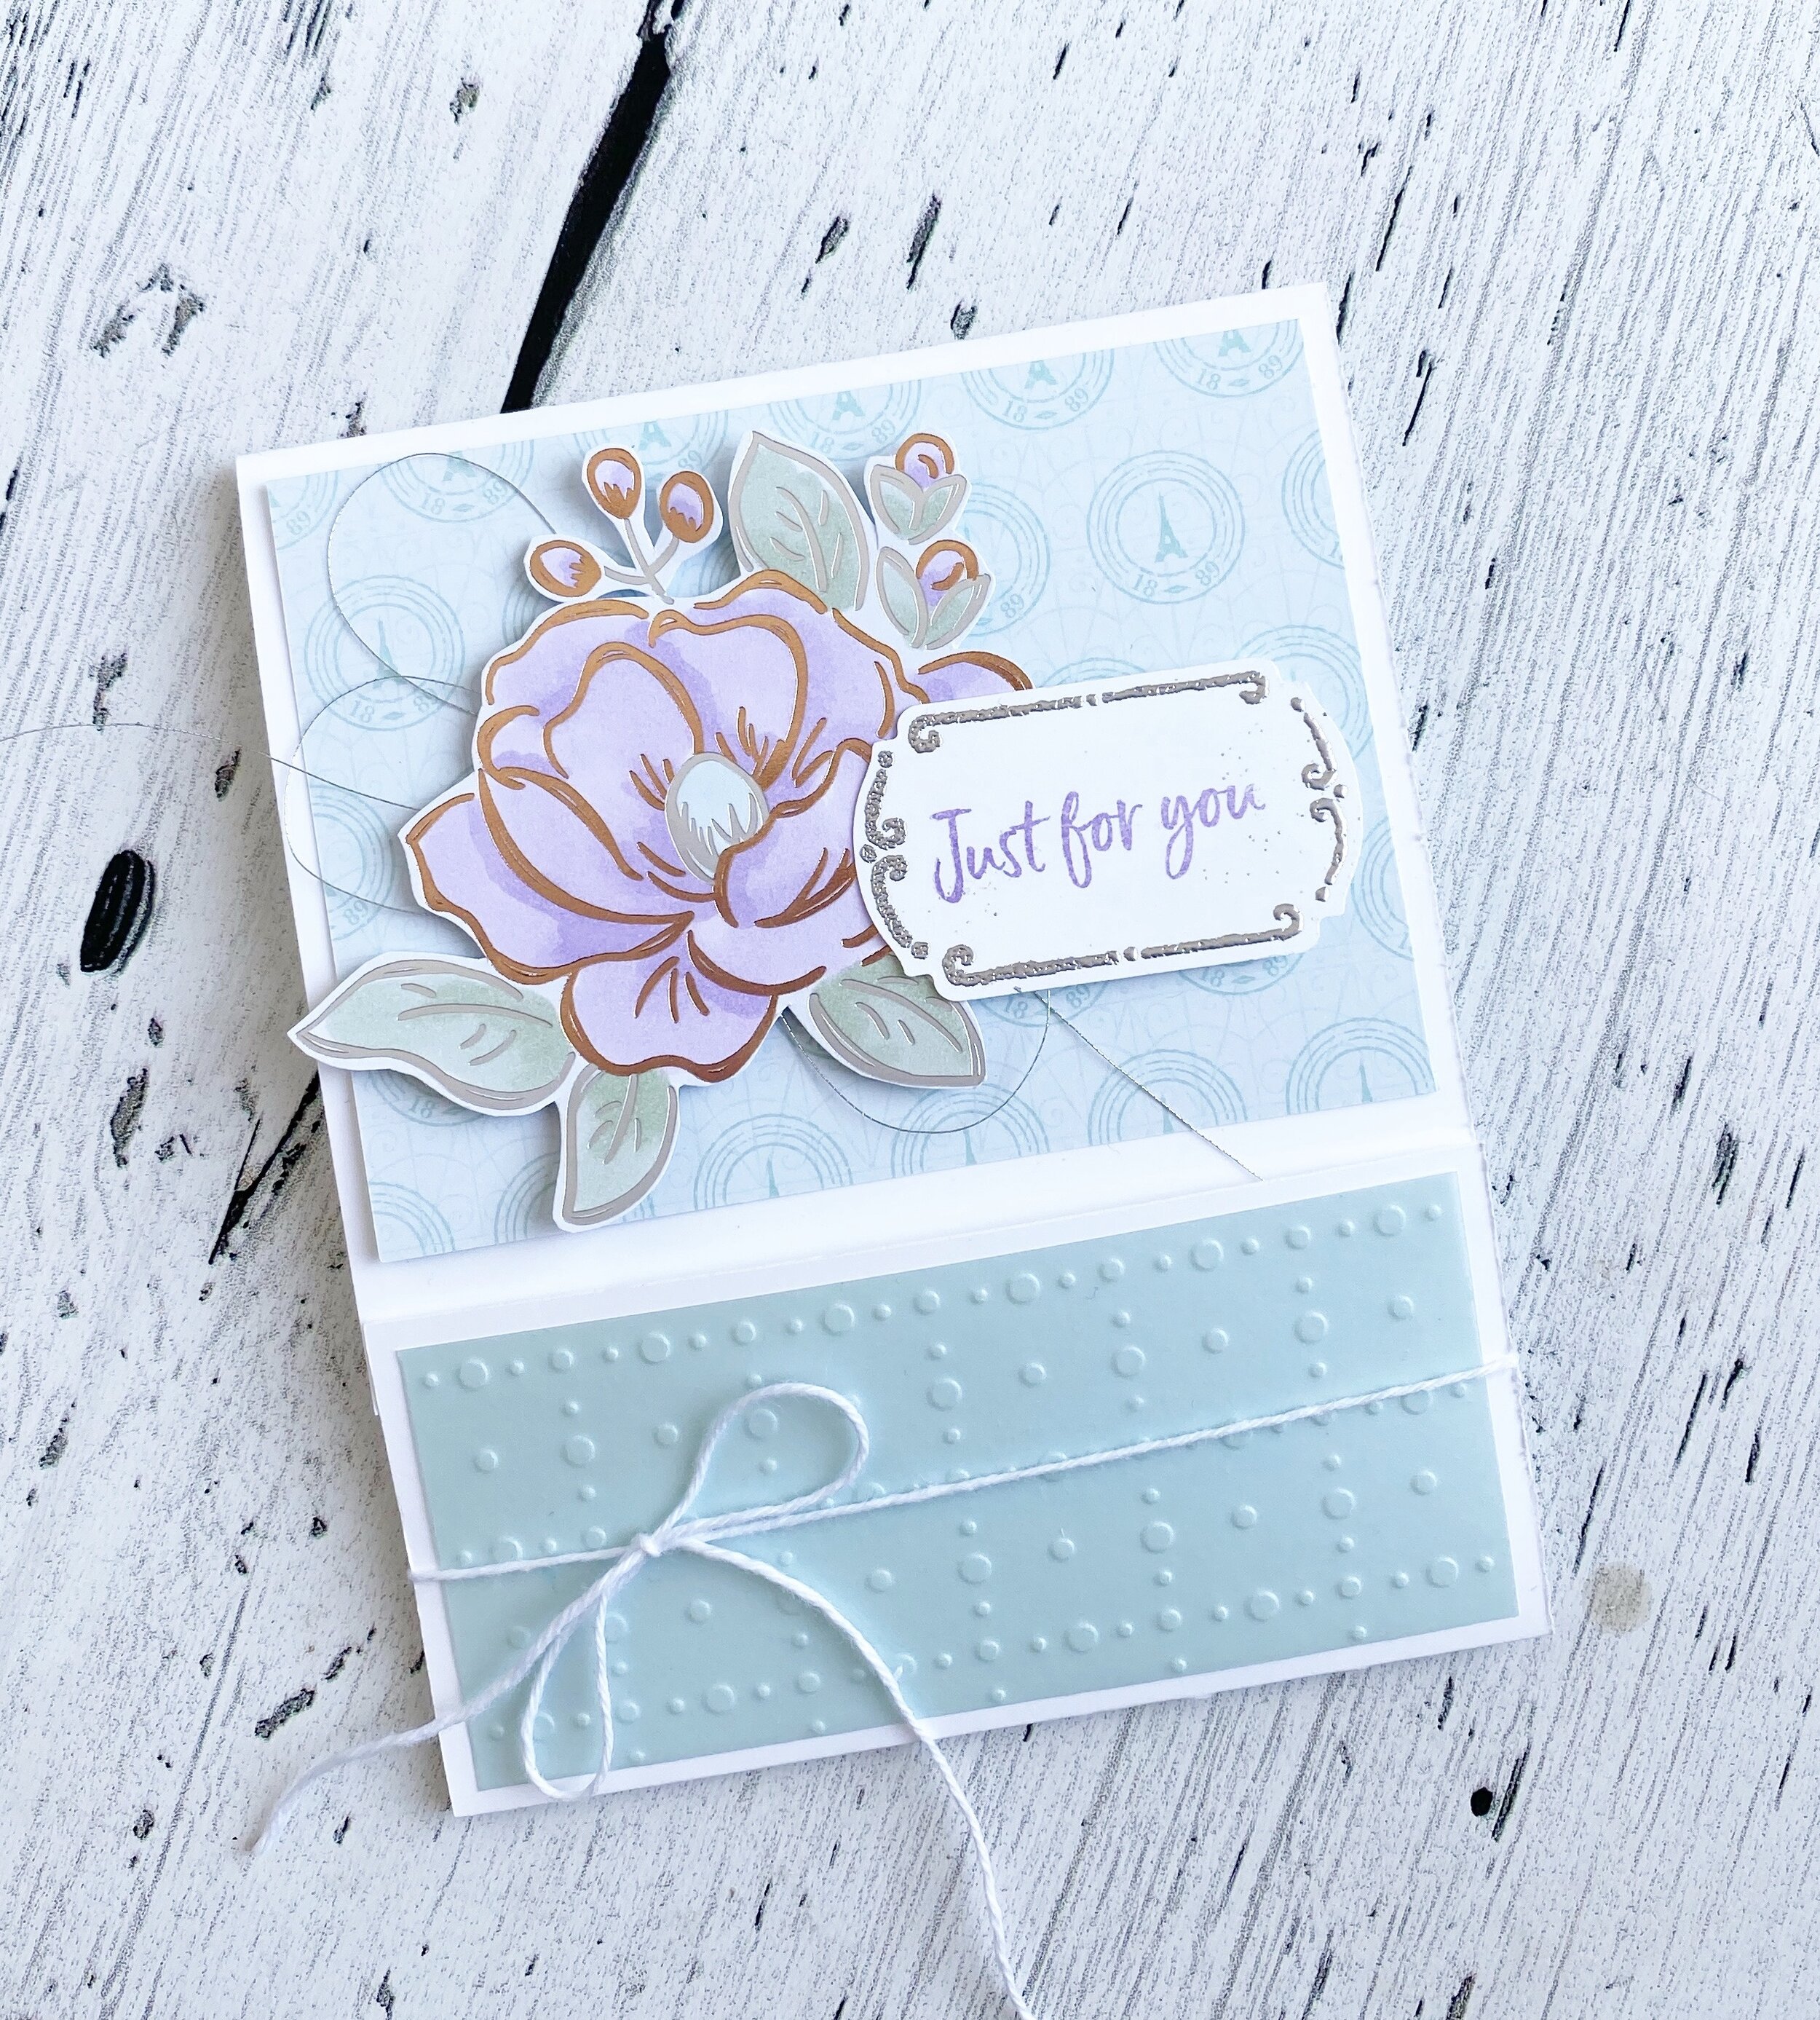
The theme for our inaugural hop is ‘Must haves for your creativity’…I thought about this quite a bit and finally settled on ‘things I can colour with’…so my project includes two colouring tools—the classic Stampin’ Write markers and the newer Stampin’ Blends.


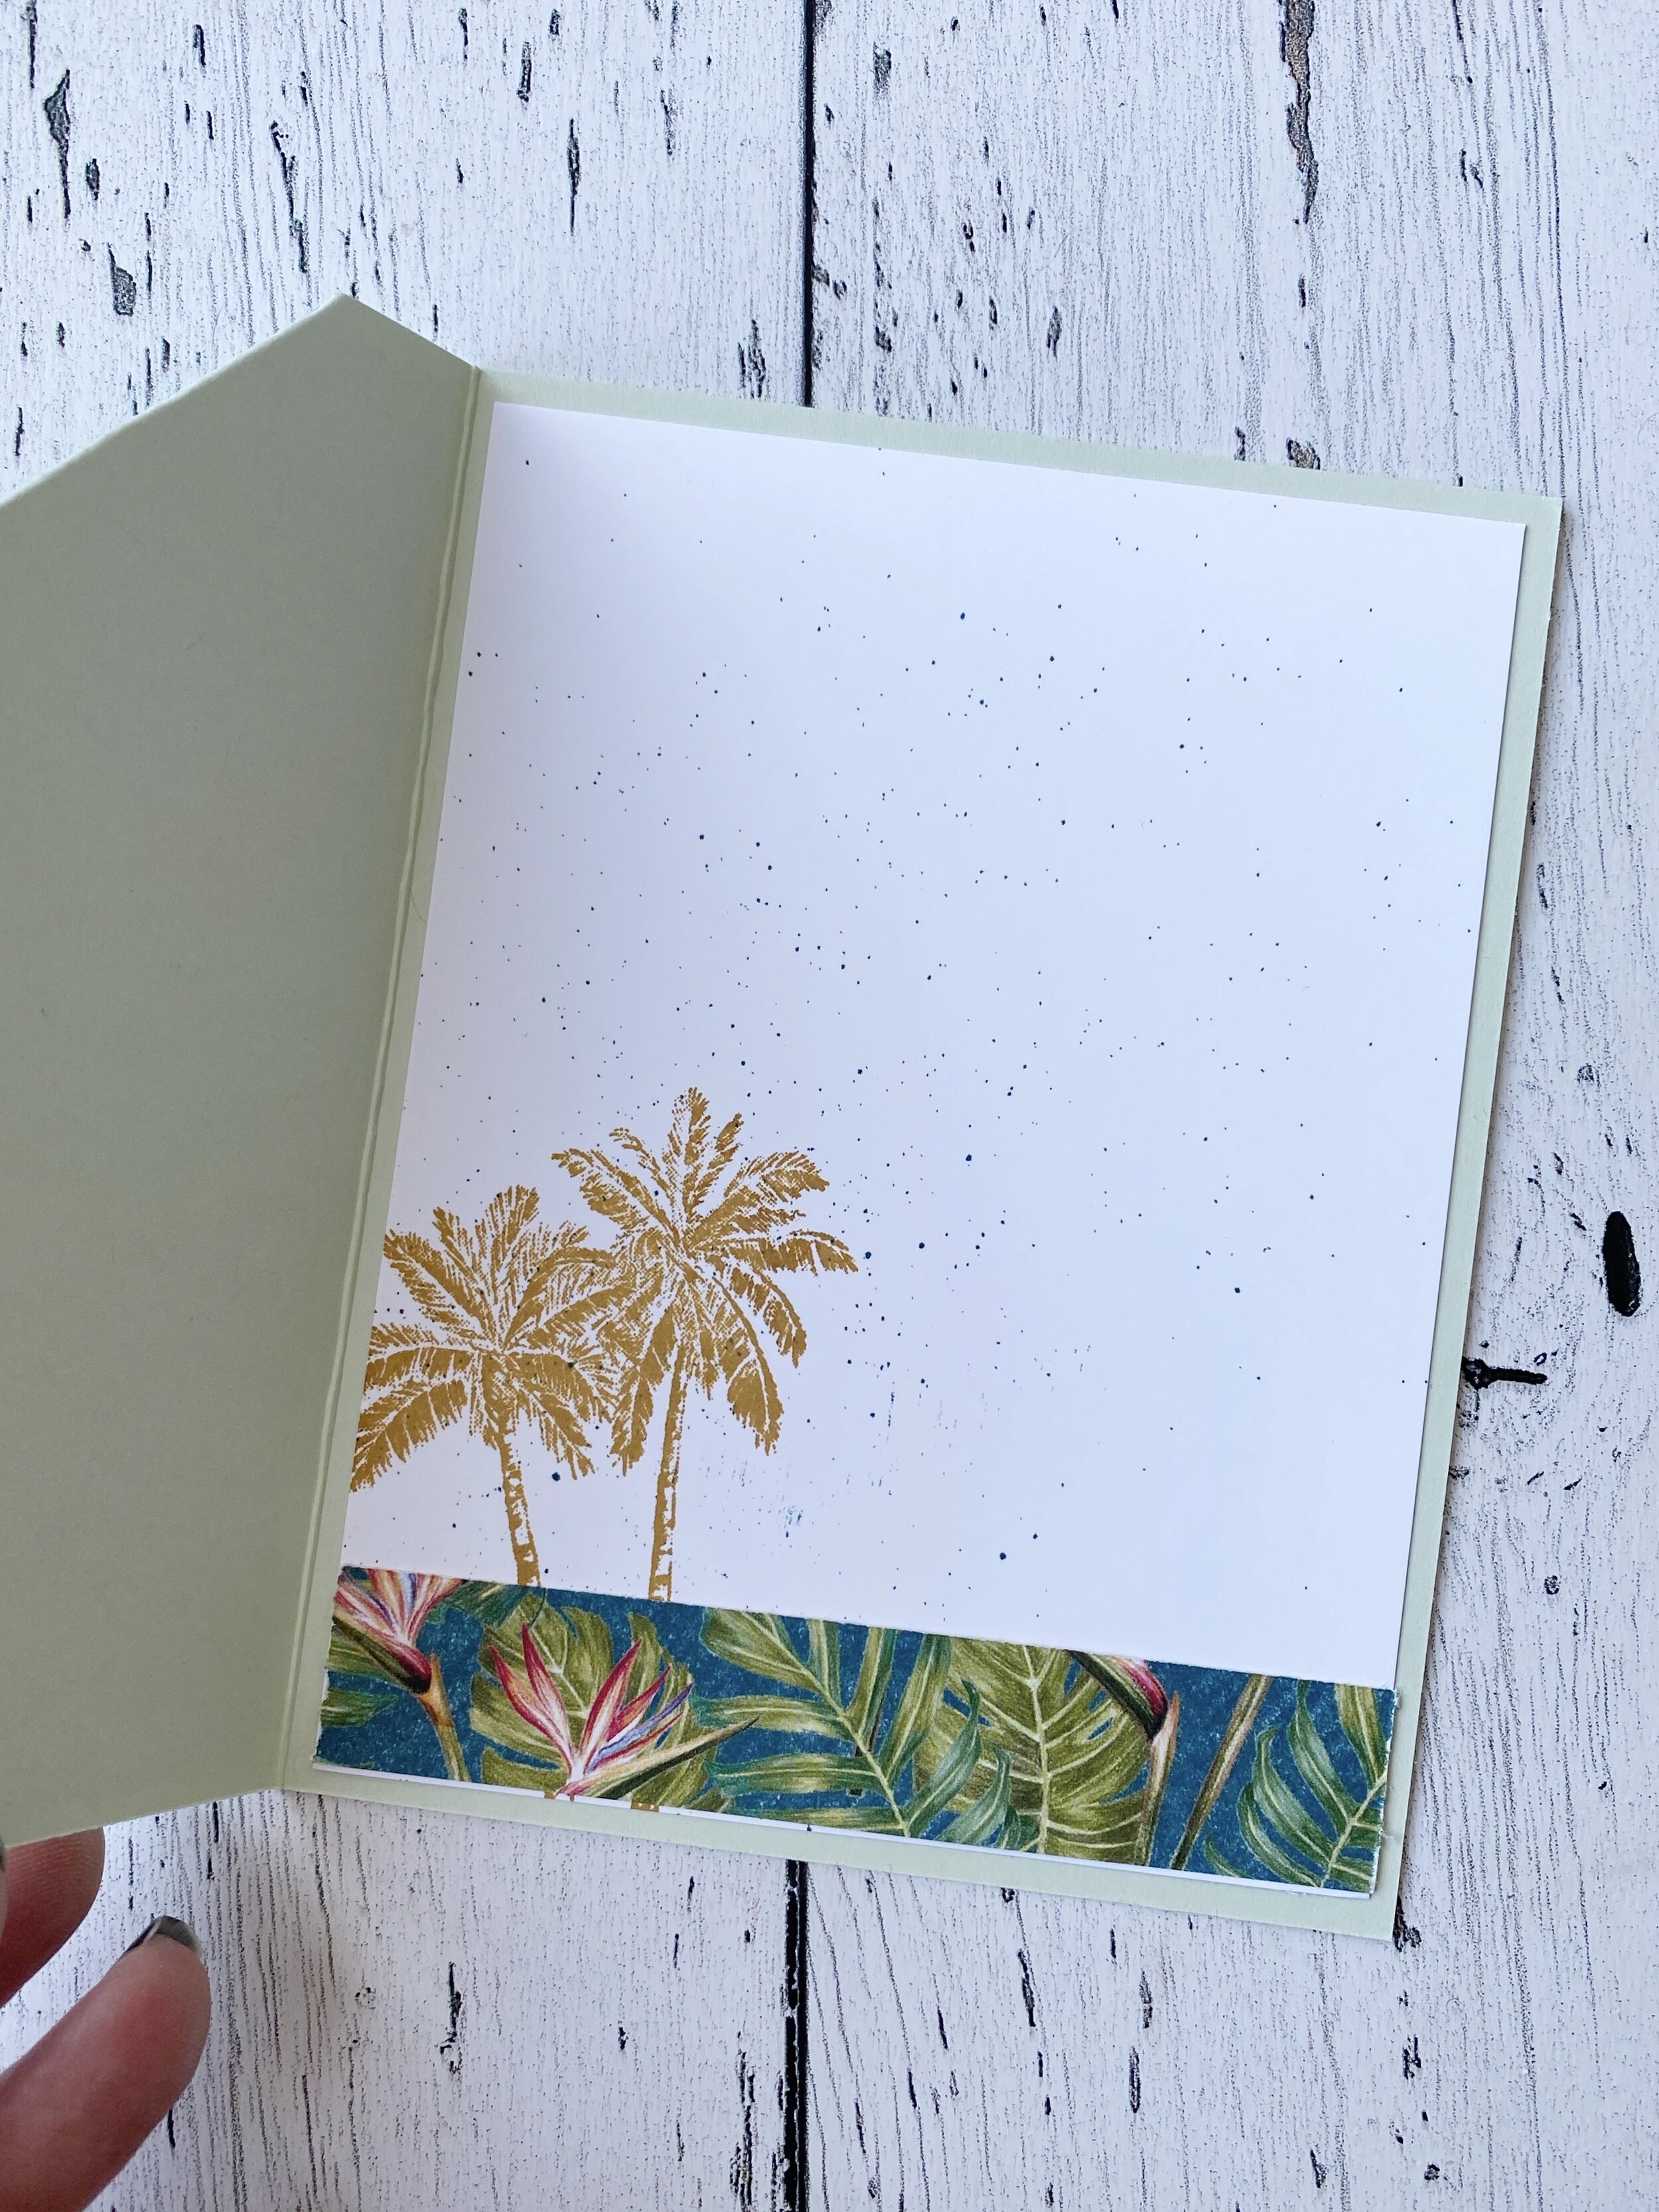
I love the soft watercolour wash in the background of these cards and the fact that every single one is unique and special. I used the Under My Umbrella and Fable Friends stamp sets and coloured the images with Stampin’ Blends. I did add Wink of Stella on top of the flowers, its another crafty must have in my Home Studio!
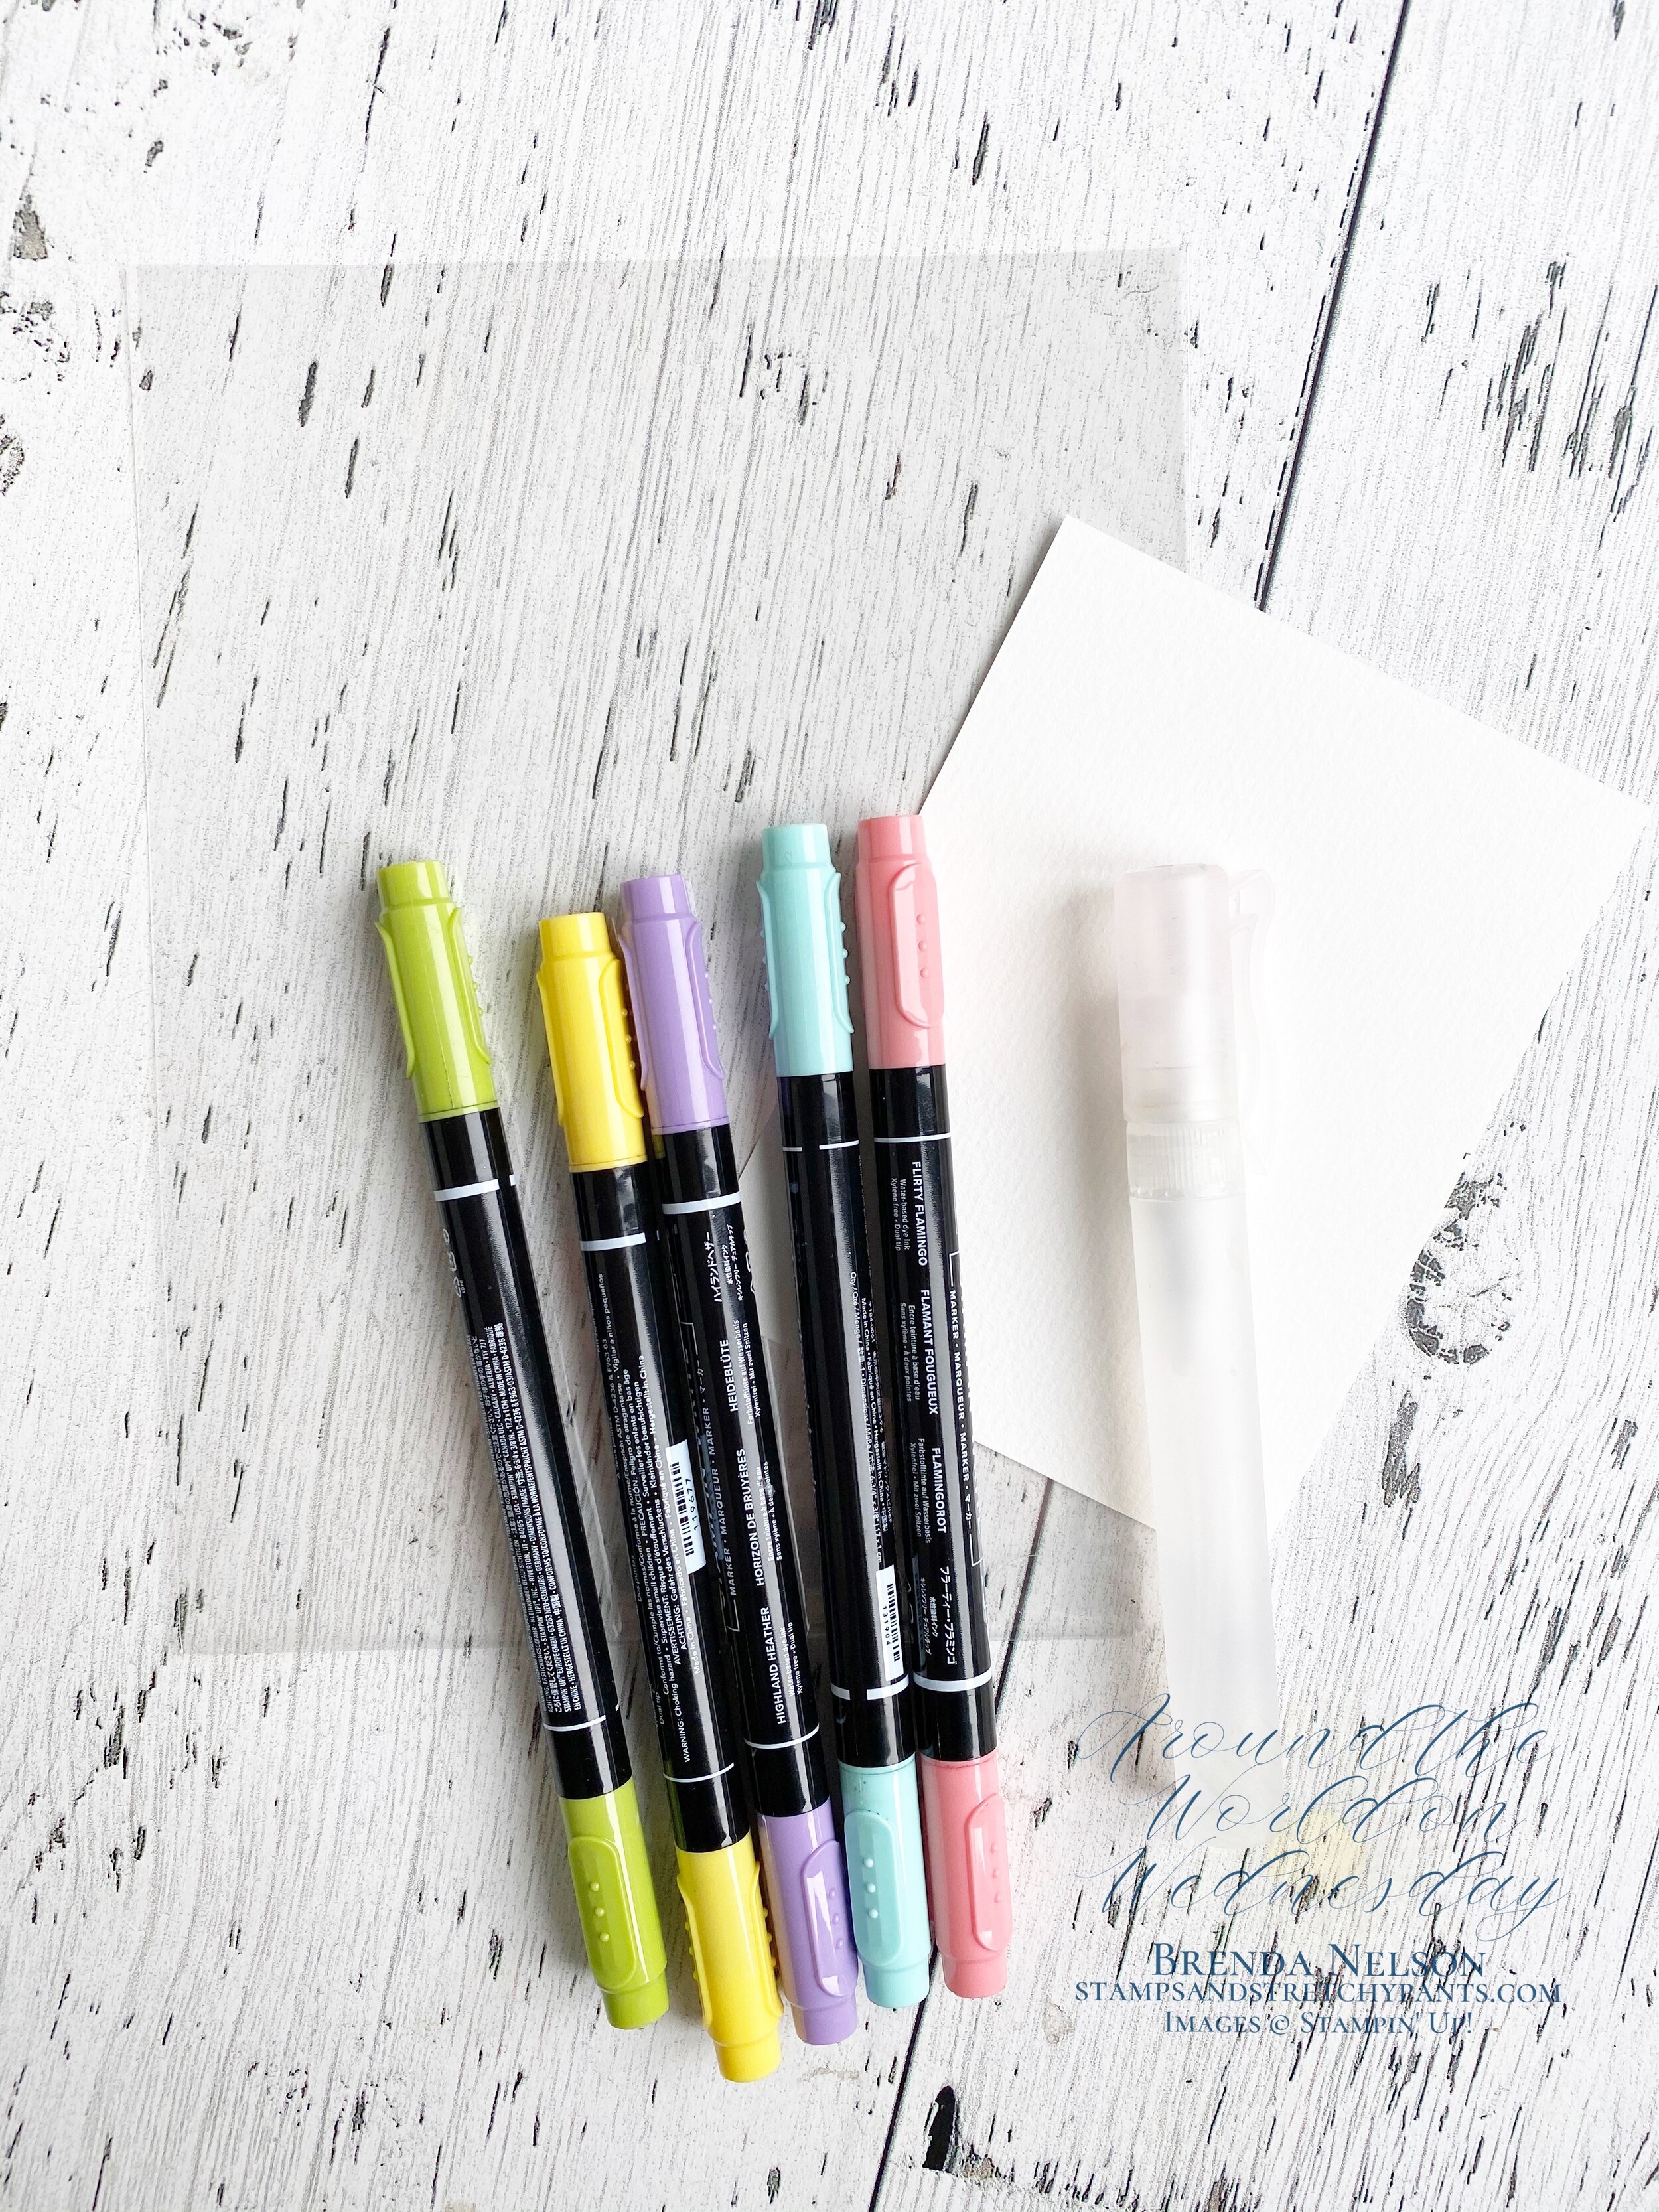
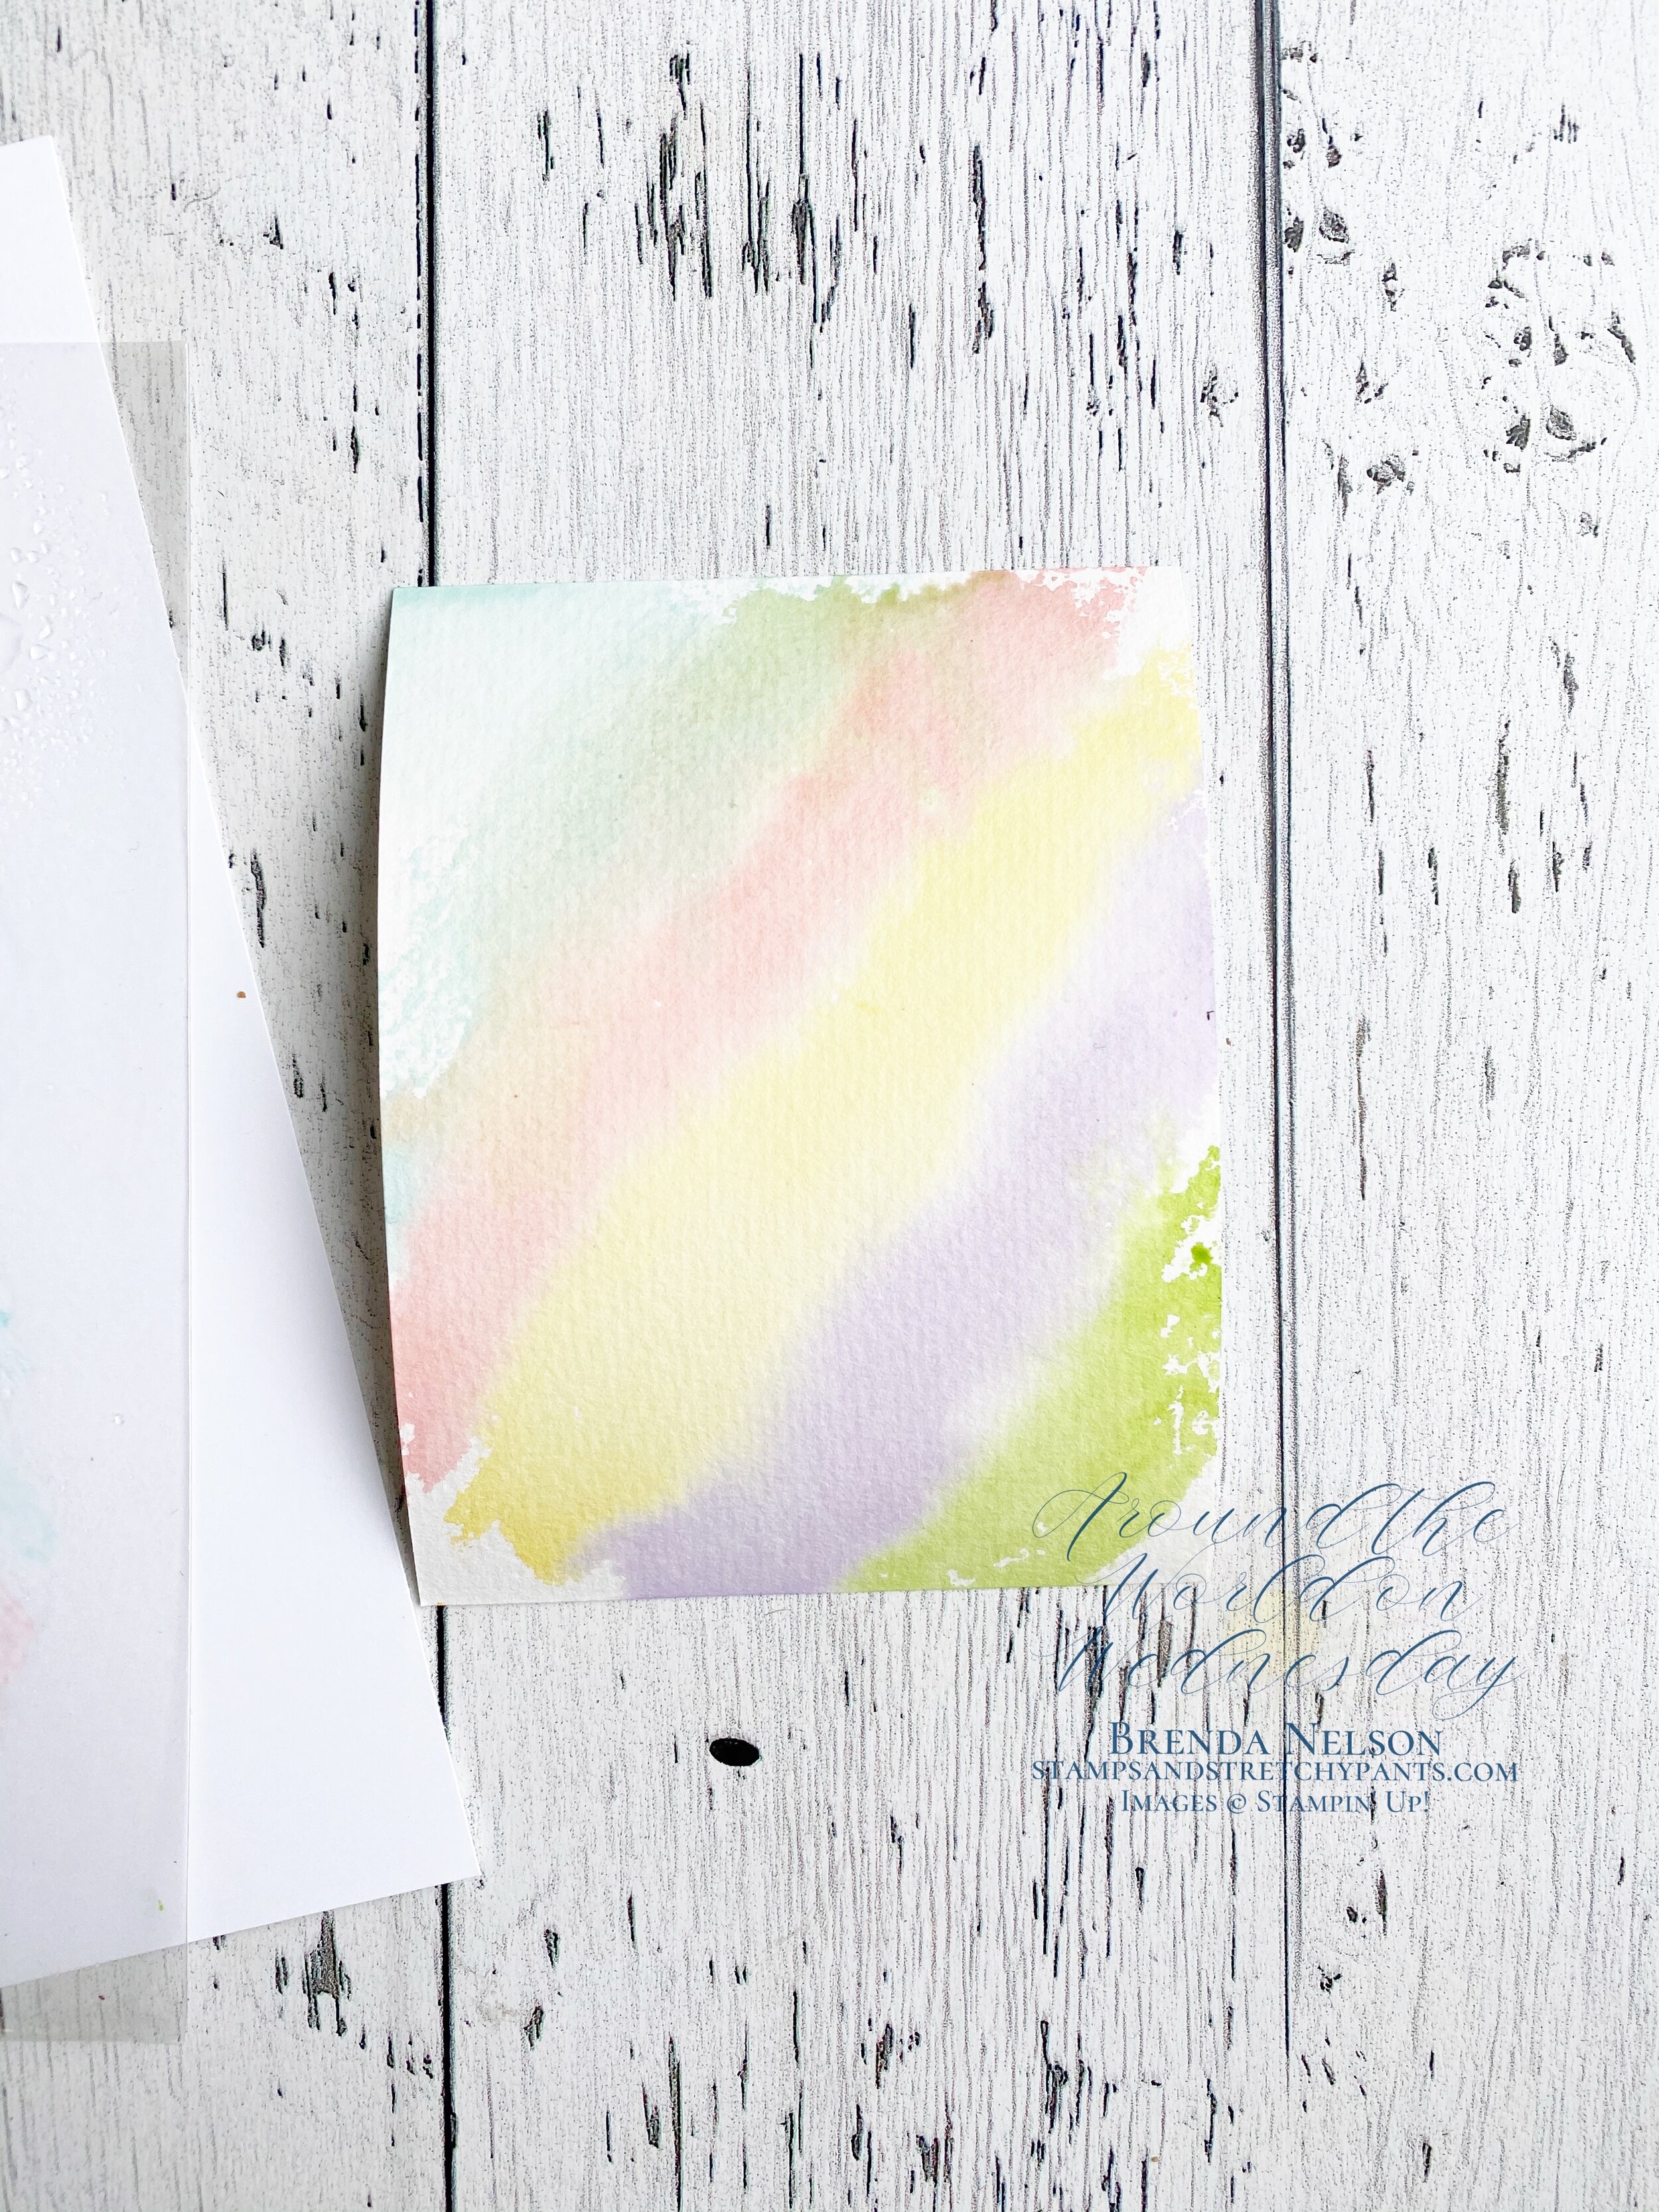
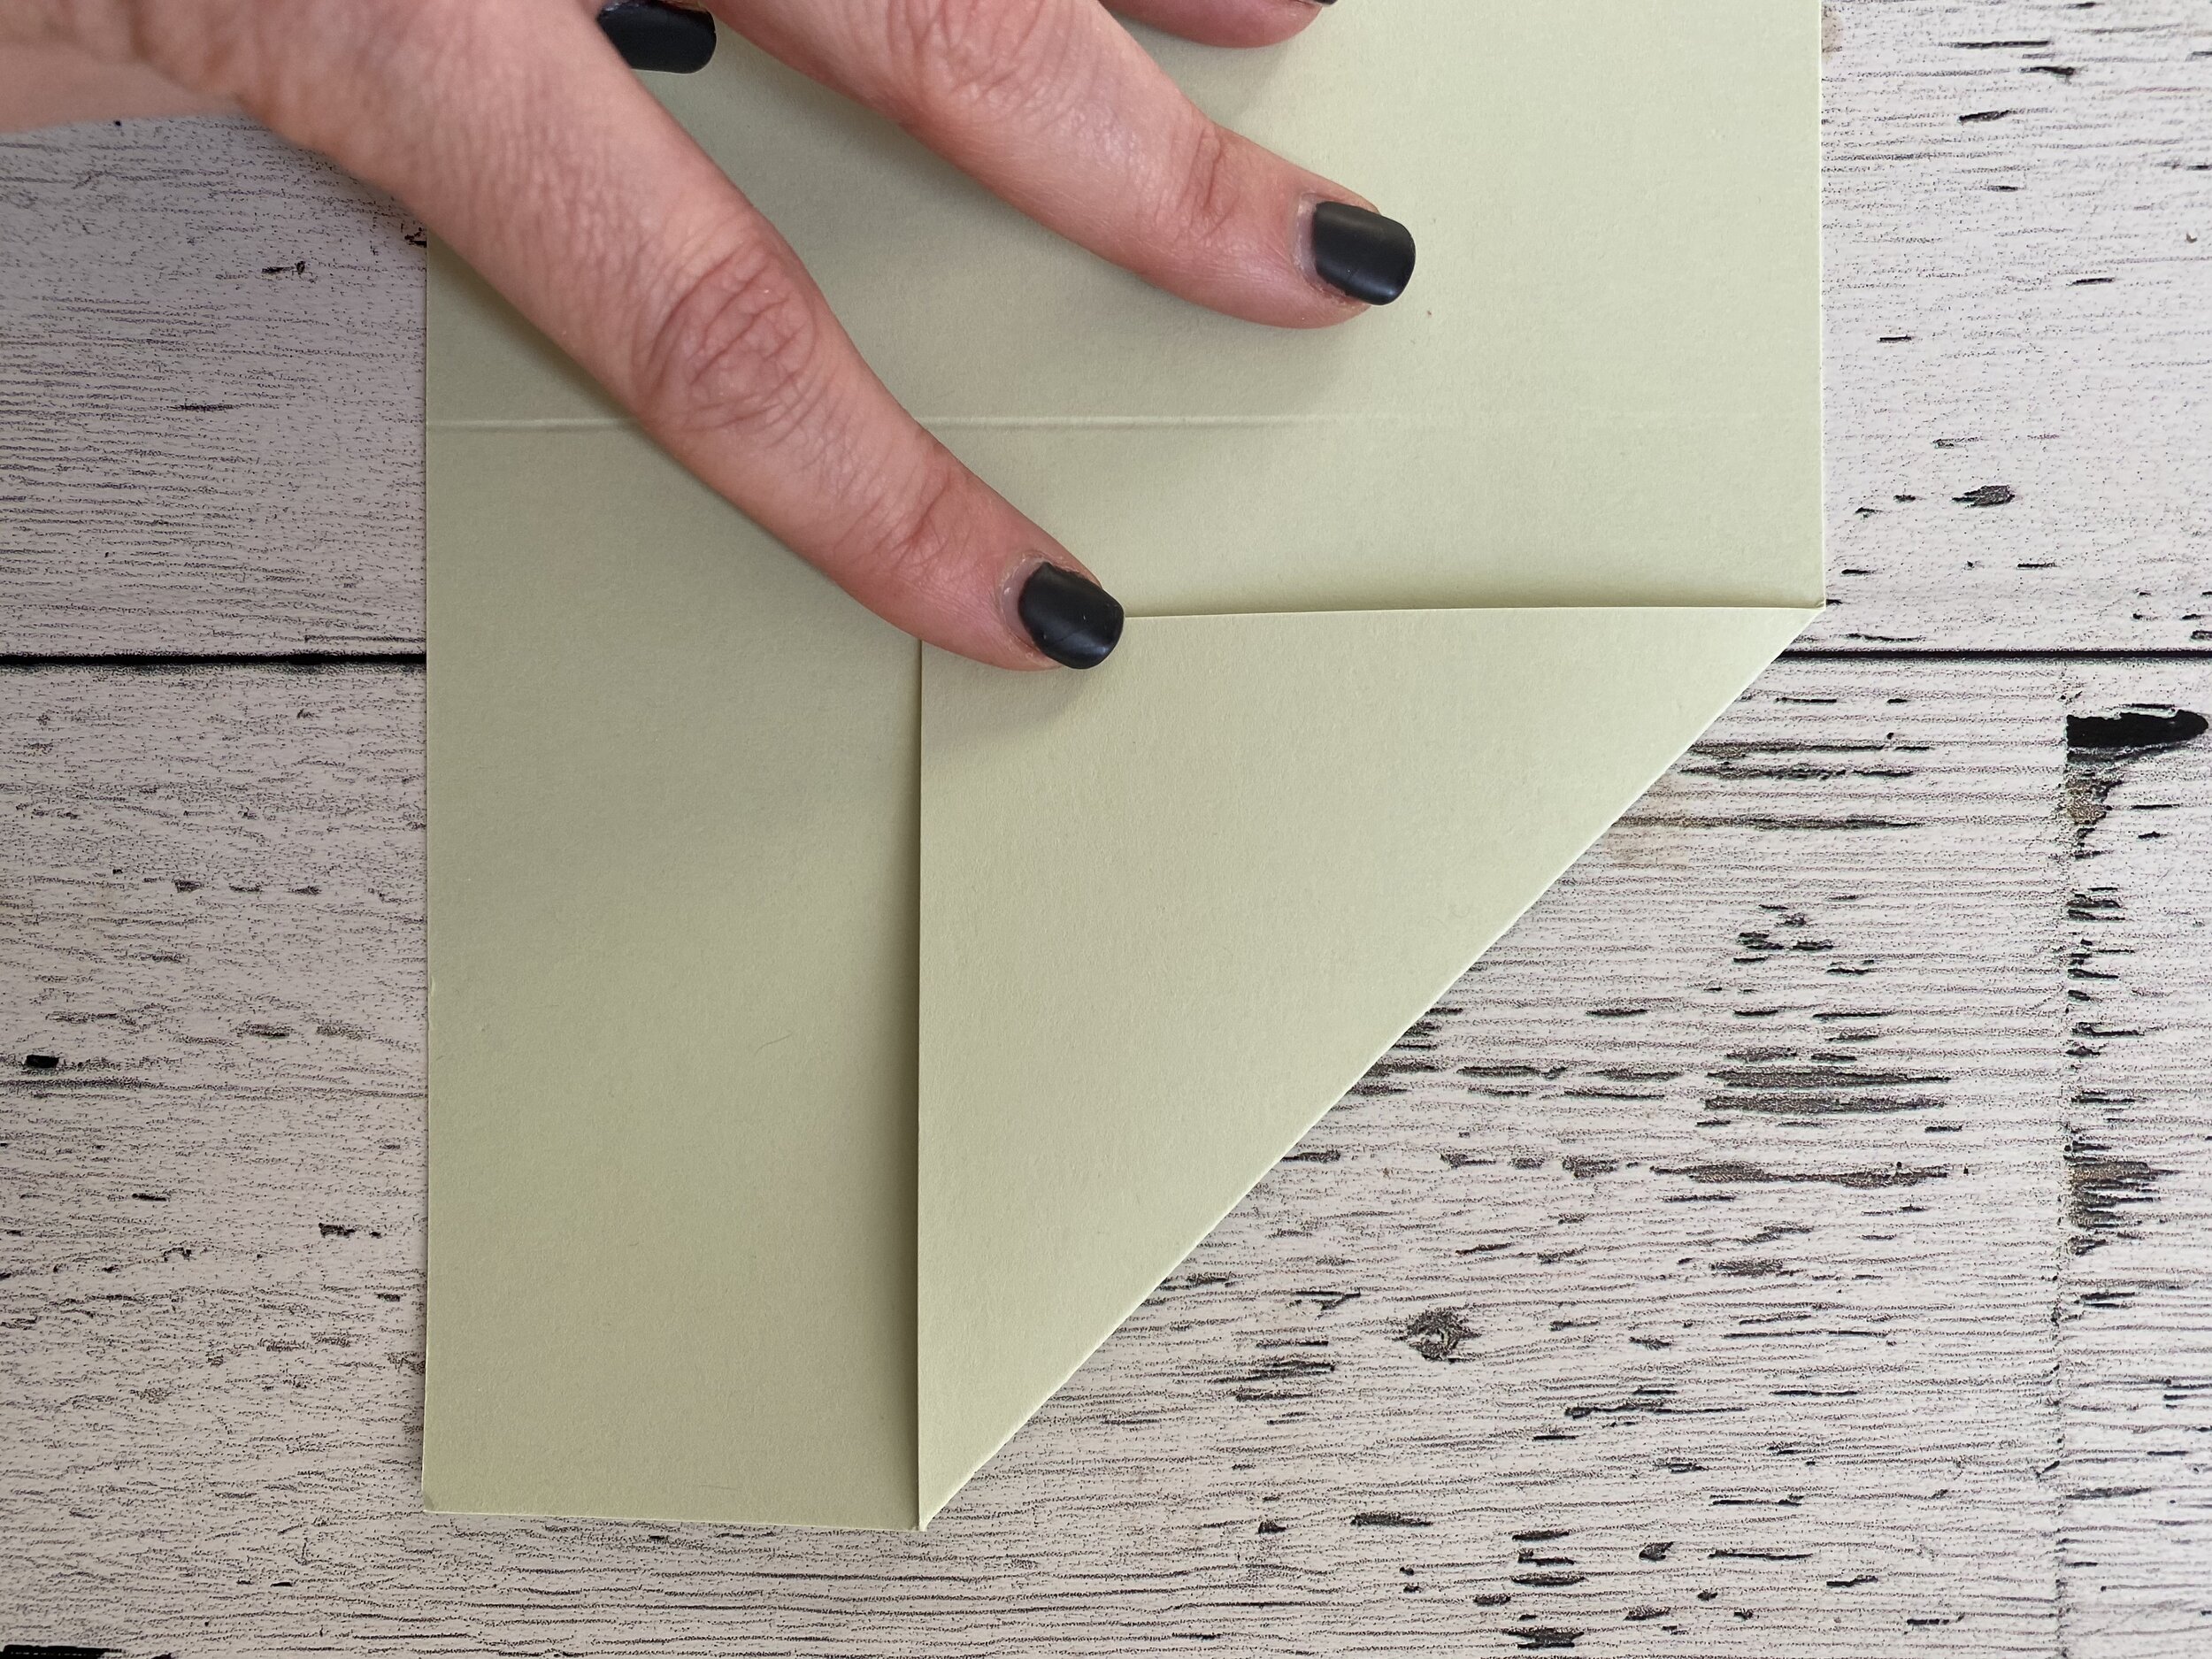
The water-colour wash in the background is actually one of my favourite techniques and one that I pull out of my technique closet from time to time. Its actually a great technique to share with beginner stampers as they only need our classic Stampin’ Write markers and either water-colour or shimmery white paper. In my samples I used water color paper. I also used a cello bag as the transfer piece. You could use a window sheet as well, but a cello bag is much cheaper and chances are even a new stamper will have one of these lying around.
The first step as illustrated in the first picture is to gather all of the supplies. Stampin’ Write markers of your choice, a spritzer tool with water, a cello bag or window sheet (if using a window sheet cut it to the same size as your base), and a piece of water-colour paper or shimmery white (regular white card stock is too thin to absorb as of the moisture). You may also want to have a tissue handy to blot up any excess water.
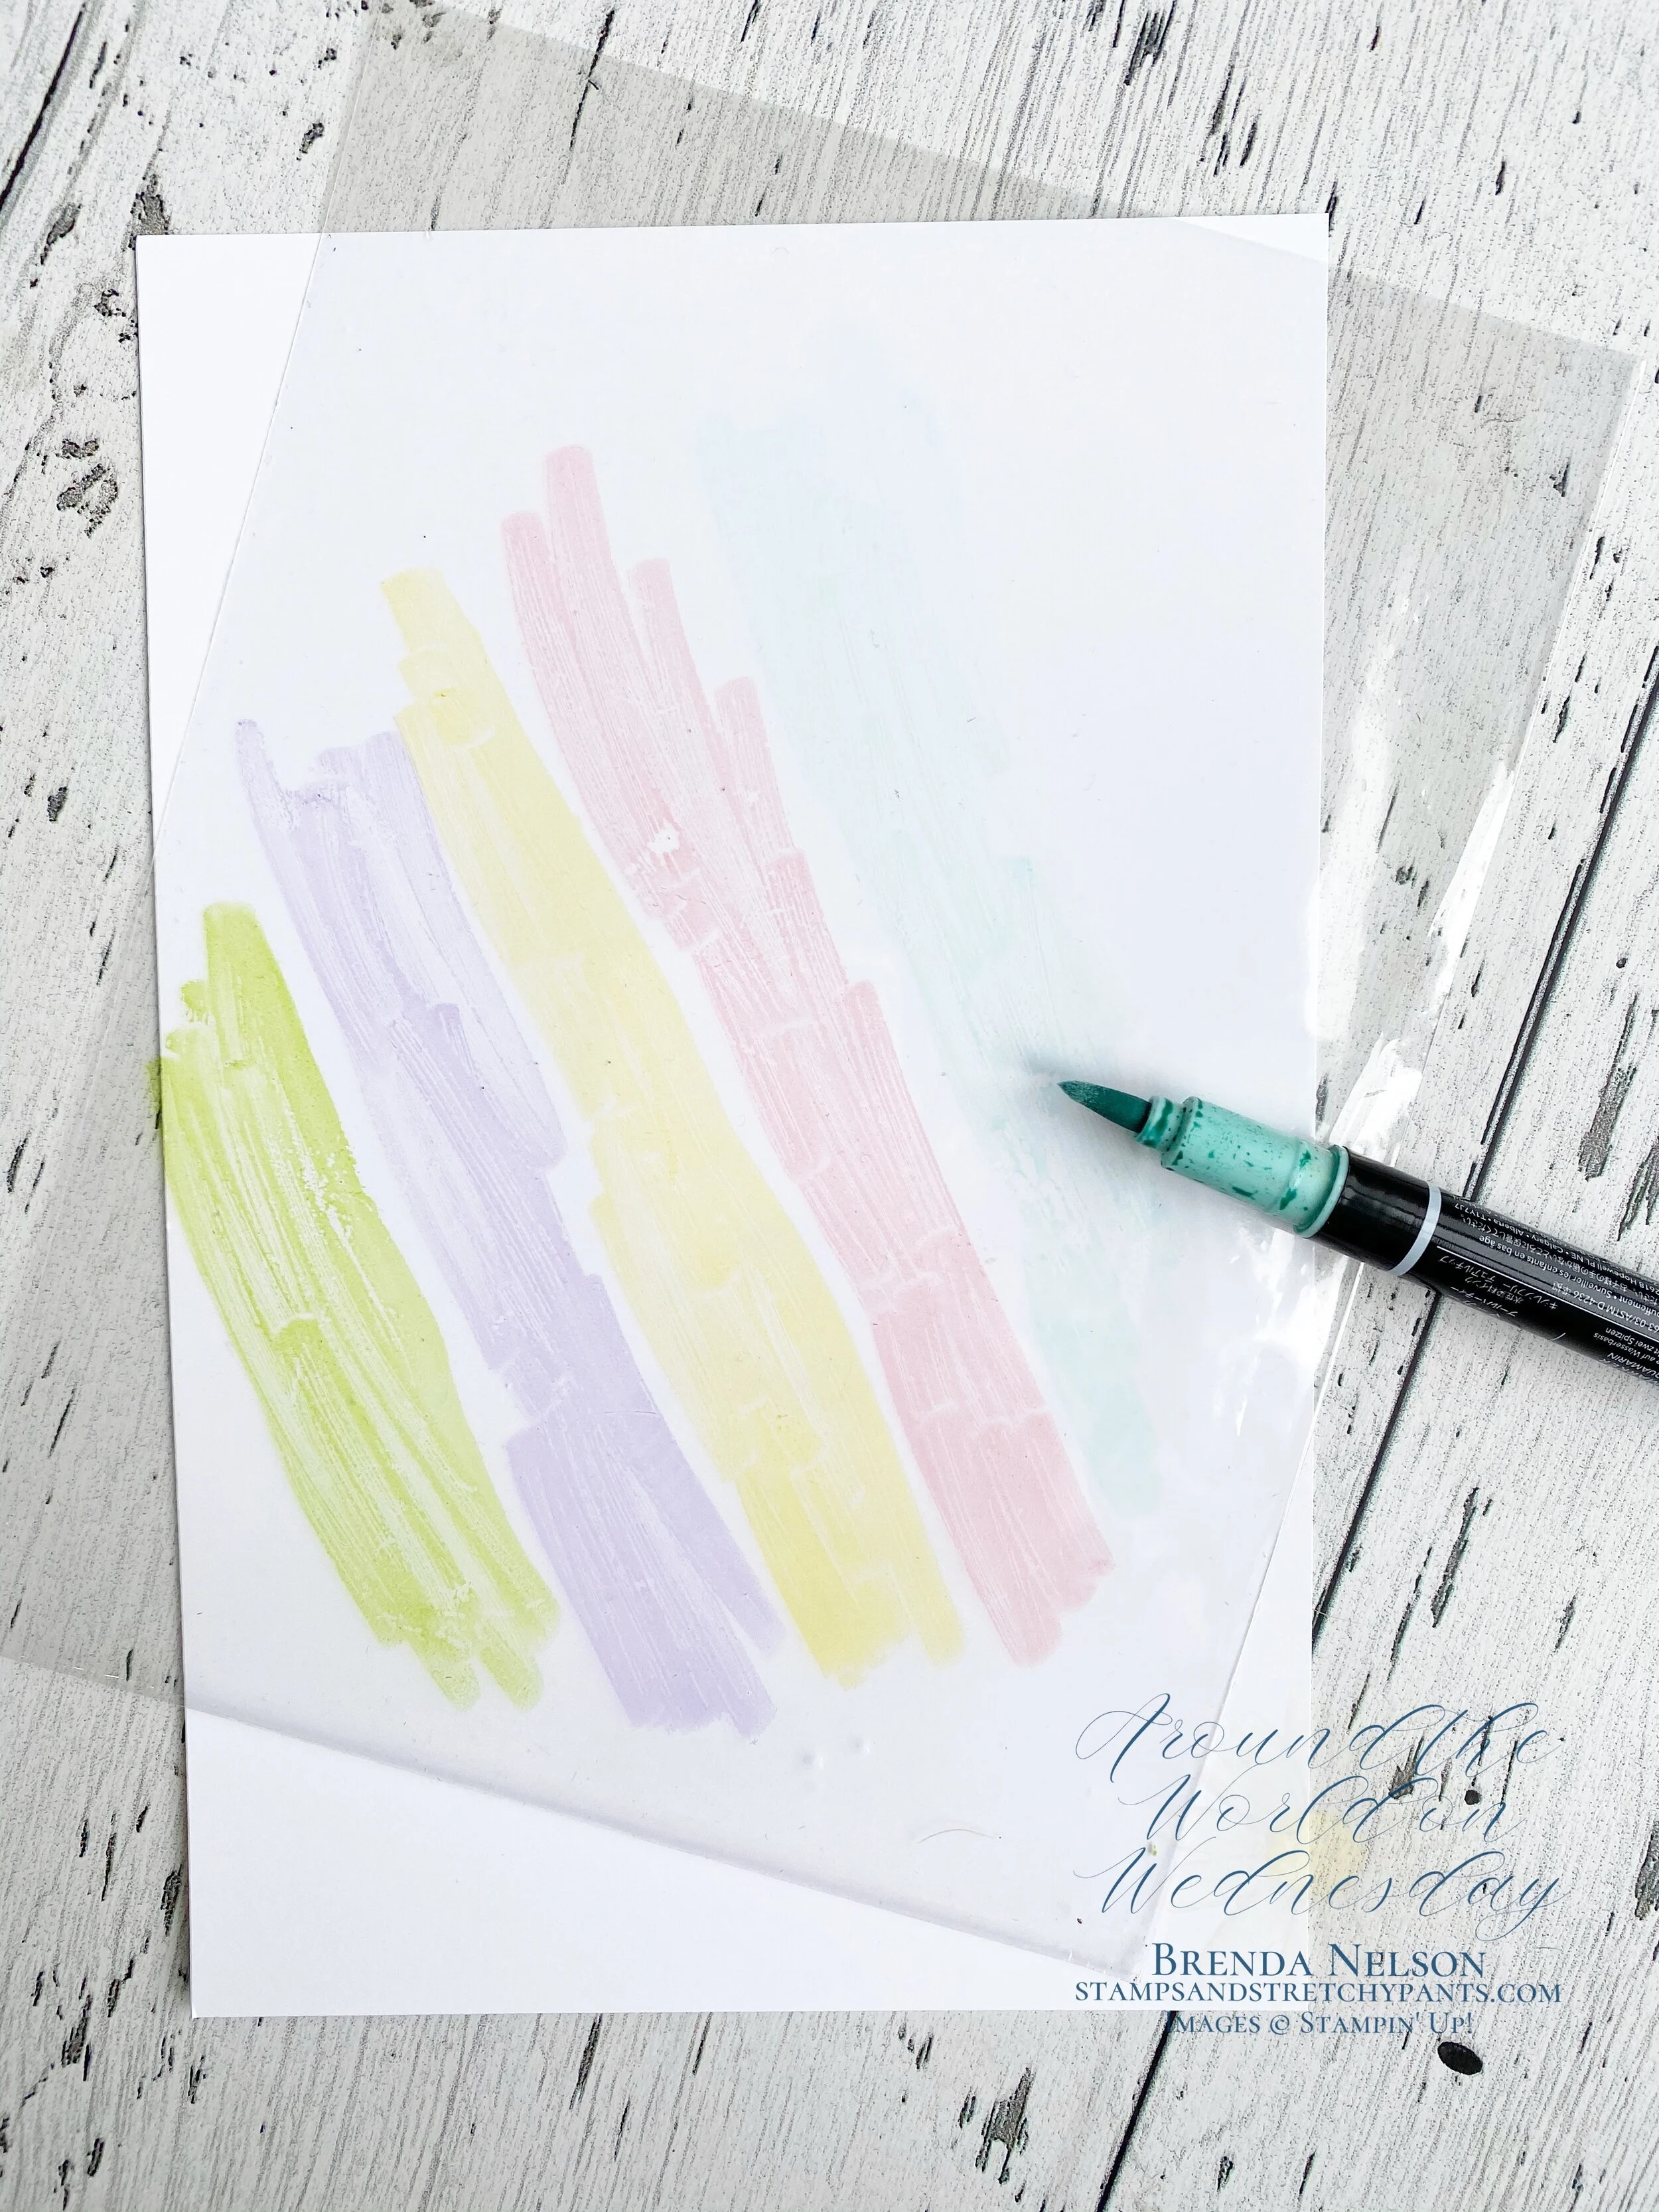
Color each marker in a diagonal line across the cello bag.
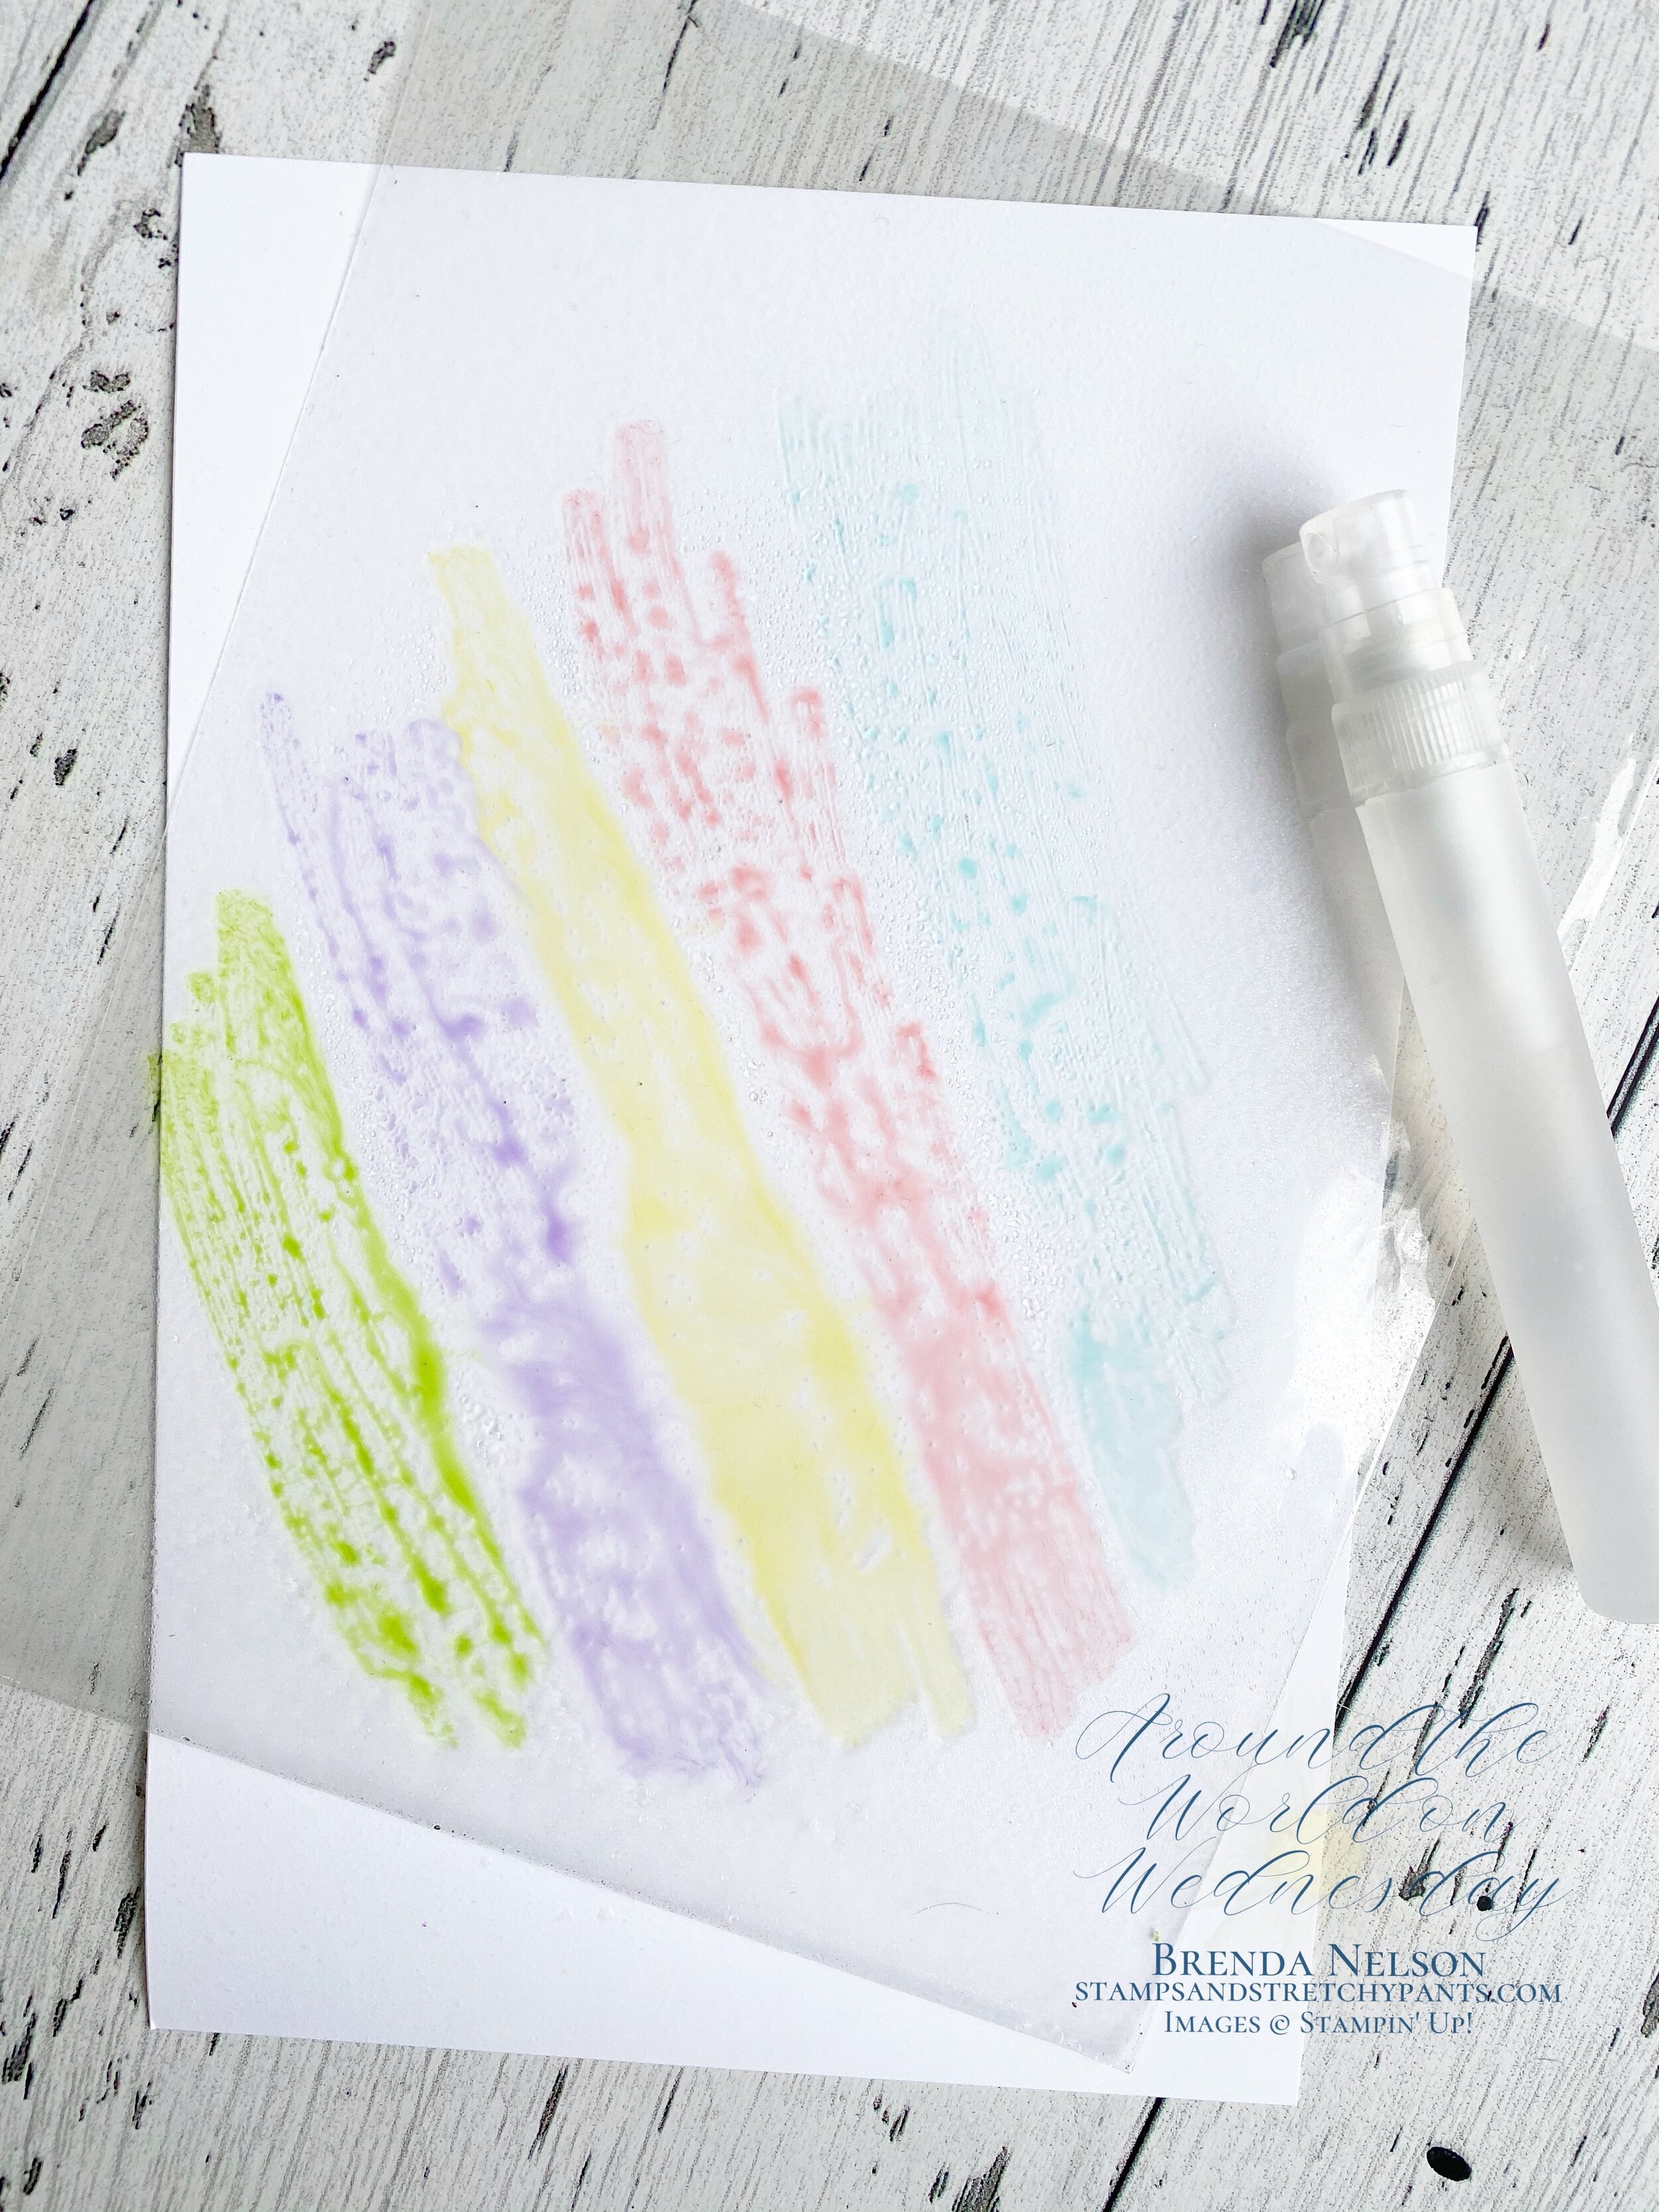
Spritz the cello bag with water.
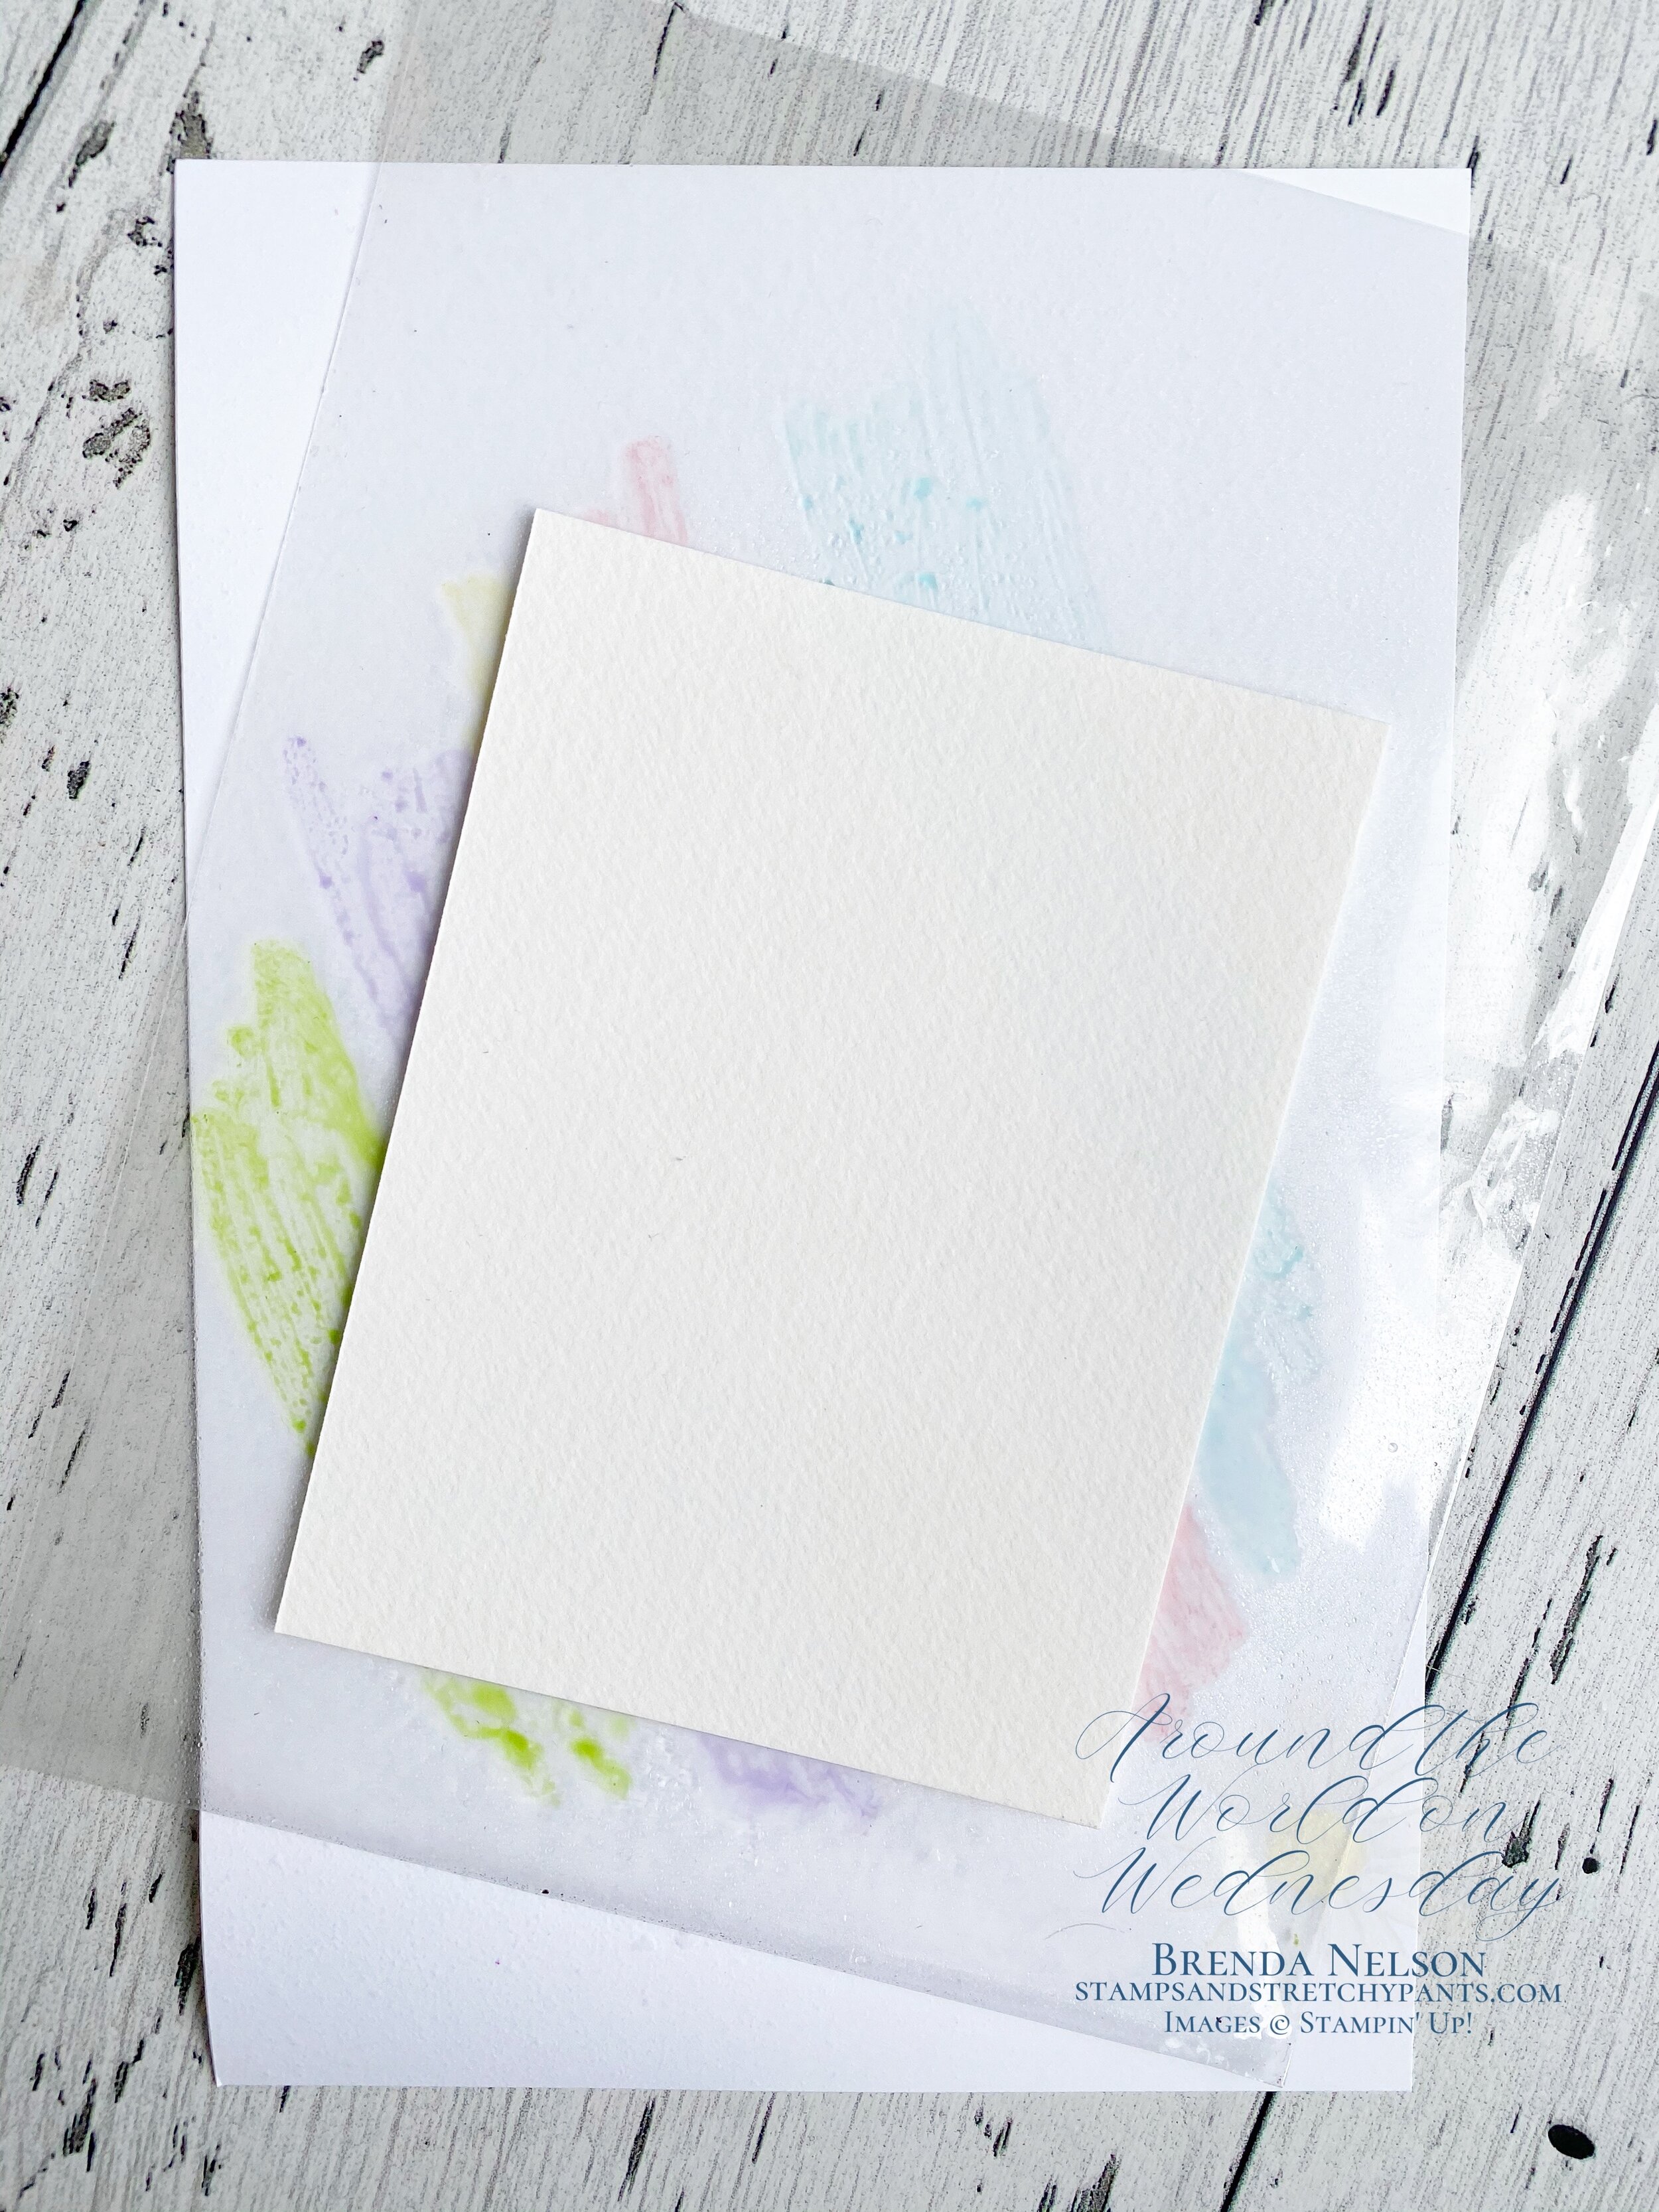
Press the water-colour paper onto the cello bag and let sit to for a few moments to absorb the color. When removing, have a tissue handy to soak up any loose water.
And that is it! Easy peasy and creates such a wonderful background!

Click here to visit the amazing Tricia Butts in the USA!