September Class to Go Kit!

Hello friends! Wow, what a summer right? Its officially fall, Pumpkin Spice season, sweater weather, and my favorite time of year for crafting! I don’t know why, but I just love the colors of fall, they feel cozy and like home. I grew up on the prairies and fall is absolutely gorgeous. I got married in September and the leaves had started turning but the weather was still warm!

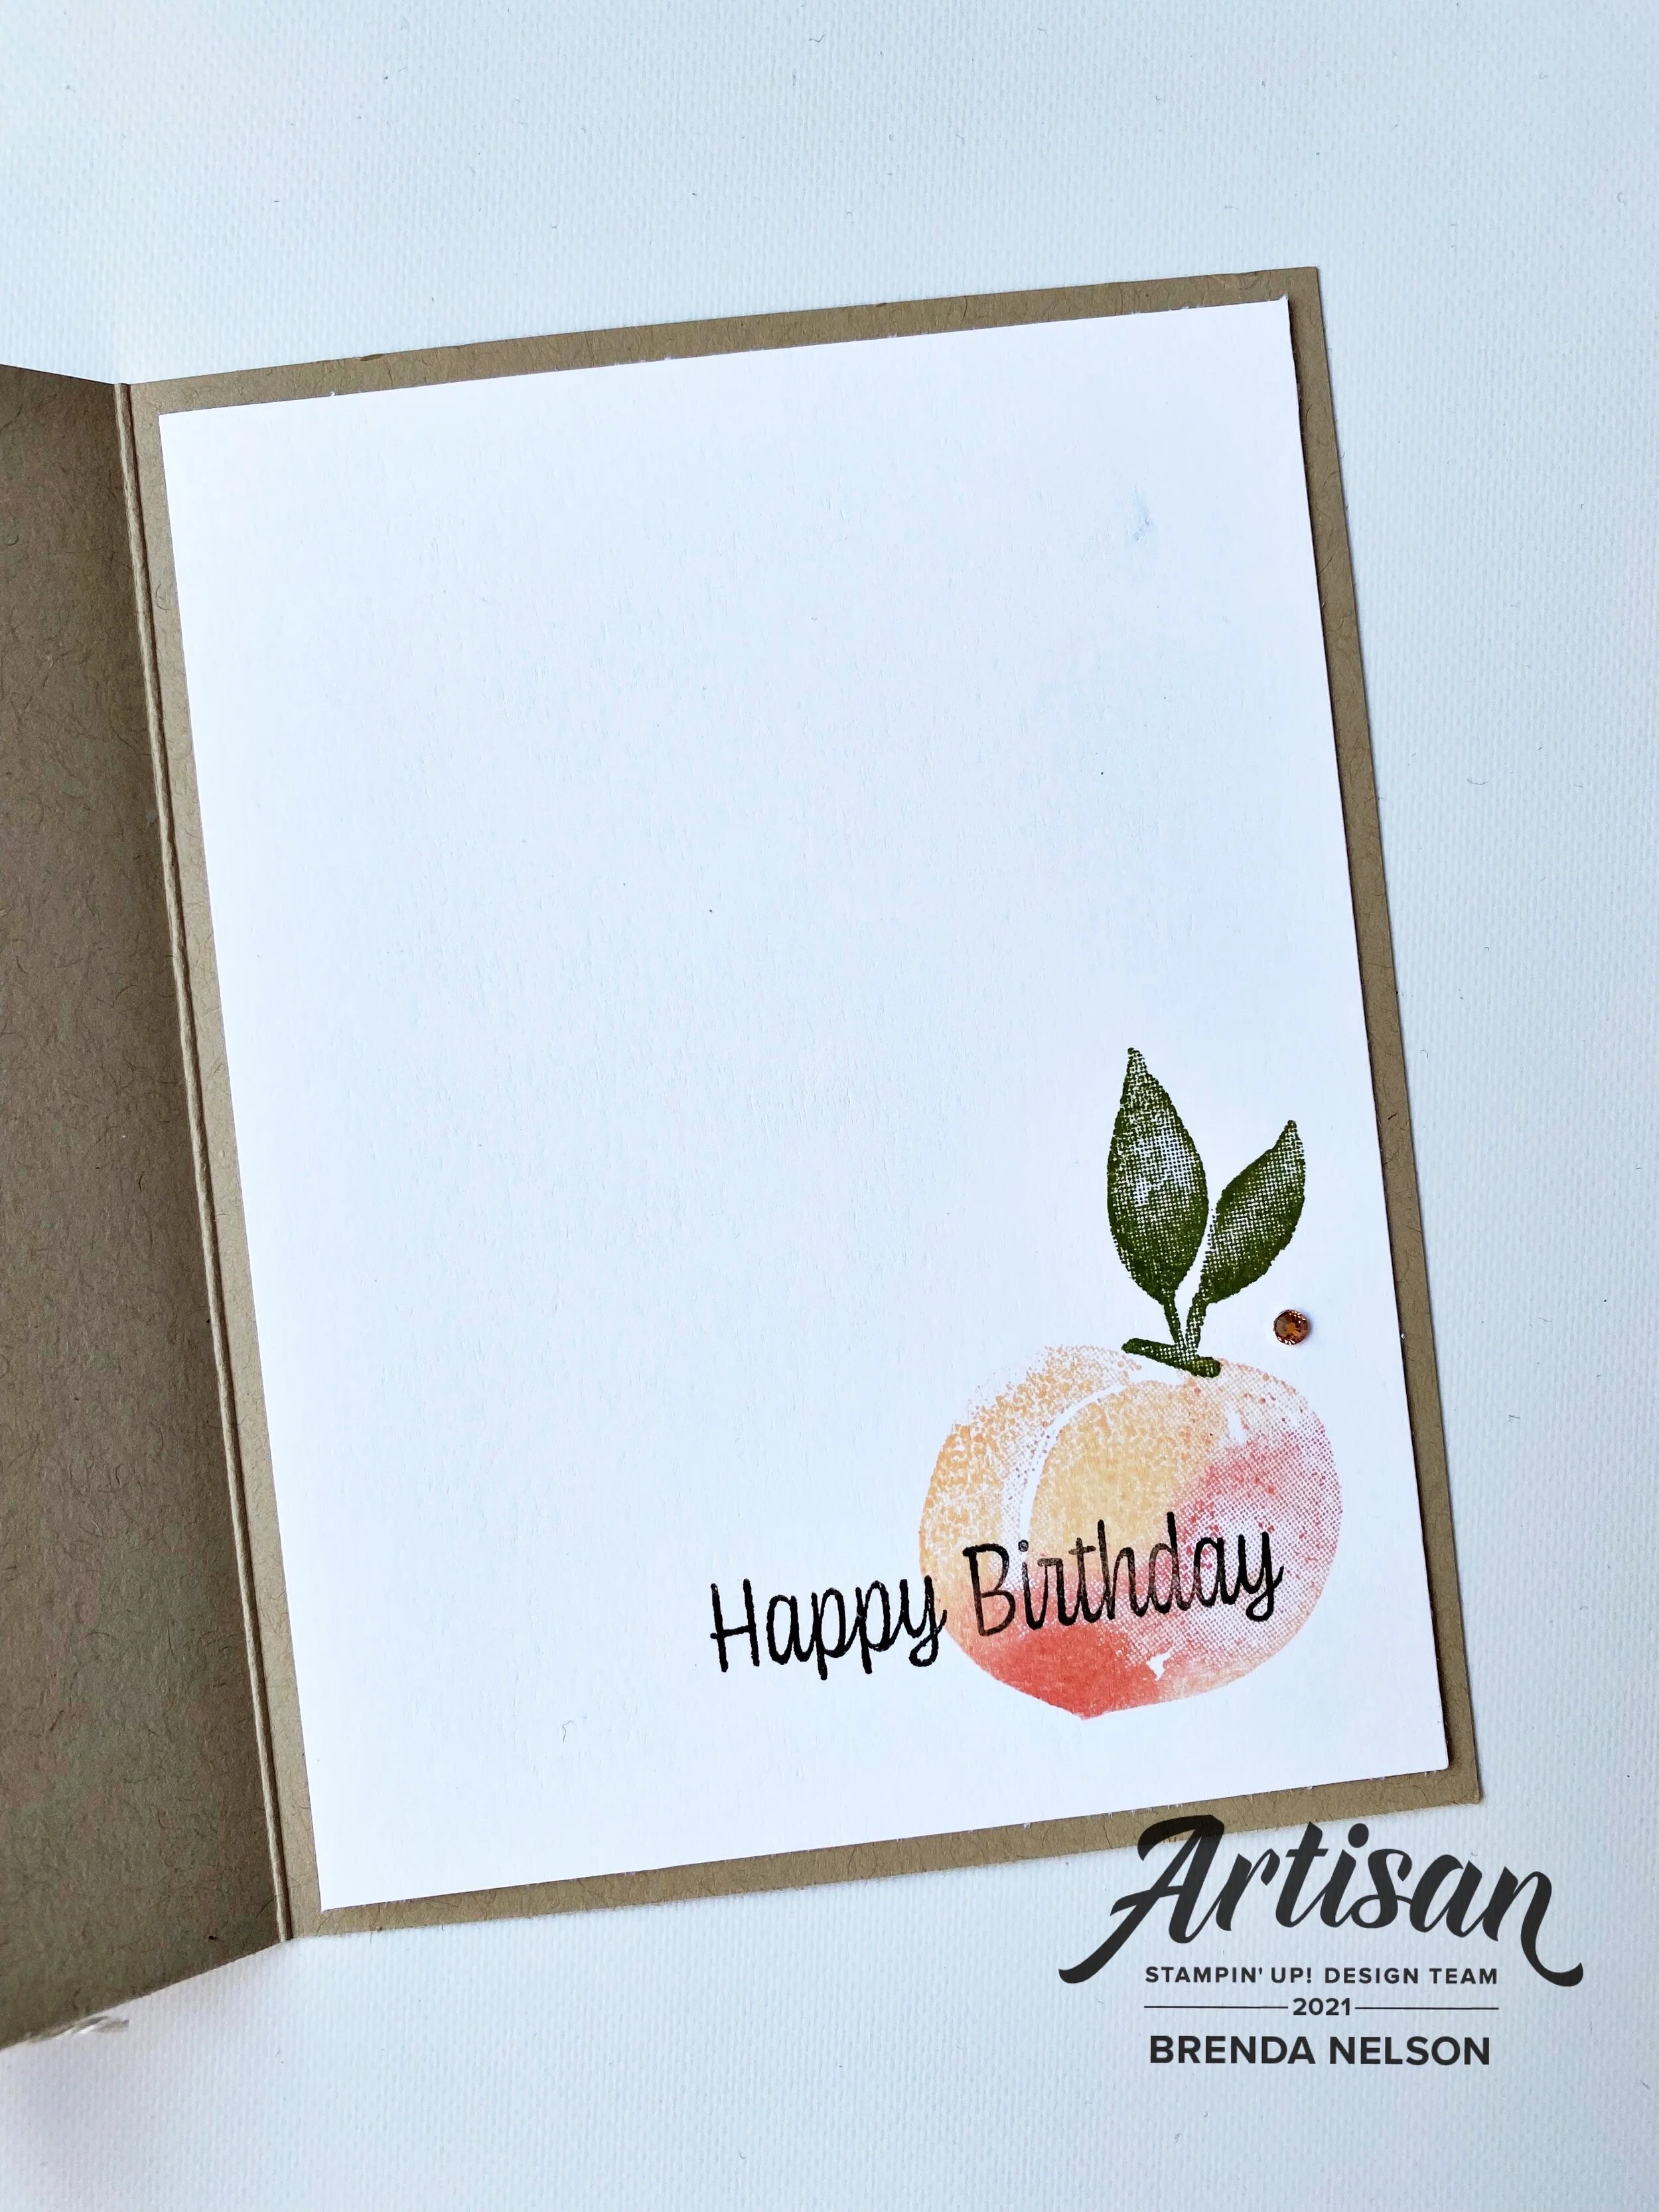
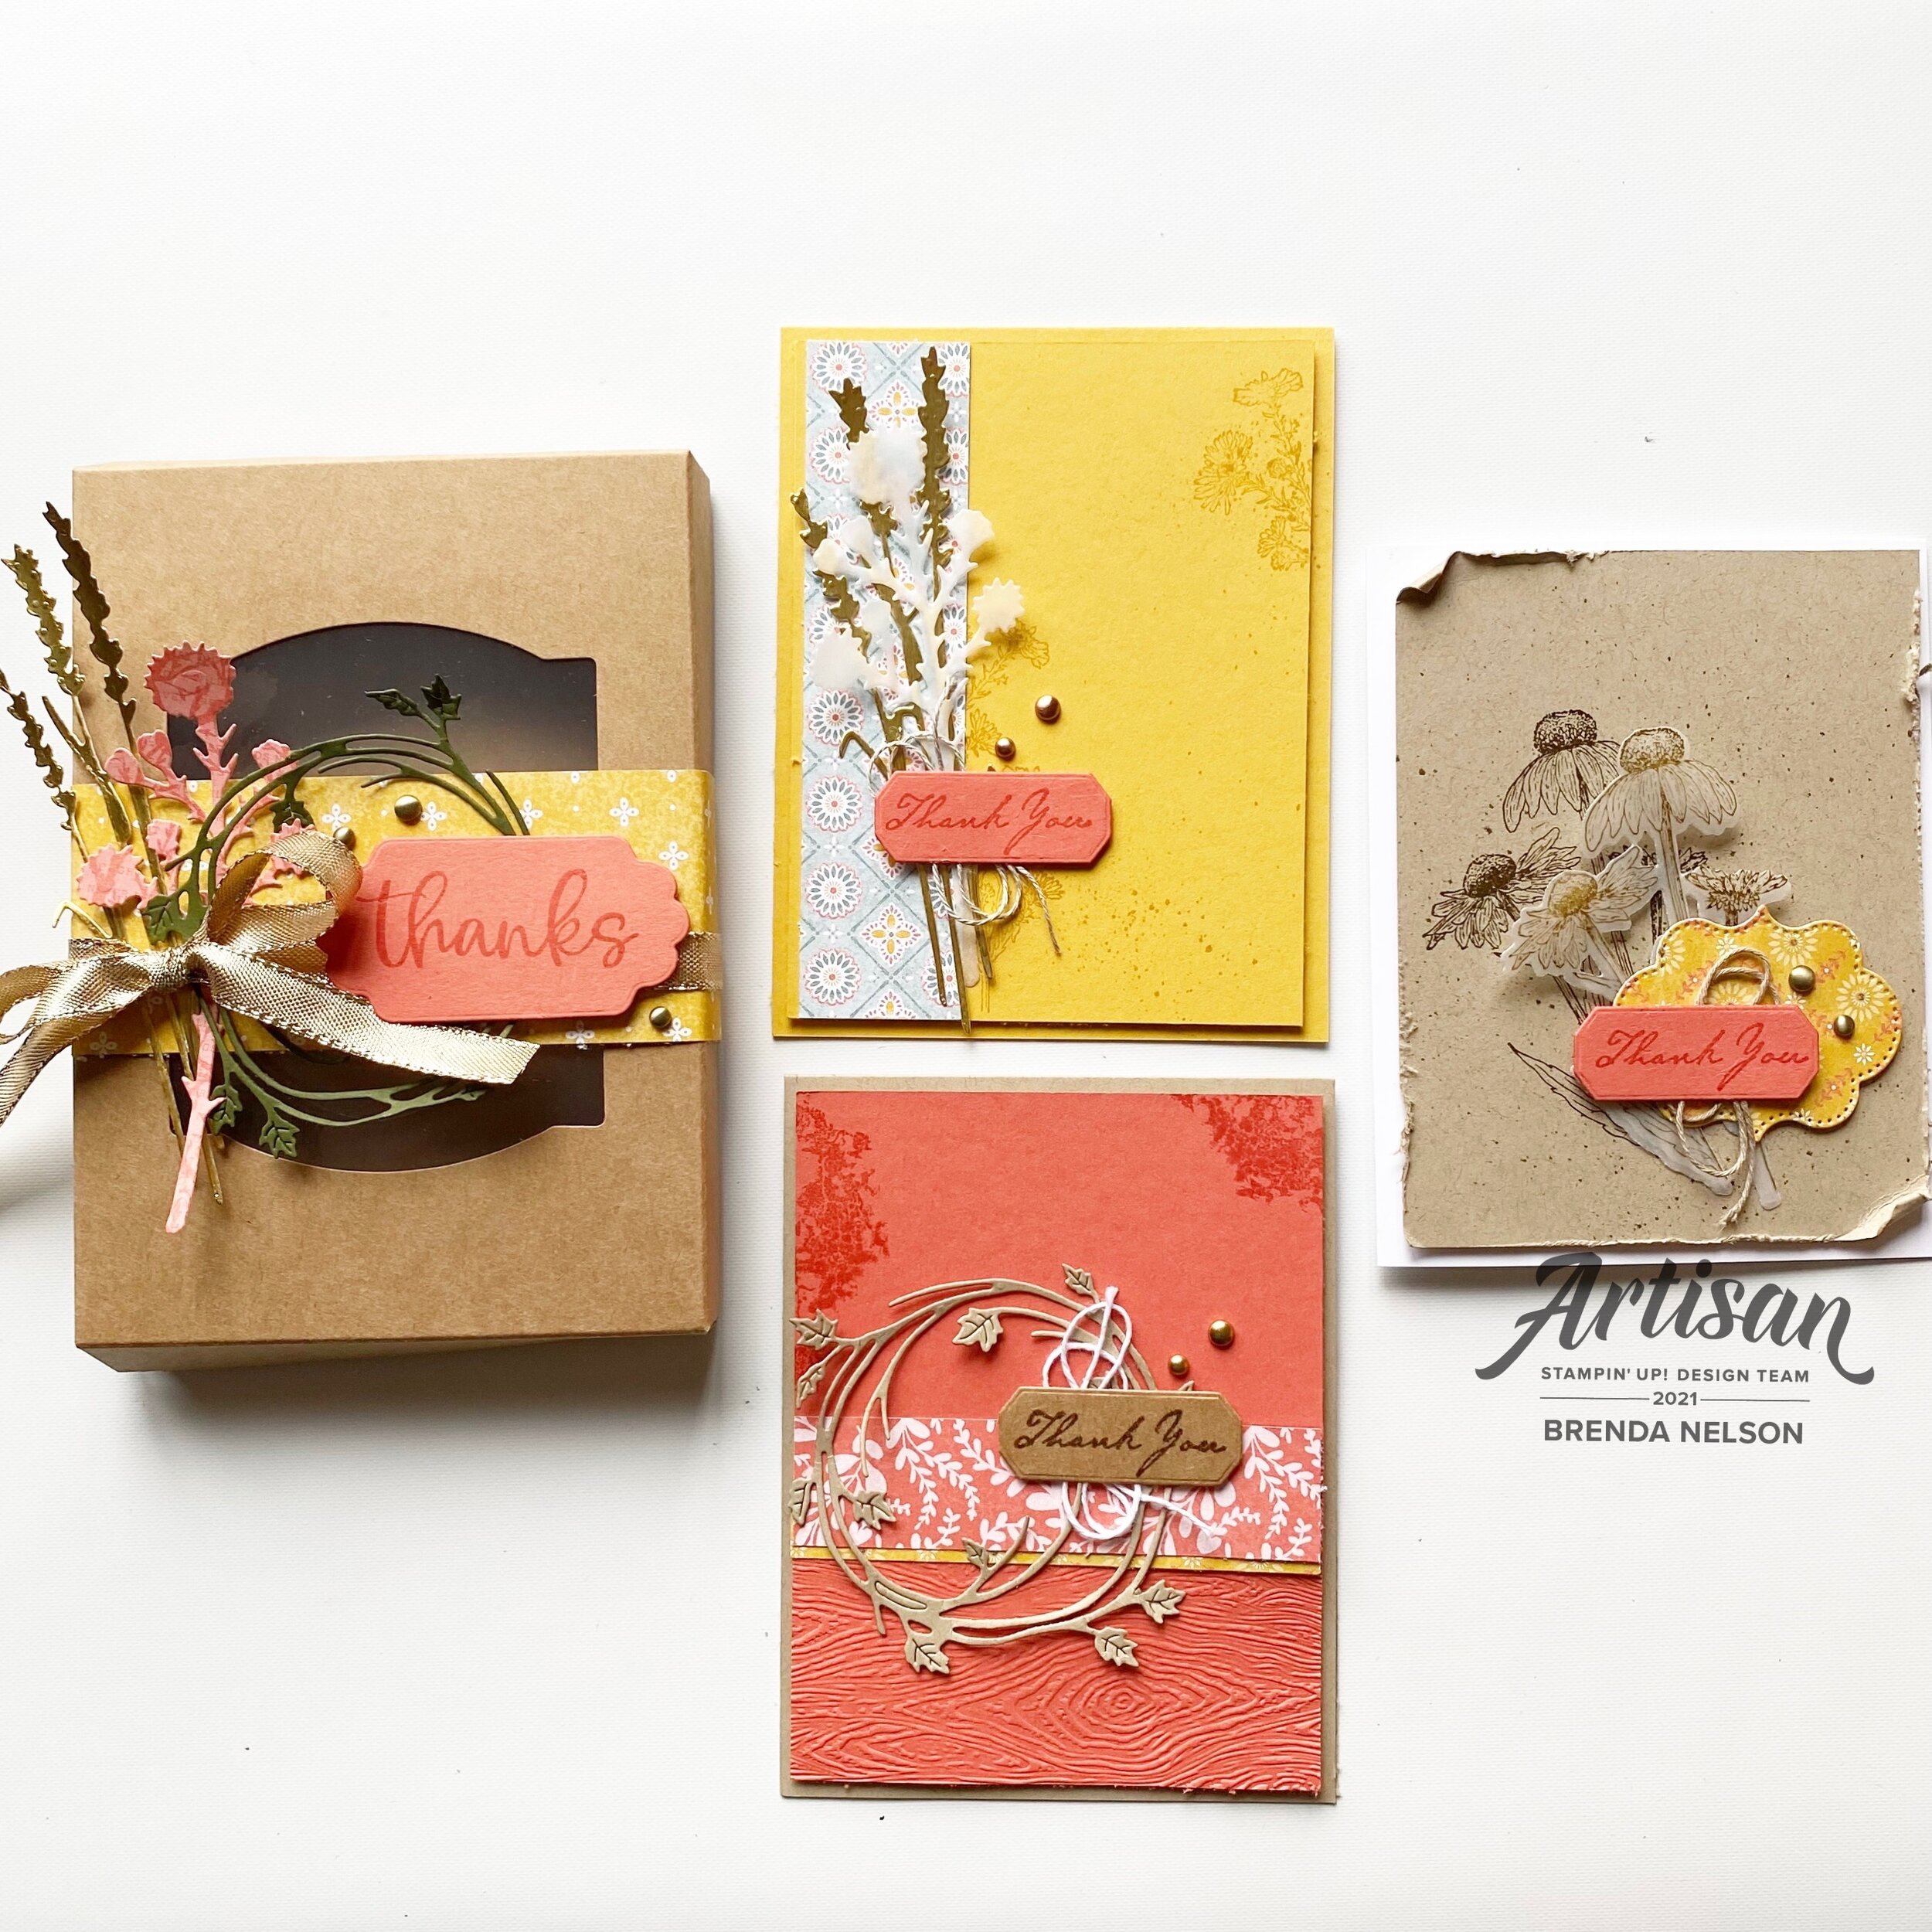
I think all of these things helped to inspire this September Class to Go Kit featuring the Harvest Meadow Bundle found on page 54-55 of the Holiday JJ 2021 Catalogue. This gorgeous Thank You card project features fantastic embellishments such as vellum, Gold Foil paper and Metallic Dots. It is a perfect gift to give or to have waiting at your Thanksgiving table!

final (13) 3.jpg

Historically my Class to Go Kits have only included a written tutorial with photos, however, in the spirit of trying something NEW I am going to make a video of how to assemble these gorgeous projects as well! SO you will get both options with all 3 registration options. Only 3 ink pad colors are required to make these amazing cards—Calypso Coral, Bumblebee and Soft Suede!

Option 1: Stamp Set Only $39. This option includes the Nature’s Harvest stamp set and supplies to create 2 of each card shown, for a total of 6 cards. You will receive all of the die cut pieces and embellishments

Option 2: Bundle (stamp set and Harvest Dies) for $82. You will receive all of the card making supplies PLUS the Kraft Gift Box and products to make the belly band! This is an amazing add on value!

Option 3: Kit Only $25. This option includes only the materials you will need to create the cards and the Kraft Gift Box.

final (10) 4.jpg

As you can see this is a gorgeous Thank You card project. The design of the cards provides you with inspiration for further crafting projects and the Kraft Gift Box has become one of my favorite projects as you will see over the month with some other projects being shared on my social channels!

I can ship this kit for a nominal expense anywhere in Canada or you can partake in local pick up! Please bear with me as I am working to get my website more order efficient. In the meantime, leave me a comment or click on SIGN UP NOW and I will reach out to you with payment arrangements. You can message me on Instagram @stampwithbrenda or by email at bsparkles@me.com as well!

Scalloped Sunshine Box

Hello friends! I am so excited about this cute little project that I created to share with members of my Glitter Girls team at our monthly team meeting. When our team reaches 10,000 CSV I reward everyone with a fun gift. Since the Pale Papaya & White ribbon is one of my new favorites I thought I would treat everyone with something that I love in hopes they will too.

final (17).jpg
 

This cute little sunshine is stamped with Daffodil Delight ink and can be found in the Sharing Sunshine stamp set. The center is actually its own stamp and makes really great polkadots!

To stamp the ‘rays’ , I stamped it once full strength and then rotated it slightly and stamped again to get that two tone yellow.

The cheeks are stamped in Magenta Madness for a real pop!

The sentiment is from the Sweet Strawberry stamp set and I added some of the new Just Jade and Gold Ribbon behind the sun with some of the recent Butterfly Bijou DSP.

You can see how I used the center of the sun to create a sunny polkadot base for the box on Daffodil Delight card stock. I love that these Scalloped Treat Boxes can hold a roll of ribbon!

You can see how I used the center of the sun to create a sunny polkadot base for the box on Daffodil Delight card stock. I love that these Scalloped Treat Boxes can hold a roll of ribbon!

final (14).jpg

Of course I also had to make a cute tag to go ON the roll of ribbon because you know, CRAFTERS GONNA CRAFT!! This cute tag is made using the Tailored Made Tags Dies and the Handmade for You stamp set.

And since I decorated the bottom of the box I needed to decorate the inside of the lid too with an inspiring message!

I really fell in love with this BRIGHT color combination of Magenta Madness, Daffodil Delight and Just Jade!

I really fell in love with this BRIGHT color combination of Magenta Madness, Daffodil Delight and Just Jade!

The sentiment, You Are Amazing, is from the stamp set of the same name and it is stamped with Just Jade ink and punched out with a retired punch. Behind it is stamped another shape from Sharing Sunshine stamp set.

I just love these fun boxes and I have so many ideas on what I can fill them with! I hope you are inspired to add them to your cart! You can hit the SHOP WITH ME button to go directly to my store or use my HOST Code shared on the side bar. Either way, if you do place an order with me thank you in advance and you are helping me get one step closer to my goal!

Around the World on Wednesday--Step it Up!

Welcome to another Around the World on Wednesday Blog Hop! This is literally the only way you can actually go ‘around the world’ in these fun and interesting times, hahaha! So I am happy to have you here!

I loved this months theme as its always a good challenge for me to try a fancier fold card style from time to time and that was how interpreted the theme of ‘step it up’! I can’t wait to see what all of the other gals from around the world design!

137064325_10218496422788728_249469279951355940_n.jpg

I wanted to play with the Sweet as a Peach stamp set as I haven’t had a chance to ink it up yet and I knew it would be a good option for the card style I had in mind. I had a request from a stamping friend to show her how to make a waterfall card and it worked out perfectly for this monthly challenge!

The Waterfall card style is an oldie but a goodie! And the best part is that is not complicated to make but look super fancy and is sure to get a ‘wow’ reaction from the recipient!

The Waterfall card style is an oldie but a goodie! And the best part is that is not complicated to make but look super fancy and is sure to get a ‘wow’ reaction from the recipient!

To create this style of card you need to choose a stamp set (or multiple sets) that has a lot of imagery and or sentiments for the 4 flip panels or the ‘waterfall’ aspect. I decided to use Sweet as a Peach because it has 12 words or sentiments in the stamp set and I wanted to layer up the peach and floral images with sentiments.

I decided to stick with the color palette of the You’re a Peach DSP therefore the base of my card is Crumb Cake with accents of Early Espresso.

To create the two tones of the peach I stamped it in Pale Papaya and then used my Blending Brush in Calypso Coral ink to add a deeper color straight to the stamp. Because these white squares are not that large, I used a couple of the leaves from the bottom of the big leaf stem on these peaches. The inside peach uses the larger leaf included in the set.

pictapgo-output 3.jpg

I also applied the same concept to stamp out the trio of flowers—stamping it in Pale Papaya first with the Calypso Coral added with a Blending Brush. I stamped all of the sentiments in Early Espresso ink.

On all 3 of the peaches I also added a bit of Wink of Stella for a little glimmer. Sadly it is really hard to photograph but looks really great IRL (in real life, yes I had to ask one of my kids once what that mean when they sent it in a text!!!).

final (4) 15.jpg

I added the polka dot pattern from the You’re a Peach DSP straight to the card base and added a few Champagne Rhinestones to the peach images.

pictapgo-output (2) 2.jpg

I punched a hole at the bottom of the waterfall piece to thread some of the new Pale Papaya & White ribbon through that I tied with a Linen Thread bow. This also helps the recipient know to pull on this piece when they receive their card.

And I also wanted to stamp the inside for a bit of extra fun!

 
91442295_10216484369808661_2887014979863576576_n.jpg

I hope this waterfall card design sparks an interest for you to try your own! I have included the instructions below and trust me, its easy!

pictapgo-output 5.jpg

To Create a Waterfall card:

Cut standard card base @ 81⁄2’ x 51⁄2” and standard mat @ 51⁄2" x 41⁄4”. Cut one “Anchor Strip” out of cardstock @1” X 4.” Cut one “Movable Strip” out of cardstock @ 2” x 9.” Cut 4 dark squares @ 2” and 4 whisper white (light) squares @ 13⁄4”.

  1. Lay the cardstock “Movable Strip” on scoreboard in landscape position and score this 4 times @ 2", 2 3⁄4", 3 1⁄2", and 4 1⁄4". Fold all score lines in the same direction and burnish with bone folder. 


  2. Apply adhesive to both ends of the “Anchor Strip” - only 1⁄2” on each side leaving centre part free. Attach this to the mat piece. Then add the mat piece to the card base front.

  3. Lay “Movable Strip” on card so that the folded parts are on top of the “Anchor Strip” and the unscored part is behind it. Adhere only the top end (1⁄2”) to the ‘Anchor Strip” This is so the parts can move freely. 


  4. Stamp images onto small white squares. Colour stamped images. Adhere to the 2” dark squares. Attach squares to the “movable strip” starting with the bottom one. NOTE- use only thin strip of adhesive along the top of each square for the top 3 squares - they need to be able to flex - fully attach the bottom square at top and bottom.

  5. Punch hole at bottom of under piece of the Movable Strip - then thread ribbon through and tie with a bow.

Thank you to my awesome friend Hetty for these directions! She is a library full of fun folds and is always willing to supply me with measurements when I need them! You can follow her on Instagram @stampin911hq!

Following me on the hop is Tricia Butts from the United States and if you didn’t know where in the world you are right now, I live in Edmonton, Alberta Canada! Please feel free to leave a comment and make sure to visit us again next month!


Dad--You're the Best!

This week I am going to be showcasing THREE awesome projects for the dads in your life! I wanted to share them early so you can use them for inspiration! So check back on Wednesday and Friday to catch all 3!

Up first is this awesome flip album that features pictures with Dad! You can use past photos or take some on Father’s Day to add to the album afterwards!

final 61.jpg

This is a fun Flip style album that I put together as a class. I always love to create a project that is kid friendly with a little help from mom.

Each page in the album is HALF of an 8 1/2 x 11 piece of Crumb Cake card stock. I used a total of 3 half sheets to make this which will give you 6 design surfaces or sides. You will need to stack them together and punch a hole to add the binder rings (available at any office supply store).

I used the Well Suited DSP as my color palette. I actually quite like this masculine themed designer paper! I cut ‘Dad’ using some retired alphabet dies as I never get rid of our alphabet offerings. I actually wish we would bring back a larger set again! Because I am an avid scrapbooker I do pull these out quick often. The Balmy Blue heart is from the Kiss Punch. Let’s Celebrate You can be found in the stamp set Itty Bitty Birthdays.

final (1) 33.jpg

Each page is designed to add a vertical 4 x 6 photo (the ‘selfie’ direction of most of our pictures). I added a photo mat on each page as well and then a few fun details. This page uses sentiments from the Thanks for the Laughs and Handsomely Suited stamp sets. The main sentiment is die cut using the Stitched So Sweetly dies.

final (1) 34.jpg

I also added in the Playful Alphabets dies with the Foam Adhesive Sheets (best combo ever!) and the sentiment on this page is from A Good Man and is a repeating sentiment throughout the album.

final 62.jpg

I am a big fan of our twine as it adds such a nice accent behind sentiments and I love that there is coordinating twine with this suite. I wanted to bring in a lighter touch to this page so I added hints of Balmy Blue with the top sentiment and by tucking a half circle under the bottom one.

The “You’re the Best” is from the A Good Man stamp set and the bottom one is from Handsomely Suited.

final 63.jpg

I thought adding in a the sentiment “We must be Related” was perfect for a page with a dad and his kid! I love the Grand Kid stamp set and am so happy it carried over into our new catalogue. It should not be overlooked, it has some awesome sentiments in it. Some retired twine also worked well along with our Matte Black dots. So happy they are sticking around too!

final 60.jpg

And of course we need to finish off this album with “You are Amazing” as Dad really is right? I love this sentiment and you can find it in the You are Amazing stamp set that coordinates with the project kit. I added a strip of DSP and some black twine from our twine combo package and some recently retired ribbon.

I love this little Flip album as it stands up fairly easy and makes a fun addition to Dad’s desk! Make sure to come back and visit on Wednesday so you can see the next project I created!

Create with Connie and Mary--Favorite NEW Catalogue Bundle!

21SUDesignTeam.png

So to end this month of new ‘favorites’ we had to design something with our favorite new bundle! Well the one that I have created with the most would have to be the Hand-Penned Petals suite! I just love the whole collection. I created a really fabulous project to share with my team and I thought it was the perfect project to end this month of ‘favorites’! I hope you are inspired!

final 51.jpg

I can’t believe in my 15 years of Stampin’ I have never created a card folio before! I designed this one to hold two cards on either side of the folio. There is enough space that you could also include envelopes. The color palette of the project is based off of the Hand-Penned Designer Series Paper which I am in love with. I have always been a fan of pastels, in fact, when I got married my 5 bridesmaids wore pastel pink, yellow, blue, green, and purple!

I added the inside sentiment from the Pansy Patch stamp set

I added the inside sentiment from the Pansy Patch stamp set

I can’t wait to see what all of the other Design Team members have selected as their favorites! You can go BACK to see what Melissa is loving or you can go NEXT to see what Connie has selected!