Around the World on Wednesday--You've Got Mail!

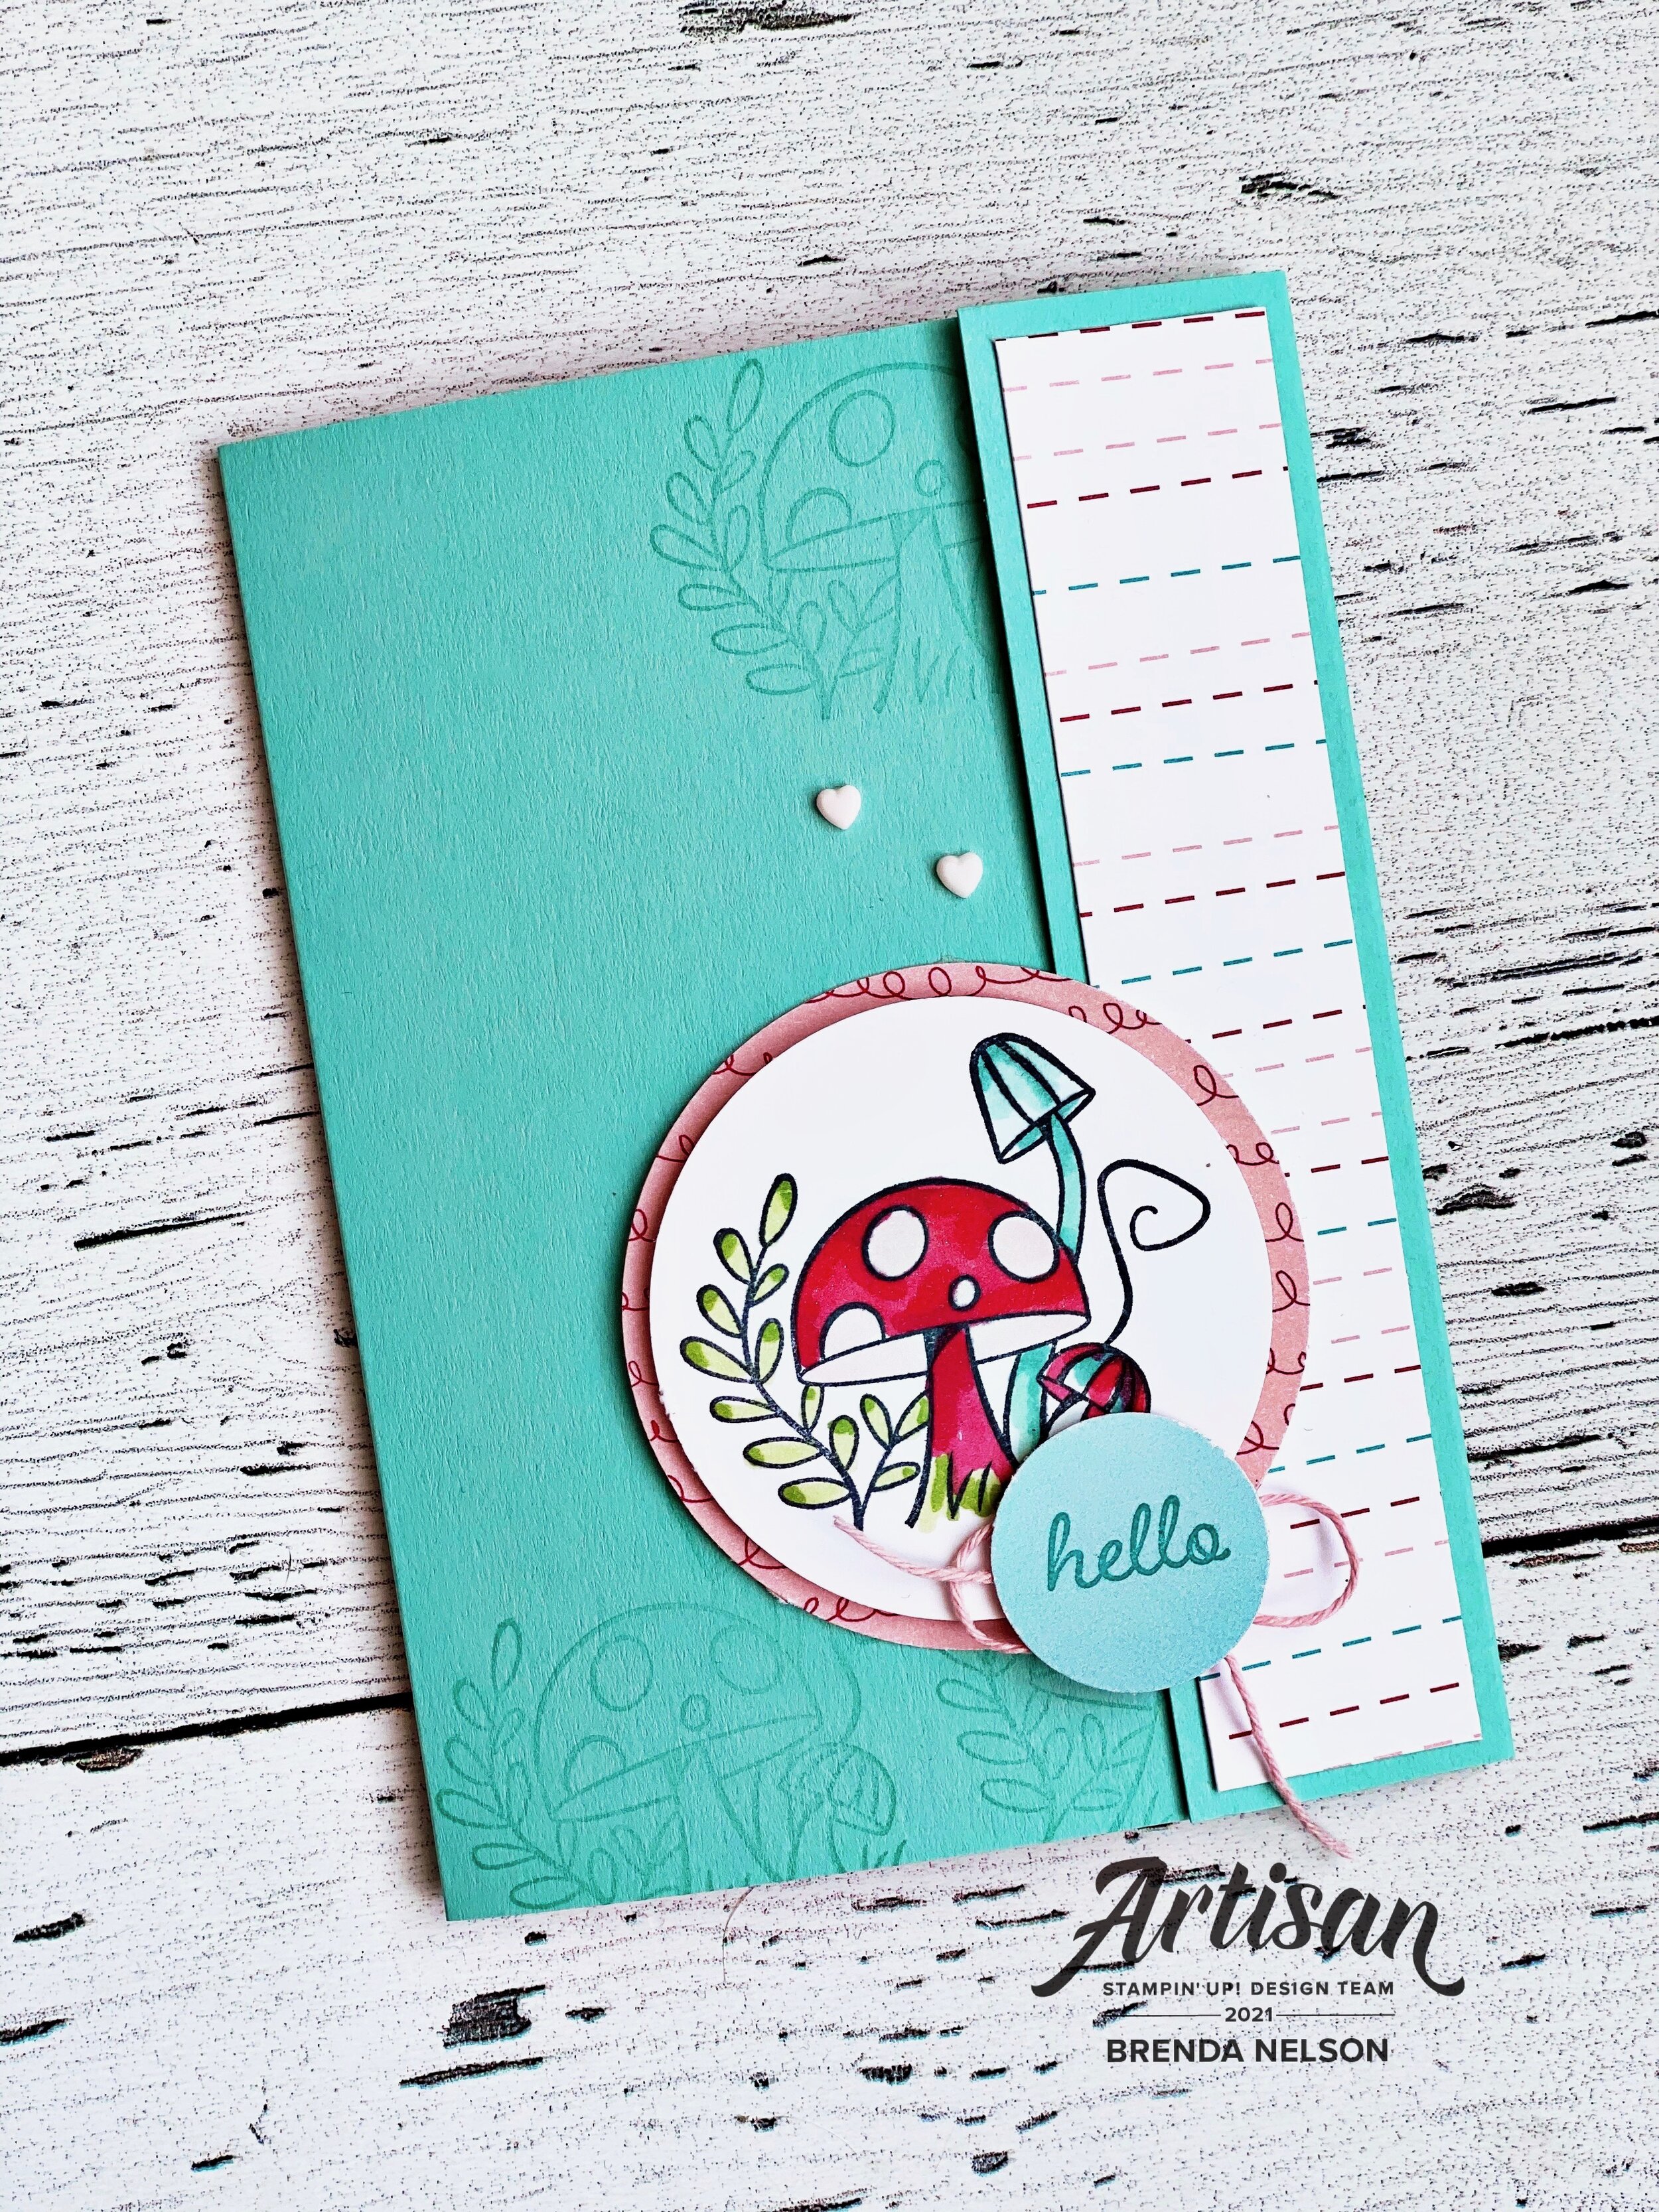
Hello friends! Welcome to another Around the World on Wednesday Blog Hop! This month our theme is You’ve Got Mail so I made a card with a design on the outside, inside and a coordinating envelope! I am currently living in a polar vortex in Edmonton, Alberta. Today’s temperature as I write this is -48 with the wind chill. So gross. Luckily my card is bright and cheery and makes me think of warmer weather!

91442295_10216484369808661_2887014979863576576_n.jpg

The Snail Mail Suite was the perfect choice for this theme. I have had so much fun creating with it lately as I find coloring very therapeutic! I love that it has dies and a coordinating punch (Rectangular Postage Stamp), plus some amazing Resin Heart embellishments and twine! So thankful Twine is back in our line up!

IMG_3447.jpg

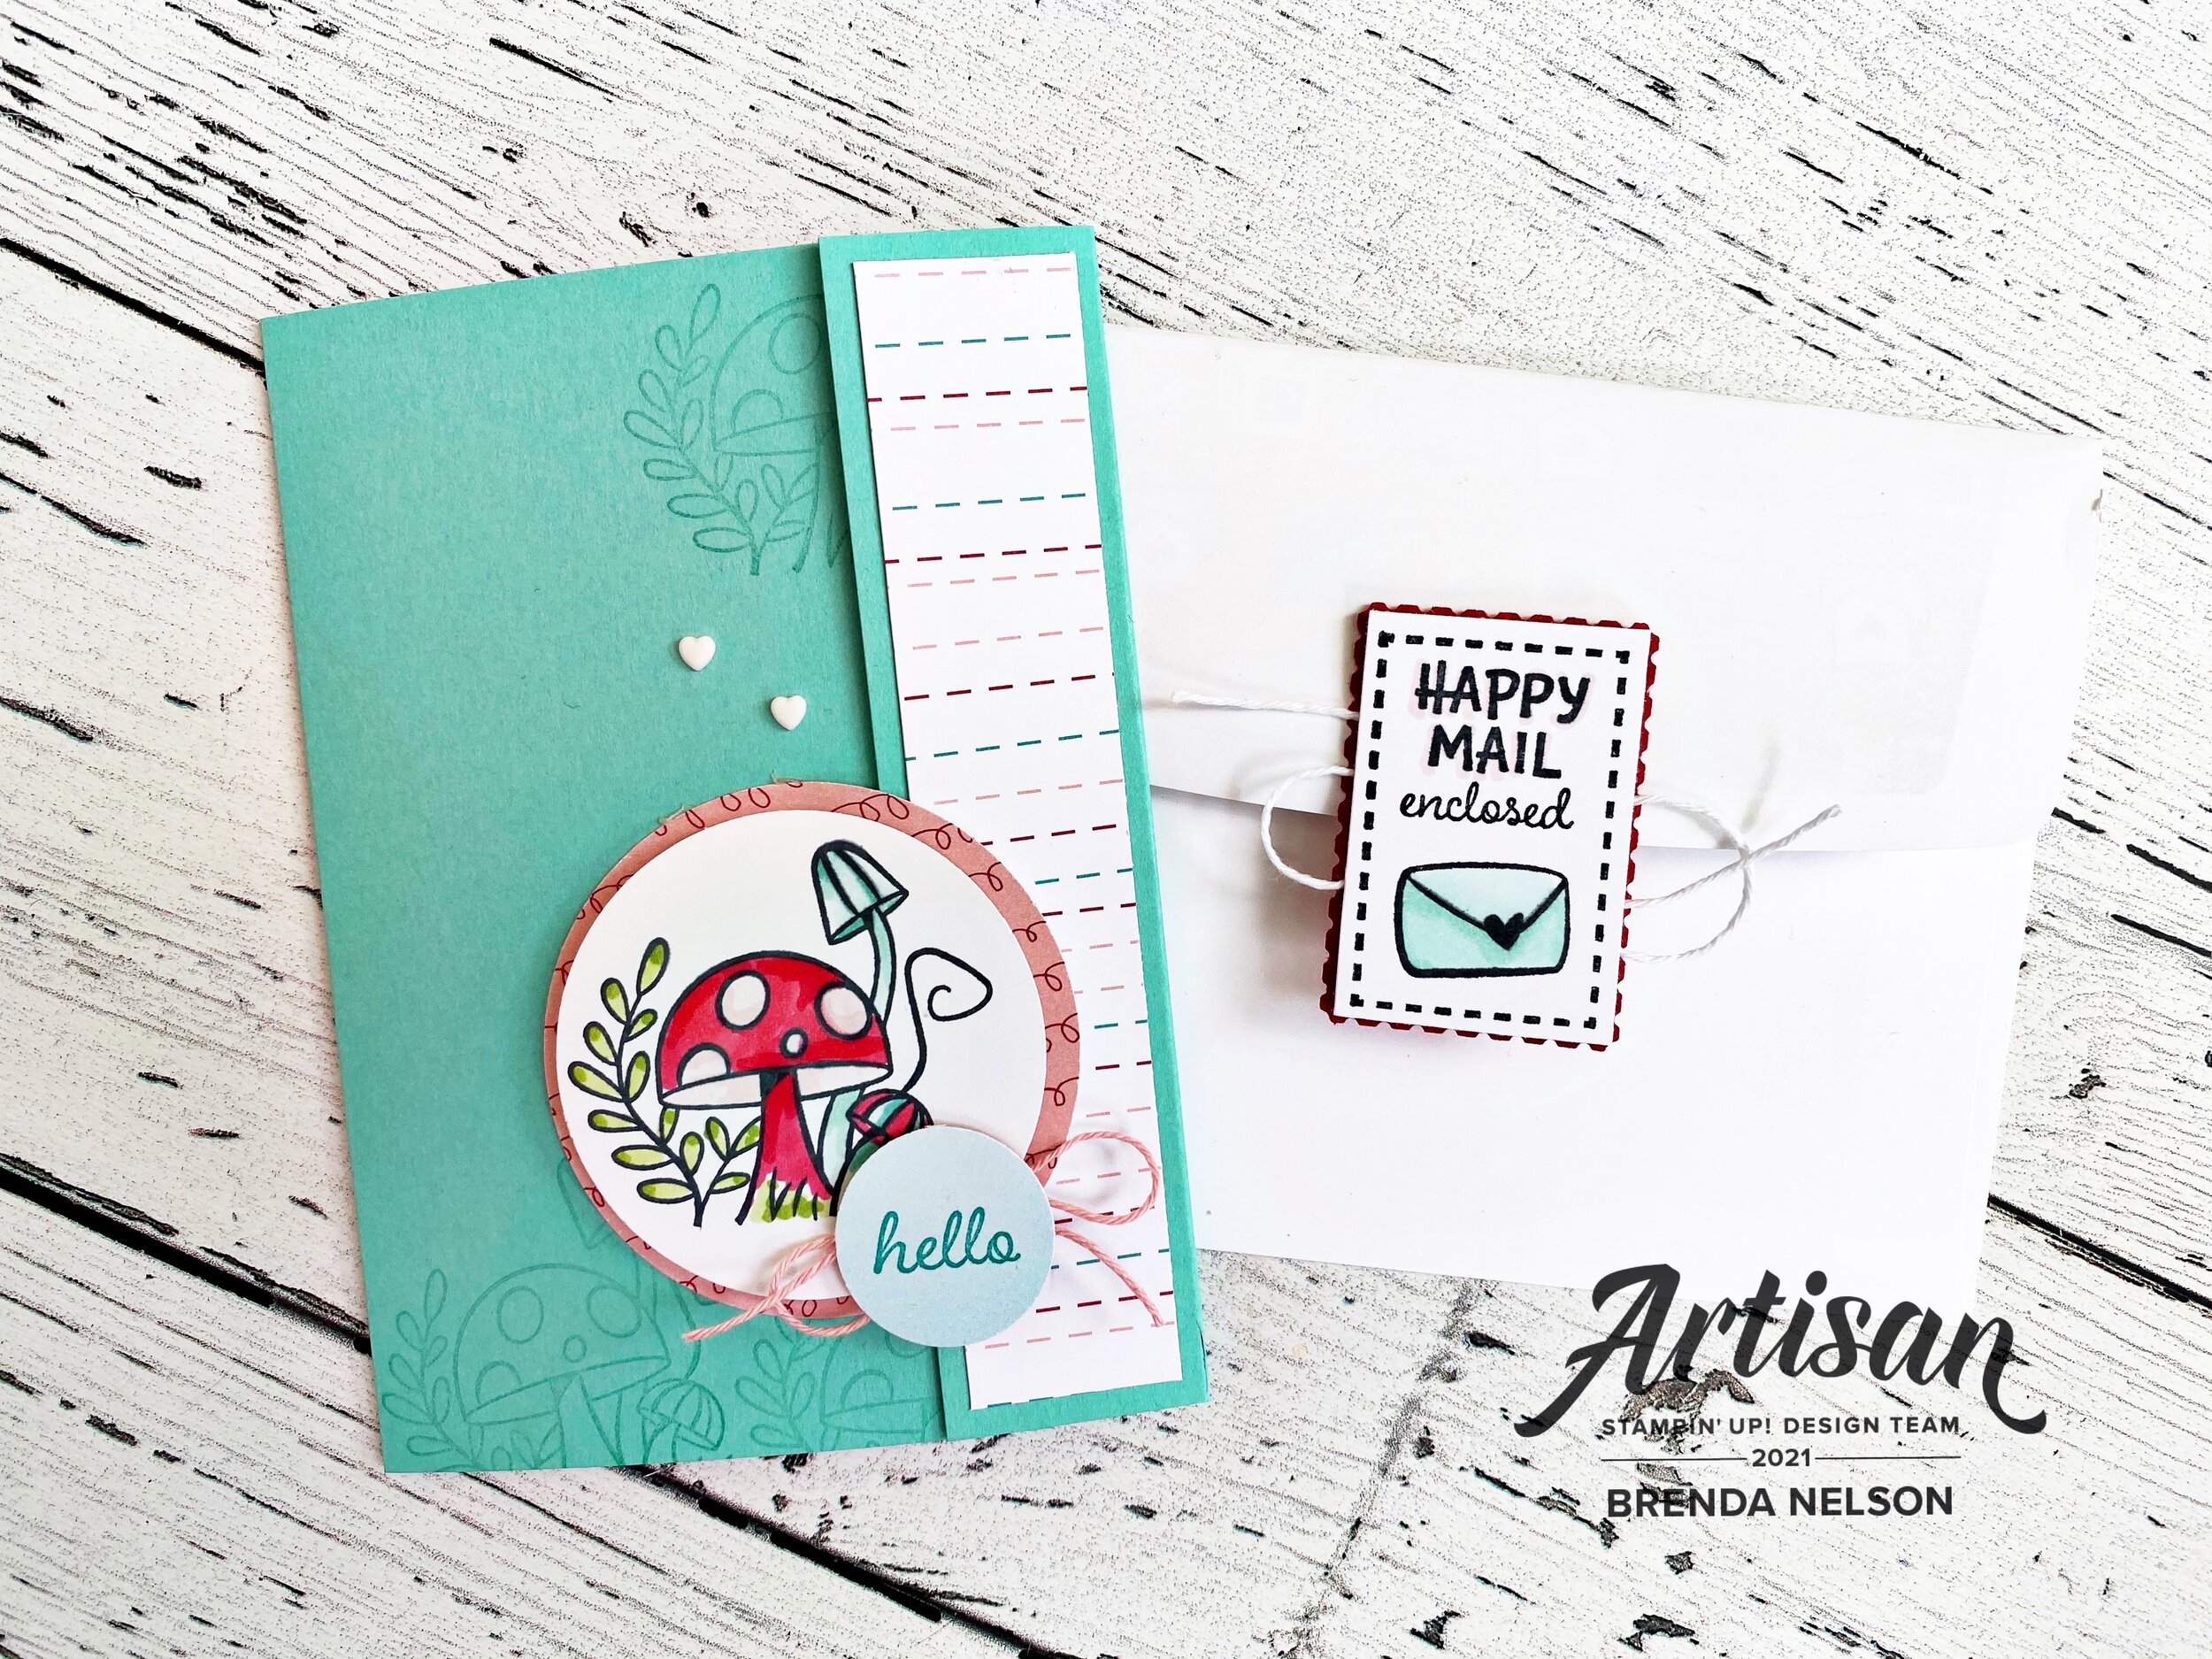
Isn’t the back of this envelope so cute and fun? I added a bit of Tombow glue to the bottom and let it air dry. This allows the glue to become tacky so you can use it to close something but it can also be lifted up! Its a fun tip if you have never used the glue in that way before!

My card is also a bit of a fun fold card too! The dimensions are 5 1/2 x 8 1/2 and you score the base at 3 1/4 and 7 1/4. It makes the fun little flap on the front that you can embellish with Designer Series Paper. I used the Snail Mail paper on my card with a Coastal Cabana card base.


The flap is going to want to hang open so you need to find a creative way for it to stay closed until you want to open your card.

I used a 2 1/4 DSP circle and added a 2 inch Basic White circle on top that I stamped the fun mushroom image from the Snailed It stamp set. I used my Stampin’ Blends to color him in with some Wink of Stella on the main mushroom.

IMG_3439.jpg
IMG_3444.jpg

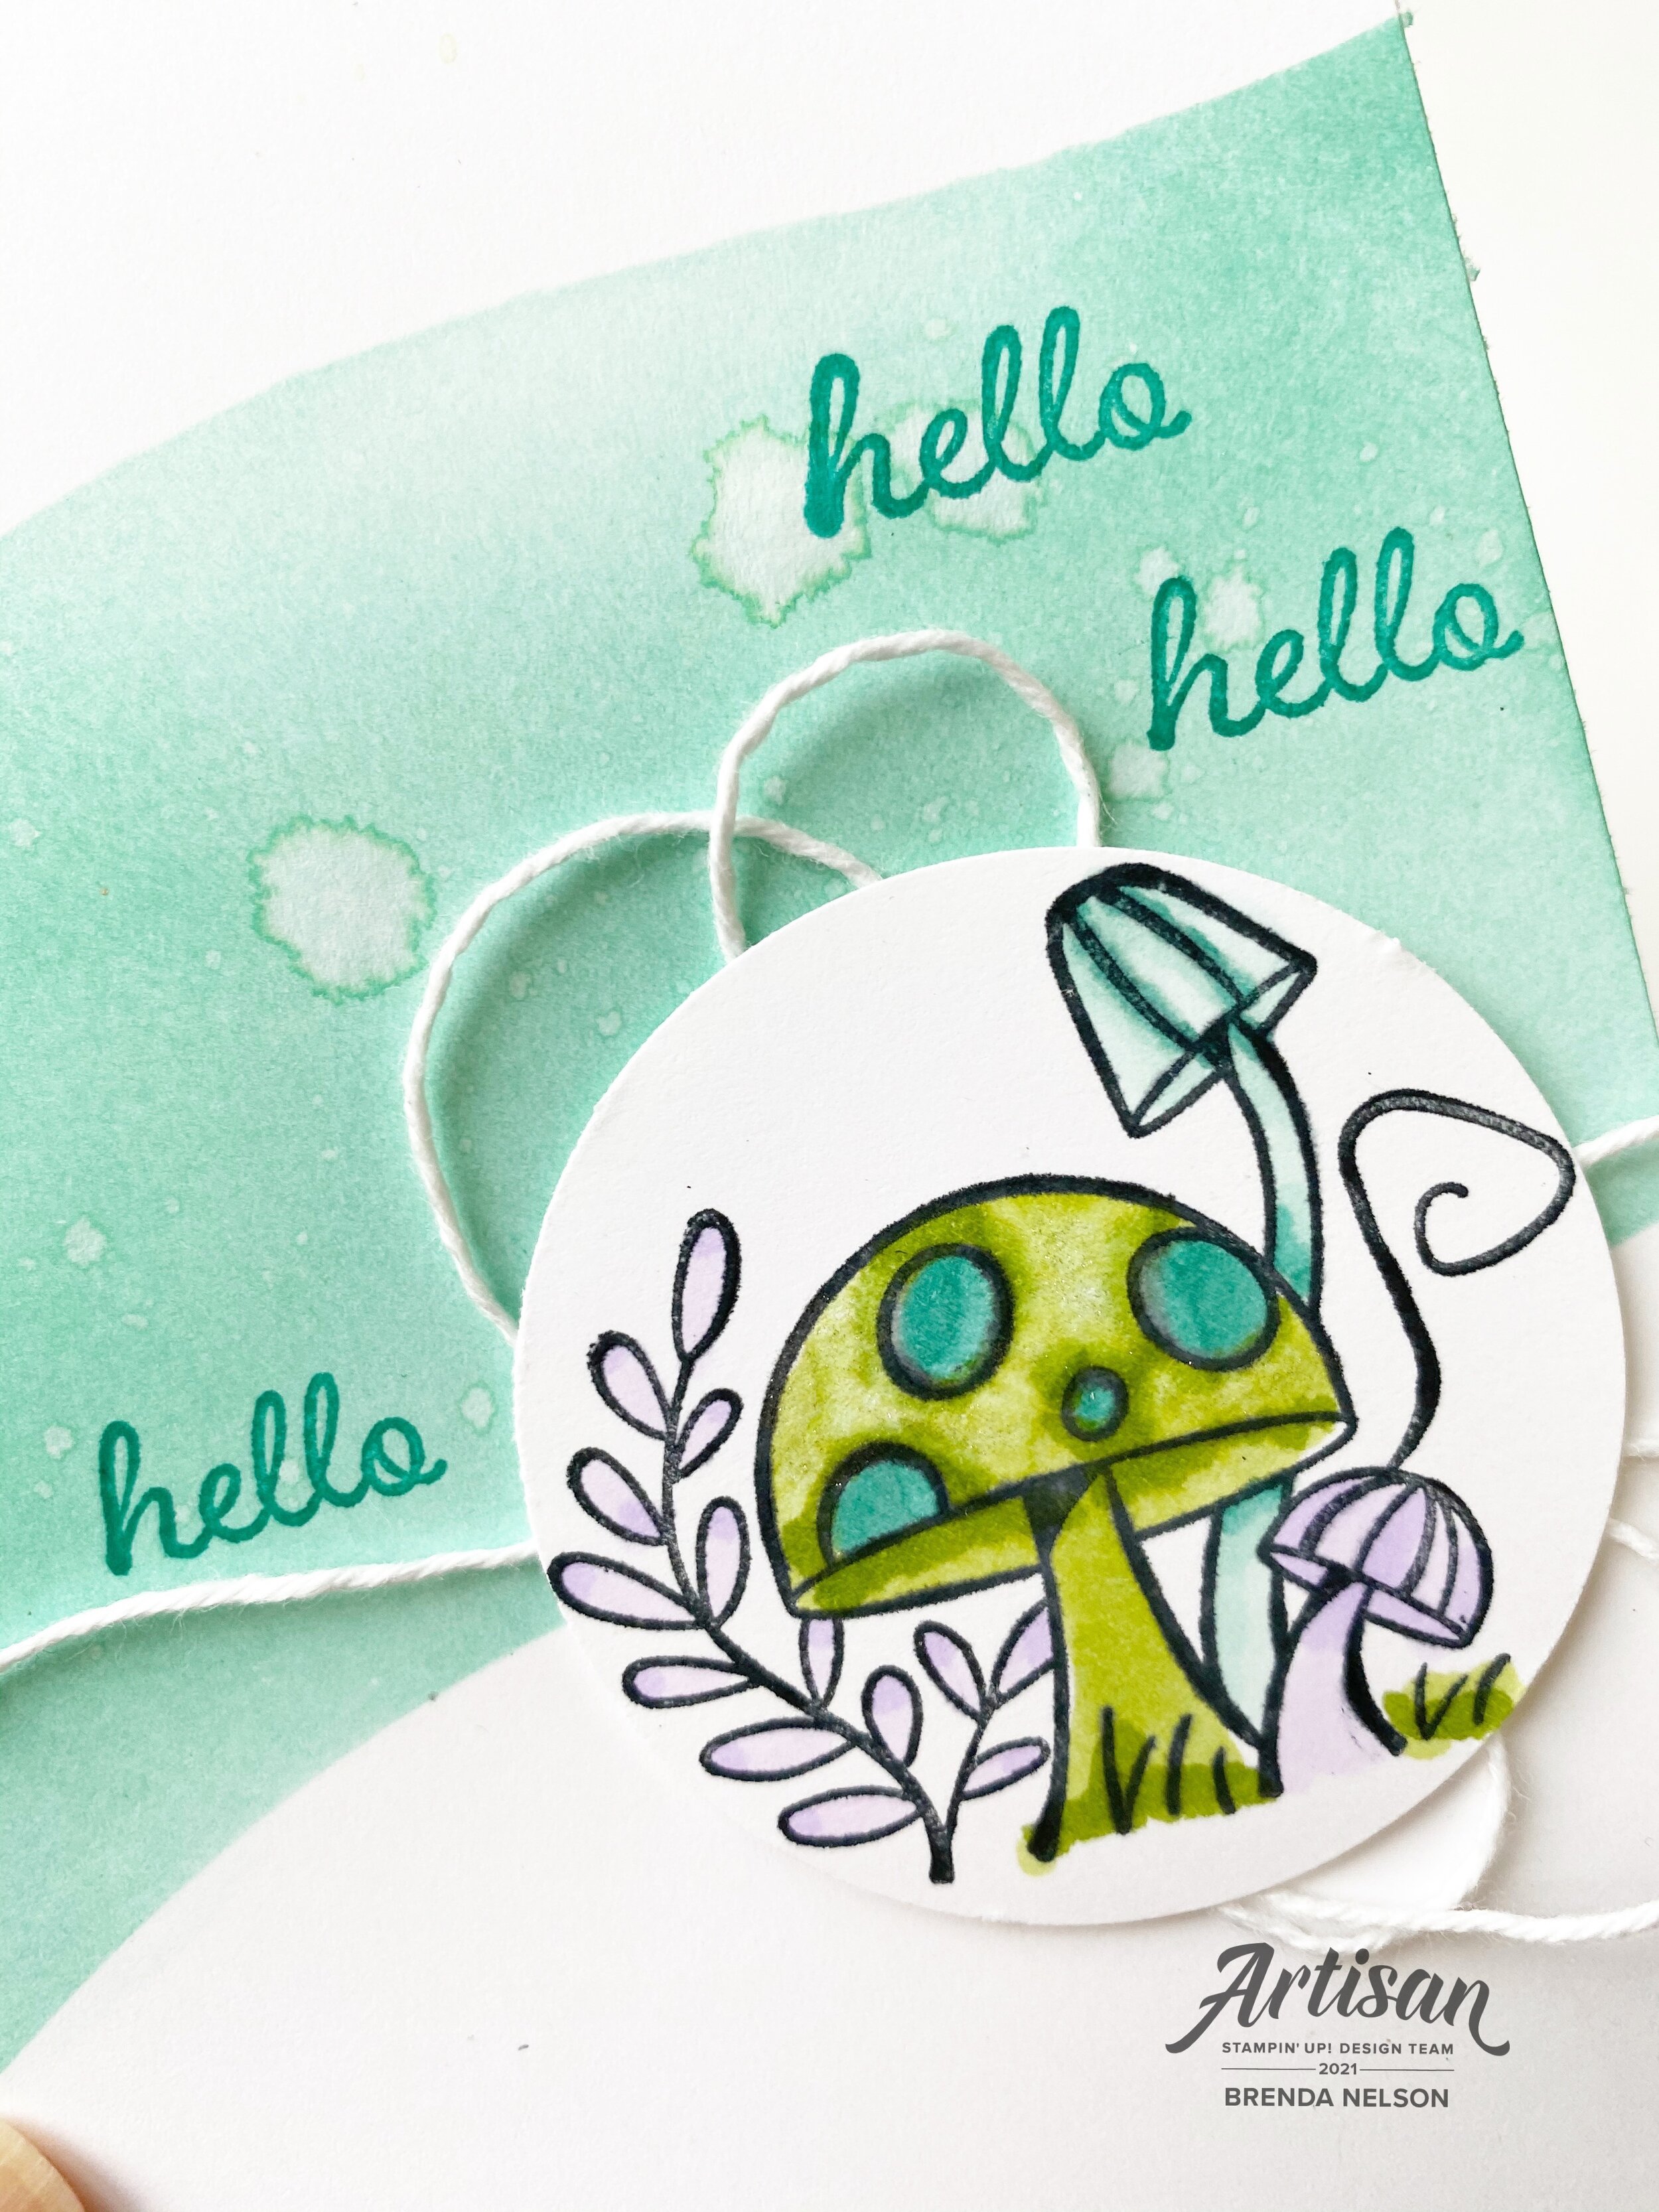
The inside panel is Basic White cut to 3 3/4 x 5 1/4. I stamped my cute snail and created a mask so that I could use my Blending Brush around him to create a Coastal Cabana halo. I then stamped Hello across the background. The snail is also colored with Stampin’ Blends. I created a little polka dot pattern on his present and added in a red Resin Heart! LOVE!

IMG_3454.jpg

Remember our theme? Well I knew I needed to dress up the envelope a bit so I pulled out a very very old retired die that cuts an envelope liner and I added it to the inside of our Basic White envelope. You could always trace one of our envelopes on your Designer Series paper to achieve the same idea.

IMG_3446.jpg

I had alot of fun with this theme and was so happy with what I was able to create! If you haven’t played with the Snail Mail Suite I hope you will give it a try, it is alot of fun!

IMG_3450.jpg

I can’t wait to see what the other design team members have created this month. I am sure you will be truly inspired as you travel around the world with us! You can click on Next Blog to see what Tricia Butts from the United States has created!

Create with Connie and Mary--strip it down!

This was actually a really good challenge for me this week as I am not someone who typically does simple stamping or one layer cards! SO I had to get creative to see what I could come up with!

Design Team.jpg

I almost always have a card base with a least one layer of card stock on top. Sometimes there is another layer of Designer Series Paper on top too! So I knew that the first thing to go with my ‘strip it down’ challenge was to stamp direct to my Basic White card base.

final (1) 4.jpg

I decided to create a fun background using our new Blending Brushes and the Curvy Dies (available in the JJ Catty). I used Coastal Cabana Ink to blend the background and then tapped some water on top with my large Water Painter brush. I was just playing around and am happy with how it turned out. The water acts as an ‘eraser’ and makes the ink disappear. You can see it happen before your eyes!

This is the template I used to create my blended area

This is the template I used to create my blended area

Once I had my fun area blended, straight to the card base, I reached for the Snail Mail stamp set. I just love the little mushroom image! I used my Stampin’ Blends in Granny Apple Green, Pool Party, Bermuda Bay and Purple Posey.

Adding in a bit of white twine added a little something, but I still feel like for my stampin’ style this card is pretty stripped down!


I stamped the sentiment, Hello, straight onto the area I blended and I resisted every temptation to add some bling or anything else to this card.

And you know what? I actually love this clean and simple finished card!

I can’t wait to see what the other gals create this week! You can go BACK to see Melissa or NEXT to see Connie!

Please feel free to leave a comment!

final 7.jpg

Create with Connie and Mary--Pile it on!

Hello friends! This week our theme is “Pile it on” which means layers and embellishments and all the stuff you can possibly pile onto one card! I was excited about this challenge and knew that I wanted to use the new Sweet Ice Cream bundle.

Design Team.jpg

Being on the Design Team is tons of fun as it challenges me to create new things and play around each week. I knew I wanted to create a soft background as my first layer so used the new Blending Brush with Seaside Spray ink.

final.jpg

After I had the background a nice light blue I stamped “Treat Yourself” in the same ink color (Seaside Spray) and then took my ink pad and water painter to create a spray of ink. I really piled on the elements for this first layer!

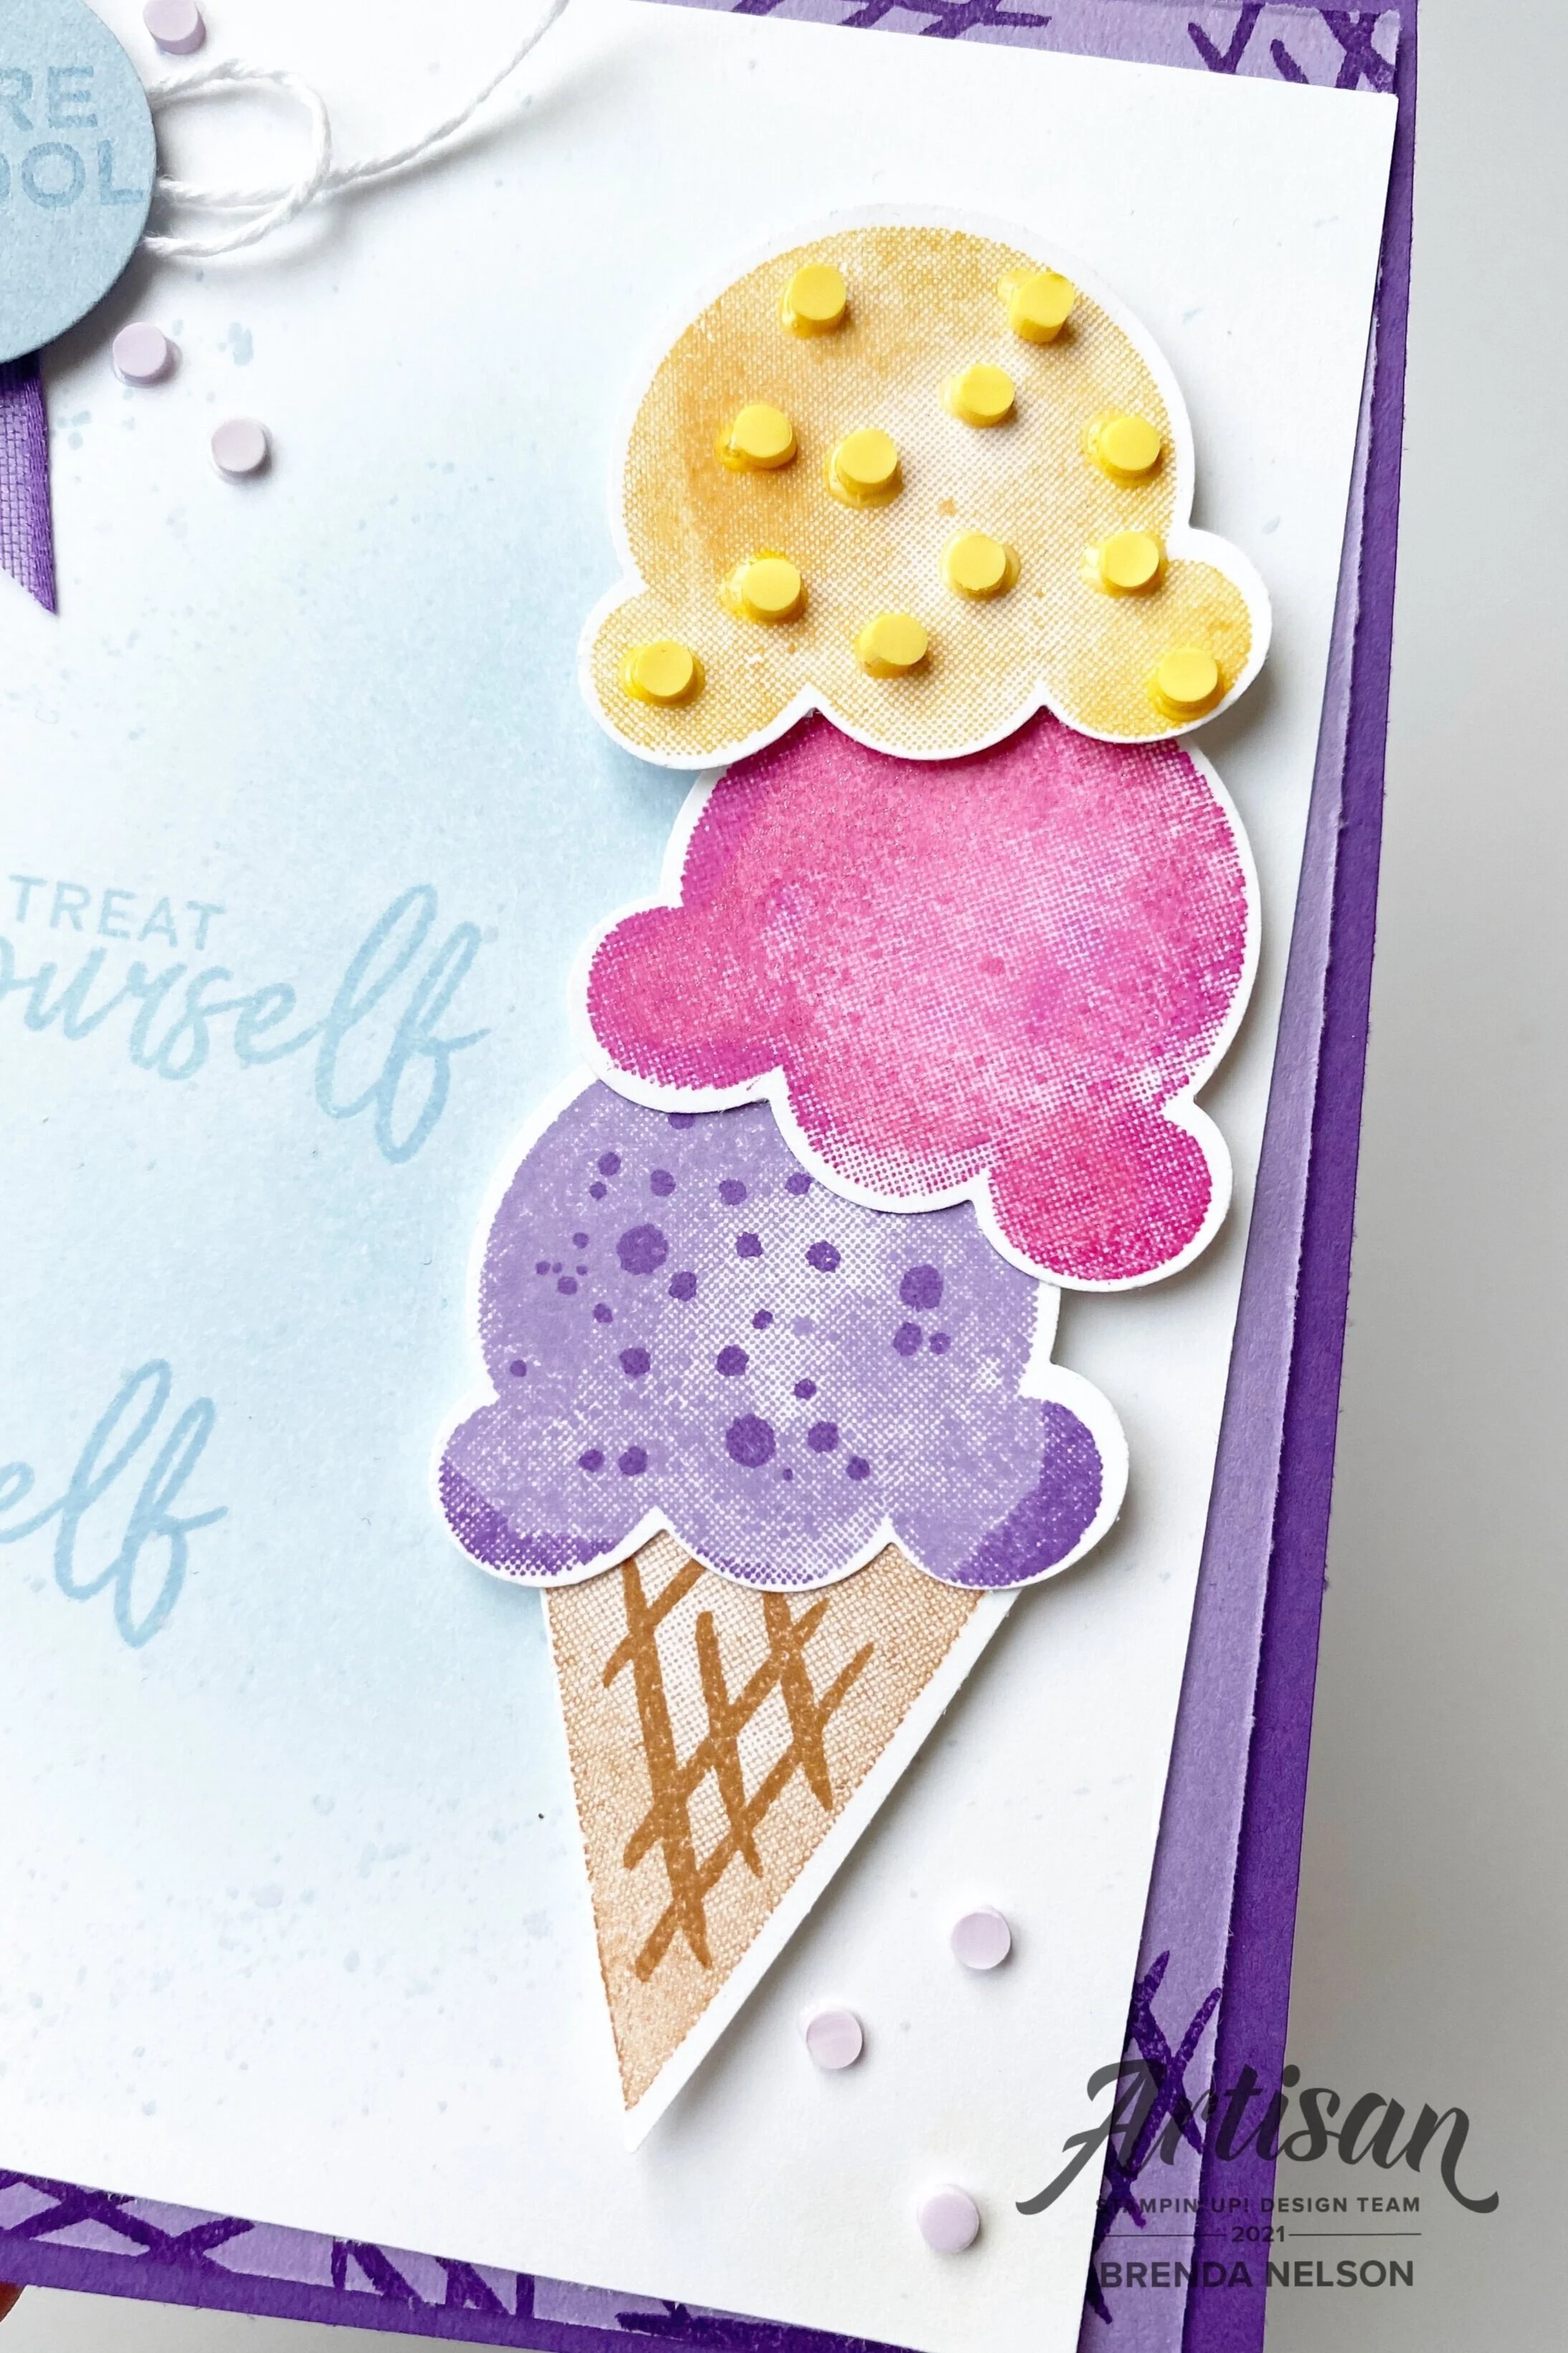
Creating the stacked ice cream cone was alot of fun. I started with the cone and Cinnamon Cider ink. The triangle of the cone is stamped off so it is a tone lighter than the waffle layer added on top. I love to get my icecream in a waffle cone, don’t you?


For each of the ice cream flavors (colors) I used two ink colors and a rock’n roll technique to blend them.

For the top layer I used Mango Melody and then rolled the stamp edges around on the Crushed Curry ink pad.

I added as many of the teeny yellow Ice Cream Corner Sprinkles as I could on this layer!

The middle ice cream scoop is Magenta Madness and Melon Mambo with some Wink of Stella on top.

final+%281%29.jpg

The first scoop is Highland Heather and Gorgeous Grape with some Gorgeous Grape sprinkles stamped on top. I added a few of the Purple Posy Ice Cream Corner Sprinkles around the base of the of the cone. These are easily applied with the Fine Tip Glue Pen.

final (3).jpg

I added a bit of the Gorgeous Grape 3/8 Sheer Ribbon (found in the Hydrangea Hill Suite) to the top left corner of the card. I stamped “You’re Cool” in Seaside Spray ink on the coordinating card stock color. A little bit of white twine from the Snail Mail Twine Combo pack was as added touch along with a few more of the Purple Posy Ice Cream Corner Sprinkles.

I also used the waffle stamp on the HIghland Heather card stock layer using Gorgeous Grape ink. It just gave this layer a bit of added interest instead of leaving it plain. The base of this card is Gorgeous Grape. I hope you love this project as much as I do! It actually has quite a few steps once you break it down.

Can’t wait to see what Melissa (BACK) and Connie (NEXT) have to share with us this week!

A Card a Day in December--Day #27

Hello friends! Well I am officially shifting gears from Christmas to New Years and am going to share some New Years projects now through Dec 31st. I am sure we will all be happy to say goodbye to 2020. It was a year of trials and tribulations and SO MANY AWESOME THINGS!! I think there are many things that are better and improved in my life! I hope you have a few of those things to add to your list too when reflecting on 2020.


I made this cute, STAMP FREE, celebration wand with my team at our last zoom party!

Some people call them lolli’s, some people call them rosettes, but no matter what you call them they are a just FUN!

Because this is a stamp free project it could be a great idea to make a version to create with your team in the future!

final (38).jpg

I started with two strips of 2 1/4 x 11 Smoky Slate card stock that I scored at 1/2 increments. You may have a slight piece to trim off at the end. Attach these two strips together with a strong adhesive. Now you should have one long strip of accordion style card stock.

HOT TIP: I think this tip might actually change your life (bold statement right?) as far as rosette assembly goes! Once you have your rosette scored, heat your hot glue gun. You will need a silicone mat. Pinch your paper closed as tight as you can and put a big glob of hot glue on the end of the squashed card stock—-as shown below and press the hot glue into the silicone mat to set. Once set remove and the glue will help your rosette stay flat (once you push the center).

final (40).jpg

You will also want to reinforce your rosette with a circle on the front and back.

final (41).jpg

After your have your basic rosette constructed you can decorate as your heart desires! Because I wanted to celebrate the NEW YEAR with my team and I wanted them to play with new stuff I decided to use the Snail Mail Designer Series paper from the upcoming January to June Mini Catalogue (or the JJ Catty as its been nicknamed).

final (9).jpg
 

I started with a large circle in Silver Foil and then layered a circle from the Snail Mail DSP.

I cut the ‘hello’ from the DSP! Isn’t that fun?

The label that 2021 is on is from the Potted Succulent Dies and the numbers are cut in Mint Macaron card stock using the Playful Alphabet Dies and Foam Adhesive sheets with some Wink of Stella on top (of course!)

I tied some ribbons around the handle (a basic dowel that is hot glued in place) to fancy it up and voila! The cutest little rosette you ever did see to welcome in 2021!