Color Fusers--March

Hi friends! How is everyone doing? Are you excited for March, Spring Break and Easter? I know I am! It means we are inching closer and closer to spring and summer! Yay!

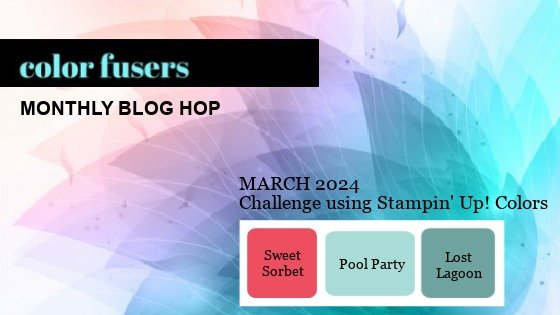
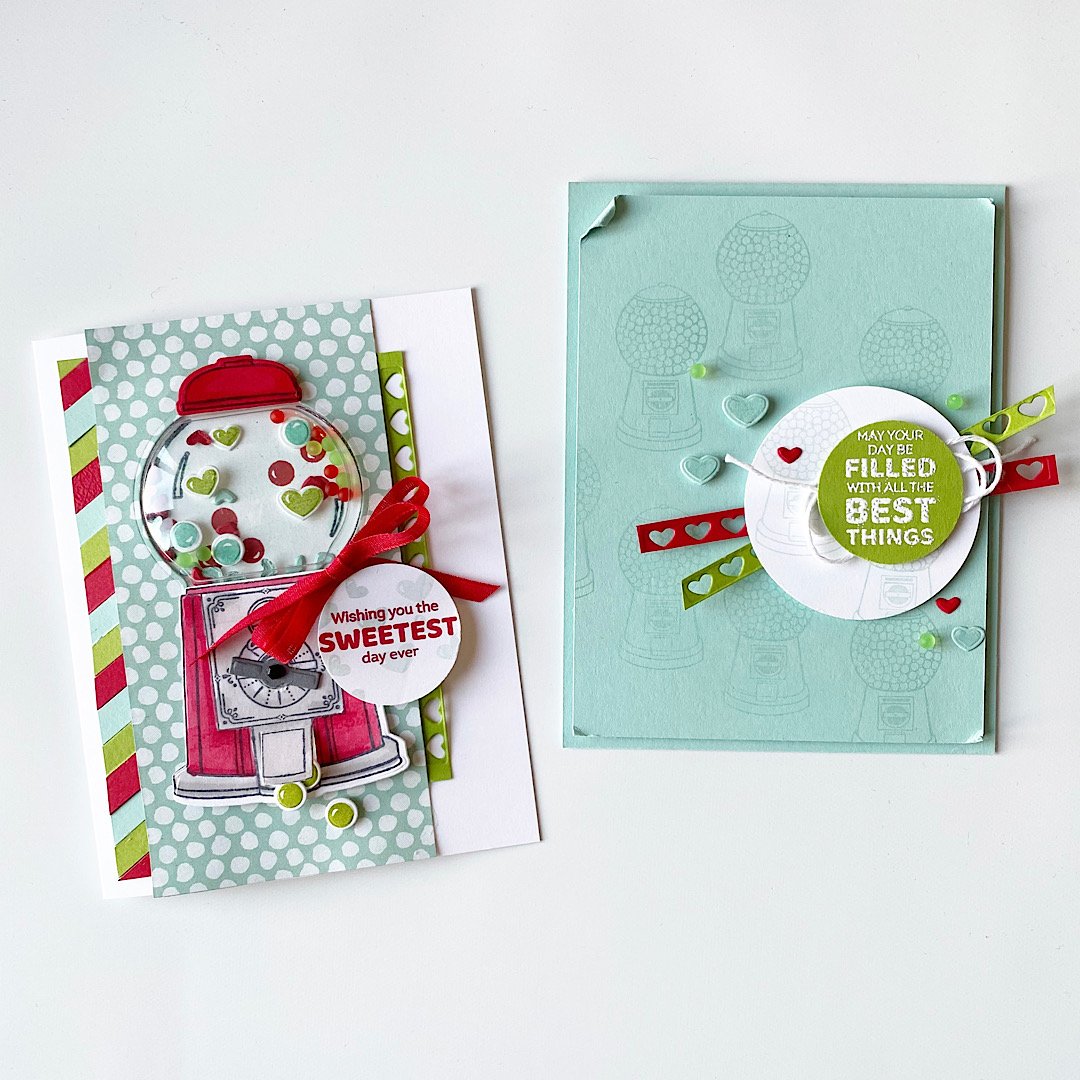
This month the Color Fusers design team is creating projects with Sweet Sorbet, Pool Party and Lost Lagoon! I am really excited for this color combination and I am gearing myself up to say good bye to Sweet Sorbet as it is one of the In Color’s that will be retiring at the end of April.

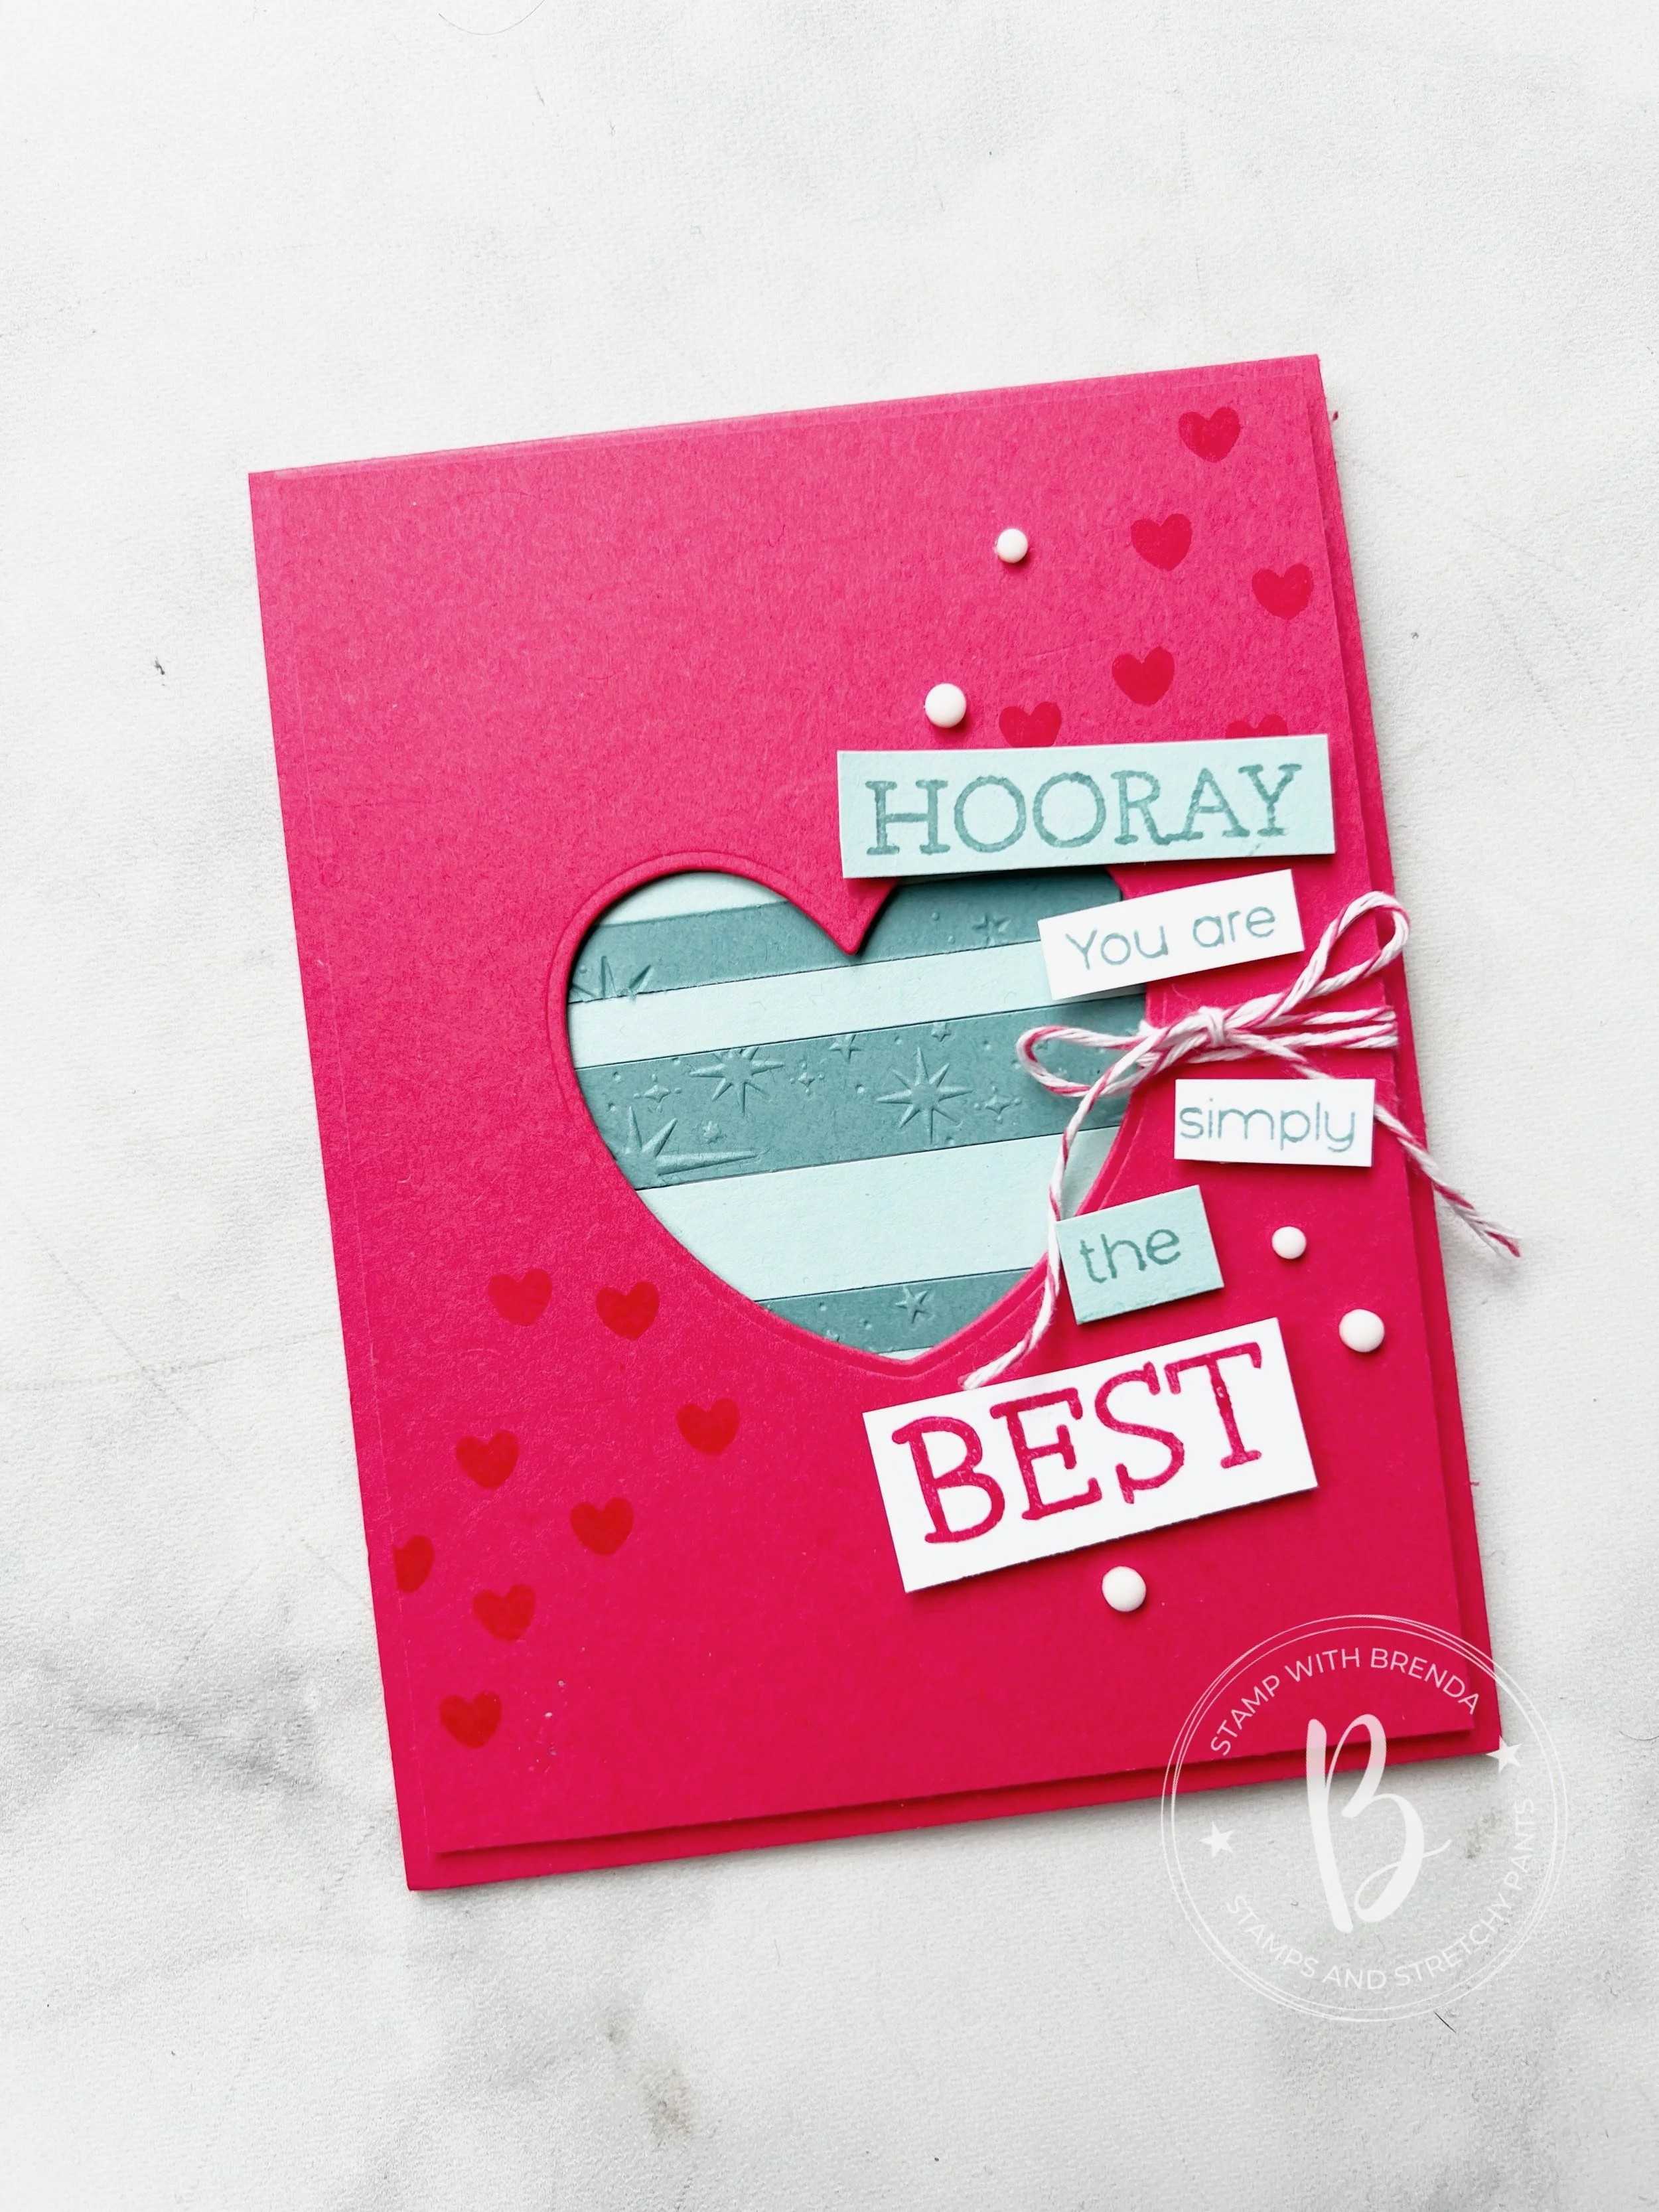
For my card I was inspired to create a peek a boo window using the heart from the Hooray for Surprises Dies and some scraps of Pool Party and Lost Lagoon that I had laying around. The Lost Lagoon pieces were actually already embossed too so I thought they made a fun addition to the card.


I added my strips to a piece of Basic White that I covered with an Adhesive Sheet. I was feeling lazy and the Adhesive Sheets just make it so EASY! and then I just snipped off the excess. Easy Peasy!

This piece was then added flat the the card base with the top layer added with Dimensionals.

I stamped some of the mini hearts from the Hooray for Surprises stamp set in Sweet Sorbet from the top right corner down to the bottom left corner

I thought it a fun opportunity to add some of the In Color Twine in Sweet Sorbet was to tie it around the right side of die cut section.

I mixed and matched 3 of the sentiments from the stamp set on the outside. Stamping them in the colors of the month and hand trimming them out to make a custom phrase “Hooray you are simply the BEST”. I love to add sentiments together to make a whole new saying.

Lastly I added some white embellishments to help make the background pop with the contrast against the Sweet Sorbet.

Now to the inside! Because I had die cut a heart to create a peek a boo panel, I needed to use it!

So I used the polka dot heart die from the Hooray for Surprises set and added it over top of the original heart for this really fun look. I stamped some more hearts similar to the design on the front but this time going left to right.

I decided to keep the sentiments going by adding ‘Sending you lots of love’ in Lost Lagoon with an extra ‘Love’ stamped in Sweet Sorbet.

It is a really nice surprise to have the inside of your card decorated along with the outside, don’t you think?

I hope you are inspired to use this fun and bright color combo in some of your own projects. However, you will have lots more to see by following along our blog hop! Next up on the hop is Melissa! I can’t wait to see what she has designed for us to see!

You can also go backwards and see what my fellow Canadian friend Kim has designed. Either direction you choose, make sure you go all the way around to see the team’s amazing creations!

Thank you so much for stopping by today!

Seven Days of Scrapbooking--Day #1

Hello all of my friends! I am so happy you are here to spend Seven Days of Scrapbooking with me! Some of my crafty friends and I were talking about my A Card a Day in May Challenge and got on the topic of scrapbooking and how fun that would be to make a page a day! Well I don’t have the luxury of that amount of creative time but we thought that Seven days could be manageable! So make sure to follow my Seven Days of Scrapbooking on Instagram and here on my blog!

I also have a Scrapbooking Gallery that you are welcome to enjoy!

My first page to share with you just makes me so happy! I love the colors of the page and the picture is one of myself and my kids at our local zoo. Memory keeping is honestly the best thing I have ever prioritized in my life. I would rather make scrapbook pages than cards and I truly cherish my many many many albums I have created over the years.

The most important things we have in life are the people we have and the memories we make together.

I miss this fun age of my kiddos! Time goes too quickly and with my son graduating on Friday, I am definitely feeling all the feels!

The base of this page is Pool Party (one of my fav colors) and I used our new Hostess Designer Series Paper—Design a Daydream to guide the color palette.

I stamped some flowers from the Fresh Cut Flowers stamp set in the background (do not overlook this stamp set in the new Annual Catalogue) in Pool Party ink so it was a subtle detail to flank my photo. I have noticed that I tend to use 5x7 photos the most frequently in my designs. So I am going to challenge myself during this Seven Days of Scrapbooking to break free from that.

The rest of my design is a mash up of the Sweetest Cherries and Sending Smiles stamp sets.

The little teeny hearts are from the Teacup Dies and the adorable Heart Pearls!

I tend to create what I called ‘Vignettes’ to support my photos. After all, my picture is truly the most important thing on my page and I rarely create a page without a photo! My photo completely guides my design process.

So for this page at the bottom right I decided to create the sentiment “Life is Sweet with you in it” from the Sweetest Cherries stamp set. In fact when I am picking stamp sets to purchase I do look at them through the lense of scrapbooking and how I can incorporate them into page design.

The ‘Life is” portion of my sentiment is die cut using the Teacup Dies. I also stamped the floral image from Fresh Cut Flowers onto the circle (cut from the Stylish Shapes Dies) to tie in the imagery with the background of my page. This is a subtle way to take away the ‘whiteness’ of the Basic White circle as well.

Because this picture was taken during the summertime I also wanted to add some greenery so I reached for the Forever Flouring Dies to cut some shapes in Old Olive and the Vellum Layering Designs.


At the top left corner of my page this little ‘vignette’ also includes the Forever Flourishing Dies along with the new Natural Finish Ribbon and sentiment from the Sending Smiles Bundle.

Both vignette areas have elements that repeat for connection and a cohesive feeling on the page.

I hope the Seven Days of Scrapbooking encourages and inspires you to make some pages for yourself! And if you live in the YEG area, I teach tons of scrapbooking classes each month. Please message me if you are interested in getting started or joining in the fun!

If you need any supplies, please consider shopping with me so I can continue to do what I love!

Check back tomorrow to see another scrapbook page!

A Card a Day in May--Day 5!!

Dream it

〰️

Dream it 〰️

Its TRUE! I am manifesting seeing the ocean in 2022 and if you dream it hard enough, it can happen right? This also ties into the card I wanted to share today for my A Card a Day in May series. This was a card I created as an Artisan Design Team assignment and I love it. I mean really, who doesn’t love a good shaker card?

Fun Fact, the last time I saw the Ocean was in 2019…makes me sad inside but I am hopefully I can dip my toes in one in 2022.

This card features the amazing Waves of Inspiration Bundle which was an early release and is a current offering in the new Annual Catalogue. It is such a unique and wonderful bundle and I had a fantastic time creating with it.

I used the Stitched Rectangle Dies and the Foam Adhesive Strips to create the ‘shaker’ aspect. You also need a Window Sheet and some kind of filler for your shaker card. I used the Sparkle & Shine Sequin Assortment from the JJ catalogue (still available to order from until June FYI).

My favorite part of the card is the waves that decorate the shaker window. I cut one wave die (you get two in the Waves Dies) out of Basic White cardstock. The second, I stamped and embossed with Whisper White ink and embossing powder and then used Pool Party ink and a Blending Brush over top for a embossed resist look. I then die cut that wave out. This gives it a little subtle color and texture!

Under the sentiment I added some of the Denim Ribbon that I cut in half and some of the White Bakers Twine. I few well placed sequins finished off the design.


To me this card just feels serene yet interesting at the same time and its one of my favorite Artisan projects I have created this term!


I had also created a scrapbook page using some similar elements so I will share that too! What is better than more inspiration right? This is a picture of my daughter Summer on the Thailand Incentive Trip a few years back. It makes my heart so happy to have that shared experience with her!

If you are inspired by anything I am sharing this month, please consider supporting me if you are Canadian. You can hit the button below or any product images to go straight to my store! Thank you!

Gumball Goodness-Artisan Design Team Project

Hello friends! Welcome to a brand new year of Artisan Design Team projects! I am so happy to be a part of the team again for 2022. I think it took me most of 2021 to get my bearings so I am happy to have another opportunity! One area that I didn’t do the best at was creating a blog post to go with my monthly assignments. There are often lots of fun things to share with you that go along with our monthly posts that don’t always come across in the 2 photos we submit!

Fun fact, we submit 2 photos but I usually take like—30! hahaha! Then I narrow them down to the two best, edit them and all that jazz, and then fingers crossed they get approved! Sometimes we do have to make little tweaks and since I photograph my projects in natural light, even an hour difference can make the whole series of pictures look very different!

These cards feature the awesome Gumball Greetings Bundle from the new January to June Mini Catalogue—or the JJ catalogue!

My first assignment for 2022 was the Gumball Greetings bundle in the new JJ catalogue—the bundle can be found on page 12 and includes some really unique accents—the Gumball Machine Shaker Domes and the little Frosted Beads Assortment! I used these beads in two ways—-as filler for my gumball machine and as an accent or embellishment on my card front!

Now truth be told, I did actually struggle with this assignment! I spent alot of mental time thinking about my projects and ripped apart several attempts until I landed on these two cards. I think they are a good representation of the stamp set and the dies.

For the gumball shaker card I pulled in some DSP from the Pattern Party DSP Stack (a hostess benefit!) from the Annual catalogue. I then made my own striped accent with scraps of card stock in Granny Apple Green, Real Red and Pool Party as they were the focus colors of my project. I cut a strip of Basic White to 1 x 5, covered it in Tombow Multipurpose Glue and then added the strips of card stock on a diagonal.

This close up view shows you all of the fun things I added into the Gumball Machine Shaker Dome!

On the other side of my DSP panel I have used a die cut included in the Gumball Machine Dies that cuts out a strip of mini itty bitty hearts! The bottom of the machine is stamped in Momento Ink on Basic White, colored with Stampin’ Blends in Real Red and Grey Granite. It is then die cut. The topper of the gumball machine is stamped with Momento Ink on Real Red card stock and then I added a bit of detail with the coordinating Blends.

To add a realistic feel too the coin spinner, I added the little die cut handle and a shape from the Adhesive Backed Hexagons to the center!

The dome shape is cut with a die from the DSP and layered behind it, I stamped the dome filler. I added some stamped gumballs in Read Red, then I stamped and die cut some more in Pool Party. I added these with Mini Dimensionals inside the shaker dome area. I also stamped and die cut some hearts in Granny Apple Green and added some of the mini die cut hearts from the die strip in Real Red and Pool Party. Finally I added in some of the Frosted Beads in green and red. All of these elements made for some fantastic gumball machine filler!

I added a cute #tammybow using the new Real Red Faux Linen ribbon that was cut in half plus a few little gumballs rolling out of the bottom of the machine for some extra touches!

Each month we also need to incorporate a tip or technique into our project. I thought it would be fun to color the inside of the dome with a Dark Pool Party Stampin’ Blend to give a soft blue hue to the dome. Think of how cool this could look if you turned the Gumball Shaker Dome into fish bowl!

My second project uses the little mini gumball machine stamp as a background stamp which I love! I stamped them randomly in Pool Party ink on the coordinating paper. My favorite part of this card is how I used the heart border die as an accent behind the sentiment! I also used my Tombow Multipurpose Glue to add some of the green Frosted Beads to the card front as an embellishment, along with some stamped hearts and hearts from the die cut strip!

The sentiment is stamped in White Craft Ink with embossing powder to help the white pop on the Granny Apple Green. A little distressing of the edges and this card came together pretty quickly! I think its a fun one to give with a gift card inside!

Thank you for following along on my Artisan Journey again this year! I appreciate all of your comments and LIKES and if you live in Canada and my projects have inspired you, please consider shopping my online store!

So Happy...

Today I committed to making a project that was just for myself—this might sound crazy but with all of my Artisan commitments and the various classes and groups I offer, most of my creative time is designated to that. So it was refreshing to make a scrapbook page, my favorite thing, for just me and to display in my crafty space!

IMG_4767.jpg

This is a picture from a family photo shoot 2 years ago already! Sometimes, moms can relate, I just can’t wrap my head around the passage of time. The days can be long but the years go fast, is such a perfect way to describe ‘time’ and this motherhood journey!

I started with a base of Basic White because I really wanted to use the So Happy bundle. I have had it sitting on my craft table for the last month and was itching to create a stencil of sorts to create some clouds. I also wanted to use this set in a non-traditional way as at first glance it looks like a birthday set. With a little creative design I think I did create a page that has nothing to do with birthdays!

I used Pool Party and the new Blending Brush to create the clouds. You could use any of our amazing blues, but I find Pool Party and Pretty Peacock look amazing together. I will be sad to say goodbye to Pretty Peacock next month but I am also excited to see the new In Colors that will be released.

I cut a ‘stencil’ using the cloud die from the Happy Die Set and then used its edge repeatedly create a cloud like look on my page.

I cut a ‘stencil’ using the cloud die from the Happy Die Set and then used its edge repeatedly create a cloud like look on my page.

I blended the clouds about half way up my page and added two feature areas to the page. The top left little area is where I was able to introduce Calypso Coral and Petal Pink—two other colors that I find look amazing together. The half 2 inch circles are from the new and exclusive Butterfly BIjou DSP and had a similar shape to the clouds which I liked.

Using the dies I was able to cut out the little banner in the Natural Touch Specialty Paper. I sniped it apart so it looks longer than it is in reality. “Happy” is stamped in Pretty Peacock and then cut with a Stitched Rectangular die.

I love to add texture and interest to my sentiments by combining different ribbons. Here i used the Polkadot Tulle ribbon and the gold thread from the Forever Greenery Trim Combo Pack.  The Gilded Gem and itty bitty gold star (from the dies) just ad…

I love to add texture and interest to my sentiments by combining different ribbons. Here i used the Polkadot Tulle ribbon and the gold thread from the Forever Greenery Trim Combo Pack. The Gilded Gem and itty bitty gold star (from the dies) just add a fun element!

What I also love about this bundle is how the different phrases build off of the word HAPPY. I was able to cut the die down a bit from its initial form to change its appearance a bit too. I cut the ‘Happy’ out of the Natural Touch Specialty Paper as well. This helps tie the two feature areas together.

I also modified how the ‘Happy’ looked by trimming the top edge off of the die and shortening the edges.

I stamped ‘to have you in my life’ on Petal Pink Card stock and stamped the stars in the same color. I used Calypso Coral for the actual sentiment. The stars are stamped using the four colors that make up this page and also serve to create continuity across the page.

IMG_4768.jpg
 

Making this page just filled my cup today! I am so blessed that my hobby is something I love so passionately and has become a business that has allowed me to stay close to home to raise my kids.

If you are inspired by this page and want any of the project supplies I used, please feel free to shop my store or use my Hostess Code!

IMG_4770.jpg