Flip & Pull Mini Album Project

I wanted to share a mini album I made for my Mother in Law for this past Christmas. I took a class that my friend and fellow demonstrator Jessica, @jessbstamps, offered in November. We put this album together over 2 sessions and then were left to add photos and embellishments on our own. It truly is a one of a kind project and gift!

final 3.jpg

This completed album definitely has some weight to it. Because the album was so interactive with photo panels opening and flipping in every direction, I did have to be more aware of embellishing. So while I didn’t embellish to my typical avid standards I am happy with what I was able to add into the album. I think it will make a really great keepsake as it is pretty well constructed. We used a lot of Tear & Tape on this project!

I want to note that because I do not have this album in front of me anymore, I cannot exactly remember the order of the pages. So the way my photos are shared my not actually be how they are in the album! Disclaimer! And I have NO measurements or anything for you as I did not design this project.

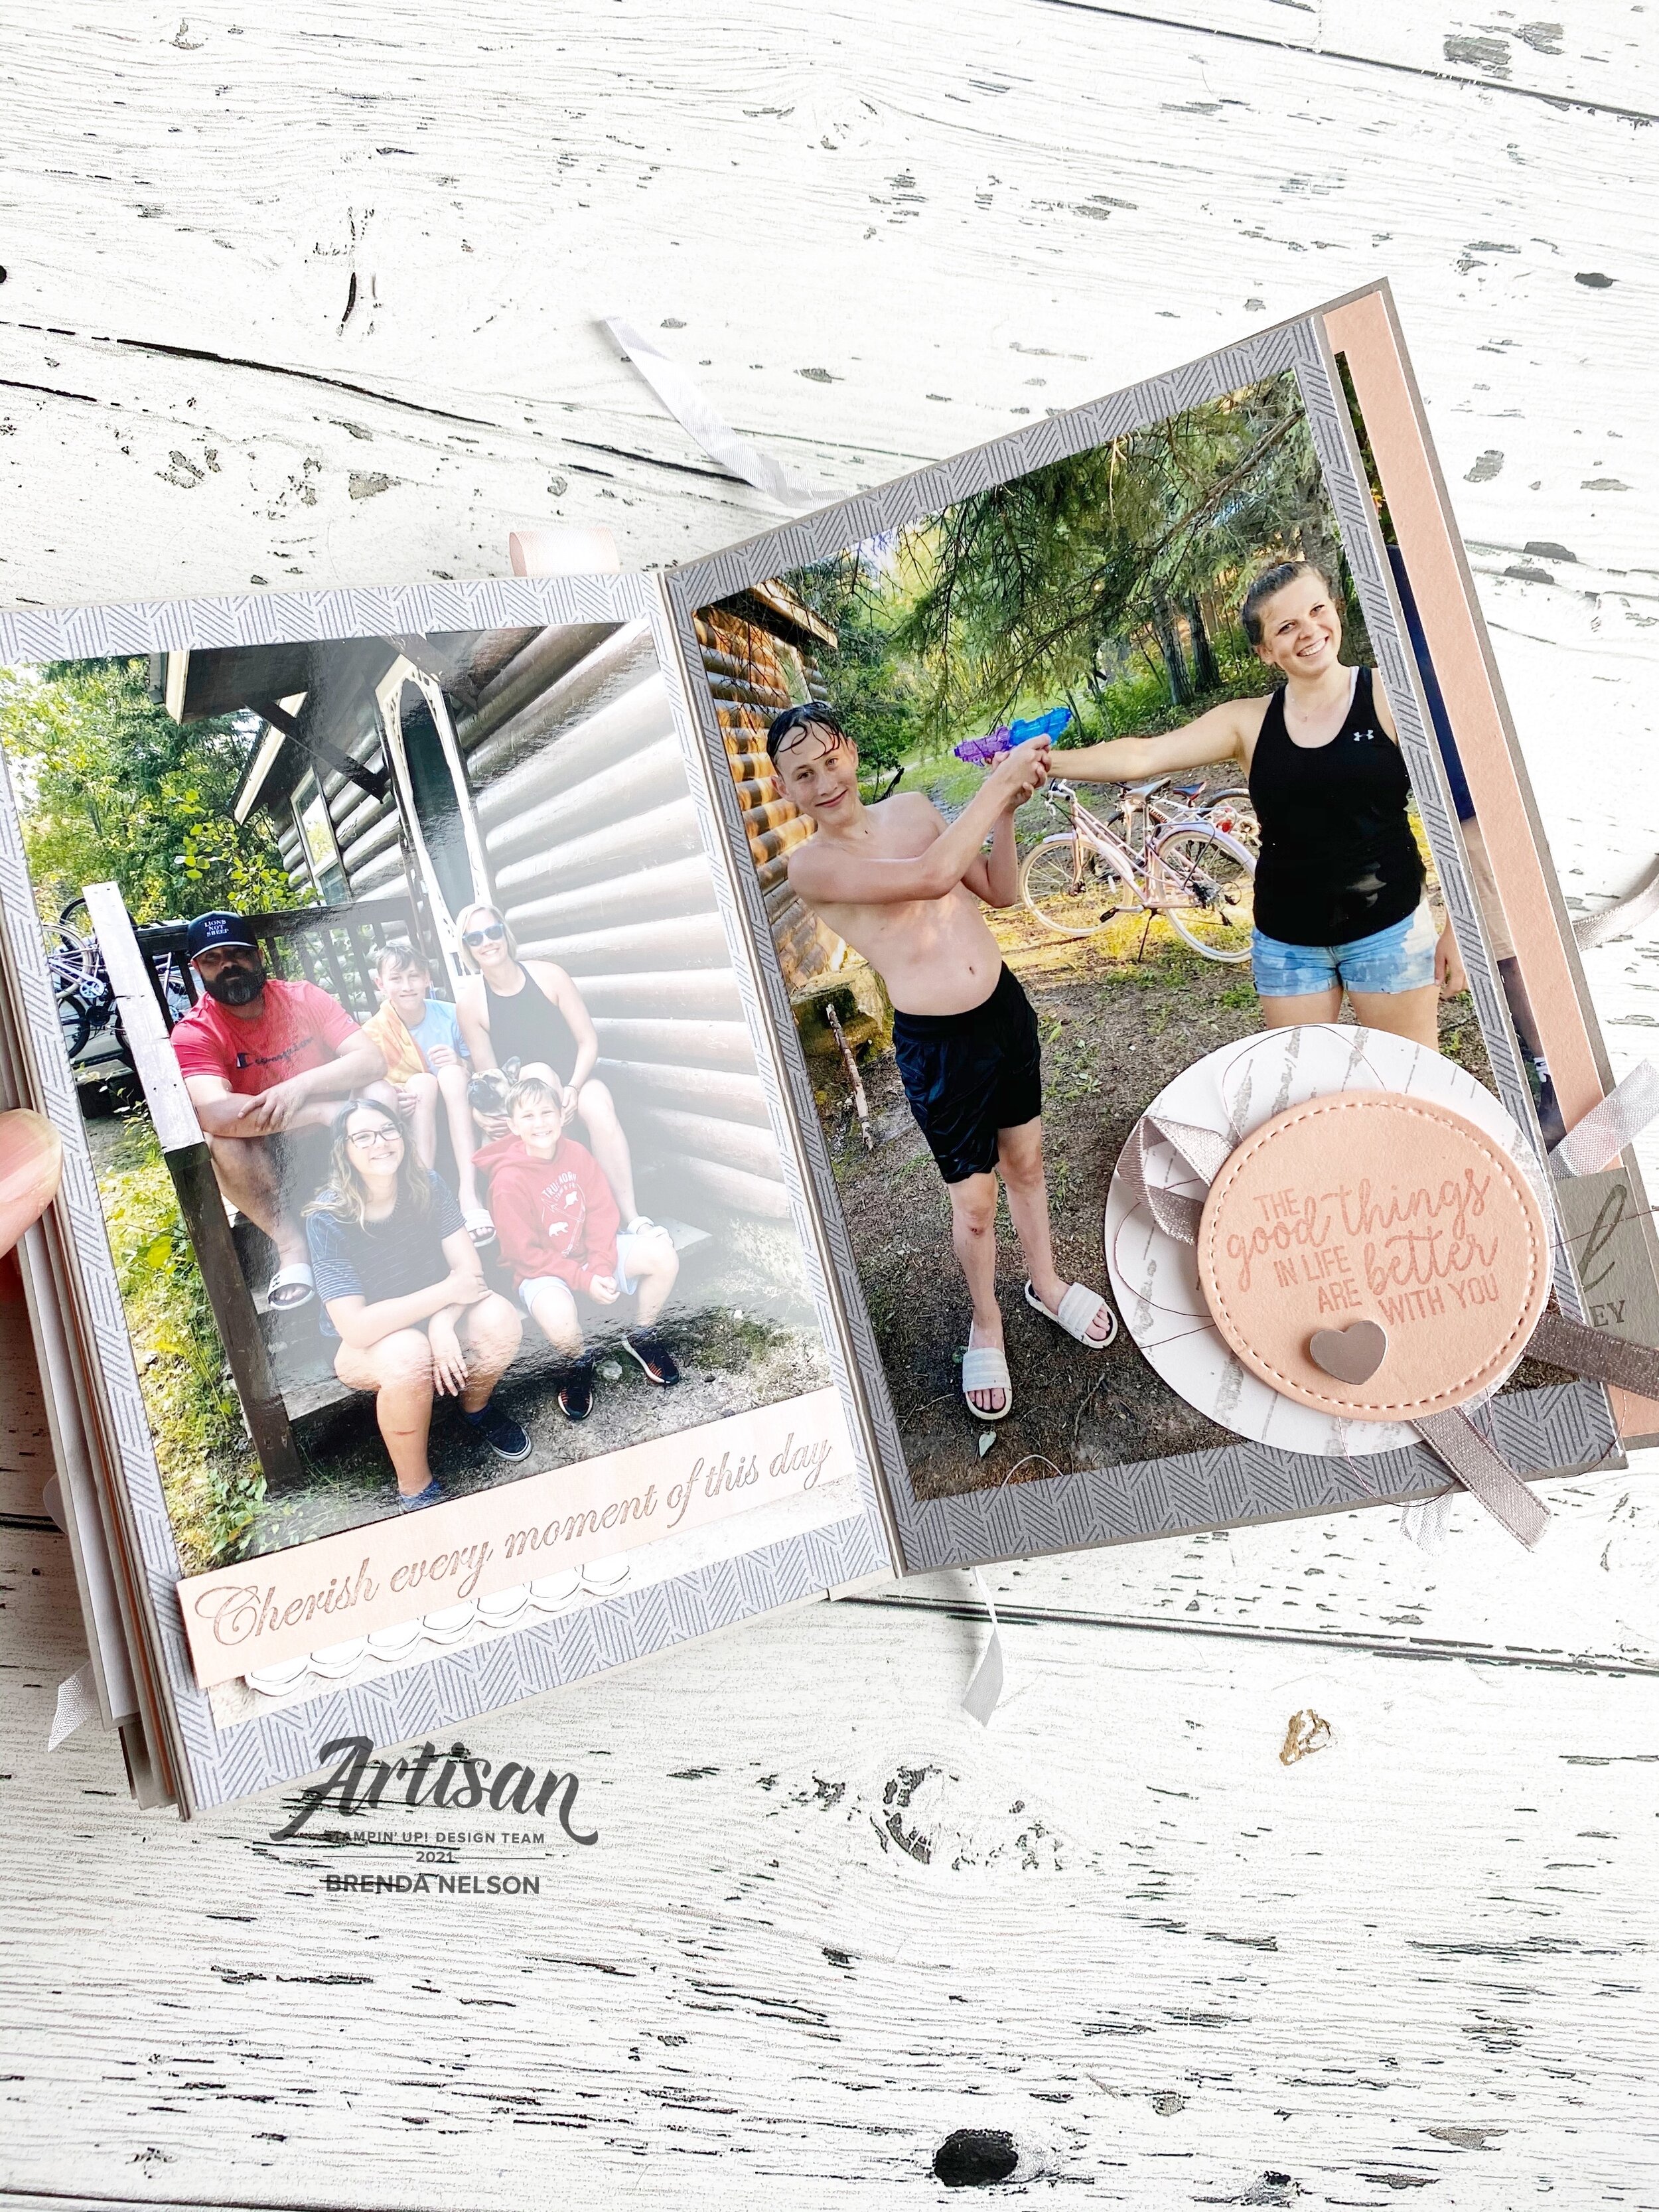
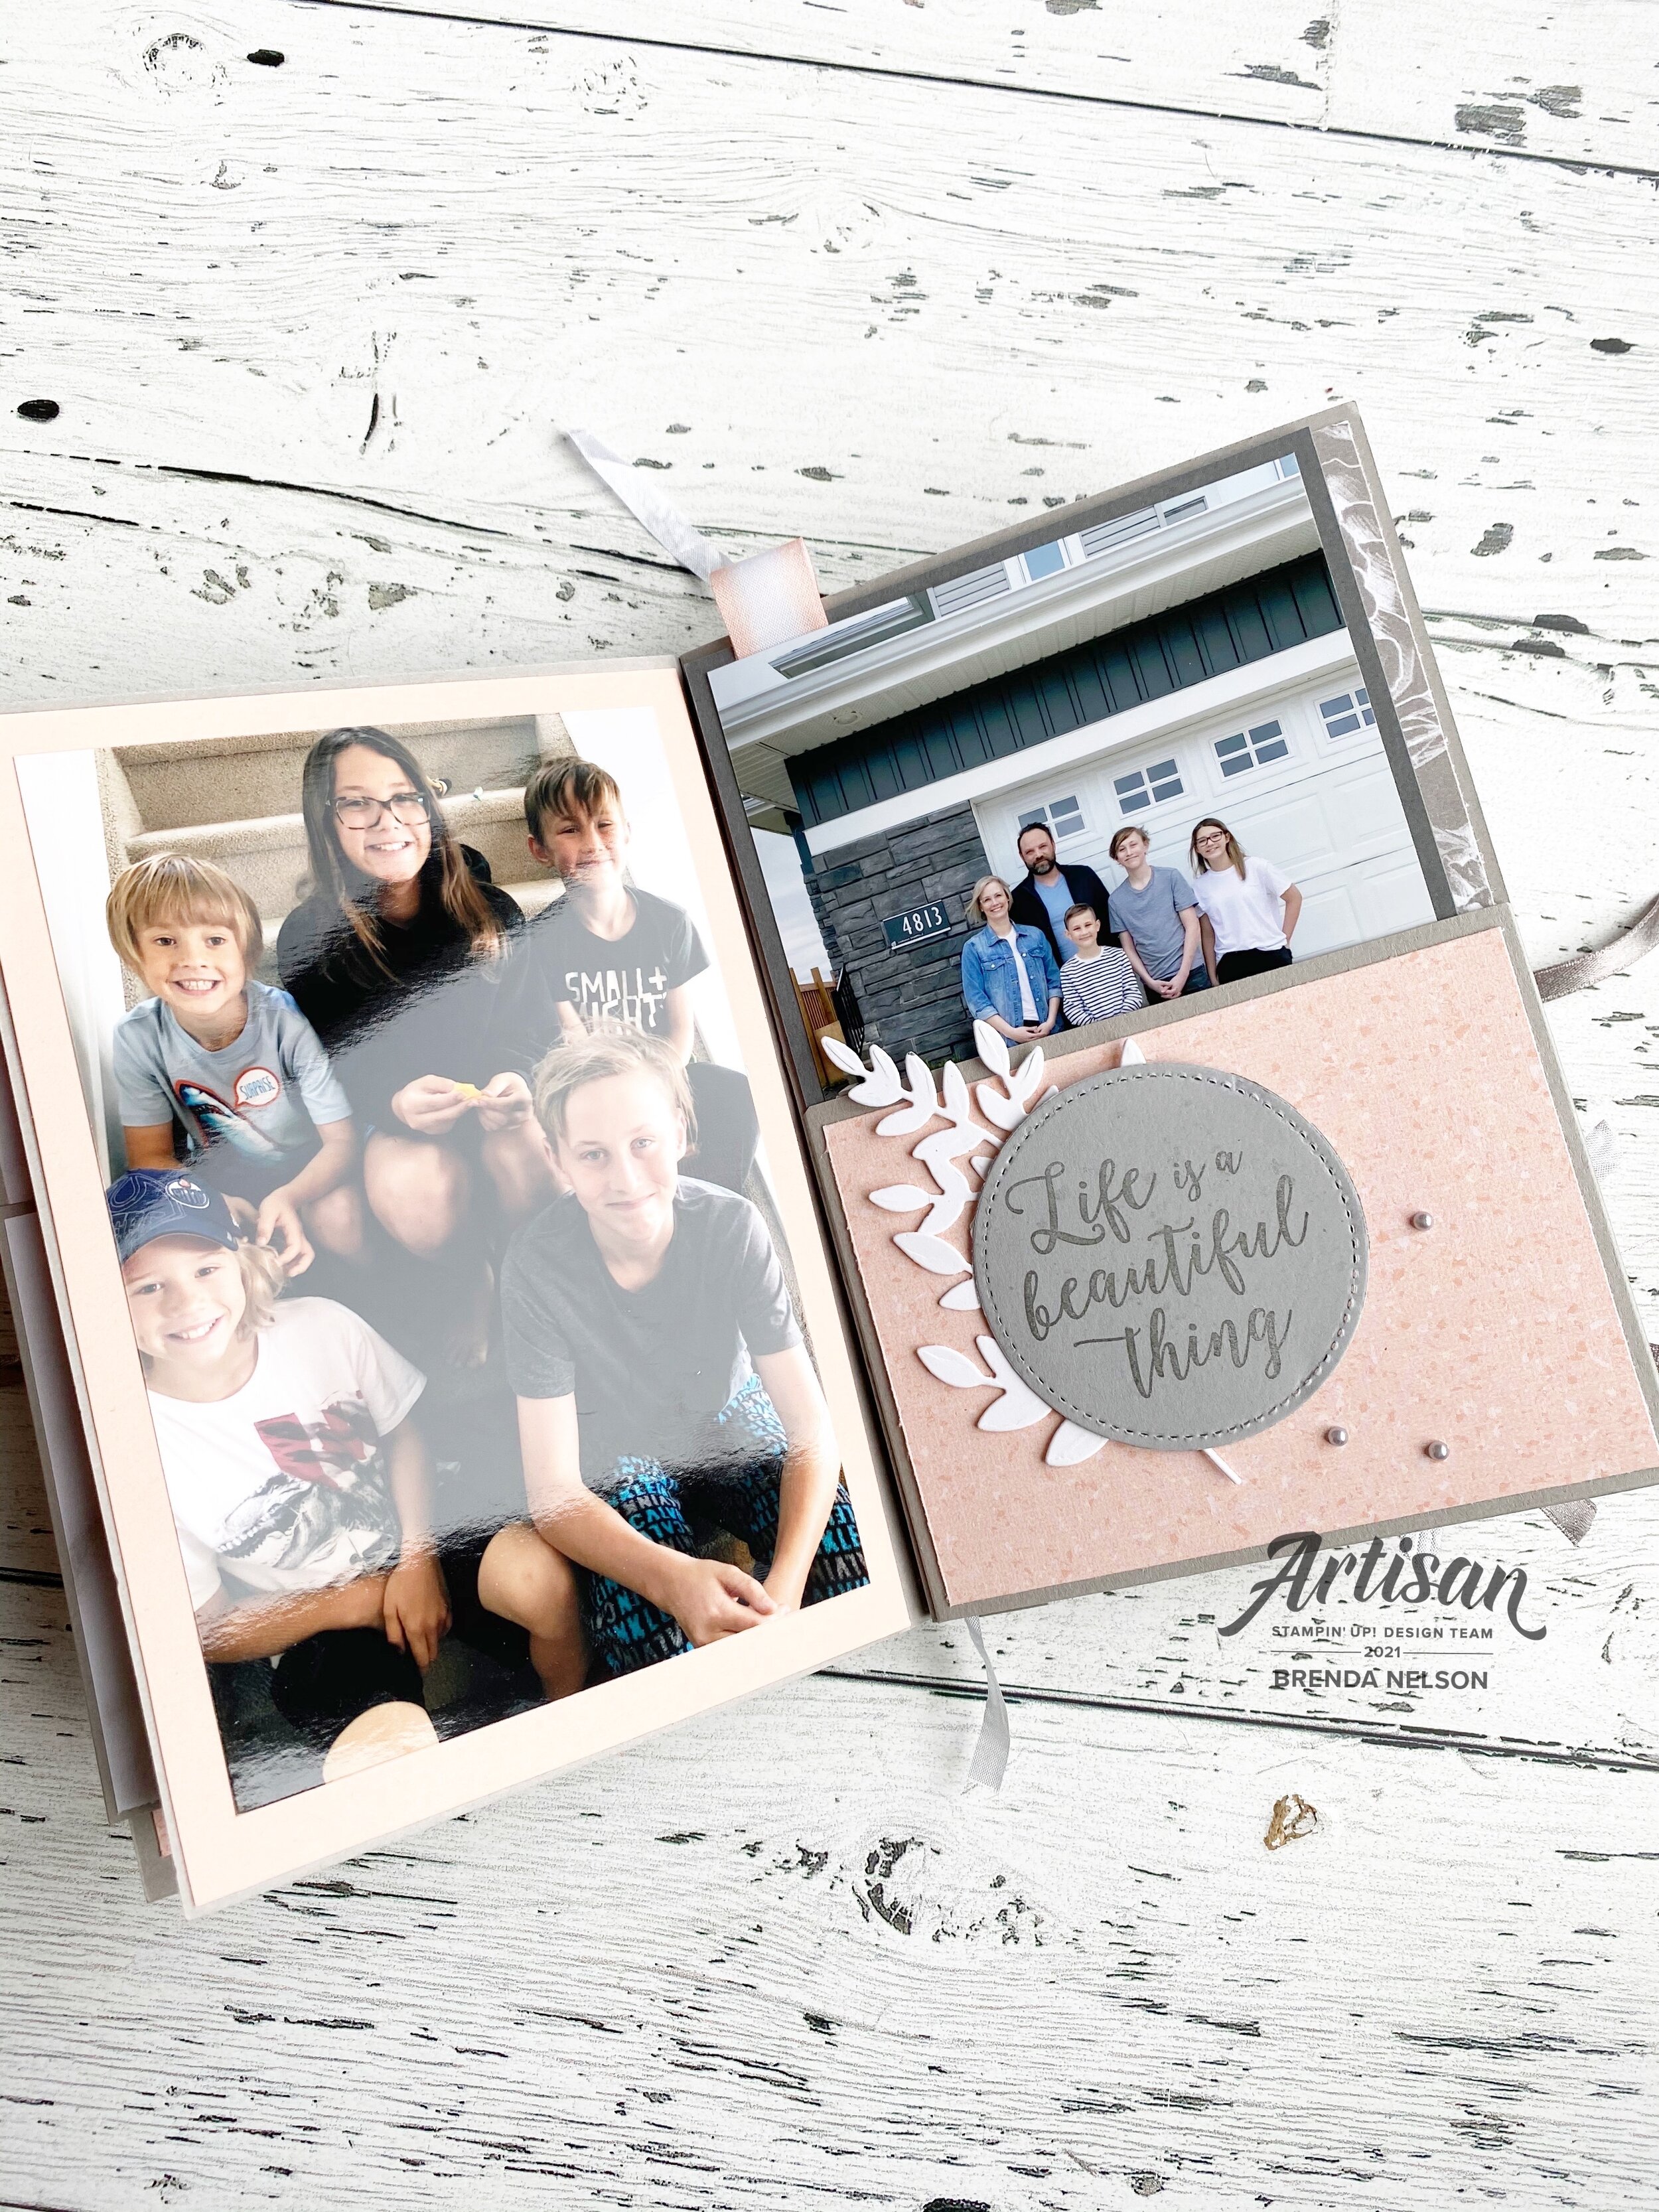
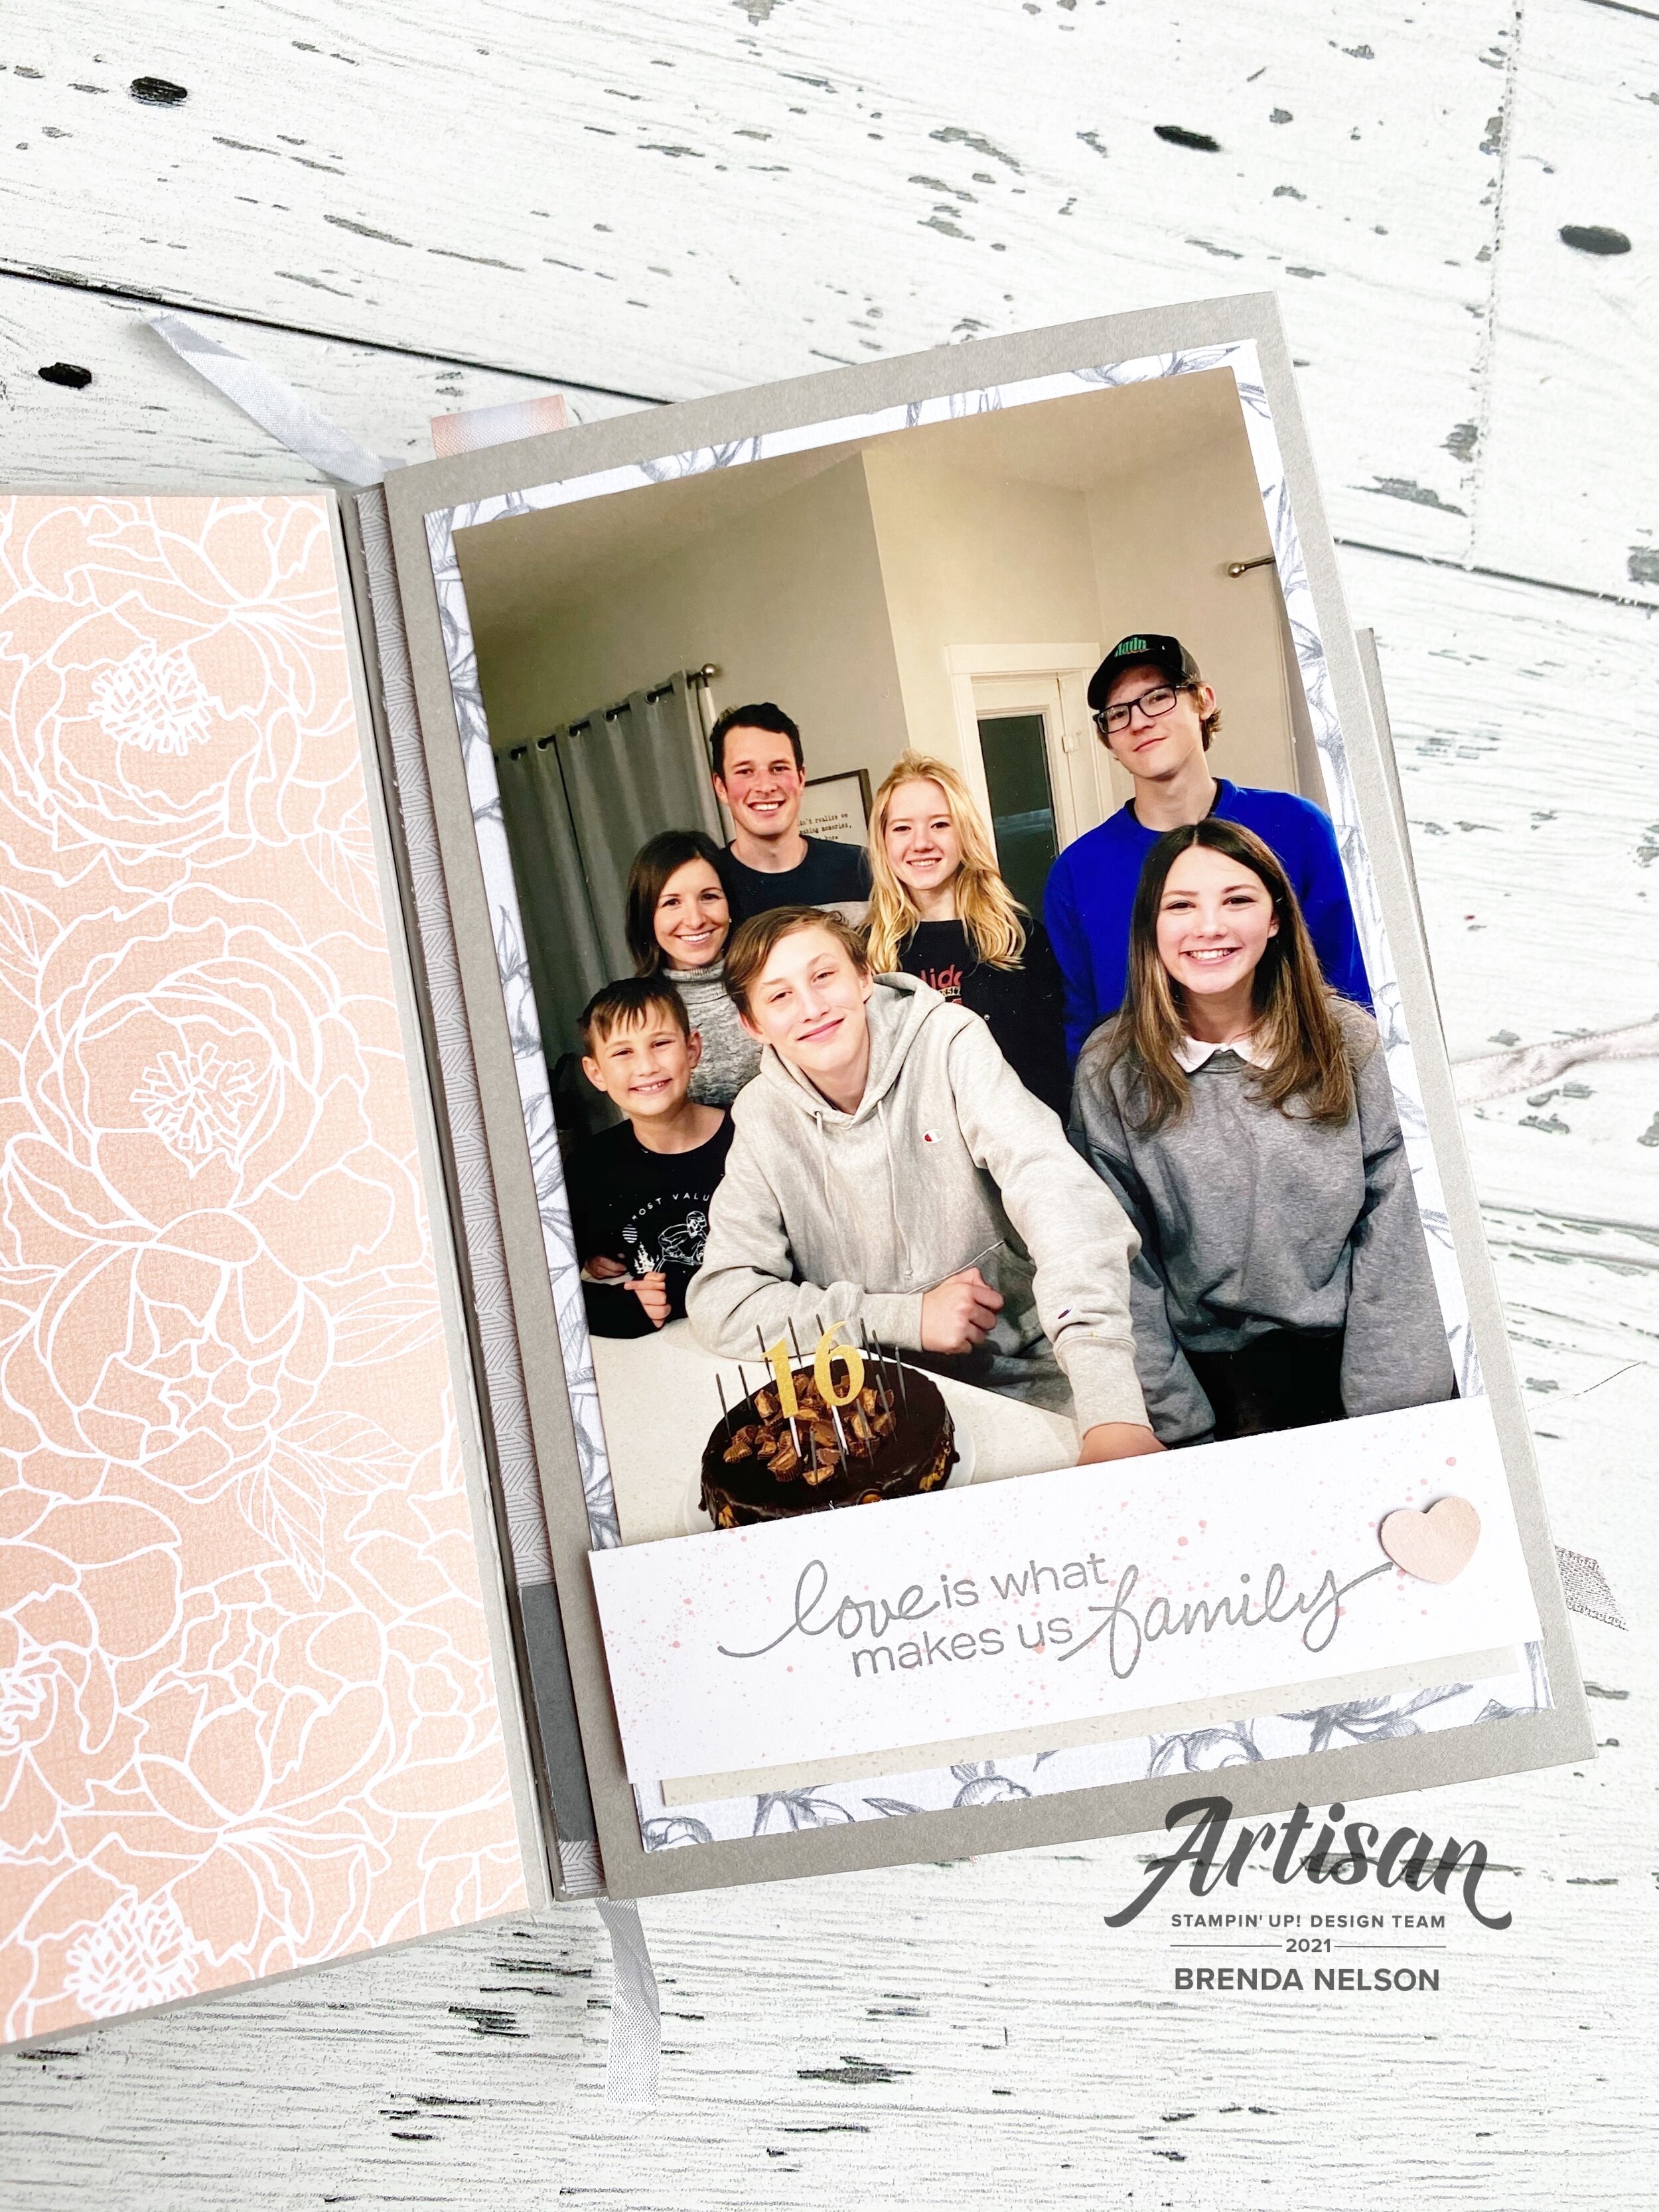
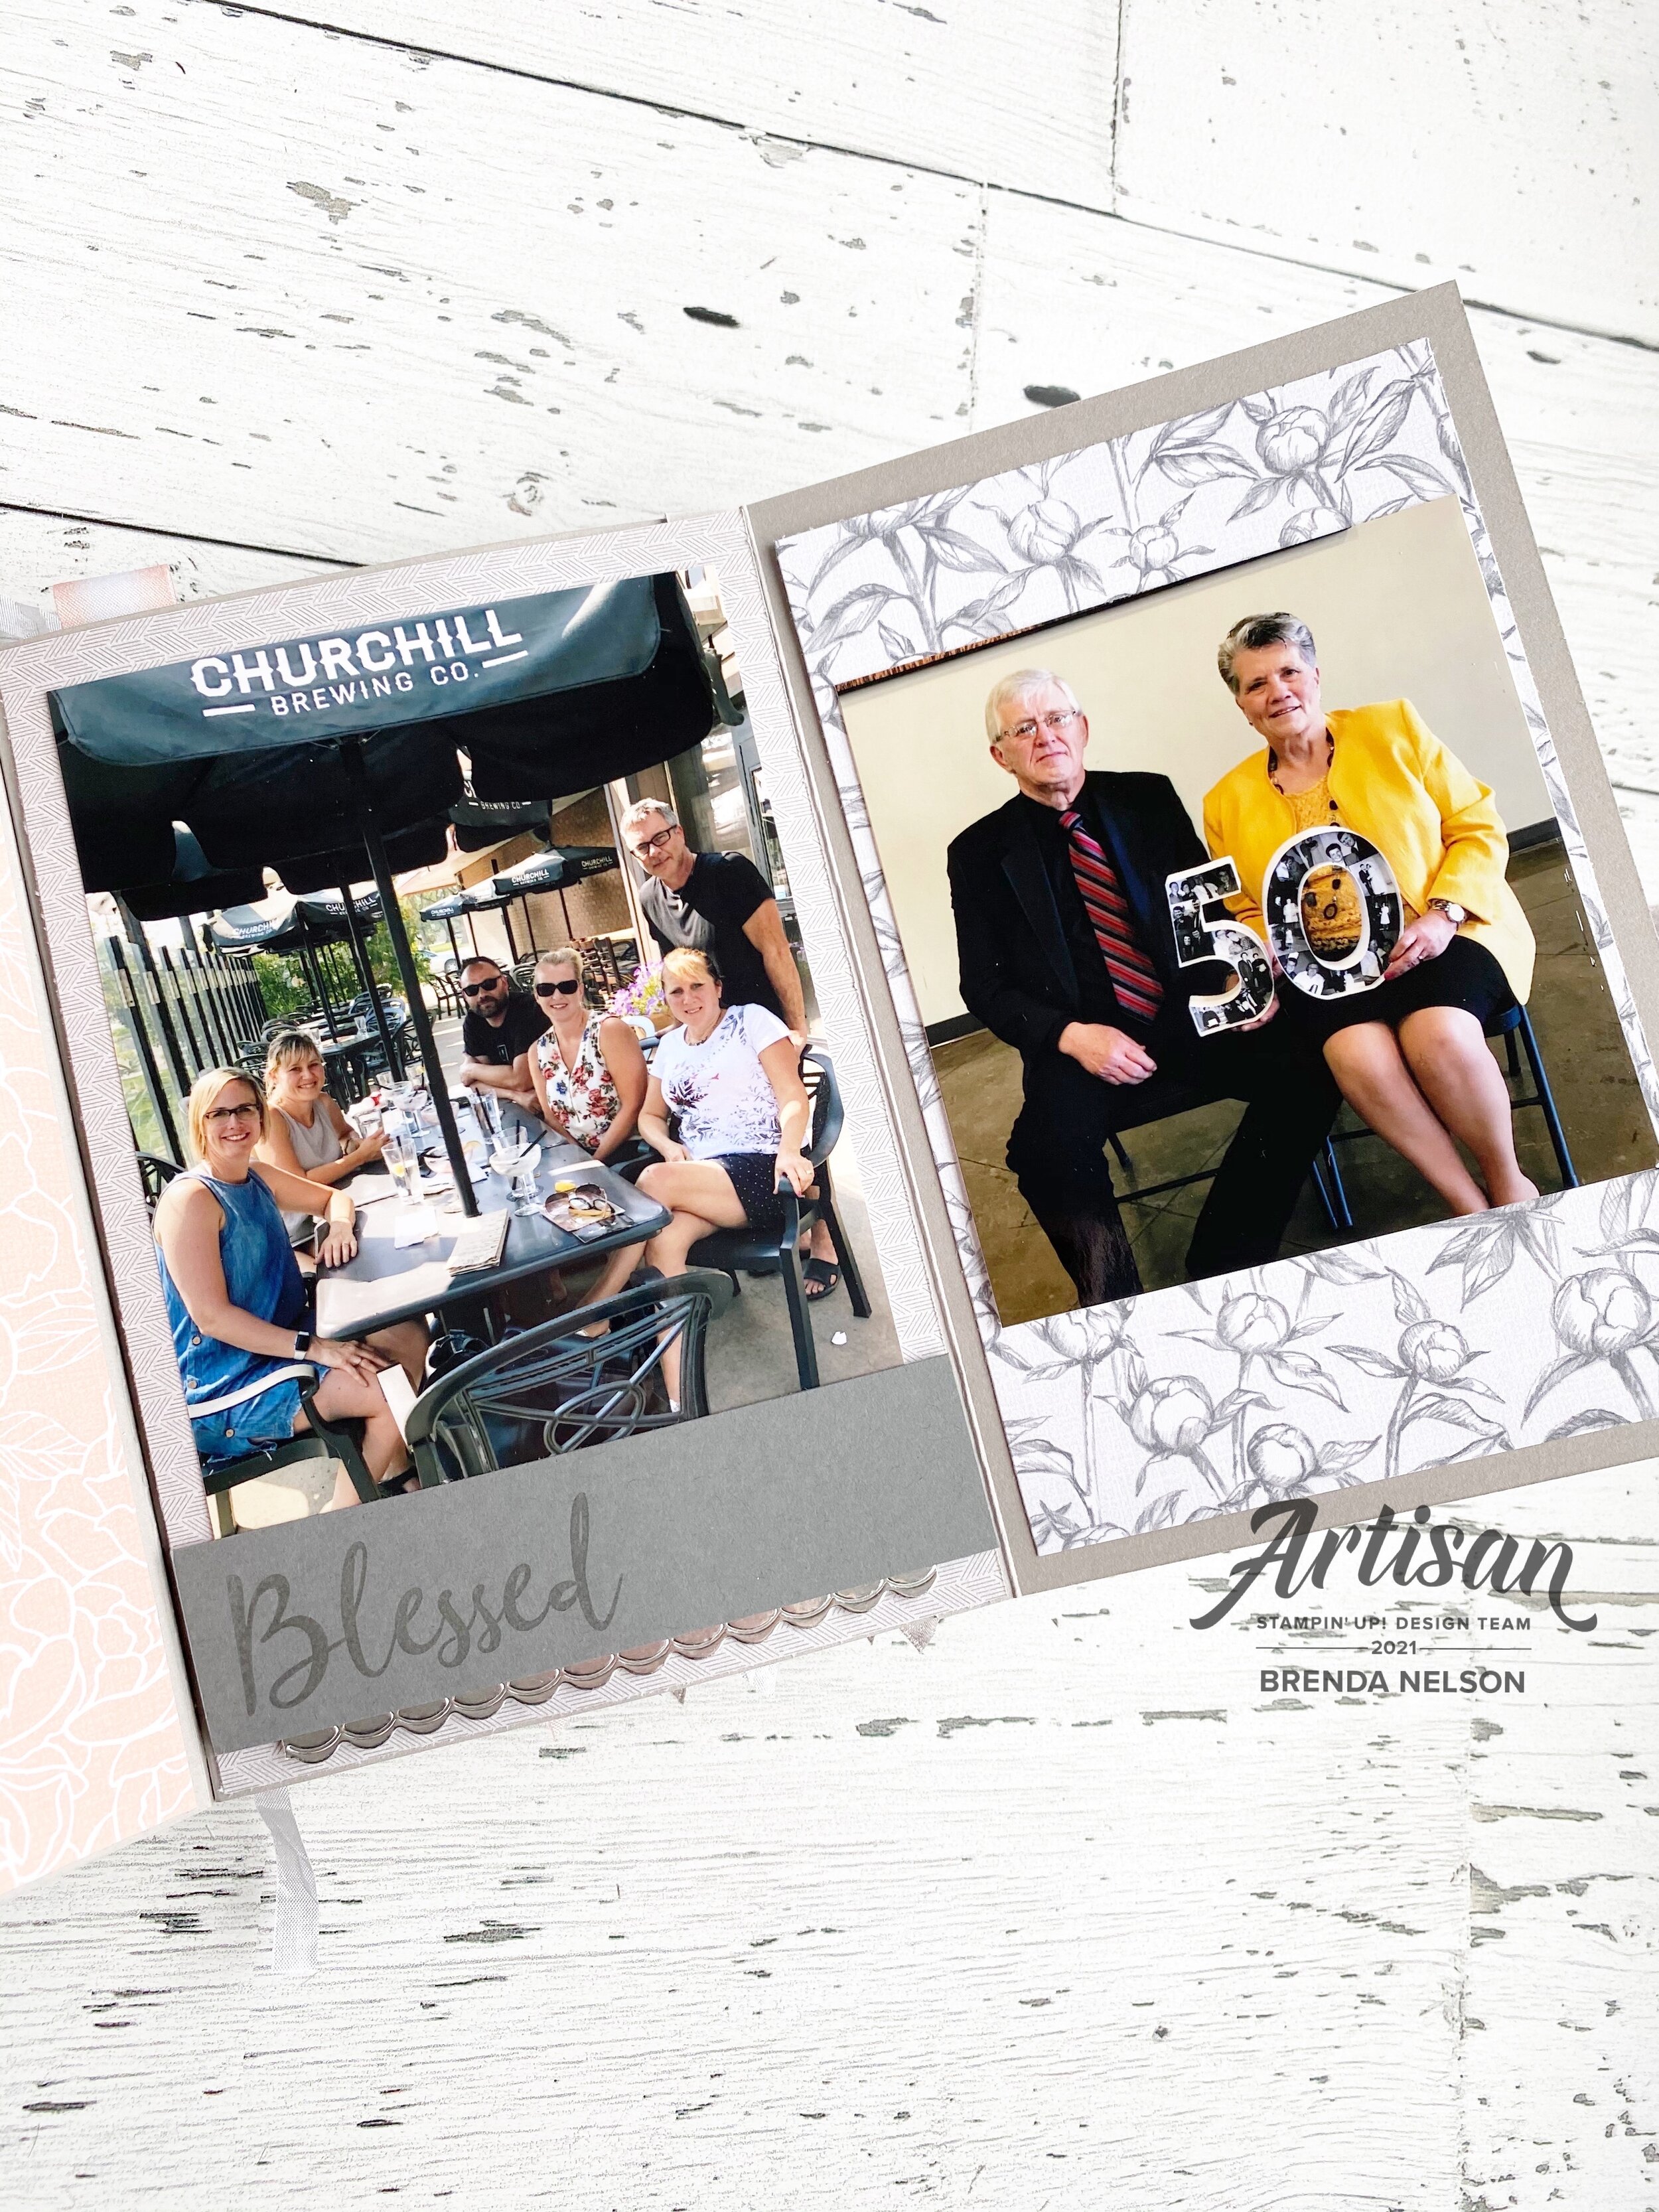
We have so many fantastic stamp sets to choose from that I had no shortage of inspiration to embellish this album. I added in a variety of ribbons and Silver Metallic Pearls through out and kept the colors true to the Peony Garden DSP. The base of the album is Smoky Slate card stock and we almost used an entire package to make this album and almost the entire package of Peony Garden DSP.

We have a very large family on the Nelson side. 19 grand kids! My nephew recently married so we are now at 20, plus all of the adult adults! So this project was a perfect way to showcase everyone and reflect on the many amazing family memories we ha…

We have a very large family on the Nelson side. 19 grand kids! My nephew recently married so we are now at 20, plus all of the adult adults! So this project was a perfect way to showcase everyone and reflect on the many amazing family memories we have made so far.

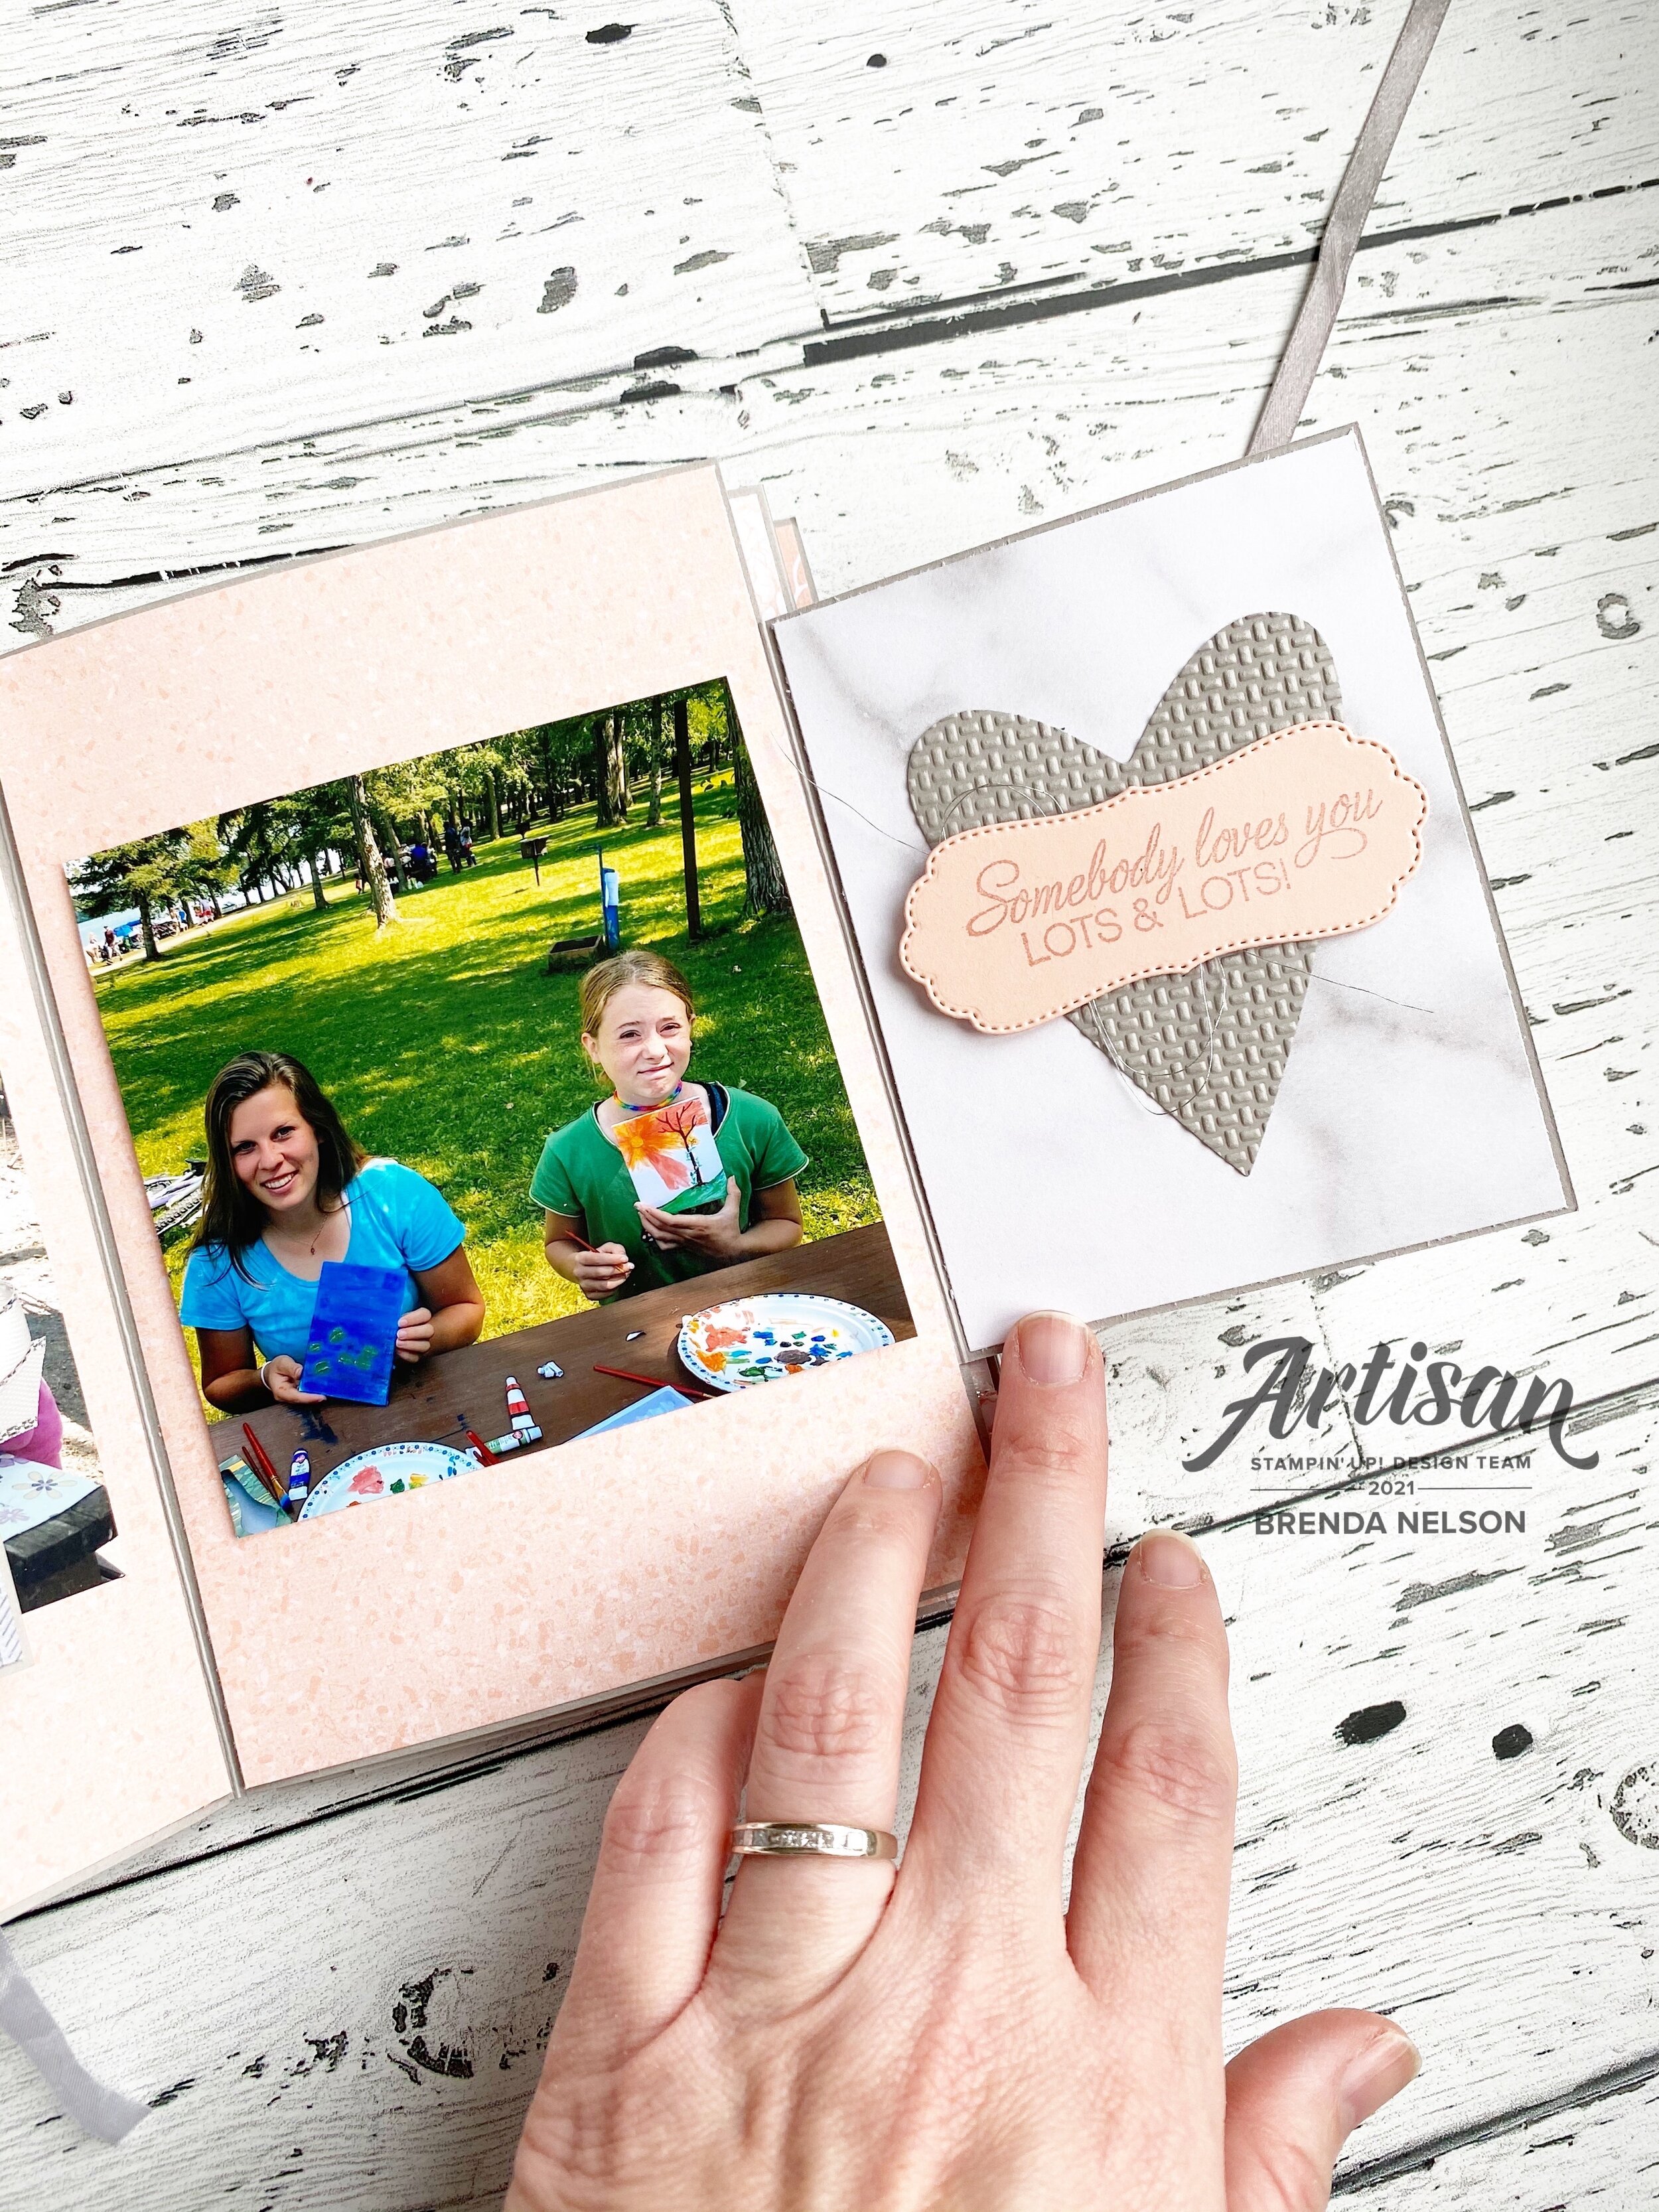
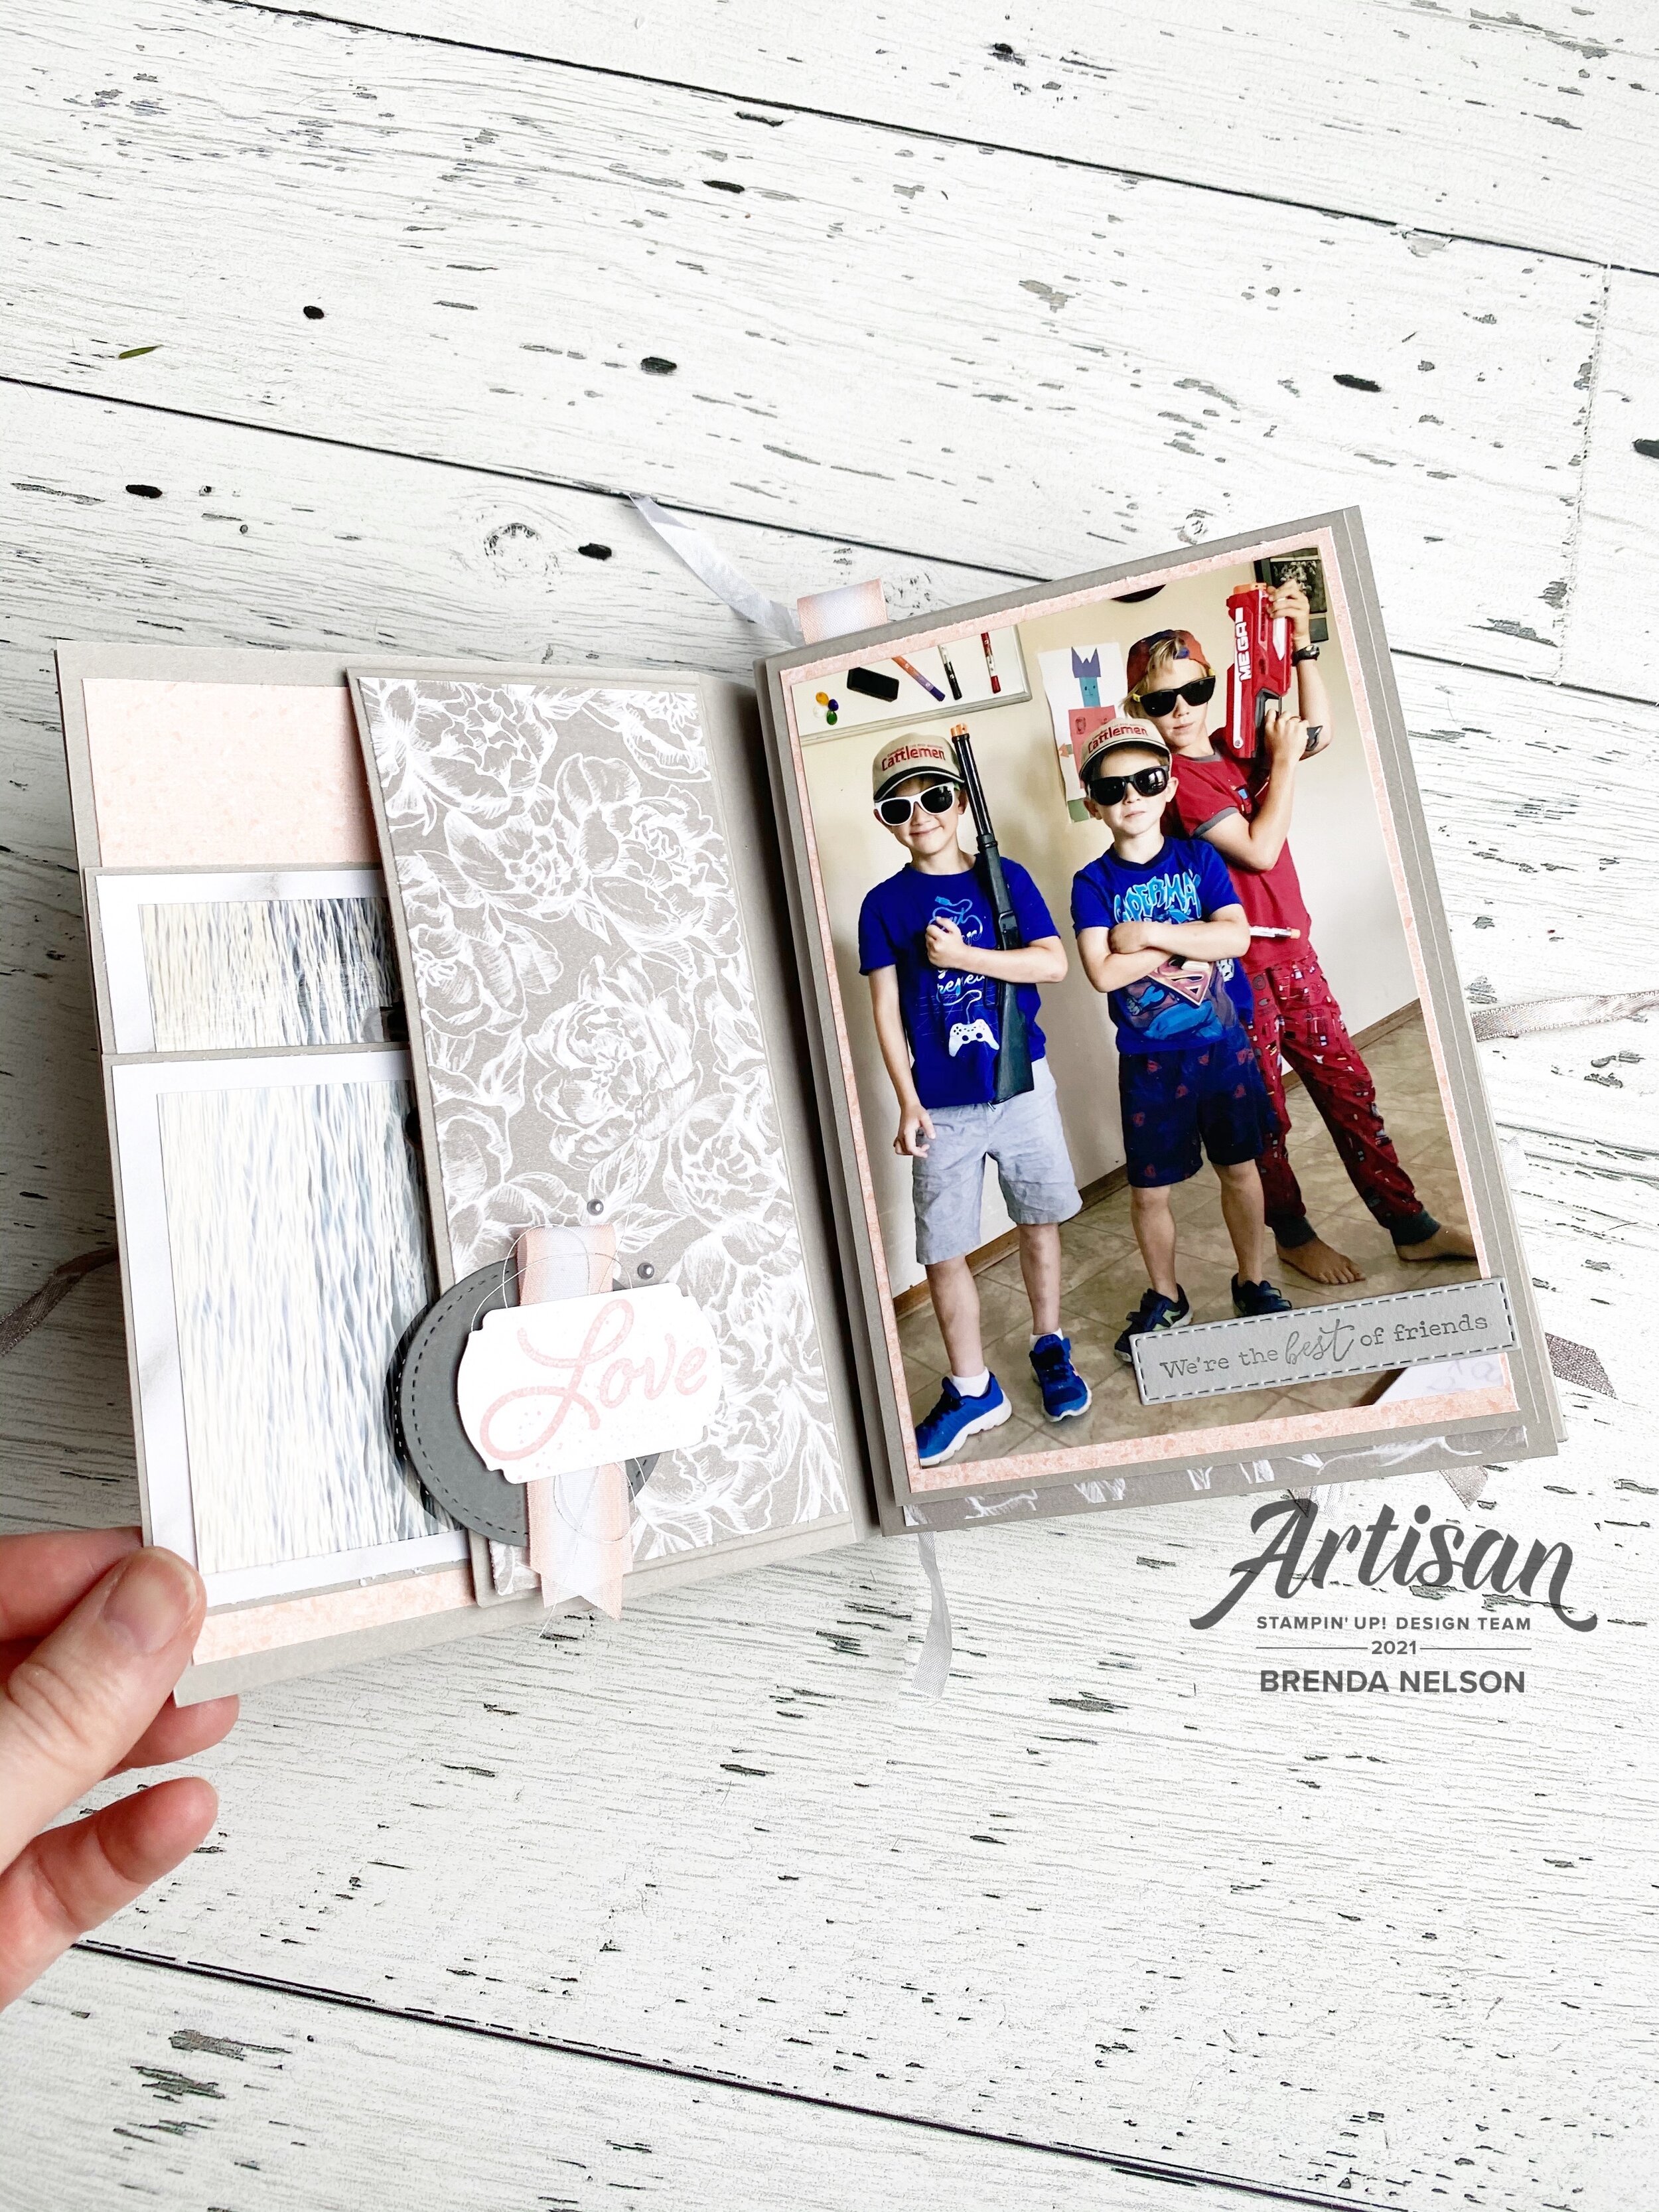
My favorite aspect to this album are all of the fun pullout pages and the pages that lift up in every direction possible. Some flip up, some flip down! Pages pull out and fold it. Its actually quite spectacular!

There is so much to explore and see while looking through this project.

One of the gals that took this class with me called these little panels ‘Saloon Doors’, we all thought that was the perfect way to describe them!

One of the gals that took this class with me called these little panels ‘Saloon Doors’, we all thought that was the perfect way to describe them!

final 21.jpg

I hope this project has inspired you! I would love to make another one and fill it with memories of my family, but for now I know my Mother in Law and extended family, who live a province away, will enjoy looking at this mini album!

In a While Crocodile!

Are you loving the new January to June catty as much as I am? I love the variety of stamp sets in this catalogue. We have fun whimsy sets, vintage inspired sets, line image, Reversibles and much much more! I created this super cute and fun card with the new Oh Snap stamp set on page 47. Who doesn’t love a cute crocodile?

final (10).jpg

I wanted to create a soft water background so I used the new Blending Brush with Seaside Spray ink. I added a few little waves in the same ink color near the bottom.

The Croc is stamped in Momento Ink on Whisper White card stock (which has now been replaced with Basic White card stock). I colored this cute croc in with our Stampin’ Blends in Granny Apple Green, Shaded Spruce and Seaside Spray.

final (6).jpg


I wanted it to look like my crocodile was snacking on “Its Your Birthday”, so I used Highland Heather ink on Purple Posy card stock punched into a 1 inch circle which fit perfectly in his mouth.

My croc is popped up on Dimensionals as well to give it some height.


I added a couple little banners to the top left using the In Color 6x6 DSP stack and the woodgrain pattern. I added the Gorgeous Grape little heart on top. This cute little heart can be found in the Kangaroo Dies (pg 17).

I don’t think it matters how old you are, receiving this card is enough to put a smile on anyone’s face!

final (11).jpg


Create with Connie and Mary-Favorite NEW Product!

Hello friends! Welcome to a new year and new projects and inspiration! So excited to have you joining us every Saturday for 2021. Wishing you and your family all the best as we kick off 2021 with a renewed spirit and intention. My theme for 2021 is Make it Happen. I have big goals to accomplish this year!

Saturday Blog Hop Welcome.jpg

Our first weekly theme is FAVORITE NEW PRODUCT! I have to say, it was almost hard to pick because there are just so many fabulous items in the new January to June Catalogue (or the JJ catty as some are calling it!).

I landed on the Fine Art Floral Suite. Florals just have so much potential as you can use them on every single theme in one way or another. I wanted to kick off my first project share in the Create with Connie & Mary Hop with a great gift or home decor idea using this suite.

I can often find these rustic frames with the built in clip at Homesense. I snatch them up whenever I can find them! They are perfect for embellishing with your favorite stamps!

I can often find these rustic frames with the built in clip at Homesense. I snatch them up whenever I can find them! They are perfect for embellishing with your favorite stamps!

I started with a large base of DSP from the Fine Art Floral collection and layered on a mat of Poppy Parade. I stamped the flowers from the Art Gallery stamp set in two colors for each flower. The large bloom is actually designed to work this way as there are two separate stamps. The cluster of blooms is only a single stamp with one extra stamp for layering. I decided to use a marker to tap on a darker color.

final (2).jpg
 

I used the colors in the DSP to guide the colors I used for the flowers. The flowers in this DSP were actually hand painted on a canvas! I love this paper especially the sheets that look like paint smeared on canvas, so I chose that piece to stamp my sentiment “You Make the World...” in Versamark with Gold Embossing Powder.

The sentiment is from the Beautiful World stamp set in the Annual Catalogue.

I added some Wink of Stella on top of the flowers for a little shimmer!

The Art Gallery stamp set only has one stem image so I stamped it in Old Olive ink on the same color card stock and then cut it apart to look more like leaves. The Fine Art Floral ribbon was also perfect to layer behind sentiment (cut with Stitched Circle Dies) to continue the gold theme on this project.

final (1).jpg

I stamped “You are Lovely” in Old Olive Ink on the coordinating card stock and cut it with a die from the Floral Gallery Dies. I added a couple more flowers underneath the sentiment.

After I took this picture I thought…it needs something! So I went back and cut the word “friend” in Gold Foil paper using the Well Written Dies (see the first picture to notice the addition!).

I was so happy to give this gift to my friend Tammy. We met on the Alaskan Incentive Trip and have kept in touch ever since. This is a picture of us on the Greek Isles Incentive Trip in the infamous Hospitality Room. I absolutely LOVED this trip and am keeping every body part of mine crossed that we can see each other again in Maui this spring!

I can’t wait to see the other members of the Design Team are sharing a their favorite new products. You can go BACK to see what Melissa has designed and NEXT to see what Connie has created! Please feel free to shop with me if you live in Canada! All of these new and amazing products will be available on January 5th. If you live in Canada you can shop my Online Store or use my Hostess Code at any time!

A Card a Day in December--Day #27

Hello friends! Well I am officially shifting gears from Christmas to New Years and am going to share some New Years projects now through Dec 31st. I am sure we will all be happy to say goodbye to 2020. It was a year of trials and tribulations and SO MANY AWESOME THINGS!! I think there are many things that are better and improved in my life! I hope you have a few of those things to add to your list too when reflecting on 2020.


I made this cute, STAMP FREE, celebration wand with my team at our last zoom party!

Some people call them lolli’s, some people call them rosettes, but no matter what you call them they are a just FUN!

Because this is a stamp free project it could be a great idea to make a version to create with your team in the future!

final (38).jpg

I started with two strips of 2 1/4 x 11 Smoky Slate card stock that I scored at 1/2 increments. You may have a slight piece to trim off at the end. Attach these two strips together with a strong adhesive. Now you should have one long strip of accordion style card stock.

HOT TIP: I think this tip might actually change your life (bold statement right?) as far as rosette assembly goes! Once you have your rosette scored, heat your hot glue gun. You will need a silicone mat. Pinch your paper closed as tight as you can and put a big glob of hot glue on the end of the squashed card stock—-as shown below and press the hot glue into the silicone mat to set. Once set remove and the glue will help your rosette stay flat (once you push the center).

final (40).jpg

You will also want to reinforce your rosette with a circle on the front and back.

final (41).jpg

After your have your basic rosette constructed you can decorate as your heart desires! Because I wanted to celebrate the NEW YEAR with my team and I wanted them to play with new stuff I decided to use the Snail Mail Designer Series paper from the upcoming January to June Mini Catalogue (or the JJ Catty as its been nicknamed).

final (9).jpg
 

I started with a large circle in Silver Foil and then layered a circle from the Snail Mail DSP.

I cut the ‘hello’ from the DSP! Isn’t that fun?

The label that 2021 is on is from the Potted Succulent Dies and the numbers are cut in Mint Macaron card stock using the Playful Alphabet Dies and Foam Adhesive sheets with some Wink of Stella on top (of course!)

I tied some ribbons around the handle (a basic dowel that is hot glued in place) to fancy it up and voila! The cutest little rosette you ever did see to welcome in 2021!


A Card a Day in December--Merry Christmas!

Merry Christmas everyone! May your heart be full and full of gratitude for all that you have. I hope you all have a lovely holiday.

Now that my kids are getting a bit older I am taking some joy in creating a fancier Christmas table. This year I was inspired to make some personalized boxes for each person’s place setting. I am hoping to use these for a few years to come and will include a special gift inside each year.

final+%2824%29.jpg

I used the mini pizza boxes and created a wrap using the Heartwarming Hugs Designer Series paper. It is snug enough to stay on but easy enough to slip off and on.

I used the Wreath Builder dies in Mossy Meadow and Old Olive for the wreath and then added a banner in Real Red card stock. I cut everyone’s names with the Playful Alphabet dies and Foam Adhesive sheets. I added some sparkle with my Wink of Stella pen on top.

final (19).jpg

I wanted the mini pizza boxes to double as a gift card holder. We have entered that season of parenting when our kids have moved beyond toys and are happy to get clothes and gift cards. So each person will get a final gift card when we enjoy our family meal.

It easily attached the gift card with a glue dot and can reuse the lid again and again to add a gift card.


I am hoping this will become a new family tradition. I told my hubby to buy me a gift card and then had Summer sneak it inside so it will even be a bit of a surprise for me too!

I love personalized gifts and I think my kids will be excited to see their names on something!

I hope you are inspired! These could make cute place settings for any holiday occasion!

final (25).jpg
final (23).jpg