Be Inspired Blog Hop--February!

Hi friends!

I know I haven’t been sharing on here as much so I am extra happy to be participating today in the Be Inspired Blog Hop! This month, February, we are sharing projects with our favorite things from the Occasions Catalogue. This is easy and challenging at the same time to pick just one or two things!

There are some really fantastic things in the new Occasions Catalogue so it was really hard to narrow it down. I decided to use a stamp set that I have been creating up a storm with lately. I have used this stamp set on a couple scrapbook pages and to make some cards for an upcoming birthday class. This is what I wanted to share with you today!

Isn’t this adorable? This fun card can be for a lot of occasions where you could have cake to celebrate! I intentionally left off a candle on the top so that it could be used for a variety of events.

The color palette is definitely one of my favourites at the moment!

—Bubble Bath

— Fresh Freesia

— Lemon Lolly

— Highland Heather


I started by stamping the base of the card with one of the flowers in the stamp set in the same color ink (Bubble Bath) in opposing corners to add some interest to the base.

The cake plate is stamped in Pebbled Path on the Basic White layer and then once again so I could hand cut it and pop it up.

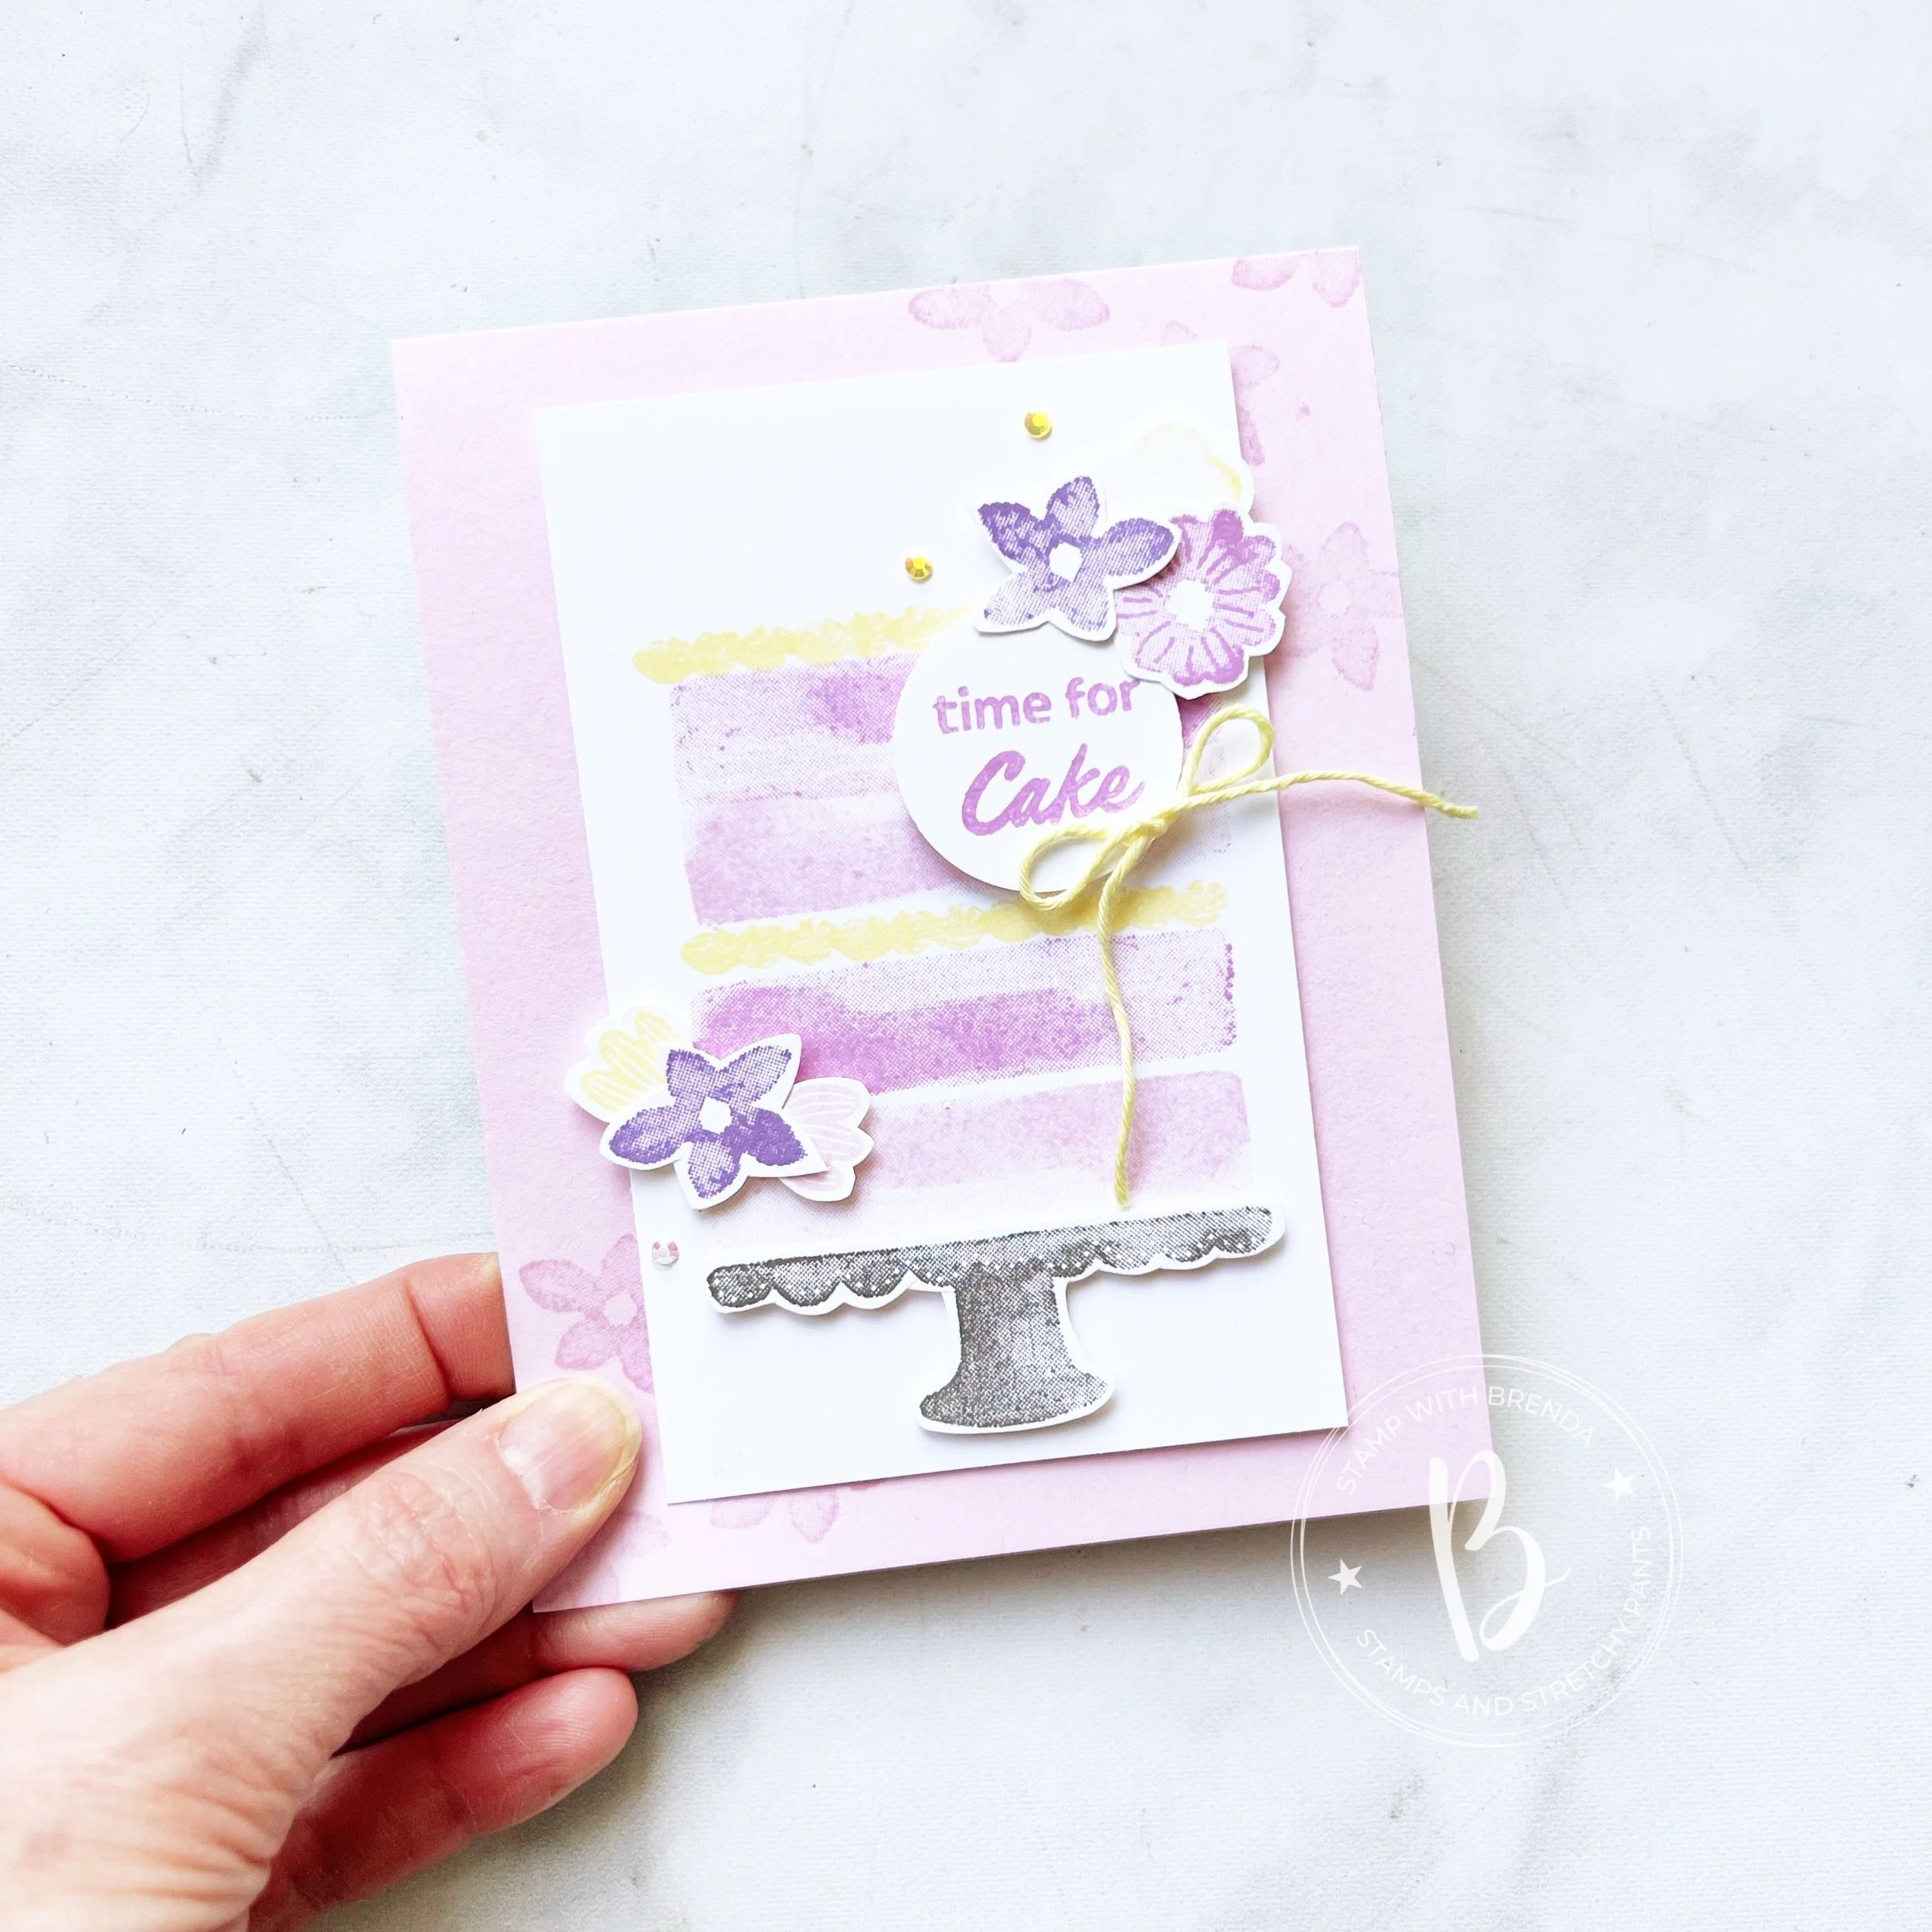
The layers of the cake alternate color and direction. I started with Bubble Bath, then Fresh Freesia and a little layer of Lemon Lolly with one of the icing stamps in the set. This stamp set has 25 images to choose from the build your cakes and pies!

I stamped four different flower designs from the stamp set to add as decorations to my cake. I used two stamps to create the sentiment, ‘Time for Cake’ and cut it out with a circle punch.

A little Lemon Lolly twine and some long retired gems were the perfect touch! I am trying to use up my vast stash of embellishments!

I hope this card inspires you to do some stamping with the Cake Fancy stamp set! I do really think it is a gem in the Occasions catalogue!

I can’t to see what Artisan Design Team member Maheswari has created for our blog hop today! I love all of her designs so I know I will be inspired. Make sure you go all around the hop to maximize your inspiration!

12 Days of Christmas--Day 4!

Hello my friends! Welcome back for another day of inspiration from myself and Melanie! We are so happy you are here!

Today I want to share a card that was inspired by a Creative Color Challenge from Stampin’ Up!—I love the colors of Bubble Bath, Fresh Freesia and Petal Pink together. And I am embarrassed to admit this was the first time I have used the Abundant Beauty Decorative Masks!

The base of my card is Fresh Freesia and the first layer is Bubble Bath. I used the snowflake stencil and the three mentioned ink pad colors. I love how soft and lovely this background is. Thank you SU for the inspiration!


I love the softness of the background so I knew the sentiment I picked also had to feel more feminine. I found the perfect fit with ‘Merry Christmas’ from the Stars at Night stamp set.

After stamping the sentiment I used two Deckled Circles to bring life to the sentiment. I added some retired ribbon behind #usethatstash and added a teeny heart on top of the linen thread from the new Bee Mine punch. This punch will be available in the upcoming Occasions Catalogue in the new year.

I added a few sequins from the Pastel Sequins Assortment on the top circle for a little bit of a different look.

I really enjoyed making this card and I think you could easily switch up the color palette and recreate this card in a variety of color combinations.

I am so excited to see what Melanie is going to share with us today!

Please shop my online store if you are inspired and need some supplies! Your support allows me to keep loving what I do!

A Card a Day in May--Day 16!

Its official, I am over the hump on this challenge! Yay! I hope you are enjoying things so far!

This is one of the three card projects included in my Class to Go Kit for May!

This card features the new Hues of Happiness Suite which is just so beautiful. I love everything about it and if I could be a DSP, it would be the Hues of Happiness DSP! What DSP would you be?

This card is on a Fresh Freesia base with a coordinating first layer that is die cut using one of the options in the Blossoming Happiness Die set. It looks really great raised up on some Dimensionals.


On the Basic White panel I stamped the sentiment in Starry Sky and ran the chisel tip of my Fresh Freesia Stampin’ Blend over top of the word ‘Happiness’ to highlight it. I really love to do this simple trick to bring attention to a word.

The flowers are hand trimmed from the DSP and added to the panel to accentuate the sentiment. You can trim off the excess to fit your panel.

I added an accent strip in Starry Sky card stock using one of the other dies from the collection and popped this whole panel up on Dimensionals as well.

This card is actually one of the 3 designs included in my May Class to Go Kit. Kits are available to anyone in Canada and there are 3 options available—stamp only, bundle (and best value) and the card kit. All the pricing details are on my blog under the Stamp with Brenda tab and then Class to Go Kits. A video tutorial is included with any of the 3 options! I would to share these amazing cards with you!

Create with Connie and Mary--My Favorite Pre-Order Bundle!

This was a good challenge as I had a hard time actually DECIDING on what was my favorite. In the end, I think a good punch wins every time so I have landed on the Flowers of Friendship Bundle as my Favorite Pre-Order Bundle!

21DesignTeamBadge.png

And of course I needed to use some of our NEW upcoming In Colors on this project as I just LOVE them. I love how they all look amazing together and blend so well with our existing colors. They just feel fresh and lovely.

final (2) 11.jpg

Nothing beats a crisp Basic White card base and layer. It’s a win every time especially when you pair it with such an awesome floral stamp set such as Flowers of Friendship. This set has 4 floral images and such as great mix of fonts on the sentiments. Of the 4 sentiments, 3 are ‘Thank You’ which is fantastic. Other than birthday, I send more thank you cards than any other. I love how each of the sentiments is unique.

The perk of this stamp set is that is is PUNCH BUNDLE! Yay! I always love a punch as it is more efficient than die cutting. The Flowers & Leaves Punch is designed to cut the two individual flowers, large and small, plus the two leafs in the stamp set.

Nothing beats a flick of your Stampin’ Write Marker or Stampin’ Blends across your project for a spray of color.  It’s literally one of my favorite tricks! I flicked my Evening Evergreen Blend on this card concentrated at the bottom.  This adds to t…

Nothing beats a flick of your Stampin’ Write Marker or Stampin’ Blends across your project for a spray of color. It’s literally one of my favorite tricks! I flicked my Evening Evergreen Blend on this card concentrated at the bottom. This adds to the crisp white feel of the top of the card.

I felt that stamping in black ink felt to stark against the white, so I chose to stamp my floral images in Grey Granite ink. I stamped the large floral stem three times on the Basic White and then colored the flower buds and leaves in with my Stampin’ Blends in Pale Papaya (with a hint of Calypso Coral), Petal Pink (with a hint of Pale Papaya) and Fresh Freesia. The leaves were colored in with Soft Succulent Blends.

The punched flowers were colored in Soft Seafoam (with a hint of Soft Succulent), Pale Papaya (with a hint of Calypso Coral) and Fresh Freesia. In the center of each of these flowers I added an Opal Round.

final+%281%29+13.jpg

The sentiment is stamped in Evening Evergreen—-I really love this color as an alternative to black!

And finally I added my favorite new embellishment, Loose Flower Flourishes! You get two sizes and three colors with this amazing embellishment—Pale Papaya, Fresh Freesia and Polished Pink.

I can’t wait to see what the other members of the Design Team chose as their favorite pre-order item. Honestly, early access is one of the things that I LOVE the most about being a Demonstrator. Haha! We all have our thing right?

You can go BACK to see what Melissa has designed and NEXT to see what Connie has created.