Paper Bag Scrapbook Album

Hello my friends! I am so excited to share this project with you as it is another throwback to an album I used to make about 8 years ago! Way back when It was easier to find large or oversized paper bags and then our society went to full on plastic bags and I couldn’t find these paper bags anymore. Well, its a new time and we are all about paper bags again! I got this at my grocery store and asked for a few extras to craft with! I decided to create a Paper Bag Travel Album to hold mementos and postcards from our recent SU Incentive Trip to Greece (my favourite out of all the places I have been blessed to travel to with Stampin’ Up!). I am a collector, so when I do go on trips I always buy postcards, and keep tickets and receipts and stuff so all of this was perfect to add into this album!

I used the Tropical Oasis and Ornate Gardens DSP as they have complimentary tones and colors as the basis for my album. And then I blended in embellishments from both suites. Some of the stamps are old favorites and some are new additions to the SU lineup.

This album came together pretty easily, as you can tell its not that complicated! I think they would also make great school memory albums (which was what I was making them into 8 years ago!), or gifts of friendship or family memories! The storage pockets are a great way to add in memorabilia without needing a lot of 'pages’.

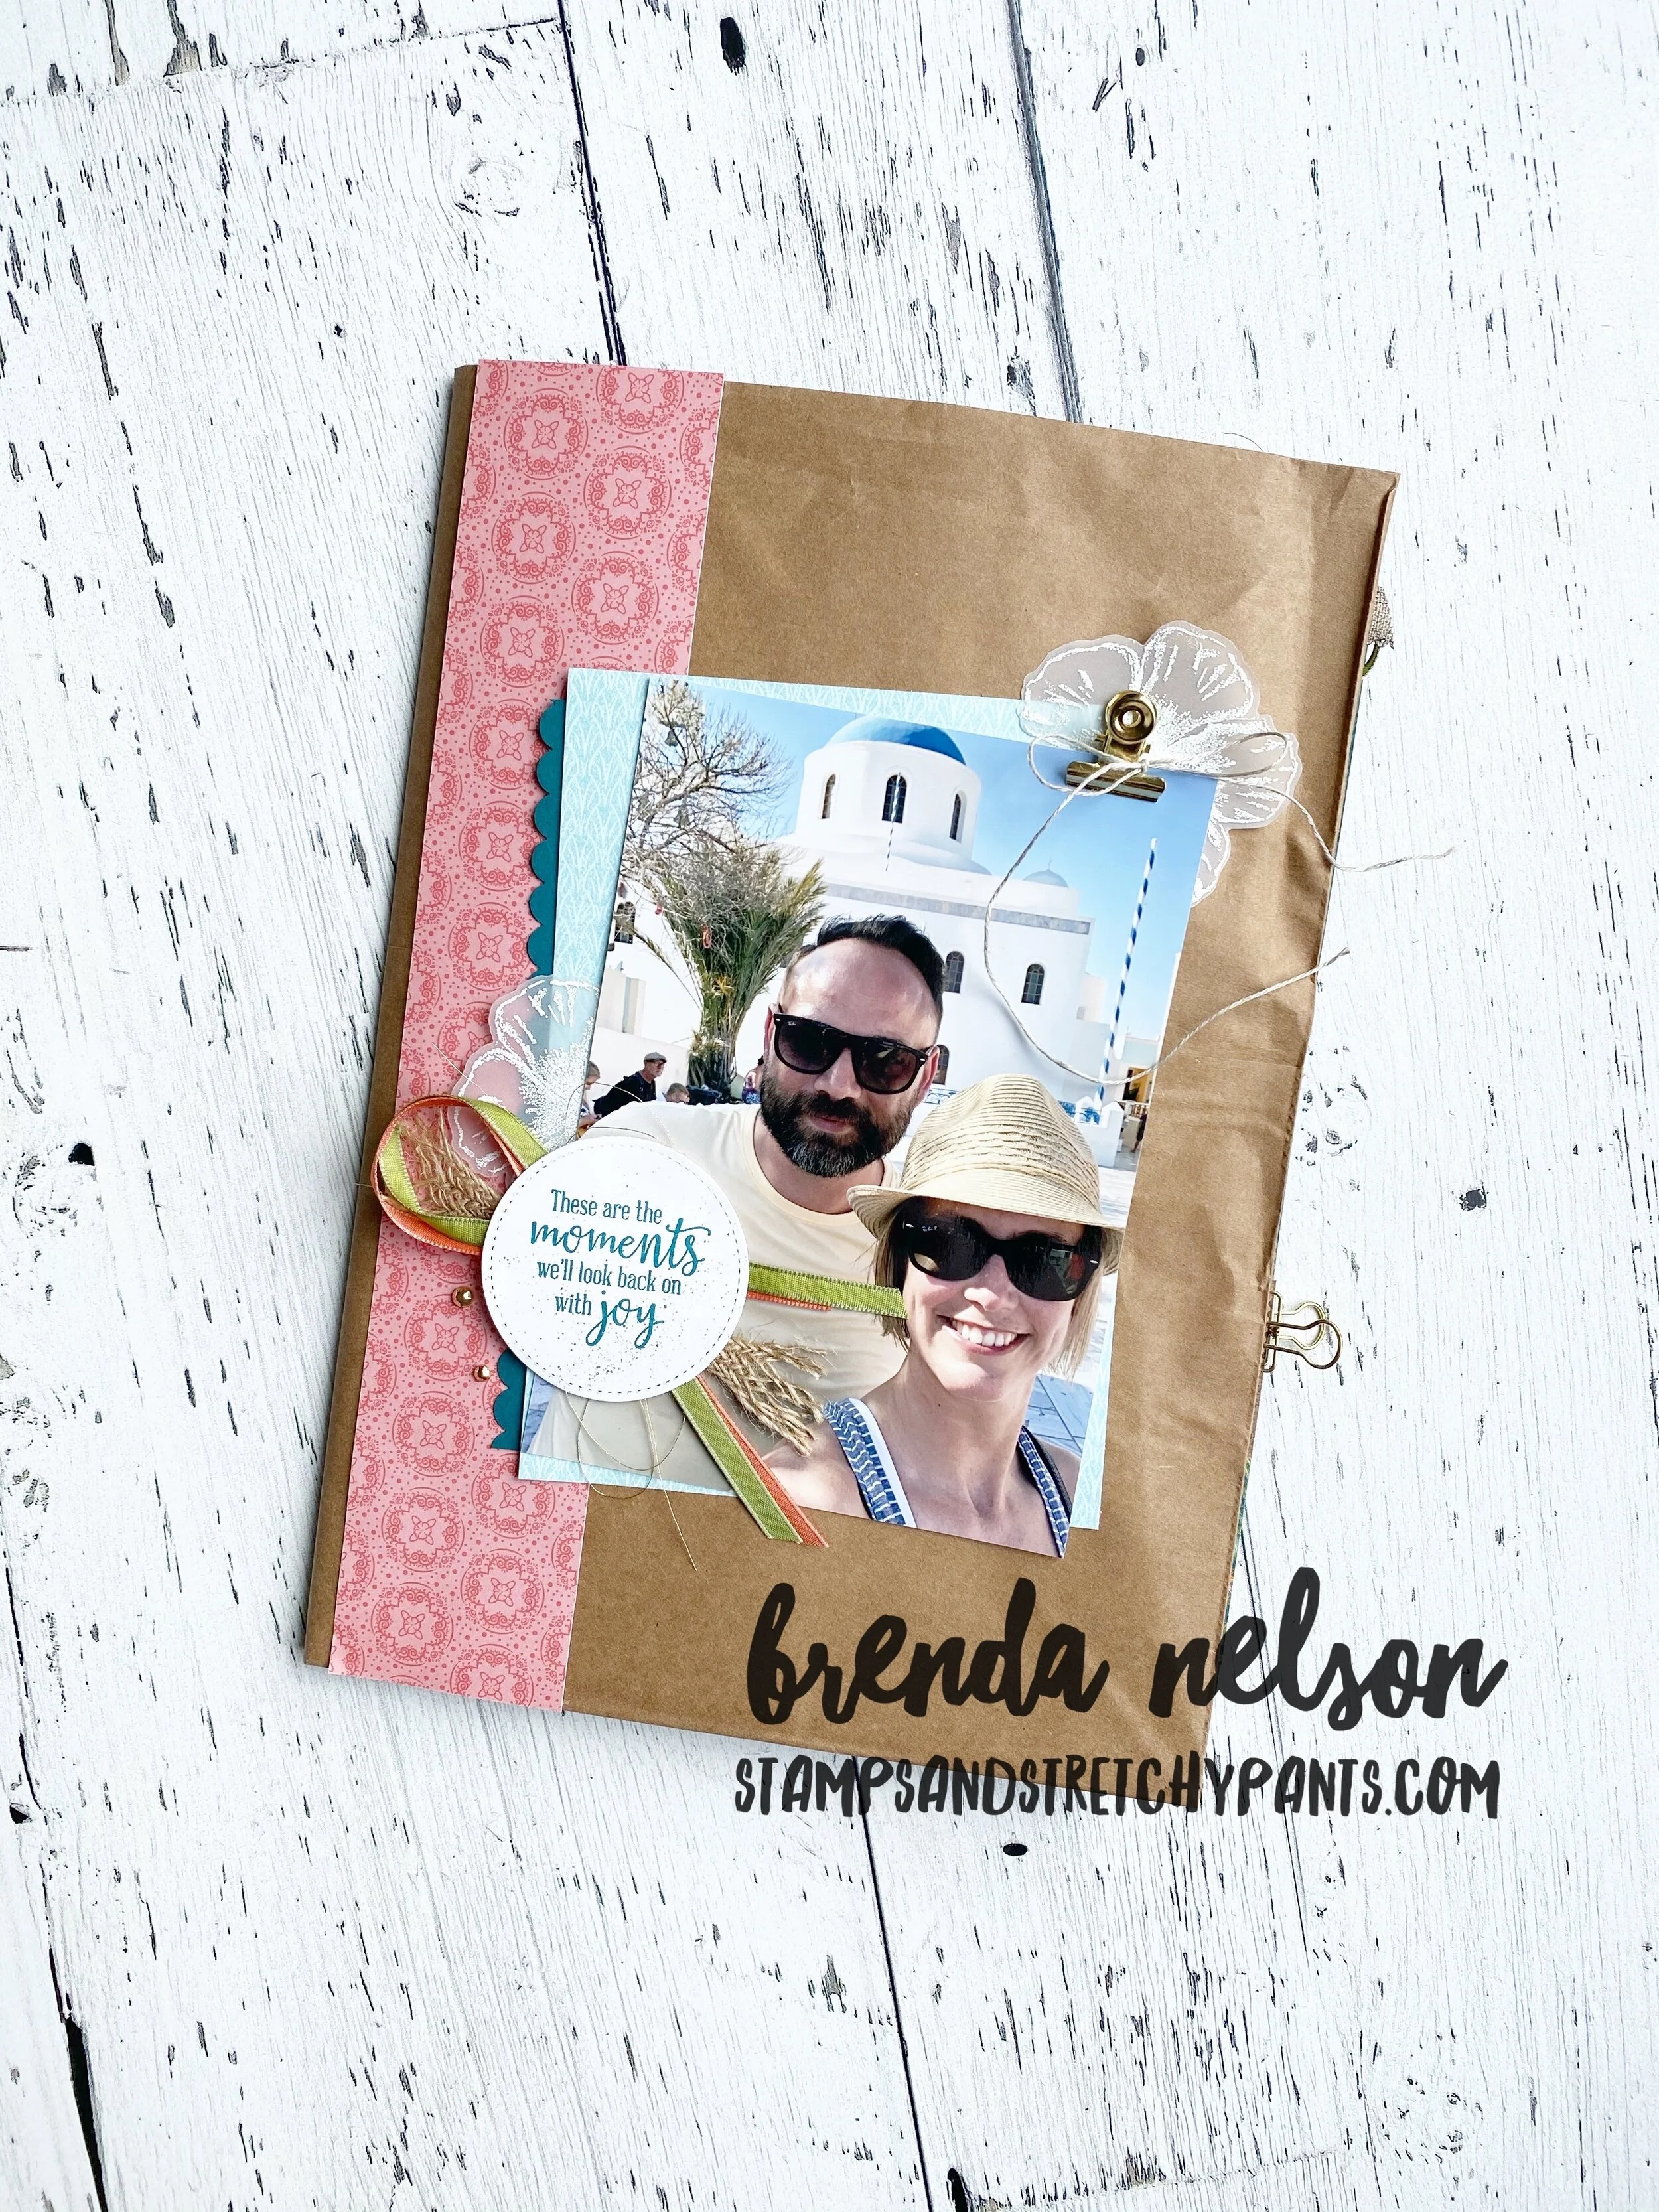
This is one of my favourite pictures of us in Santorini

This is one of my favourite pictures of us in Santorini

You will have to use Tear and Tape or Tombow to glue the bottom of the bag flat as seen on the left side page. I then created a pocket to store memorabilia such as train tickets, a few pictures, a bag with a postcard in it etc. I added in a book mar…

You will have to use Tear and Tape or Tombow to glue the bottom of the bag flat as seen on the left side page. I then created a pocket to store memorabilia such as train tickets, a few pictures, a bag with a postcard in it etc. I added in a book mark I had picked up along the front of the pocket too! The right side features some fun pictures of us.

Because this is an oversized paper bag it has an option for a pull out page (or more!) as you can see here with the Pretty Peacock pull out page poking out. Say that six times, hahaha!

Because this is an oversized paper bag it has an option for a pull out page (or more!) as you can see here with the Pretty Peacock pull out page poking out. Say that six times, hahaha!

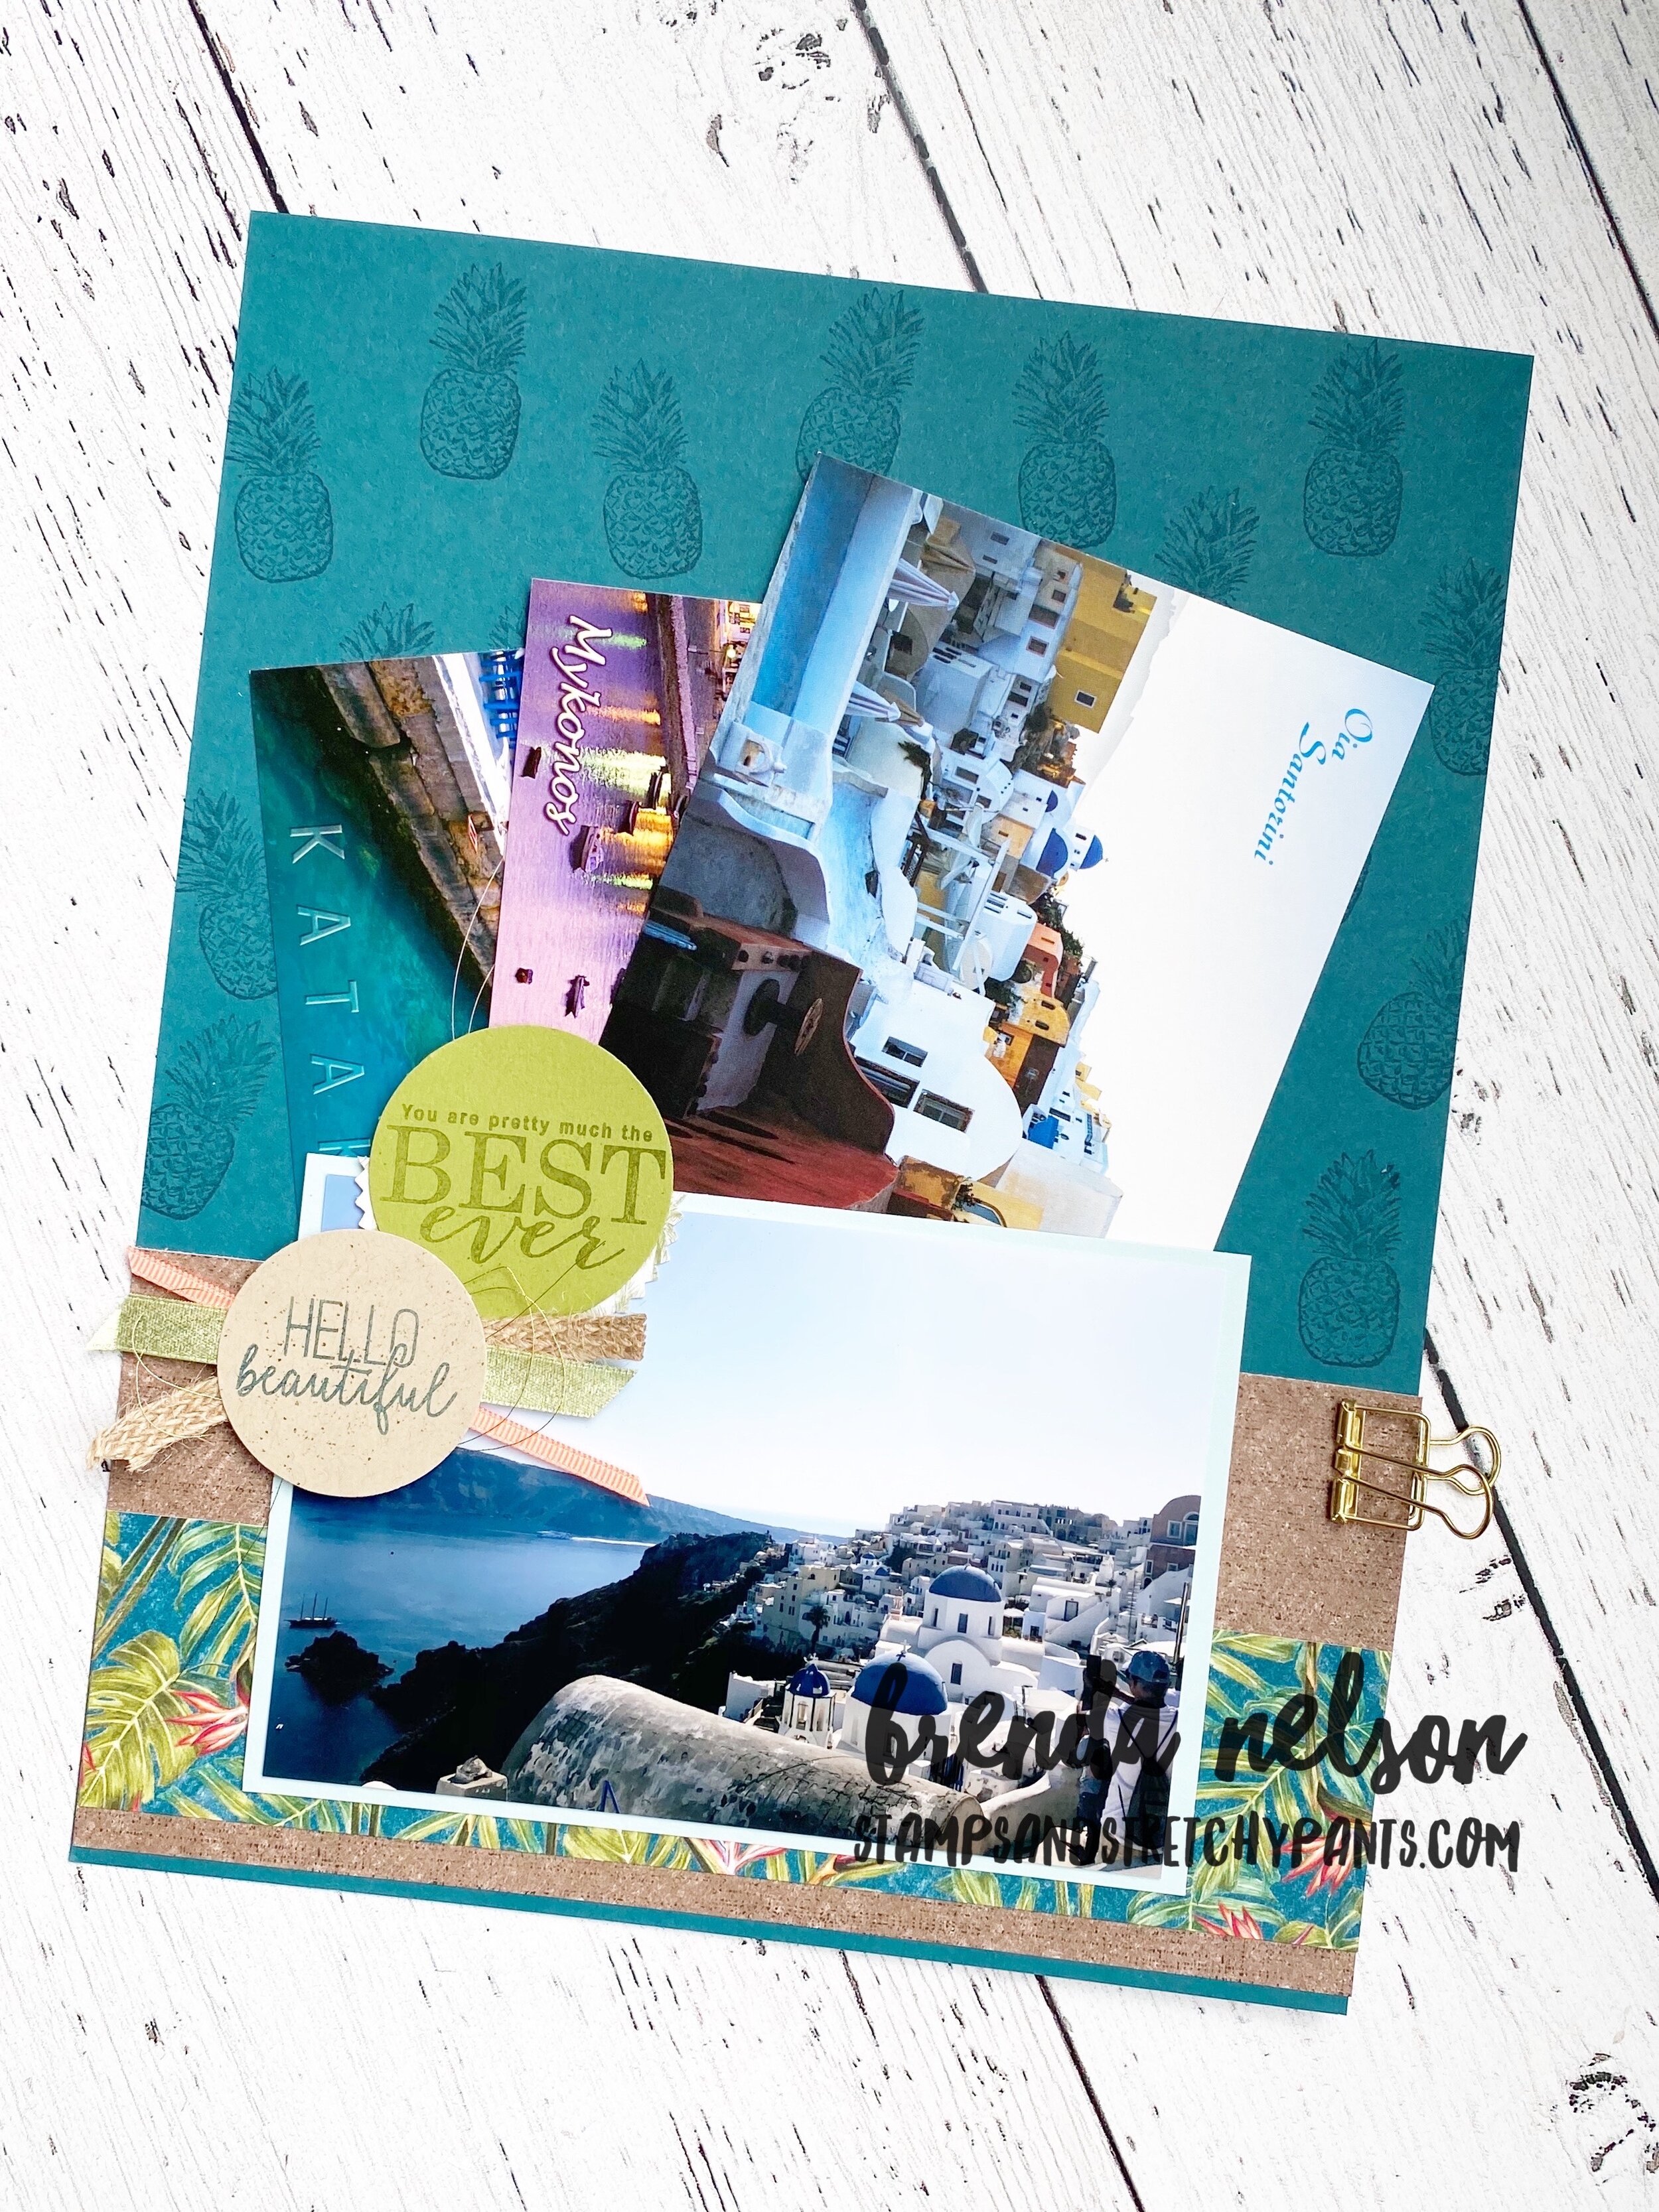
I decided to add another pocket at the bottom of this pull out page for more storage. I included one of my favourite pictures I took on this trip of the iconic blue roofs of Santorini, I still have to pinch myself that I was actually there! The stor…

I decided to add another pocket at the bottom of this pull out page for more storage. I included one of my favourite pictures I took on this trip of the iconic blue roofs of Santorini, I still have to pinch myself that I was actually there! The storage pocket allows me to add more postcards collected on this trip.
final 10.JPG

Ornate Garden Mini Album

When cleaning and reorganizing my craft room lately, I came across a mini album I had made a few years back and was inspired to recreate it with some new supplies. I used the Copper Dotted Treat Bags as the base. I love using a bag or envelope as a mini album base because it comes with built in storage for pull outs so to speak. I decided to use the Ornate Gardens Specialty DSP and colour palette to embellish my album. Of course you can use any DSP and coordinating colors.

To make this album you will need 5 Copper Dotted Treat Bags. This will allow you to have 8 pictures in your album as the cover bag does not hold any photos.

The spine to wrap around your album is a 4 3/4 x 4 piece of card stock scored @ 2 on the short side. I then ran each edge through the Ornate Layers die to give it a bit of detail. You can use a punch or any die to add a decorative edge. I stacked all of the bags together and used Tombow adhesive to glue the spine to the front and back bags. I then secured each inside bag with Tombow. The ribbon died around the spine is purely decorative, it does not hold anything together. It is the new Ornate Garden ribbon from the Ornate Garden Suite. It comes in a two pack with Old Olive and Terracotta Tile.

The outside photo mats are 4 1/4 x 4 1/4 so you can add a 4 x 4 photo to them. I always try and keep my measurements simple for my stampers. I then embellished each page with pieces of DSP and some floral images and sentiments that spoke to the pictures. The Gilded Gems are awesome and I couldn’t resist adding a few into the album. Overall, the album is very flat, I did not want a lot of bulk.

The pullout pages are 4 1/4 x 5 1/2 and I trimmed the photos to fit. I added tabs using the Circle Tab punch in Whisper White so they blended into the album. And I kept all of the embellishments flat (no dimensional, a real challenge for me!) so they could slide in and out of the album easily.

I chose a sentiment for the front that was neutral for whatever photos I wanted to add to the inside. It is from the Capture the Good stamp set in the Idea Book & Catalogue. I layered it with some circle punches and the Label Me Lovely Punch (from the Occasions Catty).

final.jpg
final.jpg
This album features photos from our Nelson Family camping trip each summer to Greenwater Lake, Saskatchewan

This album features photos from our Nelson Family camping trip each summer to Greenwater Lake, Saskatchewan

final.jpg
This image shows the pullout pages that are tucked inside the Copper Dotted treat bags

This image shows the pullout pages that are tucked inside the Copper Dotted treat bags

I used a mini stapler to secure the tab punches to the base so there was no risk of them tearing free

I used a mini stapler to secure the tab punches to the base so there was no risk of them tearing free

Joy of Sets Blog Hop--April!

fullsizeoutput_11638.jpeg

Welcome to the Joy of Sets Blog Hop for April! Thank you so much for hopping on over to see what we are all up to this month—the theme is BIRTHDAY! Now I could have made a birthday card, but instead I decided to create a scrapbook page of my most recent birthday in January. I had a fun girls night in playing games, eating and drinking Prosecco!

The color pallet for this page was inspired by my birthday cake, however I knew that I also needed to keep it neutral to coordinate with what we are all wearing. And YES, I design my pages around my photos. I typically do not create a page without a photo and I use the subject matter and colors to dictate my color pallet choices. stamps and embellishments.

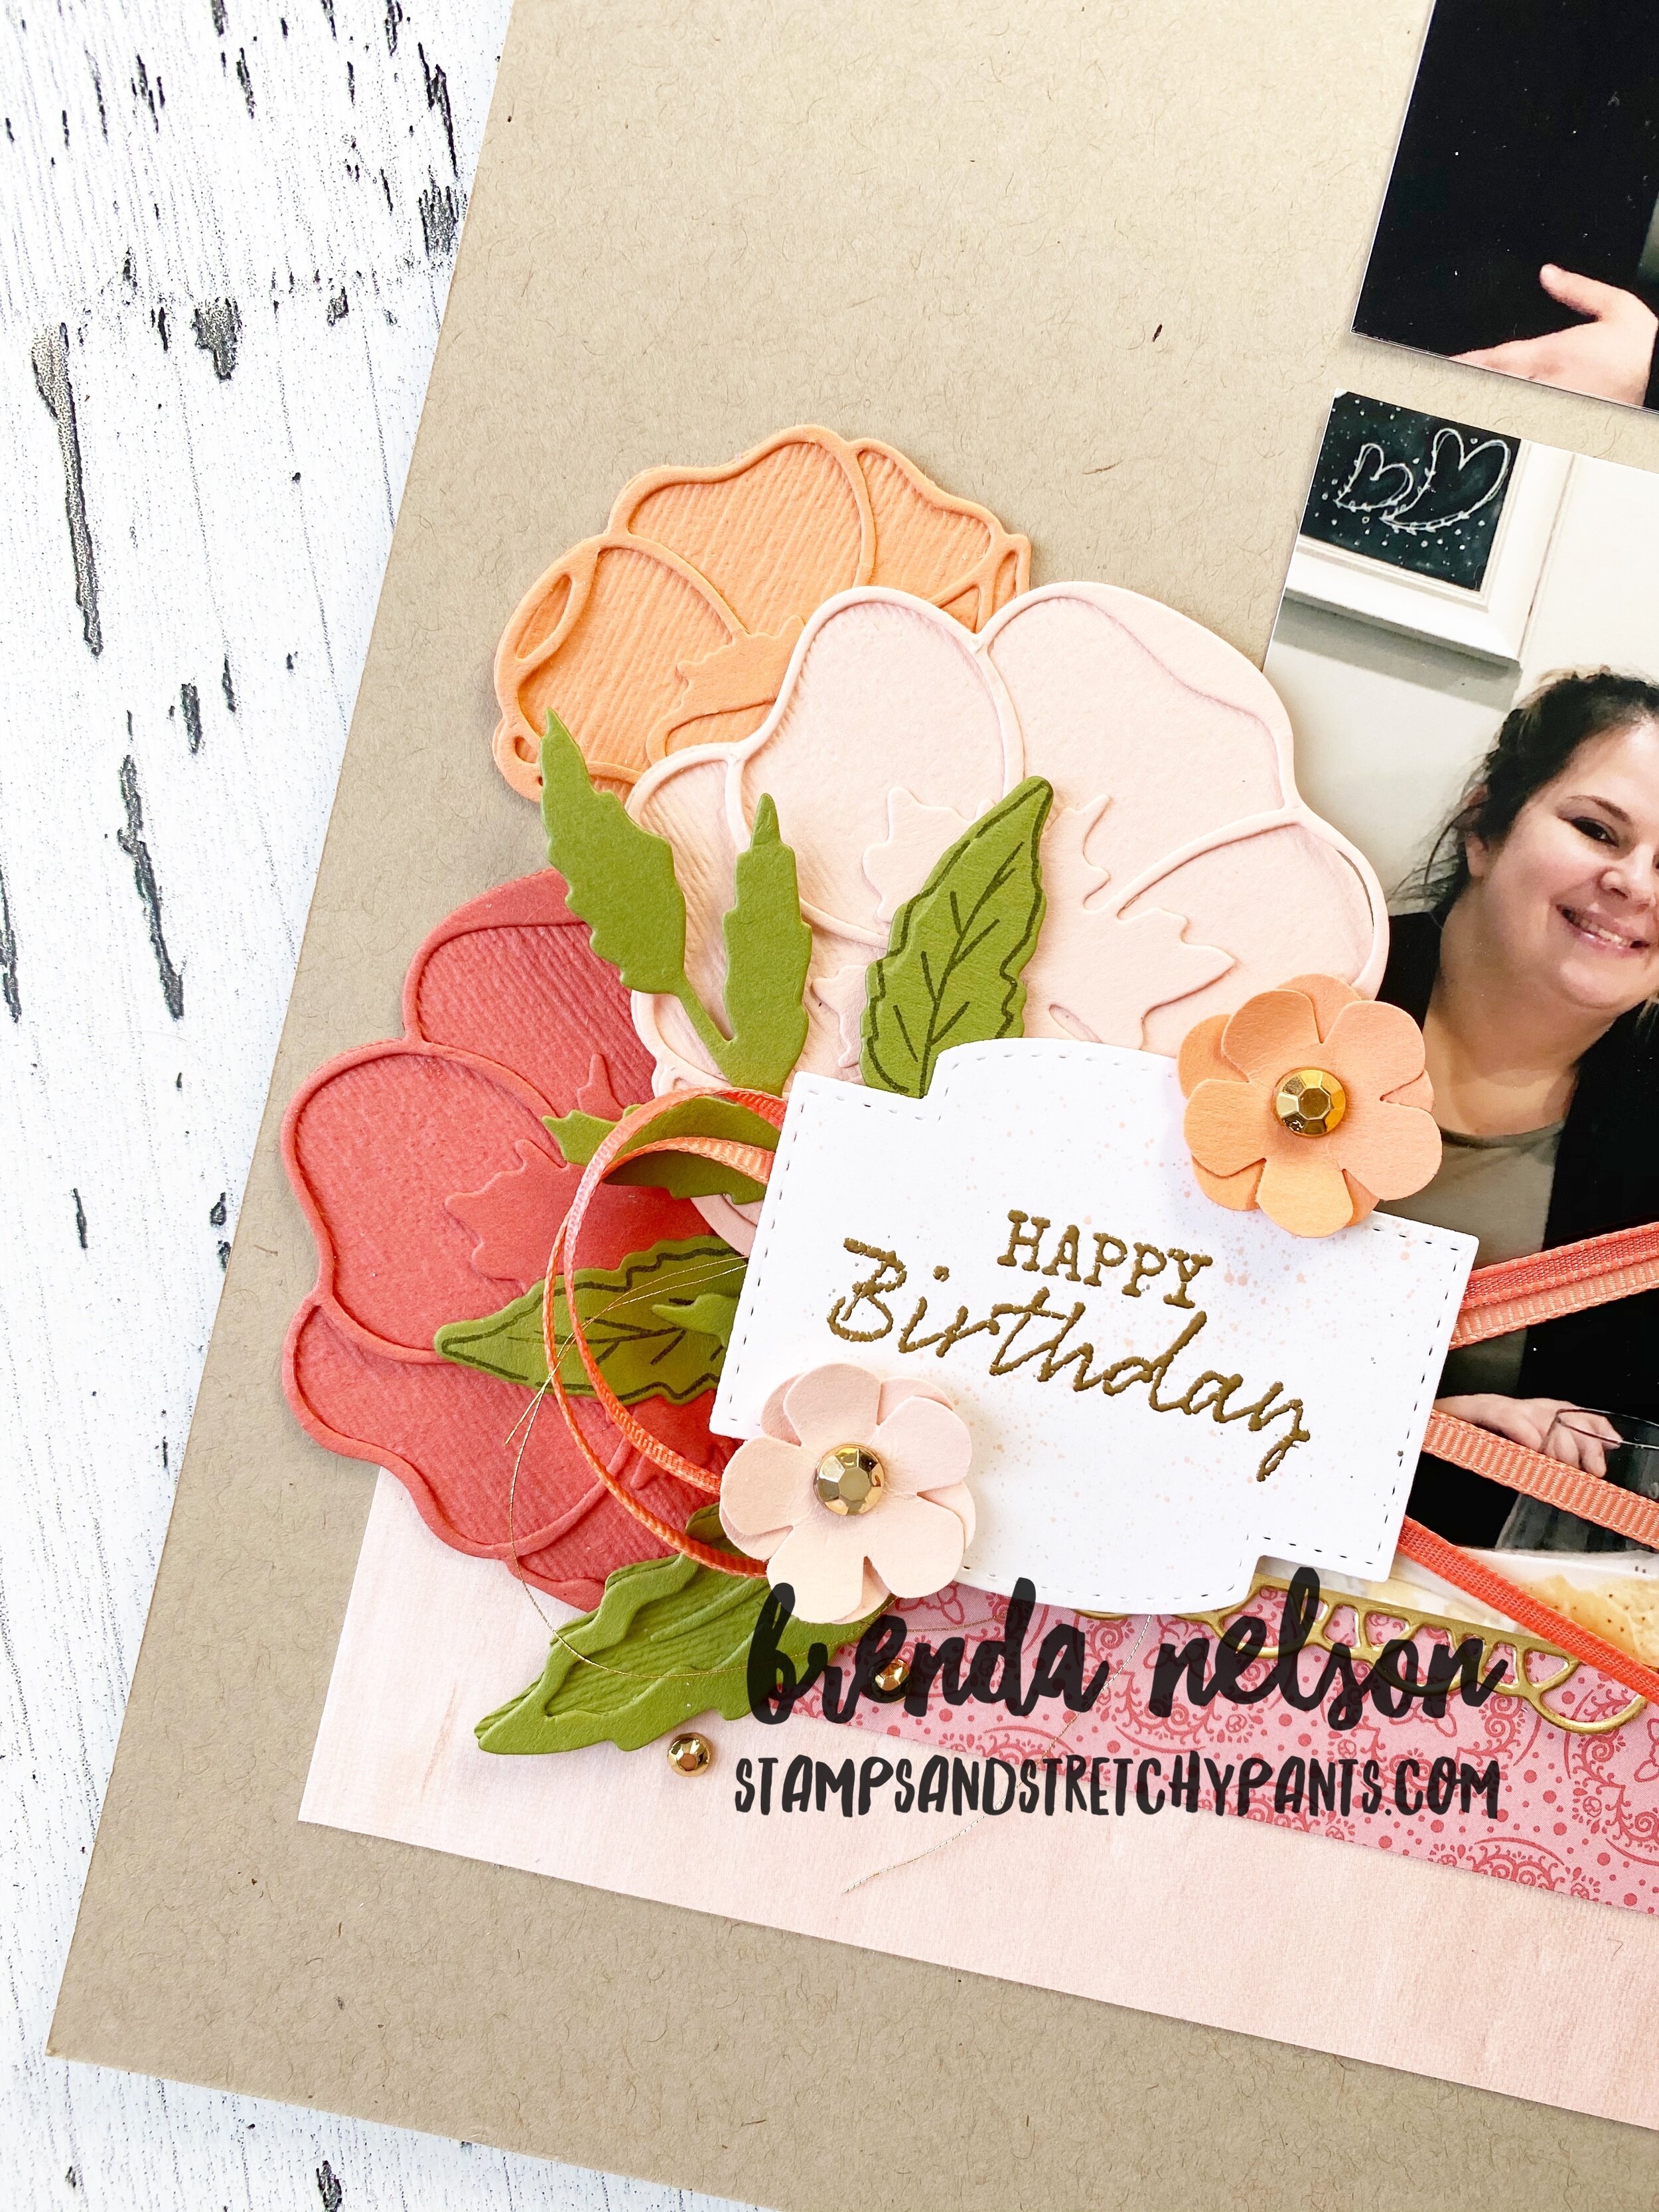
On this page I have used some current popular product, the Poppy Moments Dies, along with a stamp set from the Annual Idea Book & Catalogue—Seaside Notions. I used some up and coming new products too—the DSP strip right below the bottom photo is the new Ornate Gardens Specialty Designer Paper and I added in some Gilded Gems from this product suite as well.

One fun tip for when using the Poppy Moments Dies is to keep them tone on tone. I ran the base of the flowers through the Subtles Embossing Folder (found in the Idea Book & Catalogue) and it gives it just the right amount of texture.

The colors I used on this page are Crumb Cake, Petal Pink, Grapefruit Grove and Terracotta Tile with gold accents.

This page didn’t not take long to put together and can easily be recreated using different DSP and even different flower dies! I hope it inspires you!

Happy 44th birthday to me!

Happy 44th birthday to me!

In this photo you can see the detail the Subtles Embossing folder gives to the flowers, I think is perfect! And those new Gilded Gems—on point!

In this photo you can see the detail the Subtles Embossing folder gives to the flowers, I think is perfect! And those new Gilded Gems—on point!

Please visit Sue Allen’s blog next on the hop!

Next Blog

Around The World Blog Hop--April

I am so excited to be participating in this BRAND NEW international blog hop started by the amazing Angie McKenzie. Her faith in my technical skills is beyond admiration! You may also see this new blog hop being referred to as ‘aWOW Blog Hop’. We will be posting monthly on the second Wednesday of each month!

The theme for our inaugural hop is ‘Must haves for your creativity’…I thought about this quite a bit and finally settled on ‘things I can colour with’…so my project includes two colouring tools—the classic Stampin’ Write markers and the newer Stampin’ Blends.

IMG_1266.JPG
I love the soft watercolour wash in the background of these cards and the fact that every single one is unique and special. I used the Under My Umbrella and Fable Friends stamp sets and coloured the images with Stampin’ Blends. I did add Wink of Ste…

I love the soft watercolour wash in the background of these cards and the fact that every single one is unique and special. I used the Under My Umbrella and Fable Friends stamp sets and coloured the images with Stampin’ Blends. I did add Wink of Stella on top of the flowers, its another crafty must have in my Home Studio!

The water-colour wash in the background is actually one of my favourite techniques and one that I pull out of my technique closet from time to time. Its actually a great technique to share with beginner stampers as they only need our classic Stampin’ Write markers and either water-colour or shimmery white paper. In my samples I used water color paper. I also used a cello bag as the transfer piece. You could use a window sheet as well, but a cello bag is much cheaper and chances are even a new stamper will have one of these lying around.

The first step as illustrated in the first picture is to gather all of the supplies. Stampin’ Write markers of your choice, a spritzer tool with water, a cello bag or window sheet (if using a window sheet cut it to the same size as your base), and a piece of water-colour paper or shimmery white (regular white card stock is too thin to absorb as of the moisture). You may also want to have a tissue handy to blot up any excess water.

Color each marker in a diagonal line across the cello bag.

Spritz the cello bag with water.

Press the water-colour paper onto the cello bag and let sit to for a few moments to absorb the color. When removing, have a tissue handy to soak up any loose water.

And that is it! Easy peasy and creates such a wonderful background!

Next Blog
Click here to visit the amazing Tricia Butts in the USA!

Click here to visit the amazing Tricia Butts in the USA!

Hershey Nugget Treat Holders

I wanted to create some cute little Hershey Nugget treat holders to pop into my customer order bags this month. This is something I want to be more consistent with as I truly do appreciate their ongoing support! I did a quick Pinterest search and found these little guys! I also wanted to use up some so retired products as well, so you may notice sold old favourites on this project!

You really could modify the measurements on the nugget holder for any size treat you like. However, for the nugget holder here, cut your card stock to 3 3/4 x 2 1/2 and score at 1 1/2 x 2 1/4 on the long side. I then cut some DSP (this is the Flowering Foils DSP that was recently available through Sale-a-bration) to 1 1/4 x 2 1/4 and in this case I actually foam brayered over top so the color would match!

You can use one of the stitched rectangular framelits to cut DSP to wrap around the nuggets and adhere with Tear & Tape.

Then simply tie the nugget holder closed with some ribbon and add a tag and voila! Easy peasy treat holder!

The sentiment Happy Spring is from the Fable Friends stamp set found in the Idea Book & Catalogue.

These cute and easy treat holders were a good way to use some Sale-a-bration items and retired products!

These cute and easy treat holders were a good way to use some Sale-a-bration items and retired products!