So Glad We Are Friends!

Hey friends! I really do appreciate you checking out m blog! I really do hope it is inspiring you to be creative! And I you haven’t been over to my Lifestyle tab, you should check it out, especially my Favourite Recipes section as I have shared a lot of my family’s favourite recipes over there! I highly recommend the Oreo Popcorn, it would be a fun snack to make with your kids!

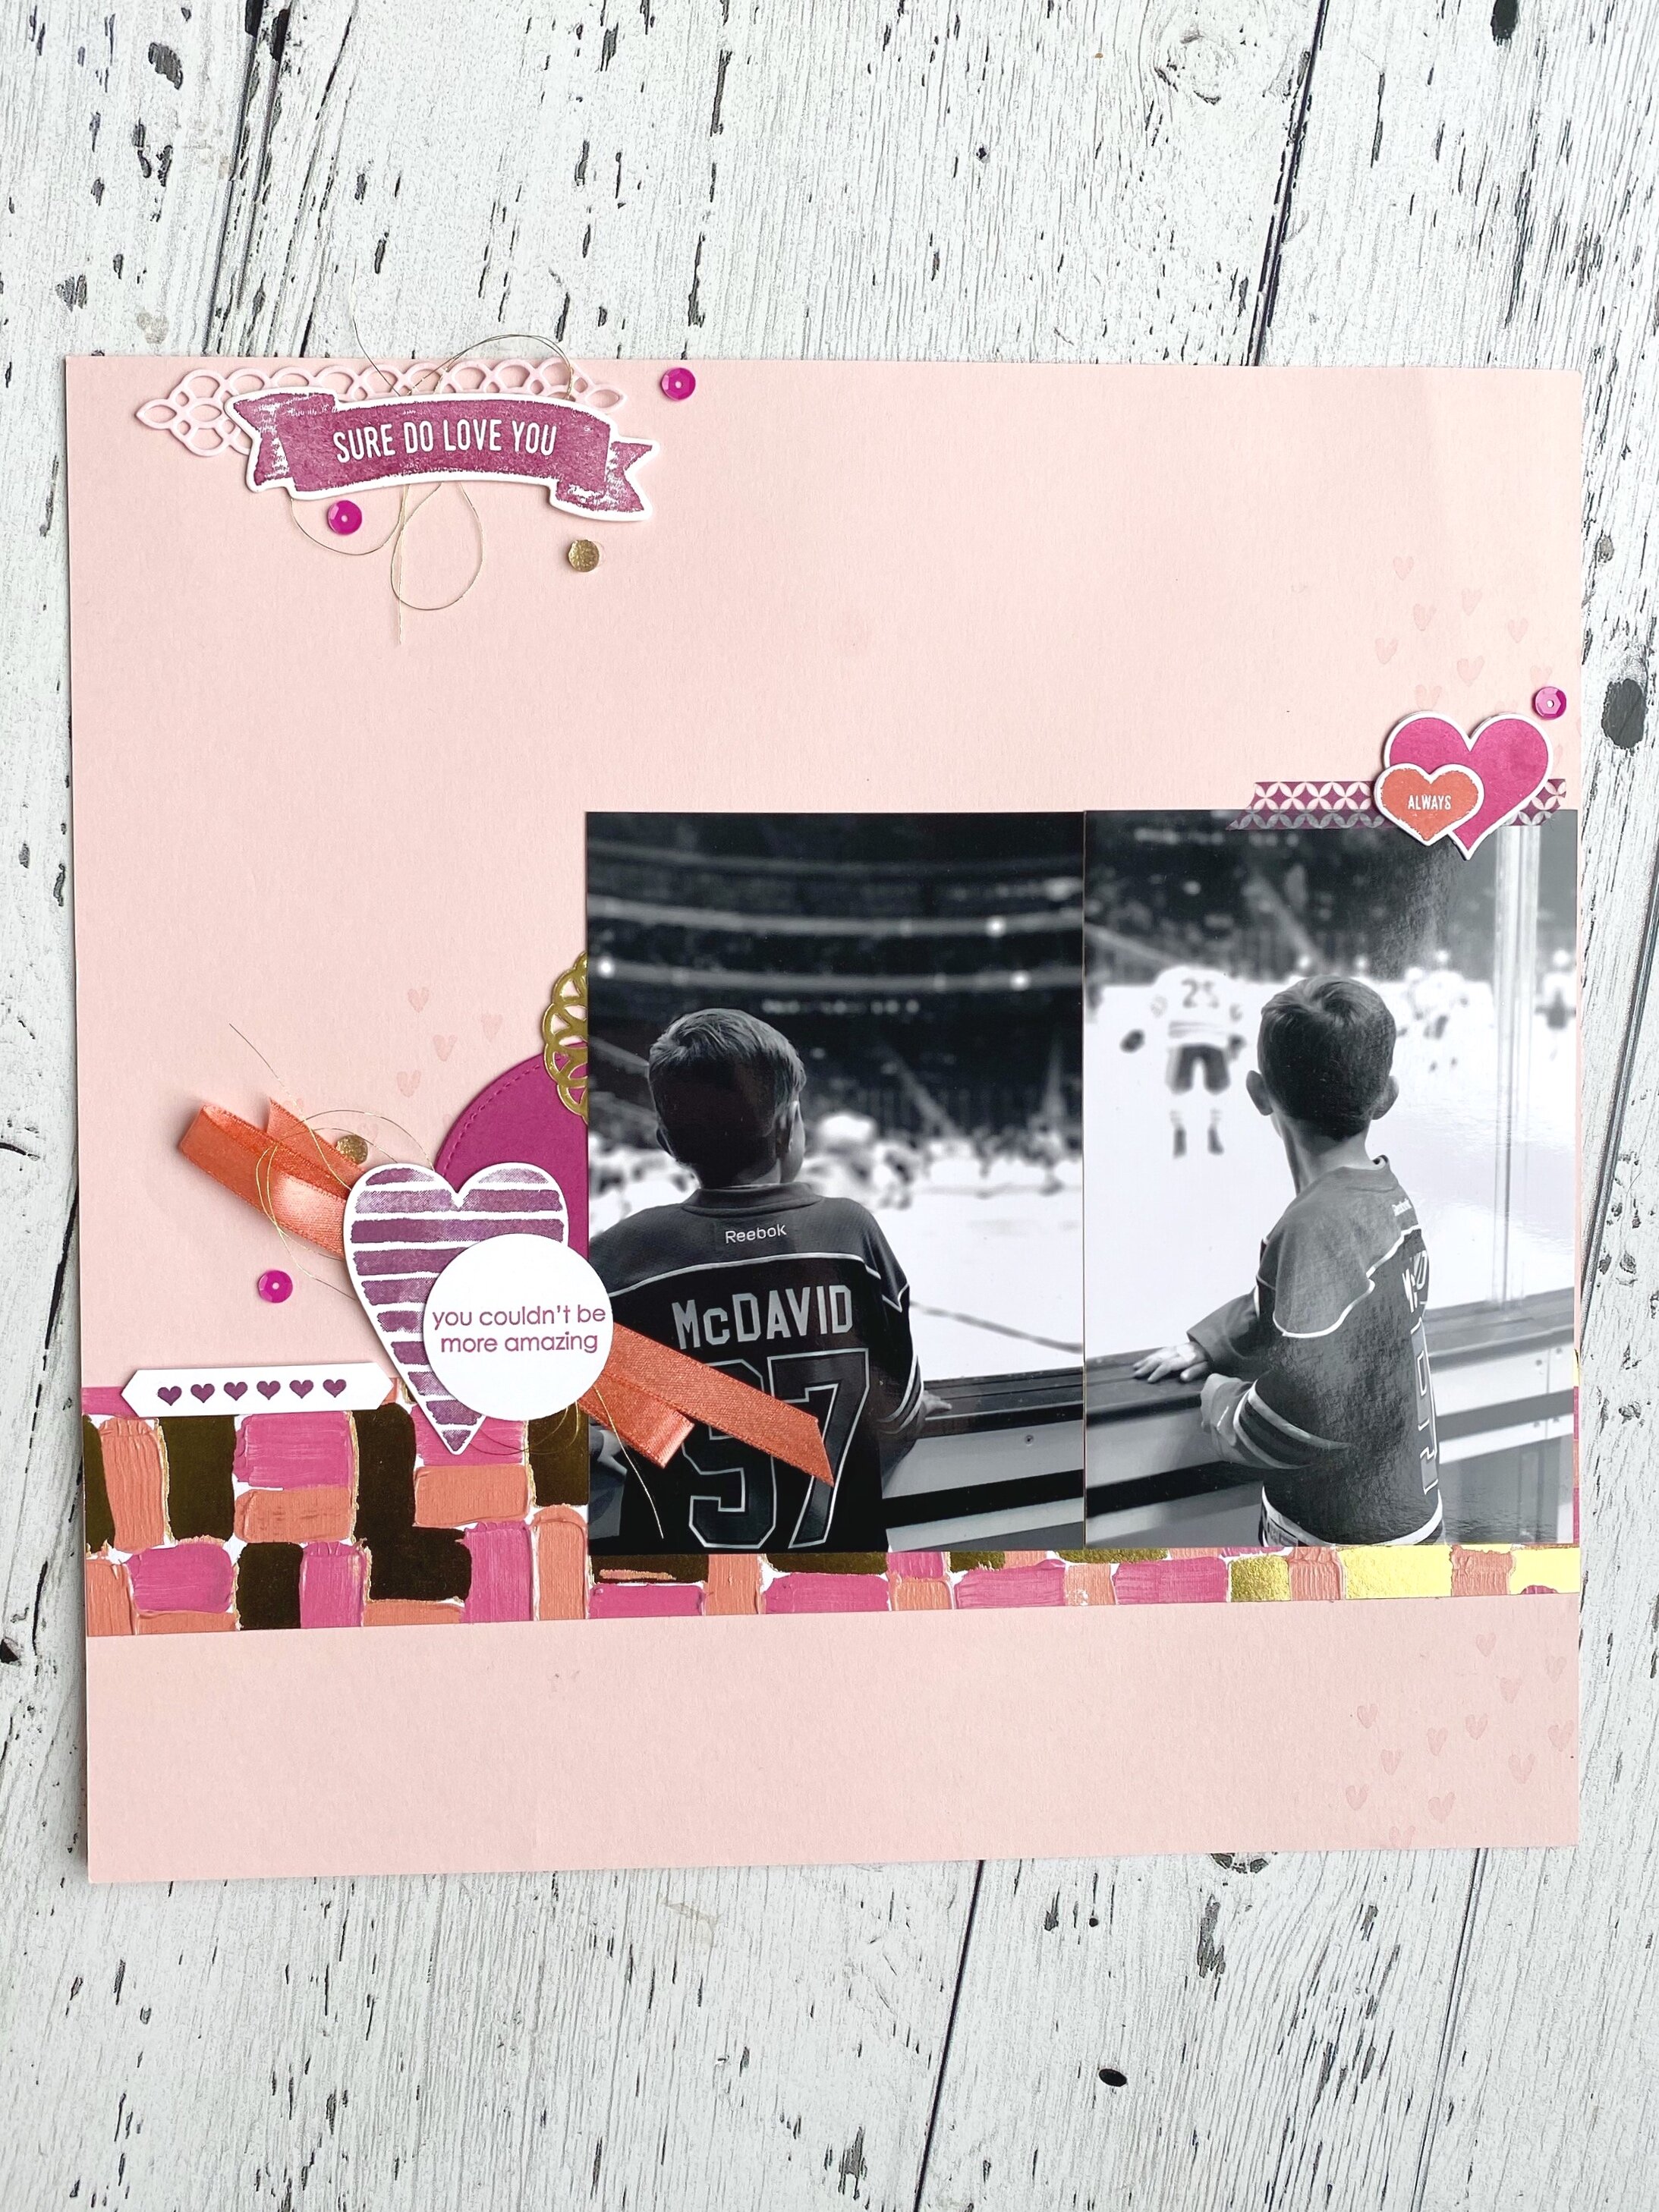
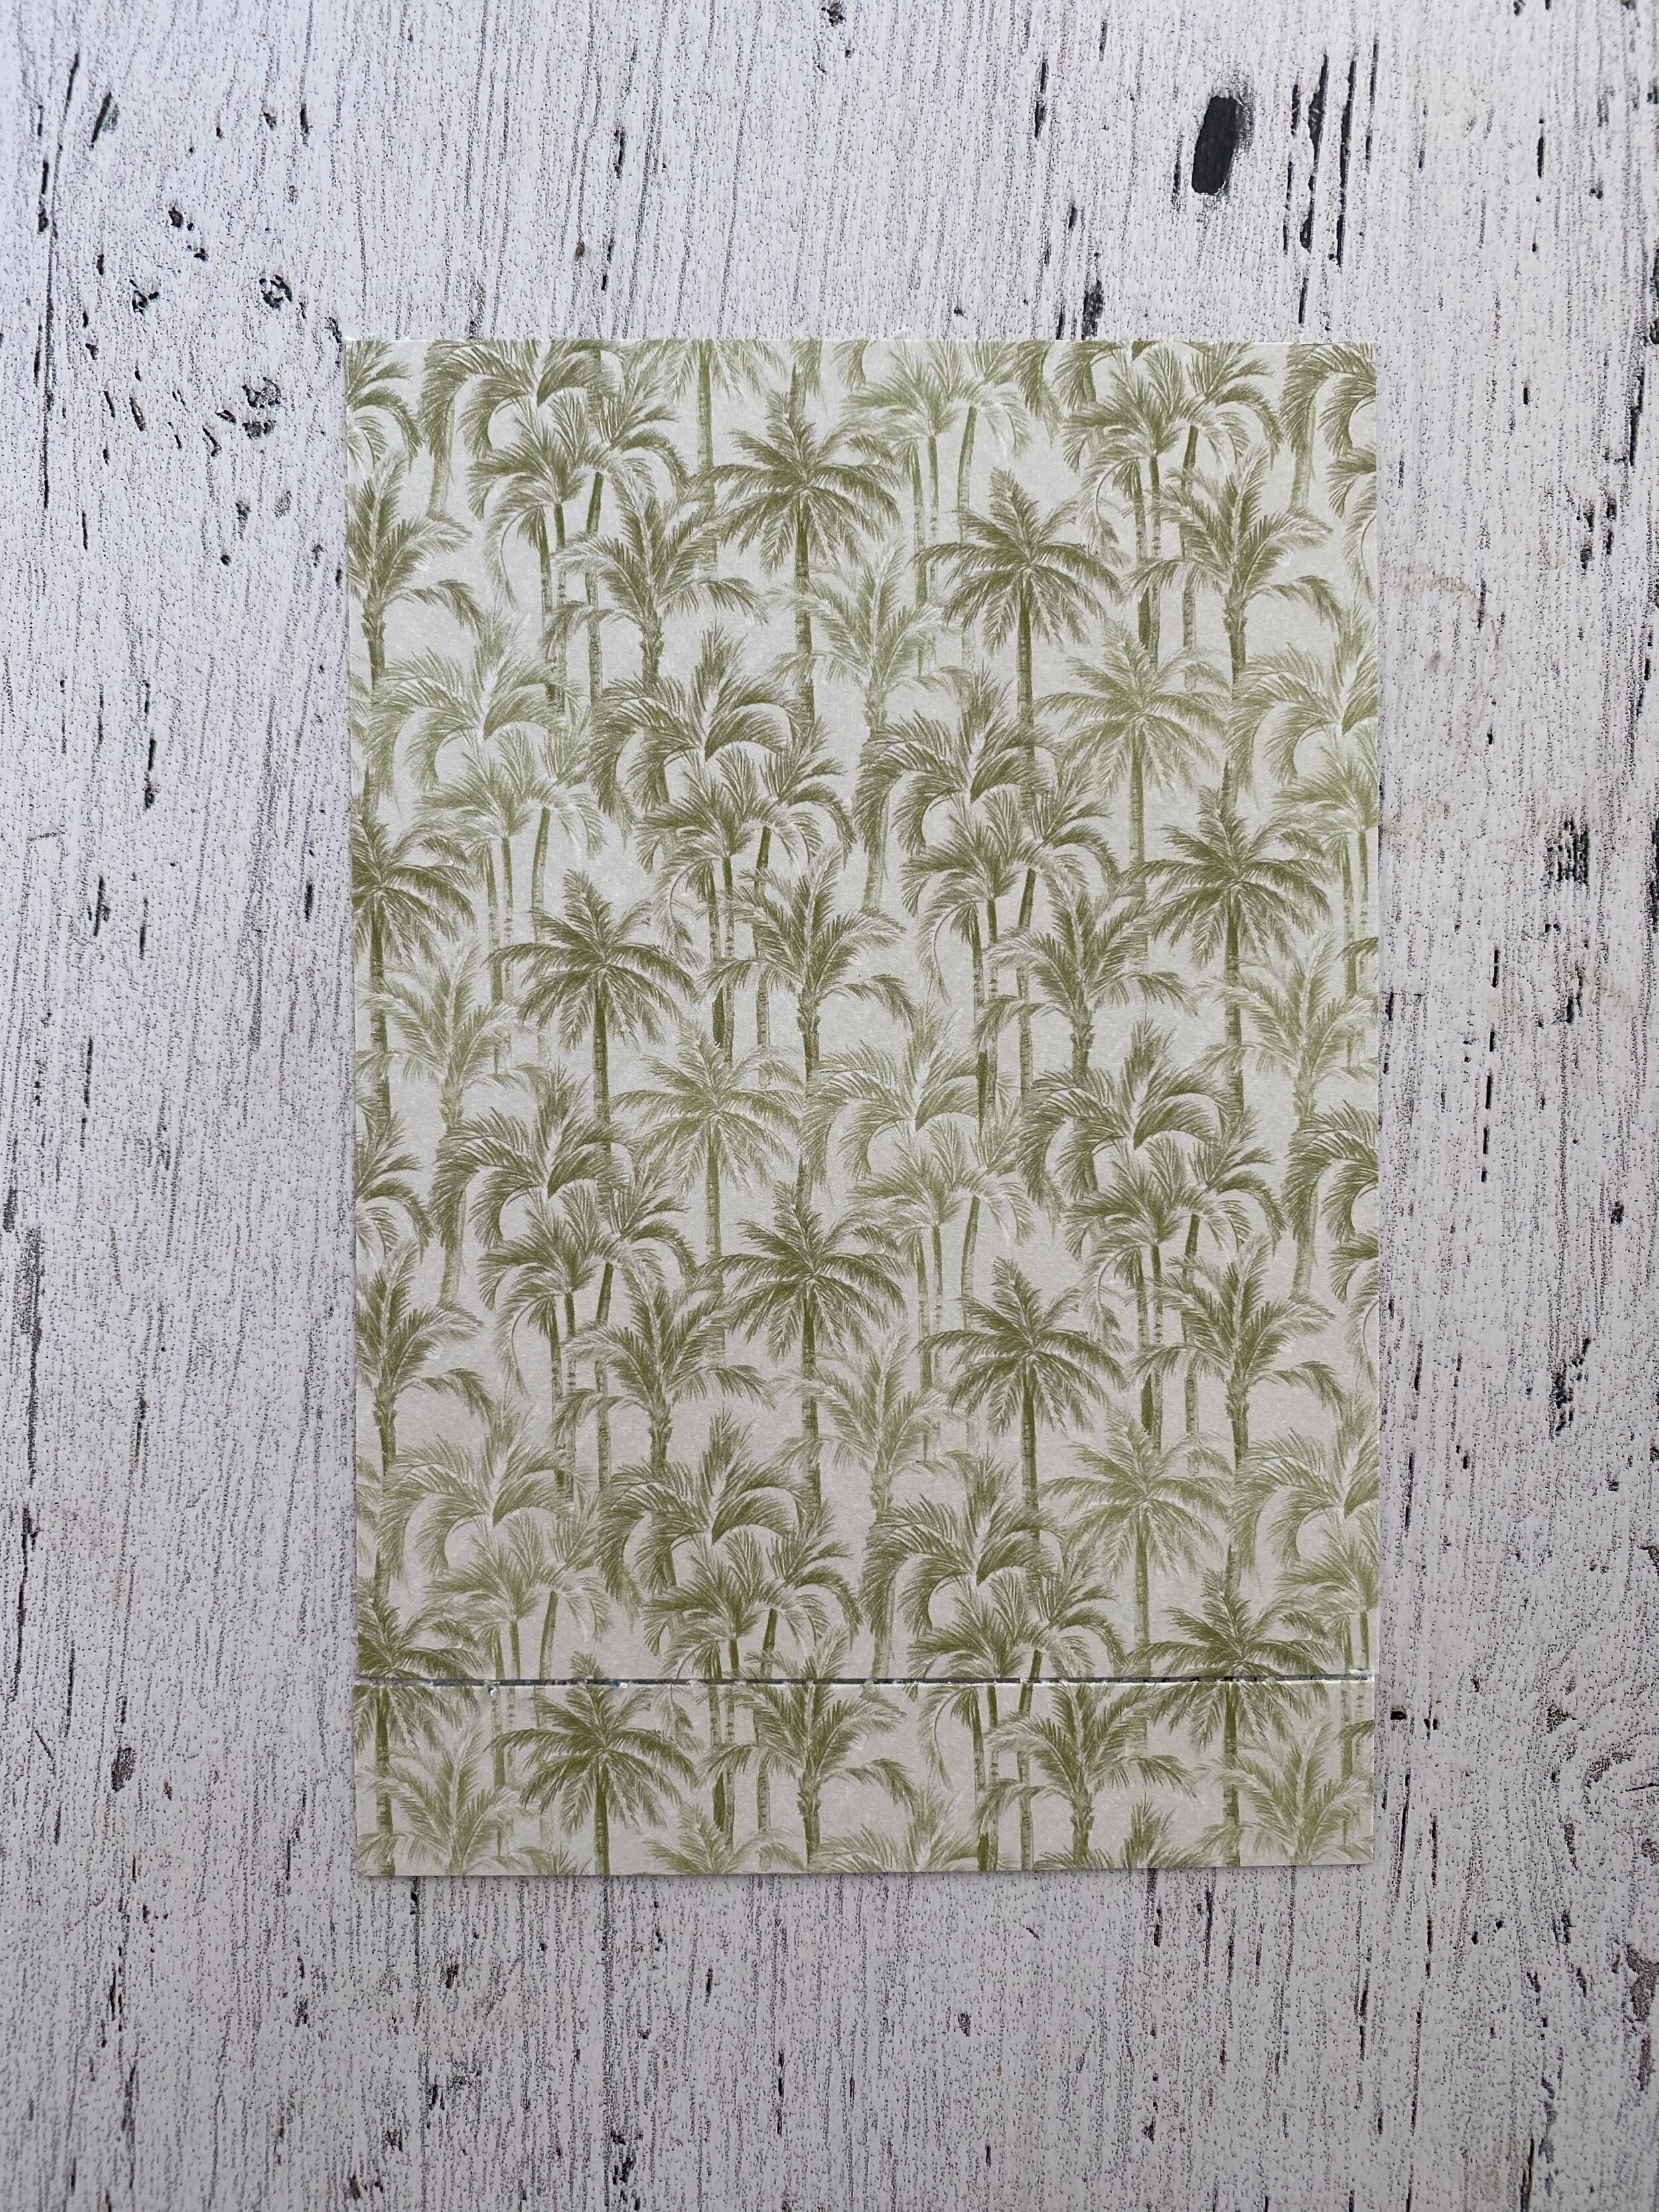
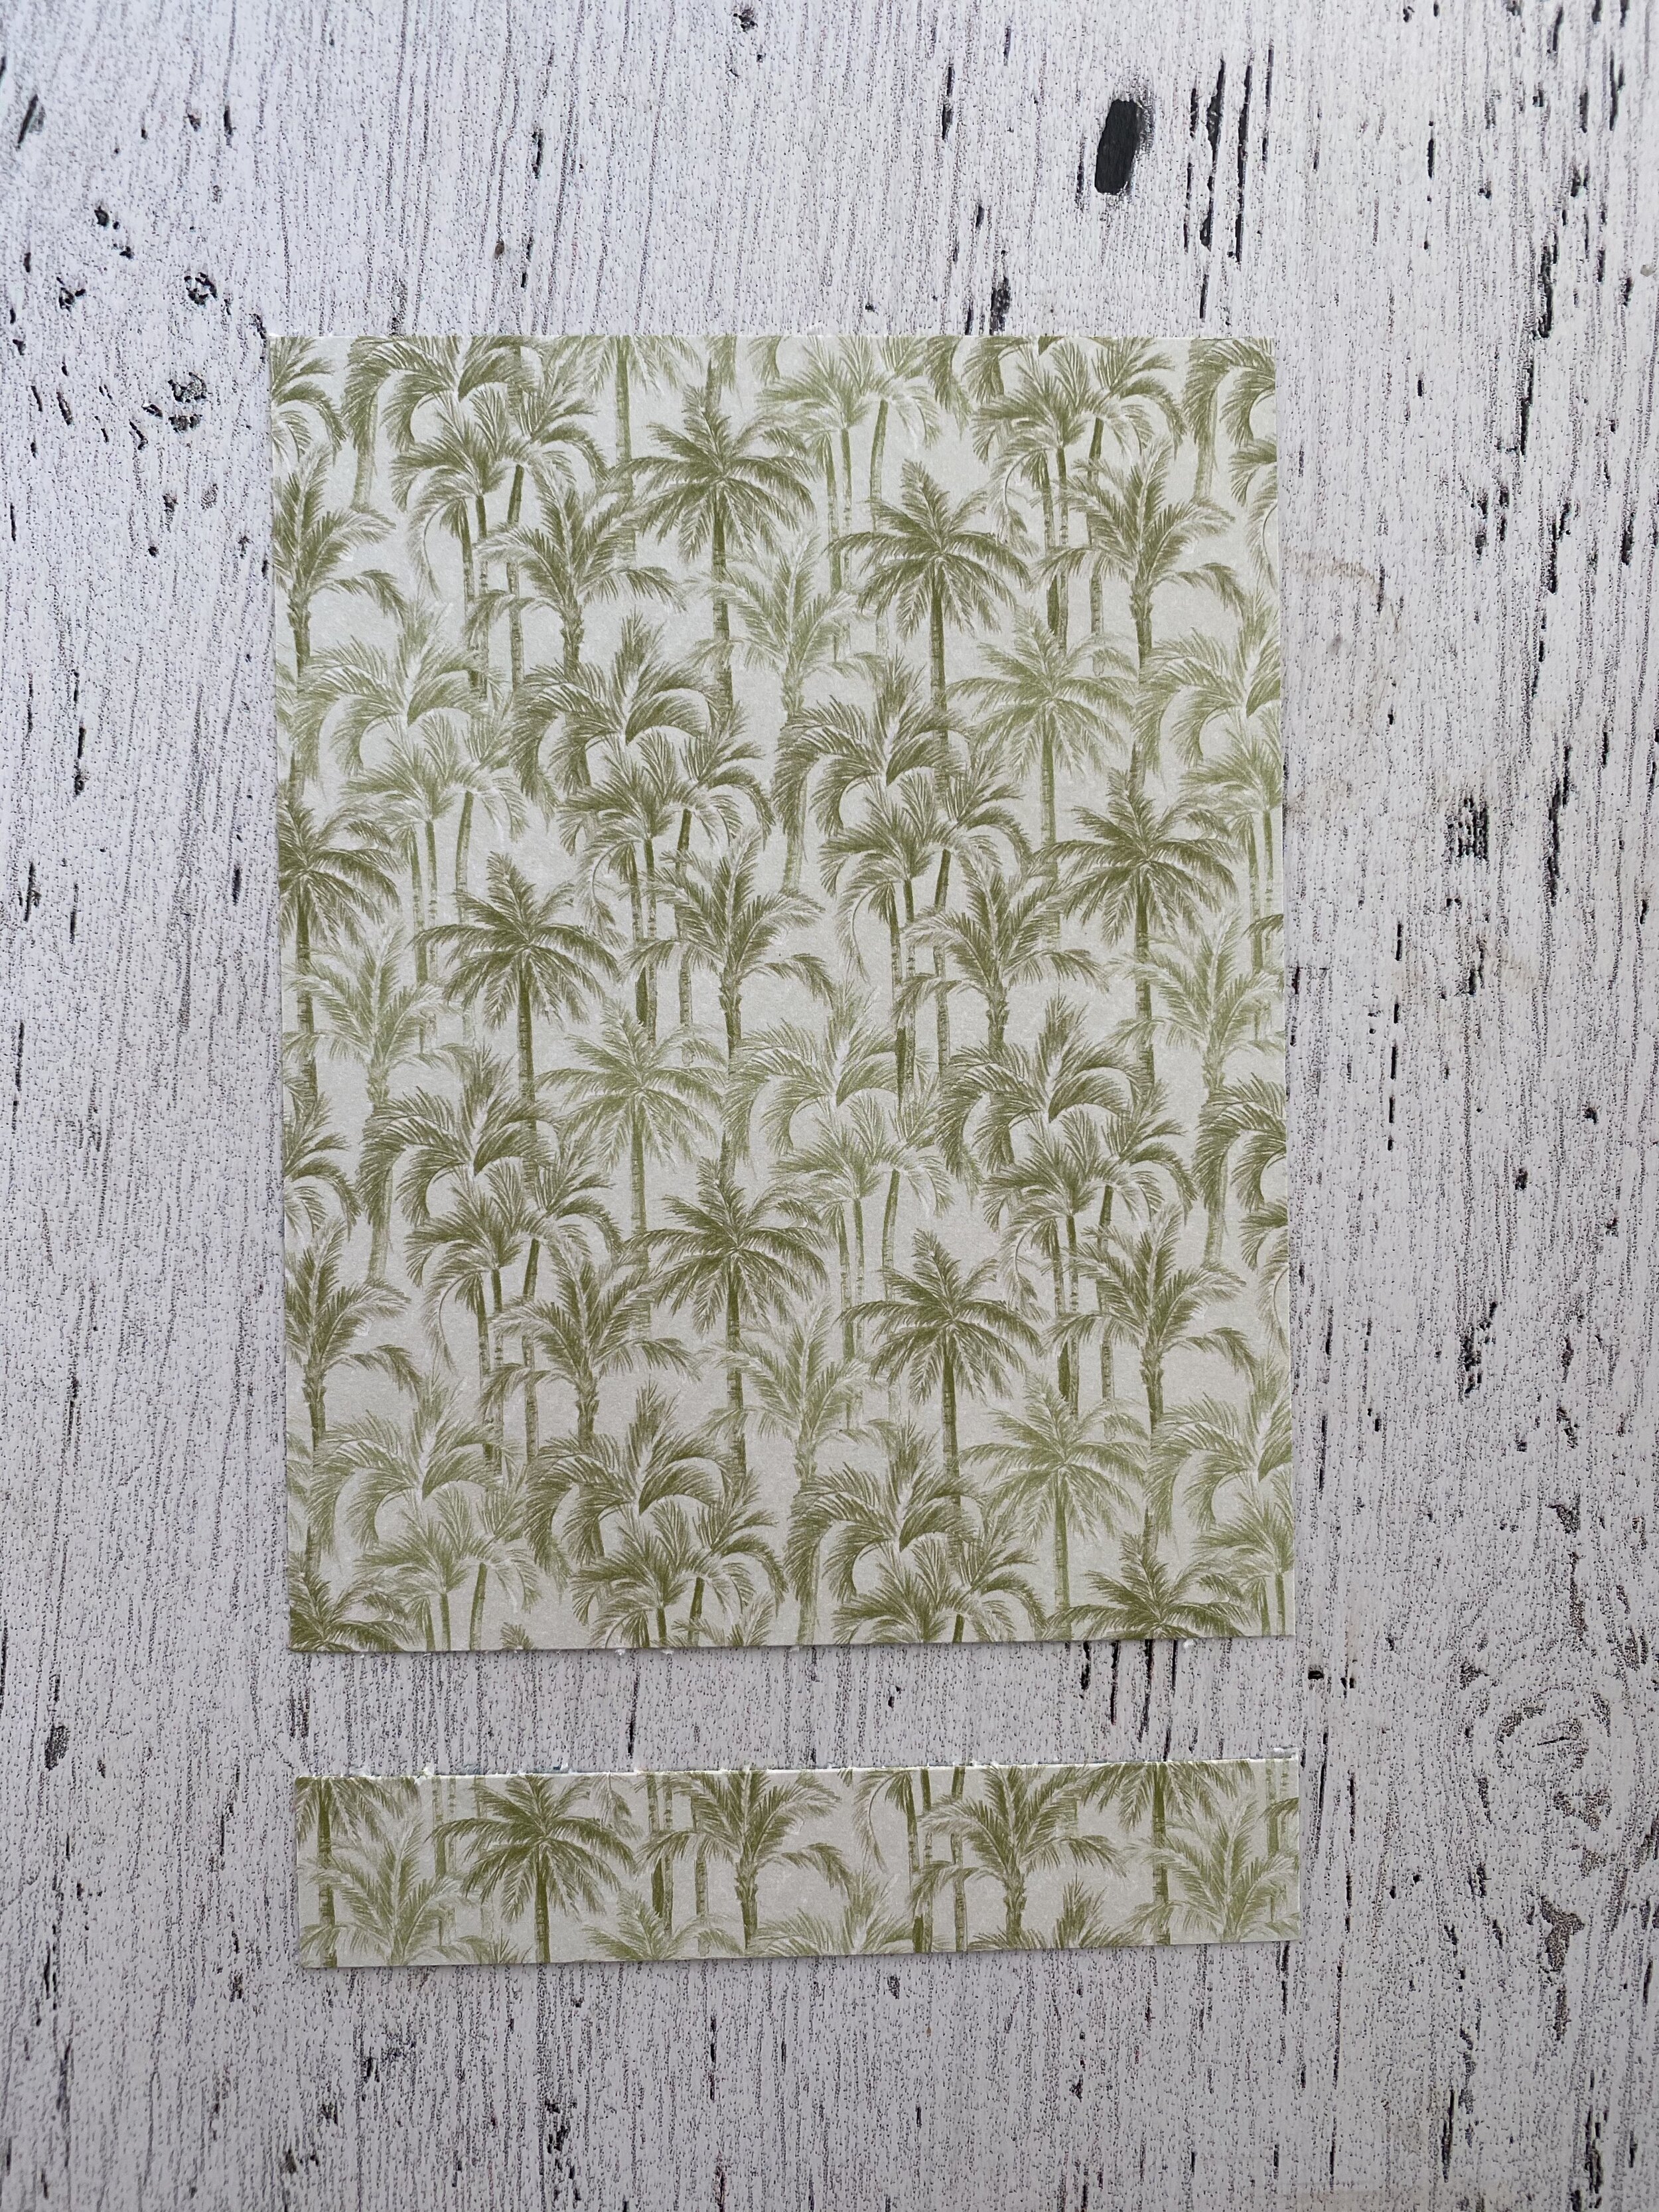
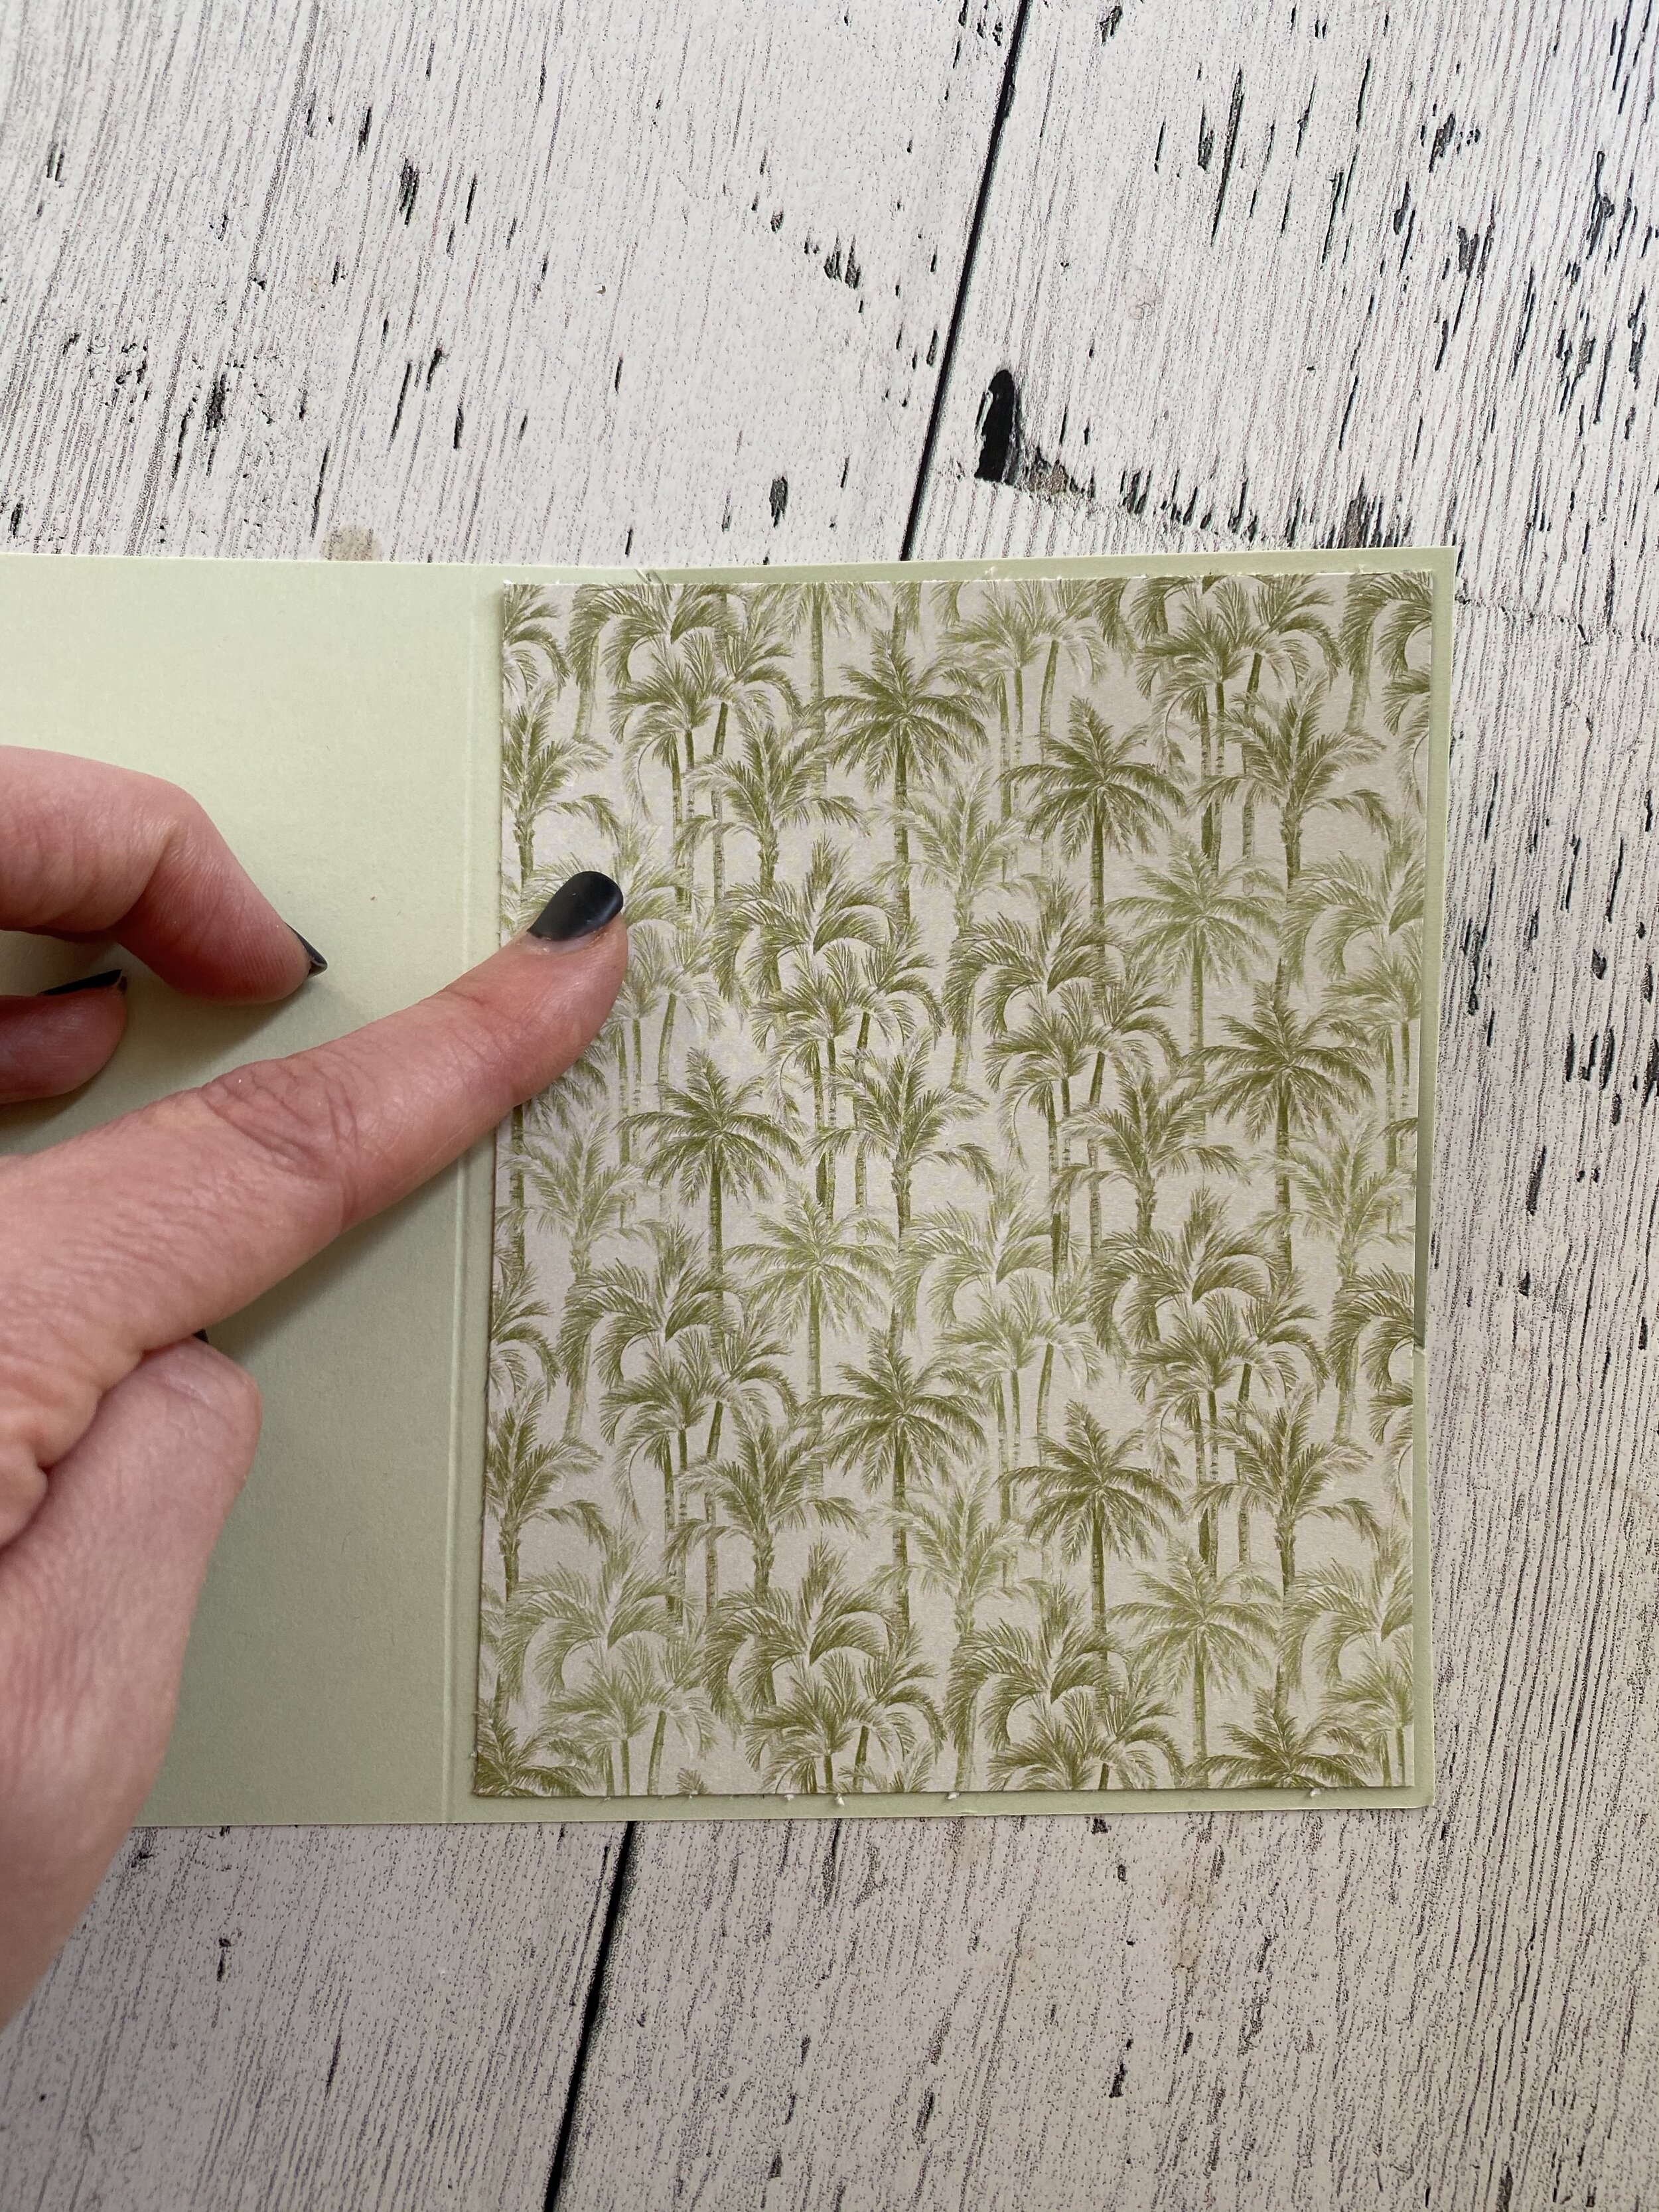
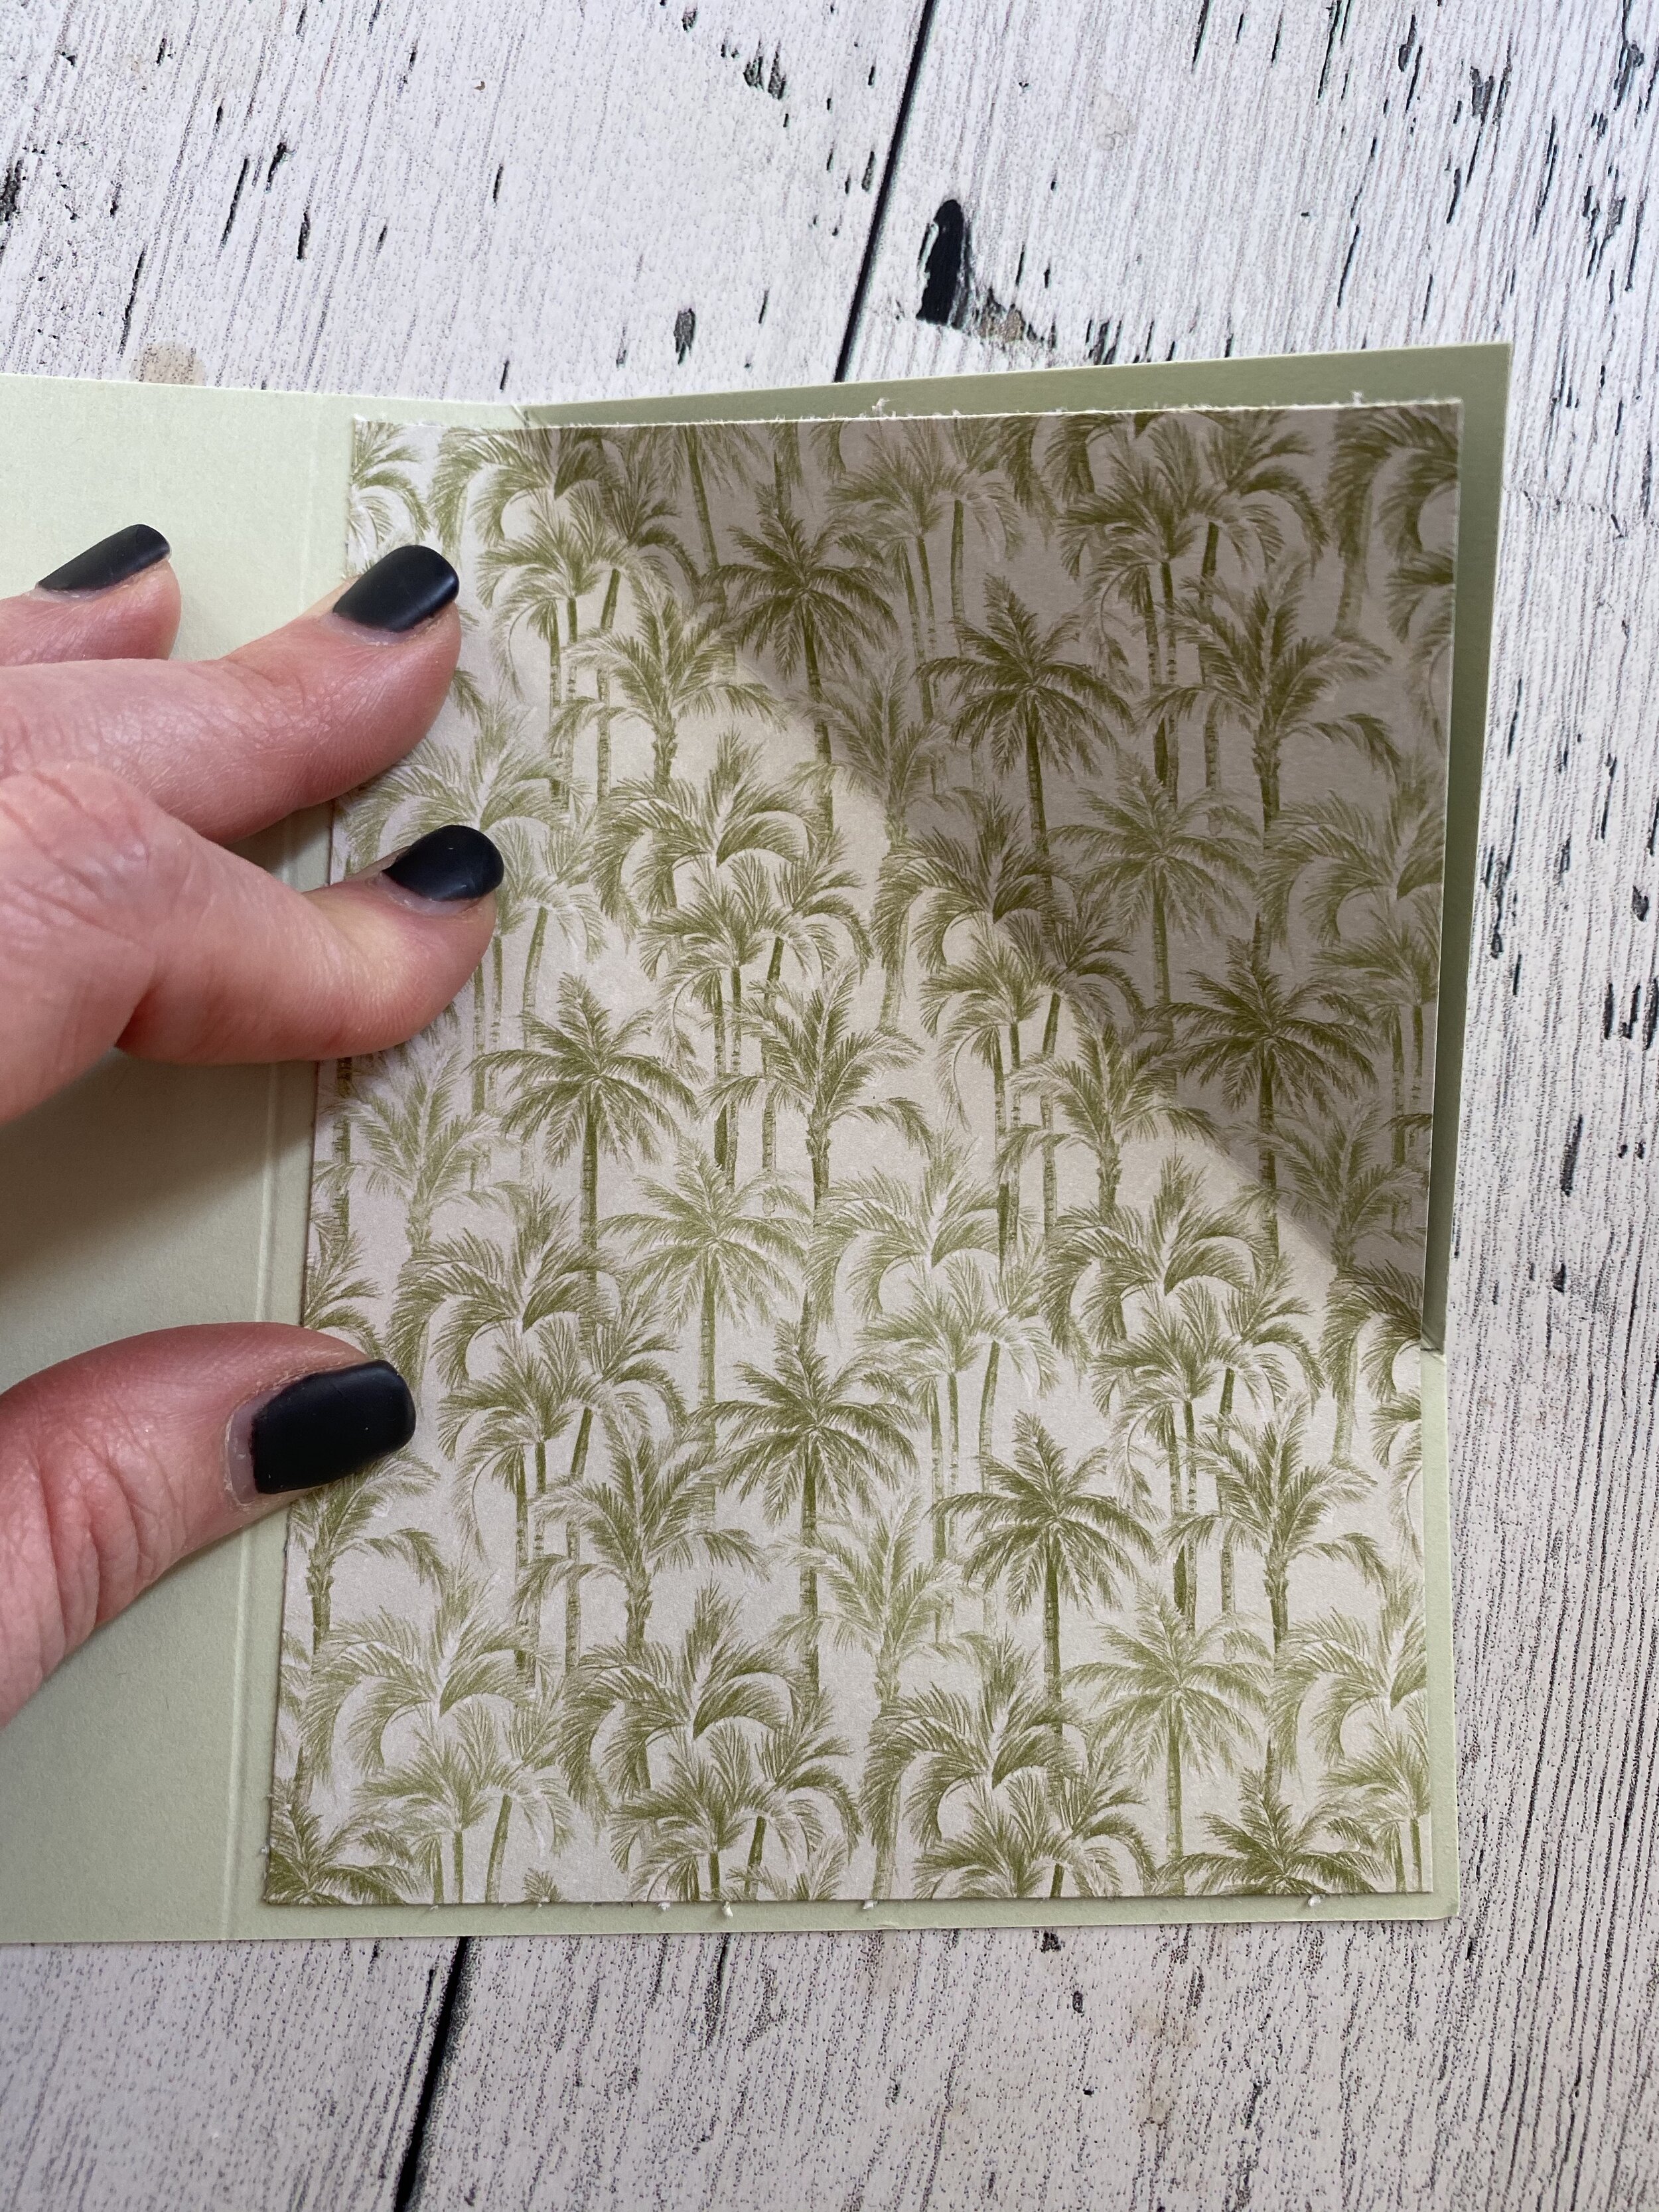
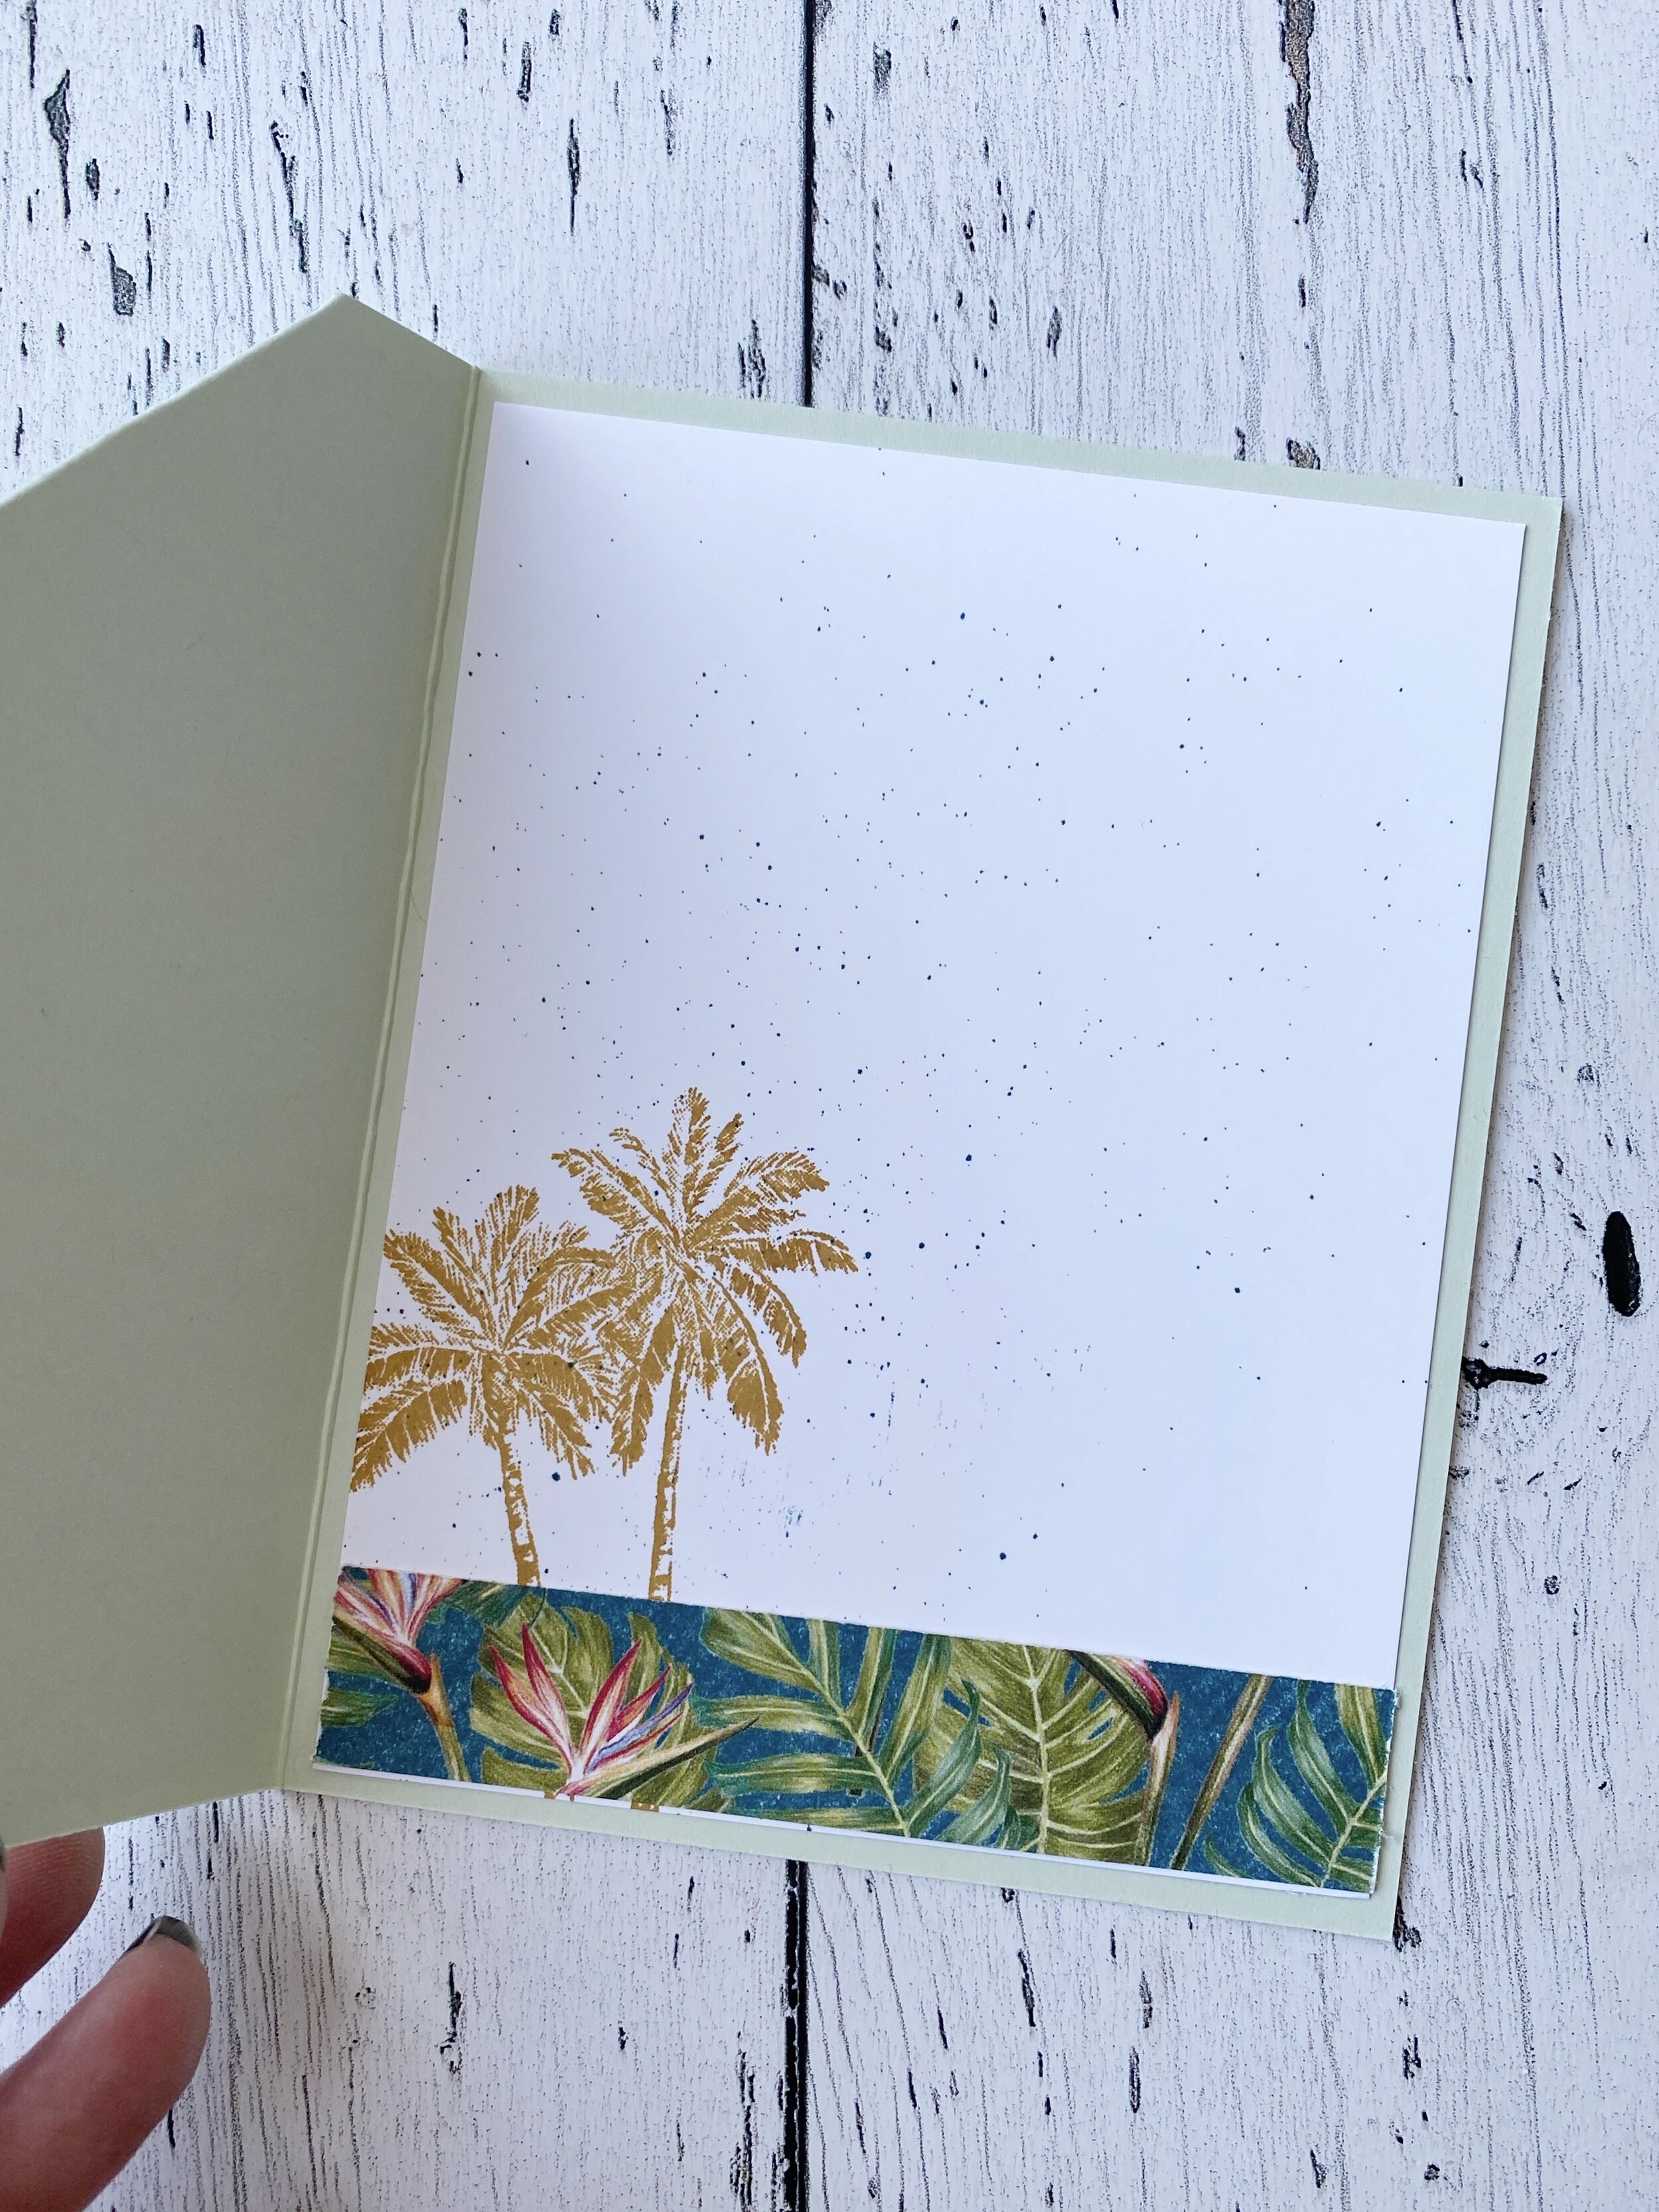
I just wanted to share this card with you today to let you know that I am truly loving, missing and appreciating all of my friends. I cased this card right from the Idea Book & Catalogue because I was wanting to do some therapeutic colouring. I features the Fable Friends stamp set that I coloured using Stampin’ Blends. I had to use the chubby tip because the images are quite tiny and detailed.

fullsizeoutput_115ea.jpeg

Dino Days!

I don’t know what it is about this cute little T-Rex but wouldn’t you be happy if he came in the mail? He is just too cute! I created a bunch of these cards for my stash and thought it was fun to share, especially because they feature two products that were recently available with Sale-a-bration, and therefore might be in your craft stash!

The card features the Dino Days stamp set and no I did not use my dies to cut them out. Why? Well because I stamped his spikes on his back…and to use the dies, you actually have to stamp them separately to cut them out. Ooopsie! Luckily for me, I have TIME on my hands so I didn’t mind fussy cutting this little guy out. The Happy Birthday sentiment is from the Welcome to the Team stamp set. Both of these stamp sets are in the Idea Book & Catalogue!

I ran the Whisper White base through the Stone 3D embossing folder and covered it with a strip of the Dinoroar DSP. The Old Olive label is cut from the Stitched So Sweetly Dies, and I used the edge of the largest scalloped rectangle to cut the Gorgeous Grape scallop bit tucked under the DSP. I also added some of the popular Bermuda Bay Metallic thread to loop around this whole little panel.

The little tiny heart is punched from the Twinkle Builder Punch in the Idea Book & Catalogue.

I also stamped the inside of the card too for a little extra fun! I love the bright colours of this card and its perfect for any age or gender!

final 5.JPG

From this...to that!

Sometimes it takes a lot of mental energy to come up with a brand new, fresh, scrapbook page layout. Well today I decided to created a layout based on another layout I had previously designed. I thought by sharing this with you, you might be inspired to look back at some of your own creations and recreate the page using updated and fresh products and embellishments.

I used Pool Party as my page layout base and I found a strip of the Perennial Essence DSP in my scrap pin. I added a strip of the So Very Vellum Specialty Paper (which was a free Sale-a-bration reward) at the bottom as it added some unique texture. I used the DSP to dictate the rest of the color pallet and decided to pull out the Highland Heather and Pretty Peacock accents.

The border at the top is from the Wild Rose dies and layered behind in Pretty Peacock is the Label Me Lovely Punch. I decided to keep the florals ‘light’ by stamping and embossing them in white onto some vellum. Both of the florals are from the Timeless Tropical stamp set. Hello Sunshine is from the Under My Umbrella stamp set. You will find Enjoy the Little Things from the Friend Like You stamp set and Time for a New Adventure from Well Said stamp set, which can both be found in the Idea Book & Catalogue. I do believe it is important to design projects that feature at least one item from the Idea Book & Catalogue as we do always want our stampers going back to our main stampin’ resource.

There are a few retired items on this page too—-can you spot them? And the little strip of DSP under the largest flower is from the Best Dressed DSP.

I absolutely love how the page turned out! I kept the layout the same and just freshened it up with new products from the 2019/2020 Idea Book & Catalogue and the Occasions Catalogue!

I absolutely love how the page turned out! I kept the layout the same and just freshened it up with new products from the 2019/2020 Idea Book & Catalogue and the Occasions Catalogue!

IMG_1083.jpg

Spring Flowers Scrapbook Page

I was going through some old photos the other day, you know because we have THE TIME, and I came across this one of me, Reese and Summer. Reese would have been around 4 and Summer under 1. I used her cute hat (I loved hats with big flowers on them because she was bald!) and tutu as the color palette for this scrapbook page. I would also say that Petal Pink might be my favourite color at the moment. I am so happy Stampin’ Up! added it to their color lineup when they did the Color Refresh!

I did a simple color wash with my Aqua Painter in the background with Petal Pink and then I layered some Calypso Coral on top and did a bit of flicking with the Aqua Painter. And then I just started digging out flower stamp sets and dies from my collection. I used the Forever Blossoms stamp set and Cherry Blossoms dies, To a Wild Rose stamp set (I used Calypso coral as the outline, the solid fill in stamp is in Petal Pink and third detailed layer is in Grapefruit Grove) and Wild Rose dies, Magnolia Memories Dies, and the Frosted Bouquet dies. The Your Amazing sentiment is from the new Ornate Thanks stamp set coming out in the new Idea Book & Catalogue. The grey accent is Grey Granite as it had the same undertone to it and worked well with this color palette.

I love everything about this page, the softness of the colors, the simple phrases on the page and of course the two little people in the photo with me

I love everything about this page, the softness of the colors, the simple phrases on the page and of course the two little people in the photo with me

IMG_1074.jpg
IMG_1076.jpg
This is a terrific ink color combo for spring!

This is a terrific ink color combo for spring!

 
IMG_1075.jpg

Corner Flip Card

My team participated in a Fun Fold swap this month and I decided to try the Corner Flip card! It is actually so so easy! I am really into the Tropical Oasis Suite at the moment so I used elements from the suite to embellish my card. A fun twist is to stamp the flower images on vellum with Whisper White and emboss! I hope you can make sense of my directions, if you are unsure please feel free to send me a message!

fullsizeoutput_1141b.jpeg

I tried to capture in photos how to make this Corner Flip card. There are a lot of Youtube videos you can search if you can’t quite figure it out. Even though I have oodles of time, I just don’t think videos will be my jam! Anyway, start with a regular card base. Measure along the top (outside in) 3.5 inches and make a little tick (picture #1). Measure down from the top (picture #2) 3.5 inches and make a tick. Then using your trimmer SCORE a line between these two ticks and fold over. Picture #3 shows you how it folds. Easy! You will then need a 4 x 6 piece of DSP. Make sure you look at both sides as you will be seeing both on the card. Take that piece of DSP and cut off 3/4 of an inch (picture #5). Set aside (it is used on the inside of the card, see below). Take the bigger DSP piece and lay it on top of the card and using the fold, crease it over the DSP (picture #7) . You will then trim along the fold line (I found my mini guillotine trimmer was awesome for this!). Fold the card base flap down and adhere. The remaining DSP triangle is then glue to this (last photo).

fullsizeoutput_11417.jpeg